
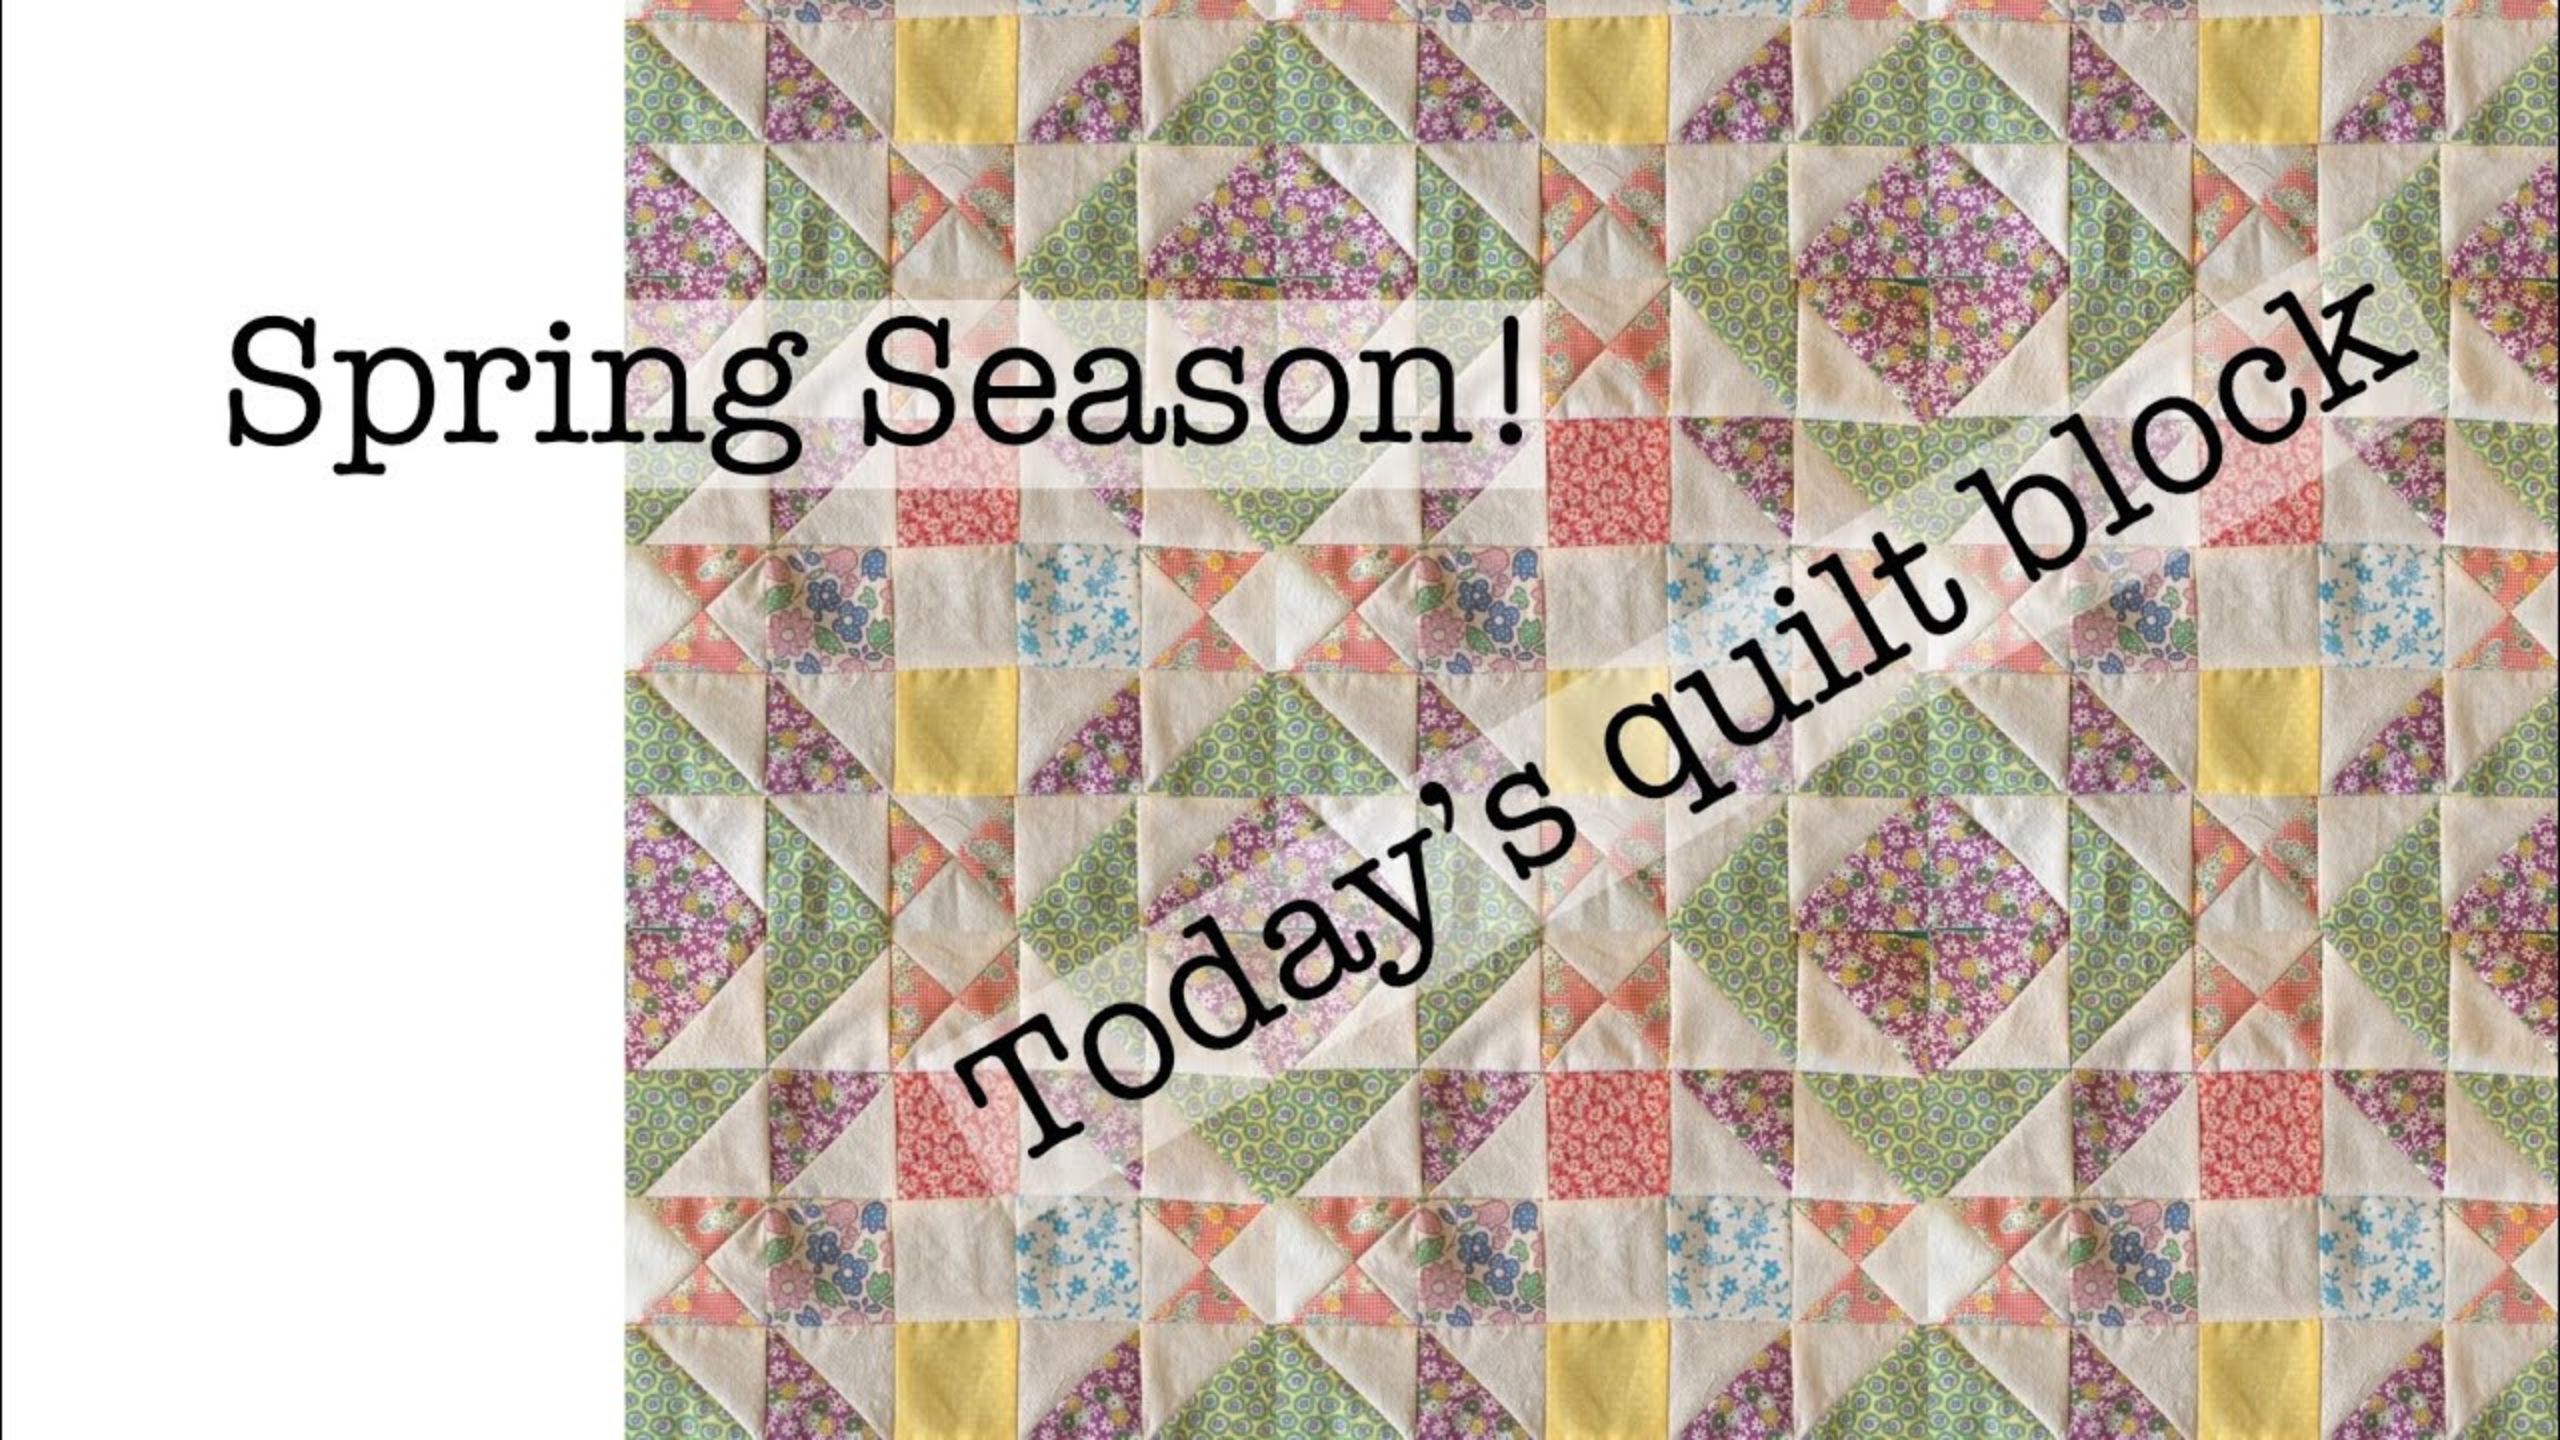
Spring Season quilt block tutorial with Beth Shibley
Today Beth Shibley shows you how to put together the Spring Season quilt block. This block comes together easily with squares, half square triangles and hourglass pieces and is a breath of fresh spring air! Find the cutting directions below.

Instructor
Beth Shibley
Beth Shibley loves to create and share her adventures in quilting. Simple patterns and practical gifts are what she loves most.
Shop this tutorial


Common Questions
What is covered in Spring Season quilt block tutorial with Beth Shibley?
Today Beth Shibley shows you how to put together the Spring Season quilt block. This block comes together easily with squares, half square triangles and hourglass pieces and is a breath of fresh spring air! Find the cutting directions below.
How long is the tutorial video?
The tutorial video is 00:10:47.
Are supplies listed for this tutorial?
Yes. The tutorial page includes the supplies and materials connected to this project.
Is a transcript available?
Yes. A written transcript is available on the tutorial page.
Video Transcript
Cut FOUR (4) 2 1/2” squares - scrappy
Cut ONE (1) 2 1/2” square - white
Cut TWO (2) 3 1/2” squares - Red print
Cut TWO (2) 3 1/2” squares - White
Cut FOUR (4) 3” squares - yellow /green print
Cut FOUR (4) 3” squares - lavender print
Cut EIGHT (8) 3” squares - white
Block measures 10 1/2” x 10 1/2”
Beth's tips for this block:
1. This one is all about chain piecing. Start with the hourglass units and then make all your half square triangles. That way you can trim everything at once!
2. Then trim all your units down to 2.5" square.
3. Then it's time to lay out the block. This one is a 5 x 5 grid. Start with your cross in the center made of 5 squares and then start to add in the other units. The hourglass units go at the outer edges (the cross points). Then place your half square triangle units in the corners with all the points facing outwards.
4. Sew blocks together in rows (chain piecing if you want to!). Then join your rows together!
This is a great project for scrap fabric, but could also be done with Charm Squares or other precuts!


