
Star Dancer Table Runner
 Misty Doan
- Charm Pack
- Modern
- Table Runner
- Beginner
- Quilt size 16" × 64"
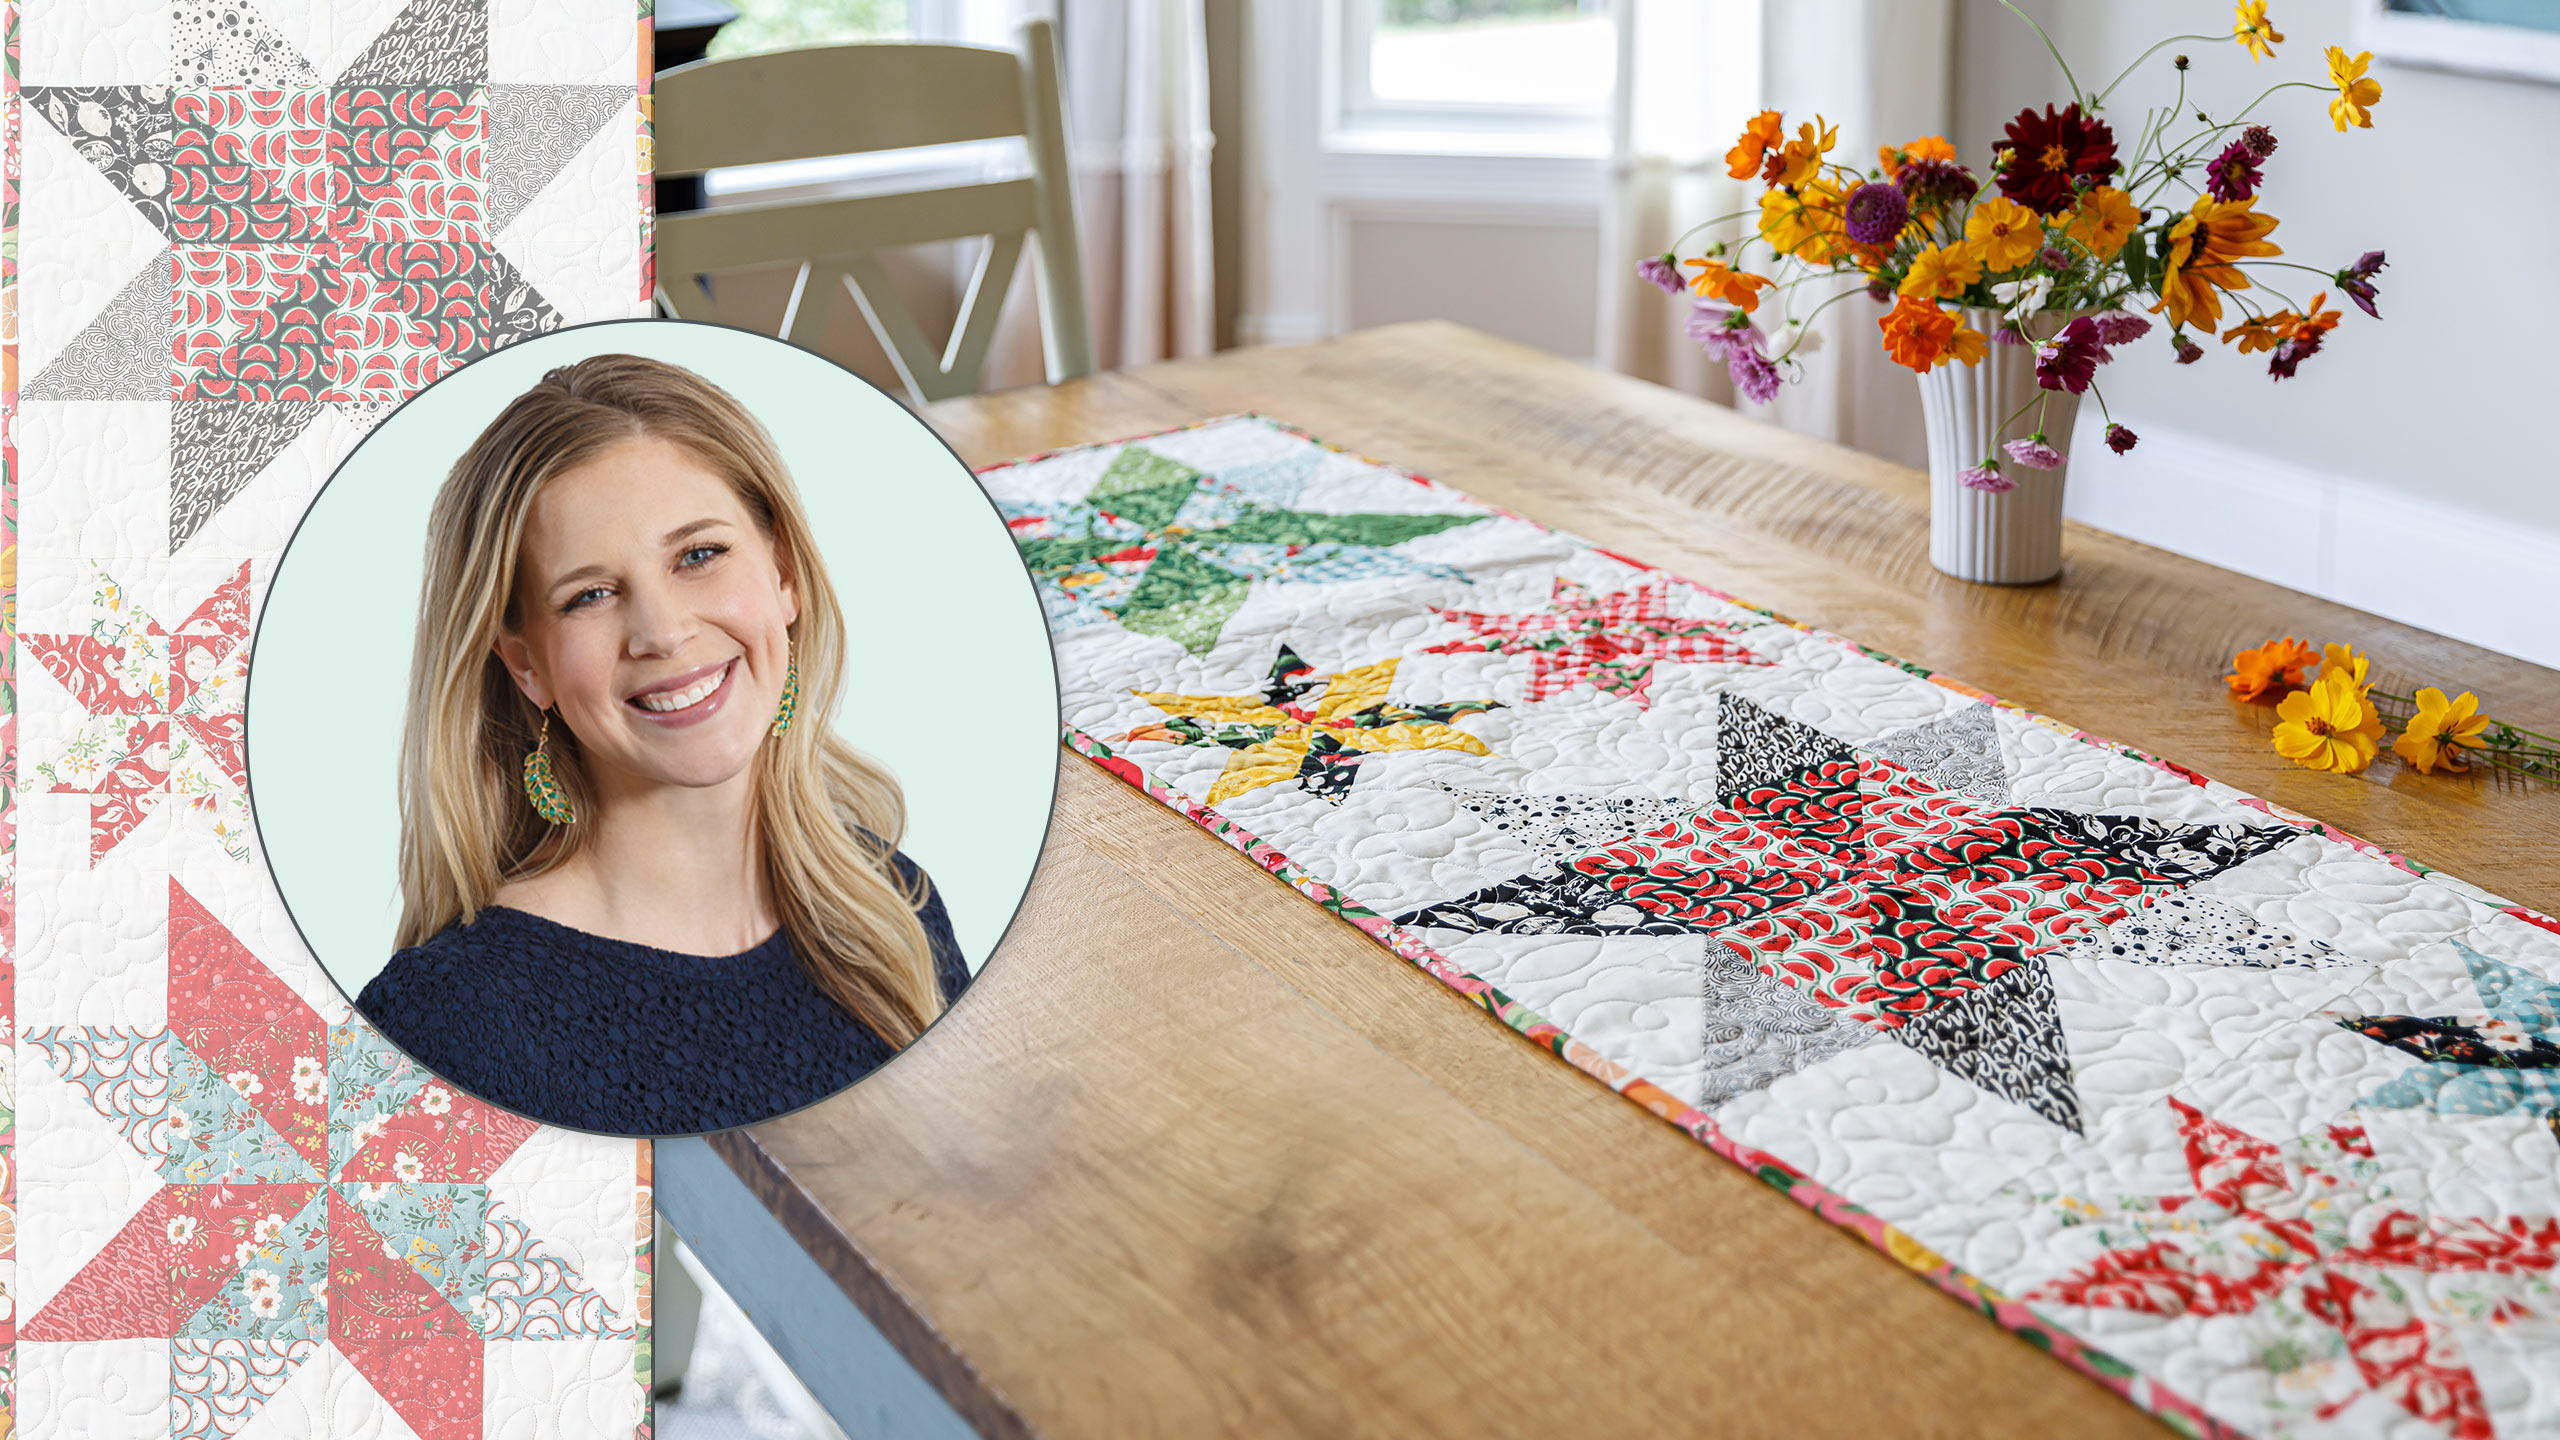
Pretty stars dance across your tabletop when it's graced with this runner! Misty shows you how to make classic eight-point stars in two sizes to create a table runner that’s as pretty as the night sky! Make it in colors to match your décor or make several in colors to change with the seasons.
Instructor
Misty Doan
Misty Doan grew up surrounded by sewing and quilting. She loves spending time sharing tutorials each week each week, and when she’s not stitching up one of her fun sewing projects for home decor, most likely you’ll find her hanging out with her husband and three awesome kids or working on a house project.
Shop this tutorial
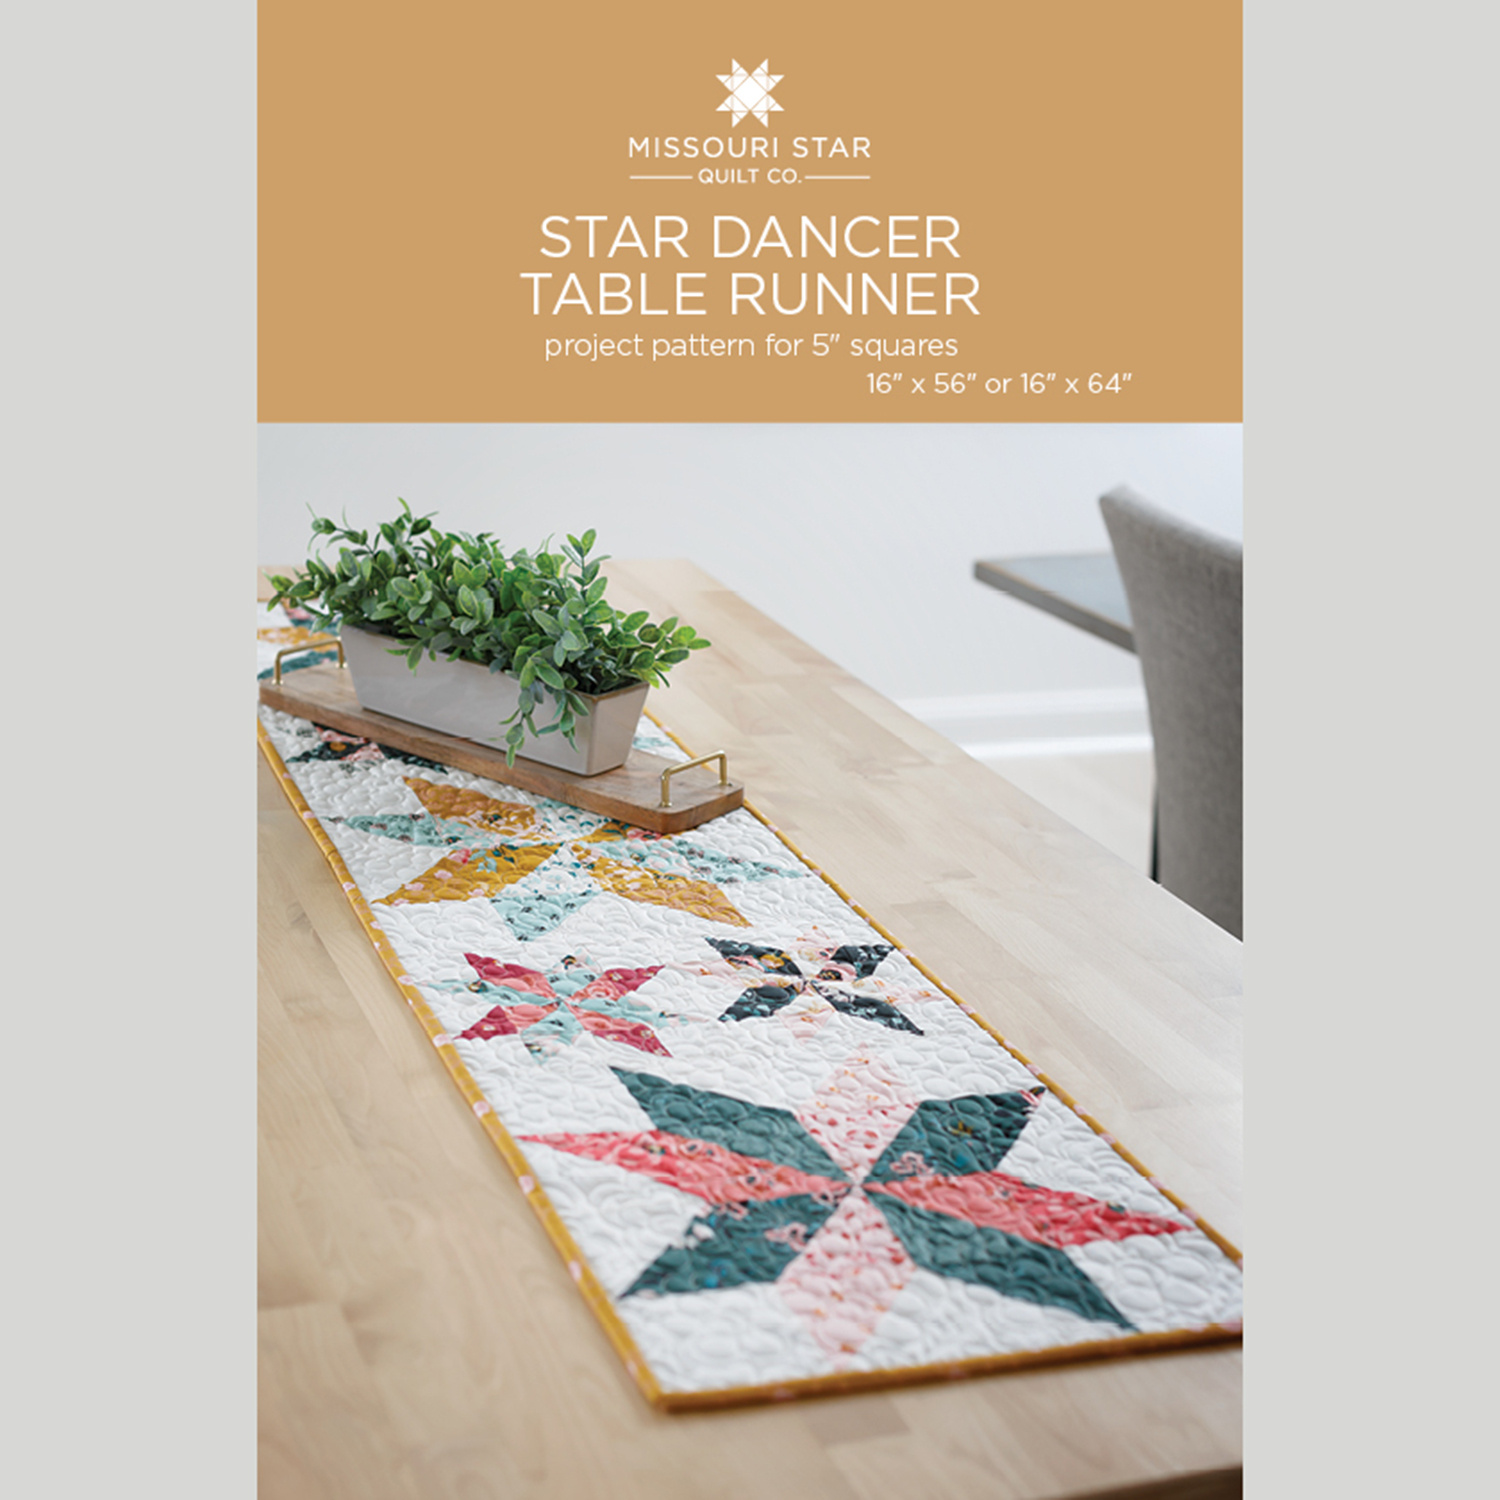 Star Dancer Table Runner Pattern by Missouri Star$8.50Shop →
 Digital Download - Star Dancer Table Runner Pattern$6.95Shop →
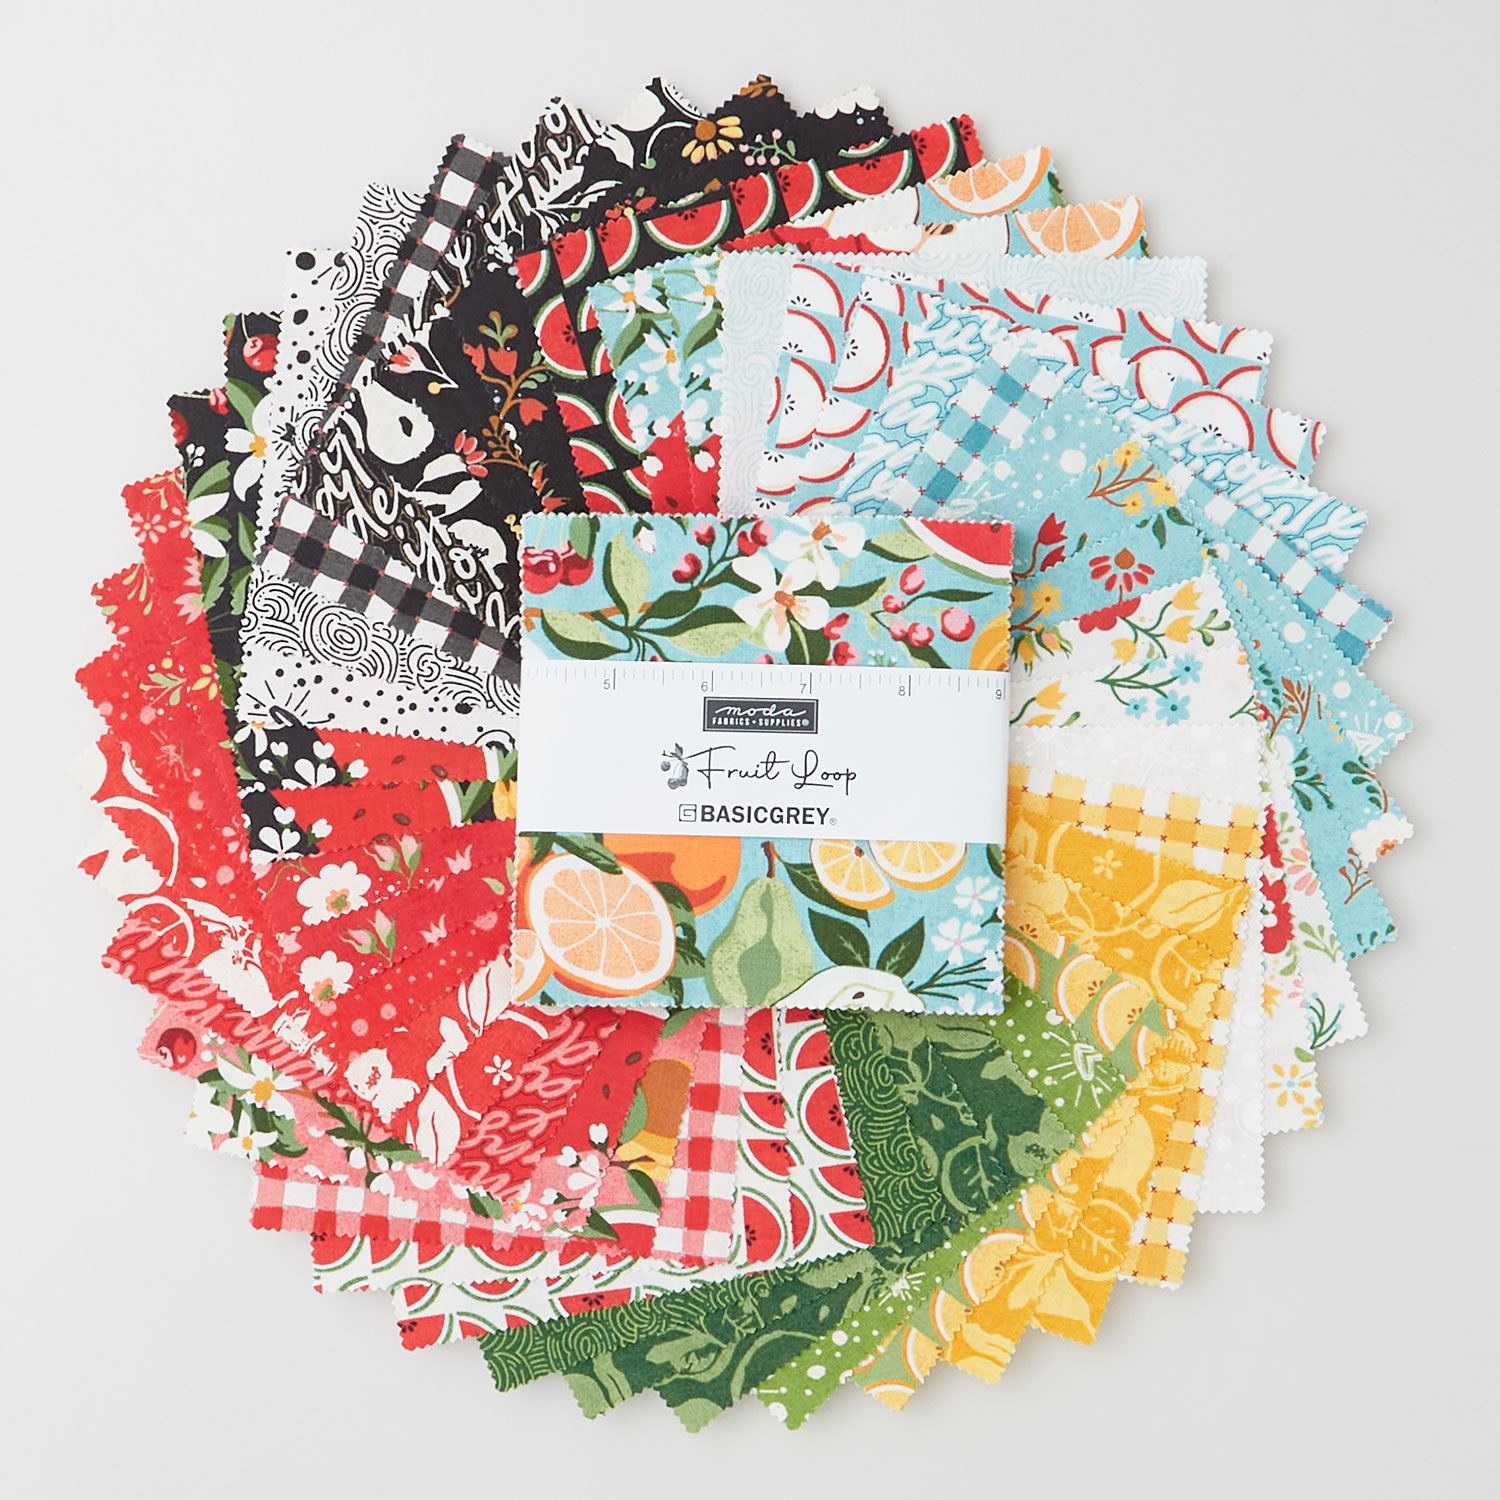 Fruit Loop Charm Pack$11.45Shop →
 Kona Cotton - Snow Yardage$7.48Shop →
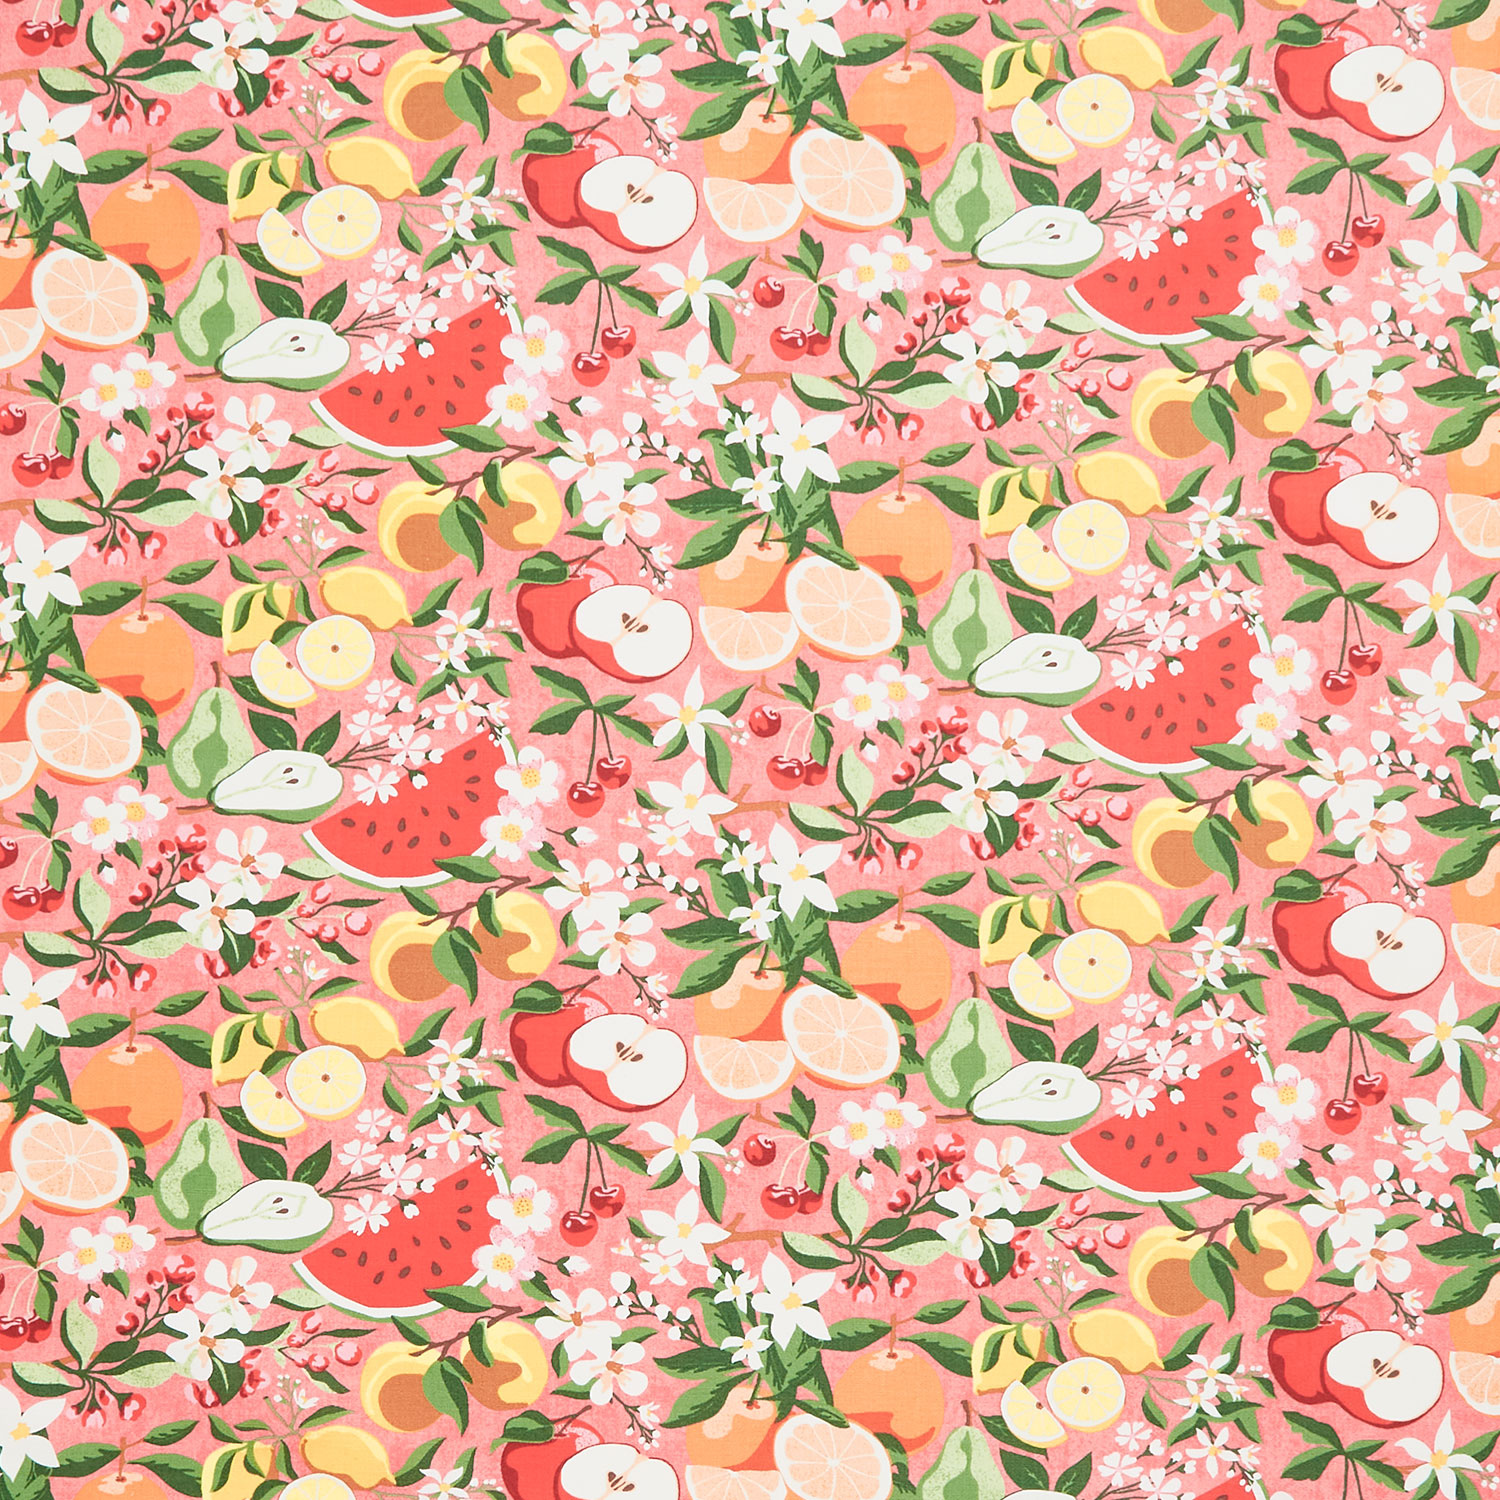 Fruit Loop - Fruit Flowers Lilly Pilly Yardage$11.96Shop →
 Missouri Star Quilter's Best Blend Bed/Table Runner Batting$14.95Shop →
 Missouri Star 2.5" x 8" Ruler$11.95Shop →
 Clearly Perfect Slotted Trimmers$31.95Shop →
 Missouri Star 45mm Rotary Cutter$19.95Shop →
 Missouri Star Seam Ripper$9.95Shop →
 Missouri Star 6" Everyday Scissors$12.95Shop →
 Missouri Star 8" Everyday Scissors$19.95Shop →
 Missouri Star 50 WT Cotton Thread White$7.95Shop →
 Exclusive Missouri Star Jenny TG1600 ProPlus Oliso Smart Iron$199.99Shop →
 Missouri Star Wooly Betty Board - 17.25" x 25.5" Orange Border$99.95Shop →
 Bernette 77 Sewing and Quilting Machine$1499.00Shop →
Common Questions
What is covered in Star Dancer Table Runner?
Pretty stars dance across your tabletop when it's graced with this runner! Misty shows you how to make classic eight-point stars in two sizes to create a table runner that’s as pretty as the night sky! Make it in colors to match your décor or make several in colors to change w...
How long is the tutorial video?
The tutorial video is 00:11:55.
Are supplies listed for this tutorial?
Yes. The tutorial page includes the supplies and materials connected to this project.
Is a transcript available?
Yes. A written transcript is available on the tutorial page.
Video Transcript
Triple Play. It's one of my favorites, but I can understand how a full quilt can be a little overwhelming. So I've turned it into a fun table runner and I'm going to walk you through that today.
So my goal in turning this into a runner is to get you guys addicted to making these stars so that you won't be afraid to make this beautiful quilt
behind me. Because you'll see, once you get started these are super fun to make. It's a great project where maybe you just make one every day before you get started on your other sewing and pretty soon it will all come together in this beautiful quilt!
So to make the runner you are going to need one package of 5 inch print squares. I use this really fun collection called Froot Loop by BasicGrey for Moda. It's all these great brights with a little fruit motif thrown in there. You're also going to need one yard of background fabric. For your backing, you need two yards. And for your binding you need a half yard. You'll also
need a squaring tool - I'm using the Clearly Perfect Trimmer A. So let's go
ahead and get started.
All right, so up first we are going to learn how to make this large star exactly like this. So in order to do that, you are going to need eight background 5 inch squares. So I have those, and then you're going to need four of one color 5 inch squares and four of another. So I was able to use the same prints for the middle of my pinwheels here. If that doesn't work out, and you don't have duplicates, just try and select all similar colors because we're making this runner scrappy. You just want the same kind of color family. So now we can organize these. I am going to place these right sides together for these sets and then for these I will pair them up with a background square just like so. And then these will be our corners at the end. And so every single one of these sets I'm going to make the exact same way. So that is by drawing a line corner to corner. And so I am just going to take my pencil here and mark that center line and you're going to do that on the lightest of all of your fabrics. So we'll just mark a few of these. And it's nice to have it all done ahead of time, because this is a great opportunity for chain piecing. you can go all the way down one side of all of them and then come back around and go the other way as well.
All right so we're just marking all of these so we're ready to go. Now we can take these to the machine. Okay so now I am just going to sew down one side. I'm lining this up so that that drawn line is in on my quarter inch mark so I'm stitching a quarter inch away from that. And I'm just going to go all the way down one side. And then I can flip this around. If you were chain stitching, you'd do more than one obviously, but I have some of these ready to go so I'm just going to do this one.
All right. So now we can trim that thread and we can bring these back over here, cut them apart. And then we are going to square these to four and a half, that is the size we're looking for. So on my Clearly Perfect Slotted Trimmer I'm going to line up my stitch line with the dashed line on this ruler here. Go ahead and trim this off and I like to get those little notches as well. So there is our first one. And let's trim one more. Lining up that stitch line, sometimes I can slide it all the way to one side and I think I can on this one, save me a little bit, one cut fewer, there we go.
All right, so now let's press these open. Lovely. And I have my stack of half square triangles ready to go here. You can see I've gone ahead and made all of those sets and squared them for us. And so the last thing I need to
do is I have four of my background squares left over and I'm just going to trim these down to four and a half to match up with my blocks that I have
squared. So I'm just going to stack these really nice on my mat here and we can just trim off a half an inch from two sides - there's one, and one more cut here, there we go.
And so now let's go ahead and lay out this block. So I always like to start with my pinwheel in the middle. That's the easiest for me. And so these are just going to spin around just like so. So now that we have our pinwheel laid out in the middle, now we can go and add those star legs and so I'm going to match up our like colors and since we have this scrap I'm going to put them on opposite sides. It's just something I like to do. And then this one will go here and here and we'll bring in our greens just like so. And then we will finish it off with those 4 ½ inch squares that we cut for our corners. There we go!
And so then you're just going to sew each row of four together and add one row after the other. And when that is all sewn together that block is going to look just like this. So let me walk you through how to make the small blocks that meet up with it.
All right, so really the only difference in this small block is how we construct our half square triangles. And so we are going to pull out our contrasting fabrics. I have two of this fun fruit print, two of this yellow and two of my background ground. In addition to that we are also going to need four background 2 ½ inch squares. So this is what you need for each block.
So I'm going to set these aside for now and we're going to pair up one of
each of our fabrics together and then individually we will pair those up with a background. And so unlike before where we drew the line and sewed it on both sides, this time we are actually going to sew on all four sides of our set. And so let's go ahead and take this to the machine. I'm just going to do one because I have a lot of these ready to go. So I'd like to sew and then just pivot off the edge and we're going to go around all four sides with that quarter inch seam allowance.
All right, so we have done that. You'll repeat that exactly the same way for
your other two sets of 5 inch squares. And now we are just going to cut these corner to corner in both directions. And this is the part I really like to walk you through. So in order to have these match up with our large blocks, we need to trim these to 2 ½ which looks like you're cutting off a lot. And so I know for a lot of people it's like oo is that right? It is! This is just the easiest way to do that when you're using these pre-cuts. And so we will just trim off that extra. And it's especially important on these smaller blocks to get rid of those little tabs and eliminate as much bulk as you can. And so that is what you're looking for - a bunch of these little 2 ½ inch half square triangles.
And so I have them all ready to go, squared up here. So here is our fruit print with the background, our yellow with the background, and the two together, and then our four 2 ½ inch squares that we had at the beginning. And so again the layout, I start with that pinwheel in the middle. And we're just going to build out from there. So we'll match up our yellows to our yellows. It always helps me to remember that my backgrounds are going to come to come together in the middle of those star legs. And then we'll finish it off with those squares in the corner. There we go! Looking a little crazy but you get the idea.
And so same thing - you're going to sew those four rows together until
you have this adorable little block that looks just like this. And so then, when you sew two of these together (which I have another one here),
you'll just sew these two together and these will match up exactly with the height of your larger star. And so that is what we're looking for.
And so that allows us on the runner to have a big star, and the two little
stars, and a big star, and the two little stars, and so on and so forth. And so this is a really fun project. These are great blocks to make and if you want to make the big quilt like you see behind me, you just keep going and make a bunch more of these stars!
So I hope you enjoyed this project. I can't wait to see your runners and hopefully you will try the full quilt as well! I will see you next time on At Home.


