Ready for a break from machine patchwork? Give English paper piecing a spin. The Stars of Liberty quilt will let your EPP skills shine from seam to shining seam! This patriotic beauty is made from a kit featuring Kimberbell Basics and Star Spangled Beauty red, white, and blue fabrics from Maywood Studio. New MSQC templates make construction a breeze!
Misty Doan grew up surrounded by sewing and quilting. She loves spending time sharing tutorials each week each week, and when she’s not stitching up one of her fun sewing projects for home decor, most likely you’ll find her hanging out with her husband and three awesome kids or working on a house project.
Ready for a break from machine patchwork? Give English paper piecing a spin. The Stars of Liberty quilt will let your EPP skills shine from seam to shining seam! This patriotic beauty is made from a kit featuring Kimberbell Basics and Star Spangled Beauty red, white, and blue...
How long is the tutorial video?
The tutorial video is 00:19:11.
Are supplies listed for this tutorial?
Yes. The tutorial page includes the supplies and materials connected to this project.
Video Transcript
Hey everyone, I am so excited about today's project. It features this beautiful EP kit called Stars of Liberty, and I can't wait to show you how to make it. Let's take a look at this beautiful Stars of Liberty quilt. It's a wonderful throw size and it's made up of two basic blocks. We have this larger star and then this secondary star and it's set together with these great little diamonds. And as I mentioned, it all comes together in this wonderful kit. So, you get all these beautiful fabrics that you see behind me from Kimberbell that are included and ready to go. And then in addition to that, I want to talk through everything that you'll get inside the kit itself. You'll have this fabric key that breaks down each of the cuts that are included and how you will use those. It also, of course, includes a full pattern. It includes our acrylic templates that make cutting so much easier, some extra little bags to store all of your pieces as you go, two glue sticks, and the three different EP shapes that you will need to make this project. So, everything that you need for the top, including the binding, is included in your kit. The only thing extra that you'll need to buy is your backing. And I use this beautiful print here. You just need 3 and 1/2 yards of that. All right. I know I mentioned the fabric key, but I want to dive into that just a little bit more. So, as you go down, the fabric as it comes out of your kit should be in the same order that you see it in this fabric key here. So, you can start from the top. There is a little swatch included to confirm that it's all in the right order. And as you make your way across, it will tell you what that yardage is called, the size of cuts that are included, and then the templates that you're going to use to cut. So, for example, um I have these tiny quilt stars. That's fabric B. You have a fat quarter plus 5/8 of a yard for binding. So, I know I'm going to use my fat quarter to cut. And then I need to cut eight of the 3-in diamonds. and all of those will go into bag number one. So, just make your way down that list, do all of your cutting and sorting according to the key, and then we can get into the assembly. And so, make sure you tackle that first. I have a little piece of this that I'm going to show you how I'm going to cut out one of our diamonds. And I like to kind of nest these back and forth just to have as little waste as possible. So, we will just cut this one out. Get this little piece down here. Now I can turn it and then we will finish cutting this other side. There we go. Get this out of the way. So, for each star, you're going to need four of each of your star prints. And so, I have the other one ready to go. And then, of course, you'll need a total of eight of your diamond papers. And so, to begin, we are going to take our paper and center this up in the middle of our cut pieces. And the templates are so handy because they automatically give you that 3/8 seam allowance all the way around, which is what you're looking for. And so now we can use our glue stick and we'll just run a little bit of glue right along that edge and we can fold these back and secure that fabric on our paper. And so we're just going to make our way all the way around. Here we go. And one more side here. Beautiful. All right. So, you're going to make all of your shapes the exact same way. So, like I said, four of each color. And I have these ready to go. In addition to the stars in the center, you're also going to make eight of these 3-in squares. And so those are ready to go as well. All the exact same thing. You're just cutting those out of your different template shapes and having them ready for you so you can start assembling. And so now let's talk about putting this one together. So we are going to alternate between our two star colors. to have these ready in the middle here just like so. And I like to make these in quadrants. And so I'll actually sew these two together and then attach my square into each of the corners. And then once we have these made, we can join our halves. We'll add another square here and here. And then finally join these together and finish off with our last two squares. And so I will stitch a couple of these for you. But this is how it's going to look once our star all comes together. Isn't that so fun? I think it's so pretty and it really comes together very simply since it's just made up of those two shapes. So let's go ahead and sew one of our little quadrants together. I went ahead and threaded my needle here. I have it ready to go. So, just use whatever needle is your favorite to do hand work. And we're going to start by sewing our two diamond shapes together. So, I'm going to put those right sides together. If you have a hard time holding on to it, you can use a little magnet or a binding clip to hold those together so you're not having to work so hard to keep them lined up. But, it's not too bad. And so then I'm just going to slide my needle right in to the end of this tip here. And it kind of hides behind the other piece. And then we're just going to gently just grab the very top edge of our fabric. And the first few stitches are always the trickiest. And you kind of want to take a few stitches right there at the end to lock that in place just like so. And if you want to knot it, of course you can, but we already have a knot in our thread. And so then we're just going to continue with just those tiny little stitches. You should not be going through the paper. And we're going to make our way down this straight side. And I like to just do a whip stitch. You can also do a ladder stitch, which is a little bit more invisible, but just figure out what works best for you. The real trick is to just grab just a tiny bit of that fabric. And so I'm just going to keep making my way down this side and then we can come back and add the square. All right, we're approaching the end of that little run now. And so once I get to the end, I'm just going to do the same thing. Take a couple of stitches to anchor that in place. And then I'm going to knot off my thread. There we go. One more for good measure. We don't want all that hard work to come undone. Beautiful. Forgot to grab my scissors. So, I'll use my little rotary cutter here to cut that thread. And then I'm going to go ahead and knot this so that it's ready to add the square. So, I'll just roll that between my fingers and get my knot. And so, now we have that first little piece that we have joined together. You can see how that looks there. And so next, we just need to add our square in here. And so I'm going to begin by stitching this side. And I'll stitch all the way down to this corner. And then open this up and stitch it to the other side. And then I don't have to snip my thread. I can do that whole run all at once. So we'll line this up. This edge matches up exactly since they're all three in. Again, I like to tuck my needle or the end of my thread back behind the fold of that fabric. And then we'll just make our way down. And just like before, I'm just going to take those tiny little stitches right at the top of the fabric. Just like so. And a couple to anchor it there at the beginning. And I'll meet you back here when we have this all done. All right. So, I have finished that first little side of my square. And so, now that I'm down in this inside corner, I'm going to open this up and I'm just going to fold my papers over to line up on the other side so that I can continue all the way down this end and tie it off there on the outside edge. So, that's what I'm going to do next. Just keep stitching. I don't have to trim my thread or tie it off. Just secure that corner so everything lines up nice and tight and then keep on stitching. All right, we're just tying off the last little stitch here of the first of our quadrants. So, we're going to knot that so it's nice and secure. Beautiful. Bite the thread. All right. So there is our little quadrant. So that would just set in just like so. And then I have another one done here. And you can see what I mean. We'll sew these two together. And then come back and add that square just in the exact same way that I've shown you until you complete your whole block. And it looks like this. And just follow through the pattern. You're going to make 20 of these big stars. And now we can move on to block two and then talk about putting it together. So we're on to block two and it looks just like this. It is made using our same diamond shape that we used before as well as the kite template. So just like I showed you, you're going to cut out those fabrics, have them ready to go, and attach your papers. And so then to sew these, you are going to begin with your little kites. And we'll start by adding this little short side together. And then we'll come in and we'll add our diamond. Oops, I got two of those. They're sticking. And so then we'll do the same thing on the opposite side. Two of these together. Have our diamond. And we'll add those. And then come back and add the diamond on each side. And so once you stitch it together, it looks just like this. It's all sewn the exact same way. Just stitch through those by hand. and then you get to start imagining this beautiful layout that you see behind me. So, let's go ahead and bring some of our blocks in. So, we can talk about how these come together. So, I have these here and of course follow the pattern for the layout. I just want you to have a general idea of how this works. And so, those are going to nest just like this. And let me check. Oh, nope. These need to pivot like this. They're kind of on point because then in between here, we're going to have some setting diamonds. And if let's look at the quilt behind me because across the quilt this way are always red in between your star blocks. And then when we attach our rows together, you're you'll notice the navy setting diamonds go in there. So the red is going to go in between our stars like this. And then we can come in and these little guys are going to nestle in here. And in between here are the navy just like so. And so you just sew all of these together until you have this beautiful quilt top complete. You'll notice we do have these partial blocks on the side. So you'll actually complete those, follow the layout in the pattern, quilt the whole thing, and then trim it all square. So there is one more thing that I do want to share with you. You might notice these little marks on our template. If hand sewing is not your thing, you can actually make this whole top by machine. So let me pull mine back up and I'll show you how to do that. So if hand stitching is a four-letter word for you and you don't want to sew this by hand, let me show you an alternative. We have these templates which you've already used to cut out your shapes. And in this instance, you would not need the papers. So you'll notice we have these little circles that are cut out on each of the corners. And what this is are the these are your stitch guides. And so I'm going to begin by placing a little dot in each of those spots. And so either you can just remember that you'll need to use a 3/8 inch seam allowance or you can slide your template now and line up that line, that 3/8 inch line with the edge of your fabric. And you can just draw a stitch line from point to point just like so. And then the circles will be your start and stop points because you are going to have some Y seams here. One more. There we go. Final side. Just like that. So, make sure you're marking the wrong sides of your fabric because, of course, we're still going to put wrong sides together or right sides together, I'm sorry. And so, now I'm going to begin just by stitching this first side exactly like we did when we were hand stitching. I'm going to start at that first point. back stitch a little bit to lock it in place. Come all the way to this next point. Back stitch again. You really don't want to go past because that's your seam allowance. So, let's go ahead and do that now. So, I'm going to place my needle down right on that point. And then I'll take a stitch and back stitch. And then we're going to stitch right on that marked line. slow down as I approach that other point and back stitch again. So there is our first little seam. You can see how simple that was. So now we can press this. Just be gentle when you're pressing. There we go. And now we get to match up our square. And so in order to do that, we're just going to pick one side just like before and we're going to match that up and we're going to sew from point to point and back stitch in the exact same way. And so then we can actually flip this over if you want and we can sew to here and then I'll be able to fold this other one in just like we did by hand. So let's go ahead and do that. All right. So, I've got my needle down. Just to reiterate, right at that dot, we're going to take a couple of stitches and back stitch to lock that in place. And then I'm going to follow right along that march marked stitch line, excuse me. And I'm going to stop right at that other dot. Back stitch. Leave my needle down. Now I can lift my presser foot and I can pivot this underneath the needle to match up this with this end. And if you need to take this out, you absolutely can. Just make sure I've got everything lined up here. And now I can sew down again, stopping at this next mark. There we go. So, we've set in that little outside corner. We can go ahead and press this unit. Now, roll those seams. Just gently. Again, you want to be careful not to distort it. And look at that. You've sewn a Y seam. You can make this entire quilt on your machine if you tackle it that way. It's so wonderful. It finishes at 54x 67. So, a great throw size. Be sure to pick up a kit. It is includes everything you need to make this whole quilt top. And let's look at this beautiful backing. I absolutely love this floral. We quilted it with a pattern called Star Spangled Banner, which felt appropriate, and I just think it turned out absolutely gorgeous. So, I hope you all will try this Stars of Liberty EP kit and I'll see you next time on At Home. Hey everyone, happy National Quilt Month. I wanted to be sure to mention our adorable labels of love that released as part of our quilting celebration this month. We even have an adorable collection that's called From Seam to Shining Seam. It's all patriotic and it coordinates with this project beautifully. So, be sure to check it out to add that little handmade touch to all of your quilts. Hey everyone, thank you so much for watching at home. We're so excited to be almost a million quilters strong here at Missouri Star. [music] And so if you haven't already joined our family, be sure to subscribe and hit that notification bell so you can be notified of all of our future tutorials. And we'll see [music] you soon.



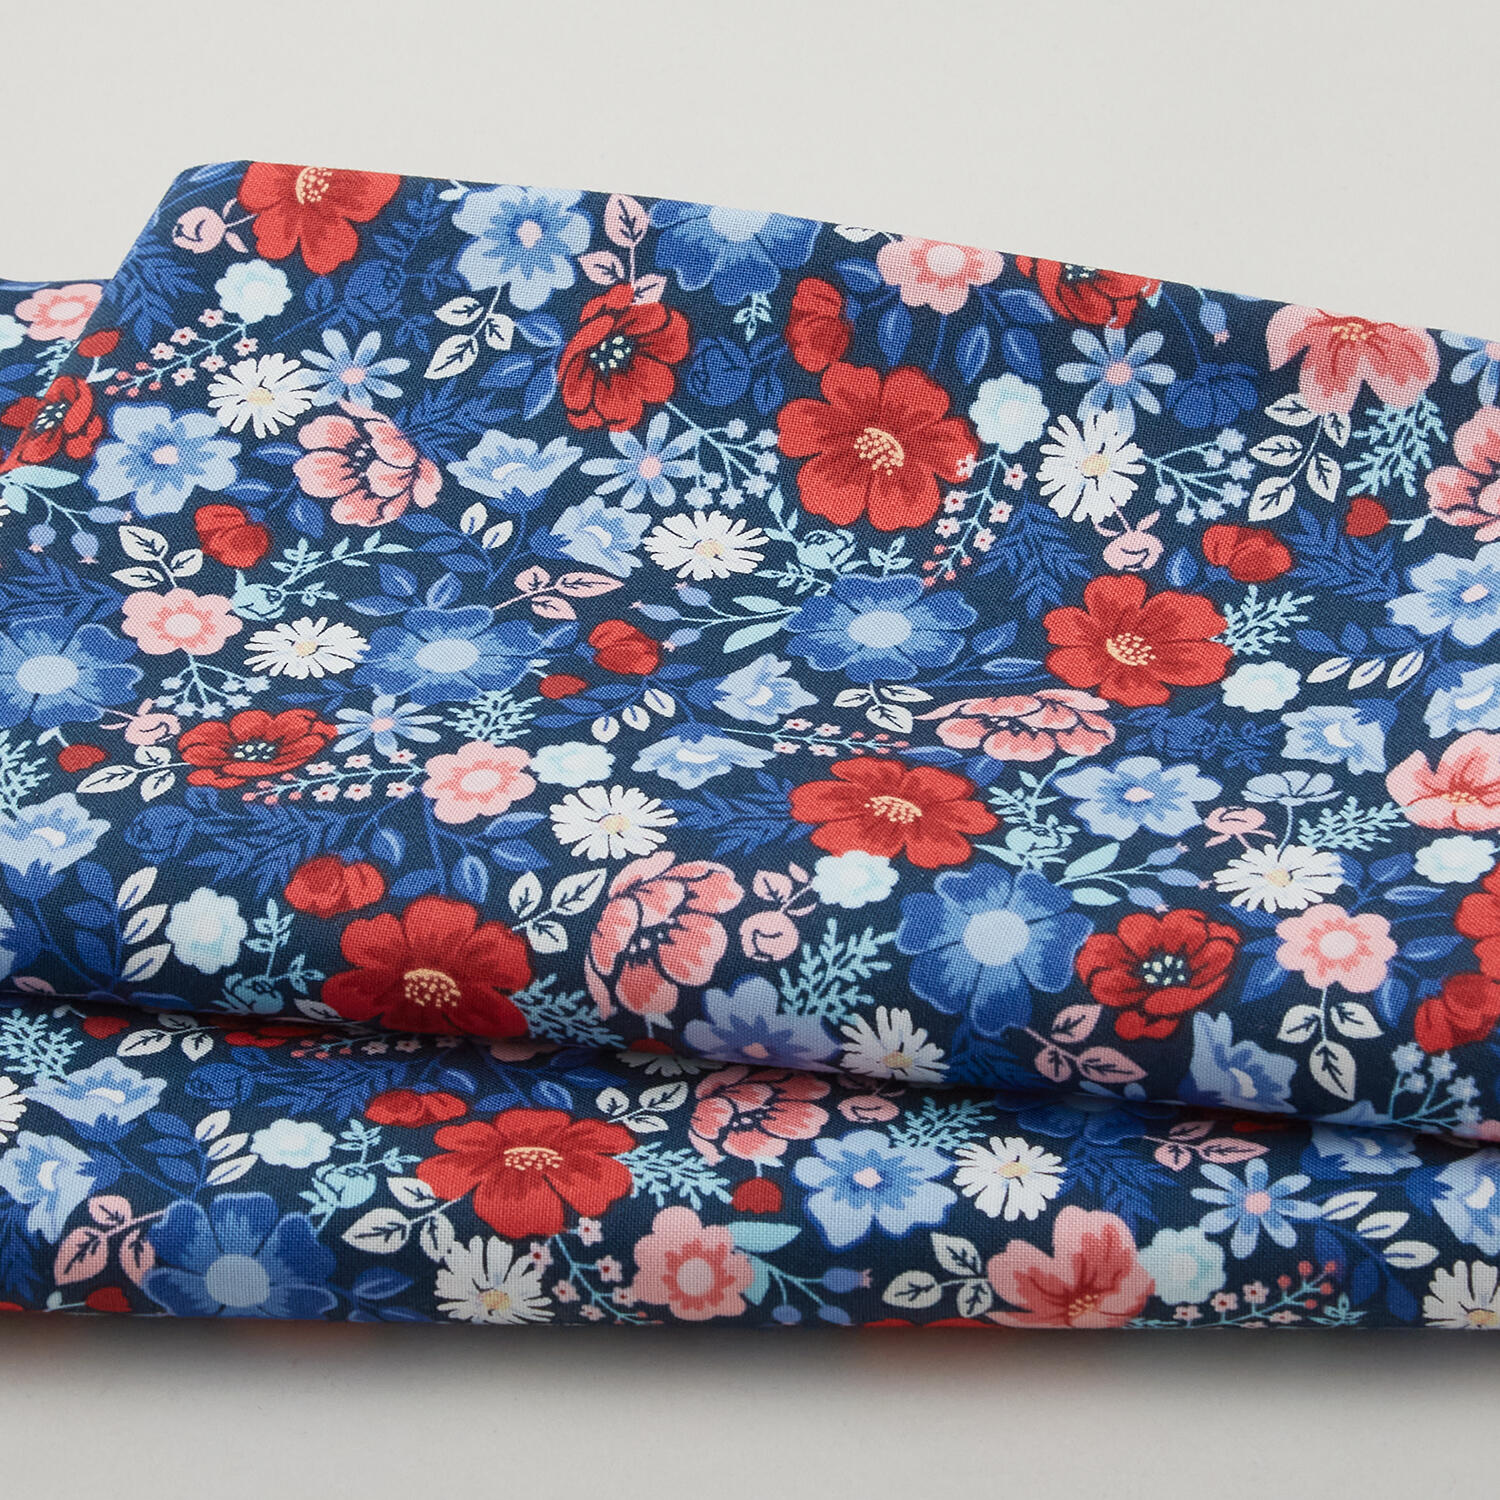 Stars of Liberty 3 Yd Backing Cut$35.04Shop →
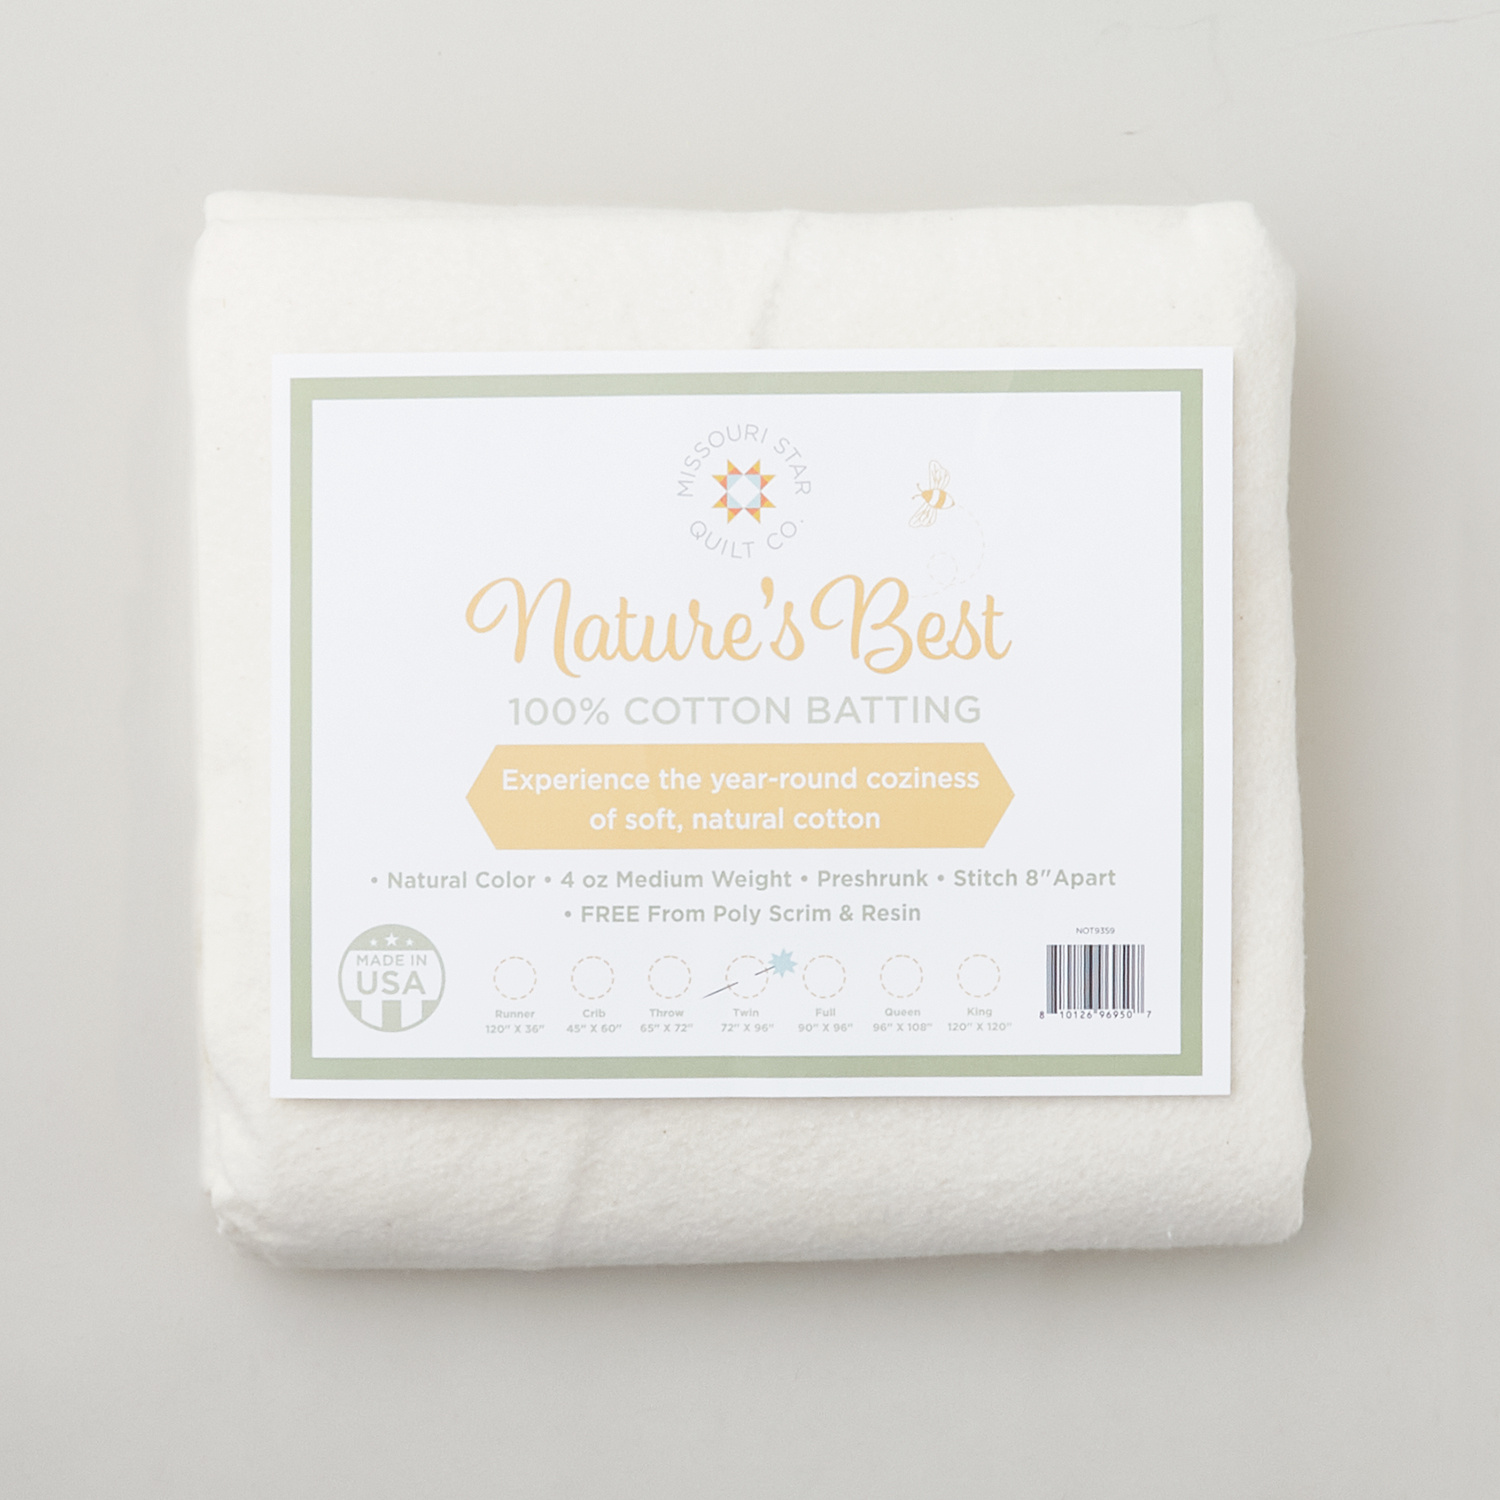 Missouri Star Nature's Best 100% Cotton Twin Batting - Natural$29.95Shop →
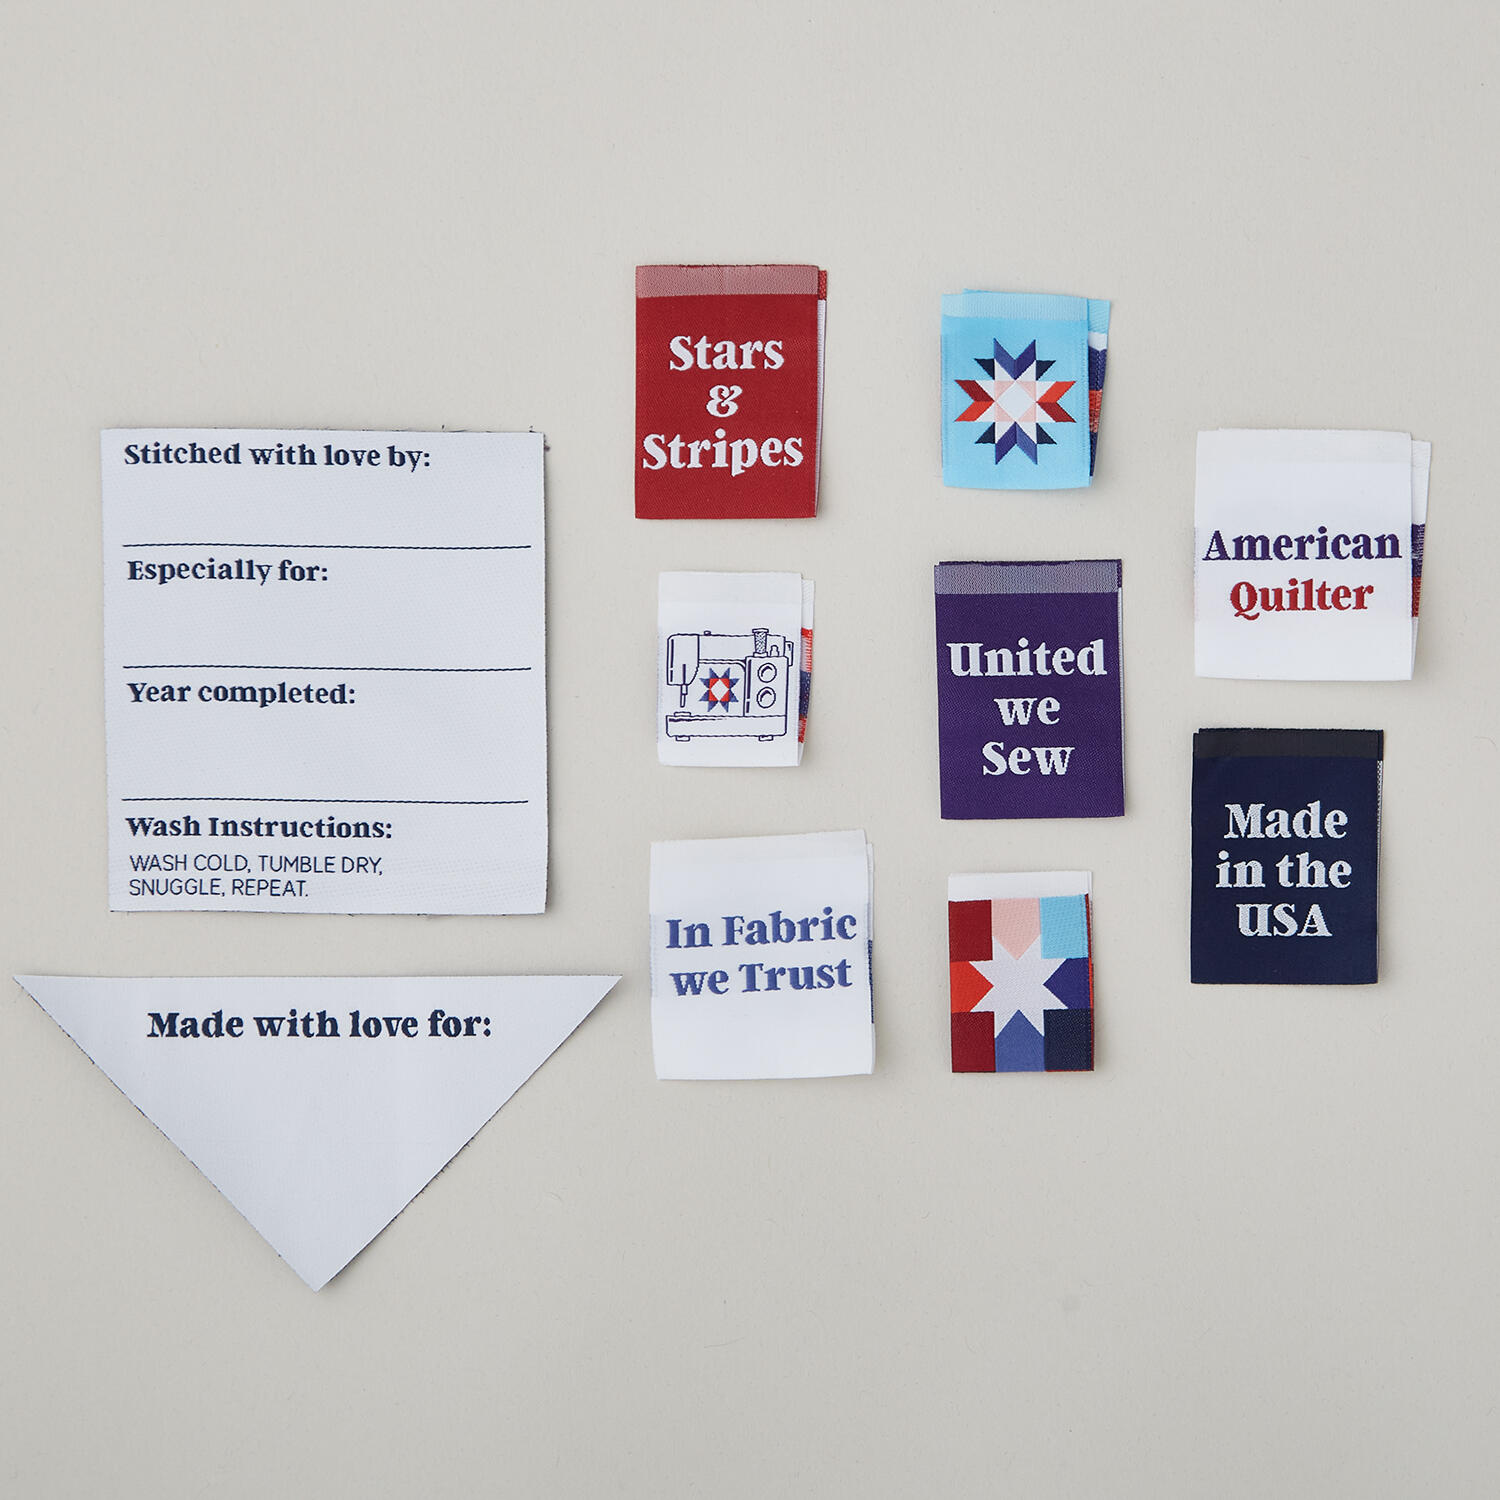 Missouri Star Labels of Love: From Seam to Shining Seam$9.95Shop →
 Omnigrid® 360 Rotating Cutting Mat - 8" Diameter$29.25Shop →
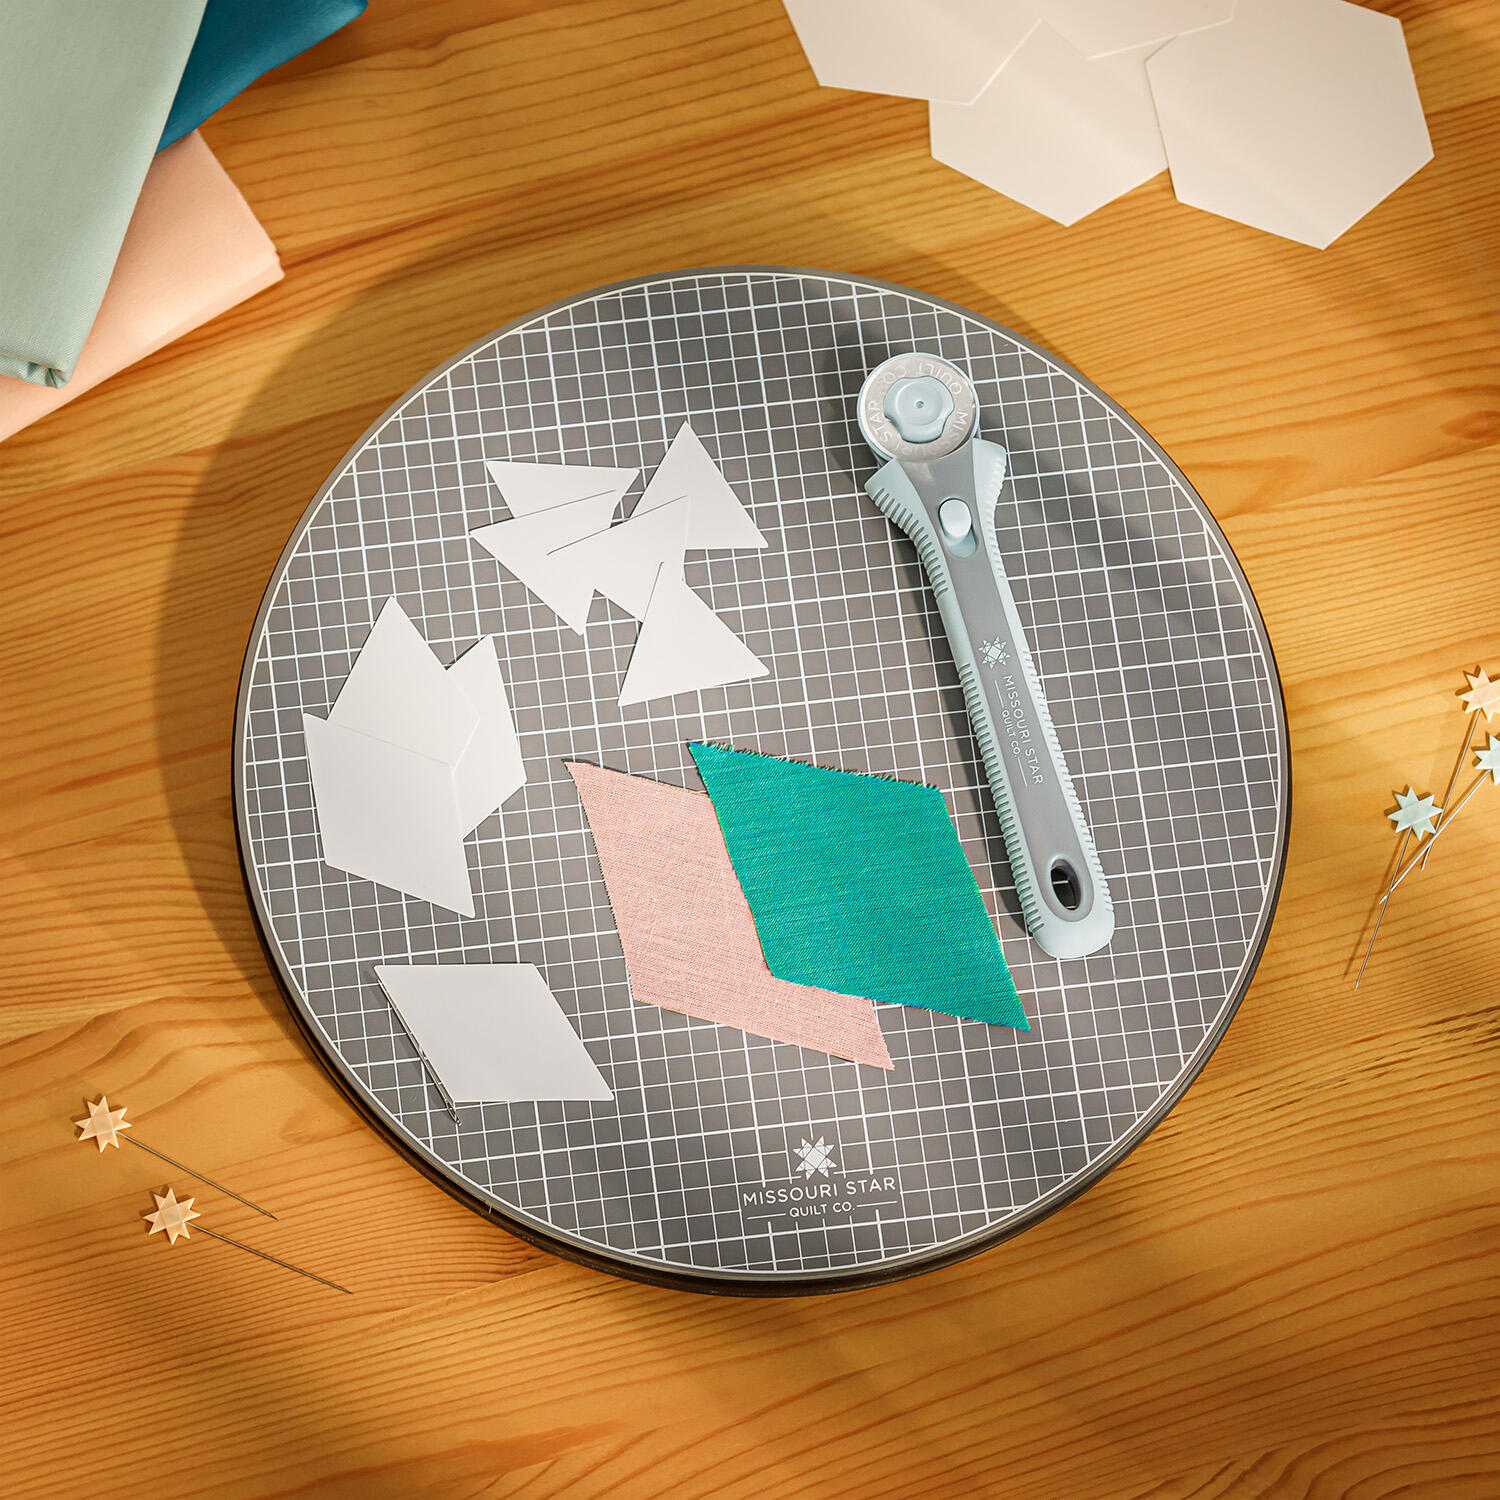 Missouri Star 10" Rotating Cutting Mat - Hilda$32.95Shop →
 Missouri Star 45mm Rotary Cutter - Olga$19.95Shop →
 Missouri Star Seam Ripper - Frida$9.95Shop →
 Missouri Star 8" Everyday Scissors - Amelia$19.95Shop →
 Missouri Star 50 WT Cotton Thread White$7.95Shop →
 Missouri Star + Oliso TG1600 ProPlus Iron$209.95Shop →
 Bernette 77 Sewing and Quilting Machine$1699.00Shop →
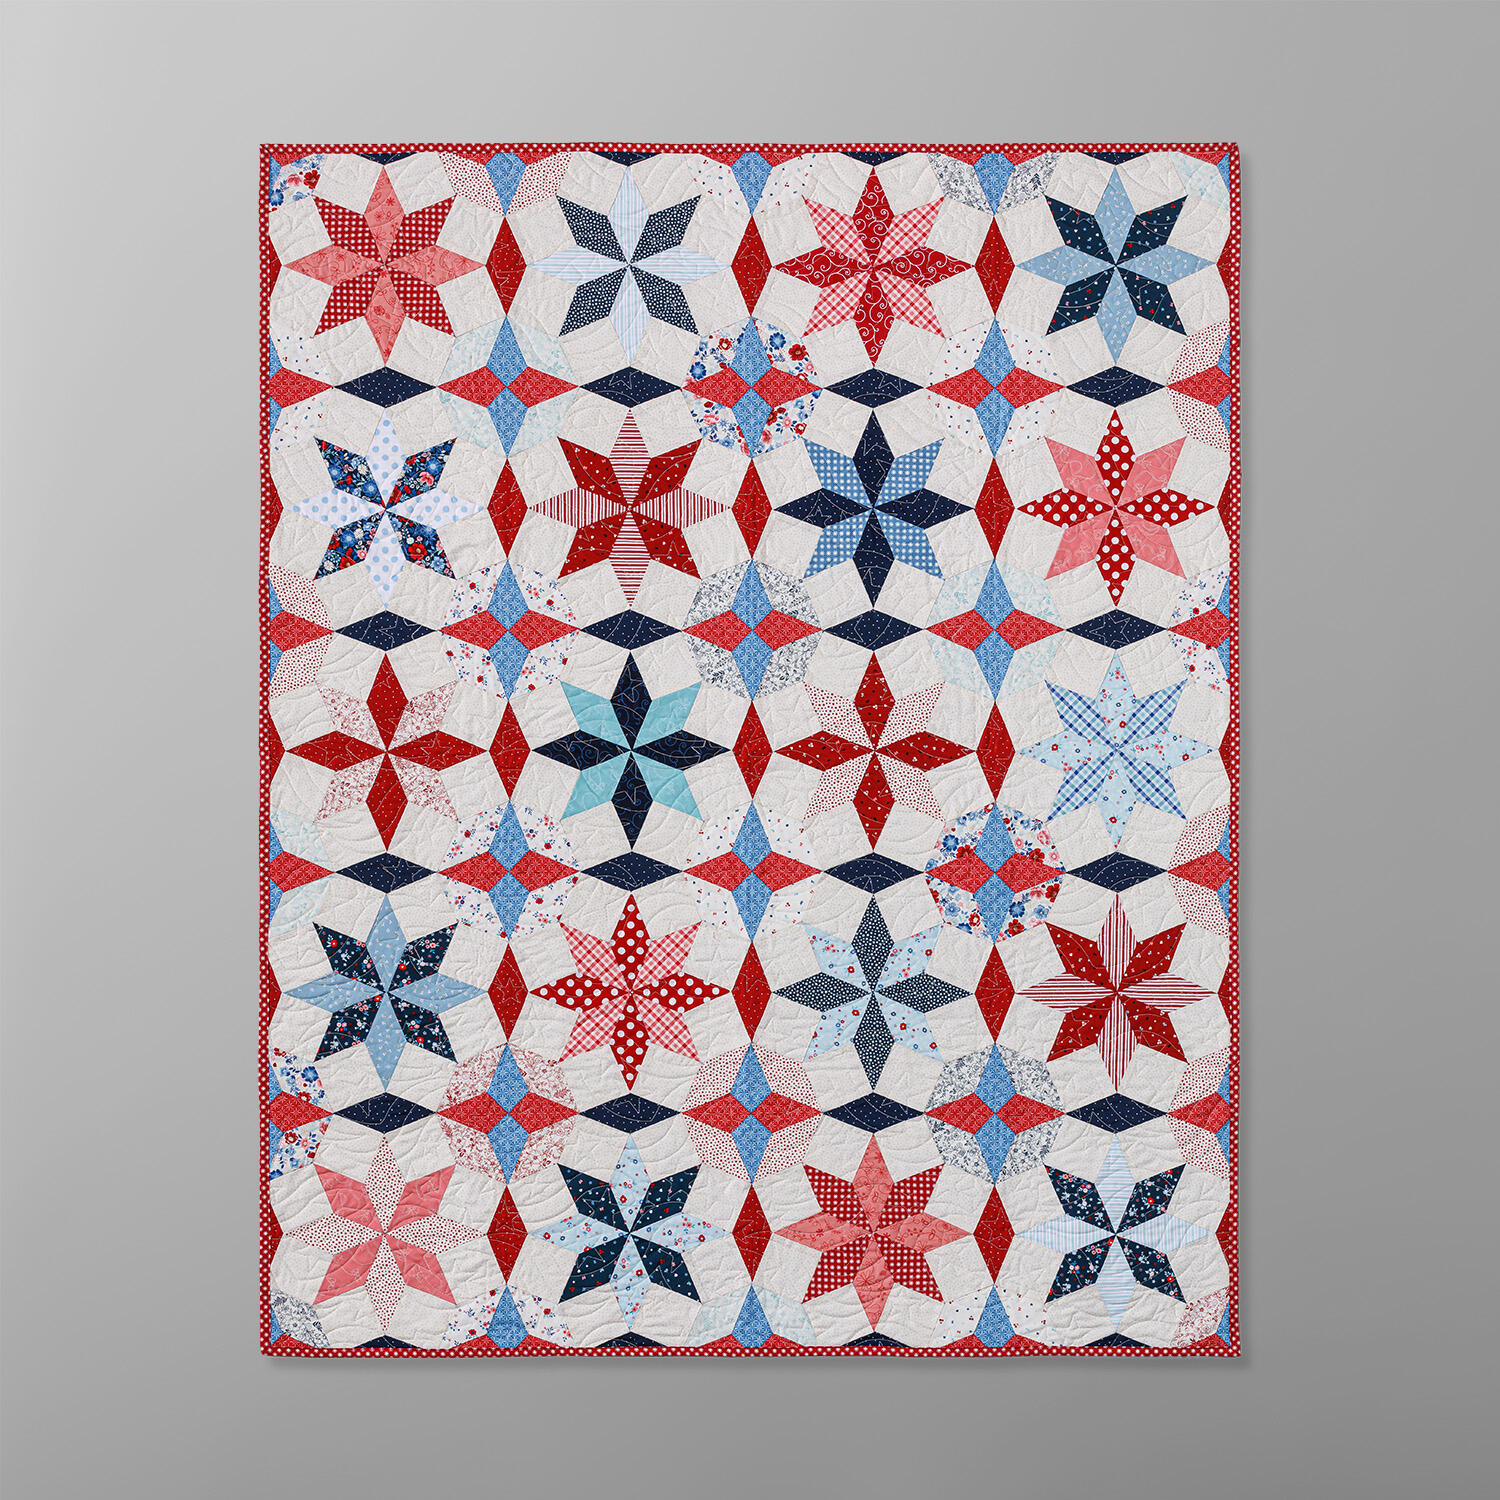 Missouri Star - Stars of Liberty EPP Kit$199.95Shop →


