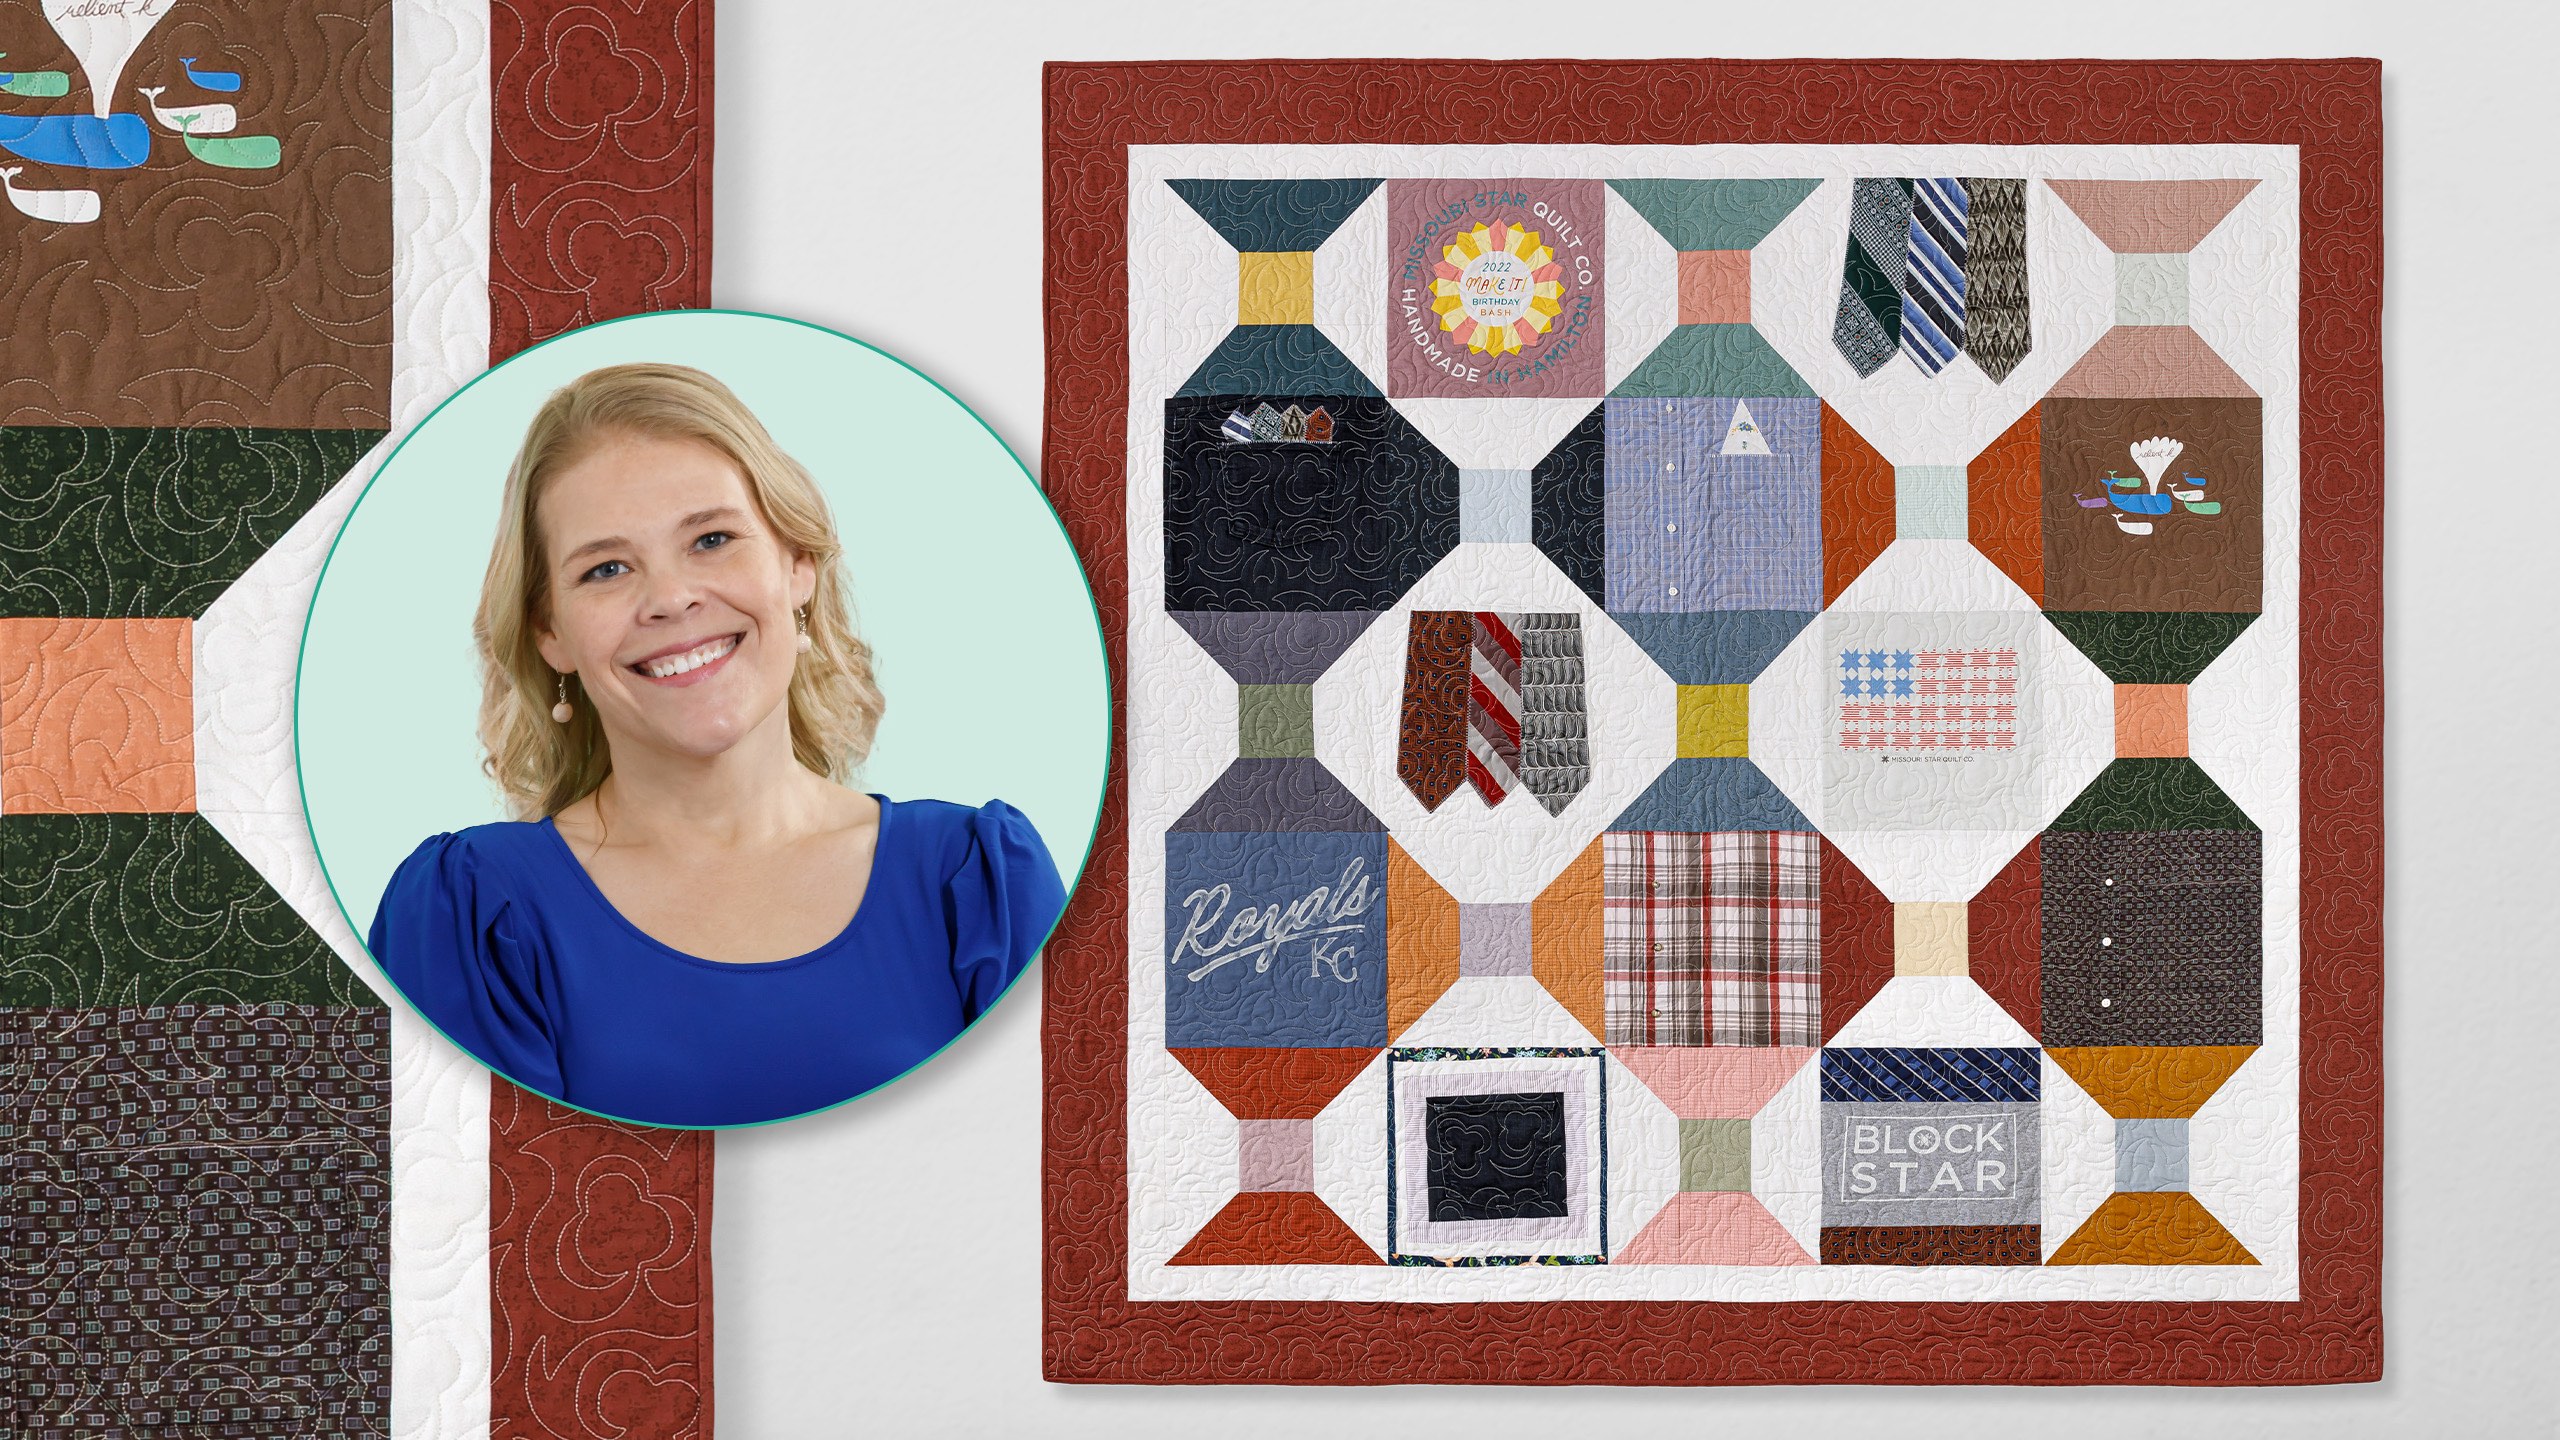
Wrap up in the warmth of your most sentimental items; we’re making a quilt to honor them all!
Stitched with Love is a memory quilt that can be made with neckties, T-shirts, button-ups, and jeans. Each block tells the story of people and places we love.
Made with Windham’s timeless Nature Study layer cake, this quilt is sure to be cherished for years to come!
Natalie is the host of Quilting 101, Embroidery 101 and the Creative Strategist and Editor of Block Magazine at Missouri Star Quilt Company. She was taught how to sew by her mom, of course, and began quilting when she grew up.
What is covered in Stitched with Love - Memory Quilt?
Wrap up in the warmth of your most sentimental items; we’re making a quilt to honor them all! Stitched with Love is a memory quilt that can be made with neckties, T-shirts, button-ups, and jeans. Each block tells the story of people and places we love. Made with Windham’s time...
How long is the tutorial video?
The tutorial video is 00:21:21.
Are supplies listed for this tutorial?
Yes. The tutorial page includes the supplies and materials connected to this project.
Video Transcript
Hi everybody. I'm Natalie with Missouri Star Quilt Company and today I have a fun project for you. It's a memory quilt that is combined with traditional quilt blocks. So I'm calling it stitch with love and I think you're really going to enjoy it. So to make this quilt, you're going to need four packages of 5in squares. And I've used Nature Study 2.0 by Whistler Studios for Windom Fabrics. You'll need some background fabric. And I've used this lovely print from the line. You'll need about a yard and two/3 and that includes your inner border. For your outer border, it's um a yard and a quarter, and that's a nice 5- in border. And then for your backing, you'll need 4 and 1/2 yards um with a vertical seam, and that's for a regular 45inch wide fabric. If you're using a 108, you'll only need 2 and 1/4 yards. You'll need a couple of other optional items. A squaring tool. And I've used the trimmer A from the Clearly Perfect slotted trimmers set. And you might want a t-shirt quilt template if you're going to use um clothing or you know make some other blocks for this quilt. So I'm ready if you are. All right. So this is a really fun quilt. I enjoyed using all of the fun different types of of clothing to put it together, but the block here is very simple. So, it looks a little bit like a spool or an hourglass, and I think you're going to be surprised how easy it is. So, we're going to select four colors that coordinate or that match identically. So, one from each of our stacks of charms. Oh, where is that one? Here he is. Some of these are in a little bit different order. And that is okay. And this one. So, I've got four of these pulled out. And then I think I'm going to use one of these light blues. Maybe maybe that. Yeah, this one. Very cute. So, you want to pick one print that is contrasting to your outer prints. I kind of went on this one with more of a lighter color in the middle and then darker colors on the outside. But really, it just needs to contrast with whatever fabrics you're using. Okay. So, from our background, if you are um if you are mounting something like ties on a background square, you'll need to cut a couple of 12 in 12 and 1/2 in background squares. But to make the block, we only need a 4 and 1/2 in strip and a 5 in strip. So, I'm going to go ahead and cut those. I'll need to straighten up this edge because it's it's not wonky, but it's not perfectly straight. And I like to have a good clean edge to cut from. All right. So, I'm going to go ahead and trim up this edge. I will start with my 5 in strip. And then I'm going to cut a 4 and 1/2 inch strip as well. And then from each of these strips, we're going to subcut squares. So I will need some 5 in squares and some 4 and 1/2 in squares. I do love using this ruler for cutting five in squares because it's just the right size. We'll do a couple more here. And then same thing here. We need several 4 and 1/2 in squares. I'm going to go ahead and cut that like this. And then I'm going to turn it back around. so that I get a nice clean cut to remove the salvage right here off this edge. And we'll cut a few more 4 and 1/2 inch squares. Okay, I'm going to set these aside. Now from our set of um squares that we pulled from our print chart or 5 in squares, we are going to stack up three of them and cut them down to 4 and 1/2 in. Now you can do these individually if you're not comfortable with stacking, but I like the efficiency of it and I'd rather just cut all three at the same time. So, I am focused on lining up this corner really nicely just so that it is all lined up nice and straight. And then I'm going to come here and line this up like so. So, I'll get my 4 and 1/2 in square and I'm just going to trim off these two corners or these two sides. All right. So, those are ready. And now comes the fun part. So, we are going to grab two of these um background squares. I'm going to flip them over and I'm going to draw a line diagonally on each one. All righty. Now I'm going to stitch on both sides of these lines, pairing them right sides together with my other two 5 in squares from the print. So I'm going to stitch down one side and then back up the other and then we'll cut them apart for two half square triangles from each set. Okay, so these are all ready to go. What I'm going to do first is cut these apart. And sometimes I like to just line them up and cut them both at the same time, right down the middle. Okay. So, with my Clearly Perfect slotted trimmer, I'm going to line up the seam line here that I've sewn on the dashed line on the Clearly Perfect slotted trimmer. And we are going for 4 and 1/2 in. There's not a ton of stuff to trim off, so it's fairly easy. And then I'll show you how to use your regular ruler to trim up the other two. Because they're standard half square triangles, there are lots of different ways to square and lots of different rulers in all of our various sewing rooms. So, I just want to make sure you have the uh the tools and information you need based on the supplies you have at home. All righty. So, these two are set and ready to go. And then these ones, I'm going to go ahead and press them open first. And I like to start with my darker print facing up and then set the seam and fold that or lift it back so that it gets pressed open. Okay. And then each one of these, we're going to use this ruler. It has a 45° angle line down here in the bottom corner. So that line goes on our seam line. And then we are going for a 4 and 1/2 in block. So I'm going to center it on my fabric so that I have a little bit of extra fabric all the way around the 4 and 1/2 in space on my tool. Keeping that 45 degree angle line on my seam line keeps those seams going right into the points so you don't lose those points when you're sewing your squares together. So, I'm going to cut these two sides first. Then, we'll flip this around, line it up with our 4 and 1/2 in mark, keeping the 45 on the seam line, and trim off these other two sides. And we've got a nice square 4 and 1/2 in half square triangle. We'll repeat that process with this one. And then it's time to assemble the block. It's so fast. All right, we're going to flip that around, set it into our 4 and 1/2 inch square, and trim off these two sides. Okay, so I've got those ready. I'm going to press these that were clearly perfect slotted trimmer squared. All righty. So then this block goes together very easily. So, we have our 4 and 1/2 in square in the middle. And then we've got our these two squares, top and bottom. These go like this because we're making a little bit of an hourglass or spool shape. And we've got these ones here. And then we have our uh four and a half inch background squares to fill out the rest of the block. So I'm going to go ahead and chain piece this together and it will be all done. All righty. Now, I'm going to turn this around. So, I'm adding this piece to the bottom of the chain piece set. And we're going to go ahead and continue stitching a quarter of an inch seam. And it's not so important that they're all perfect as much as that they're all consistent. So, as long as your seams are similar, your block will turn out beautifully. All right. So, you'll see that these are now all connected by their threads. Little tiny threads from the chain piecing. So, I'm going to fold this in and stitch this seam. And I'm going to then fold this one in and stitch that seam. And what I'm going to do is press the middle or have the middle seams go out so that the top and bottom seams can go in for easy nesting. There we go. I've got to make sure I do that. Nest those seams to keep my points. And then we'll do our final seam over here. And this block will be ready for the quilt. Okay, it's time to press. So, I'm going to set this seam and press it back. And then I will do the same over here on this one. And then we will press him back as well. All right. So, just like that, our block is done. So, let me show you where this block goes in the quilt. So, these are the main blocks, and they go in sets of three and two. And then when you do your next row, you turn it sideways. And that creates this kind of cool little um shape here around the shirt or the pants or whatever it is that you're putting in this middle block. So these end up being 12 1/2 in, which is perfect for using our t-shirt uh template that's also 12 1/2 in. So if you're doing t-shirts, you're going to want to use a little bit of stabilizer if that's your preference. Um, if not, I'm I'm, you know, it's up to you. But I like to use a lightweight or midweight t-shirt stabilizer. And then for some of the other ones, I've got some clothing and we can just chat about that real quick because there are some tips and tricks that you might want. Um, so with ties, some of the tie blocks, I went ahead and put three ties together. And what I do there is I I put flip the tie over and then I just kind of cut around this bulk and leave a little bit. I will take some heat and bond or so um adhesive like the MSQC soite adhesive and just put some scrap pieces down to try and um adhere it to the background and then I will join them together. So, there's a cool stitch that I like to use that essentially does a seam down the middle and then alternates side to side. So, it looks like a blanket stitch, but it's one stitch that goes down the middle and secures both sides together and to the background square. And then all the way around, I just finish up with a regular blanket stitch. And this block is ready to go. Now, I've also got some button-down shirts. And those ones I would highly recommend that you go ahead and stitch the shirt closed. So, keeping it buttoned, I um I actually start by cutting out the area that I want to use. So, on this quilt, I just wanted to focus in on one side that had the pocket cuz I thought it was fun. I put a little hanky in this one. These ones I I you do want to go ahead and stitch your pocket shut unless you're putting something in it. Um, these are jeans pockets, but I thought it was cute to put the little little tiny ends of the ties in them. So, you could do that on one of these shirts as well. Anything that you want to put in the pocket would be cute. So, then I would take my I'd take my template. I'd line it up, figure out what part I want to show, and if you're keeping the the button down section, I would just go ahead and sew that shut. and then clip off your buttons because you want to save those to put back on the quilt when it's finished rather than sending them to your quilter cuz she will probably remove them and hand them back to you in a baggie if you don't take them out yourself. Um, so that's just, you know, helpful tips on that. This this fabric, if it doesn't have stretch in it, it won't need stabilization and you can just join it into your quilt as it is. Another fun thing that I like to do is use some of these fabric pieces to surround other squares. So, this one down here, I've got another jeans pocket here, but I used shirt shirt scraps to make a little 1 and 1/2 in border and then a 1 in border. And then I just squared that. I added several several little borders and squared that to 12 and 1/2 in. So, there's lots of fun ideas there on what to do with your clothing. Um, I do recommend cutting things apart before you try to square them up. So, I would, you know, remove your remove your sleeves and line up the parts that you want to use. I do I do like to do a big rough cut kind of around it. So, if I was going to cut this, I would just take my rotary cutter and go like around leaving a large edge so that then you can have that one single layer. Press it really flat. get it um get it sewn shut, clip off your buttons, whatever it is that you're doing, and then cut it out for real. So that then it's ready. It's prepped and ready for the quilt. And that uh let's see, that's pretty much all I've got. Oh, I have one more thing to show you. So down here, so this is t-shirt t-shirt. And then I' I've got this t-shirt here. So, this one had um a little rectangular logo. And so, I cut this out with the 12 1/2 x 6 1/2 measurement. And then I added the tie middles. So, these parts I had cut out the middle and I just opened them up and stitched them to the edge just like it was regular fabric. If your ties are super stretchy, you might want to stabilize them. But, I did not find them, they didn't give me any trouble. So, I went ahead and added a top and a bottom tie. And then again, square it to 12 and 1/2 and you're good to go. And you've got just a few more of those little memories stitched into your quilt. So that is that is just about all I can tell you on that on that. Um yeah, I mean it's really really fun. I love doing t-shirt or memory quilts, whatever you want to call them. I I would gladly put any fabric into a quilt as long as it was not so bulky that I couldn't stitch through it. And I think it it makes for some really cool memory quilts and fun things that you can look at later with your kids and say, you know, remember when we went to that baseball game or remember when, you know, you won the Little League World Series or it rained out that day and we did it anyways or whatever it is. There's just so many fun things that you can be reminded of when you have these kinds of quilts. So that's that's all I got. This quilt ended up being 73x73. It's got a nice 2 and 1/2 inch and 5 inch outer border. Two and a half inner, 5 inch outer. And the backing, oh my goodness, I love this fabric. This is such beautiful fabric that comes with the Nature Studies line. And I just thought it turned out great. It's perfect. I love it. We quilted it in cotton seed, which is um a fab a pattern that we've had for a really long time. It's kind of one of our tried andrue and always looks good on everything. So, I hope this gives you some new inspiration and some creative ideas for things to do with your memory quilt projects. And I hope that you enjoyed this tutorial on the Stitched with Love quilt from the Missouri Star Quilt Company. Bye. Hi everybody. I hope you enjoyed today's video. We're trying super hard to get to a million subscribers. So, if you enjoyed it and you want to see more, just hit subscribe and share with your friends and encourage them to do the same. And I will see you next Friday with a brand new tutorial.

 Natalie Doan
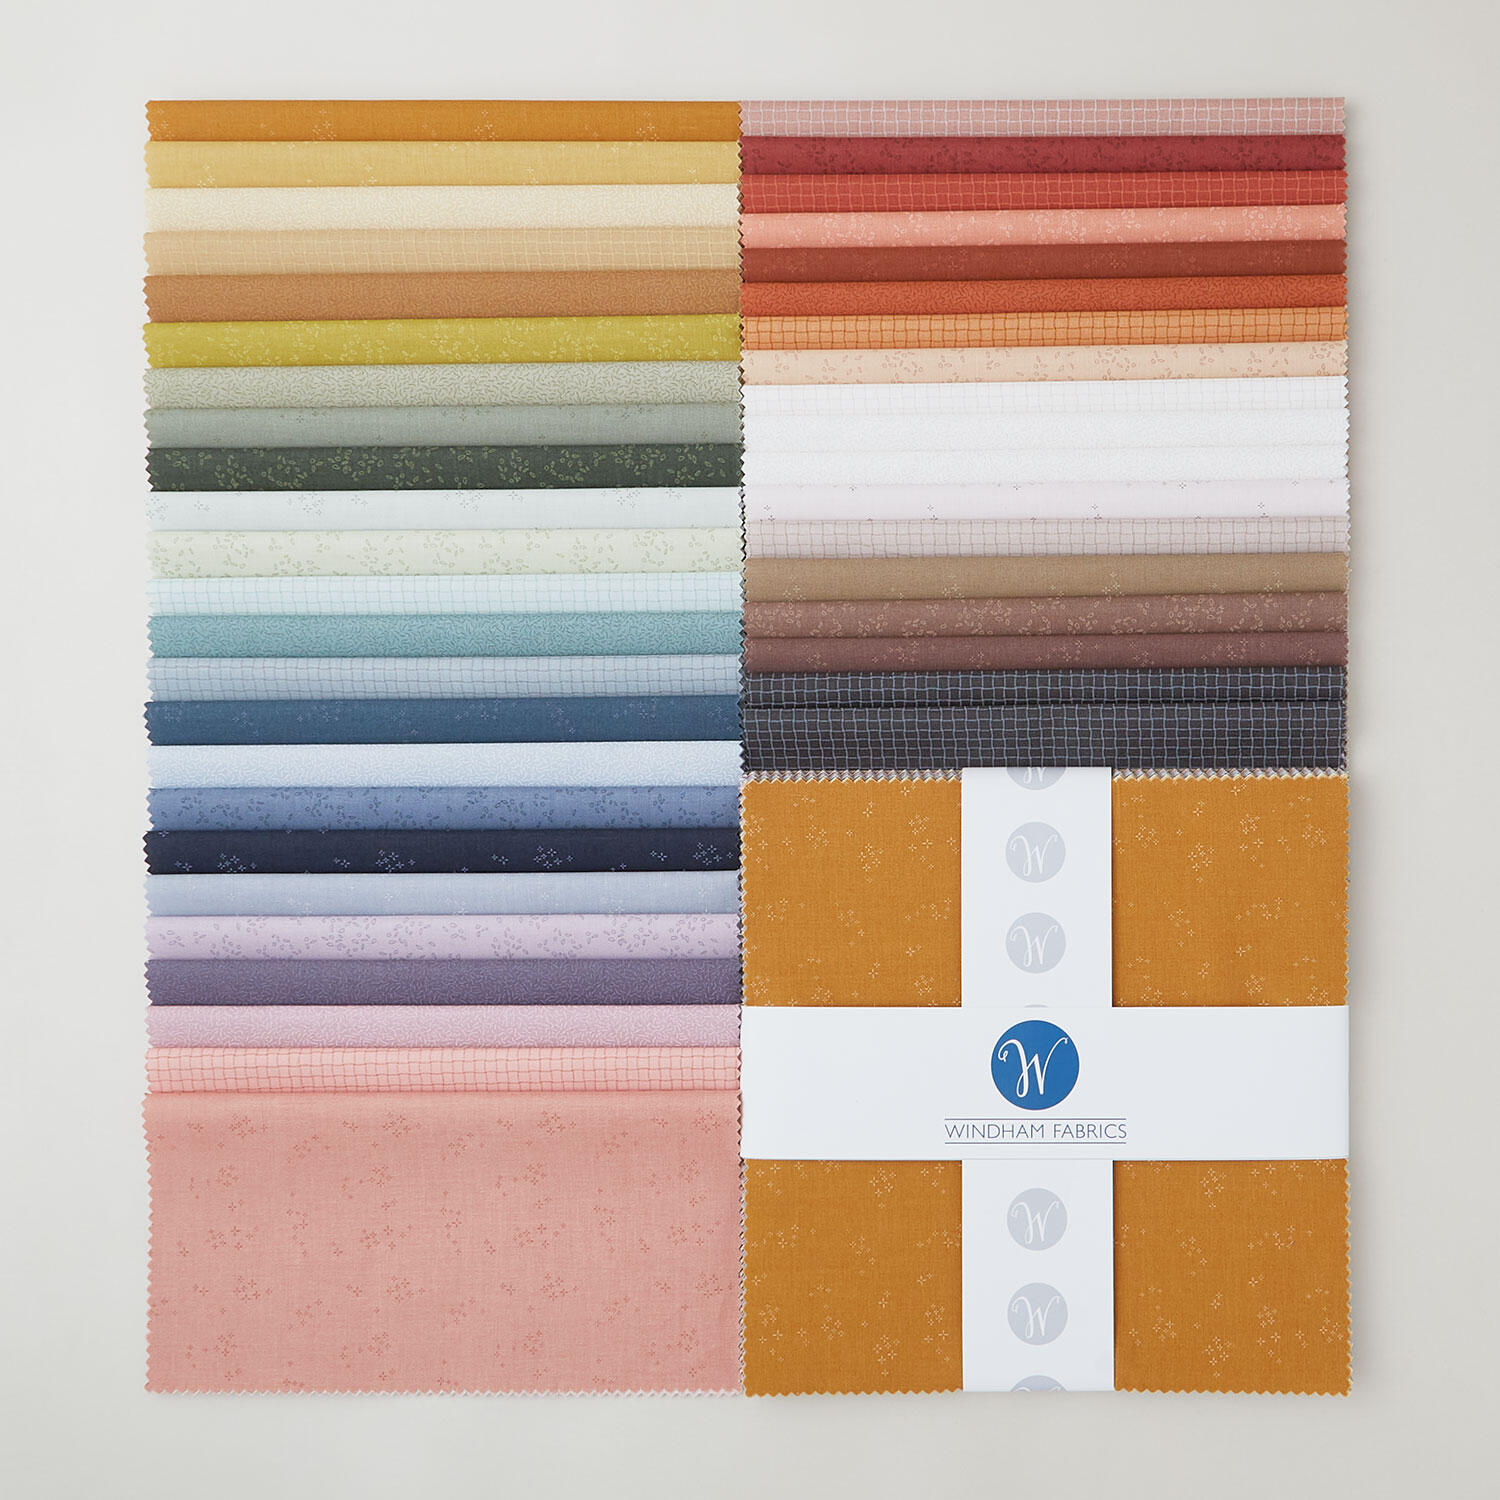 Nature Study 2.0 10" Squares$39.95Shop →
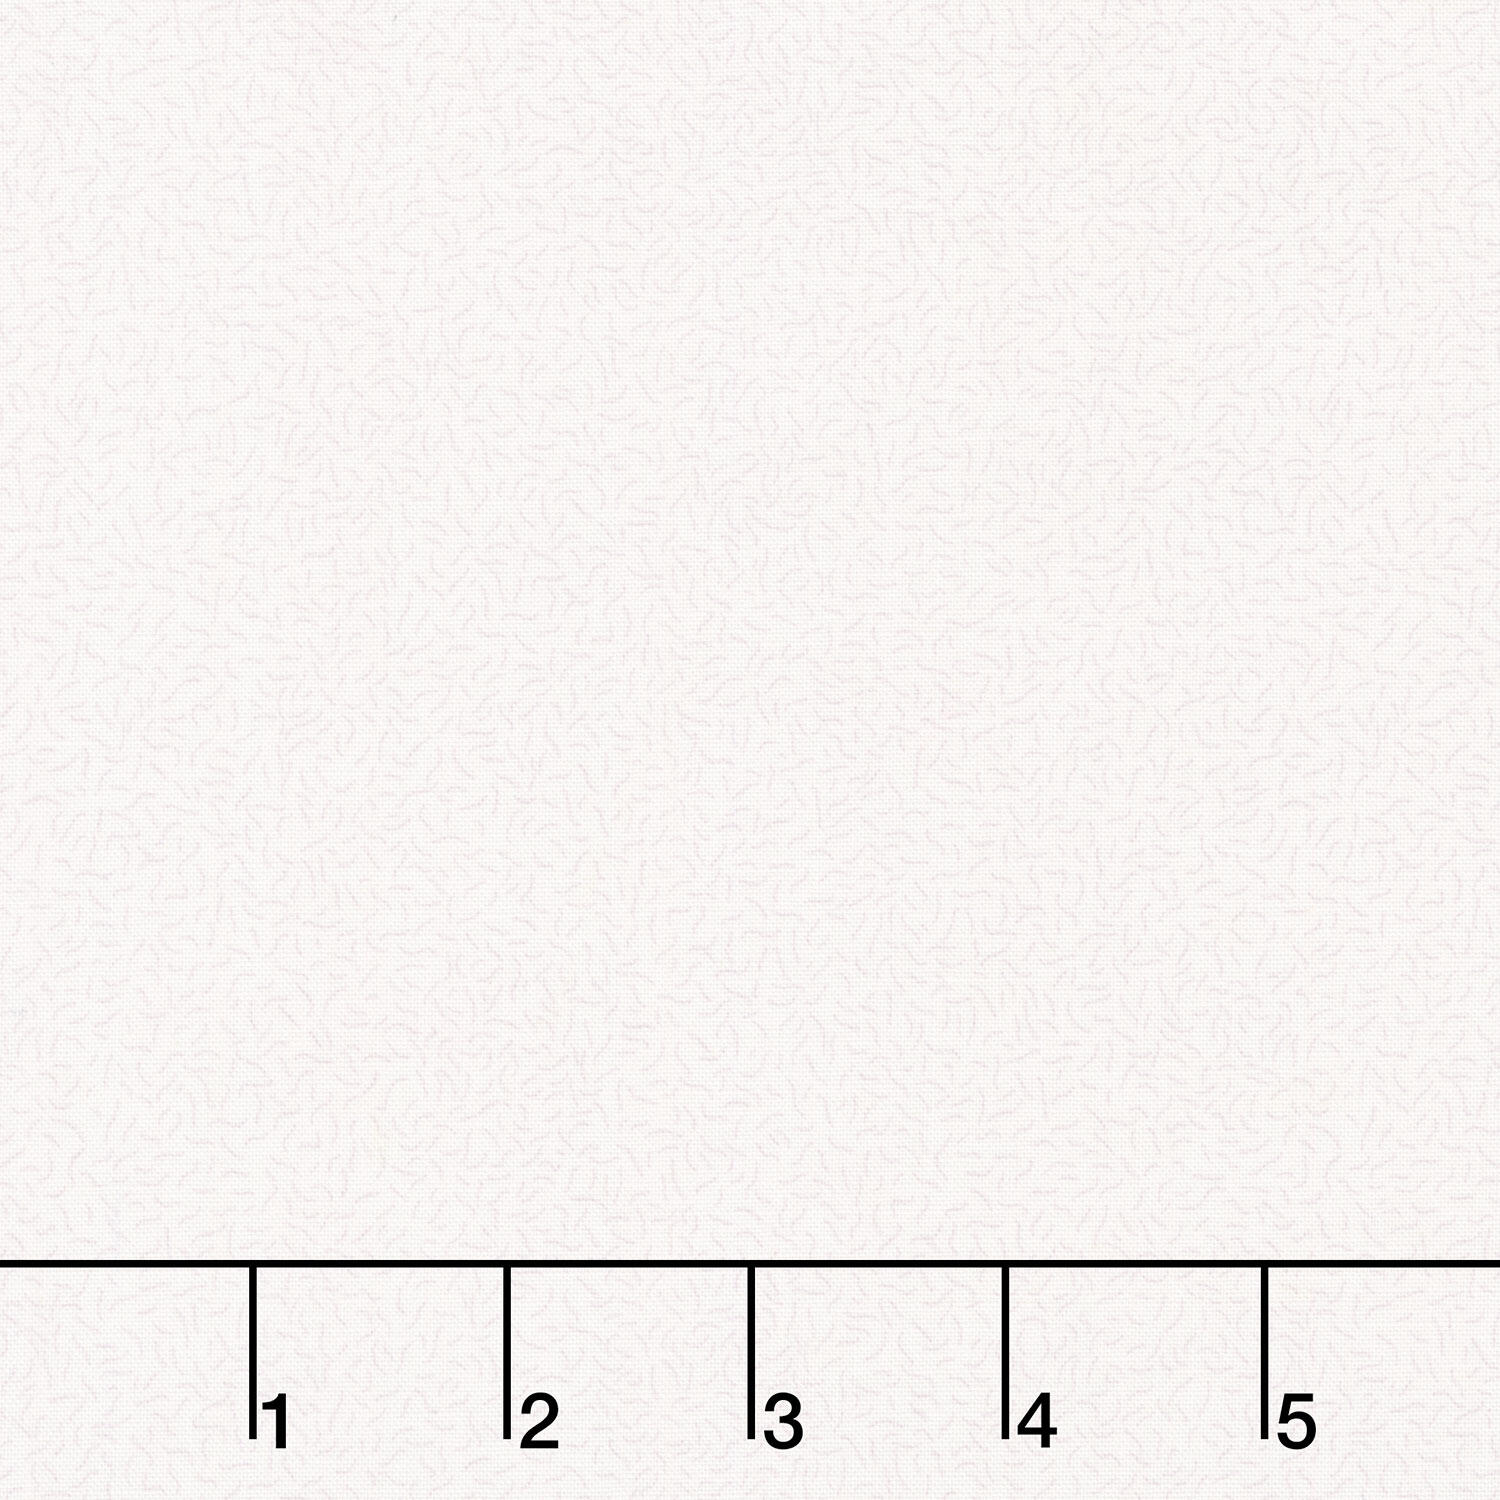 Nature Study 2.0 - Pile Unbleached Yardage$11.24Shop →
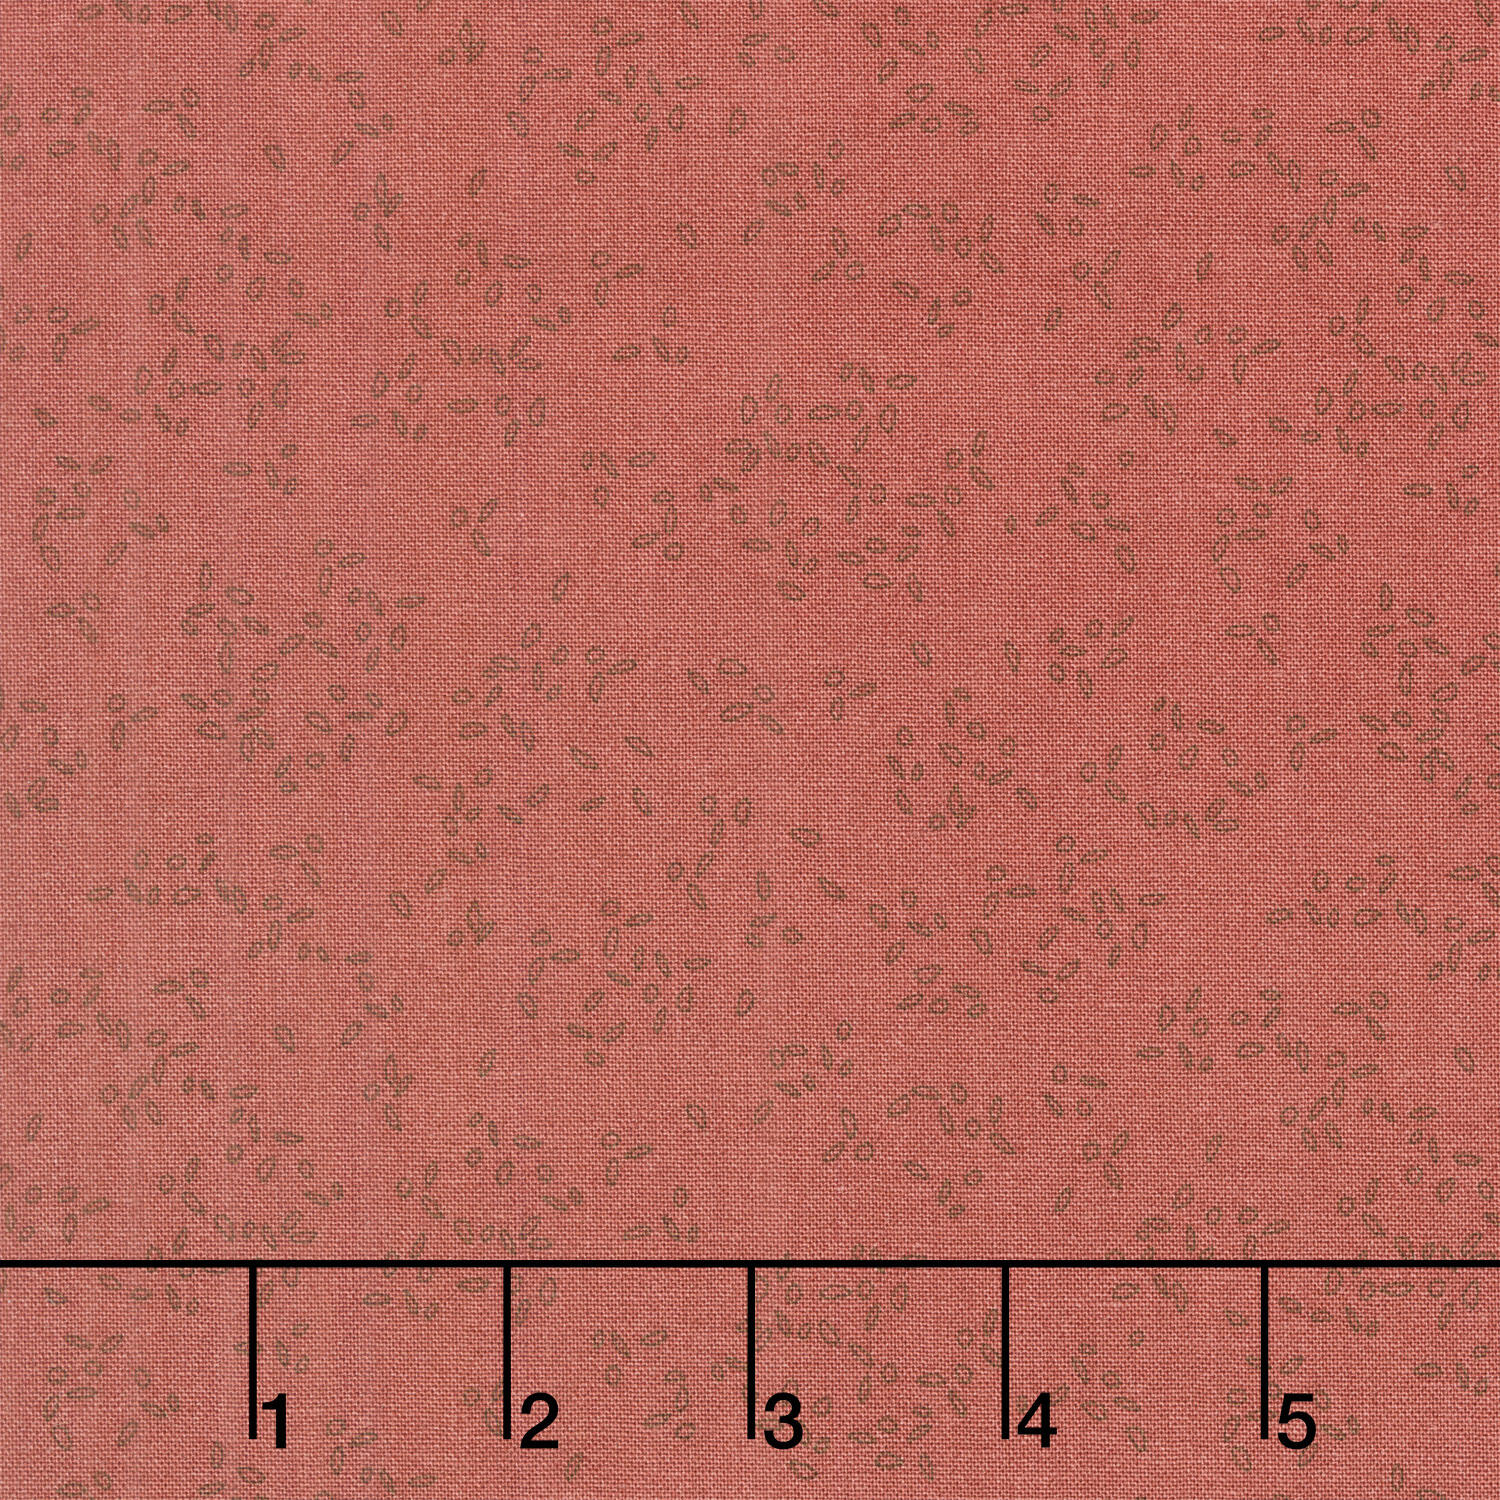 Nature Study 2.0 - Petal Madder Yardage$11.24Shop →
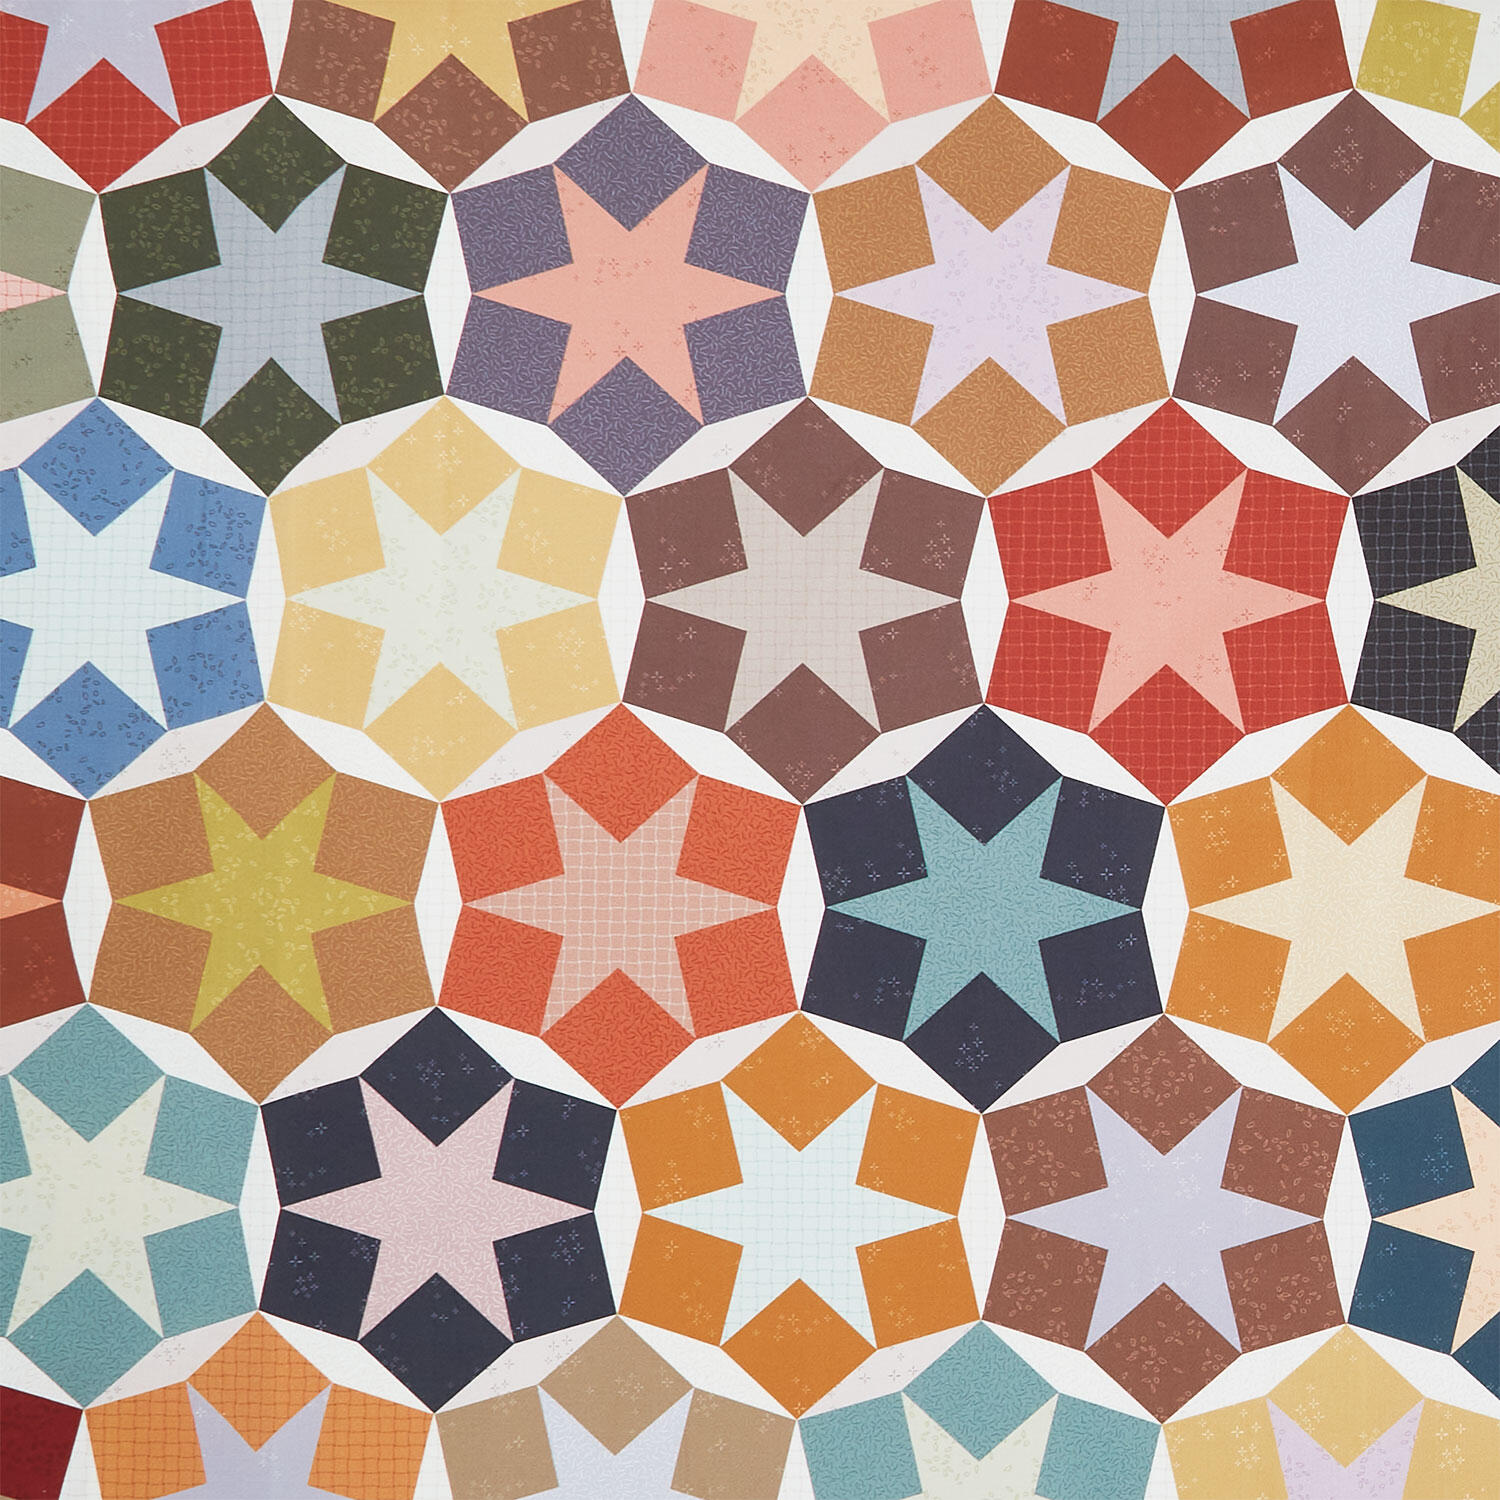 Nature Study 2.0 - Stellar Whole Cloth Multi Yardage$12.44Shop →
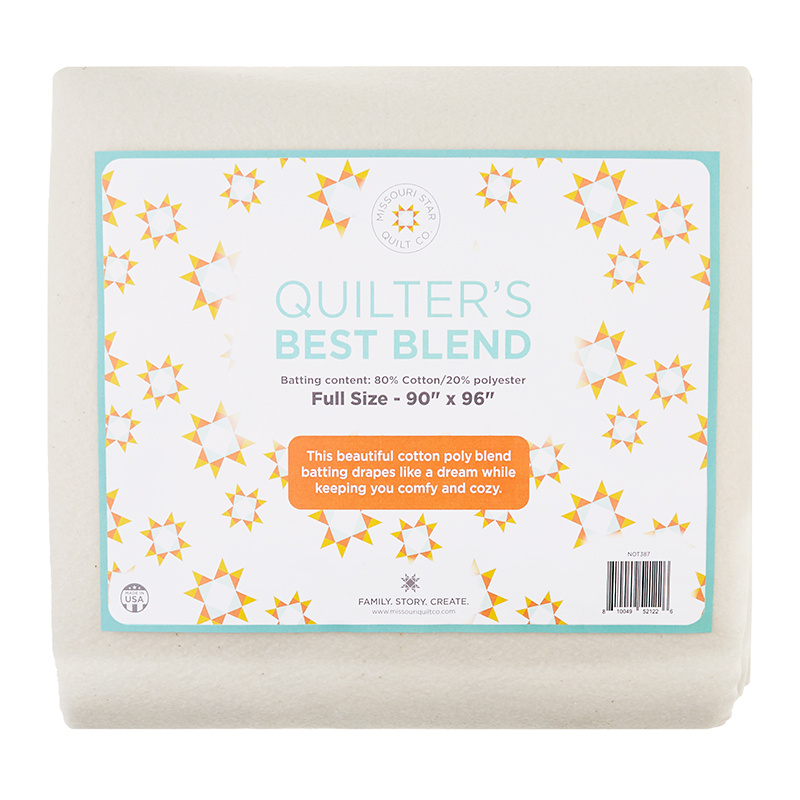 Missouri Star Quilter’s Best Blend Full Batting$32.95Shop →
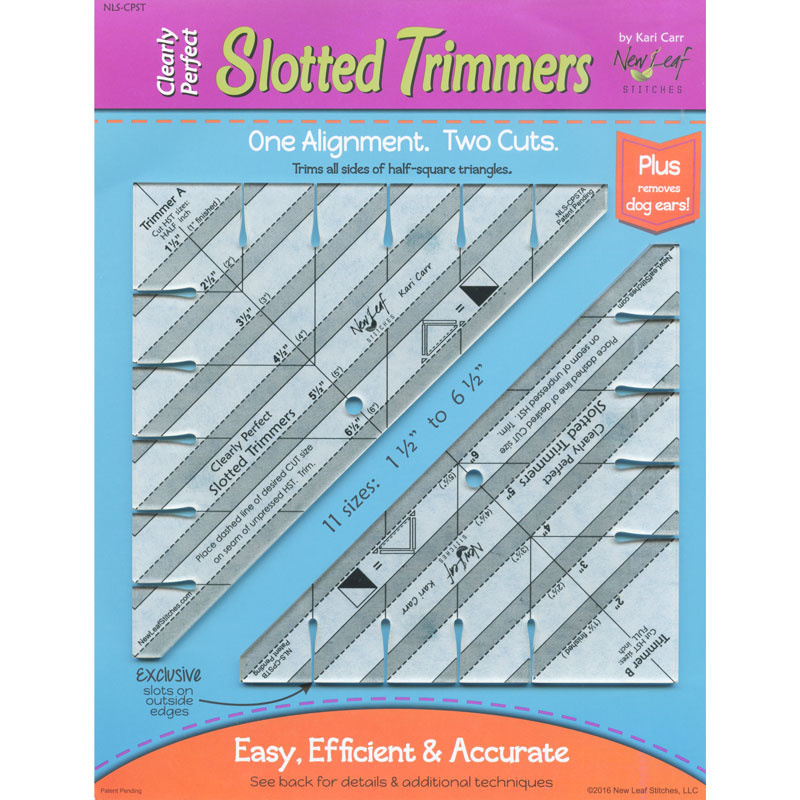 Clearly Perfect Slotted Trimmers$33.95Shop →
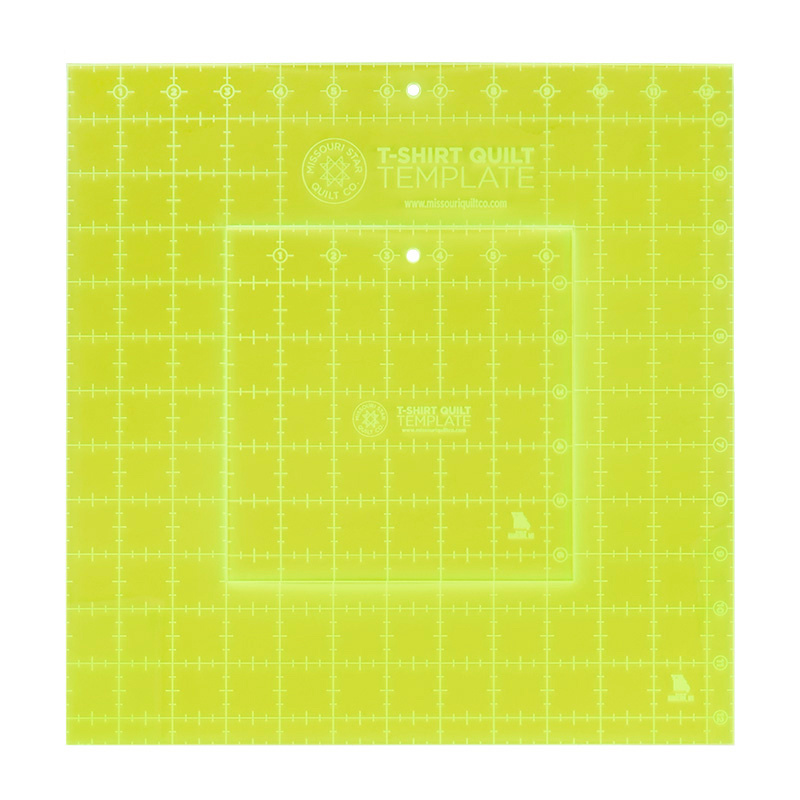 Missouri Star T-Shirt Quilt Template Set$29.95Shop →
 Missouri Star 5" x 15" Ruler$19.95Shop →
 Baby Lock Accomplish - 1500 SPM Straight Stitch Machine$1199.00Shop →
 Missouri Star 45mm Rotary Cutter - Olga$19.95Shop →
 Missouri Star Seam Ripper - Frida$9.95Shop →
 Missouri Star 4.5" Everyday Scissors - Elna$9.95Shop →
 Missouri Star 6" Everyday Scissors - Lulla$12.95Shop →
 Missouri Star 8" Everyday Scissors - Amelia$19.95Shop →
 Missouri Star + Oliso TG1600 ProPlus Iron$209.95Shop →
 Missouri Star Wooly Betty Board - 17.25" x 25.5" Orange Border$99.95Shop →
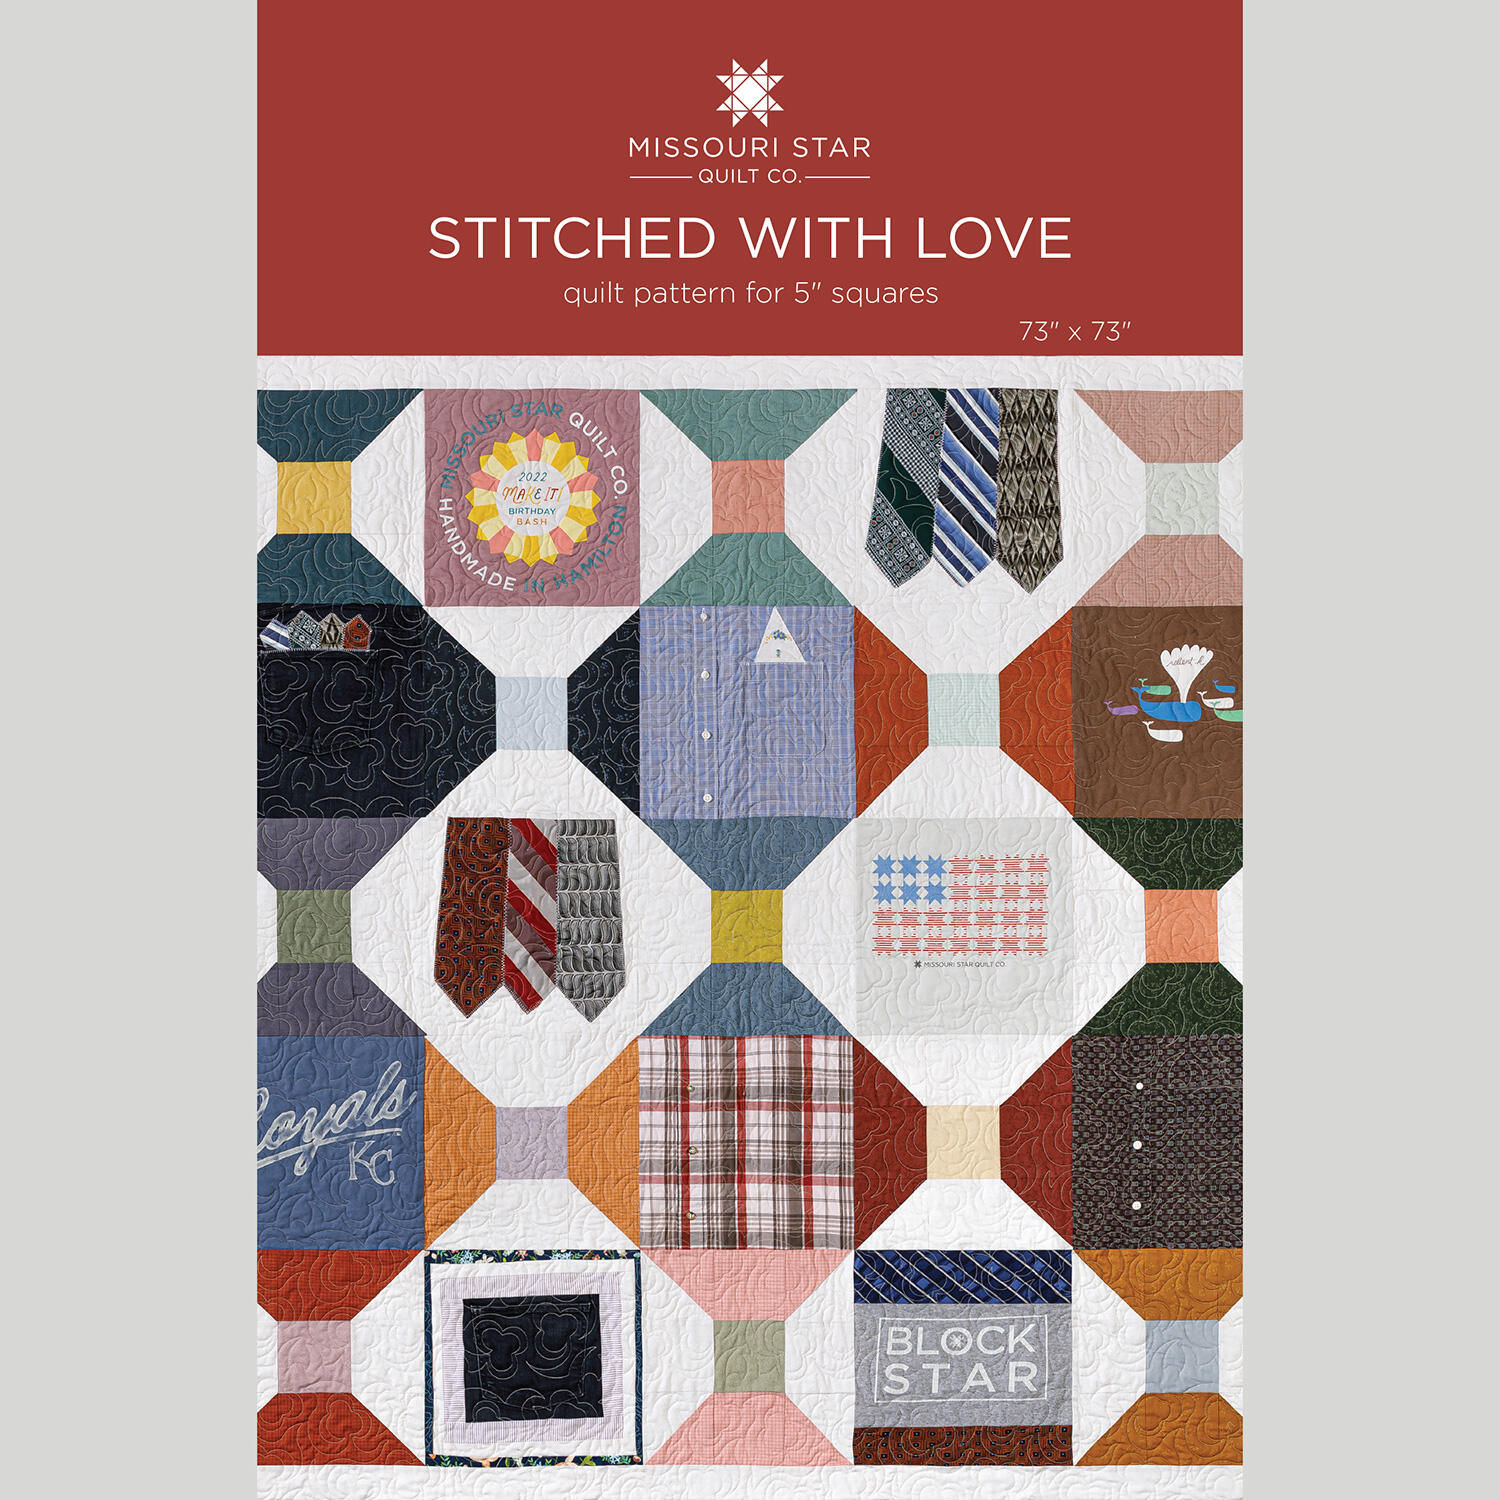 Stitched With Love Quilt Pattern by Missouri Star$8.50Shop →
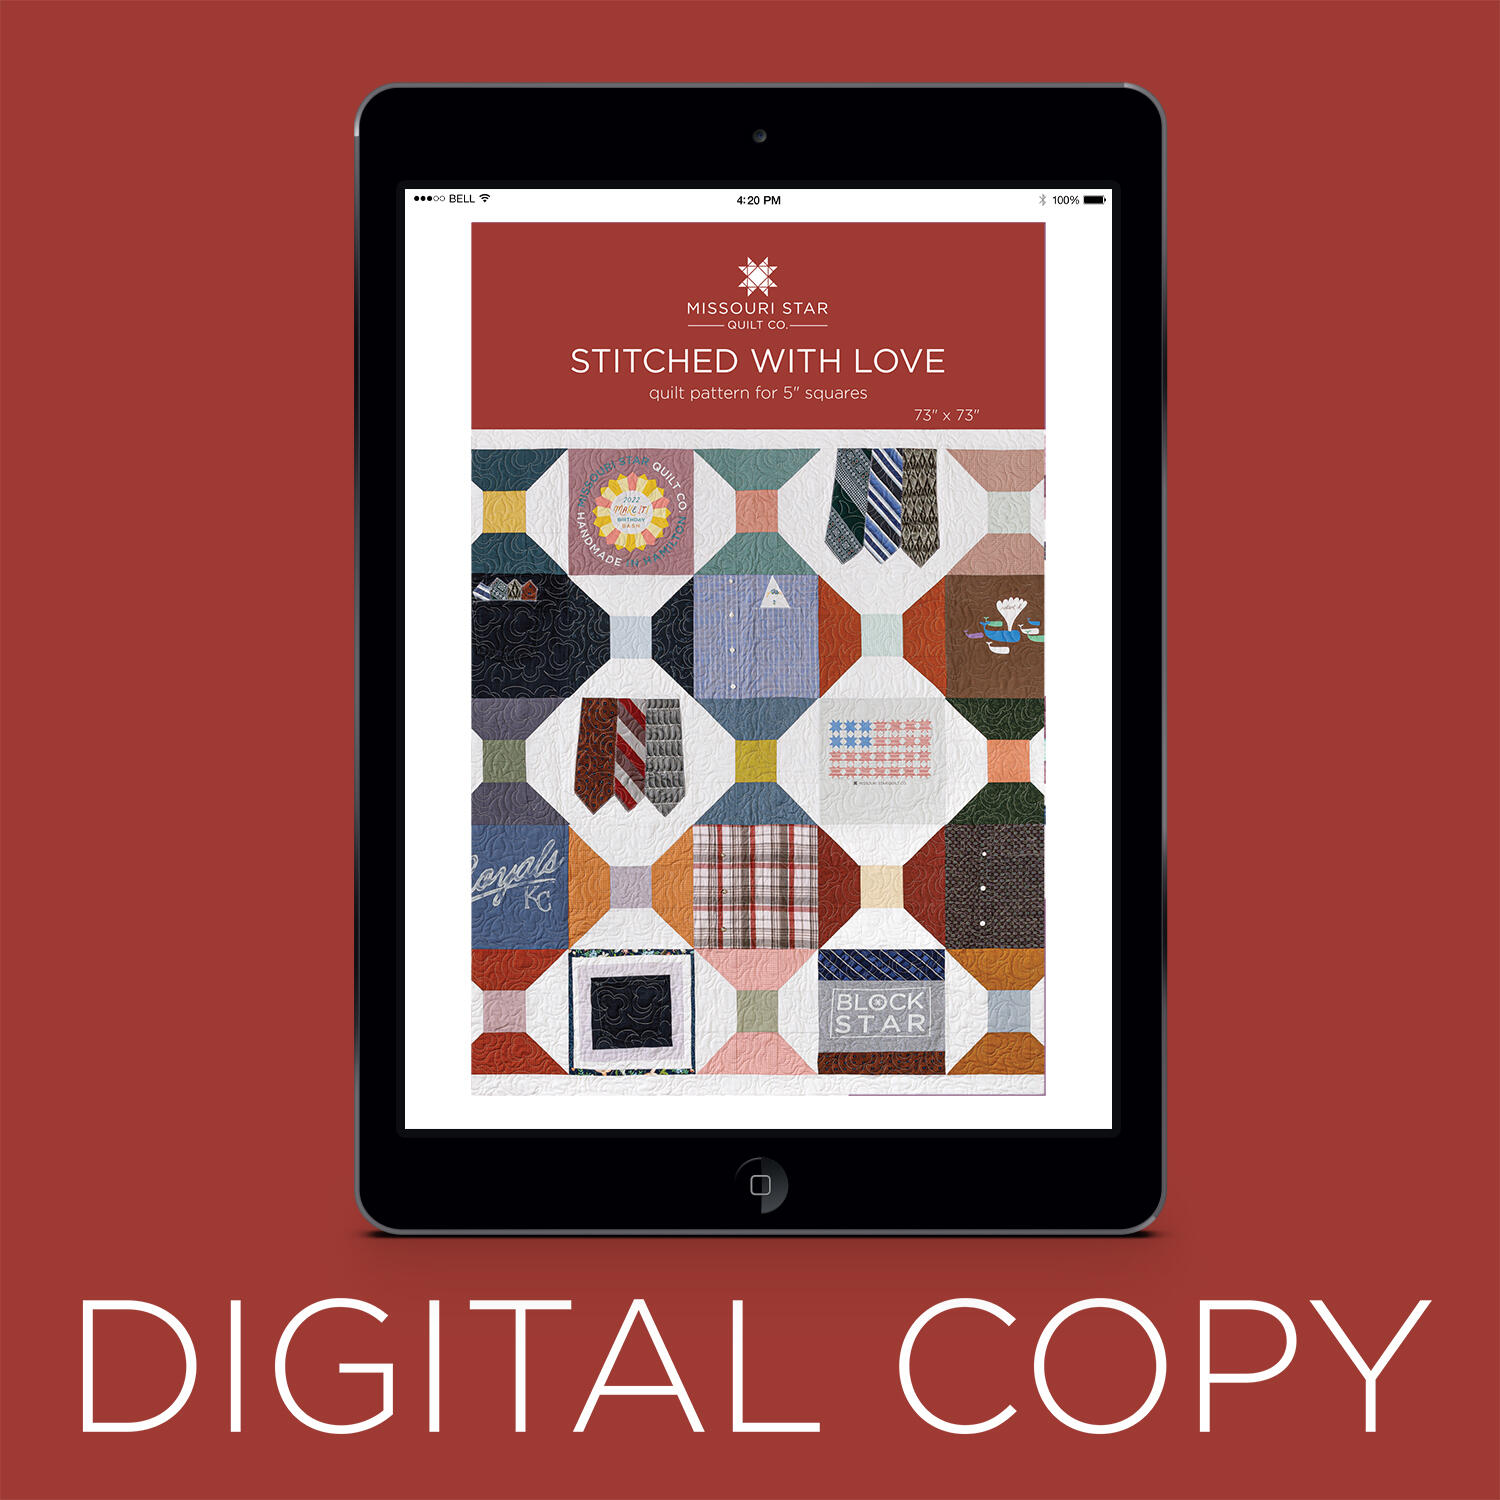 Digital Download - Stitched With Love Quilt Pattern by Missouri Star$6.95Shop →


