
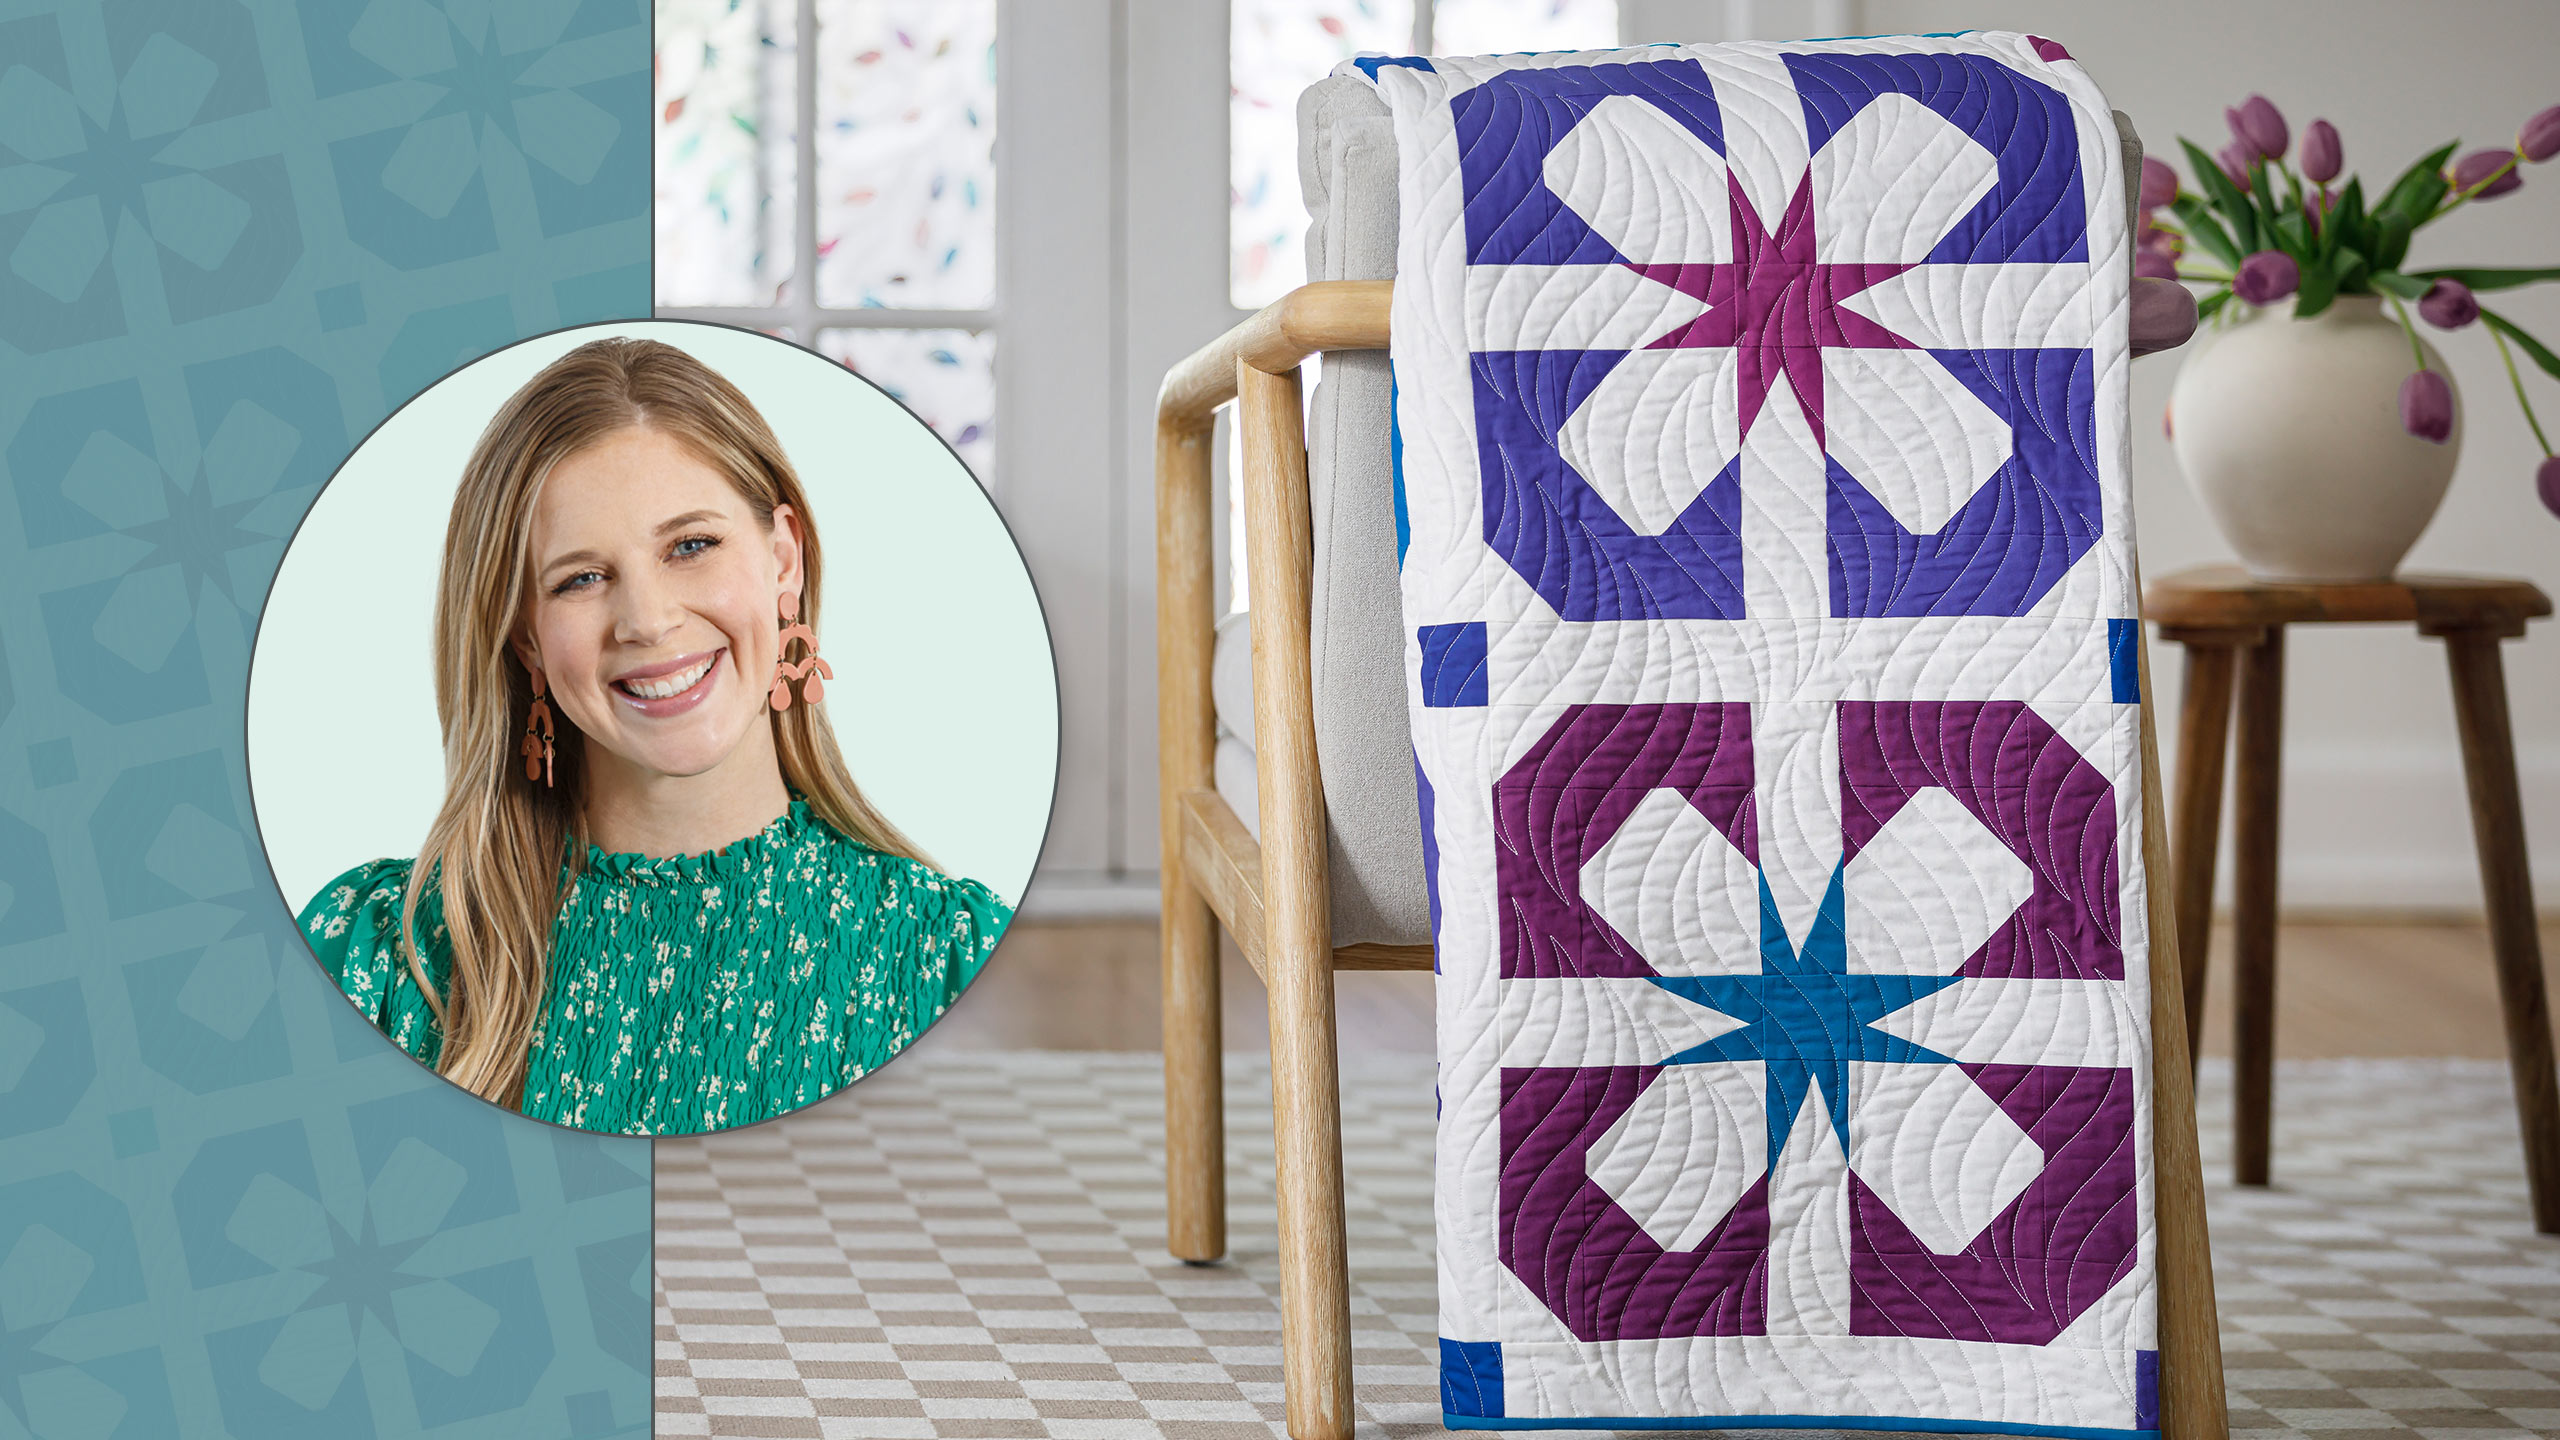
Sweet Violet Quilt
 Misty Doan
- Jelly Roll
- Modern
- Quilts
- Advanced
- Quilt size 70" × 70"
Violets are sweet and simple, just like the quilt Misty demonstrates in this episode of At Home With Misty. Made with Kona Cotton solids, the beautiful shades of purple and blue let the simplicity of these sweet blossoms shine! The large blocks mean you can make it quickly. That’s pretty sweet, too!
Instructor
Misty Doan
Misty Doan grew up surrounded by sewing and quilting. She loves spending time sharing tutorials each week each week, and when she’s not stitching up one of her fun sewing projects for home decor, most likely you’ll find her hanging out with her husband and three awesome kids or working on a house project.
Shop this tutorial
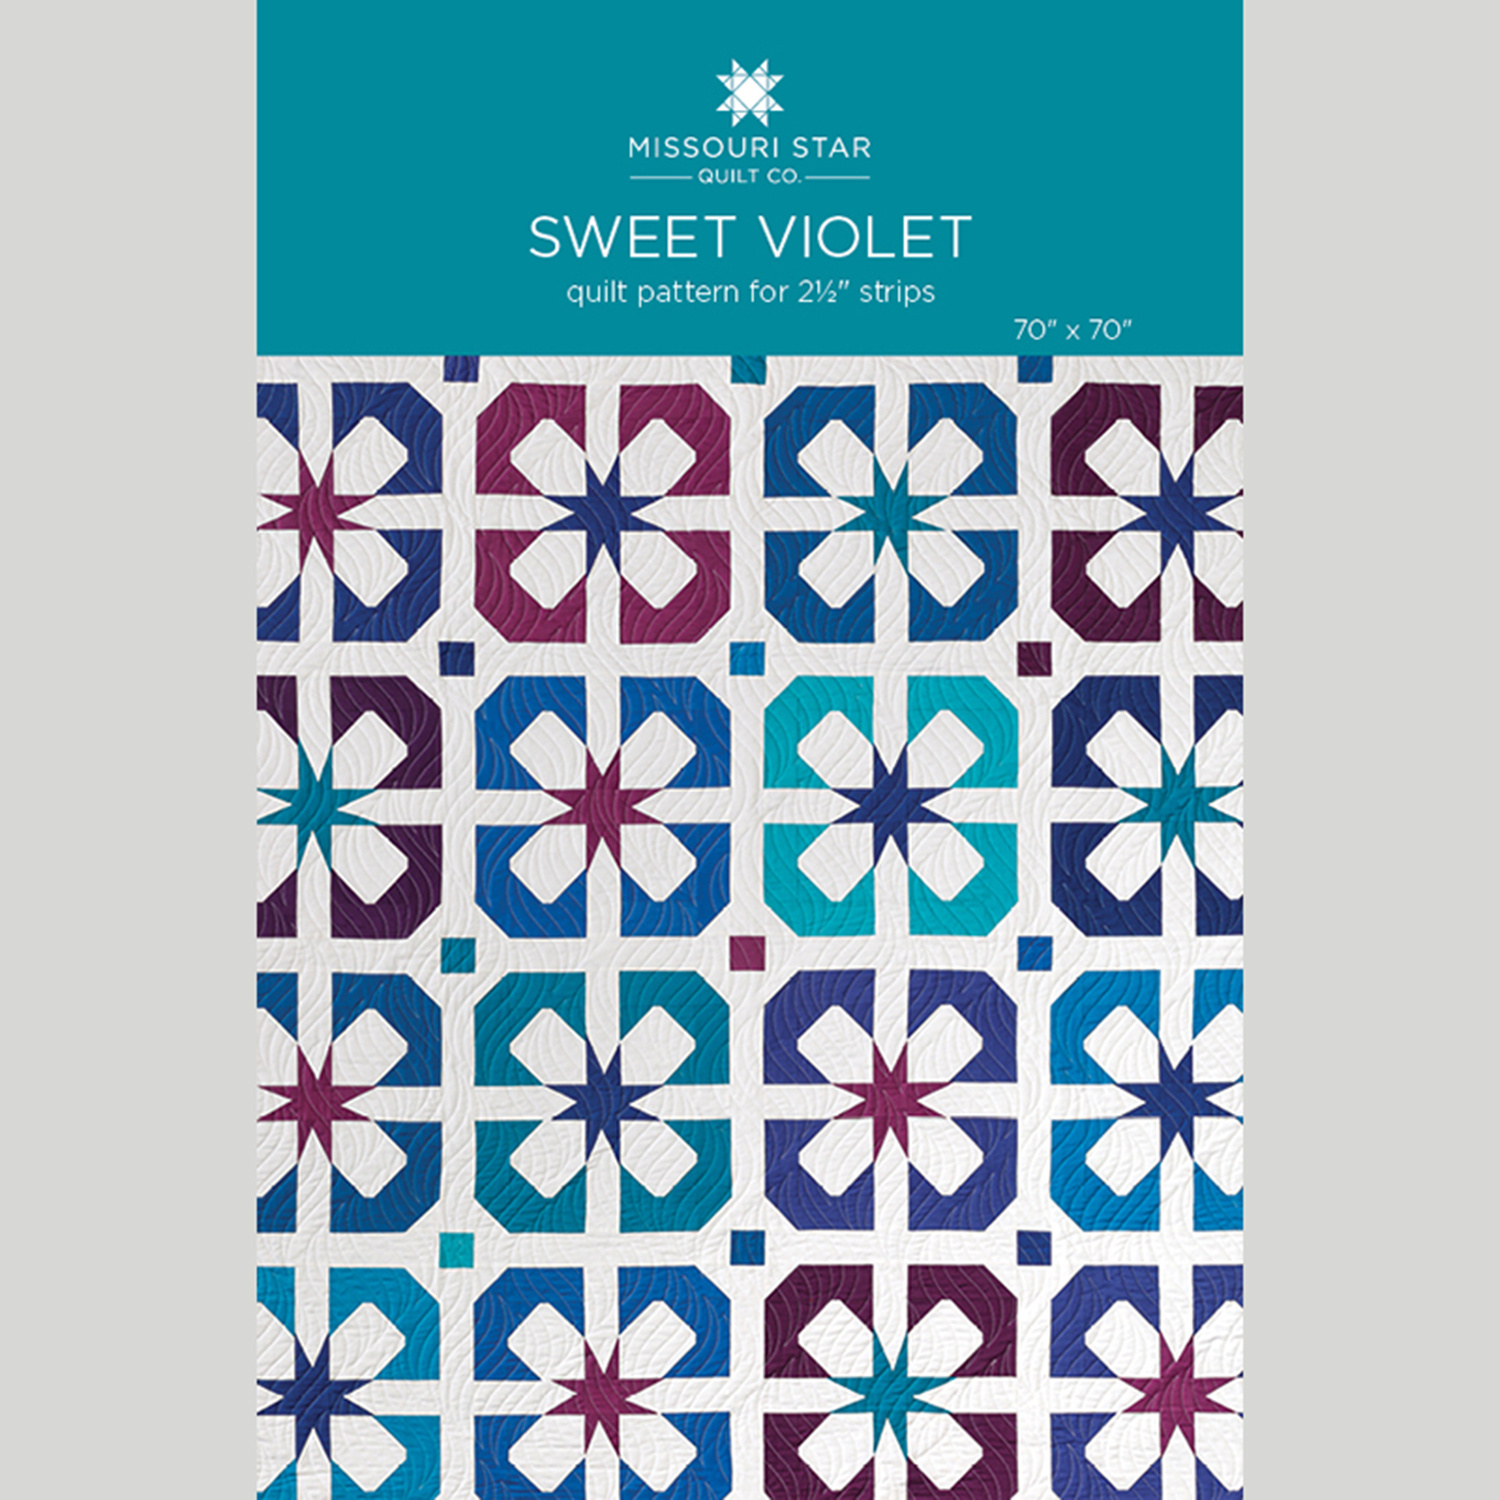 Sweet Violet Quilt Pattern by Missouri Star$8.50Shop →
 Digital Download - Sweet Violet Quilt Pattern by Missouri Star$6.95Shop →
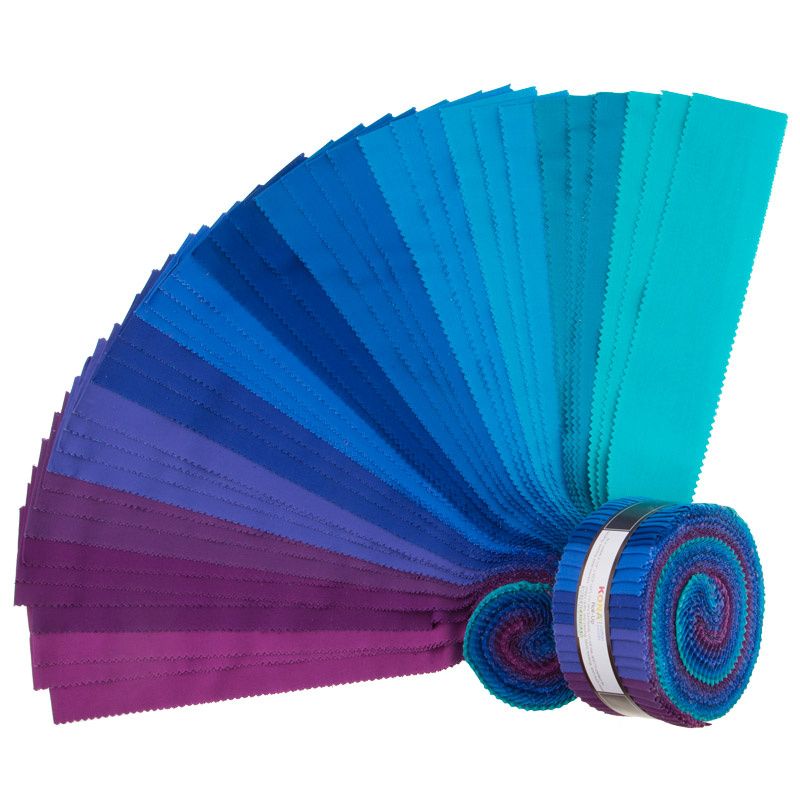 Kona Cotton - Peacock Palette Roll Up$30.95Shop →
 Kona Cotton - White Yardage$7.48Shop →
 Kona Cotton - Cyan Yardage$7.48Shop →
 Kona Cotton - Deep Blue Yardage$7.48Shop →
 Kona Cotton - Geranium Yardage$7.48Shop →
- Kona Cotton - Cyan Yardage$7.48Shop →
 Missouri Star Quilt Backs - Tossed Missouri Star Royal Purple 110" Wide Backing$18.76Shop →
 Missouri Star Quilter’s Best Blend Full Batting$32.95Shop →
 Missouri Star 2.5" X 15" Ruler$14.95Shop →
 Missouri Star 45mm Rotary Cutter$19.95Shop →
 Exclusive Missouri Star Jenny TG1600 ProPlus Oliso Smart Iron$199.99Shop →
 Missouri Star Wooly Betty Board - 17.25" x 25.5" Orange Border$99.95Shop →
 Bernette 77 Sewing and Quilting Machine$1499.00Shop →
Common Questions
What is covered in Sweet Violet Quilt?
Violets are sweet and simple, just like the quilt Misty demonstrates in this episode of At Home With Misty. Made with Kona Cotton solids, the beautiful shades of purple and blue let the simplicity of these sweet blossoms shine! The large blocks mean you can make it quickly. Th...
How long is the tutorial video?
The tutorial video is 00:14:14.
Are supplies listed for this tutorial?
Yes. The tutorial page includes the supplies and materials connected to this project.
Is a transcript available?
Yes. A written transcript is available on the tutorial page.
Video Transcript
accent fabrics. So be sure to grab those and let's get started!
I love this quilt! I think it comes together so nice with these great big kind of blossom looking blocks, and I just added some sashing and cornerstones. It's all really scrappy. Let me show you you how to make it!
So up first you're going to need one roll of 2 ½ inch strips and I use this Peacock Palette from Kona. I also pulled three of the colors from this palette to use as my accent fabric. And that's going to make up all the middles the wonky star part of my blooms. So this is Geranium, Deep Blue, and Cyan. And then of your background fabric you're going to need 3 ½ yards, and that includes all of the sashing and this little outer border that you see there. So let's get started!
Let's go ahead and move this out of the way. So up first from your roll, this is all going to be based on two matching sets of strips. So you're going to have two of the same color and we're going to cut these in different ways so that you can get all the pieces you need for the outside part of your block. So from strip number one, we are going to cut…we'll start by cutting off our salvage here. We just make sure this is all lined up. So we'll trim off our selvage and then we are going to cut four 7 by 2 ½ inch rectangles. So I have this doubled up, so I'm going to get two at a time here. So there's two and four. There's those and then we need four 2 ½ inch strips or 2 ½ inch squares. Excuse me there's two and four. And then I'm just going to recommend that if you have anything extra you can just open that up and we can use these for our cornerstones later. So I'm just going to trim that one. This one's a little small and that can go in the cornerstones pile.
So that is the first strip set. Then the next one much in the same way, we're going to trim off the selvage here. Then we need four 5 inch strips. So two and four. And then we need eight more 2 ½ inch squares, so two, four, six, and eight. Let's see… is this enough to use for a cornerstone? It is. There we go, so we'll add that to the cornerstones pile.
All right, so then we're going to gather up all of our pieces, just going to stack these up and then we can start making our block. So we're going to take 5 inch background squares that's going to be the basis of this. Then we are going to snowball three of the corners. I've actually already started some in this slightly other purple so I'm going to switch to this now. And so what that means when I say snowball, is we're going to take this 2 ½ inch square that we cut from our strip. Let me get a pen here and we're going to sew this corner to corner. So you can mark this line or press this line or just eyeball it on your machine if you have some diagonal seam tape or a laser. And we're going to stitch right on that line and we're actually going to do the same thing to three of the four corners.
So I'm just going to go ahead and mark these. There we go. So I have all three of those ready to go and I'm just going to lay them on here. So it's going to meet there and then there and then there. And so I can actually sew one after the other and we're just going to have one that will be left whole. So let's go ahead and take these to the machine and we'll just add
one corner after the other.
Okay I find it helpful to put my needle in the middle when I'm doing a bunch of these. We're stitching right on that drawn line and I'll stitch off that side. Then I can pivot and come back down and one more, there we go. So you would repeat this four times because we're making the quadrants of our block here, so keep that in mind. You'd have four that would look just like this and I'm going to go ahead and trim off this outside part of my snowball leaving my quarter inch seam allowance. So there's one, two and three. If you wanted to save these little triangles to make little tiny half square triangles, you certainly could.
Now we can take this back and we can press these all open. So let's
take this over to the iron and just roll those back. And when we use this method it leaves our square the same size that we started with, so it
should still measure 5 inches, which is what we're going for. There we go.
All right. So this is what you're looking for. It should look just like this with three of our four corners snowballed.
So now we can use some of those strips that we cut to go ahead and build on that. So I'm going to start by taking the 2 ½ by 5 inch rectangle and adding it to this side. Then we'll come in and we will add the 2 ½ by 7 inch rectangle on the other side. So let's go ahead and take these to the machine.
Remember you're always going to be adding these strips to the sides that you put the snowballs on. You won't be adding it to the plain corner. Whoops almost had a disaster my needle was still in the middle, move that back to the quarter inch. Just pull that seam out, try this again. Okay I'm going to go ahead and press that first strip back. Then now we'll be adding to this other side with the 2 ½ by 7 inch strip. Take a few stitches and then zoom on down. Okay, lovely. Go ahead and press that as well. Okay, perfect. So then the last step of these quadrants is to go ahead and use a 2 ½ inch background square and we're going to snowball this in the exact same way to round out this outside corner.
So I'm going to draw a line here from point to point and we just want that to sit right in there. So let's go ahead and do that. So now we can trim this off, there we go. And we'll just press this back and our quadrant will be complete. All right there we go. So we're going to have four of those that
are all made in the exact same way, so I have those done here. Now we just need to finish up the middle of our blocks.
So to do that we're going to use the wonky star method, which I really love. And so let's measure our blocks because we're going to cut background strips that are the same length. So these are 7 inches square so we're going to cut some 2 ½ by 7 inch background strips. Then I have these 2x4 inch rectangles. How I like to do this is I find my little middle crease here on one end, and then we are just going to make sure that we overlap that middle. And you can kind of decide how long or short you want these star legs to be and we're going to sew right along this edge. So really all you need is about a quarter inch of overlap on the side and along this bottom and then we're going to sew a quarter inch seam just like this.
So let's take this to the machine. Okay so I am lining it up with the edge
of my blue fabric and that's my quarter inch guide. Now we can go ahead and press that back, it'll just roll back to cover our strip just like so. And so then you can see here how we have done this. And now we can square
this off using our ruler and just cut off this excess just like so. If you're worried about this bulk of the extra fabric (maybe you're doing some hand quilting and you don't want that), then you can just roll this back and trim off the white that's behind. I left all of mine in because I knew it was going to be machine quilted and I didn't worry about it, but that's how you would handle that if you wanted to eliminate that extra bulk.
And so the same thing on the other side. Now we know where that center is, we just want to overlap that some and then we can take this up. We'll do a quarter inch seam, so let's go ahead and do that. Okay and we will press this back as well. All right, now we can flip it over and trim this off, there we go. All right and so you're just going to repeat that four times so that you have all of your sashings ready to go. So you can see each one of these looks a little bit different - that's part of the fun. You get to play with it and make it as wonky or white or skinny or whatever you want. The angle is just going to change the shape of those star legs.
So now let's talk about this block as it all comes together. So these are going to spin and our star legs are going to fit in between, just like so. And I can't remember if I mentioned it or not, but all of these petals do come from those accent fabrics. They're not actually from your strips. There was just not quite enough to get all of those, so we added those colors and then we finished it off with a 2 ½ inch square there in the middle. And you'll just sew this all together and it turns out so beautiful! You've got four blocks across by four down, and we just sashed in between with those cornerstones. I absolutely love it!
I think it turned out so pretty! For the backing we used one of our Missouri Star 108 inches - this fun purple which really worked with all these beautiful colors on the front! And I quilted it with Time Warp. It ends up 70 inches square. I hope you guys enjoyed this quilt and I'll see you next time on At Home!


