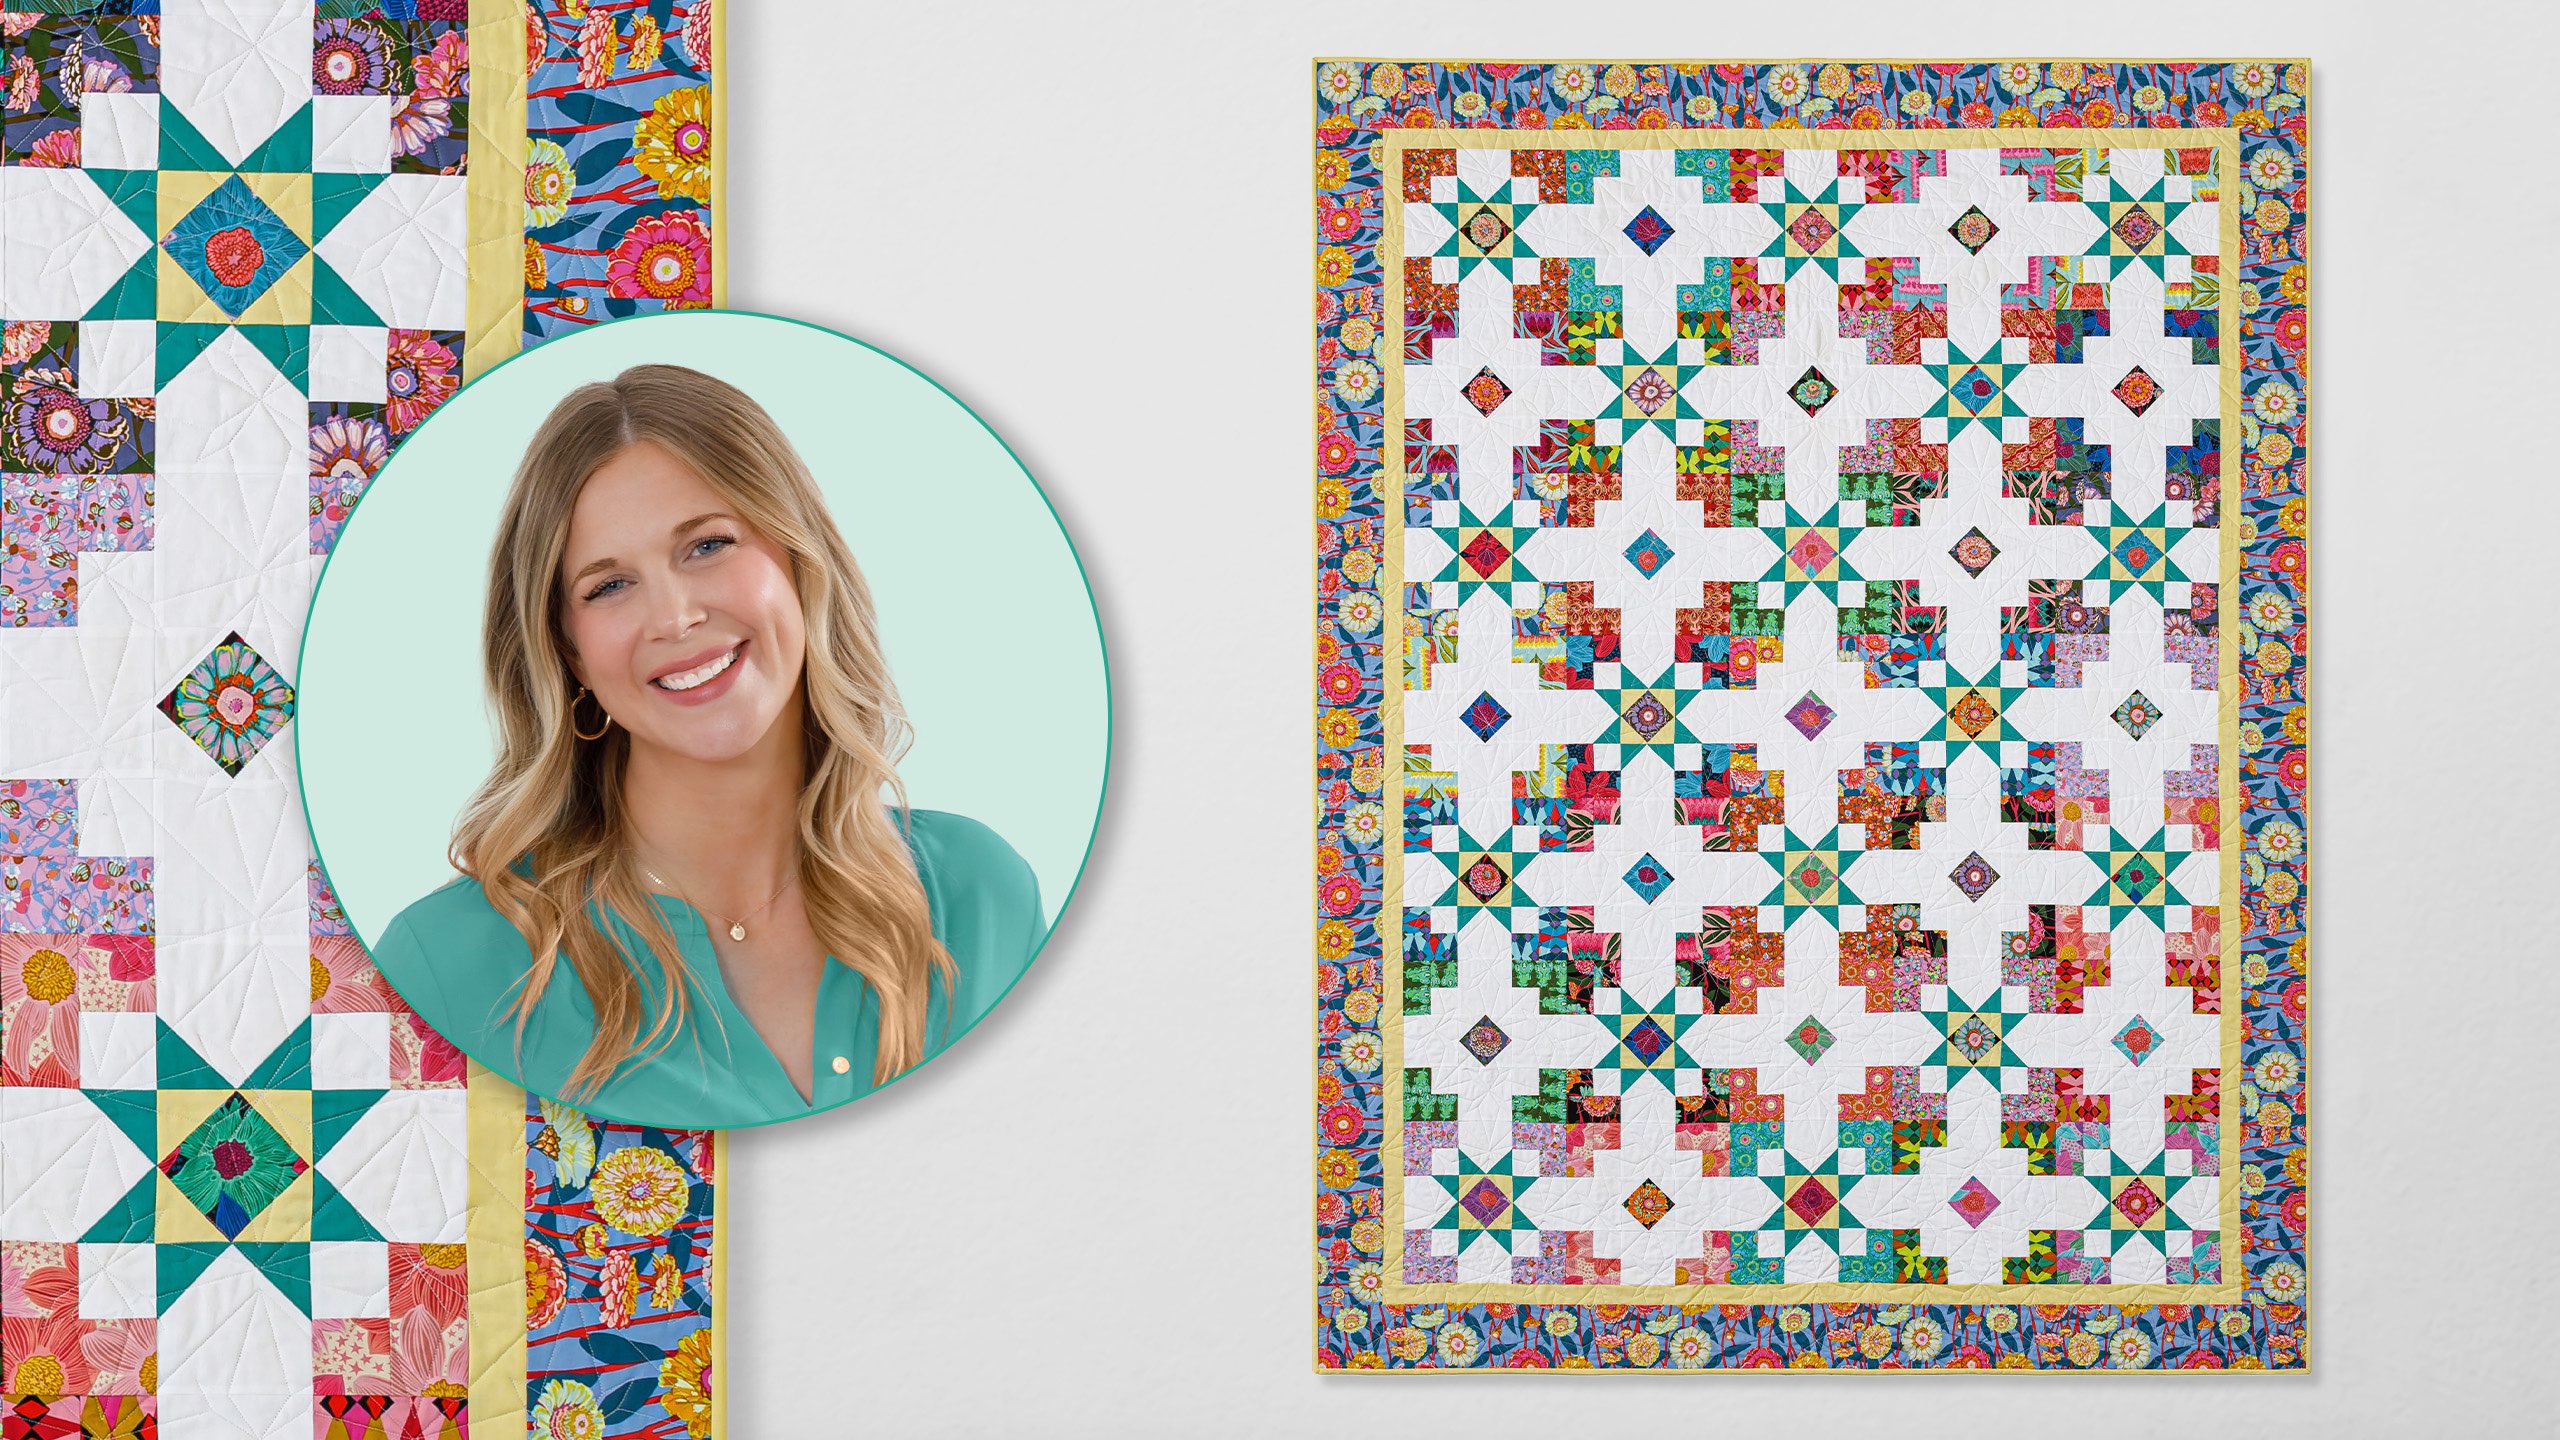
Give your sewing mojo a jumpstart with the Symposium quilt! This colorful, lively quilt by Anna Maria Parry uses the Jumpstart fabric she designed for Northcott Fabrics. The bold and bright prints perfectly complement simple squares and stars. Learn to make a pillow sham, too!
Misty Doan grew up surrounded by sewing and quilting. She loves spending time sharing tutorials each week each week, and when she’s not stitching up one of her fun sewing projects for home decor, most likely you’ll find her hanging out with her husband and three awesome kids or working on a house project.
Give your sewing mojo a jumpstart with the Symposium quilt! This colorful, lively quilt by Anna Maria Parry uses the Jumpstart fabric she designed for Northcott Fabrics. The bold and bright prints perfectly complement simple squares and stars. Learn to make a pillow sham, too!
How long is the tutorial video?
The tutorial video is 00:13:46.
Are supplies listed for this tutorial?
Yes. The tutorial page includes the supplies and materials connected to this project.
Video Transcript
Hey everyone, I am super excited about today's quilt. It is called Symposium and it's made up of two blocks using this beautiful Ana Maria Perry fabric and I can't wait to show you how to make it. [Music] [Music] So, like I said, this quilt is so simple. It's made up of two blocks and it goes together really easily. And I absolutely love how the fabric worked with this design. I think it just really made the whole thing shine. So, up first, you're going to want to grab one roll of 2 and 1/2 in strips. I use this beautiful collection called Jumpstart by Anamaria Perry for Anamaria Textiles, which is a division of Northcot. So, wonderful fabrics there. And I went ahead and used those color work solids to go along with it. So, this is super white for the background. You're going to need 3 and 1/4 yards of that. Then, you'll need 7/8 of a yard of this accent. That includes this little inner border as well that you see up here. You'll also need 78 of a yard of this green that does all of your little star legs. So, grab that. Another thing to keep in mind is I did some fussy cutting in the center of these blocks here. And so, for that, you're going to need 2/3 of a yard if you're not going to fussy cut, but if you want to fussy cut, grab a little extra cuz it always just takes some extra fabric. So then for your border, you need 1 and a3 yards. For the backing, I use this beautiful 108 from the collection, and you'll need 2 and 1/4 yards if you go that route. If you use regular quilting cotton, you'll need 5 and 3/4 yards with a vertical seam. But here is this beautiful backing. I absolutely love it. So, let me show you how to make this. All right, so up first, let's talk a little bit about fussy cutting. I have this fun floral print. It's the same that I use for my border. And I just love all of the blooms on here. So, I thought it would be fun to center those up in our blocks. So, up first, I'm just going to open this. And of course, you would have a larger piece. I just had this strip to show you guys. And I think we'll use this little bloom right here. And the size we're looking for is 4 and 1/2 in. This is a 5 in square. And so I'm just going to make sure that I center this up on that four and a half. Just give myself plenty of room to get it as close to the middle as I can. And so that's what's so nice. You have kind of this 45 line that runs down the middle. Of course, that's going to be exactly at the five. And so I just use that to get myself close. If you have a four and a half inch ruler, that would be even easier. So, we'll cut that. Then I can spin this around and I will set this 4 and 1/2 inch line on those two straight edges that I cut. Make sure I'm all squared up. There we go. And just trim this little bit off there. Lovely. Okay. And so, like I said, the fussy cutting is totally optional. And if you're worried about conserving fabric, just cut some 4 and 1/2 in strips and subcut them into 4 and 1/2 in squares. But I just thought it would be cute to have those little blooms in the middle. And so now I have that ready to go. And so the first thing we're going to do is we're going to take four 2 and 1/2 in background squares and we're going to snowball around these little blooms. Make sure I've got four here. And so we can start by putting one square on each opposite corner. And we're going to sew from point to point and then we'll trim that off and we can add the other two. So let's go ahead and take this over to the machine here. Now when we are snowballing, you can either draw a line or press a line, but I love to use this diagonal seam tape that's on my machine. So, I'll just line up the first point with my needle and the second one with this red line on the other side. [Applause] There we go. Now I can turn this around and do the same thing with this other square. Line up the point, the opposite one on the red line. And as long as I keep that point on the red line all the way to the needle, I'll be sewing exactly point to point and I don't have to worry about marking. All right. And so now we can trim off our excess, leaving our quarter inch seam allowance. There we go. We'll take this over to the ironing board here and we're just going to roll back those squares that we've added. Do the same thing on the other side. Beautiful. And now we'll add those other two squares. This one's wanting to roll on me. And the reason that we have to do this is because these are going to overlap and that's what's going to give us our quarter inch seam allowance. And so now I can do the same thing and sew point to point with these two. [Applause] Flip that around. [Applause] Same thing. We'll just trim off the excess. And then the centers of our block will be all done. Beautiful. And then we've got that cute little bloom that finishes right inside that little diamond that we've snowballed. And it's all ready to go. And so now we can move on to the rest of our block. And so first thing we're going to do is we're we'll grab one of our 2 and 1/2 in strips. And I'm going to go ahead and leave this folded in half just to make it easy for myself. And we are going to start by cutting off our salvages. And then for each block, I need four 2 and 1/2 in squares. So I'll measure over 2 and 1/2 in. And I'm getting two at a time. So, two and four. And then I also need 4 and 1/2 in rectangles. So, I will lay my ruler like so. I need um four of those as well. Beautiful. And then this little bit you can put in your stash. And I actually have a little bonus project that I'll show you what you can use this for at the end. So you can just set these aside for now. And now we can work on assembling our corners of our blocks. And so we are going to take another 2 and 1/2 in background square and one of those 2 and 1/2 in print squares that we cut and we're going to put those right sides together. And then we'll add our 4 and 1/2 in rectangle to the other side. So let's go ahead and do this. Because you'll be doing four for each block, you can chain piece each step and it will save you quite a bit of a of time. But I have some of this already ready to go. So, I'm just going to show you how to do one. So, we'll go ahead and open that up. I'm going to go ahead and just give this a little finger press on my sewing machine. And then we'll place the rectangle to match up with those right sides together. I like to take a few stitches, make sure everything is straight, and then we can just zoom down. [Applause] Beautiful. All right, let's give that a press. Now, I'll just roll that back. I am rolling my seams to the dark side so that it doesn't show through on my white background fabric. And so, like I said, I have three others that are done this exact same way already ready to go. And so, now we are ready to assemble our first block. So, we have our little middle here. And then these will go in all four corners with the white po pointing in towards the center. And then the last step for this first block is we're just going to finish it off with some 4 and 1/2 inch background squares. So I have those ready to go as well. And they'll sit in just like so. And then we will just sew this block together three in a row into a big nine patch. And this is how our first block looks when it's all done. And you can see it fits into the quilt right here. So, we're just alternating between this one and the star block. So, let me show you how to make the star one next. Move all of this out of the way. So, first of all, on the center here of this block, the only difference, we've gone ahead and fussy cut a bloom. And then instead of snowballing it with the background, we're going to snowball it with the yellow accent in the exact same way. So, I have that one done. Here's our center. So, it looks exactly the same, just a different color fabric. So that's step one. And then you're going to make your corner units in the exact same way as that first block. The only change comes with those 4 and 1/2 in squares. And so we have our plain 4 and 1/2 in background square. And we are going to use two 2 and 1/2 in squares of our green accent fabric. And we are going to snowball the same two sides. So you can only do one of these at a time. And so we're going to start by sewing point to point here. So let's take this to the machine. Again, if it's easier for you to mark or draw a line, feel free to do that. But we are sewing point to point. And now I'll trim off this one, leaving our quarter inch seam allowance. Then we'll roll this one back. And then we want to make sure we're adding our second square to that same side so that it'll overlap at the point. And we'll sew point to point this direction. And what we're doing here is kind of creating our little star leg units. Beautiful. So, we'll trim that off as well. And this method keeps our square at the same 4 and 1/2 in that we started with. So, then we'll just roll this back and we will have four of these that are made the exact same way. And now we can lay out this block. And so we have our cute little middle with our yellow snowballs and our corner units where the white goes into the middle just like before. Oops. If I can get a hold of it there. And then we'll finish this off by putting our star legs in towards the middle there. Just like so. And then when you sew that one together, it looks like this. This is such a fun quilt. So, you can see I just alternated between the two. So, I've got one, two, three, four, five blocks across by 1, two, 3, four, five, six, seven blocks down. I also went ahead and used that same yellow accent for this first inner border. This is cut at 1 and 1/2 in. And the outer border is cut at five. So this quilt ends up, let me find the size here, 71 by 95, which is like a perfect twin size uh quilt. So that's really fun. And because I had that extra fabric, I thought, why not make a cute little pillow sham so your twiniz bed can be ready to go. So the pattern includes all the instructions to make this adorable sham as well. So, I hope you guys enjoyed this tutorial on the symposium quilt and I'll see you next time. Hey everyone, thank you so much for watching at home. We're so excited to be almost a million quilters strong here at Missouri Star. And so, if you haven't already joined our family, be sure to subscribe and hit that notification bell so you can be notified of all of our future tutorials. And we'll see you soon. [Music]

 Misty Doan
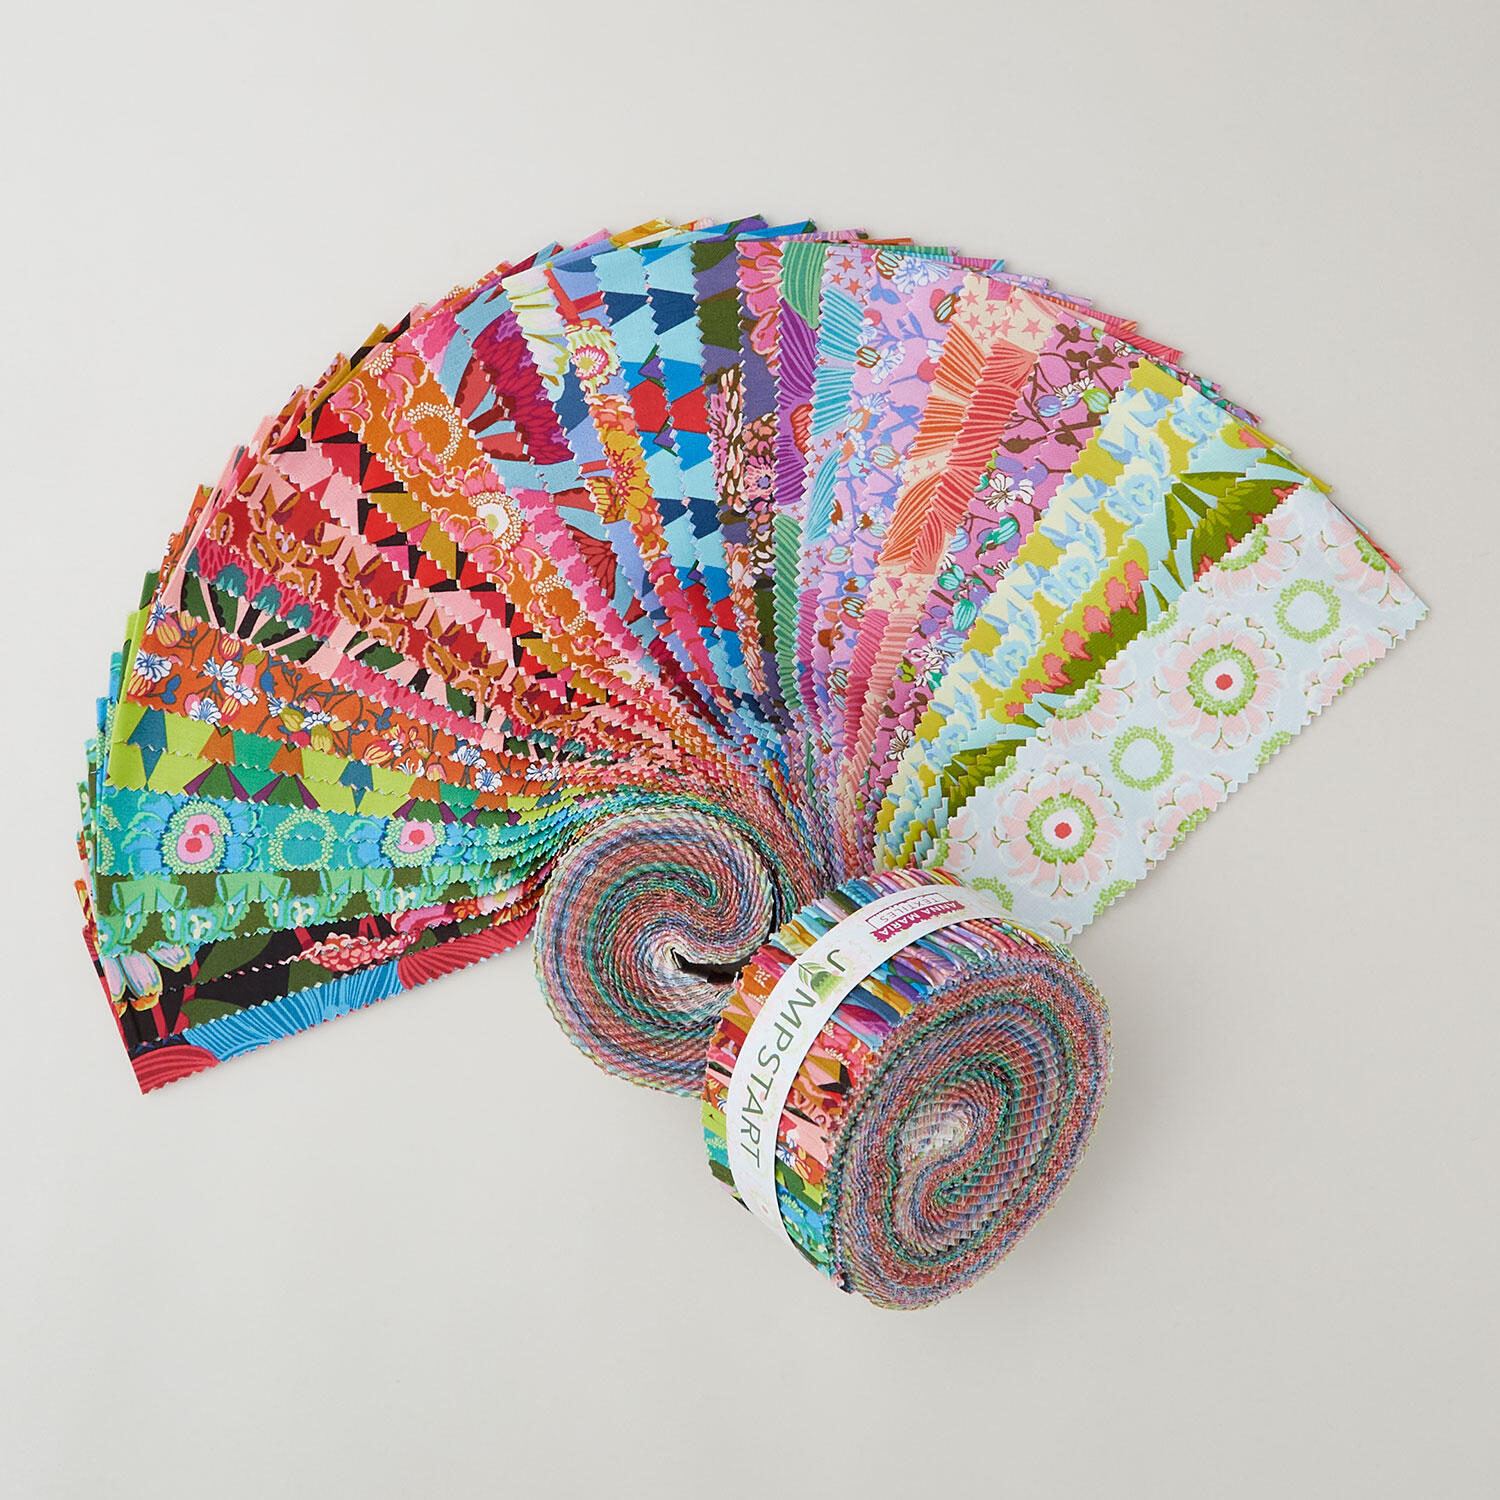 Jumpstart Strips$44.95Shop →
 Colorworks Premium Solids - Superwhite Yardage$8.12Shop →
 Colorworks Premium Solids - Peacock Yardage$8.12Shop →
 Colorworks Premium Solids - Limoncello Yardage$8.12Shop →
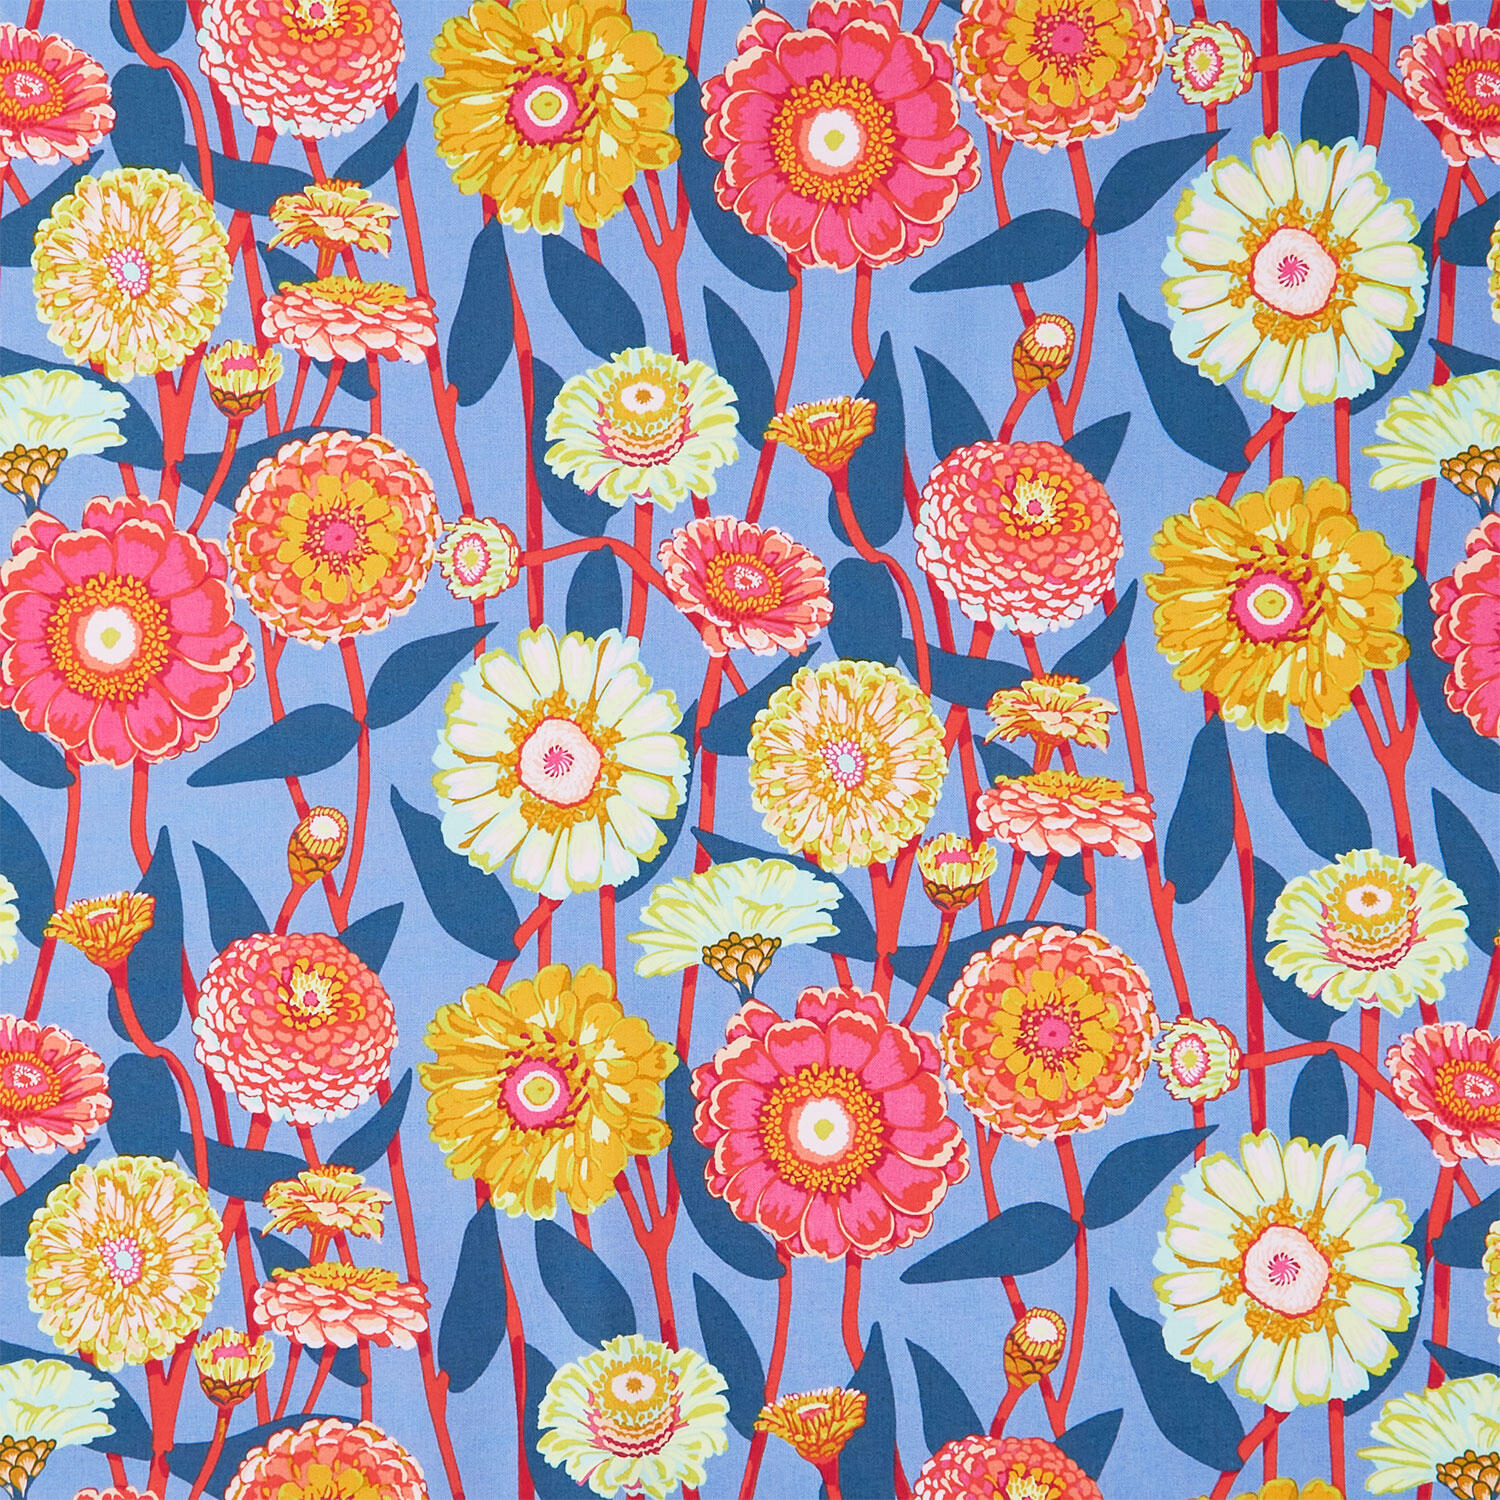 Jumpstart - Zinna Show Glow Yardage$13.40Shop →
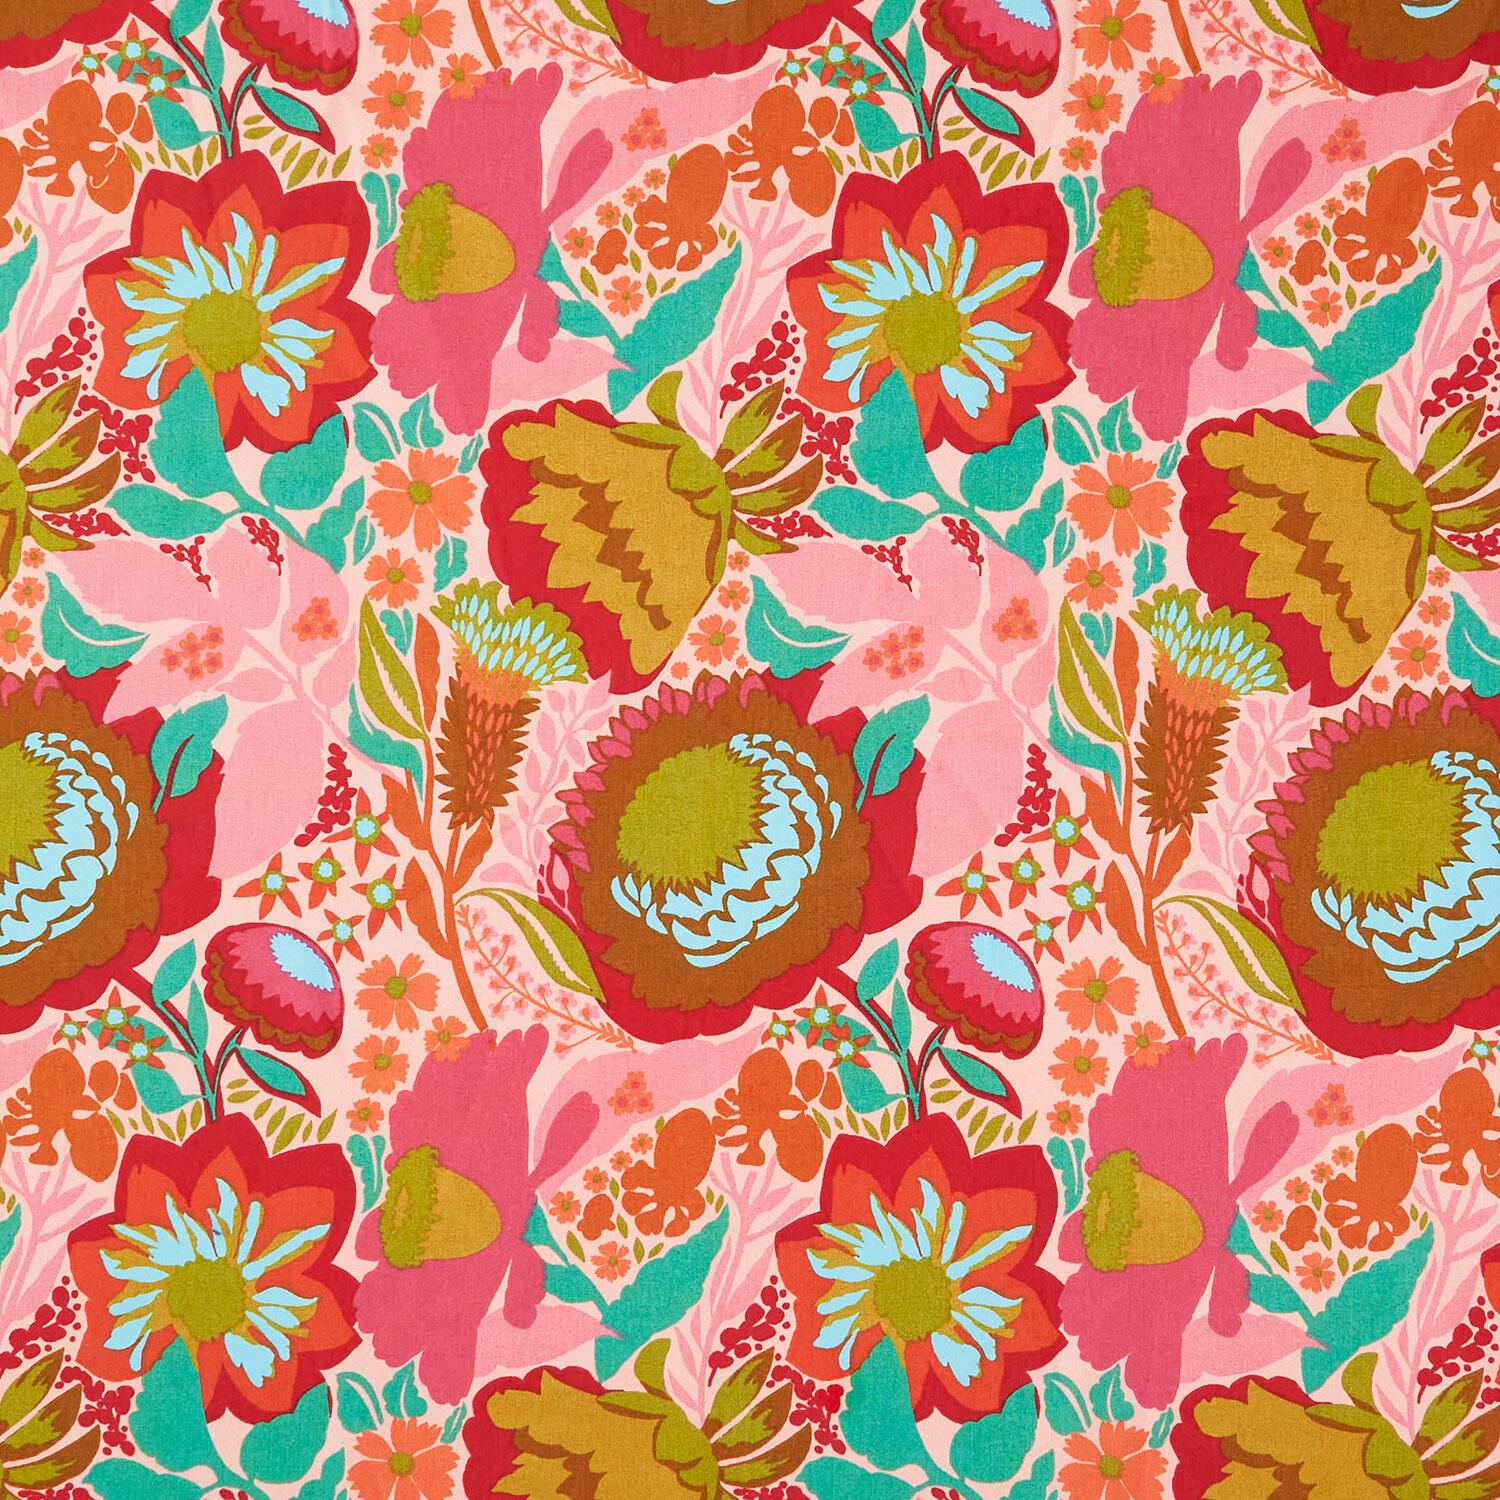 Jumpstart - Shadows Bouquet 108" Wide Backing$18.76Shop →
 Missouri Star Quilter’s Best Blend Queen Batting$37.95Shop →
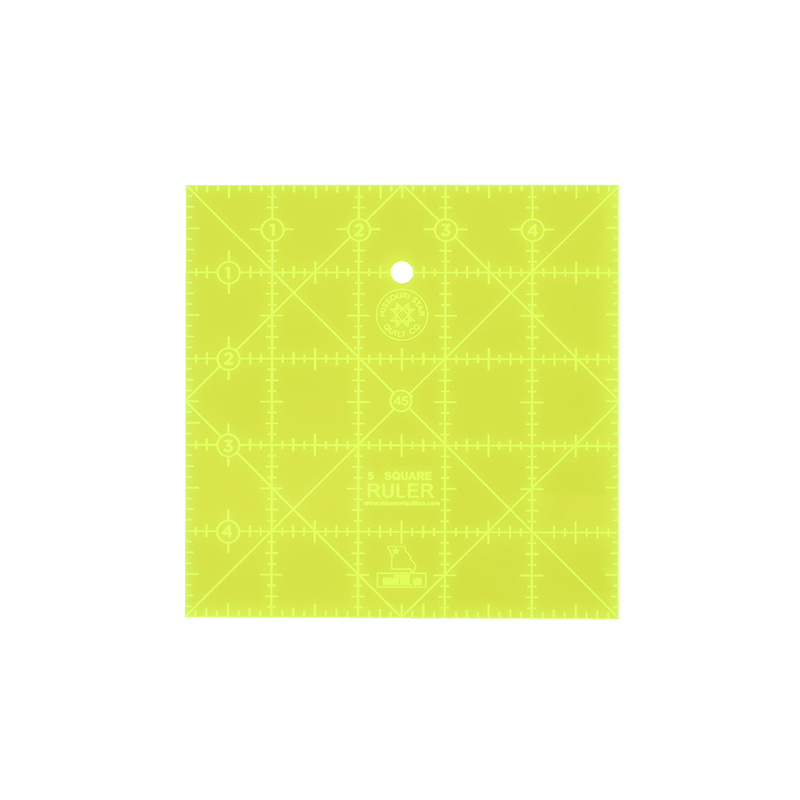 Missouri Star 5" x 5" Square Ruler$8.95Shop →
 Missouri Star 5" x 15" Ruler$19.95Shop →
 Missouri Star 45mm Rotary Cutter - Olga$19.95Shop →
 Diagonal Seam Tape$7.25Shop →
 Missouri Star 8" Everyday Scissors - Amelia$19.95Shop →
 Missouri Star 50 WT Cotton Thread White$7.95Shop →
 Missouri Star + Oliso TG1600 ProPlus Iron$209.95Shop →
 Missouri Star Wooly Betty Board - 17.25" x 25.5" Orange Border$99.95Shop →
 Baby Lock Accomplish - 1500 SPM Straight Stitch Machine$1199.00Shop →
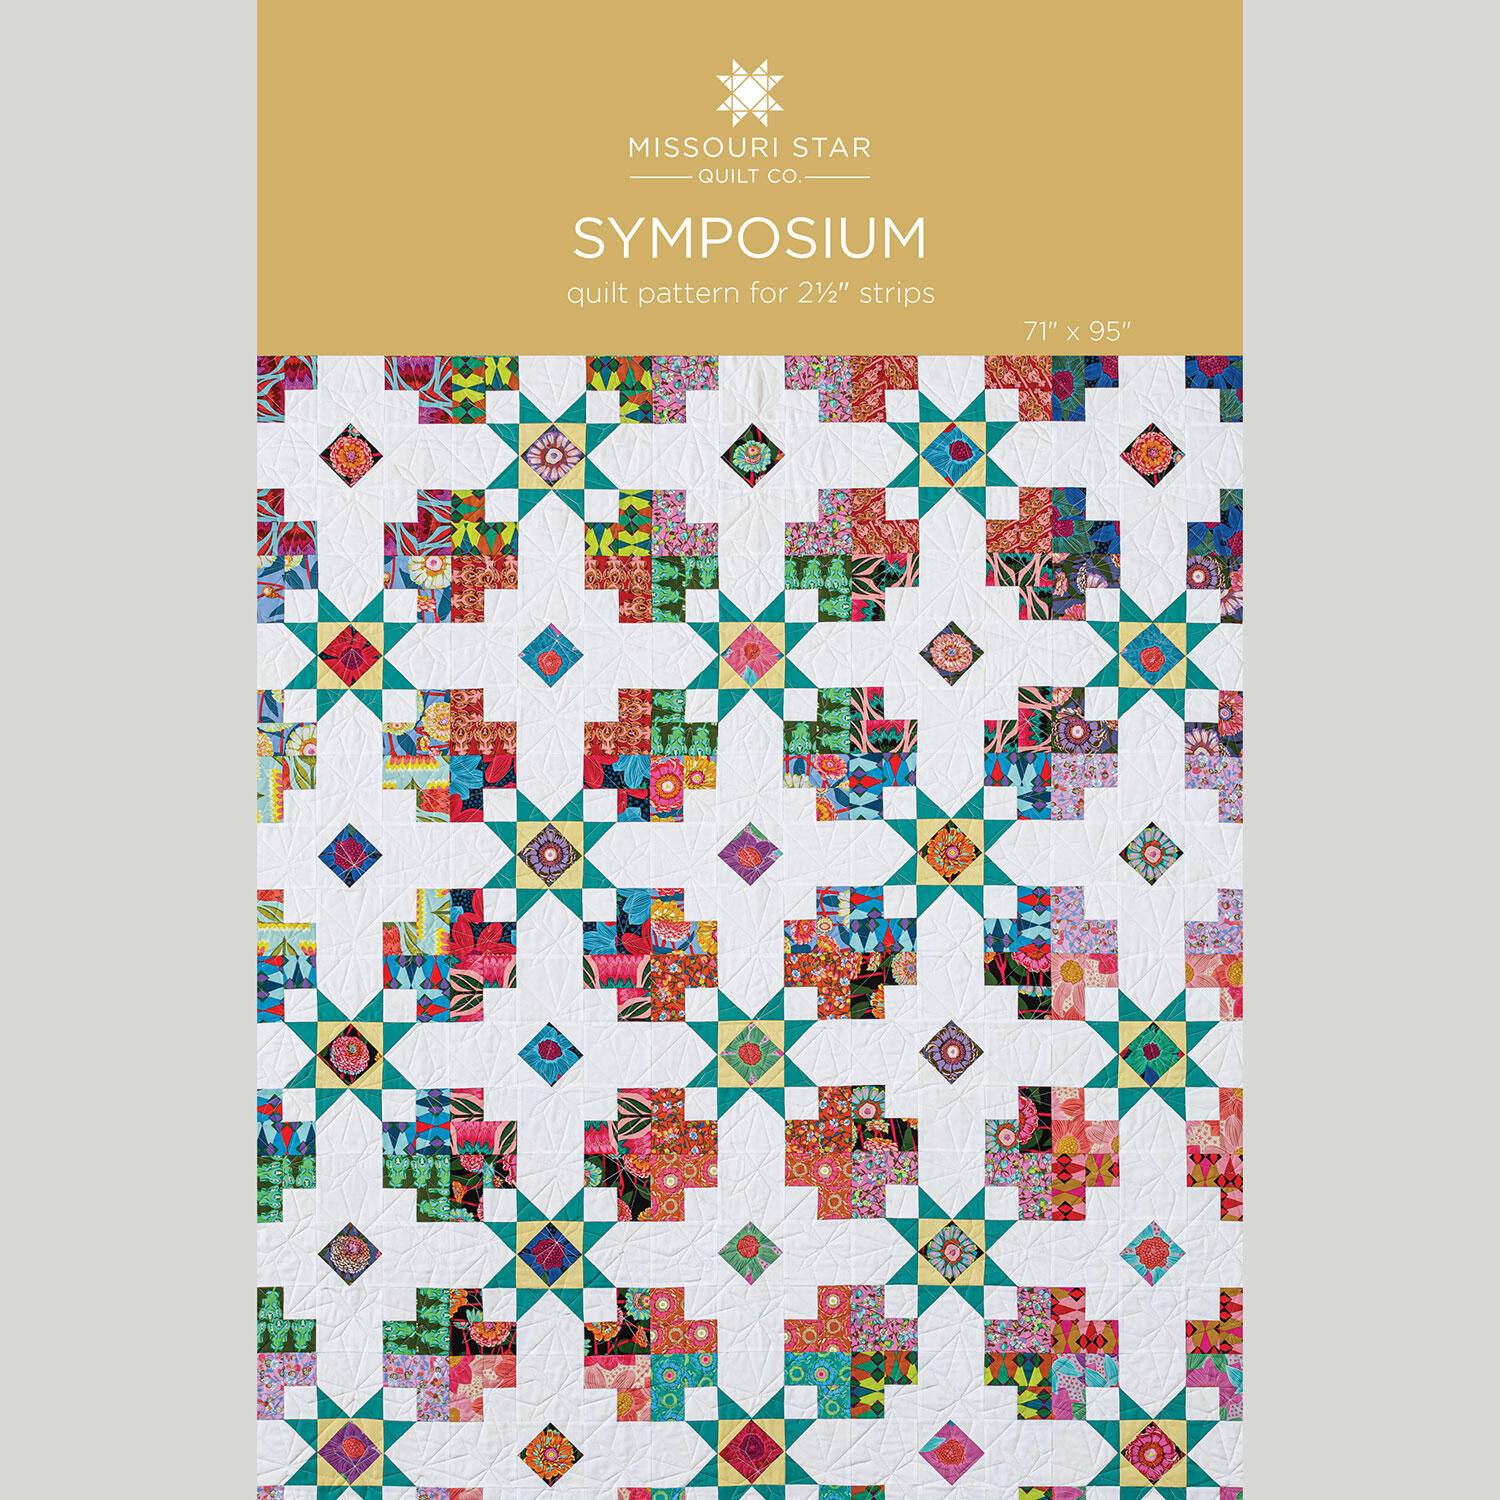 Symposium Quilt Pattern by Missouri Star$8.50Shop →
 Digital Download - Symposium Quilt Pattern by Missouri Star$6.95Shop →


