Skip to content

Free quilting video tutorials from Missouri Star

Quilting Tutorials
T-Shirt Embellishment/Customization

T-Shirt Embellishment/Customization

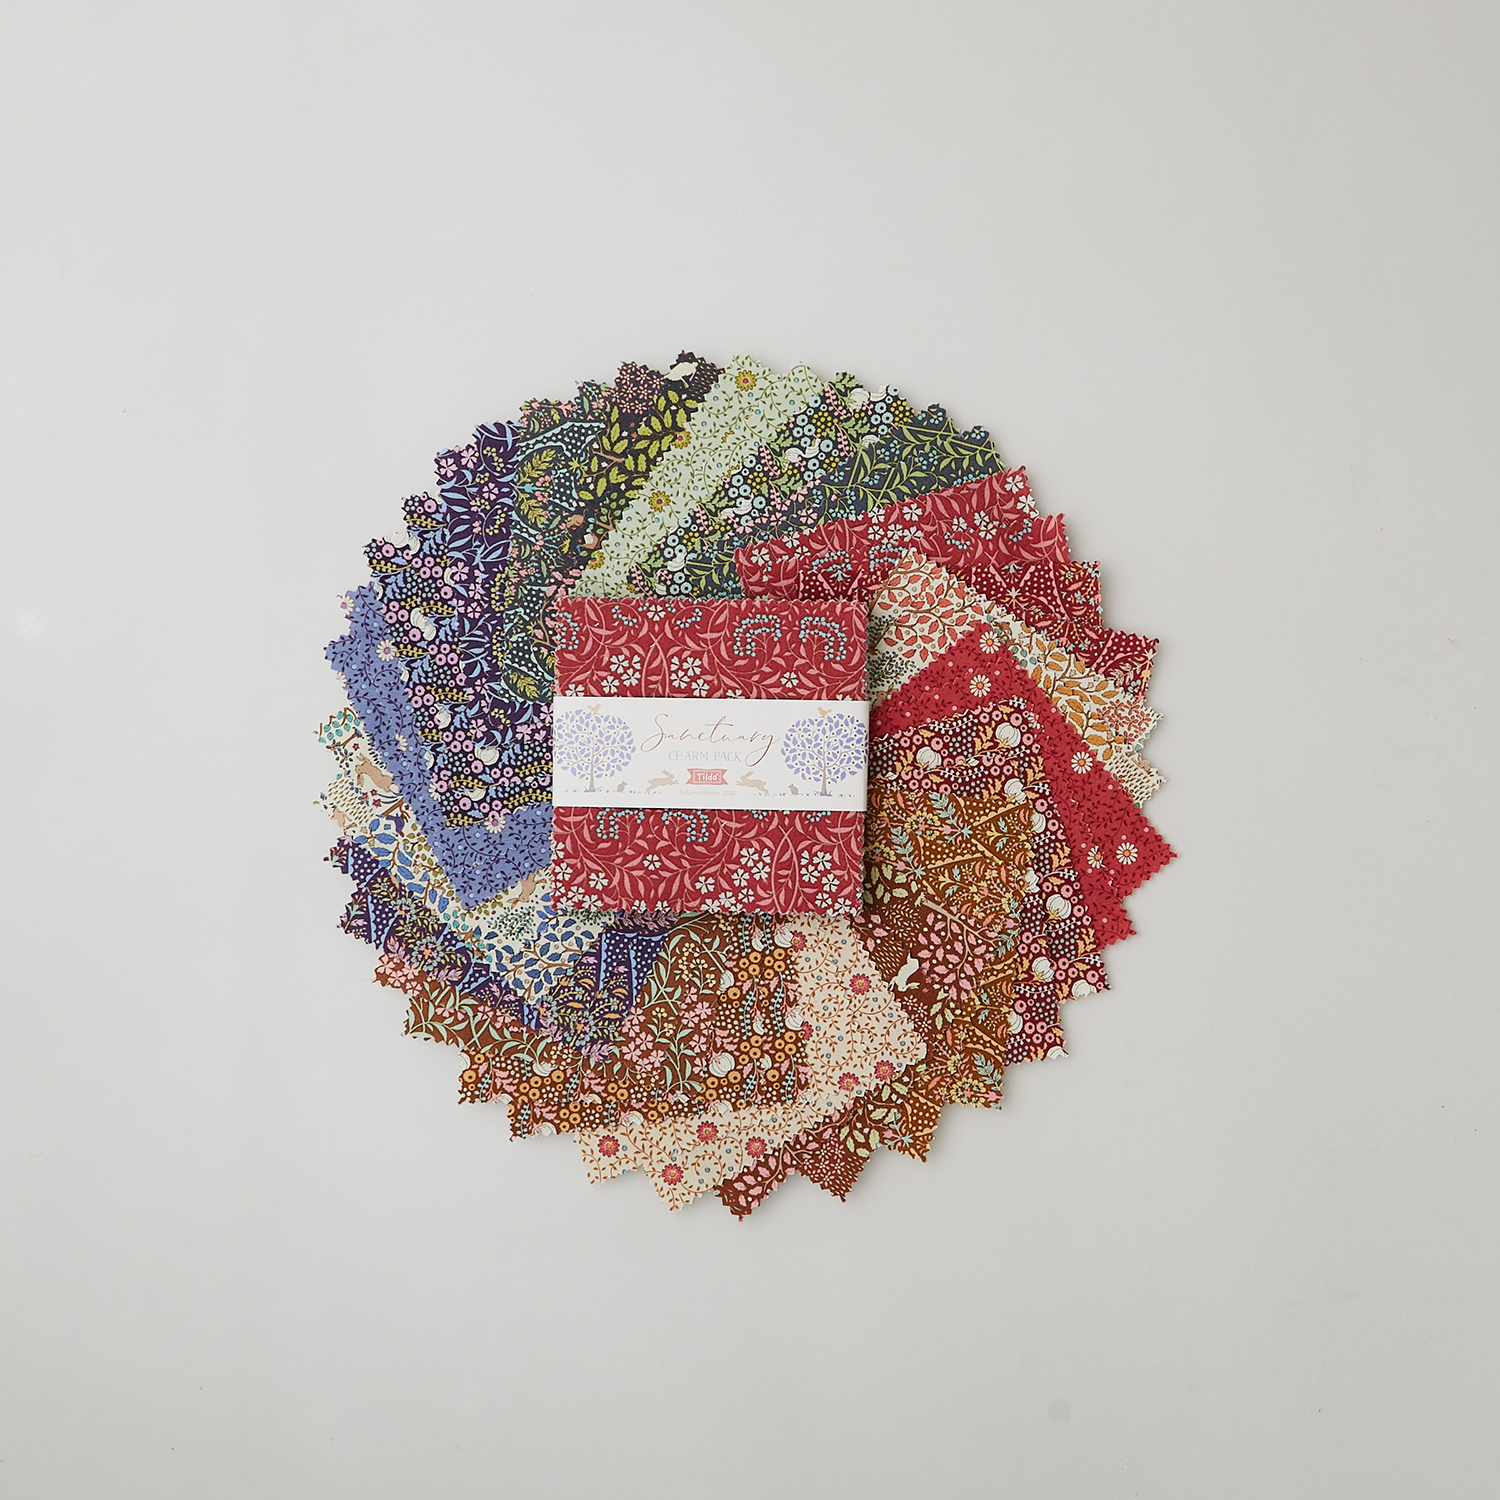
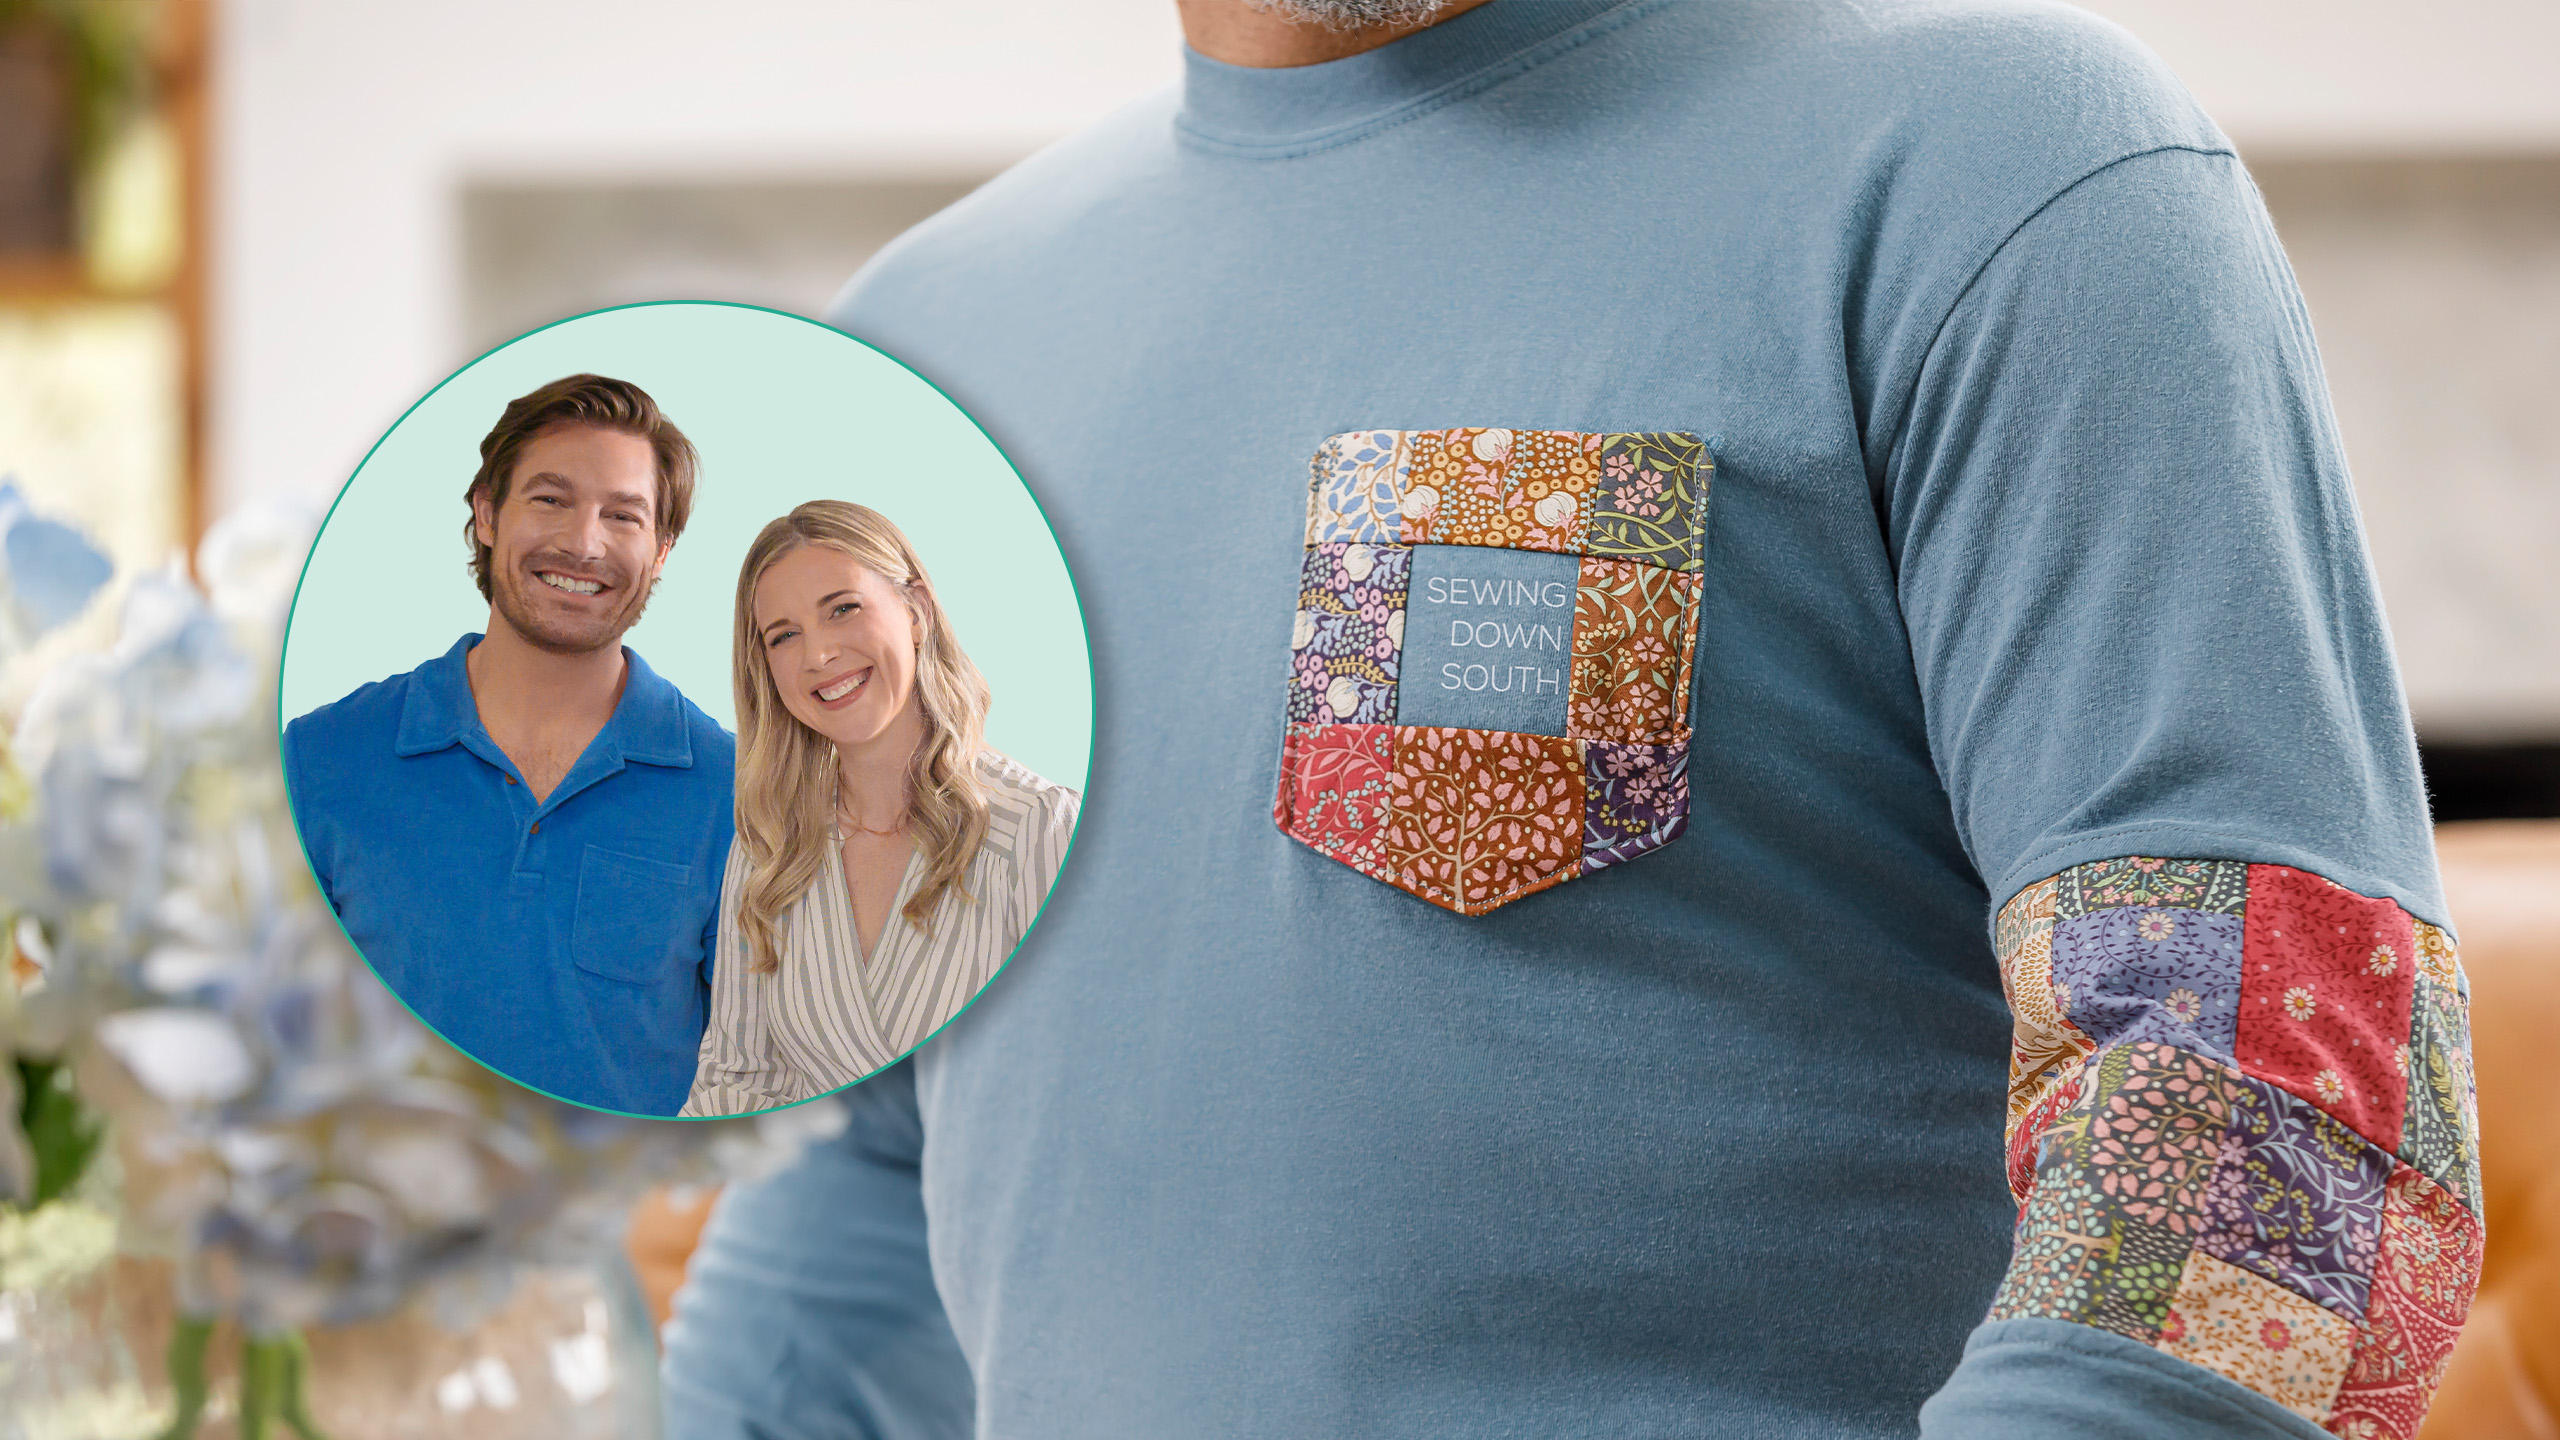
Take a comfy T-shirt and turn it into a fashion statement! Join TV personality Craig Conover to learn how you can use a charm pack to embellish and customize a T-shirt, taking it from boring to beautiful!

Instructor

Misty Doan

Misty Doan grew up surrounded by sewing and quilting. She loves spending time sharing tutorials each week each week, and when she’s not stitching up one of her fun sewing projects for home decor, most likely you’ll find her hanging out with her husband and three awesome kids or working on a house project.

Common Questions

What is covered in T-Shirt Embellishment/Customization?

Take a comfy T-shirt and turn it into a fashion statement! Join TV personality Craig Conover to learn how you can use a charm pack to embellish and customize a T-shirt, taking it from boring to beautiful!

How long is the tutorial video?

The tutorial video is 00:33:48.

Are supplies listed for this tutorial?

Yes. The tutorial page includes the supplies and materials connected to this project.

Video Transcript

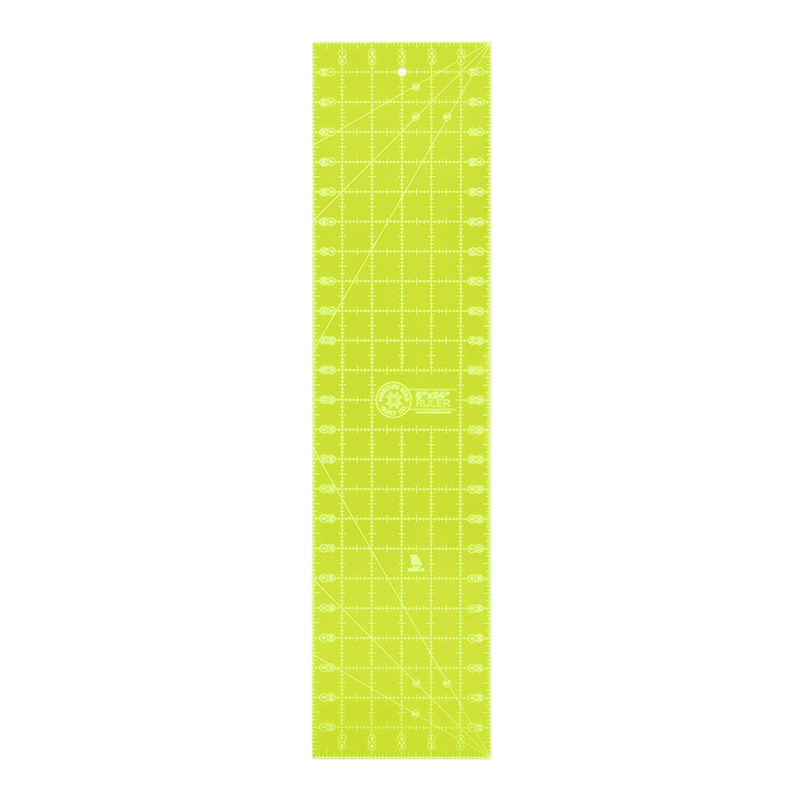
[Music] all right Craig thank you so much for inviting me back another fun project yeah I'm excited that you're still here in Charleston i have time to learn i mean I've been still smiling over my first quilting block i'm so glad and uh I'm ready for another challenge all right well you said you wanted to embellish some shirts and so I wore one that incredible oh wow that's not printed no this is some fabric that I cut away reverse applique and so I thought you know there's all kinds of fun things we can do so I grabbed a sewing down south shirt and I thought maybe we could um make some I would love that that's really neat okay so this is a long sleeve and I've seen where they're adding patchwork to the sleeves so I thought that would be a really fun start and so let's begin by making some patchwork panels okay and then we'll dive into adding them to the shirt so you get a little bit of quilting a little bit of embellishing i feel it sound good yes all right so I had a bunch of scrap fabric and I got you started a little bit so I've cut some 2 and 1/2 in squares and some 2 and 1 half x 4 and 1/2 in rectangles i'm starting to see where the scraps play in everything yes of course and so to begin with we're just going to completely random okay sew you know two two and a half inch squares together so if you just want to put those right sides together and use your quarter inch foot take one seam beautiful all right now you can give that a good press open it up i think a lot of the missing elements when I was sewing pillows where I was like there's got to be something else or something I'm missing i see where that is now okay and it exists in this world okay how's that that looks great and so then now since we've taken that seam this is a little bit of quilt math for you now those squares will match up with this 4 and 1/2 in piece and so we'll fold that over and we'll just take one long seam there love it do you do this a lot uh with your clothes you know I I just got started kind of this last winter i made a couple sweatshirts and my daughter and her friends started having what they like lovingly refer to as granny night at my sewing studio that's fun so yeah her and like a whole bunch of teenagers come over and they've been embellishing clothes which has been a lot of fun and inspiration for me i know it's not new but it's new to our time right now and it's really the bringing out your personality in what you wear has always been you know a thing but now to be able to personalize it with you know your own creativity is really neat yeah exactly and I think people are are excited and proud to share what they've been making it's almost like custom ordering clothes except you get to do it yourself exactly conversation pieces the embellishments show off how skilled you are with your sewing machine and Yeah and then you know you get to share it with your friends it's reusable scraps all perfect and so now we are just gonna keep going for a little while we're gonna make a bunch of these blocks okay um because we're gonna need a bit to uh to finish what we're doing here with this shirt and so same thing i'll just let you get going and then once we have a good stack we'll move on to the next step okay sounds good okay how's this look it looks great this is exciting it's perfect i just I had so many baskets of scraps laying around forever just I couldn't force myself to throw them away and then eventually I did cuz I was like you're never going to be able to make a pillow with this oh now you know you just start adding one to the other and you you're making your own fabric in that regard basically makes so much sense i did want to look for like a little bit of contrast when we're putting these fabrics together so whether it's a light and a dark or just different colors even though they're all going to be put together you just want a little bit of variety so you can see the work that you've done that makes sense so it doesn't blend all Exactly and so now that we have all of your little squares done we're just going to lay this out into like a little mini quilt so to speak and so I just like to kind of flip them back and forth cuz we have one side that has the two patches and one with the long and so this just gives us a little bit of variety and so then just like you were sewing your pieces together when we made your block we're just going to start adding one of these to the other yeah this is awesome i've seen so much of this at home shows across the country when people come and visit and I just think it's so awesome but I can't in my head I was like "How did they do that?" Well now you know yeah you're you're going to be I'm telling you thinking in in quilt blocks here pretty soon you can't get it wrong i promise that's that's the beautiful thing about this is even if you sew it different than I laid it out it's going to look great in the end cuz we just want it to look nice and scrappy so with the zigzag edges if you're using a foot that has this guard on it are you going over the zigzag edges or keeping them on the inside of the That's a great question it kind of varies from fabric fabric manufacturer to fabric manufacturer like some of them have a different rule of thumb usually with these smaller PKD edges they include that as part of the measurement and so the outside of the point you would line that up with a straight edge of your fabric okay but I always kind of ignore it my brain just doesn't really recognize it as fabric and so as long as you're consistent in choosing one way or the other um you'll be fine in the end it's starting to come together look at that yeah it looks awesome and so we're just going to keep going until we have this group of eight blocks all together you know embellishing your clothes a lot of people say that I've been known to be an embellisher my life oh my gosh always been kind of a storyteller or at least when I go to repeat a story I like to embellish a little bit make it entertaining that's why I ended up in law school and my little brother was the opposite he'd be like "That's not exactly what happened." I'm be like "It's close enough it's better this way." So maybe that's why I've always wanted to embellish my clothes perfect that looks so great all right so now we've got those four that you stitched and so same idea we're just going to add these one after the other at the machine until we get a long rectangle all set and there's no rhyme or reason to it i mean there is as in contrasting colors and block sizes but it's really just you know whatever your heart desires you're just grabbing a couple pieces and stitching them together don't have to overthink the matching or don't worry too much about it all right so now that we have this ready this is going to be kind of the foundation of all of our embellishments for this project and so now we need to take your shirt and kind of prep it so first thing we're going to do is we're going to use our seam ripper like I said it's a tool that comes in handy very often and we're This one's not by accident that's right this is on purpose and so we're going to remove the pocket okay um so I'll have you start there and then we're also going to seam rip this bottom seam of the sleeves kind of from like an inch in from the armpit all the way to the wrist okay wow well how would you start on the sleeve so I like to just find a little spot and honestly to be safe because this is surged um I'm going to turn it inside out so we can really see what we're doing so let's do that and then you can see all these layers of stitches um that come from the serger and so I just run along this to get me going first perfect to just pop those stitches i must say that this is probably the most time consuming part of this project just because uh you know well we design our shirts so that they don't come undone exactly taking apart we're going to do that on purpose and so then you know we we've got that going and then we're just going to continue on down the sleeve perfect so will you end up just using pressure to pop some of them or Yeah you totally can you have to be careful when you're working with a knit like a t-shirt material because it it stretches very easily and so if you tug too hard on those stitches it's going to distort the edge of that fabric and when you go to sew it back together it's going to be more difficult so your seam ripper really is your friend here it's just going to be a little bit timeconuming but take your time and um you know we'll get there all right so we got there yes it wasn't I mean you can get in a flow but slow and steady and honestly it's kind of therapeutic exactly all right do you want to show me how to take the pocket off correctly yes sleeve is undone so this top little section here is the most complicated cuz it has this kind of like reinforcement stitching and so I just used the point of my seam ripper and came in here really carefully to pop those individual seams to start and as long as you get those first few out of there then the rest of it is smooth sailing loosens up a little bit yeah and so I do use my finger and get in there and then you kind of flip it over and it can be really really tricky this thread matches so well you want to make sure you're getting the thread and not the fabric yeah then I like to just kind of flip it around here and I put the the ball of the seam ripper down oh wow and that is supposed to help you prevent tearing your fabric yeah i never knew what that was for i figured it was for safety well maybe it is too but I don't know if it works every because the long one is still out there so I was like what is this ball for it's almost like cutting wrapping paper it should glide right through yeah and if you get the right um right rhythm and of course jersey is a little trickier than cot like regular quilters cotton and this should just kind of slide through these stitches so we'll just make our way down i can finish this up we'll just take our time and then once we have it all prepped we can start putting it back together all right I did it we did it all right okay i feel like my partner Jerry these are the returns they're like "Our pocket fell off our shirt." And he's like "There's no way that that happened." Hopefully that never happens in real life okay so I've got the the sleeve separated that's right both sleeves are not through the wrist not through the wrist and only up to like 2 in up here something like that just enough that we can uh we'll be able to open it up and sew easily and so that part is all ready to go um let's just finish prepping this pocket a little bit while we have a second and so I thought it would be really fun to keep this little bit of the pocket that says sewing down south so let's grab this little ruler here and we're going to cut out a little 2 and 1/2 in square to save this and so I am going to just lay this on here and then we are going to cut this out the tools really do make it so easy i did almost forget to tell you though yes we I made a little template of the pocket with this before I cut it that would have been bad so you do want to trace it and make sure you have a a little template cuz we're we're going to replace this gotcha gotcha i just I you know traced it exactly like we saw it and now we're going to cut it out so we will just trim this here and here so two by two two and a half by two and 1/2 just because that's the size we've used here we're just keeping it consistent and so now we're going to make just what we call a nine patch in quilting so I've got some of those little squares and we're going to lay these out into a nine patch just like so and we're going to put your little t-shirt square in the middle oh that's cool but one thing to keep in mind when you're working with knit like this is this has a lot of stretch and these don't okay and so there's a product that I like it's called Shape Flex by Pelon so I've brought that and we are actually going to cut a 2 and 12 in square of that as well we're going to put it on the back and it's going to make this a lot easier when you're sewing all these pieces together so that you're not battling this stretch quite so much and so let's do that before I iron on it does it has a fusible on this side patchwork is a whole another like world yeah it's true and so then with this product like you said there's a fusible so that's the bumpy side and so you're going to put the bumpy side to the wrong side of your square and since this has some screen printing on it you want to make sure you don't hit that with the iron and so we'll put this side up and just press that so that it'll fuse it together i'm going to have to name my iron oh I hope you do is that a thing i don't know if it is but I like it i think it should be perfect yep all right and so then we are just going to sew this together into a nine patch since you've done a lot of sewing already I went ahead and got most of that ready for you so let's just put our pieces together here so I did the top and bottom so all you have to do is sew the middle all right let's see if I know how to do it now all right i'm going to take this and fold it there that's right and I'm going to do that seam that's right wow it's crazy doing my own product as in like sewing down south shirt yeah to get to customize it a little bit logo maybe it'll inspire the next collection right we'll see making things became a business which is great and that was my goal but I forgot why I originally started was this absolute joy that it brings me absolutely and it's easy to get lost in the you know kind of the hustle and bustle of everyday life and so taking the time to step away and do something that makes you happy and and feel fulfilled is is important yeah i'm going to keep looking at that anytime I need a reset i walk into this room and it's you know the setup that you built for me is great i'm so glad you like it okay so now we have done the majority of our prep work so we have our square for our pocket it looks amazing you did great we have our piece of patchwork that we're going to use to add the stripes to the sleeve and now we can set these aside for a minute and we're going to cut this and we we're gonna add it to our our shirt now so then when you are making this cut you can really put it wherever you want um you just want to make sure that it's laying nice and smooth because we are going to have to use whatever piece we cut off of this sleeve as kind of our template on the patchwork okay and so I'm just going to you know lay this nice and smooth i just use my fingers it doesn't have to be exactly perfect but it would be terrible to cut through it and have like a a real jagged edge make it much more difficult on us in the long run and so then the only other thing that you need to keep in mind is this top line of the sleeve you want to stay straight so when you're laying your ruler on here you want to make sure that a straight line here is following that fold line okay because if you're even a little bit crooked it's going to be again more challenging to uh to put this all back together okay all right so if you want to hand me that rotary cutter back it's funny cuz I love taking I love putting stuff together and this is kind of like that except with clothes but you have to take it apart first which I don't know how to take things apart so here's ready or not cut number one you just cut the sleeve right out yep and we're going to come back this way oh wow cut number two and so we're going to hold on to this of course we're going to need both of those pieces and this is now kind of our template for the stripe that we're going to add in and so here is what we're going to do we're going to take that piece of patchwork that we had and then I am going to use this pelon again so this needs to go with the bumpy side up okay so the smooth side of this interfacing is down towards the right side of the fabric and we're going to lay that and then we're going to place our piece that we cut right on top of that and if you want to try and press this it's going to be difficult because of the jersey but just as close to exact as we can get to having this um just don't like tug it too much just try and get it to lay flat that would be helpful i also grabbed some thread that matches your shirt because when we do some stitching later you're actually going to see this stitching and so I wanted to get some thread that will match that is great so now we're just going to lay this onto our layers that we've made here and then I'm going to use my ruler and whichever one you're most comfortable with but for this particular technique I need to cut this a/4 inch over on the short sides of this seam and a half inch over on the long sides and that's because of the method we're using that's the amount of seam allowance you need and so we are going to line up the quarter inch line of this ruler and make a cut there we go and then I'm going to rotate this half inch on this half inch on this side all right there we go and so now this piece we don't really need any longer so we're going to set that aside and the only other thing I'm going to do is I'm going to pull this off for just a second and I am going to put just a slit because we're going to turn this and it's going to be on the wrong side you won't see it i know you're looking at me like I've lost my mind but I promise this is going to work and so then now we are going to sew all the way around this with a quarter inch seam okay and then we're going to turn it right sides out okay just how it is right just how it is yep my first time working on clothes i tried to make a teddy bear one time it didn't go too well the reason we're doing this and using the interfacing for this step is it's going to put all of those raw edges of the seams it's going to enclose them in this interfacing so then when you wear this shirt you're not going to have a bunch of you know threads and and fraying happening underneath very cool beautiful all right done and so we are going to turn this right sides out but to make these corners um a little sharper and to get rid of just a little bit of the bulk I'm just going to trim off these little corners a bit you just want to be careful not to cut through your stitching all right and so then now we can use that opening that we cut to flip this right sides out and so I prefer having just this one little slit exposed on the inside as opposed to all those raw edges and so then we can just use it's like a French seam almost almost yeah kind of or the same idea of hiding all the Yeah that's exactly right and so cleans it up so we just need to get those corners as sharp as we can if you have a chopstick or a pencil or But they're laying really nice it's so funny this really is back to my roots even though I bought the machine to embroider my clothes and enhance them pillows became the thing yeah pillows then I want started wanting to use the sewing function of the machine and all I knew how to make was a pillow exactly and so then remember there's fusible on this interfacing and so I do kind of like just turn it with my fingers and and do a little bit of what we call finger pressing okay um before I take it to the ironing board and then I will let you do that and that'll fuse it down and it'll give us kind of one piece of fabric then all right can't believe I'm making clothes part of it fixing I'm fixing clothes all right i think we're good to go oh it looks good look at that yeah that looks perfect every step of this feels like an accomplishment okay good i'm so smiling the whole time all right so we have this this is going to be that center piece that we cut away we no longer need that piece of our shirt and so now we're going to take the sleeve and we're going to attach it to this okay this is was my downfall with the teddy bear put its arms on so all right so let's get some pins because you are going to want some pins or some clips either one whichever one you prefer and so I'm going to find kind of the middle clips I feel like are easier for me but let's do that what do you think works better they're either one is perfect for this okay so let's find this middle point and I'm going to put a clip in there just for my reference yeah let's move this yeah and then the bottom of the sleeve is going to go to the short side of this template that we made see this side is shorter than this one and so then now I'm going to open this up and I'm going to pin this to the middle oh how did you figure this out i don't I've just made a lot of stuff i don't know and so then we will just add clips to hold this all the way across okay just like so and you don't want to stretch your shirt just lay flat you want it to just lay flat and I always recommend if you're working with cotton and a stretch put the stretch on top because if you put it on the bottom the feed dogs will take more and it'll kind of make it pucker and so keeping it on the top is going to make it a lot easier for you and we're also going to put a lot of clips to just keep it from shifting and right side together and so this is the the right side of the sleeve is towards the okay towards the the pretty side of the fabric i'm totally overdoing it to hopefully make it easier all right and then just a quarter inch seam okay yep so we've been working towards this just as close as you can get it as long as you're catching all those layers and you don't have any like major pleats or tucks in there you're going to be just fine to stay as close to that original size as possible and sometimes it's just going to stretch a smidge and then I sew it through yep at least till you get through the bottom side there you go beautiful should I back stitch there um it's You don't have to cuz we're going to top stitch it so then now let's just take this over to the iron fold this back look how it's coming together so we're just going to fold this back and give it a good press and then I think one of the things with clothing that makes a big difference is like the little details and so we're going to switch out your thread to this and we can use it through the rest of this we won't have to switch it back and forth um and then we're just going to add some top stitching and that's just going to give you like a really nice finish and we'll just do that like an eighth of an inch from this this seam so that this will stay laying back and it's going to look really professional and nice on the finished shirt how's it look so far it looks perfect you're doing amazing okay all right and so now let's bring that t-shirt back over here because we can attach this back to the shirt we can trim off those threads for you thank you you bet beautiful all right and so again this is kind of why we open this up because you're going to have to then pin this in place to this shirt and so we're going to line up this edge and we're just going to clip all the way around okay and we're going to do the exact same thing we did before and so I like to kind of do the two ends first this is wild i'm going to wear it with pride i hope so it gives you a really beautiful finish it's a really professional finish this way and so I think Yeah it makes people question if it came that way right yeah exactly so we're just going to make sure this is laying nice and smooth add a few more clips all the way around and so then now you're just going to sew all the way around all right my homec teacher Miss Hurley actually was able to visit my store on King Street and she said it was a proud moment as a teacher i'm sure it was you know I'm glad that later in life I remembered how happy like making things made me like this is a lot of fun i'm excited to do more and more okay okay getting there look at that your sleeve is coming back together and so I am going to go ahead and just trim off this little bit of excess really quick before we get too much further okay and so I'm just going to take my ruler here just to show you how forgiving it really can be and we're just gonna roll this back and we're gonna cut a new line from there to our edge and it's going to work just great wow and so same thing over here we're just going to ease that in here we go all right and so then just like we did before we'll go ahead and press this and top stitch okay and then we can turn it inside out and sew our seam back shut yeah as long as you've got it close enough to to get that line of stitching going you'll be good all right perfect all right look at that all right so you have the trickiest part done and so now we can just turn this inside out again and you can wash this and everything just like a normal shirt yeah and if you had a serger you could totally just surge straight down this like we opened but if you don't have a serger then we're just going to use the uh the sewing machine to just sew it closed you do want to make sure that these are lined up your stripe is lined up and so I'm just going to clip those in place here wow for everyone watching at home you can literally customize a long sleeve shirt you totally can with your patchwork just follow these steps that's right if I can do it anyone can that's right and so we are going to ease in a little bit of this here where our stretch got kind of wonky the beauty of this is is this whole seam's going to be hidden underneath nobody's ever going to see it so comes back to uh we're just going to make it work and then make make sure you back stitch at the start and the stop all right all right let's turn it all right turn it inside out let's see that's crazy i've always wanted to know how to do this but I just didn't think I had the skill set you totally do it looks awesome amazing there's the sleeve it looks so good and of course you can give it a press for that that last seam for it to lay a little bit smoother but I think that looks awesome and you you did it we'll put the pocket back on and I'll try it on all right let's do it so here is our little patchwork that you made earlier for our pocket and while you were busy I went ahead and took a piece of that uh fabric that we used for our template our sleeve template that we cut away and I put interfacing on the back so I have that done already and of course here's our our template that we made of our pocket and so I'm just going to stack these together right sides and then I want to make sure that I kind of have your sewing down south in the center but then we are going to cut a quarter inch away from our template on all four sides i'm going to use a smaller ruler just cuz it'll be a little bit more manageable and so I'm just going to lay this on here and we can cut this out all right and so now I have kind of right sides together and so we are going to sew all the way around but you're going to back stitch here make your way all the way around and then leave about a 2 inch opening cuz we're going to turn it right sides out okay all right perfect and so then we're going to clip those quarters first just to make it easier on us and we will turn it through this little opening we'll just pull that through and that's why we back stitch you know cuz then we can really tug on it but look at that so cute all right that's amazing look at that that's awesome i'm going to prank my partner Jerry and tell him that you guys are making these now avoiding the decal is important i forgot yes exactly sorry i should have reminded you again that's okay you got to learn sometime so do I put my shirt through this so yeah you'll want to pull off the the the little extension table okay and then we are going to use the pins let's bring that over here and we're going to pin this pocket in place and because we seam ripped you can really tell exactly where it goes it needs to go and so we're just going to put a few pins in here and on this side you're just going to catch that little edge when you're top stitching so you're going to need to make sure that you're getting close enough to go through all those layers of fabric okay so that's really the only trick when you're sewing these down but I mean if you just do the whole thing really close to that outside edge which if you remember that's how it was when you uh did the seam ripping right and so we're just going to sew on these sides here and leave the top open okay and how do you put it in your machine you're going to open this up here and slide it under your presser foot so you're only going through that first layer of the shirt and then you just kind of rotate it under there okay and start however is easiest for you and then when you get to the top of the pocket make sure you back stitch just cuz that's where all the tension is going to be when you know if you're keeping any like candy and treats in your pocket beautiful all right all right i just got to get a couple of these threads cleaned up but I think I'm ready for more what do you think i think it looks awesome are you going to add some more to the other side i mean I was nervous at first but at this point why not challenge myself i think I got it all right awesome this is I mean that looks like it came with the shirt it really does it turned out awesome so now we'll add some stripes to this side and really embellish the heck out of this sewing down south shirt exactly i mean you've already seam ripped this so it would be a shame to not put those stripes in exactly all right well let's try to do some stripes all right let's bring it over here and we'll cut it and then you can just keep on going okay all right almost finished oh my gosh one last a little beautiful all right i can't wait to see it look at all the work that we did on the shirt though i know it's pretty amazing it's pretty great and then the sleeve in here yep but to see how the stripes look all right look at him oh my gosh wow great i'm going to It looks so good i might have to give this to my mom but I want to wear it well I hope you will yeah oh that turned out so good okay i can't wait i'm going to put it on right now okay perfect look at this oh my gosh Craig it looks great i hope you like it i do i can't wait to do that i mean I'm going to do this on all my clothes oh that's so fun the quilt man i think it turned out really cool patchwork but they're going to call me patch oh there you go no I think this is really neat and I hope everyone watching just realizes that if I can do it they can too yeah absolutely and what a fun activity to do with your family and it is and then if you wear your shirt you're going to carry the memories like every time I put this on I'll remember today yeah that we got to sit here and make this it was so fun awesome so we've got the Sawtooth star that's right nice and and your amazing patchwork shirt embellished patchwork shirt absolutely and uh we'll have a little printable for people who want all these tips and tricks that we shared in an easy format that uh people can print off and have at home so you guys can learn how to make these great great projects well what's next i'm hooked what does that look like i mean you need to make a table runner for your table you said that and so I think you need to carve out some time and come back to Hamilton now that all of this has more meaning come to the shops i would love to come to Hamilton pick out fabric and learn to make my table runner all right well come come stay with me and my family and I'll I'll see you there got it i'll be there before you know it all right so tune in next time when Craig comes to Hamilton and we'll make a table runner for his table [Music]

More Charm Pack tutorials

See all