Part 1 of 2. Crafty Gemini Tote Bag Part 1: Easy Quilting Project with Jenny Doan of Missouri Star Quilt Co and Vanessa of Crafty Gemini. Vanessa and Jenny show us how to make an easy quilt as you go tote bag using jelly rolls (2 1/2 inch strips of precut fabric) and In R Form Plus.
Jenny Doan is an American quilter, author, and YouTube personality. Jenny started Missouri Star Quilt Company in 2008 and today it is the largest quilting supply vendor in the United States.
What is covered in The Crafty Gemini Improv Tote Part 1?
Part 1 of 2. Crafty Gemini Tote Bag Part 1: Easy Quilting Project with Jenny Doan of Missouri Star Quilt Co and Vanessa of Crafty Gemini. Vanessa and Jenny show us how to make an easy quilt as you go tote bag using jelly rolls (2 1/2 inch strips of precut fabric) and In R Form...
How long is the tutorial video?
The tutorial video is 00:15:58.
Are supplies listed for this tutorial?
Yes. The tutorial page includes the supplies and materials connected to this project.
Video Transcript
* Hi, I’m Jenny from the Missouri Star Quilt Company and I am here today with Vanessa from Crafty Gemini. Hi, Vanessa * Hey, Jenny * It’s awesome to have her; she’s just so much fun. So this is the project we have planned for you today, it’s this awesome little bag, and she’s going to take us right through it from start to finish, so let’s get started on this. Alright, so, so, Vanessa, what actually are we going to need to make this bag? * So we’re going to start off with one pack here of the two and a half inch strips and I use this really pretty fabric, it’s Mimosa by Windham Fabrics, I just love the way the colors * It really is beautiful * They together so nicely, okay? * Yeah. They really are pretty. * And so for the fabric, as far as yardage and stuff goes, one pack of the two and a half inch strips is for the outside and you can see right here, I still have a chunky stack left, for afterward * Oh gosh, yeah. You’re going to get, you’re going to get a lot more bags out of that than just, yeah * Definitely, you will definitely get your money’s worth, and you don’t have to do the cutting because it’s precut. * That’s right, I love that * So for this project, it’s a great way to set it up. * Yeah * Now for the yardage, minimal, I would go with maybe two thirds a yard of fabric, we’re going to use about a little bit less than a half a yard for the lining and then for the strips as well, alright? * Perfect, perfect. * And then what’s inside, the magic. * The magic? This is the magic, I didn’t know about this magic! * It is! Look how the bag stands up by itself, there’s nothing in it, we didn’t have to stuff it prop it up, it just holds it shape. It’s amazing. * It holds, it’s, it’s awesome. * So the product, let me show you here, Jenny, it’s called Inner Form Plus and it’s made by Bozo Foam and Fiber, and it’s this, it’s like a lightweight foam, and it’s double sided fusible. * It’s awesome! I, I’ve never seen this before, so this is really cool for me. * You can’t get this type of a shape with batting. And, you know, sometimes you use interfacing that may be a little too stiff, this stuff, like you can crunch it up and it just pops right back to life. * That’s awesome, really awesome * Especially, even if you don’t use it for a bag, like just for straps? You know, batting sometimes, where it’s folded at? * Oh, sure * It’ll kind of start weighing, like dying out like fibers? This stuff, I mean, it’s amazing, it’ll hold its shape great. * So, It’s like, it’s like two little this sheets of fusible with a little bit of * With foam and fiber * Foam inside. * Yeah * That is awesome, very cool. So let’s, let’s see how we do this * So to get started, we start off with a piece here * Let me stick this over here. * Great, so we’re making the outside of the bag. And this is a very improvisational project, I like to use a quilt-as-you-go technique if you’re working on a couple of quilts this is a great little project * People love quilt as you go, they love it. * Yeah. You can fit this little project in as just, free you up a little bit, you know, if you’re cutting out tons of patchwork pieces, this is something where, you can just cut as you go and I’m going to show you how to do that. We start off with a piece of the Inner Form Plus here and it measures fifteen inches by thirty. * Yeah. So this comes, does this come like pre-cut in…? * So this sized bag- you can buy it, some quilt shops and places carry it by the yard, you can also purchase it in packages. * Oh, okay * Okay * Very cool. * And so, we’re going to start off here, to start off, let me show you on this bag, I started off actually with this little triangle piece in the middle but you can also start off with a square as well * So here right there? * Any shape, you know, that you can start off with, and we’ll show you how it starts. * That’s so cool. * So usually what I do is, I like, you know, this is going to be folded up in half. So say you want the front of your bag to be here, we’re going to start off with one little piece. And notice, I’m not using any scissors. I’m just going to cut out this- * You’re not using any scissors? (laughter) * I, I’m not using any rotary cutters * I just saw you use those scissor! * Rulers! No rulers, no rulers. So, we’re going to cut out just a little chunk, so we’re going to start off with a square or rectangle, I’m not measuring anything, alright? So say we want this right here. * Okay, this is a little out of my box, you know, I’m a measurer! * Let your mind get a little bit free right here, Jenny. * Ooh! * So we’re starting off here, you put one piece with the pretty side of the fabric facing up. * Okay * You want to pick out the next one? * Sure. * What, what do you want us to do? * We’ll contrast a little bit. * Great, so here goes, no ruler, * My gosh * No rotary cutter, * Alright, alright, here we go! * So you just eyeball it, it doesn’t have to match up perfectly with the piece before it. * Okay. * And now we’re going to lay these just as we would piece something together, pretty sides of the fabric together, and you’re just going to stitch it on one of the sides. * Okay and so do we, do we, is it a quarter of an inch? * It doesn’t matter! * It doesn’t really matter. * It doesn’t matter. You could use your presser foot, the edge of your presser foot as a guide, and just stitch right down that line. * Alright. So I am just going to sit down here at the sewing machine and let me inhibitions go. * Sure. And one more thing to tell you about sewing with the Inner Form Plus- * Yeah? * You don’t need a walking foot- * No, it goes right through! * You don’t need to change, it stitches like butter, it really does. * It really does stitch like butter. * Because it’s lightweight, you know, it has that foam on the inside. * Alright. * So you don’t really feel anything stiff in there when you’re sewing through it. * So here we are. * Alright, now let’s take it over to the pressing surface, if you could pass me the scissors. * I do, I call that an ironing board, you know? Pressing surface? * Oh, hahaha * Ironing board, same thing, you know? * So now, we’re just going to open it up, and the same way that you would press your seams to one side, you know, and press the patchwork into place? * Yeah? * This is the trickiest part just to be careful not to press the iron on the rest of it, because remember it’s fusible. * It’s fusible, yeah. * So I just kind of tap it into places * You have to be a little careful * Just in a few spots, you don’t really need it, but it does help. * You got to get, once you get a few strips on there you can really, yeah * Then you can just really go to town and press it. And because it’s stitched into place it’s going to hold nicely, you know, you don’t have to do too much. Alright? * Alright, let’s pick another piece. * Great * How about- * And so now, this is, notice, we’re not measuring and now you can kind of pick any side you want. You can go here, here, here, whatever you want to do, Jenny. * Alright, I’m going to go here * Oh, I see you’re getting the hang out this, huh? * This, this is- * It’s fun * It’s going to be really fun * And it doesn’t matter because at the end especially if you’re working with a strip pack like these, you know, the collection goes together, everything matches, you don’t have a problem. * Do you know, that is actually, for me, that is huge, because I am, * It’s helpful * I am a little color challenged, * Yeah * Because I’m a matcher, and I’m not good with contrast and so when I open a precut it’s all done for me * It’s done, yeah * And I love that part of it * So for this part of it, it’s great * Yeah * And then if you want to go with a more scrappy feel, this is a great scrap buster because you can just throw any little scraps on there as well. * Alright, so can I try ironing this? * Go for it! Get a feel for it. * I, I just want to feel see how it feels to, to iron this. * Sure! * And still we’re being very careful not to touch any place but- * And if you do, you know, I’ve, it’s, I’ve done it a few times, it doesn’t really, if you don’t get that bulkiness like some fusible webs get on your iron * Yeah? * And at the end of the day it doesn’t have to be fused on here so it still works out fine, let’s cut some of these threads. * Alright, so how about… * And so, that’s all you’re going to keep doing is going around and around. Look at you, it’s like a puzzle. * I know, I’m just, I don’t want to put green by green! It’s too matchy. * Yeah, exactly, you see? Exactly. * Oh, oh, here I’ll do this. Perfect. * There you go. * Oh my gosh. * It’s so easy and so fun. And because the chunk that we’re starting off with is not that large, it really whips up pretty quickly. I mean, I think that’s the part that takes the longest is picking which fabric you want to go where. * Yeah * You know, what we want to do. * Well, and even if it doesn’t line up exactly- * It doesn’t * You just lay the next strip over it * That’s right * I love it * As long as the fabric that’s on top is not too light. Sometimes you may see the seam show through a bit but it’s not that big of a deal. * Alright, now we have one, actually, that we’ve been working on- * That’s right * Actually, she’s been working on- * I’ll leave this one with you so you can finish it later. * Yeah, yeah, that’s going to be fun! Because this is really, this is really new to me * Yeah! Good * This is actually really fun. So, let’s see the piece you’ve been working on * Sure, so let me show you here, after a little while of working with all that, here we have this one. And quickly, let’s show- * Oh my gosh, look at this! * See how cute that looks? So we start off here, you can see where I started on the first * Yeah, you’re little squares * And as you keep going you kind of get almost like a chevron look * Yeah, sure * You know what you’re getting with the different strips * Well, and this is fun too for me because you have two in a row that are the same length, and you don’t have to do one, one, one, one- * You don’t have to * You just do it any whatever you want to * Any way you want, yeah. * This would also, I mean I know we’re making a bag here, but this would make a darling table runner. * Table runner! I see you eyeing it for that. * And you can make, you can make it as long as you wanted to, really. * Yeah, or as short. It makes, look at this, like a little table topper- * Sure, rug mug, something like that * A little rug mug for candles and things. * Oh, my gosh. * Yeah, and the product is amazing. * Even, now, she was also telling that you use this product and you make iPad covers- * iPad covers, tablet sleeve covers, cell phone cozies- * Okay, you actually lost me at iPad cover, because I can’t imagine making one of those, we’re going to have to * It’s so easy! * Yeah, we’re going to have to do it, a little some of that, that sounds really fun * That would be fun. For cell phones as well, and because the foam is kind of like a little protective layer * Sure * So for any electronics, you know we have so many gadgets these days * I love it * It really works great for that. So let’s just show here how the stitching ends up being. Nothing is super perfect, matched up, you know, you’re kind of crossing over some seams * Yeah, I love it, isn’t it great? * And it works out great. So let’s start trimming it up. Flip it back. * So we start by finishing it up, well, we have one more corner to finish here. * Oh, yeah, that’s right * So let me put, let me put something crazy out here * Whatever you want * I think I’ll just do this, even though it’s blue-blue, * Yeah * But it’s the right size, and- * Yeah, well, and it has a little pop of some of the flowers and some of the other colors that will go nicely. * Alright, let’s see here. Honestly, when I saw this white piece I did not see it as a bag, you know. * Really? * Because, because I wasn’t, I just wasn’t sure how it was going to go, you know? * Well you know, it’s like when you, if you buy like pre-quilted fabric, now you don’t need to because you can make your own and cut it down to whatever size you need for your project. * I’m going to iron that down. You do know that I’m a Gemini as well, don’t you? * No * I am, when’s your birthday? * June first. * June first, I’m June eleventh! * That’s so cool! * Yeah, I think that’s why we’re both, both a little crazy * We’re crafty, we’re crafty Gemini. So that’s awesome. So now we’re going to trim this up since the foam was cut to the size, a good little strip ruler * Oh, okay. * And just trim it down * To match your…? * Yeah, to match the edge, because then we’re going to stitch this over * I love this, this is really fun. And this stuff is like instant finish. * It is, it is. * That’s really cool. * And so I’ll show you a little something else, actually because this one is just stitched down into place, once you quilt, because it’s quilt as you go, once we stitch this into place, and it’s fused on top of that, that fabric isn’t really going anywhere. So it’s all good to go. * Okay. And we’re now carrying this * Yeah * So I’m going to go to town. I mean, I’m, projects are just going to- * There are going to be so many, you’re going to find so many things you can do with it, for sure. * That’s awesome, that is awesome. * And now, if you show them that other bag. * Oh, yeah * This one right here, well, actually, yeah, both of them, I did the same thing. Notice that there’s quilting lines on it, you can now, if you want to, you don’t have to at all because it’s done, once you piece the front of it, you know, it’s quilt it as you go, you don’t have to * Yeah * But I went back and did just straight stitch lines, * Oh, that’s very cool * Along the length of it, and it’s just more texture, I think * So, so a lot of times when we do a tutorial, we’ll do a pattern for it in the block magazine, and this is actually coming out in the block magazine and we’ve used Jennifer Paginelli’s good company fabric for this, and this is the fabric that it will be featured in the block magazine * I had a lot of fun making that one, it’s just gorgeous * And so it’ll come out in mod-block and so it’s just going to be really, really, and it’s just fun to see it in two different styles * Totally different, exactly. * Totally different. * And so at this point if you did want to do those straight line quilting stitches, you could do it. You can even do free motion quilting at this point- * So this would be the time you’d do that. * Yeah, now. Because after this, that will- * But you don’t even really have to. * You don’t have to. * Okay. * It just adds a different * So this one also has the line sewn in it * Yeah * You can see * And I use a variegated thread that had the colors of the, the fabrics so it kind of like, adds a little more color, more pop to it * Yeah, it’s beautiful. * You know, some neutral tones. Alright, so you would do that at this point and if not, no big deal, we’re moving right along, we’re going to lay this, or fold it in half * Okay * And I just need you to stitch down both sides, top to bottom. * Okay, I can do that. * Easy enough. * And this, it’ll be interesting to see this because now we have- * We have our half an inch seam allowance * Oh, half an inch. * Yeah. * Okay. So now we have both of our, both of the, the, this stuff against the machine and so- * That’s right * It’s really the true test as to whether or not we need a walking foot and honestly- * No walking foot, no test line foot, nothing * I can, I really can let go of this and it just slides through perfectly. * It’s because that foam, I think, is so light that it just, it gets, it’s compacted enough as it needs to, to go under the presser foot, but the needle stitches right through it because it’s lightweight. * Now also, a half inch is a little different for us, * That’s right * Most of us quilters do everything a quarter of an inch. * And so for this part, I use half an inch because we’re sewing, like you said, through two layers of the foam, it’s a little bulkier, and we have fabric in there, so it’s really like two layers of foam, two layers of fabric, and if you do a quarter inch sometimes it might slide off on you a little bit, you don’t want to catch it on the other side where it’s not going through all the layers. So half an inch is more- * And also, my, my half an inch here, I didn’t actually have to move the bag over, I kept it at the edge of the foot and moved my needle. * That’s fine, that’s a great option to have * So if you have a, a sewing machine that will do that * Where you can just tap it over yourself * Because we all get used to putting our fabric down in, in the same place. * That’s right. * And that way it still felt the same, like I was sewing the same to me but it was moved over, because I moved my needle, not my project. * That’s an easy way to do it. Now we’re going to go in and box in the corners. So to make some boxed corners we’re just going to put our hand in the bag here, and then just pinch it, give it a little triangle shape here, so that that center seam is going right down the center. * Mm-hmmm. * And then I’m just going to measure two and a half inches in from this tip most point here. * That’s awesome. Now you do know that however far in you go, that’s how wide it’s going to be on the side. * That’s right and so that’s going to help us keep a straight line across here * I didn’t know if you knew that little trick, that’s just a great little trick to know, because if, you know, when you’re measuring these, you know, how far to go up. * You want to keep them even on both sides, obviously, you know, so it’s- * Yeah * So after we do that, I just take the ruler and take that same mark across to the edge. * To the edge. * And to the edge. * And then we sew that. * And then we sew that. * Alright. * And we’ll do that to the other corner as well. And then we’re going to repeat the same steps with the lining so I’ll kind of start taking up the lining pieces here, while you do that, Jenny. The lining piece is the same as we started with that, the foam product, the Inner Form Plus, fifteen inches by thirty, we fold it in half, and the same way that Jenny sewed up the bags on the sides, we’re going to repeat that same process except we need to keep an opening because we got to flip the whole thing right side out when we piece it together. So let me show you here. I use some darker stitching thread here, so this side just has stitching all the way down and on this side I left about a three to four inch opening on the one end, and make sure that you back stitch you know, at the beginnings and at the ends of where you stop, because when we go to flip this out, if you pull too much on it and it’s not back stitched it’s going to come apart on you. * Now do we want to trim these off. * I don’t, you know I actually leave them * Okay * Because they give the body a little more support * Absolutely * And body to it. * Do we turn, can we turn it? * Sure, you can turn it inside out if you want to * Alright, see what’s happening… * See how it’s starting to take shape? So are you liking our little project? * I’m loving this! * You see? * That’s very cool. * And you can already see, I mean, it holds it shape nicely. * Really holds its shape nicely. * Great, so let’s keep going with this little lining piece. And after, I was mentioning to them, that we leave an opening here, and we’re going to do the same thing of boxing up corners to the lining as well. * Oh, okay. * So we pinch that. * We draw our * Little pen here * And we’re two and a half * Two and a half. Make the mark and then just take it all the way across, corner to corner. * And let’s do that on the other side as well. So we have this… now do you ever open up this seam or do you just leave it down? * Sometimes I do, sometimes I don’t, it just depends on what I’m working with * Depends on the bulk? * Yeah, the bulk of it. * Yeah, I kind of agree. If you happen to be sewing fast, and it’s laying down, you just keep going * You take it with you, I do it, too * Yep, it’s like, eh, that’s not going to matter. Alright, so you want to…? * So we’ve done the box corners already to the bag, and now we’re doing it to the lining piece and then we’re going to set those aside and we’re going to make our shoulder straps before we start putting the whole thing together. * So this is coming together really quick and easy, and, so just as a reminder, what we’ve done is we, we have sewed all of our pieces on, you know, quilt as you go * Quilt as you go * And ironed them down * That’s right * We sewed our side seams right here * Yep * And we’ve boxed the corners * Boxed the corners, we have that whole outer shape done * And we’ve also sewn the sides * Same thing * And done the boxing, the same thing on our lining * On the lining, that’s right. * Perfect, perfect. So, join us for the next part where we’re going to actually put the bag together and make the handles, and we hope you enjoyed this tutorial, part one of the Quilt As You Go Tote * Quilt As You Go Tote * From the Missouri Star Quilt Company

 In-R-Form Plus Double Sided Fusible Foam Stabilizer$11.75Shop →
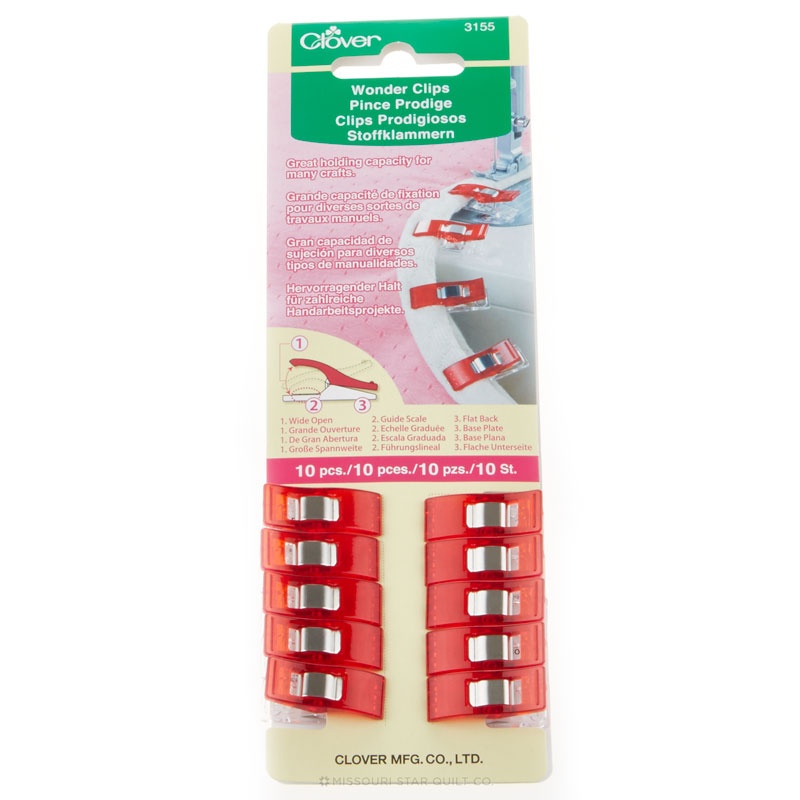 Wonder Clips - 10 count$6.45Shop →
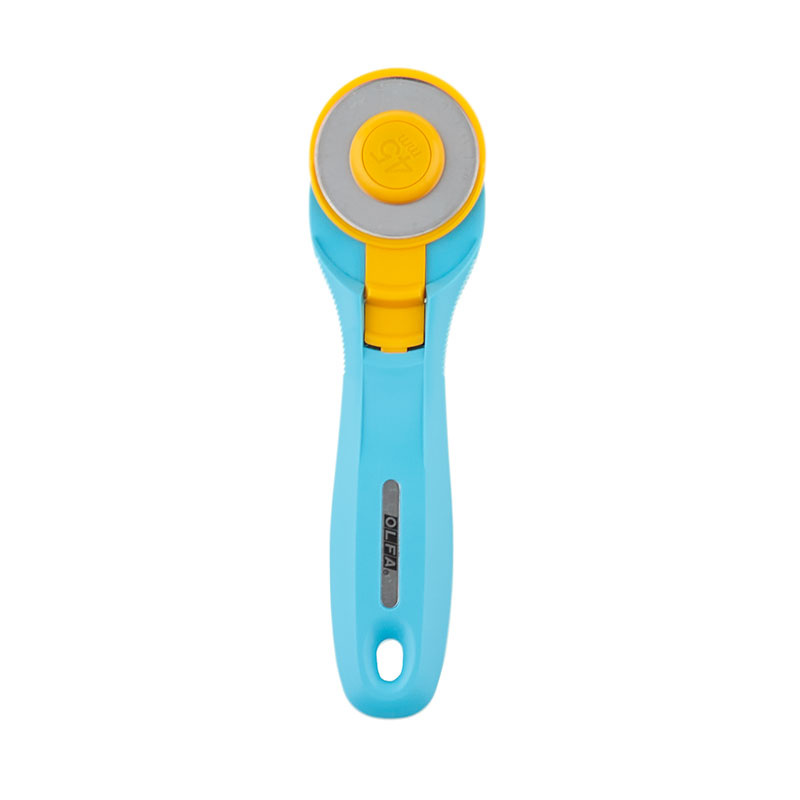 Olfa Splash Aqua 45mm Rotary Cutter$18.75Shop →
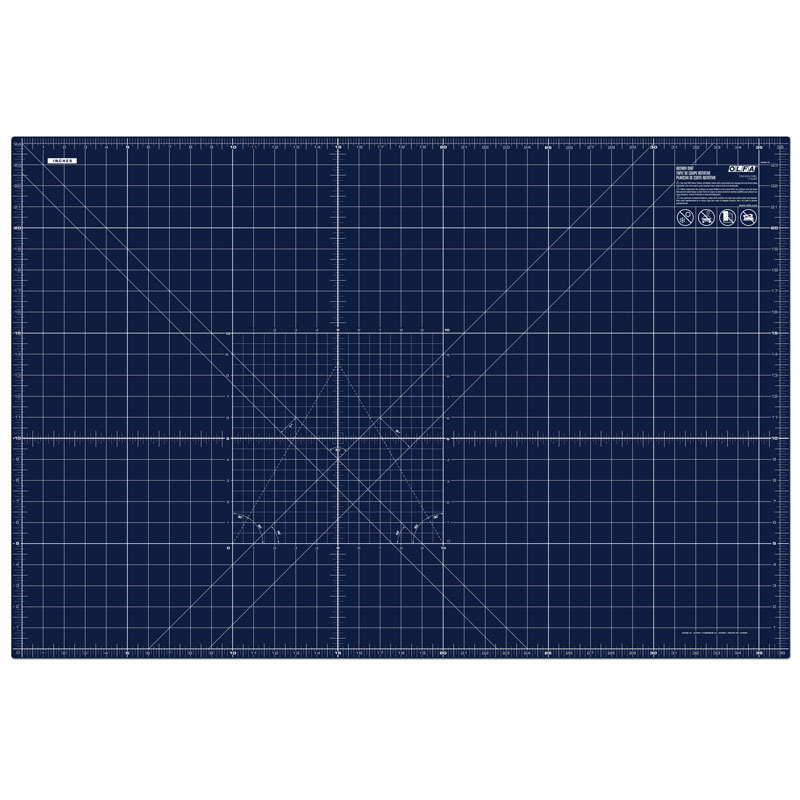 Olfa Splash 24" x 36" Cutting Mat Navy$68.95Shop →
 Exclusive Missouri Star Jenny TG1600 ProPlus Oliso Smart Iron$199.99Shop →
 Missouri Star 5" x 15" Ruler$15.95Shop →
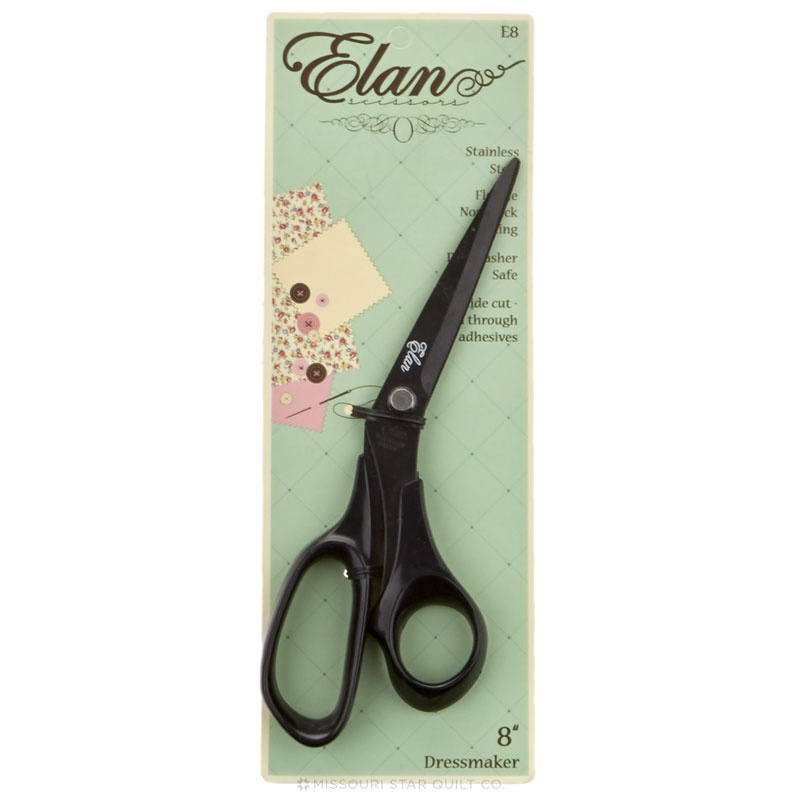 Elan 8" Dressmaker Scissors$20.95Shop →


