

The Cuddly Pillow Quilt
Jenny Doan shows how super soft and cute Pillow Quilt (also know as a Biscuit Quilt) using Cuddle Charms by Shannon Fabrics. Or, check out the entire website here!

Instructor
Jenny Doan
Jenny Doan is an American quilter, author, and YouTube personality. Jenny started Missouri Star Quilt Company in 2008 and today it is the largest quilting supply vendor in the United States.
Shop this tutorial

Common Questions
What is covered in The Cuddly Pillow Quilt?
Jenny Doan shows how super soft and cute Pillow Quilt (also know as a Biscuit Quilt) using Cuddle Charms by Shannon Fabrics. Or, check out the entire website here!
How long is the tutorial video?
The tutorial video is 00:10:30.
Are supplies listed for this tutorial?
Yes. The tutorial page includes the supplies and materials connected to this project.
Is a transcript available?
Yes. A written transcript is available on the tutorial page.
Video Transcript
Today Jenny is using Cuddle Charms (charm packs of Cuddle fabric) to create a fabulous puffed quilt. It's super soft and super fun!
If you can't find Cuddle Charms, you can also purchase Cuddle by the yarn and cut it into 5" squares to make your own quilt.
To create the quilt, Jenny used 8 squares by 10 squares (or 80 squares per side) for a total of 160 squares.
She begins by matching fabrics in the charm pack together (so each square will have the same fabric on both sides, and the quilt will be the same on both sides) and laying out the squares in the order she wants them. Play with your colors and have fun!
Next you're going to sew your squares together into rows. You will have 4 layers of fabric for each seam, and you want to try to sew it as well as possible, but if it's not 100% perfect that's ok. You're going to sew and pull your seams up to the front (that's how you'll get the fun rag look at the end). Be sure to sew the ends as well so you can easily stuff them!
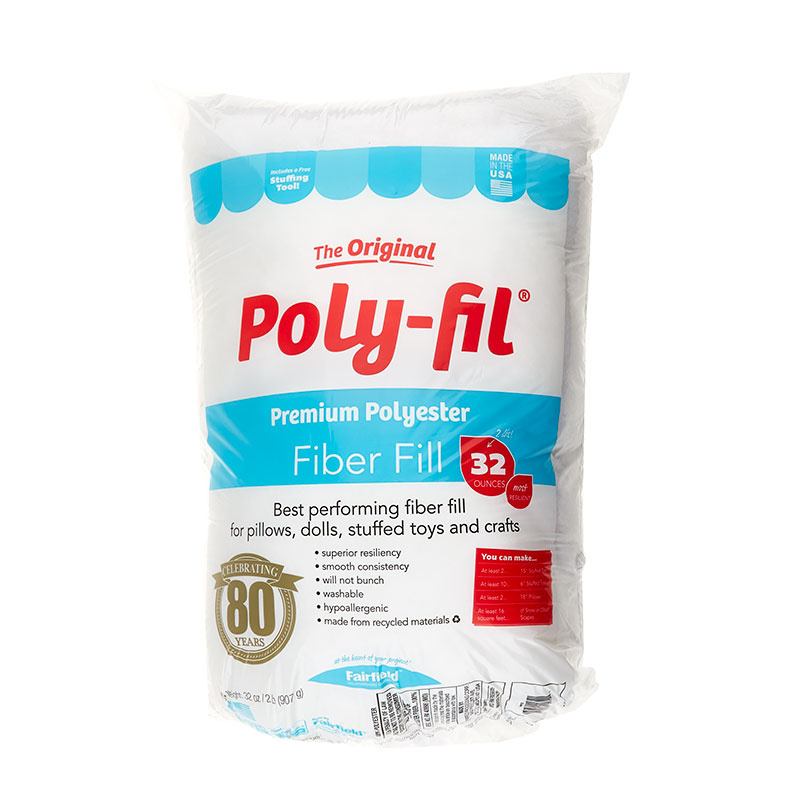
For the first row only, sew a seam on the bottom. Then stuff each little square with a bit of Polyfil. Just use a small handful - no measuring necessary. Just be careful not to overstuff as it will make sewing the seams together difficult.
Next attach the next row on top and sew wrong sides together (remember you want your seams to show on this project!). Match and nest the seams as you sew the rows together.
Then repeat with the stuffing and sewing the next row on until you get to the final row, and sew the top closed.
Lastly, you'll clip the edges of the seams to give them that "raggy" look. Clip to the stitch line, but don't clip the actual stitch line.
If you can't find Cuddle Charms, you can also purchase Cuddle by the yarn and cut it into 5" squares to make your own quilt.
To create the quilt, Jenny used 8 squares by 10 squares (or 80 squares per side) for a total of 160 squares.
She begins by matching fabrics in the charm pack together (so each square will have the same fabric on both sides, and the quilt will be the same on both sides) and laying out the squares in the order she wants them. Play with your colors and have fun!
Next you're going to sew your squares together into rows. You will have 4 layers of fabric for each seam, and you want to try to sew it as well as possible, but if it's not 100% perfect that's ok. You're going to sew and pull your seams up to the front (that's how you'll get the fun rag look at the end). Be sure to sew the ends as well so you can easily stuff them!
For the first row only, sew a seam on the bottom. Then stuff each little square with a bit of Polyfil. Just use a small handful - no measuring necessary. Just be careful not to overstuff as it will make sewing the seams together difficult.
Next attach the next row on top and sew wrong sides together (remember you want your seams to show on this project!). Match and nest the seams as you sew the rows together.
Then repeat with the stuffing and sewing the next row on until you get to the final row, and sew the top closed.
Lastly, you'll clip the edges of the seams to give them that "raggy" look. Clip to the stitch line, but don't clip the actual stitch line.


