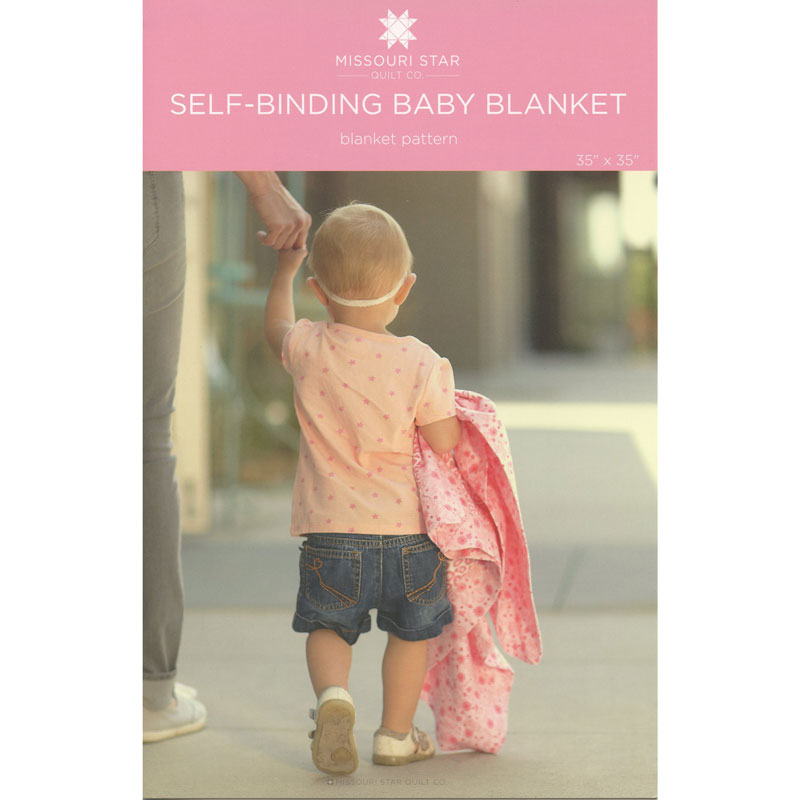
The Self Binding Baby Quilt
 Jenny Doan
- Fabric by Yard
- Baby
- Beginner
- Quilt size 35" × 35"
Need a quick project to use up you fabric stash, or make an adorable gift? Well, look no further! Jenny Doan shows a quick (10 minute) way to make a self binding baby quilt/receiving blanket.
Instructor
Jenny Doan
Jenny Doan is an American quilter, author, and YouTube personality. Jenny started Missouri Star Quilt Company in 2008 and today it is the largest quilting supply vendor in the United States.
Shop this tutorial



Common Questions
What is covered in The Self Binding Baby Quilt (Receiving Blanket)?
Need a quick project to use up you fabric stash, or make an adorable gift? Well, look no further! Jenny Doan shows a quick (10 minute) way to make a self binding baby quilt/receiving blanket.
How long is the tutorial video?
The tutorial video is 00:12:38.
Are supplies listed for this tutorial?
Yes. The tutorial page includes the supplies and materials connected to this project.
Video Transcript
[Music] hi I'm Jenny from the Missouri Star Quilt Company I've got a great little project for you today it's a self-binding receiving blanket this is so cute you can see the example of some of these right here now what you're going to need for this is two pieces of flannel one is 30 in and one is 40 in so once you've got those cut out you can see I have those two pieces here then you're going to need to put a pin in the middle in the middle of each side so what we're going to do is we're going to fold them like this and find that middle and put a pin in there and we're going to do that to both pieces so let's quickly do that okay I've got my pins in this one and here's my side pins go here we're lucky cuz we um the way we cut it we have the fold to use as a marker for these sides and then you're just going to do the same thing with the big piece so we're going to put a pin here in these in the middle of each side and one here these are so quick and fun you're really going to enjoy this and they make great little gifts too if you need something in a hurry this really is about a 10-minute project okay so now we'll find our middle on the other side and you have to be pretty exact about this this is like the main part of it um to get these you know get them you got to get them pretty close pretty close meaning really close okay so now we've got the middles so then what we're going to do is we're going to lay our two pieces of flannels out like this we're going to put right sides together and we're going to pin the middles together on each flannel so we're we're going to pull this one up here and we're going to go ahead and pin it pin them on all four sides so then we'll come over here and oh I almost lost that pin you want to make sure you don't have any baby any pins left in this baby blanket either so you're going to come over here and pin again I know this looks a little crazy but I've done crazy things before and it always works out okay so here's this last one now what we're going to do first is we're going to put a pin right here and Mark this so that we don't sew on it CU we need to leave an opening so that we can flip the blanket right side out when we're done and as you can see this isn't going to reach clear to the end so we're going to sew from the center your pin down it a/ quart of an inch down to the end and and leave a qu of an inch opening right here on the end and we're going to do that on all four sides so I like to just put a little pin right in there so I know where to stop and uh and so I'll probably I'll just go ahead and do that on these so you can see so you're going to sew right here from the middle all the way down here and you're going to stop A4 of an inch from the end it's really important that you don't sew right over that um you're just going to stop a quarter of an inch so we're going to head over to the sewing machine and we're going to sew some of these seams and we'll meet you back here in a minute okay so we're starting right here at the center and I'm going to get it set up so that my um sewing machine goes in right on the other side of that pin we don't want to sew over that pin but I want to leave that pin in there to mark that Center then we're just going to sew a/ qu of an inch like we always do and quilting everything is a/ quart of an inch so we're just going to sew right down this Edge Let's see just a little bit more and I've got a pin in there where I need to stop there we go okay so now we're just going to move this Fabric and do the same thing we're going to sew from the middle out on each side okay so here we are at the very end of our last last seam we've sewed from the middles all the way out to the end and we've got it so now what you get this is going to look a little funny to you is you're going to get this this kind of wonky looking square blanket with these kind of bunny ears sticking out the side so first we want to take out all our pins make sure that we don't have any pins left in our little blanket and then we're going to miter these corners and this is so this is cool you're going to love this Okay so we've got a little miter here and what we're going to do is what we're going to do is we're going to fold these Corners out straight like this and we have to we have to fold up this little bit of fabric in here right here see we're going to put these two sides together like this match up our two sides and then you'll have this straight little fold out here can you see that let going to show you again we've got the two sides of the quilt we're going to bring them together so they meet up and then this is going to be a straight point out here now what you're going to do to find your 90° angle is you're going to need a ruler with a straight edge and we're just going to put the edge of the ruler here let me scoot these things so you can see a little better we're going to put the edge of the ruler on the fold and line up this Edge over here so we're lining up the edge on the fold and then we're bringing it in in over here to the Stitch line and we're going to draw that line or if you're brave you can just cut it off but this is how your line should look it should look you know make like an equilateral triangle right there so again we're going to put our our ruler on the edge like that draw the line and then this is our Stitch line so let me let's go ahead and Stitch that and this will make our first corner and you're just going to start right from the stitches and Stitch straight down on the pencil line that you drew and then we're going to get our scissors or you can rotary cut this either way and we're just going to trim that off now if you're a little nervous about whether your Cut's right make sure you look inside first to make sure it's going the right direction now we're going to go ahead and do that to the other four corners and we'll meet right back here so we've sewn all the corners and now we're going to flip this last one off and then we're going to turn it right side out all right we have to find the little our hole oh here it is now we're just going to reach inside there and we're going to I try to I stick my some thumb up in this corner and push it back you know to make a nice point and I try to do that on each of the corners you're just going to turn it right side out out make sure all those points are nice see this cool mitered Corner look at that here I'll show you another one there's another one standing nice and tall like a little hat all right here's the last one now I'm going to lay this down and you're going to see what we got here look self binding how cool is that now what you're going to do is we're going to iron this nice and flat and then we're going to just top Stitch along the top of this to make it lay flat and hold the two pieces of flal together and then we're going to be all done all right so let's go ahead and press this down and if you have a corner like this that doesn't quite um come out you can just take a little pin in there and you know stick it into that fabric and give it a pull and make that corner nice and sharp so let me go ahead and press this a little bit here there we are move those out of the way or I'll knock them off with my wild pressing I have two little baby nieces that were just born little girls and so they need some receiving blankets I think so with any luck these we will get these out to them and they are so cute look how cute this is with these fancy flowers and polka dots I love polka dots there we go all right let's clip our threads while we're working on it here now the next thing we're going to do is we're going to sew all the way around the top and we're just going to sew I am going to um this is a nice time to use one of those fun stitches that we have on our machines as Quilters we don't often use those different stitches and so what we're going to do is we're going to use some one of those fun stitches that you know that will cover kind of both sides of the seam and I like to do one of those zigzags that has a little stitch on it so let's just take this over to the sewing machine and give that a sew and when you sew across you can see here let me show you this real quick you can see here this right here is the hole where we um where we turned it and we're just going to sew right across that you don't even have to hand Stitch this really is pretty much a 10-minute project so let's go ahead and I'm going to change the settings on my machine so that I can um do this and what I would suggest is that you get a little scrap piece of fabric and you're going to run your stitch on it ahead of time to make sure that it looks how you want it to look and you know and it's going to work for you so so um and you're going to start from the corner and then we're just going to sew that all the way around so let's go ahead and get sewing on this and I really want mine a little bigger than that and I should have checked it out ahead of time hang on there we go and it just sails right across that okay so now we have a nice little Stitch and we're just going right across this I'm catching both sides with my Stitch and I'm almost to the corner and I just like to keep that smooth with my hands and then we'll put our needle down and turn the corner again we're going to go right across both of the both of those we right where the seam comes together we're going to sew across both of these um Fabrics right where the seam comes [Music] together so we'll see you back here in a few minutes for the finished product okay so here we are with the finished product take a look at that isn't that adorable it's just so cute with the two Fabrics you've got this is the back and the front we've stitched a little Stitch all the way around let me show you a couple of other examples look how cute this fabric is with the little owls and we put this little pink floral in the middle and then here's one with the pink dots and the and this pretty wild polka dot in the center anyway it's just a really quick and easy project and we hope you enjoyed this tutorial from the Missouri Star Quilt Company [Music]