

Triple Play: 3 Flying Geese Projects with Jenny, Natalie & Misty of Missouri Star
 Jenny Doan
- Charm Pack
- Traditional
- Lap / Throw
- Beginner
- Quilt size 76" × 84"
We have a new tradition here at Missouri Star: Triple Play! Once a month, Jenny, Misty, and Natalie each demonstrate their own, unique take on a classic MSQC pattern.This week these talented Doan ladies are demonstrating three new ways to use one of our favorite MSQC blocks: Flying Geese! As always, each of these projects is quick, easy, and fun!
Instructor
Jenny Doan
Jenny Doan is an American quilter, author, and YouTube personality. Jenny started Missouri Star Quilt Company in 2008 and today it is the largest quilting supply vendor in the United States.
Shop this tutorial
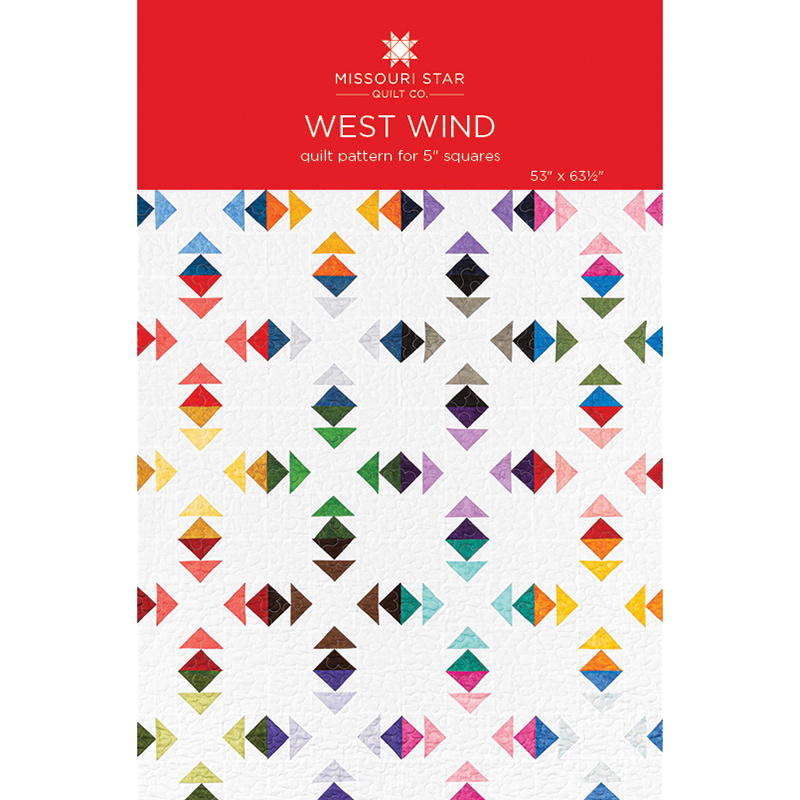 West Wind Quilt Pattern by Missouri Star$4.95Shop →
 Digital Download - West Wind Quilt Pattern by Missouri Star$3.95Shop →
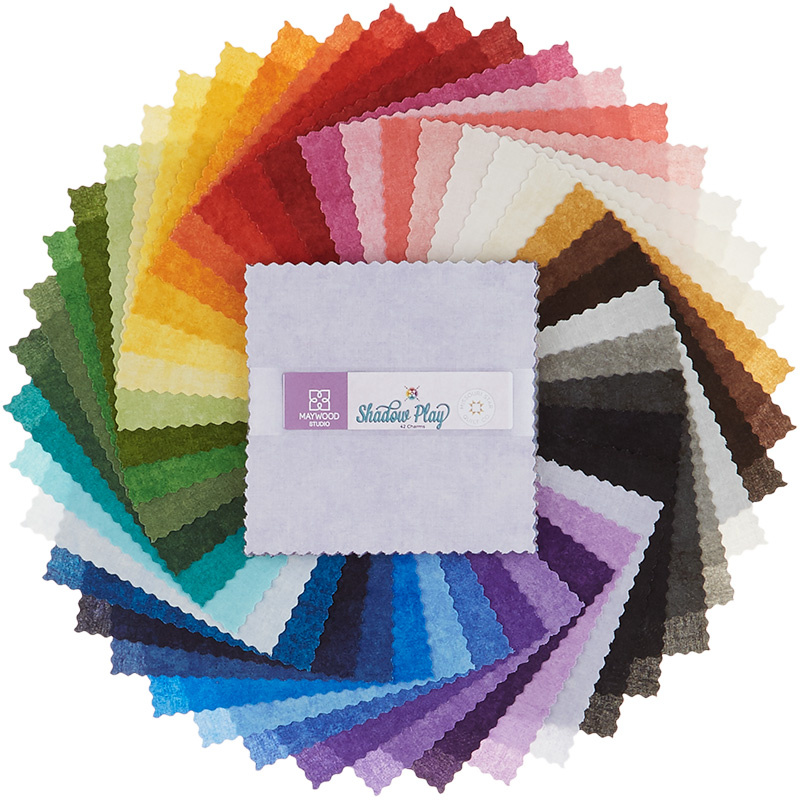 Shadow Play Charm Pack$9.95Shop →
 Shadow Play - Petunia Yardage$10.45Shop →
 Kona Cotton - White Yardage$6.25Shop →
 Shadow Play - Limoges Yardage$10.45Shop →
 Every Which Way But Goose Quilt Pattern by Missouri Star$4.95Shop →
 Digital Download - Every Which Way But Goose Quilt Pattern by Missouri Star$3.95Shop →
 Aunt Grace's Apron Charm Pack$9.95Shop →
 Bella Solids White Charm Pack$8.95Shop →
 Bella Solids - White Bleached Yardage$6.95Shop →
 Aunt Grace's Apron - Daisy Stitch Red Yardage$10.45Shop →
 Gaggle of Geese Quilt Pattern by Missouri Star$4.95Shop →
 Digital Download - Gaggle of Geese Quilt Pattern by Missouri Star$3.95Shop →
 Kaffe Florals Rainbow Charm Pack$11.95Shop →
 Designer Essential Solids Arctic White Charm Pack$8.95Shop →
 Designer Solids - Arctic White Yardage$6.95Shop →
 Kaffe Caribbean - Cactus Dahlia Blue Yardage$9.95Shop →
 Kaffe Fassett Collective Spring 2019 - Bright Cactus Flower Red Yardage$11.50Shop →
 Olfa Splash 45mm Rotary Cutter Navy$18.75Shop →
Common Questions
What is covered in Triple Play: 3 Flying Geese Projects with Jenny, Natalie & Misty of Missouri Star?
We have a new tradition here at Missouri Star: Triple Play! Once a month, Jenny, Misty, and Natalie each demonstrate their own, unique take on a classic MSQC pattern.This week these talented Doan ladies are demonstrating three new ways to use one of our favorite MSQC blocks: F...
How long is the tutorial video?
The tutorial video is 00:28:01.
Are supplies listed for this tutorial?
Yes. The tutorial page includes the supplies and materials connected to this project.
Is a transcript available?
Yes. A written transcript is available on the tutorial page.
Video Transcript
Misty: Misty
Jenny: And
Natalie: Natalie
Jenny: Look how easy that worked. Anyway today, the topic we’ve chosen to teach you about today is Flying Geese, or many gooses or whatever, you know, whatever you want to do. But we each have a project and we’ve each done the geese a different way and so we hope this gives you lots of ideas and lots of new methods to learn as well. So what do you say girls, shall we get started?
Misty: Let’s do it.
Natalie: Yep
Jenny: Alright let’s get started.
Natalie: You’re going to love it.
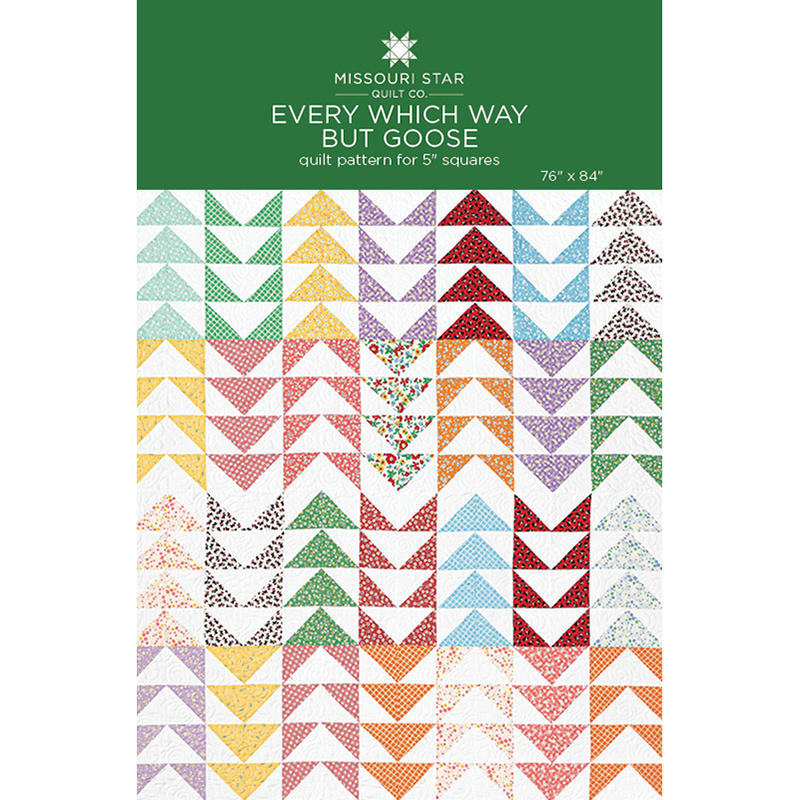
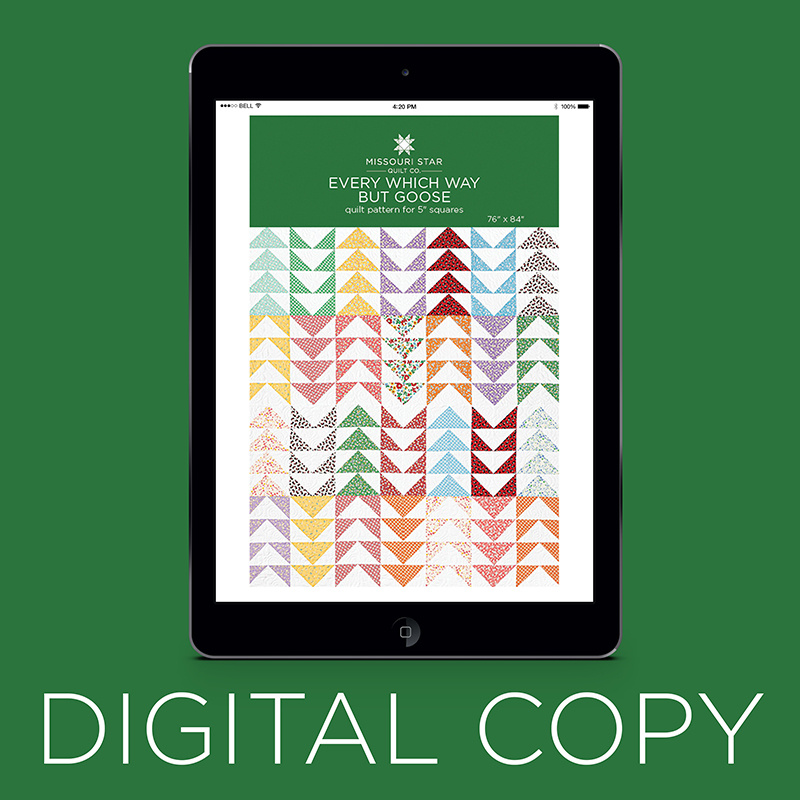
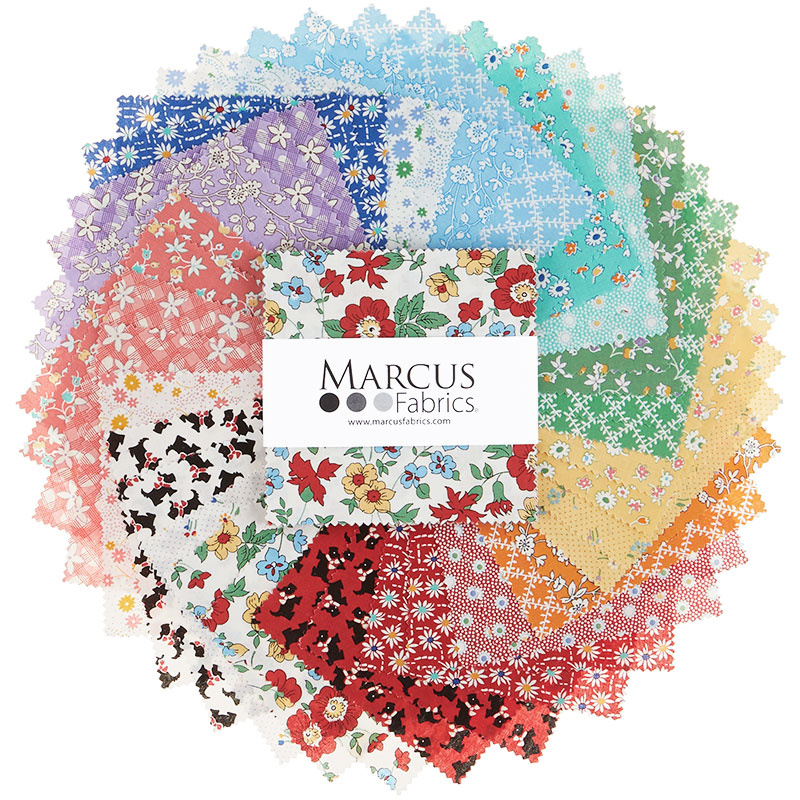
Jenny: So my project is called Every Which Way but Goose. And those of you who are my age will get that line, that reference. But anyway, this is my quilt back here. And it’s just, I just think it’s really fun. So to make this quilt I used Aunt Grace’s Apron. And I love a 30s print. It’s just so cute. It’s so happy and cheerful. And it’s just really fun. And this one is by Judy Rothermill for Marcus fabrics. You’re going to need four charm packs for this quilt plus a half a yard of a coordinating fabric because I wanted to finish out this last row with 45 blocks. It makes a great quilt. The quilt size is 76 by 84 and you know, it’s just a great size. And so you’re also going to need some background fabric. Now you’re going to need four packs of five inch squares as well for that, plus one yard. And that yard is going to include your few extra blocks down here and this first inner border. Your binding is ¾ of a yard and your background right here, look how pretty this backing is. And so for this pretty backing, this is a pretty big floral, you’re going to need 5 ¼ yards and it just makes this gorgeous little quilt.
So my method of making flying geese is using half square triangles . And so I’m going to be showing you how to do that today. And because you have four charm packs you’re going to have four colors that are the same color. And so you’re going to be able to make these long blocks like this, four in a row, four in a row, four in a row. And so for me, I wanted them the same. Now I did lay it out and try it all scrappy and it does look cool all scrappy plus there are a ton of ways that you could lay out these flying geese. So don’t be afraid to play with that either. But to make mine what I did was I took my five inch square of color and my five inch square of white. I drew a line corner to corner on my square. And I sewed on both sides of that. You’re going to sew a quarter of an inch from the line on each side like this. And I am just going to get my next block, these are great to chain piece because you can just keep going. So I’ve got one made here and I’m going to make two to show you how I chain piece. And oh I’ve got to draw the line, here we go. So to draw the line I’m just going to take my ruler, put it corner to corner. And I’m just using a regular pen because I’m going to cut on that line. And so you have a nice line like that. And we’re going to lay it on our fabric and we’re going to sew again a quarter of an inch from that line. And you can mark all your squares and just do them one after another after another. So you can see, I’m doing this, sewing down adding the next one. What I’m going to do when I get all of mine on there is I’m just going to flip them around and I’m going to sew the other sides. So just like that you’ll have your whole bunch of them all done. And we’re going to just plop these apart. And then what I’m going to do is I’m just going to take my little ruler and I’m going to trim on that line. And you’re going to get two half square triangles from each set, you’ll get two half square triangles out of each.
So let’s go press those open. And let me move this out of the way right here. Get my little blocks over here. We’re going to be squaring these to 4 ½ so you want to press them. If you’re using the bloc loc ruler or a square ruler with a 45 line you’ll want to press them open. If you’re using the clearly perfect slotted trimmer you will want to leave them closed and measure them from there. So right here we are going to just set that seam and roll it back and do it to all of these. And today I’m going to be using the bloc loc ruler to square mine. There are lots of ways to square a quilt block, find one that works well for you. Alright so now with the bloc loc I’m going to put this on here. I’m going to find the 4 ½ inch mark and slide that down like that. Oh that’s four. Oh I almost cut it at the four. 4 ½ here we go, slide it up. I was looking at it and I was thinking, that looks pretty small. So we’re coming up here to 4 ½ and we’re just going to cut both sides like this. Now the benefit of squaring your blocks is that they will all fit together perfectly and you won’t have any stress sewing them together. So 4 ½ . And some of them, look there’s very little waste on this one. You just never know with the way I sew. Alright here we go. Trim and trim. And what I’m doing when I square these, let me just show you real quick here. So I’m making sure, this ruler has a little, an indent right here. We’re going to snug it right up to that seam line. I’m going to match my lines out here on the bottom to the 4 ½. And if they don’t come perfect, like see how this one sticks over a little bit, if they’re not perfect then what I’ll do is I’ll trim this side like this. And then I’m going to flip this around and trim the other side as well. And you want to make sure that your little logo, if you press to the dark side, your little logo will always be on your background fabric. So that’s how that works for me. And then we’re just going to trim this off over here. And then we have these all done.
Now you’re going to want four sets of these. And I happen to have three sets with me but you’ll want four to make the whole block up here. And the one block we’re going to sew together so the colors come together like this. We’re going to sew everyone together so the colors come together and we are going to make a set of four like this. One, two, three, four. And I know I only have three but you’re going to do four so it can go like this. One, two, three, four. And then this next one, how you do this one is you’re just going to flip these around and you’re going to put your colors together. So we’ve got one, just like this, two, three and then you’ll again have an additional fourth one on here. And you just sew them together just like that.
So let’s look at the quilt and see what I did. So on this one right here, this first set right here is going up and it’s color together. The next set is white together but going down. And it’s up, down, up, down like this. And then the second row I just staggered that. So I started with the white in and the color in is the next one but it’s going down. So it’s just the opposite of what I did. So you’ll just have to look at the picture kind of to follow along with that. Comes together pretty easy. I kind of, I sewed these four pieces together and then I sewed them together in rows. And the rows are very easy because the row is all the same. It’s up, down, up, down, up, down, all the way across. . And let’s see how many we have here one, two, three, four, five, six, seven, eight, nine of these across. And then we have one, two, three, four, five, rows.
So that’s how I assembled my quilt and my rows. Then I put a little 2 ½ inch border around the outside. I didn’t want to put another big floral border. And one of the reasons is it has a little bit more of a modern feel to me when you use a 30s fabric and you kind of just put a plain border on there. And I like that look so little border, little 2 ½ inch binding and it just came together so cute. So this is a super easy project. It’s a great project if you want to scrap it up and it’s a great project if you know, you have your leftovers and that sort of thing. So now let’s see what Misty has got for us.
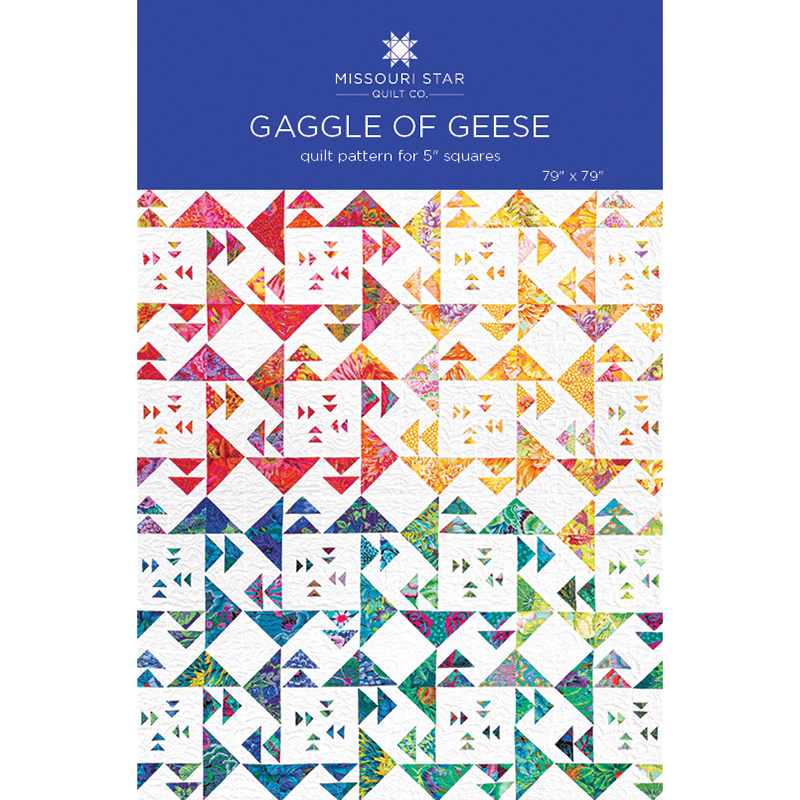
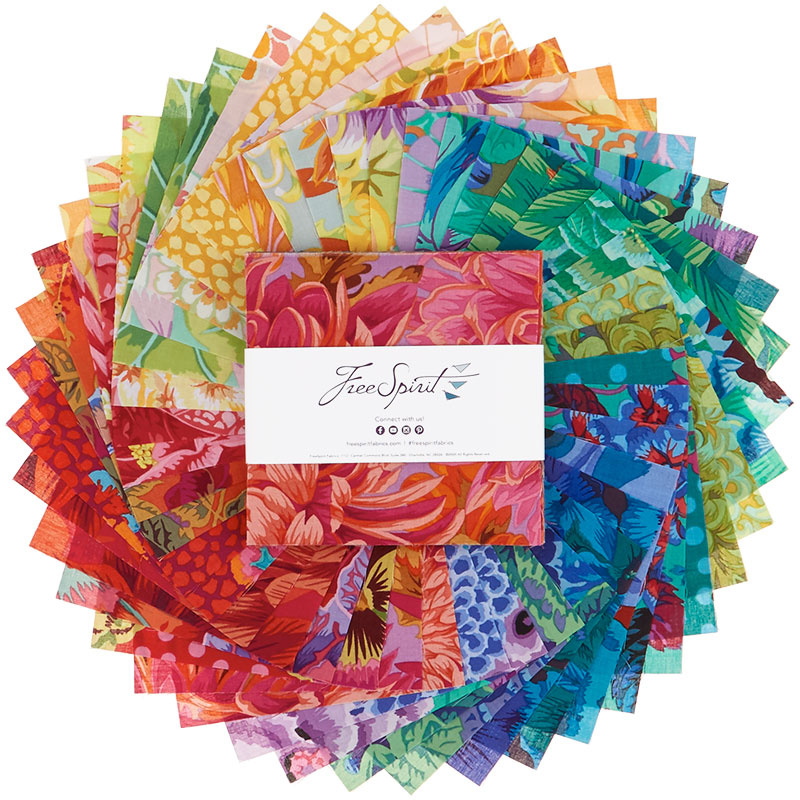
Misty: Alright, I had so much fun making this flying geese project. It’s one of my favorite blocks. I love how simple and modern they always look. And for my quilt I used this beautiful Kaffe Florals Rainbow by Kaffe Fassett for Free Spirit Fabrics. To make this quilt you’re going to need four packages of print squares and four packages of background as well as an additional yard and a half of background fabric. And that includes your inner border. And then you’re going to need another yard and a half for this outer border that you see here. And that’s a six inch border.
So to make this block, it’s really simple. And the first part is done exactly like Jenny showed you. So we used two five inch squares, one of print, one of dark, draw a line corner to corner, sew on either side and cut in half, square to 4 ½ and we put it together into our flying geese. And that makes this part of our block right here. So I’ve got that ready to go. So for our second flying geese we’re just going to take one of our five inch print squares and we’re going to cut it in half. So we’re going to cut it in half. And then we’re going to go ahead and cut a half inch off of one side so it will be off of both of those pieces, just like so. And then we’ll have two pieces that measure 2 ½ by 4 ½. And I’ve got some here. And you can see this is what we’re aiming for. So I’m going to take two 2 ½ inch squares and I’ve drawn the line on both of these. And we’re going to lay these on here and sew right on that line. Then we’re going to trim this off and we’re going to press that back. Oh here it is, we’ll add our other square to the other side. I’m going to make sure that it criss crosses with that first piece that we put on. And that is why we cut it down to 4 ½ because then we’ll have enough overlap and won’t lose our point. Go ahead and trim that one off as well and roll it back. Then we’re going to make two of those and then we’re going to orient them just like this and sew these together. So we’ll lay those right sides together. Sew those with a quarter inch seam. And we can press this back. And then that’s going to go in our block right here.
And now we’re going to make our small flying geese which you can see here on our finished block. So we’re going to start by cutting down our five inch squares in fourths. So in half and in half again so that we have 2 ½ inch squares that we’re working with and I’ve got one here all ready to go. But I wanted you to know where I got it. So we’re going to lay a white square on top of it and we’re going to draw a line and sew right on that line. So I have one already sewn here you can see just like that I’ve sewn corner to corner. And we’re going to trim off the excess and that’s our waste. And then we’re going to press this back. Then we’re going to take another 2 ½ inch white square and we’re going to place this on top. And we’re going to draw a line again corner to corner. But we’re going to make sure that when we draw the line it’s going down the middle of this half square triangle that we’re putting it with. So we’re going to draw this direction like so. Oops, make sure it doesn’t slip. And then we’re going to sew a quarter inch on either side of that line. I’ve gone ahead and done that here. And so now I’m just going to cut these in half. And now you can see by doing that I get this little flying geese that’s kind of off set a little bit. I don’t know how to describe it. But we’re going to press this back and then we’re going to square these to two inches. So we’ll square these to two and then we’re going to add a 1 ½ by 2 inch piece just like this and we’re going to sew them together in a strip and we’re going to add it to a three by 4 ½ inch strip. And so we’ll sew these together. And then press.
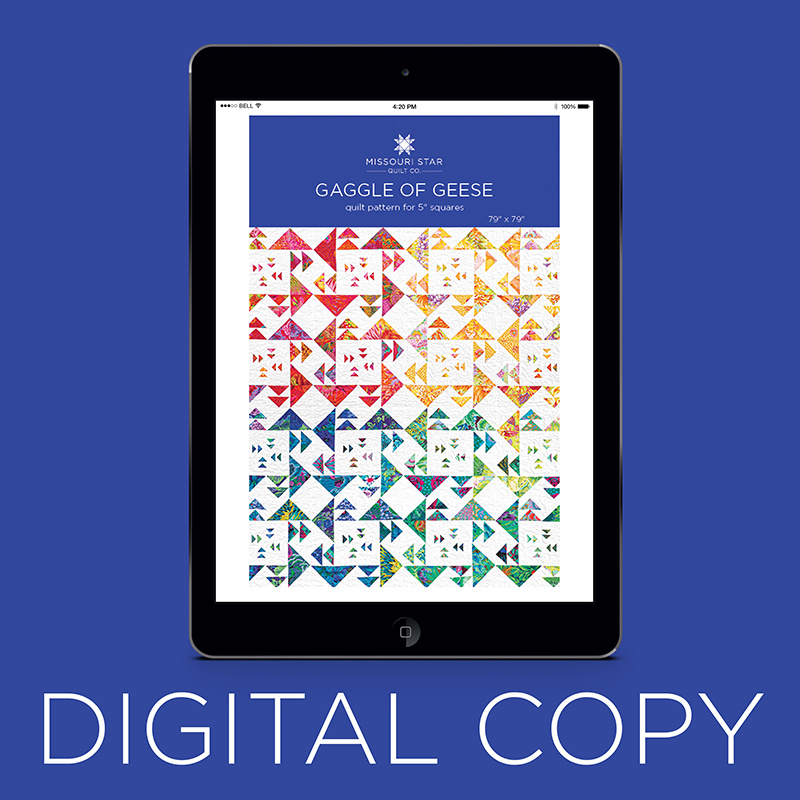
And then all the components for our block are ready to go and you can see that I’ve got four sewn together here. And I did keep all of my colors together. This looks really cute all scrappy as well but I loved the idea of kind of working the rainbow around in a circle with the geese. So I took four blocks that all had the same color and I just rotated them around like this so that my geese were spinning, oops nope, did it the wrong way. This way is right. My little geese meet together in the middle like that. So that they’re spinning around and you get all of this movement with your block. And then I put four of the same color together. And I did red, yellow, green and blue around the quilt and so this is actually your full block. So you have one, two, three, four, blocks across and four blocks down. Like I said it measures 79 by 79 and I called it Gaggle of Geese. And so up next is Natalie.
Natalie: I am so excited to show you the quilt that I made using flying geese. I called it Westwind because I thought that all these little geese looked like a weather vane that you sometimes see on the top of a house. And they spin all around with the little arrows and I thought it was really cute. I’m using a fabric line called Shadow Play. It’s actually custom put together for Missouri Star. It’s by Maywood Studios. And the quilt is 53 by 63. You need one charm pack of color for all these little flying geese. You need two yards, 2 ¼ yards solid for your background. And you need a yard and a quarter for your border. This is, I added a six inch border because it’s kind of a little quilt. I think if you did another charm pack you’d get a great big quilt and that would be amazing and beautiful. And once you see how easy it is you will be excited to make more of these blocks because it is really fun.
Ok so I have a completely different method, there’s so many ways to make flying geese. I’m going to show you a different method that I think people have seen. It’s not brand new, I didn’t come up with it. But we rarely use it here at Missouri Star and I think sometimes it seems a little bit intimidating because it’s not just a half square triangle and it looks a little funny. You’ll see what I mean. Alright so you’re going to take one charm pack and we’re going to end up getting four flying geese from this one charm pack. So what we’re going to do, we use from your background, you’re going to cut little squares of white that are 2 ¾ and you’re going to draw the line. And what we’re going to do is line them up diagonally on this charm square and they are going to overlap by roughly by a half inch square. You can see that, I don’t know, ya I think that it overlaps by half an inch. You can pin these if you’re worried. It wasn’t too difficult because it was such a small space to keep them together. But you’re going to sew on either side of the line. And I will do that just right now. You’re going to sew right through that space where they overlap. It’s no big deal, don’t worry about it. So I flip that around and keep going.
Ok so here’s where it gets fun. So we’re going to cut these apart right on that line that we drew corner to corner. And then you end up with these two pieces that have these little triangles. And we’re going to flip them back and press them. This one as well. And if you, if you look closely you can still see there’s a little bit of overlap here in this, in this section. See how these still overlap. What that does is that gives you that space for the peak of the flying geese. Alright so then you take an additional square, 2 ¾ again. We’re going to draw a line. I’ll just go ahead and do two real quick. Oh that didn’t draw, let me do it again. Pen facing straight down. Alright then this one, so this kind of looks like a heart or like a cat face or something. I think they’re kind of funky looking. But then what you’re going to do is you’re going to add this to this bottom, this square with the line drawn to the bottom corner and you’re going to sew again on either side of the line. That will create two flying geese. It’s kind of magical. Alright so I’m going to sew both of these so you can see how these come together. Make sure that lines up in the corner. Alright. Ok. Alright now I’ve got these two done and I’m going to cut them apart right on that line. And we end up with four flying geese from one charm square which I think is pretty darn cool.
Alright so these flying geese though, they end up being a little bit different size than the normal, the flying geese that you’ve seen today have ended up being 4 ½ and these ones end up being 2 ¼ by four. And the reason that I did that is because I wanted to stack two together and then have them come out to a four inch square so that I could put them together in basically a nine patch construction method. So what I did, and this is kind of a way that I like to make my tools work for me. So this flying geese bloc loc tool is super fun. It has the little cut out so I can push it up into the point and make sure that I have a quarter of an inch between the colored peak right here and the edge of the fabric. So all I did was line that up and trimmed off the very top. Now most of these you’re just shaving a tiny bit. But this is how I made sure after, I mean obviously it’s easier to trim them up after they’re pressed. So let’s do that real quick. But I want to show you this because it’s part of how I squared things up. And I think that it might be helpful to some of you to know that you can, you can use tools even if it’s not 100% the way they were designed or completely perfect. So all I’m doing is getting this straight top and making sure that my peak is right in the center. And this assisted me quite a bit in squaring up later. So once these are done then I take my squaring tool. I can’t use a bloc loc because it’s a flying geese so I’m not going to use this tool. But this one has the 45 degree angle and I’m going for a, I mean a four by 2 ¼. So I flip this upside down and I lined up my 45 on this line. So now when you’re looking at it you can see you’ve got a four inch line here and we’ve got our 2 ¼. So we’re going to pull this forward. We’re going to make sure that that line lines up with that one. This is our 2 ¼ line. So I’m keeping that nice and square. And then you can see on your ruler this corner is going to be accurate because you have your 45. This corner you want to watch and make sure that the four line lines up with the seam line of your geese. And that is how you square it to make sure that your point is in the middle. And your sides are going to come out with proper points as opposed to it getting like crooked or having one side that’s fatter than the other. So this is how you would line that up. Alright so I’ve checked to make sure everything is good. My 45 lines up with my seam. I’ve got my quarter of an inch up here. I’m going to cut off the bottom here. And then I’m going to flip it around. And all I’m going to do is get this last side. So I checked to make sure still. These little side, I don’t what to call them, the little diagonal seams at the bottom, they are still lining up with the edges of the four inch grid line on the ruler. And we check to make sure yes we still have a quarter of an inch between the peak and the edge of our block.
So once you have all of your flying geese squared up to 2 ¼ by four then we’re going to start laying out our block so we can sew everything together. So what I did is I put all of my light flying geese in the middle and the dark ones on the outside. And then you have four inch blocks in your corners and in your center. So like this. This one goes here. These guys point in. Two more just like that.
Alright so I do have one tip for you and as I sewed my little flying geese together I stacked them like this and then the seam that I’m going to sew is this seam. So you’ll flip it over so your light one is on top. And do you see this little criss cross of seams right here if you make sure that your seam line stays to the right of that criss cross you will not lose that point. So that’s one thing that you can remember as you’re sewing along. But we’re going to sew all of these little ones together. And I’ve got a finished block for you. It looks just like this. Easy peasy. It goes together like a nine patch. And I ended up with four by five. Yep, one, two, three, four, by one, two, three, four, five. And you can see on here there’s a couple where this one is blue and green and this one is pink and red. But mostly they’re gradiated, you know, a light shade and a dark shade. And I think it looks so cute. I just love it. I love how it came together. And I hope that you enjoy it as well.
Jenny: So what do you think girls, have we taught them all the ways of the flying geese?
Misty: I think so, ya.
Natalie: Some
Jenny: We’ve taught them a few, haven’t we?
Natalie: There’s probably more out there to learn.
Jenny: Oh there probably is. Anyway we hope you enjoyed this Triple Play on the flying geese and all of our different methods. And we’ll see you next time from the MSQC.
Misty: Bye
Natalie: Bye
Jenny: See you later guys!


