

Triple Play: 3 MORE Drunkard's Path Projects with Jenny Doan, Natalie & Misty of Missouri Star
 Jenny Doan
- Charm Pack
- Lap / Throw
- Beginner
- Quilt size 61" × 69"
Triple Play is a favorite tradition here at Missouri Star. Once a month, Jenny, Misty, and Natalie each demonstrate their own, unique spin on a favorite block, technique, or template. In this episode, the talented Doan ladies show off three fabulous Drunkard's Path quilts made with our Missouri Star Drunkards Path Circle Template Set.
Instructor
Jenny Doan
Jenny Doan is an American quilter, author, and YouTube personality. Jenny started Missouri Star Quilt Company in 2008 and today it is the largest quilting supply vendor in the United States.
Shop this tutorial
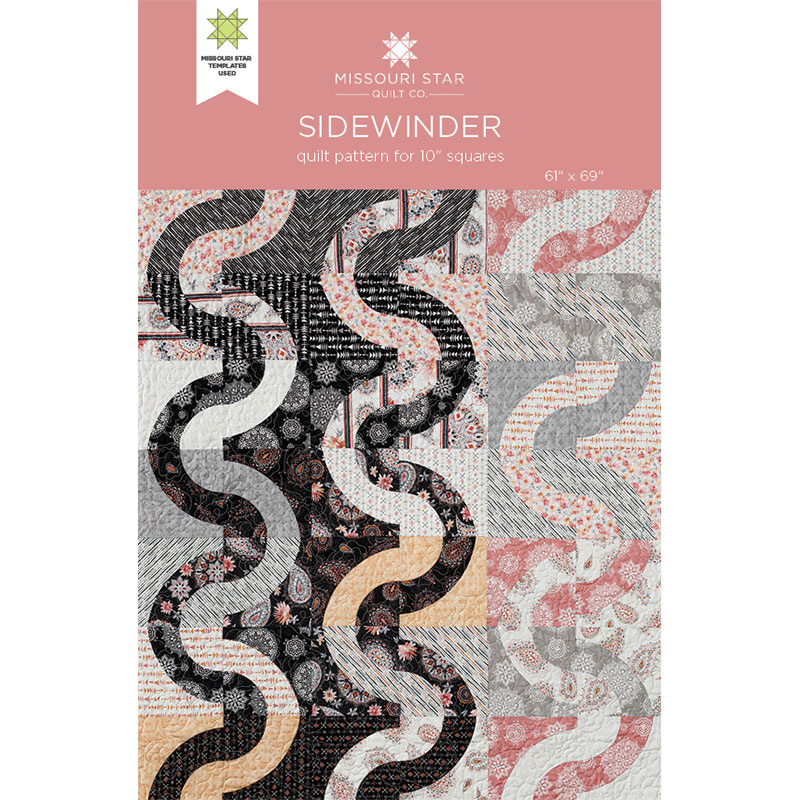 Sidewinder Quilt Pattern by Missouri Star$5.95Shop →
 Digital Download - Sidewinder Quilt Pattern by Missouri Star$4.95Shop →
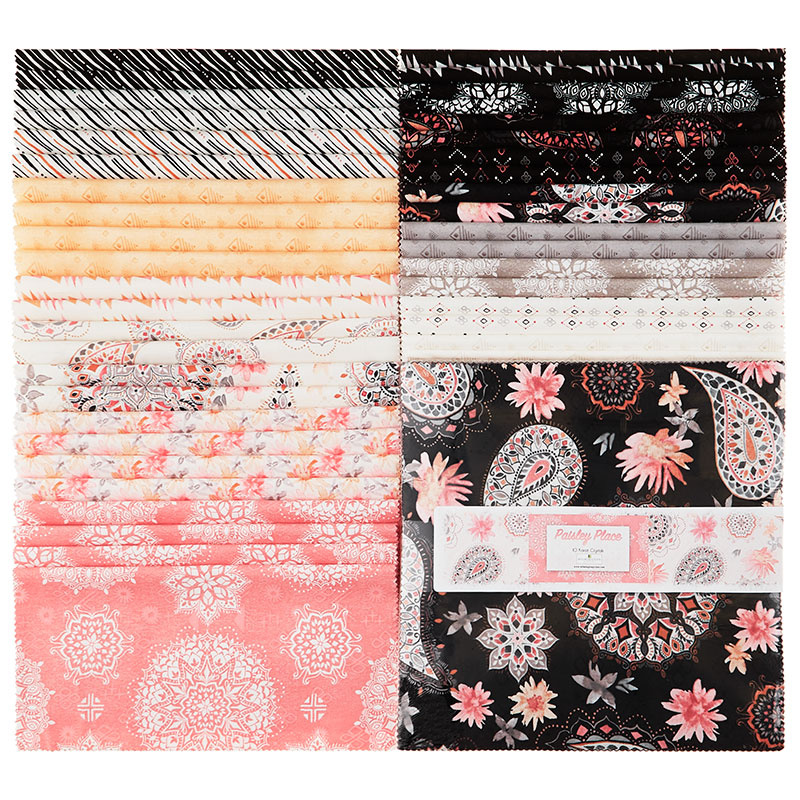 Paisley Place 10 Karat Crystals$37.95Shop →
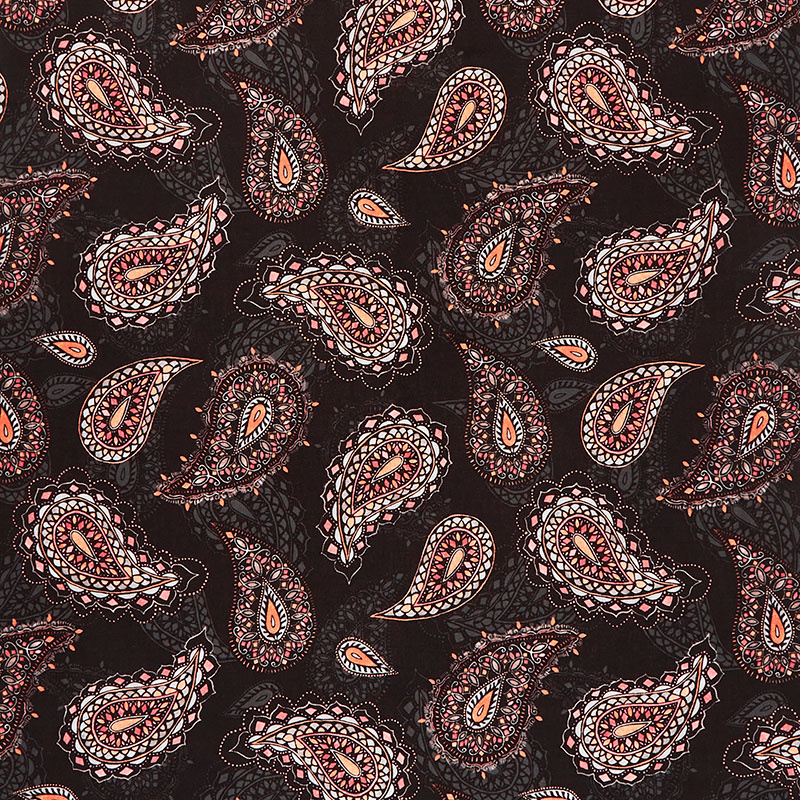 Paisley Place - Paisleys Black Yardage$10.96Shop →
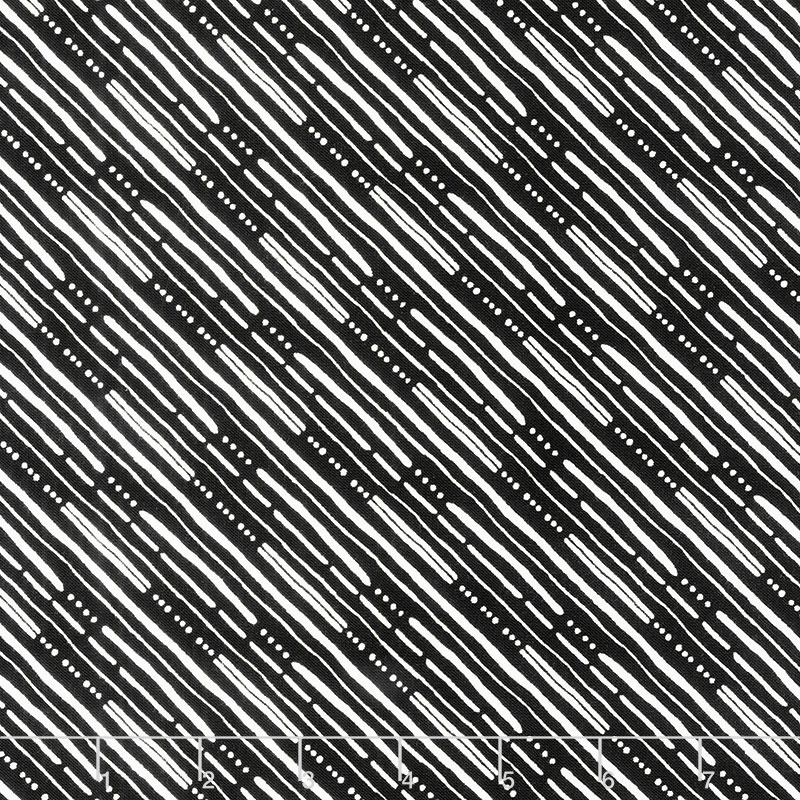 Paisley Place - Diagonal Stripes Black Yardage$10.96Shop →
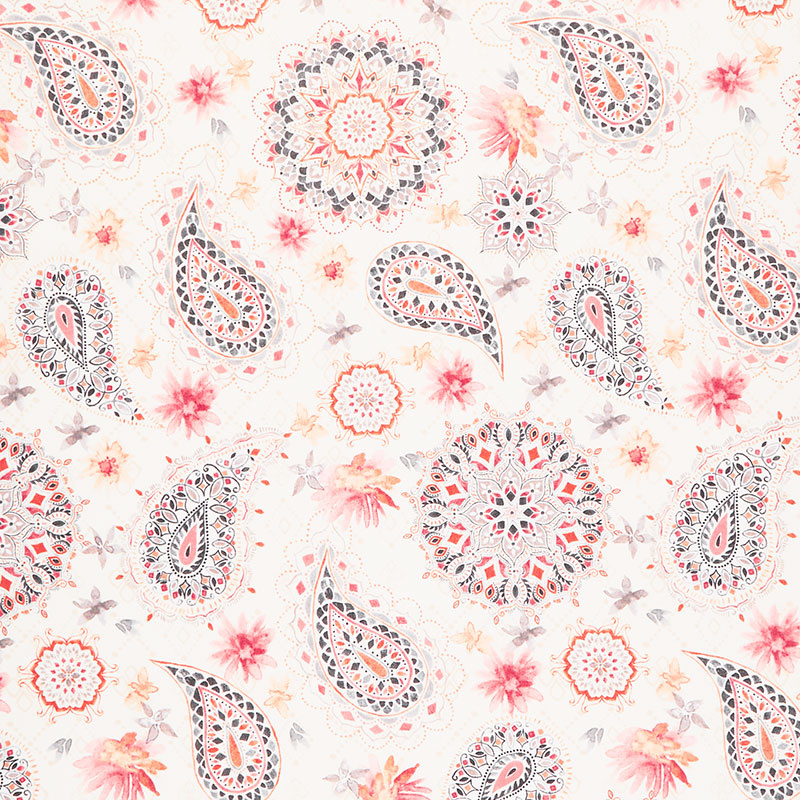 Paisley Place - Paisley and Mandala Cream Yardage$10.96Shop →
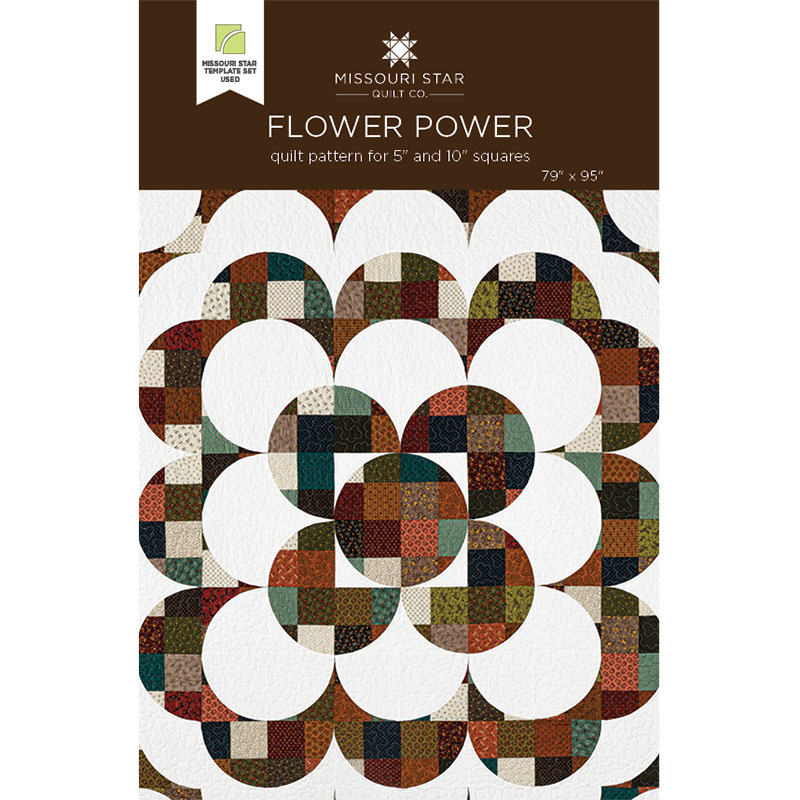 Flower Power Quilt Pattern by Missouri Star$5.95Shop →
 Digital Download - Flower Power Quilt Pattern by Missouri Star$4.95Shop →
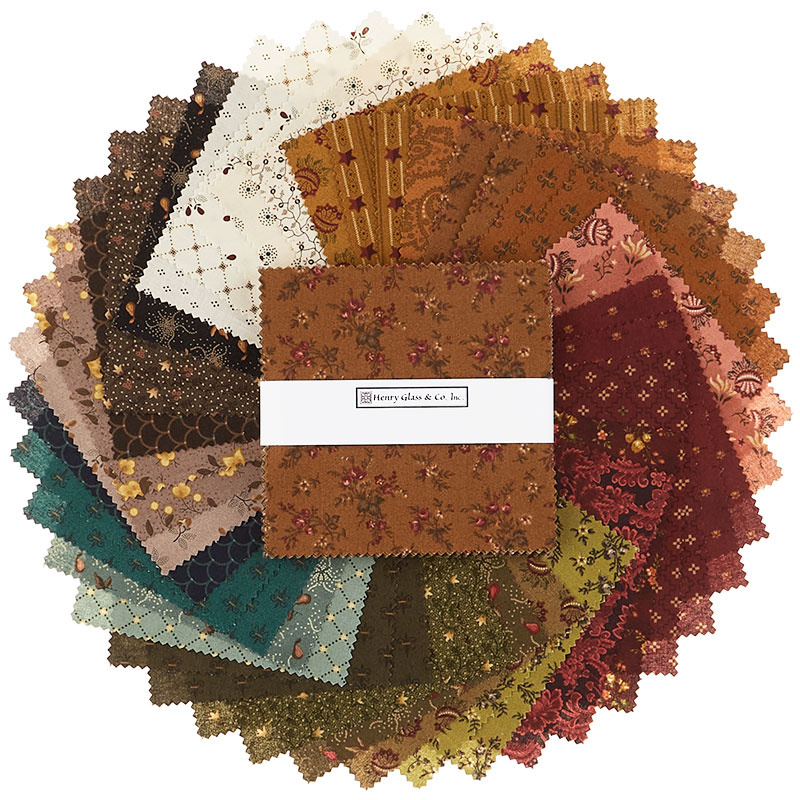 Right as Rain Charm Pack$11.45Shop →
 Kona Cotton - Snow Ten Squares$37.95Shop →
 Kona Cotton - Snow Yardage$6.76Shop →
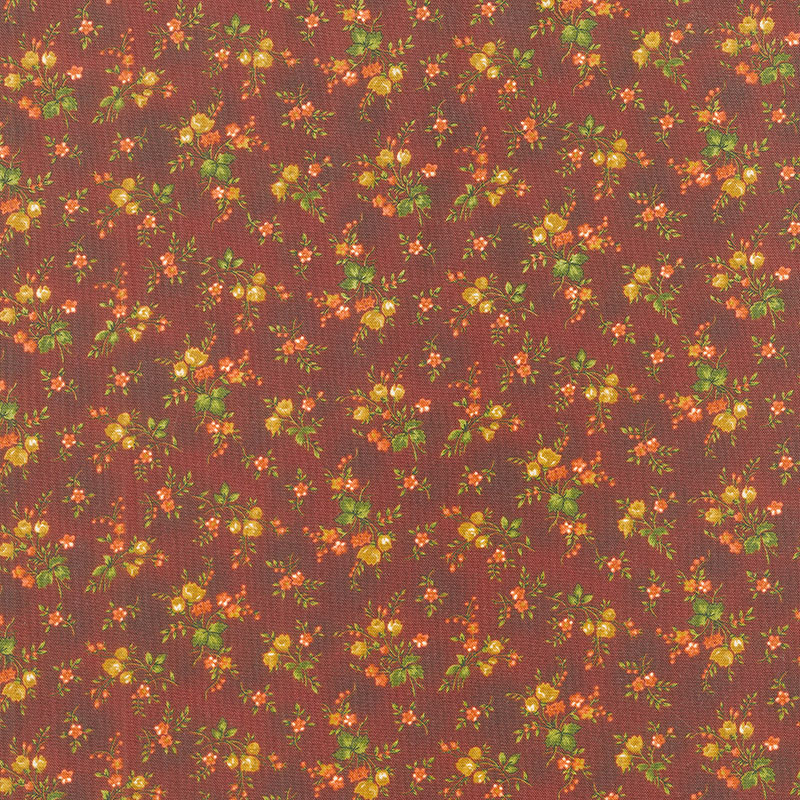 Right as Rain - Harvest Floral Cranberry Yardage$10.96Shop →
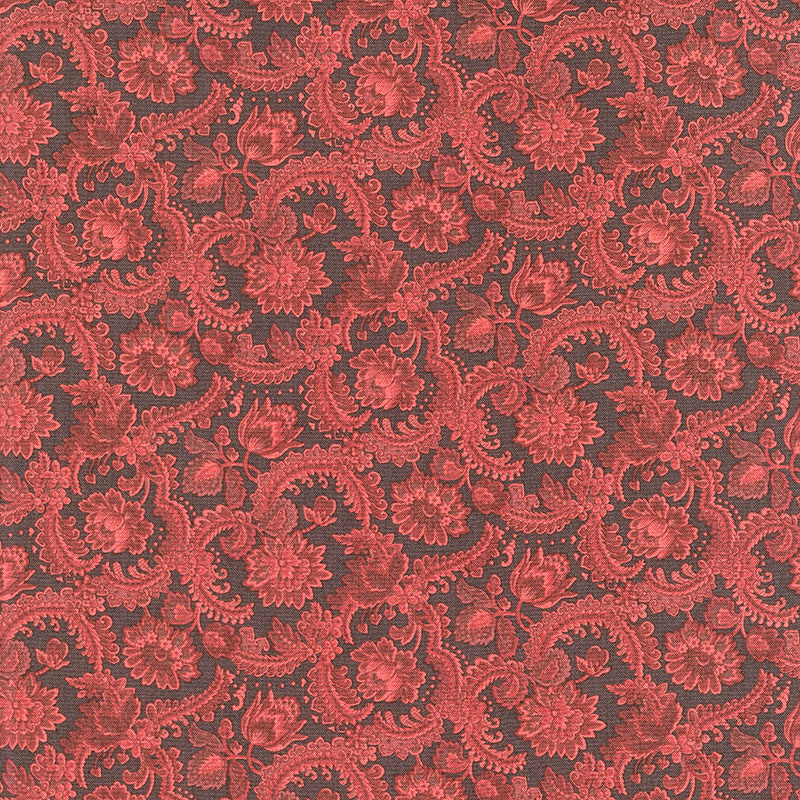 Right as Rain - Foulard Cranberry Yardage$10.96Shop →
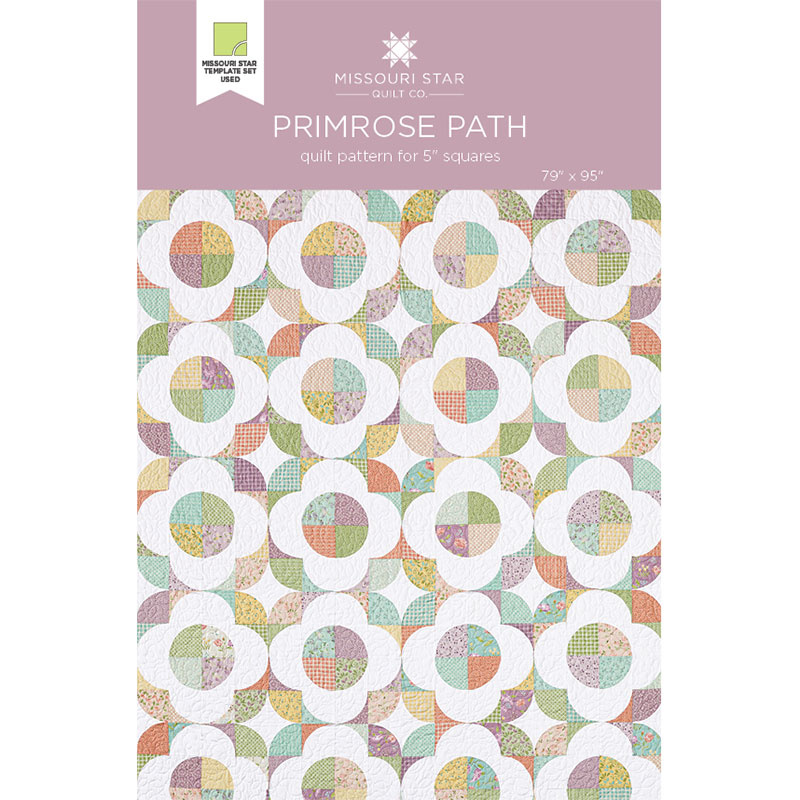 Primrose Path Quilt Pattern by Missouri Star$5.95Shop →
 Digital Download - Primrose Path Quilt Pattern by Missouri Star$4.95Shop →
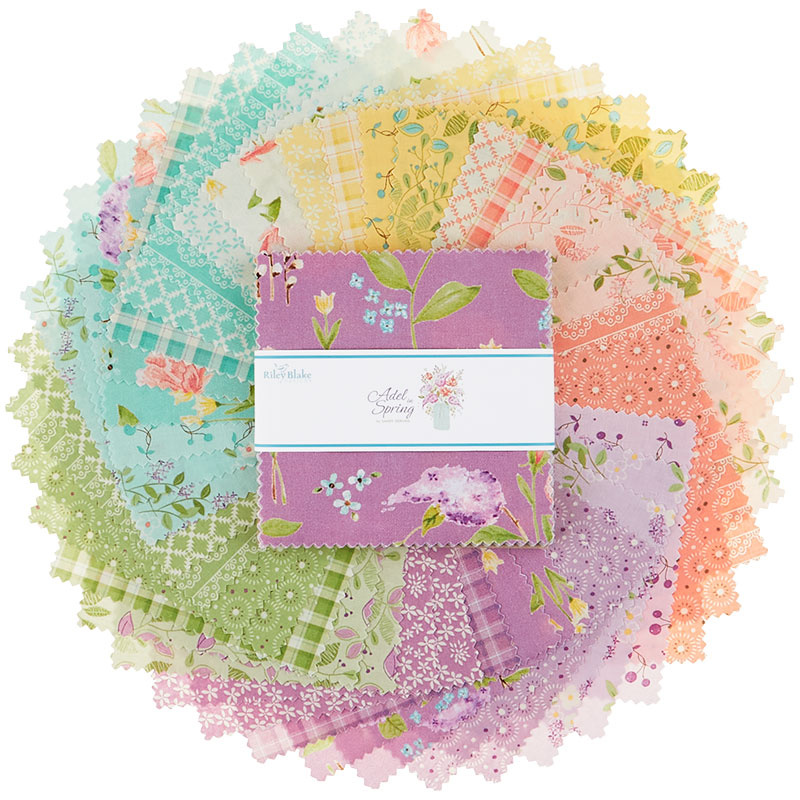 Adel in Spring 5" Stackers$11.45Shop →
 Kona Cotton - White Charm Pack$9.95Shop →
 Kona Cotton - White Yardage$6.76Shop →
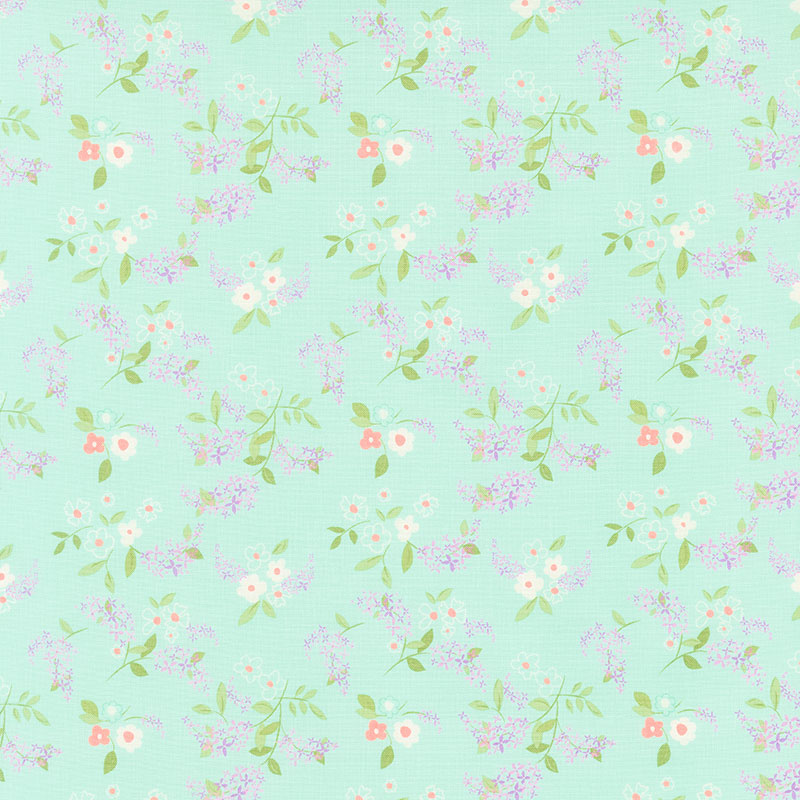 Adel in Spring - Lilacs Aqua Yardage$10.96Shop →
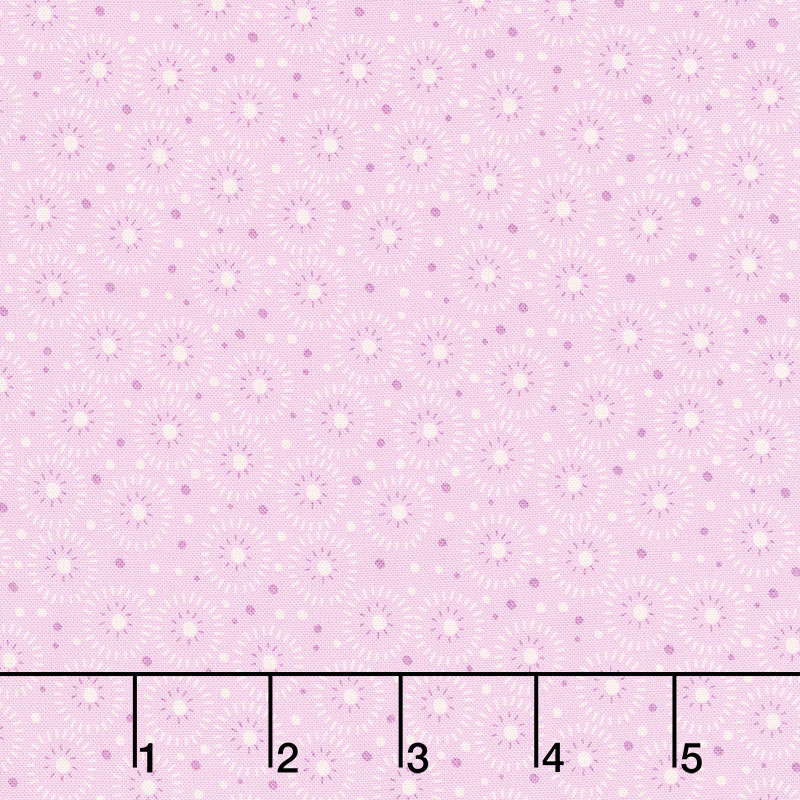 Adel in Spring - Seeds Lilac Yardage$10.96Shop →
 Missouri Star Drunkard's Path Circle Template Set - Large$19.95Shop →
 Missouri Star Drunkard's Path Circle Template Set - Small$19.95Shop →
Common Questions
What is covered in Triple Play: 3 MORE Drunkard's Path Projects with Jenny Doan, Natalie & Misty of Missouri Star?
Triple Play is a favorite tradition here at Missouri Star. Once a month, Jenny, Misty, and Natalie each demonstrate their own, unique spin on a favorite block, technique, or template. In this episode, the talented Doan ladies show off three fabulous Drunkard's Path quilts made...
How long is the tutorial video?
The tutorial video is 00:30:22.
Are supplies listed for this tutorial?
Yes. The tutorial page includes the supplies and materials connected to this project.
Is a transcript available?
Yes. A written transcript is available on the tutorial page.
Video Transcript
Misty: Round 2
Natalie: This is the second time we’ve done this.
Jenny: We really love the drunkard’s path. It is so versatile. There’s so many things you can do with it. It’s pretty amazing.
Natalie: I have serveral fun layout options on my pattern.
Jenny: There’s a lot of what ifs, right?
Misty: It’s hard to choose.
Jenny: It is. Alright so we are going to start with Misty today.
Misty: Alright let’s do it.
Misty: Alright. So this is my quilt behind me. I called it Primrose Path. This is the block. We’re just making 20 of these big blocks.
Jenny: I love this fabric.
Misty: I love it too. It’s really fun. And so to make this quilt you’re going to need four packs of this beautiful collection called Adele In Spring by Sandy Gervey for Riley Blake. You’re also going to need four packs of background fabric. Then you’re going to need ¾ of a yard of your inner border, 1 ½ yards for your outer border, 5 ¾ yards of backing fabric or three yards of 108. You’re also going to need the small drunkard’s path template that we have here at Missouri Star. And that should do it. So let’s go ahead and dive in.
Jenny: It’s a nice big quilt.
Misty: It’s a really big quilt. It measures 79 by 95. So it’s a great size.
Natalie: A good size quilt
Misty: It is. Alright. So to make this, we are just going to make sets of eight. So you’re going to need eight prints and eight background squares for every block. And so you can just pick a variety. I wanted it to be nice and scrappy. And I really stacked up about four at a time just because it’s easier to cut that way.
Jenny: Ya that depends on how sharp your rotary blade is.
Misty: Ya. Well and with the curves I didn’t want things to get off, you know. I wanted to be a little more careful than I am sometimes.
Jenny: Now did you cut backgrounds with your squares. Or did you cut them separately?
Misty: Well, you could. You can pair them up however you want. But for every block you need eight and eight.
Jenny: Oh ok.
Misty: So eight print and eight solid.
Jenny: I’m always so interested in how everybody does it because we all go about things so differently.
Misty: And so then I’m just going to lay, I always start with my curve. I don’t know why but I’m going to start with my curve in the corner and cut that. Whoops, maybe. Let’s try that again.
Jenny: It’s hard to get constant pressure on a curve.
Misty: Ya you just have to watch. So then there is that one. And then we can trim this side down. So you have very little waste.
Natalie: Ya it would actually be pretty impossible to start here.
Misty: Ya you want to start with the curve. And so we’re lining this up with the 4 ½ inch on our template. And I like to cut these little pieces off first and then come back and just trim out that inside curve. Ok and so then we get these trimmed. And I’m just going to put those in separate piles because I’m going to pair up my print curves with a background outside. So we’ll grab some of these and we can cut these as well.
Jenny: Like a magician, look at that. Whew! You have to make that noise.
Misty: I like it. So then we’ll cut our curve first, just like we did before. Line it up on that edge. There we go. And then these will go there. And then we can trim this down to 4 ½. Just like so. Alright so now we have these opposite sets and you see you’re going to need eight of this and eight like this for every block that you’re going to make. So let’s just go ahead and make one of these. To do that, I like to fold it in half and find my center line and then do the same here. And then I just line it up like so. And I put a pin right in there. Do we have pins handy?
Jenny: We sure do.
Misty: There we go. And I’ll just stick a pin in there just to keep my middles lined up. Then we can pull that around and Nat you want to sew that?
Natalie: Sure.
Jenny: You notice how I did that like let her do the sewing on this. It’s actually not that hard.
Misty: It’s really not.
Natalie: It might be a little fidgety.
Jenny: It can be a little fidgety. It’s interesting because I was watching the sewing team girls do some of these and literally some of them have a pin like every inch. So do what you feel comfortable with.
Misty: That’s what I was going to say. If you feel like you need pins then use them. There’s no harm.
Jenny: I didn’t use any pins but not all of mine came out perfectly either.
Misty: I did the one in the middle. That was the most helpful for me but you know, I probably would have had better results if I had taken the time to pin more. But you know
Natalie: I don’t think so.
Jenny: It just is what it is, right?
Natalie: I’m not a fan of the pins. I find that they get in the way and make it harder to manipulate the fabric.
Jenny: This is my daughter over here.
Misty: No I feel the same. That’s why I only did the one.
Jenny: Right.
Misty: If I can just make sure I’ve got this half of the fabric on the right side and this half, then I’m good. And then here we have one the opposite way if we want to show one more and press that.
Jenny: I would love to press this.
Misty: And then I have a bunch of others ready.
Jenny: And I am just going to roll this back. Is that what you did?
Misty: Yep, that’s exactly what I did.
Jenny: And you know what, this is probably one of the most fun parts of the process for because it just, you look at that and you’re like, OH! I did it.
Misty: When you pull it out from under the machine and it’s kind of rumply and you’re like, I don’t know. And you give it a good press and it just looks awesome. It looks awesome.
Natalie: I’d be done by now if this wasn’t pinned
Misty: Really? Well then take out the pin if you don’t like it.
Natalie: It’s stopping me from lining up the top edge.
Misty: Well then don’t use it. See, everyone has a preference. And you just curve it.
Jenny: Well and it’s good to show both ways.
Misty: And that’s what I was going to say. I think it’s great to see how, you know, there are different methods, many different ways to get what you want.
Jenny: You are so prepared. So we’re going to put your stacks over there.
Misty: Alright. Yes and I can start laying out. So remember this is our block and so this is what we’re going to make. So I’m just going to start laying these out.
Jenny: Oh that’s interesting. You do yours by row. I start in the center and work my way out.
Misty: Oh funny.
Jenny: Ya I have a harder time seeing the pattern. You know that’s always a challenge for me to see the pattern and so I actually have to see it.
Misty: That makes sense. Oops, this way. And then this way.
Jenny: Do you want me to iron that?
Natalie: You sure can, if you want.
Jenny: Ya I just, when you see this little curve done it’s
Misty: It’s the best.
Jenny: It looks like you created a bit of magic.
Misty: I feel the same way. I’ll do this guy. This guy goes right there.
Jenny: I have to look very closely at the pattern. Oh now we’ve got two purples.
Jenny: Get that one out of here.
Misty: Dang it.
Jenny: There we go.
Misty: This guy and then two curves in the corner. There we go.
Natalie: It’s so cute.
Misty: And that is it and now we’re just going to sew this together in rows until we have our finished block like this. And so it fits into the quilt just like this. And you can see it’s four across by five down. You just sew them right together, no sashing or anything. And I actually really love this secondary shape that comes when you set them together which is really fun. And then I just put this little 2 ½ inch border and a six inch outer border. And the quilting pattern I did is Posies which I love. I think it’s good for this. And my backing fabric, I used this beautiful print.
Jenny: It looks like lilacs.
Misty: Yes. I think it is lilacs, yes. It turned out so great. So Jenny I think you’re up next.
Jenny: I’m next.
Jenny: Ok, so let’s take a look at my quilt behind me.
Misty: It’s so beautiful.
Jenny: Isn’t this great? So I call this Flower Power because it just, you know, goes out from the center and it’s really pretty. I just love it. Love this fabric. So to make my quilt what you’re going to need is four packs of five inch squares. And we have used Right as Rain by Kim Deal for Henry Glass. You’re also going to need some background fabric. And you’re going to need about three yards of background fabric. You can use a layer cake and cut them down. They’re going to be cut into 9 ½ inch squares. You’re going to need some border, about 1 ½ yards. And your backing out here, 5 ¾ yards or three yards of a 108. Isn’t that great? And the quilting pattern is Cotton Candy. I love that quilting pattern. I think it’s a really fun quilting pattern. The quilt is 79 by 95 and you are also going to need the large drunkard’s path template. So let me show you how to do this.
Jenny: Alright so to make mine, it’s actually made out of four patches. So here’s my little four patch right here. Which means what you’re going to do is you’re going to choose four squares that are different colors. You’re going to sew those together in a four patch. And so we have two here and we’ve got this one and this one. And we are just going to sew these two together and these two together and fold them and sew those together. And it’s going to give you a block like this. Now since we took four five inch squares and sewed them, we have a seam that makes this 9 ½. And so while I love to use a layer cake the idea of cutting down every little layer cake square seemed a little daunting to me so I just used yardage. I cut 9 ½ inch strips and then sub cut those into 9 ½ inch squares. So I have my squares here and I just heard you and didn’t know if you had something to add.
Natalie: Well I was actually just thinking about how many other blocks that we could cut with the drunkard’s path. What about the pinwheel?
Misty: Right. What would happen?
Natalie: Or a strip block or
Jenny: What happens if? I love that. So I’m going to stack these just like this. And I didn’t stack mine, I made them in pairs. So I stacked my four patch with my, you know, background fabric and then I just laid this in the corner like this. And matched it up real nice. And then I made a cut. And so just go nice and slow because you’re cutting through a couple of seams.
Misty: For a second there I forgot you were left handed. I was like, how are you going to do that?
Natalie: I thought about that too. I was going to say, now this is how you do if you’re left handed.
Misty: Yes, exactly.
Jenny: This is definitely left-handed cutting. And look how fun that is.
Misty: It’s awesome.
Jenny: All those shapes come when you do it. Then on this side we are going to line this up with the 8 ½ inch line right here. And we are going to go ahead and give that a little trim. And I have a little more to cut off than Misty did but it’s not much.
Misty: It’s not much.
Jenny: And just make sure you have a good hold on your ruler and a nice sharp blade. Alright, so now what we’re going to do is we are going to go ahead and take this piece and attach it to our big piece. And I do the same thing Misty did. I did a crease
Natalie: You guys are so good.
Jenny: And matched these two seams up over here and found my center and I put this on here. And then put a little pin in here. Oh. So guys, see this pin with the bend in it. We are forever keeping these pins, trying to straighten them, trying to make them work. You know what, I’m done with that. I’m just going to throw it away.
Misty: Throw it in the trash.
Natalie: You straightened it out really well.
Misty: So now Natalie is saving it.
Jenny: I’m always picking those and I’m just like, why am I doing this? A lot of pins. I think we get just into the habit of doing that, you know. Sure if you want to. I’m not saving anymore. It’s driving me crazy.
Misty: Alright so I’m just going to start sewing.
Jenny: She’s going to start with that little edge. And sew around.
Misty: Oops, I’m actually going to do the same as Natalie. I’m having a hard time with the bigger block with the pin.
Jenny: I kind of set it on there to make sure I’m in the center and then once I’ve started I let it go.
Misty: Let it go. That makes sense. Just taking my time. I’ve got a little hanging off the edge here.
Jenny: Trimmed off.
Misty: There we go. There’s that one.
Jenny: Now when you sew do you sew with your large piece on the bottom and the small piece on the top?
Misty: Yes.
Jenny: Ok. That’s what I do too. Alright so do you want to do that.
Misty: We’ll get it started and see how it goes.
Jenny: Alright so now I’m just going to, sometimes you get this little edge right here, sometimes you don’t. I’m just going to trim that off. Because there’s a lot of moving parts in this block it’s not really going to matter. Don’t pull this too hard.
Misty: I’m not, I’m just turning it.
Natalie: It’s helpful to check your middles as you go, with that crease there.
Jenny: No judgment, Misty, no judgment.
Misty: I’m not worried about it.
Jenny: I’m going to show them how to do this. I’ve got some blocks already done.
Misty: There we go. There’s that one.
Jenny: My straight pin. There you go, your job, sorry.
Natalie: I only have one job.
Jenny: Alright now unlike Misty and Natalie, I have a super hard time seeing the pattern. And so I literally start from my center, I put that on my board, and then I build it out from there. And so you can see my center right here, it’s four of these middles together and so that’s what I’m going to do. I’m going to put four of these together like this. And as you go to sew these together some of them will fit nicely and we found that no matter how hard we tried everything didn’t always match perfectly, the centers.
Natalie: The only thing I was noticing that doesn’t match was you’re trying to put the outside corner against the inside. This part doesn’t match. But always your four patches will match up. These just don’t line up perfectly and that’s because you cut the curve from the opposite side.
Jenny: So this is one of those really no stress
Natalie: I think it looks great. Oh I love it.
Jenny: I do too. When I was making it, I was really worried and I’m like, these aren’t matching, am I not doing it right. And then we had somebody else make a bunch of blocks and it’s like oh theirs don’t match either so we’re good.
Misty: It looks beautiful.
Jenny: So your four patch will match up and you’ll do that. Then when you’re ready to start your next row, you can see up here
Natalie: I’d like to make a whole quilt of just the circles.
Misty: I know.
Jenny: I actually had that layout on the wall, just the circles. I had a circle of color and a circle of white that was surrounded by color, so every other one. I did a bunch of layouts too. It was really fun. But for me to see this, I had this block here and then I did, I call them Mickey Mouse ears that go off the middle, you know. So then I just started out here with this one in the corner and this one here and one here like this. And literally I just laid them on my design wall and did it and made the row that went out. Oh I would never put that there because there’s two reds
Misty: You’ve got to mix it up.
Jenny: And this one is going to go out here like this. And basically you’ll have a great diagram and you’ll just be able to start laying that out, you know, obviously my table here isn’t big enough to do that. But as you go out, but then this one out here is and the next one you’re going to put out is going to be the larger white square with the little edge. And so it lays out really fun. So it will go out here like this. So this goes in the corner and then these two go out here like this. I always just start squaring up the corner. And then these blocks again are two white ones. It goes this way and then this way. And then this one over here again is one of these curves that goes around the corner. I called mine Flower Power because it just starts with this little flower and it just blooms out and it gets bigger and it’s Flower Power. And then these corners, I thought this was kind of fun, a little framing motif, you know, that made it look like that. And that just comes from flipping that block around. So it’s easy to make, four patches. And what would it look like if you did 2 ½ inch squares, how about strips, how about you know so many blocks, you could just cut and see what happens. And so I hope you have some fun with this. And I guess we’re on to you Natalie.
Natalie: Alright.
Jenny: Alright, Natalie, it’s you.
Natalie: Alright. Well I’m excited about this. I loved doing this project. This is my quilt behind me. I decided to call it Sidewinder because it reminded me of the sidewinder snake path. You know, they kind of slither sideways. I thought it was very cool. Alright so to make my quilt you’ll need one package of ten inch print squares and I used Paisley Place by Dina June for Wilmington. You’ll need a half a yard for your inner border, a yard of outer border, 4 ½ yards for backing. And then I used this cute little diagonal stripe and so you’ll need about ¾ of a yard for your binding.
Jenny: I love that binding.
Natalie: Ya it’s great. I just thought it was so cute.
Jenny: It’s very cool. And so your quilt is pretty good size too.
Natalie: It is. It’s 61 by 69 and if I had used a background fabric and added a layer cake it would be the same size as your guys’ quilts. But mine has a pretty decent set of lights and darks until you get into these colors but it’s still beautiful, I think.
Misty: I love it.
Jenny: Here’s the big deal with your quilt, you used both rulers.
Natalie: I did, I used both templates because I wanted to see if I could make, well originally I was thinking of something a little bit like wedding ringish. I was thinking maybe if I put the two together I could do something that looked like a double wedding ring but I never quite got there and I got distracted by all the different layouts and
Jenny: I was going to say, you laid this out a ton of ways. So show us how to make this quilt.
Natalie: Yes. I’ll show you how to make this quilt. Alright, so I selected from my layer cake just a light and a dark. And I put them together in sets, I kind of sorted my whole thing out before I got started because I wanted to make sure that I didn’t end up with a bunch of darks leftover and a bunch of lights.
Jenny: I have to say just looking at this pack I didn’t think the fabric was all that but when you see all the different pieces. It’s really pretty. This looks like water color. I just really, really love it. Oh did you show the back? Show the back because it’s cute.
Natalie: So this backing is gorgeous.
Jenny: Look at this backing. Isn’t that gorgeous?
Natalie: It’s a big, beautiful print. And really almost all the prints in the line would be beautiful backing.
Jenny: And then how much did you use for the backing? Do you remember?
Natalie: It’s 4 ½ yards. Oh and the stitch pattern is Simply Roses. It’s a beautiful one.
Jenny: Alright show us and let’s get back to it now.
Natalie: So we take our two together. So we’re going to start with our large guys
Misty: Oh in my mind you would work from small to big but nope, I love that, ok.
Jenny: And I’m over here thinking, how is she going to cut this? You know, wrong side.
Natalie: Oh wrong side, right handed. Nope so we’re going to do our large size first. And we’re just going to swap them. We’re going to cut this one at 9 ½ which actually will be easier for me if I turn it.
Jenny: There you go. So if ever you find yourself cutting especially curves and you’re doing something weird with your hand, turn it around or something. Because it should not be difficult and you don’t want to get cut.
Natalie: So I don’t typically pin my curves but you can if you want to.
Jenny: I’ll just go without.
Natalie: What I found myself doing is flipping it so that I lined up these like this to start so it always looked like this going to the sewing machine. And that way I could have a nice flat edge to begin and then you just curve it around so that it goes with your curve. The other thing you can do just as an aside, if you’re wanting to not use pins but have things stay in place, just put a little dab of glue at your ending or your starting or middle and end, you could put a little dot of appliglue to hold it down.
Jenny: Alright so I’m just going to start this. Line up this edge.
Natalie: And it’s a nice big curve so these are pretty easy.
Jenny: And I just kind of make my top fit my bottom
Natalie: Yes, it’s easier to curve this piece around so you can almost pull it straight whichever direction than it is to try to manipulate. This curve stretches a little bit but it’s not as easy.
Misty: I found that too.
Jenny: And don’t pull on the top, just kind of let it flow
Natalie: Stay nice and neat. No pulling. And if you find that that’s tricky for you then pin.
Jenny: Ya absolutely. And I’ve got a little bit of an overhang too.
Natalie: The thing is, if they lay flat just trim it off.
Jenny: Let me try again.
Natalie: Go for it.. It’s not necessary but go for it. So we’re all done with the large template here. And what I’m going to do is just trim that off.
Jenny: I’m having a hard time doing this and not using my lip
Natalie: Oh you’ve got to chew on that bottom lip.
Jenny: I’ve got to concentrate. And I was hoping this one would, I was going to see if this one would come out exactly.
Natalie: Still tugging a little. That’s alright.
Jenny: It just takes a little practice
Natalie: Yep, and it really isn’t a big deal
Jenny: You know, especially on yours because it’s just two colors, right?
Natalie: And I square it down even more.
Misty: Oh really.
Natalie: Yep. We can’t get 9 ½ once we cut the curve again so it drops down to 8 ½.
Misty: Ok.
Natalie: Alright so let me just trim that off. So now you can stack these up and make your second cuts. If you’re not comfortable stacking them, you can do them individually, totally fine. So now we’re going to cut this little guy here. And then we’re going to use this to get the next cut which is 8 ½. You pull that back and so see, if it hangs off it’s not a big deal because you’re trimming that off. So you just want to make sure that’s all nice and straight and squared up. I also watched, as I was cutting, I watched to make sure that it ended up, it should be an inch and a quarter measurement there. So let me just do this individually. Because this was part of the way I kept my blocks really square because I just watched to make sure that it landed about in that spot so that they’re all very similar. That helps because you’re lining up all of these so you do want them to match up. I just want to double check before I slice it off. So then this one gets this guy back in the middle here.
Misty: I’m just realizing that those were the same prints. In looking at this I thought that each of these were different.
Natalie: I did two sets of everything
Misty: That makes so much sense, it’s awesome.
Natalie: And really there’s so many fun ways to lay this out.
Misty: I love that about the drunkard’s path. It’s like half square triangles, there’s just so many options. It gets additive when you’re playing with the layout.
Natalie: Ya. The other thing I thought about these is that they kind of look like macaroni noodles.
Misty: Oh yeah.
Natalie: With that little macaroni noodle, I thought they were kind of cute.
Jenny: Oh I’ve got this little tiny corner. This is where a stiletto would come in handy. I did it backwards. Don’t tell anyone.
Natalie: Oh you’re putting the curve on top.
Jenny: I’ll do the other one right.
Misty: Oh my goodness.
Jenny: Here we go.
Natalie: Try it like that.
Jenny: I did it with the little curve on top.
Misty: It came out pretty good.
Jenny: You know, that’s our habit though, we put the small piece on top. So I’m going to, you know, change my ways with this one.
Natalie: Let me just make sure I have this right. Oh, same size.
Jenny: It’s always a relief, right?
Natalie: Well a couple of times while I was making it, I wasn’t sure if I did the large size or the small size first and so while I was actually sewing the quilt, I did one the opposite. And you can’t get it the same size. It doesn’t work.
Misty: Oh how funny.
Jenny: Alright, press that one. That one actually matched up because I did it right.
Natalie: That was a little easier that way.
Misty: There we go.
Natalie: Alright so now to make this block. All I did was put my two sets together this way so these end up being a set. You just line them up with whatever pattern you’re trying to make. So these end up going like, let me see. That one goes like that and that one goes like this. So you can join those two together.
Jenny: And am I looking for anything to match up?
Natalie: Ya, just this center seam right here.
Jenny: Ok, perfect.
Natalie: The rest of them don’t match up until you get to the other seams.
Misty: And these go together?
Natalie: Yep. And then so, I want to just double check because. Alright, so the, every other row is different. So this row, they go like this and this row, these ones go down. So you just have to watch that. And that one goes, yep and then this one goes the opposite direction. It can be a little tricky. And this is also one, by the way, that I did layout before I started sewing. I wanted my whole layout to go where I wanted it and I wanted to make sure I moved my blocks based on colors.
Jenny: Well you did more than one layout
Natalie: I did do several fun layouts and I think we’re going to have diagrams in the pattern that you can look at so you have lots of options. But, so then it goes together like that and it creates that sidewinder effect.
Jenny: It’s so cool.
Misty: I love it.
Natalie: It’s as simple as that and you can, I mean, we did circles. We did little half rainbows. You could do them all together so they come like little watermelon wedges or all kinds of fun things. So again it’s 61 by 69 and Simply Roses
Jenny: It’s a great size quilt, beautiful fabric, yes gorgeous.
Natalie: So I hope you like it.
Jenny: Alrighty.
Jenny: Well this was great, you guys. We all loved our patterns and what we did and we love the drunkard’s path. It’s a fun tutorial for us. And we hope you guys enjoyed this Triple Play on the Drunkard’s Path from the Missouri Star Quilt Company.
Jenny: Hi everybody, it’s Jenny from the Missouri Star Quilt Company. And I am here with Natalie and with Misty and we hope you enjoyed watching our latest Triple Play. You can find us together on the third Friday of each month as we hit another tutorial out of the park. If you aren’t already part of the Missouri Star Quilt Company family be sure to subscribe and click that bell to be notified each time we release a new video. See you next time.


