

Triple Play: 3 New BLOCK Party Quilts with Jenny Doan of Missouri Star
It's BLOCK Friday at Missouri Star! To celebrate, we're whipping up a Triple Play of projects inspired by the newest issue of BLOCK Magazine! What's Triple Play? Once a month, Jenny, Misty, and Natalie each demonstrate their own, unique take on a favorite block, technique, or template. This week these talented Doan ladies are showing off three new quilt projects inspired by the December 2020 issue of BLOCK Magazine, and they would all make perfect homemade Christmas gifts!

Instructor
Jenny Doan
Jenny Doan is an American quilter, author, and YouTube personality. Jenny started Missouri Star Quilt Company in 2008 and today it is the largest quilting supply vendor in the United States.
Shop this tutorial
 Digital Download - Charm Pillow on Point Quilt Pattern by Missouri Star$3.95Shop →
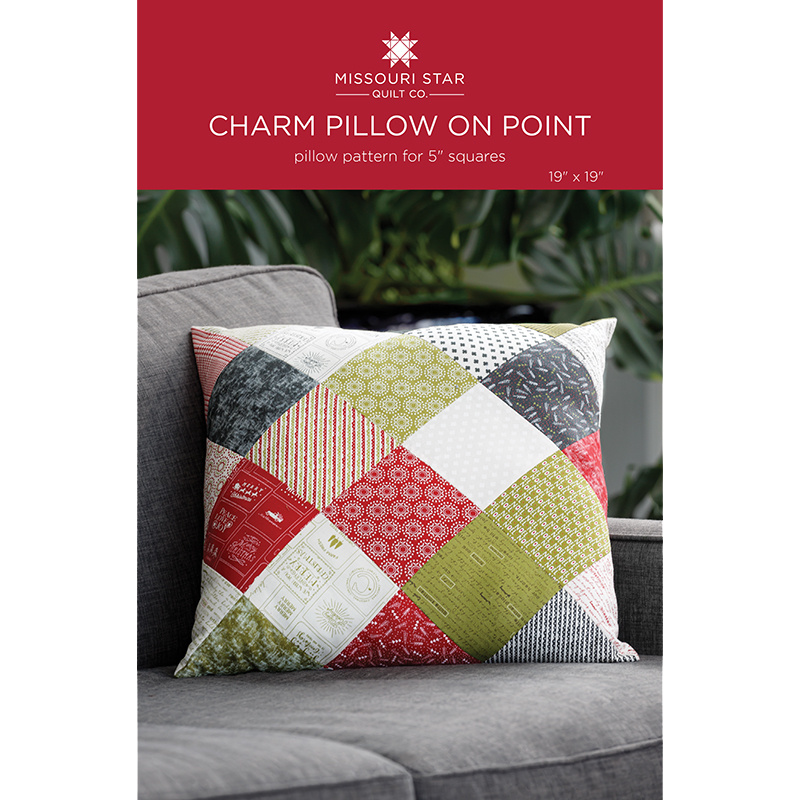 Charm Pillow on Point Quilt Pattern by Missouri Star$4.95Shop →
 Half-Hexi Braid Place Mats Pattern by Missouri Star$4.95Shop →
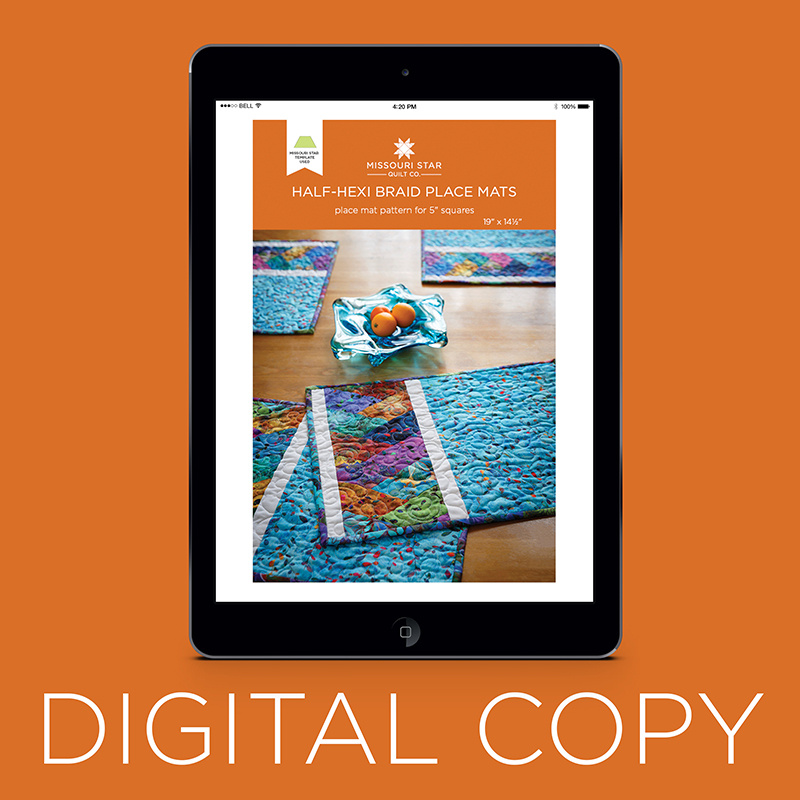 Digital Download - Half-Hexi Braid Place Mats Pattern by Missouri Star$3.95Shop →
 Digital Download - Rhombus Garden Table Runner Pattern by Missouri Star$3.95Shop →
 Rhombus Garden Table Runner Pattern by Missouri Star$4.95Shop →
 Venice - Flowers Jewel Blue Digitally Printed Yardage$10.75Shop →
 Kona Cotton - White Yardage$6.25Shop →
 Venice - Leaves Sky Digitally Printed Yardage$10.75Shop →
 Kaffe Fassett Collective - August 2020 Dancing Dahlias Blue Yardage$11.50Shop →
 Kaffe Fassett Collective - August 2020 Guinea Flower Black Yardage$11.50Shop →
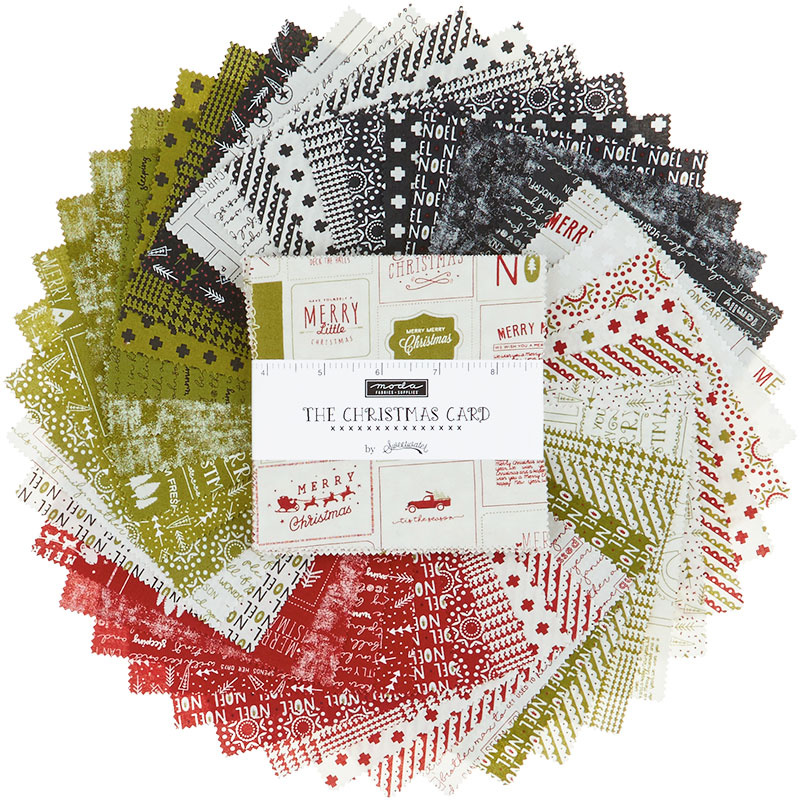 The Christmas Card Charm Pack$9.95Shop →
 Poly-Fil Fiber 12oz$5.45Shop →
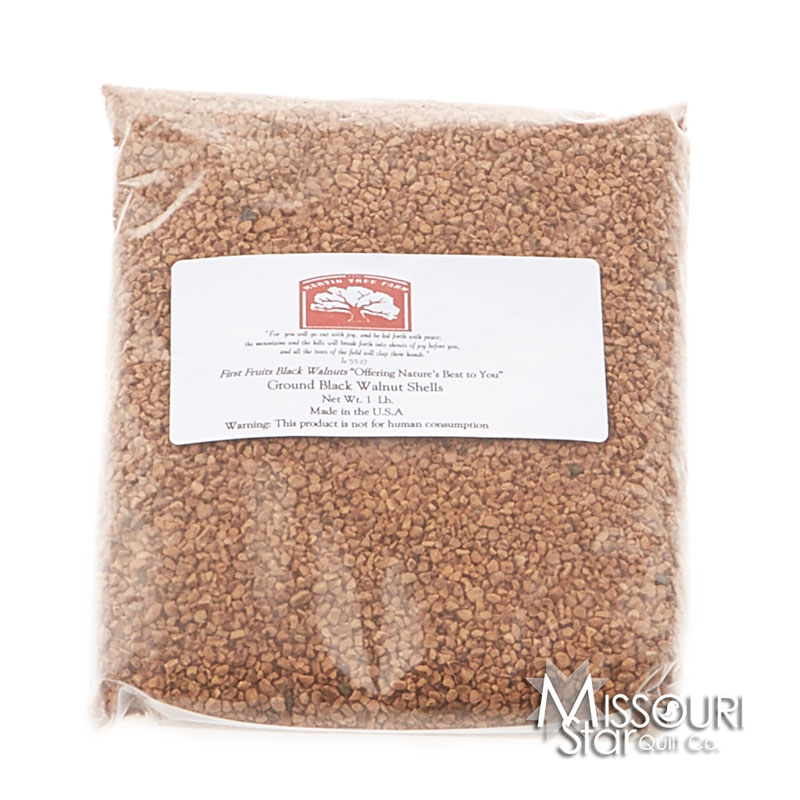 1lb. Bag Crushed Walnut Shells from Martin Tree Farms$5.75Shop →
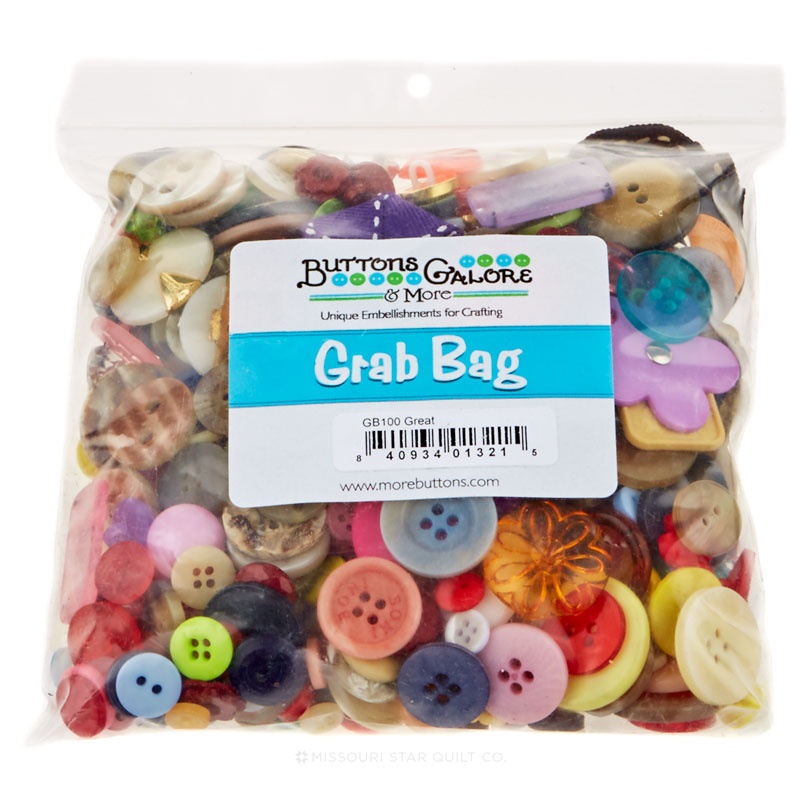 Button Grab Bag - Great Grab$5.75Shop →
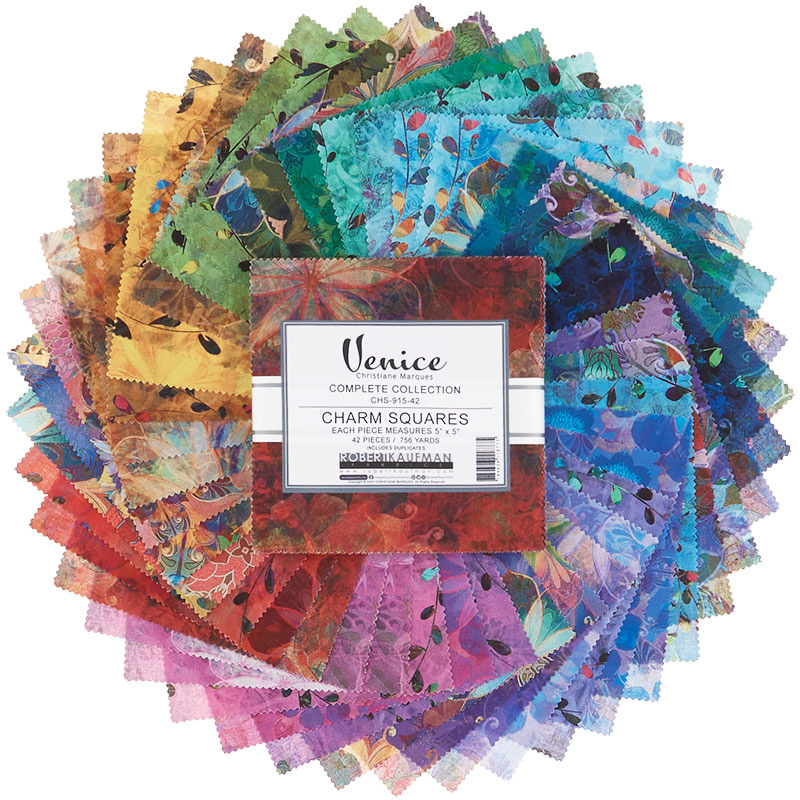 Venice Digitally Printed Charm Pack$9.95Shop →
 Missouri Star Small Half Hexagon Template for 5" Charm Packs & 2.5" Jelly Rolls$5.95Shop →
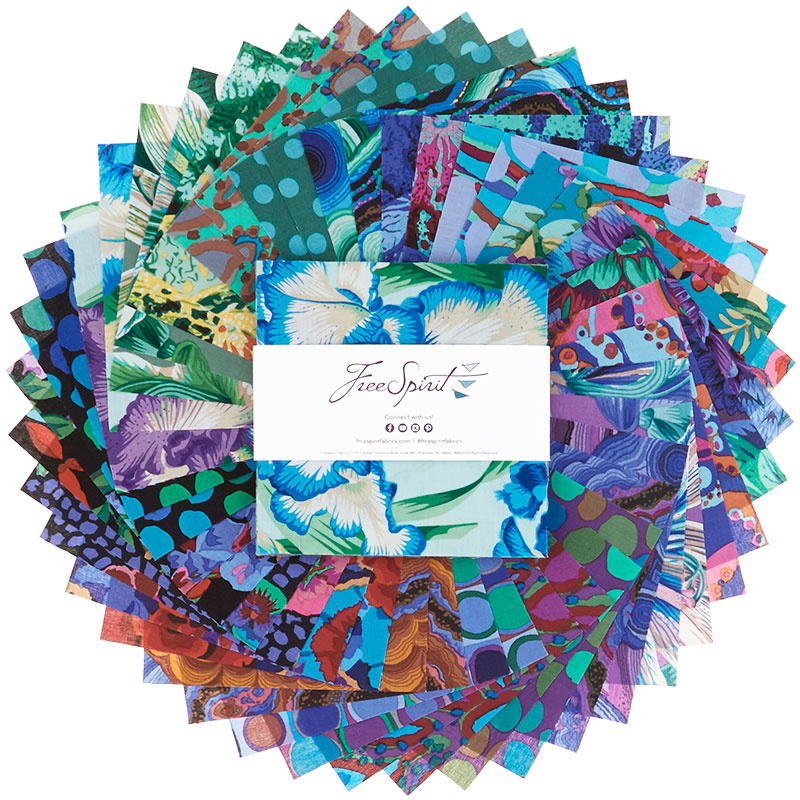 Kaffe Fassett Collective August 2020 Cold Charm Pack$12.50Shop →
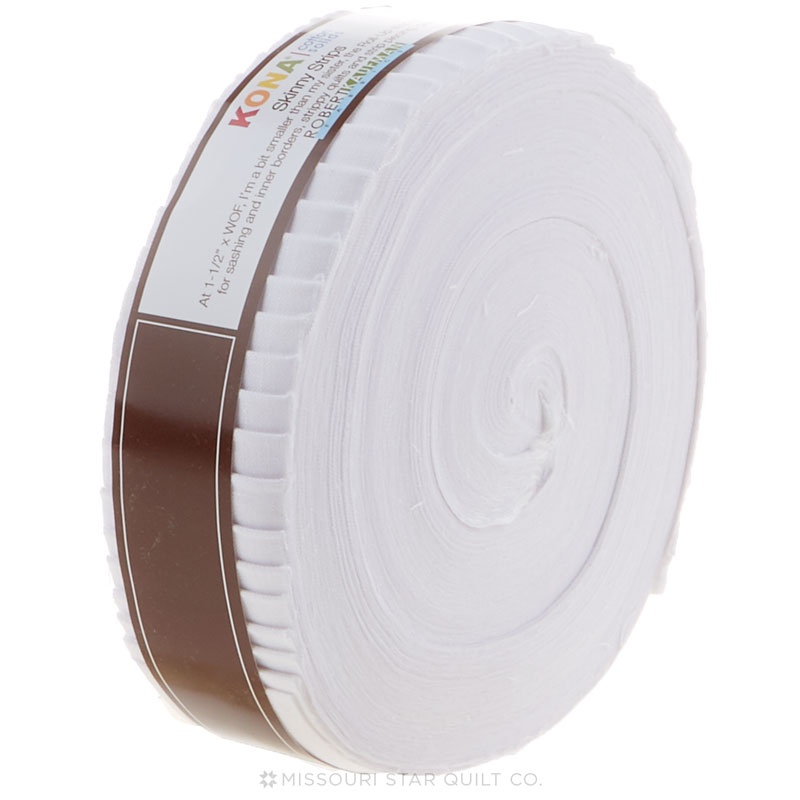 Kona Cotton - White Skinny Strips$22.45Shop →
 Missouri Star Small Rhombus Template$7.95Shop →
Common Questions
What is covered in Triple Play: 3 New BLOCK Party Quilts with Jenny Doan of Missouri Star?
It's BLOCK Friday at Missouri Star! To celebrate, we're whipping up a Triple Play of projects inspired by the newest issue of BLOCK Magazine! What's Triple Play? Once a month, Jenny, Misty, and Natalie each demonstrate their own, unique take on a favorite block, technique, or...
How long is the tutorial video?
The tutorial video is 00:35:12.
Are supplies listed for this tutorial?
Yes. The tutorial page includes the supplies and materials connected to this project.
Is a transcript available?
Yes. A written transcript is available on the tutorial page.
Video Transcript
Natalie: Natalie
Jenny: And Misty
Misty: Misty
Jenny: And we have a really special thing planned for you today. Our Triple Play is all based on the Block Magazine that is coming out in December.
Misty: Yes, it’s Block Friday
Natalie: So exciting.
Jenny: It’s so cool. So we took three projects from that magazine, the December Block and we upped our game a little bit.
Misty: We used those for our inspiration.
Jenny: That’s right. We used those for our inspiration and we are just
Natalie: So excited to show you.
Jenny: We just went a little crazy
Natalie: Some new ideas
Jenny: Ya, ya, so here’s the quilt that mine is based on. We’ll get right into mine. Mine is based on the Braids and Boats quilt and this is the one that appears in Block.
Natalie: Which we did for a Triple Play some time ago.
Jenny: Ya so if you go watch the Triple Play on this one you’ll see another one that’s made in batiks for the block fabric. And I’m actually, for my project today I’m just going to use this braid part right here.
Jenny: So the fabric I’m using for my project is called Venice and it is by Christiane Marques for Robert Kaufman and you’re going to need one charm pack of that. Now this is my project right here and it’s a set of placemats and out of one charm pack you’re going to get six placemats. So we used the braid on the side. This little piece of white right here, for all six placemats you’re going to need a half a yard of that. You’re going to need a yard of complementary fabric and then your back fabric back here. You’re going to need a yard and a half and it will back all six of those. Alright so let me show you how to do this because this is really fun. You guys know I love the half hexis and you will need that template. We do have an outline for it if you need that. And basically what we’re going to do is we’re going to take some of our squares here and I’m just going to pull a few out of the middle . So there are several ways you can cut these. And you can cut this way with your charm in the middle but I like to cut my little set in half. And so I’m going to just take my little 2 ½ inch ruler and make two cuts. Then I can stack these actually. And then I can lay my little template on here and I can, then I’m just cutting the sides. So then it becomes very easy. So I’m going to cut this way and I’m going to switch hands and cut this way. Now if you can’t switch hands, turn yours around, use a rotating mat and just flip them around. And I’m just cutting these edges right here.
Jenny: Alright. So once you cut your whole charm pack up it’s just a matter of putting them together. And so what I’m going to do is I’m going to sew this side right here to this bottom of my hexi. And we’re just going to lay this on here like this and we’re going to have Natalie sew that on there.
Natalie: So just one half seam to get started?
Jenny: Ya just a half seam to get started. And so do it this way so you can see where you’re going and then just sew right down that side. Ok so once you’ve done your little half seam that’s like the hardest part of the braid because now we’re just going to open this up like here. And then every piece we have is then just going added to the bottom and added to the bottom and added to the bottom like this. You’re just going to keep going and going and going and sewing them on.
Misty: I know this works but every time I see it it’s just like the best
Jenny: Isn’t that so fun? So what I want you to do though is I want you to sew them all and make a long, long braid. So I actually have the end of my braid here. And you’re just going to keep going and going and going and make a long braid. Now for each placemat what I did was I used 15 inches of this and so, you know, you’re just going to straighten off. I’m going to move these out of the way. And we’re just going to straighten off this end right here like this. And then I’m just going to measure 15 inches. Make sure I don’t cut into my template. That’s a fast way to ruin a rotary blade right there. So this is a 15 inch ruler and so I know that I need to come right here and just like that. And then we’re just going to cut this. This becomes our braid on the side of our placement right here.
So what we’re going to do to start to put this placemat together is I”m going to cut two 15 inch strips of my white 1 ½ inch strip. So this is 1 ½, it’s going to be 1 ½ by 15. I’m cutting my little selvedge off. And one of the reasons we’re cutting these is because our braid piece could get a little stretchy and this will help hold it in place. It will just stabilize the entire thing. So we’re going to, I’m going to lay my ruler on here because I know it’s 15. And I’m just going to cut two of those 15 inch pieces. So then we’re going to take our braid piece and we’re going to lay this 15 inch piece on either side. And we’re going to make the braid fit to our piece. So Natalie if you want to sew those on.
Natalie: Yep. So I know you never pin but I think if you wanted to pin you could pin the top and the bottom. And then the other tip is to keep the braid at the bottom near the presser foot so that if it’s a little bigger than your cut strip then you can ease it in, right?
Jenny: Right. That’s exactly right. So whenever you have extra fabric, you know like if you’re 15 inches here and your fabric has a little scoop, if you put that fabric on the bottom, the feed dogs take in more fabric and it will just make it all line up. So you can actually put a pin at the beginning and the end. And even one right in the middle if you want. And it will help it all line up. So I’m going to have Natalie put one of these on both sides. And I’m going to go ahead and take my little piece of fabric here and cut a 12 by 15 inch piece that we can sew on the other side. So I think this is, let’s see how wide this is. This is a little wider than 15. I’m going to fold this in half. This is going to be easier for me to cut. I don’t like to cut on long pieces of fabric.
Misty: Ya me neither.
Jenny: I like to cut on short pieces. So what I’m going to do is I’m going to cut this one to 12 length. My length is 12, right here. One, two, three, four, five, six, seven, eight, nine, ten, 11, 12 like this. And I’m just going to cut this in half making sure I’m lined up nice and straight. And then I’m going to open this up and I’m going to cut it to 15, I mean.
Misty: Ya that’s right.
Jenny: Is that right?
Natalie: 12 by 15
Misty: 12 by 15
Jenny: All of a sudden I’m like, wait a minute.
Misty: I hate when that happens.
Jenny: It’s like I was completely turned around for a minute there. Alright so Misty would you iron this for me because it’s got a fold in it.
Misty: Absolutely. It’s kind of creasing, isn’t it?
Jenny: It kind of is. Ya we’re still doing a quarter of an inch on all our seams.
Misty: There we go.
Natalie: Sometimes they’re not exact.
Misty: They’re pretty close.
Jenny: They’re close enough. Alright I’m going to straighten up this edge right here and then we’re going to count over 15 because I know that it’s 12 this way. And so one, two, three, four, five, six, seven, eight, nine, ten, 11, 12, 13, 14, 15 here and I’m going to lay my ruler here, get on this side of it. And I’m going to make this cut. Wait let me make sure this is lined up nice and straight. Alright now what I’m going to do is I’m going to have Natalie sew this to the braid piece.
Misty: There we go. Now did you put your braids pointing up or pointing down?
Jenny: So it depends which way you put your placemat.
Misty: Oh I guess, well but it’s always on the same side.
Natalie: It’s on the same side but if you look at these two they are going opposite directions.
Jenny: That was a complete error. That was not intentional.
Misty: I’m sorry. I was just curious.
Jenny: Most of them are down. And some of them are up. I did that intentionally just so you could see.
Misty: I was going to say, I think they both look great. I just was curious.
Jenny: Either way works, right?
Natalie: Yes. And you can have three going one way and three going the other way. The other thing is it doesn’t have to be on the left, it can sit like this and be on the right. And it can be a plate here and your silverware here.
Jenny: Absolutely, either way. Very versatile as you can see.
Misty: Obviously.
Jenny: Alright so let’s sew this piece on right here.
Natalie: Do you want the braid on the bottom or
Jenny: Let’s see, let’s do our other three with it going up. Do you know I never even looked at that.
Misty: That’s so funny. I’m so sorry.
Jenny: No it’s totally fine.
Natalie: There’s things like that that happen a lot with our pattern writers. They’ll say, did you intend for all of these to be the same or did you not pay attention to that?
Misty: And you’re like, oh I didn’t pay attention.
Natalie: Interesting little things that you catch.
Jenny: Ya so that is actually really interesting. I’m like wait, if you turn it over they go. But it’s on the opposite side.
Misty: I love that.
Jenny: Alright. Well anyway it works and makes a great placemat. So once Natalie gets this sewn on over here, the next thing I’m going to do is I’m going to finish my whole set. And I’m going to lay them all on the same piece of backing and then I’m going to quilt them. And if you’re quilting them like I quilt with a credit card, if you’re quilting them that way you’re going to send them to your quilter with a big piece of back, don’t cut your individual pieces, she will never forgive you. Leave a big piece and just put, she’ll put the placemats on and then quilt them all at once. If you’re going to quilt them on the machine, you know, machine quilt them, then what you’re going to do is you’re going to cut your pieces and you’ll lay your batting and all that. So I’ve got my pieces back. I trimmed it all up so that it was nice and square. And then I just bound it like a regular quilt with a binding on. I think anytime you put binding even on a small project, I just think it finishes it and makes it so cool. These are great quick projects. It would be really fun.
Natalie: Such a great gift too.
Jenny: Well and it was so fun. Any fabric. You know if you used Christmas fabric, it would be cute. If you used holiday stuff.
Natalie: Yes Christmas or Halloween. I mean those kinds of things are fun because they’re not like such a big deal.
Misty: Just a quick project.
Jenny: The other thing is
Natalie: Not as much as a whole quilt for a holiday but you could have fun different placemats for whatever you’re doing.
Jenny: And also as you’re making these I’m thinking about, you know, this is a long piece of braid that you get on this and if you cut it half you’d have a great double table runner. You know so many ideas. And so many things you can do with the braid. The braid is super fun and super quick but it makes it look like you worked really hard. But if you want to make sure that all of your hexagons are going the same direction, look at that. Alright now we’re going to go to Misty who has our next project and I’m going to clean up my mess.
Misty: Alright. I’m so excited for my project. I made this great little pillow and little bonus project but it was inspired by this charm squares on point quilt, that’s what it’s called, right?
Natalie: It’s Simple Squares on Point.
Misty: It’s Simple Squares on Point, thank you because this is not charm squares.
Natalie: It’s made with a layer cake and we added the accent color to create a fun pattern.
Jenny: This is such a great fabric for guys, isn’t it?
Natalie: Born to Ride is the line and we quilted it with this really cool motorcycles
Jenny: Your dad would love this.
Natalie: Ya it’s super cool.
Misty: So cute. So that was the inspiration for this. But keeping with Jenny’s idea of smaller giftable projects I thought I would show you how to make this great pillow on point using charm squares. And so you actually get this pillow and this really cute little pin cushion. They’re made the exact same way just with different size squares. You get both of them out of one charm pack. And I used the Christmas cards by Sweetwater for Moda. And it’s just a really great holiday line. So let me show you how you do this. It’s so, so simple. To make the pillow you’re just going to lay out your five inch squares in a row six by six. Just make a layout however you like it. Again, you can use any size squares that you want. It’s just going to change the size of your finished project. And so now I’ve sewn all of these together. And we’re just going to put them right sides together in half like this. And we’re going to sew a quarter of an inch seam up both sides. I like to start from the seam down here and sew down.
Natalie: Alright. And we’ll match up all these.
Misty: All your little joints, yep.
Jenny: No pressure, Natalie. No pressure.
Natalie: Everyone is watching me.
Misty: There really are no quilt police though and it’s so forgiving. If it doesn’t match we’re not worried about it.
Jenny: Oh she’s worried about it.
Natalie: Well you know, sometimes it is and sometimes it isn’t.
Misty: Right. So then just the other side. Ya you’re having to do all the hard work today Nat
Natalie: No worries
Jenny: This makes such a great gift.
Misty: So awesome. And I love that you actually get two giftable things out of one charm pack.
Jenny: Because how many did you use, 36?
Misty: You use 36 squares for this one and I’ll show that when she finishes.
Jenny: It just went through my head what you did and I realized, I’m like, Oh.
Misty: It’s so fun.
Natalie: There you go.
Misty: Alright. So then once you have those two seams done, you actually are going to grab this in half again and you’re going to do the same idea.
Jenny: That’s it.
Misty: That’s it. And then you’re going to have to leave an opening though obviously because we want to flip this. And because we don’t have any side seams you really can’t use a pillow form for this so we are going to fill it with poly fill so I just leave about a charm square’s, you know, width opening and so I’ll backstitch when I get there and then come down and finish the rest. You just want to make sure the rest of your fabric is out of the way.
Jenny: That is so cool.
Natalie: So just like shake it down.
Misty: Shake it down.
Natalie: Ok. Give it a little shake down.
Misty: That’s right.
Jenny: Just a little shake down.
Misty: Ya it’s so, so easy.
Jenny: That is really fun.
Misty: Isn’t that fun?
Jenny: I see a few of those in my future.
Misty: Exactly.
Natalie: They’re great for everything. They can go on beds and couches.
Misty: It’s such a wonderful size too. They finish at about 19 inches so it’s a great throw size.
Jenny: And because you used polyfill it’s perfect for pillow fights.
Misty: Exactly.
Jenny: Now I would probably backstitch where you are leaving your opening.
Misty: She’s not quite there.
Jenny: I know she’s not quite there yet but because you’re hand stuffing it will take a lot of stress.
Misty: Yes you don’t want it to tear.
Natalie: Alright, how do I backstitch on this machine.
Misty: Pull the lever.
Natalie: Oh ok. I’ve never back stitched on this before because we just don’t do it very often.
Misty: But for this project it really does make a big difference.
Natalie: Ok and then I’m going to go up to this point and backstitch again.
Misty: Exactly.
Natalie: Make sure that’s, sorry it’s just a little, I just want to make sure it’s all straight.
Misty: You just have to work with it. Exactly.
Jenny: It is interesting how different machines are and we get so accustomed to our machine.
Misty: To whichever one we sew on. Almost there. There we go.
Natalie: Alright. See if I did it right.
Misty: You did. And so now we can just turn this right sides out. You can clip your corners if you’re worried about it. Because it’s so large it doesn’t really tend to matter. And then we’ve got some polyfill here.
Natalie: Well and if the one square is too small you could probably make it a larger opening. It’s just that’s how far you have to hand stitch later.
Misty: Exactly. So be mindful of that. You are going to have to hand stitch it closed.
Jenny: But that is it.
Misty: And so now you just stuff it.
Jenny: Look how cool that is.
Natalie: It’s so cute.
Misty: You just stuff it with your polyfill which Jenny has got there. Then we’ll just fill this all up and you know whip stitch it or do a hidden stitch to finish off that little bit and it is done.
Jenny: That is awesome. So cute. I can’t believe how easy that was.
Misty: I know, it’s amazing isn’t it. Then this adorable little pincushion I got out of the rest of the squares in my charm pack. And I did that by, you just need four charm squares and you cut them down into 2 ½. And you sew them four by four and you make it the exact same way. And then I just filled this one with crushed walnut shells.
Jenny: I have those, wait, here we go.
Misty: Ya exactly and so this makes a perfect little pincushion and I put a little button in the middle . I just think it turned out so cute.
Jenny: Well that is adorable.
Natalie: Walnut shells, you could sew through the whole thing, right? Just move them.
Misty: Ya.
Jenny: And your point gets sharper as you sew through them
Misty: Your needle will sharpen as you go. So ya I just hand stitched, added that little button. It was so quick and easy. And they make great gifts. So now we will turn the time over to Nat
Jenny: Awesome.
Natalie: Ok so my project is based on the Rhombus Gemstone quilt which I just love.
Jenny: Here it is.
Misty: So pretty.
Natalie: And it uses the rhombus tool and jelly roll strips on the side. And we have a mini version of that rhombus tool which I just think is the cutest little thing ever.
Misty: It is so cute.
Natalie: I love tiny stuff. It’s so cute. So I made a table runner
Jenny: Oh my gosh.
Natalie: Using the tiny one and a little charm pack
Jenny: It’s so beautiful.
Natalie: And it is in reverse. So the original we used all white for gemstones and the jelly roll was the color and it made this really cool pattern because you had same color on one side.This one is opposite so it really just like
Misty: It looks like you’re looking through a garden trellis. It’s so pretty.
Natalie: Yes. So I called it Rhombus Garden
Jenny: I need one of these. I’m pretty sure I need one of these for Christmas, Natalie
Natalie: It’s super, super simple to make. This one is 22 by 52. You could make it shorter if you wanted to. I just wanted to use as much of the charm pack as possible so that’s why it’s this long.
Misty: It’s nice and long. I love it.
Natalie: So to make this table runner I used the Free Spirit fabric it’s Kaffe’s August 2020 Cold Collection. And it is just beautiful. His fabrics always are. They’re so pretty and fun. You use so many, they’re so similar that you can’t even tell if you have two side by side because they have different sections that cut differently.
Misty: It works so beautifully together.
Natalie: Right. So then the other thing I used is a pack of 1 ½ inch strips. Now these are super convenient but you don’t use the whole thing. You’ll have a few leftover so if you wanted to just use yardage you could use a yard and a ¼. And then cut them into 23 strips. That’s how many you need. 1 ½ inch by the width of fabric.
Jenny: And I always feel like why would you choose yardage?
Natalie: Pre cut is so convenient. And then I’ve got a little border on it so the inner border is also out of the strip set.
Misty: The same 23?
Natalie: The same 23 pieces, yep. And then the outer border is just a half yard and it’s three inches.
Misty: Just gorgeous
Jenny: So pretty.
Natalie: Now the backing, we used a yard and a half. So what you do is you cut that lengthwise and sew it together so that it’s long and skinny as opposed to using like a full width of fabric.
Misty: That makes sense.
Natalie: Alright so let me teach you how to make these little rhombus gem stone pieces.
Jenny: His fabric is so fun because you’re absolutely right. Every single one, these three could be out of the same charm pack but would never know.
Natalie: Alright so what I did first was just cut these into two 2 ½ inch strip sets. Oops. And I have stacked a couple, I mean, what do I have like four fabrics here. Alright so this is 2 ½ inches wide and it should fit pretty well. I’m going to trim off that little excess on that side and then cut them. You have just a tiny bit of waste but it doesn’t bother me.
Jenny: We’re not mad about it.
Natalie: Not mad about it at all. So you just cut those. There is a little edge you can clip here but you don’t really need it for this project because we’re sewing these straight onto strips. Alright so you’ve got your strip, so the way that I did this, because all my strips are the same color, I just lined them up on a strip and sewed all of one side.
Misty: Ok.
Natalie: And then I clipped them all, pressed them and then sewed the other side on new strips.
Misty: Ok.
Natalie: Alright? So we’ll just do maybe three. Does that sound good?
Misty: Sure.
Natalie: So you just line them up. And what I did to make sure that I was doing them all the same direction I looked at, I made one. And then I said, you know, I want them all to go this way. So then this is the base, right? So you look at it and say alright I want all of my, the short side. We’re going to do all of the short side first.
Misty: Ok.
Natalie: So then you just put it on like that. And you make sure that when you start because starting and ending is where you’ll end up with the piece that you have to trim off. So you can fold it this way and say, ok ya I know that when I cut I need at least that much. So I would slide this down a little bit but then as you’re going along you can line these up, oops. You can line them up as close as like a half inch once you have that starter.
Misty: Ok. Well let me sew one and then you can tell me how close to put the next one, ok?
Natalie: Yep, they can be, I mean, I did probably closer to an inch apart but it was all eyeballed. I didn’t measure. I just wanted to make sure I had enough room to trim both pieces.
Jenny: What’s really fun about that though is that I saw you come into the studio and you had these long strips like a garland. Half done.
Misty: So just about there you think?
Natalie: Yep and you can leave just about half, ¾ just a guess
Misty: Just enough room
Jenny: Because of the way you cut them Natalie would they butt right up next to each other?
Natalie: Technically they could but I just worry about cutting error. I want to make sure that I have enough space. I like to give myself that room. I don’t want it to be too. So let’s just trim that off.
Misty: There we go.
Natalie: And we’ll, oops. We’re going to press it first. That’s what we’re going to do.
Jenny: Oh ok well I’m ready for you.
Natalie: So you want to have them pressed back before you trim.
Misty: Oh that makes sense.
Natalie: And I always did the strip on the bottom and then flipped back my pieces but I think you could do it the other way. I just felt for me it made more sense.
Misty: They are so pretty.
Natalie: Alright so I’m going to move this stuff so I have a little more space here. So for this the little 2 ½ inch ruler is so great because it’s a small piece. So I line it up on top. I line it up right on top of the rhombus piece and basically I’m just following this angle so that I keep a straight line and it stays lined up. And it works super great. And then I just, so this one is a little bit trickier because it’s on the outside of the piece as opposed to cutting on the inside.
Jenny: But you still can use it as a template, right?
Natalie: You totally can still use it, yep. And just go along and trim them right off. So you can see how the first one you need to make sure you have enough for that edge but the rest of them are going the same direction and can be closer together. Super easy. And it’s one of those projects that you don’t have to think a lot.
Misty: Ya that’s so nice.
Natalie: It’s great. Alright so then we’ll take this same strip and we’re going to put this one with the white facing up. I know that because I did a lot of these. But if you’re curious and you’re looking at your piece, you have your one finished one then you can say I know that I need this piece to be on this side. And so because we’re going to sew on this seam the easiest way to do that is to have it go like this. So then as you’re sewing along, you know, you have your white strip to the top. And once you know that you have enough space because now it’s going to cut the opposite direction. It’s not super tricky, it’s just things that you have to pay attention to. Then you can sew them all white strip up.
Misty: Ok. Well and the good news is once you figure it out they’re all the same.
Natalie: Totally.
Jenny: And I really like those mantras. Ok we’re doing this. This is how it goes.
Natalie: So then I would just flip my whole pile and have it ready to go. And it really is that fast.
Misty: That is amazing.
Natalie: We got through this whole thing really quickly.
Jenny: I’m thinking I might have to make one of these too.
Misty: I know.
Natalie: I was thinking I might have to make like a queen size because I love the way the little pieces look in a large quilt. And it’s so easy that it’s not as intimidating as like a postage stamp.
Misty: It actually comes together pretty fast.
Natalie: Yes.
Jenny: That would make a beautiful big quilt.
Natalie: So we’ll press these back and then we’ll trim them up and our block is done.
Misty: Wow
Natalie: And it’s roughly around three inches now because we’ve added that inch, inch and a half. It’s always easier for me to trim it, for whatever reason I like the piece on top. So we still just line it up with the edge.
Jenny: Just open up this one right here.
Misty: It’s so cool.
Natalie: And you’re done. And it’s weird because it looks kind of funky at first. You’re like that’s not really anything but once you lay them out.
Misty: Oh so cute.
Natalie: So that is it. That is how you make that block. I’m going to put this in the little scrap bin. And I made a whole bunch because the layout is the part that does get a little bit tricky. It’s kind of a mind bend. So I start my layout by deciding which direction I want my sides to go. And I typically like them pointing to the right. So I always start with the top row a little bit because you can line them up by lining up these diamonds. And so you just put several. I didn’t know when I was laying it out how many across I had but you guys have a diagram so you’re lucky there. And then you start your second row. And so then it goes down. And then these ones, they all hit each other at the points. And it just keeps going like this. And then when you get to your next row what you want to remember is that at some point they can’t keep going out. They have to go straight down. So this is your line that you’re going to look at, these ones make your side. You’ll have ones that go out, so the top always has two. There’s two on this side and two on this side. And then at the bottom you just have one. And the diagram will show you all of that. It’s easier than it sounds.
Jenny: But when you sew these rows together, do you do it this way then?
Natalie: So what I do is I take these two and stitch them together. And then I stitch one, two, three four.
Misty and Jenny: Ok
Natalie: And then putting the rows together is kind of a trick too because you’ll notice.
Jenny: You have five or six?
Natalie: I have six. In the longest space there’s six of them.
Misty: Ok.
Natalie: So one, two, three, four, five, six, Ya.
Jenny: But the four is right here. Ok that’s awesome.
Natalie: Ya so you do like two, four, five and then six all the way across. I don’t know if there’s five. There might be. It might go two, four, six.
Jenny: Two, four, six
Natalie: Ya there’s six. And then once you get them all sewn together you’re just going to trim your edges straight and add your borders. But I wanted to make a point about sewing these rows together. So once you have these two stitched together and this row stitched together, you’re going to line them up at this point because you know that you have this whole zig zaggy section at the top that you’re going to trim later. So that can be a little bit tricky. Let’s go ahead and do one.
Misty: Sew a few.
Natalie: So let’s sew these first two together. There you go, just like that. You can, in order to get it you do want to overlap just about a quarter of an inch. There’s not a ton of space. It’s like a tiny quarter of an inch
Misty: Ok
Natalie: But that helps to keep things lined up. The other thing that’s nice about this project is because the background is all white nobody can see your points. They do match up pretty well but if they’re off a little bit it does not show at all.
Jenny: Very forgiving.
Natalie: Super forgiving. So you do want to go slow and be careful because it is, it’s not super biasy but the diamond itself is a bias. I mean, it’s a bias cut fabric so it can get stretchy. Ok now let’s do these ones in the same way. You’re going to sew four together this time.
Misty: Ok.
Jenny: Ya I think it will be good for everybody to see what they have to sew it to. Because this is cut off right here. So this is these peaks on the top and the bottom of your runner.
Natalie: Yep. Absolutely. And it isn’t hard, it’s just a different way of putting your rows together. You’re not putting them together end to end. You’ve got to scoot it down and make sure that those little points match in the middle
Jenny: I have a table runner like that that I do with the squares.
Natalie: This reminded me so much of the zig zag runner that you made.
Jenny: Ya that’s the one I was thinking of. And whenever I laid that out I always start here and then it goes this way and I have to turn the whole thing because, you know, it’s how it’s laid out. I can’t see that until it starts coming together.
Natalie: Yep.
Jenny: You’re just sailing over there.
Natalie: Yep, she’s so good.
Jenny: Sew, sew good.
Natalie: Sew Misty. SEW.
Misty: There we go.
Jenny: Alright so let me press that.
Natalie: Press that back and then
Jenny: Now do you press these all going in a certain direction?
Natalie: I did actually because I’m a little bit different. I flipped it over and I made sure that the white all went towards the color. So mine are all pressed open. But it actually makes no difference when you sew them together because you’re sewing everything at an angle. So it can’t nest in the traditional sense. It just doesn’t nest.
Jenny: So then here?
Misty: You’ve got it flipped.
Natalie: You’ve got to make sure and remember
Jenny: Or it will end up like my placemat, half going this way, half going that way.
Natalie: Well it just won’t match up. It won’t make the pattern that you’re looking for but what you need to remember is that you have half a point here and then you have a point here. And so this piece sits right up against that piece. I had it pulled up too far. It’s so confusing. The other thing you can look at is that all of these seams should match each other. So then when you put that together it looks like this. And these, ok so you can look at nesting seams in a way that’s non traditional. What you want to do is overlap them by a quarter of an inch and you kind of make a little X.
Misty: Ok that’s what I was going to say, they should make an X.
Natalie: Yes. So if you look at this, when you put it together, it should have, the seams should cross at their 45 degree angles making a little X. And so then you just kind of slide that back up where it goes and stitch it down. You kind of just do the best you can at this point.
Misty: Ok. And like you said, it’s pretty forgiving.
Natalie: It is forgiving because of all the points that meet are white. They’re going to blend into the background
Misty: Ok. Eh, not great.
Natalie: You’ll think that but it will look great when it’s all together.
Misty: They do look beautiful. You really can’t tell.
Natalie: Alright, great. So then you’re going to continue adding your rows and get the whole thing put together and it will be time to trim. And I”m going to use this finished runner to give you an idea. So I trimmed my top and bottom sides first, the long sides. And I’m going to put this cut piece in so you can see where it would fit. It fits right about here in the quilt. So you can see how it’s this good angle. And then you’re going to line your ruler up on the edge here and cut these sides straight. And then when you’ve got both sides cut you’ll flip it sideways and cut this side. And it will feel kind of like you’re cutting off a larger piece because it’s got to come here. See where the
Jenny: You’ll lose most of that triangle.
Natalie: Seam, so you’ll lose most of this but you need a good straight line and you need those pieces there so that you don’t have a hole in your runner.
Misty: Exactly.
Jenny: And then that first border stabilizes everything.
Natalie: Then you’ve got it completely trimmed, square and add your borders and you’re all done.
Jenny: So pretty. I just love it.
Natalie: So fun. And so much less work.
Jenny: So all these projects we’ve done today are inspired by Block magazine that is coming out in December. They’re great gift ideas, great small projects. I’ve got my placemat here. Natalie has got her runner, Misty has got her pillow. Great quick gift ideas, wouldn’t they?
Natalie: You know what else is a great gift idea? Block Magazine.
Jenny: Block Magazine is a great gift idea
Natalie: Give to someone you love.
Misty: I love it.
Jenny: So we hope you enjoyed today’s Triple Play from the Missouri Star Quilt Company. See you later.
Misty: Bye.
We hope you enjoyed watching this video. If you’re not already part of the Missouri Star quilt family you can hit the subscribe button below so you won’t miss a thing. And if you click that bell it will notify you every time a new tutorial comes out. See you next Friday.


