

Triple Play: 3 New Churn Dash Quilts with Jenny Doan of Missouri Star
 Jenny Doan
- Charm Pack
- Traditional
- Lap / Throw
- Beginner
- Quilt size 54" × 65"
Triple Play is a favorite tradition here at Missouri Star. Once a month, Jenny, Misty, and Natalie each demonstrate their own, unique spin on a favorite block, technique, or template. In this episode, the talented Doan ladies show off three fabulous new Churn Dash quilts.
Instructor
Jenny Doan
Jenny Doan is an American quilter, author, and YouTube personality. Jenny started Missouri Star Quilt Company in 2008 and today it is the largest quilting supply vendor in the United States.
Shop this tutorial
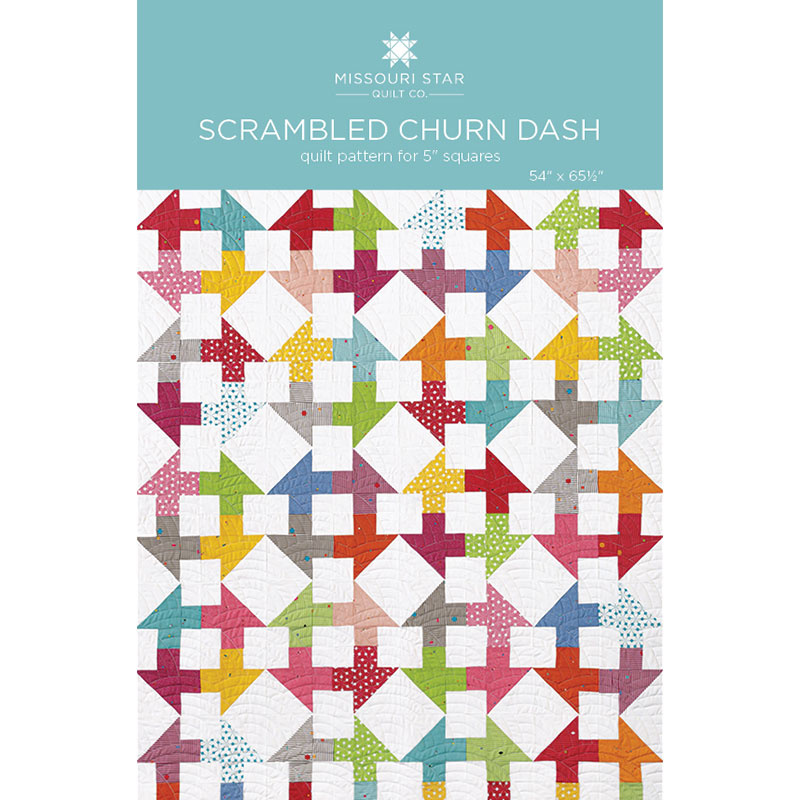 Scrambled Churn Dash Quilt Pattern by Missouri Star$5.95Shop →
 Digital Download - Scrambled Churn Dash Quilt Pattern by Missouri Star$4.95Shop →
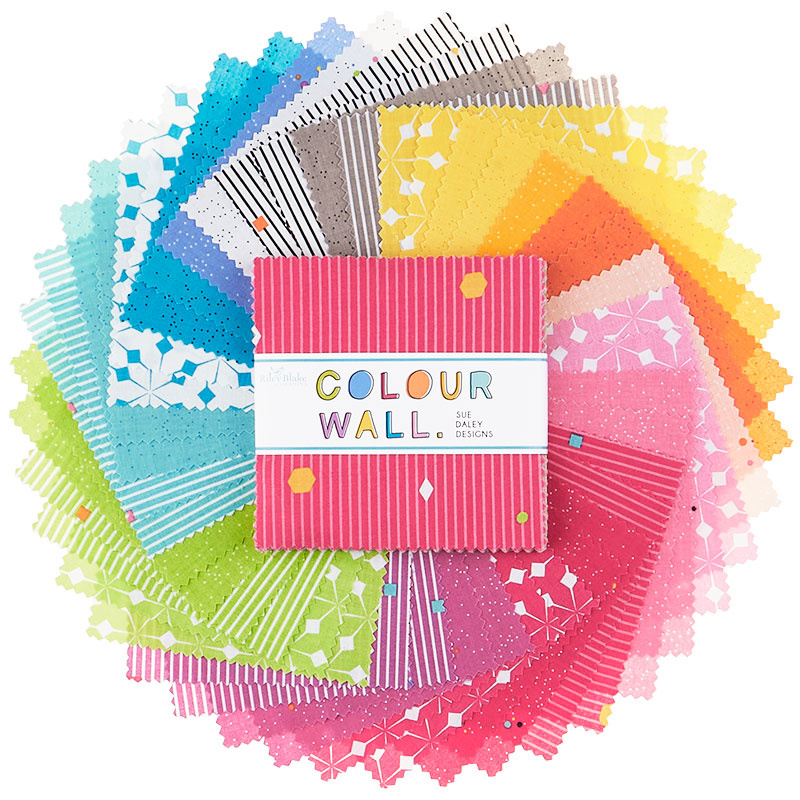 Colour Wall 5" Stackers$12.45Shop →
 Kona Cotton - White Charm Pack$9.95Shop →
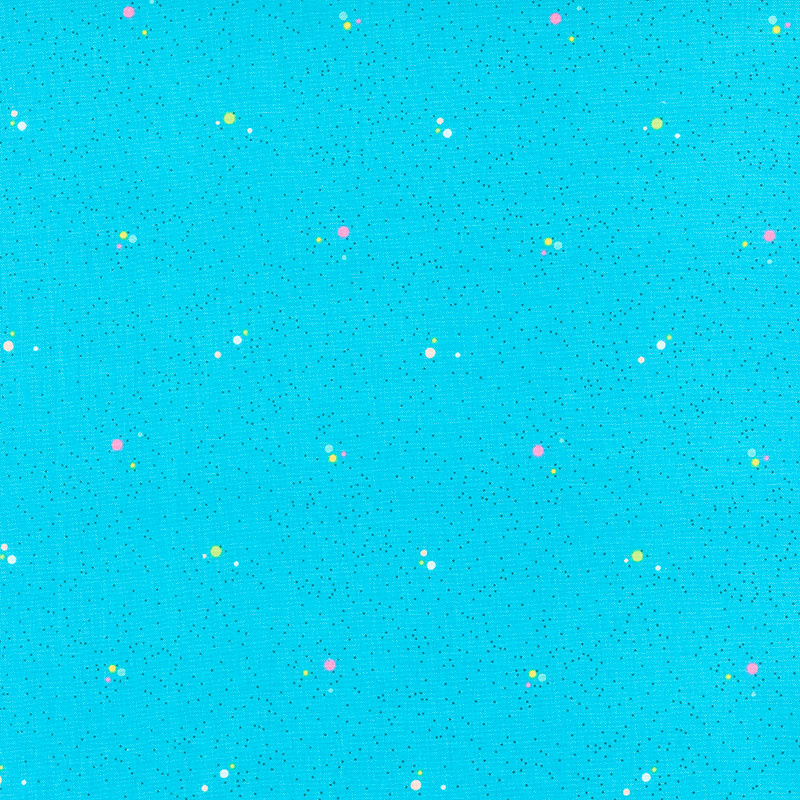 Colour Wall - Dots Turquoise Yardage$11.96Shop →
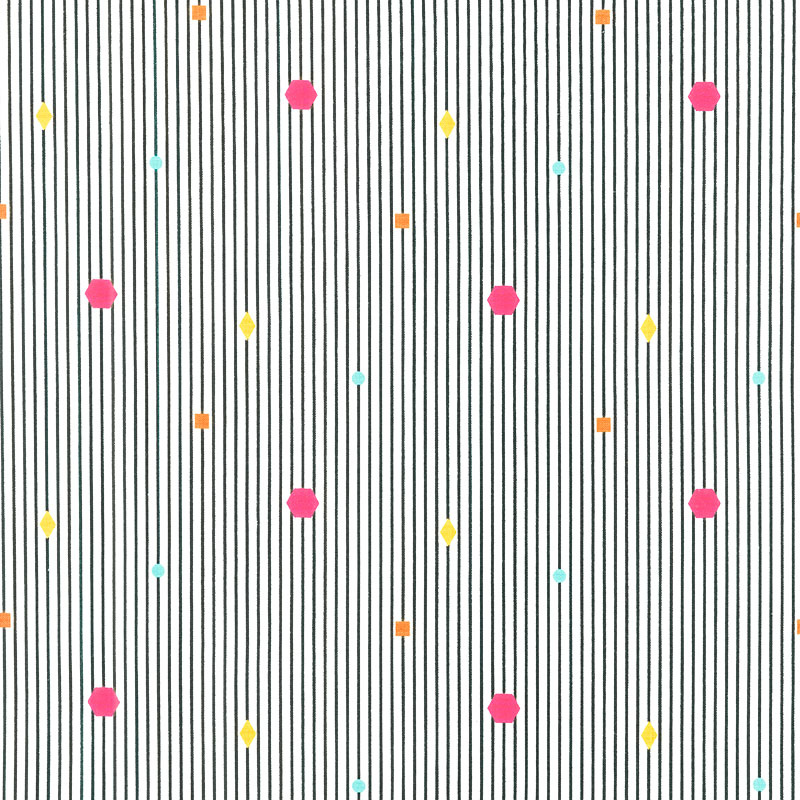 Colour Wall - Stripe White Yardage$11.96Shop →
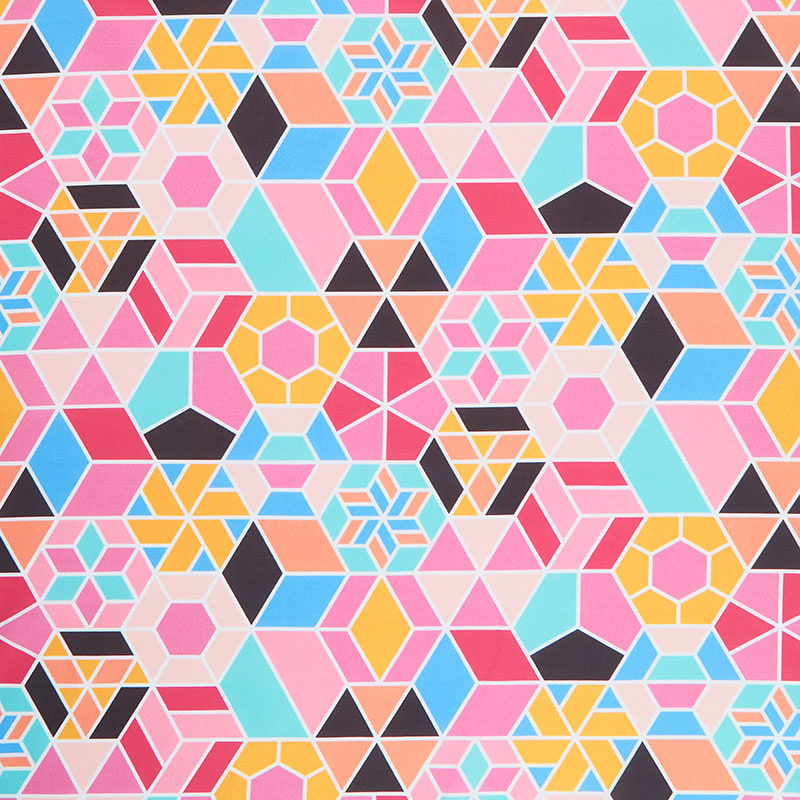 Colour Wall - Pink 106/108" Wide Backing$18.96Shop →
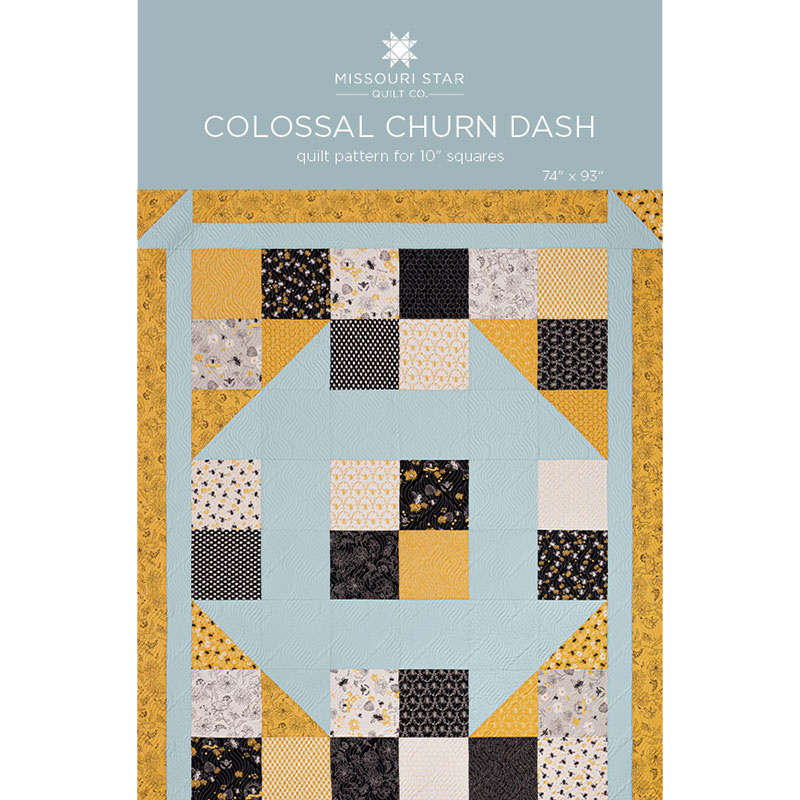 Colossal Churn Dash Quilt Pattern by Missouri Star$5.95Shop →
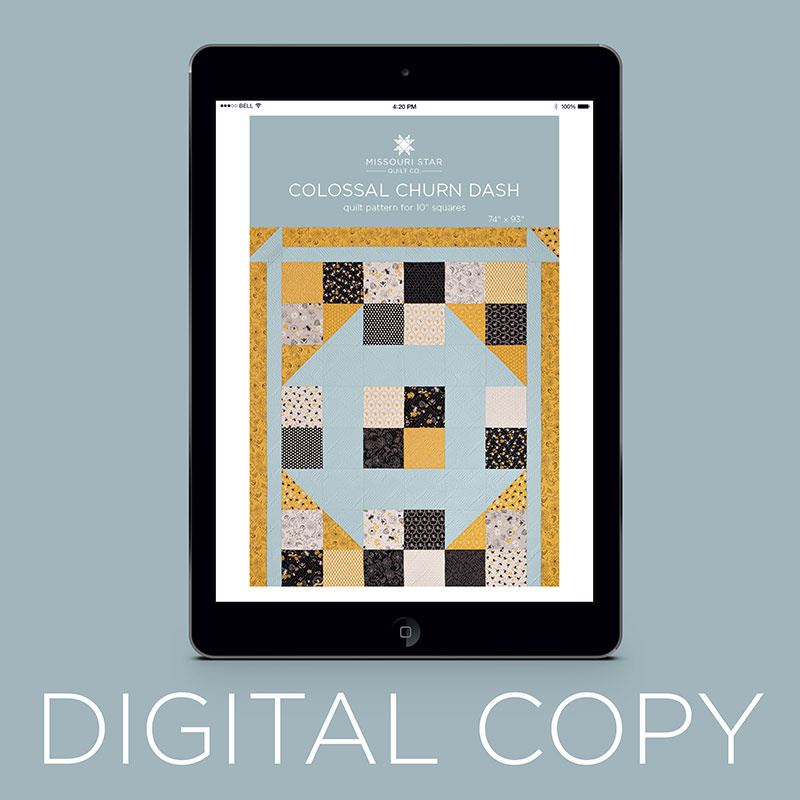 Digital Download - Colossal Churn Dash Quilt Pattern by Missouri Star$4.95Shop →
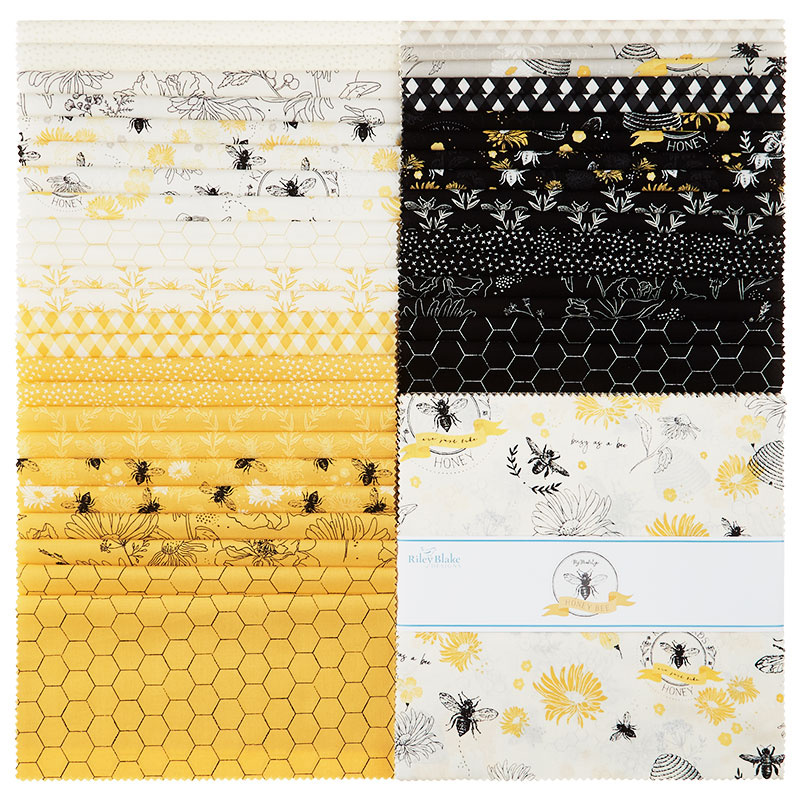 Honey Bee 10" Stackers$45.95Shop →
 Bella Solids - Pool Yardage$8.24Shop →
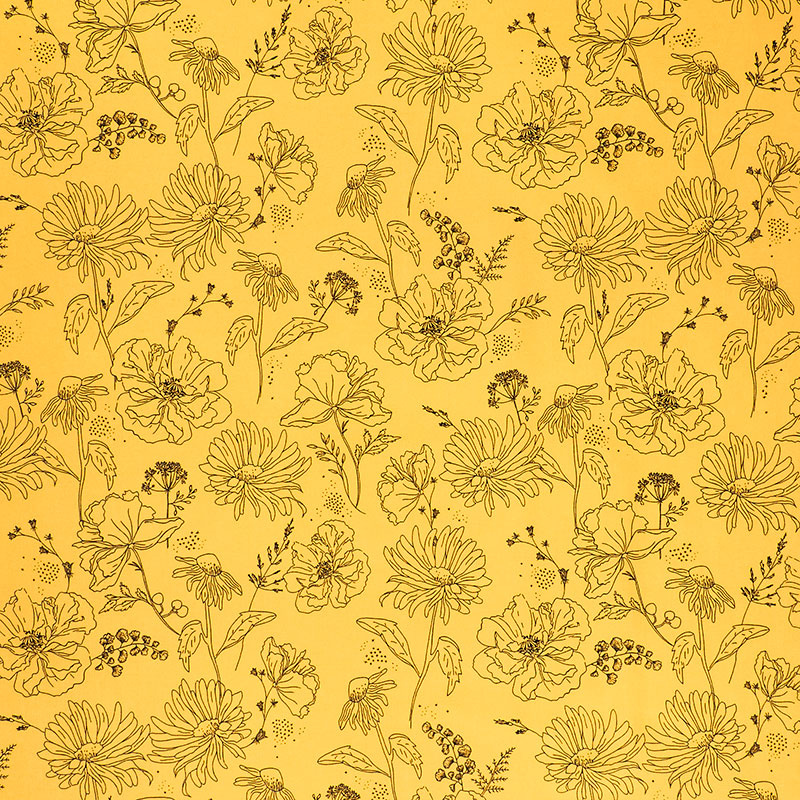 Honey Bee - Wildflowers Daisy Yardage$11.96Shop →
 Honey Bee - Honey Bee Criss Cross Black Yardage$11.96Shop →
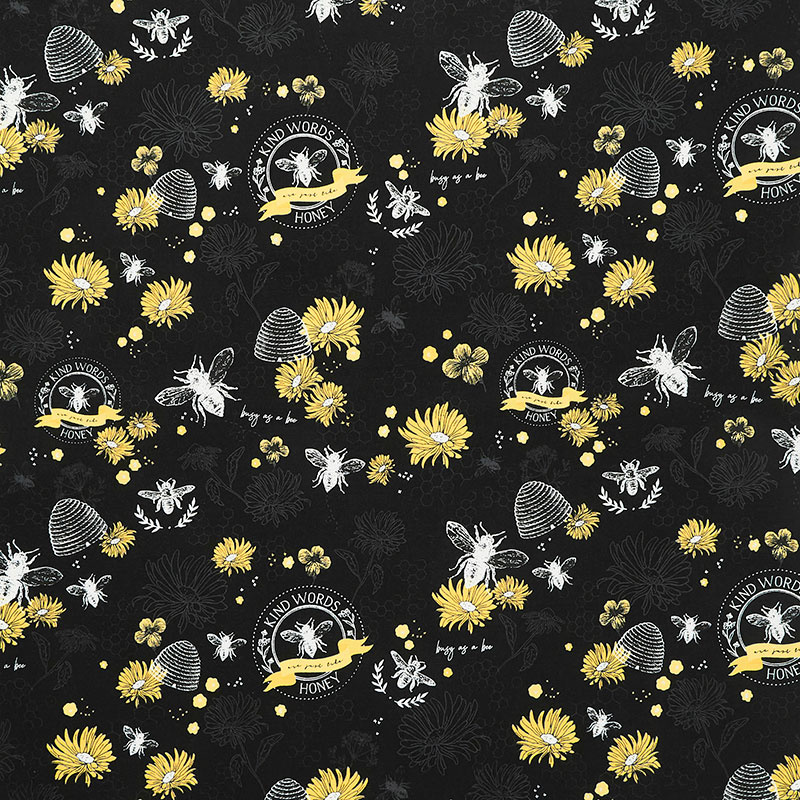 Honey Bee - Bees Main Black Yardage$11.96Shop →
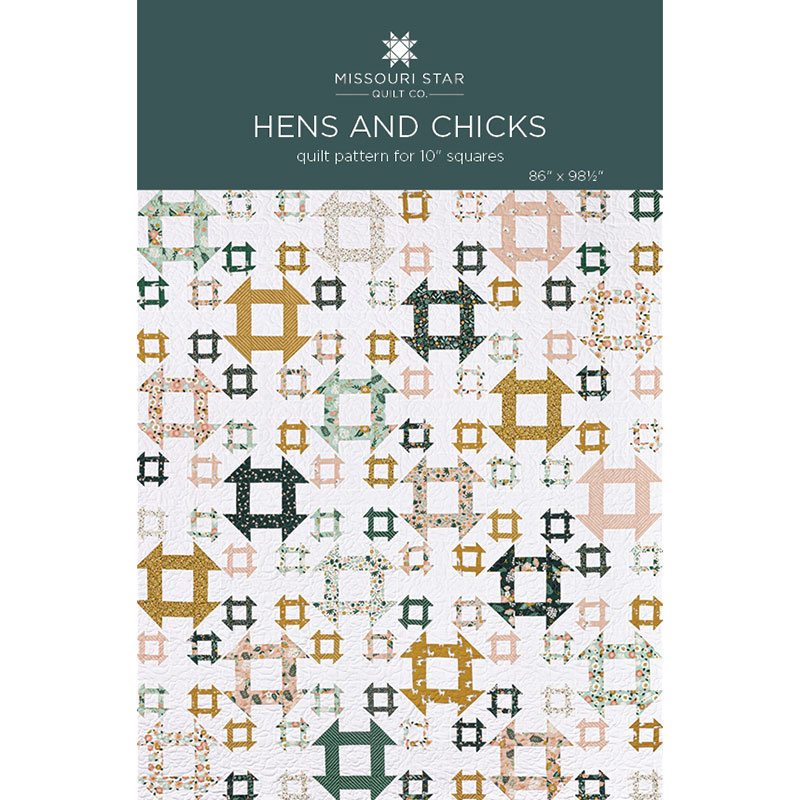 Hen and Chicks Quilt Pattern by Missouri Star$5.95Shop →
 Digital Download - Hen and Chicks Quilt Pattern by Missouri Star$4.95Shop →
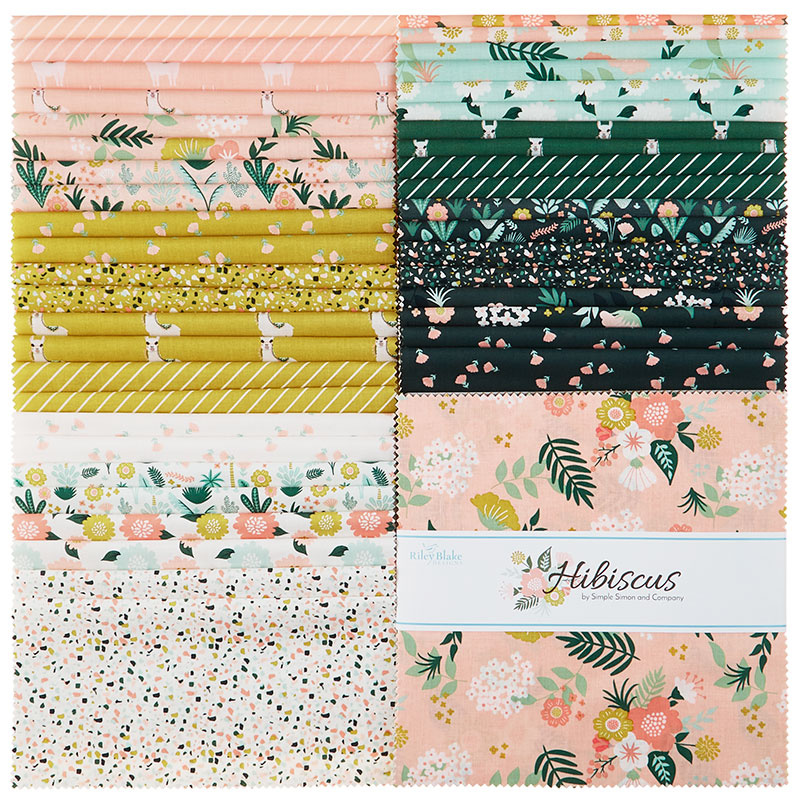 Hibiscus 10" Stackers$45.95Shop →
 Kona Cotton - White Ten Squares$30.95Shop →
 Kona Cotton - White Yardage$7.28Shop →
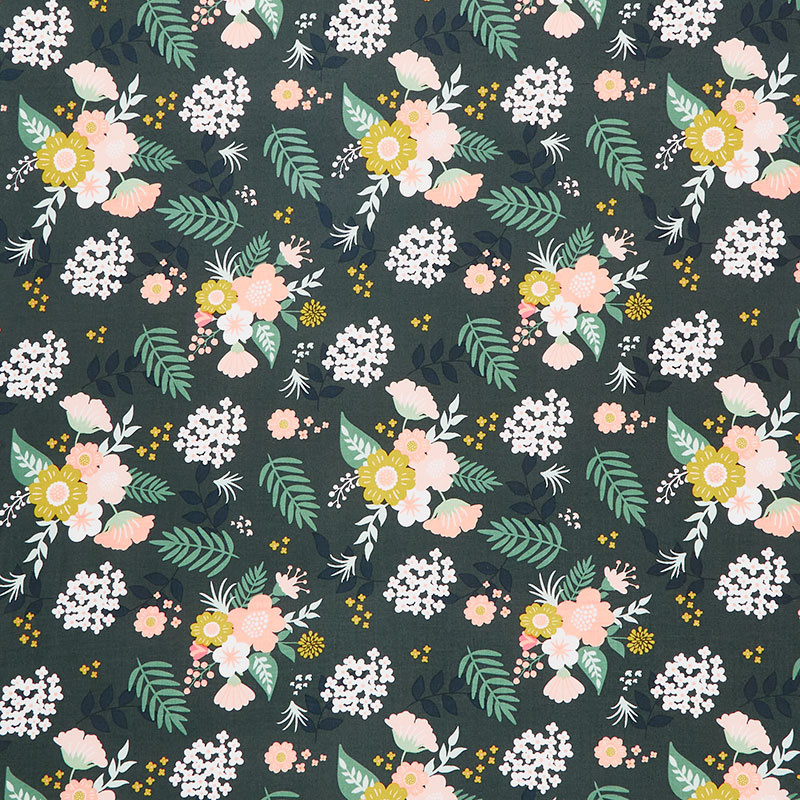 Hibiscus - Floral Main Hunter Yardage$11.96Shop →
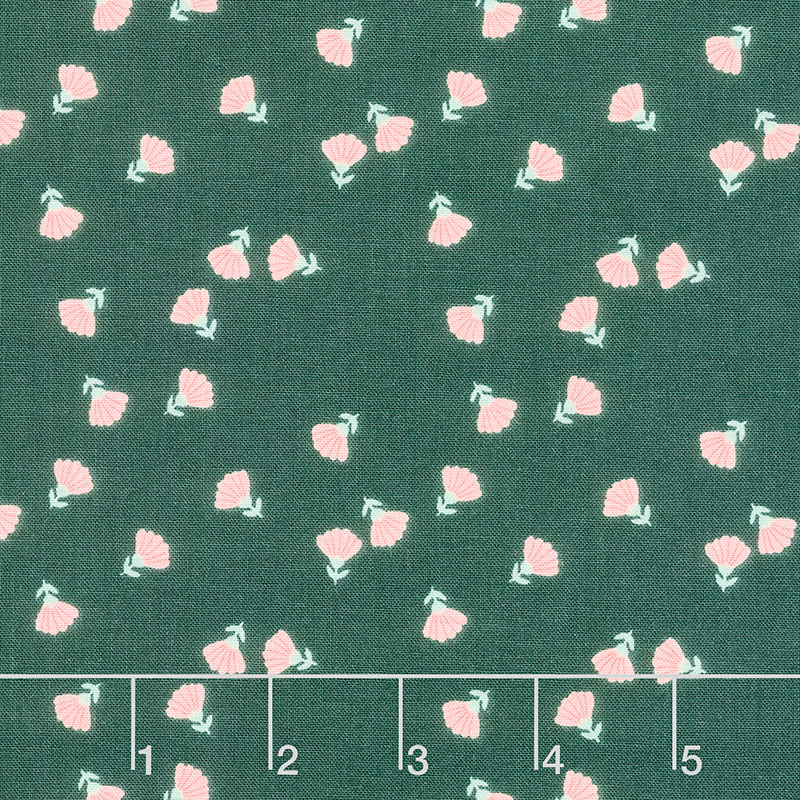 Hibiscus - Ditzy Hunter Yardage$11.96Shop →
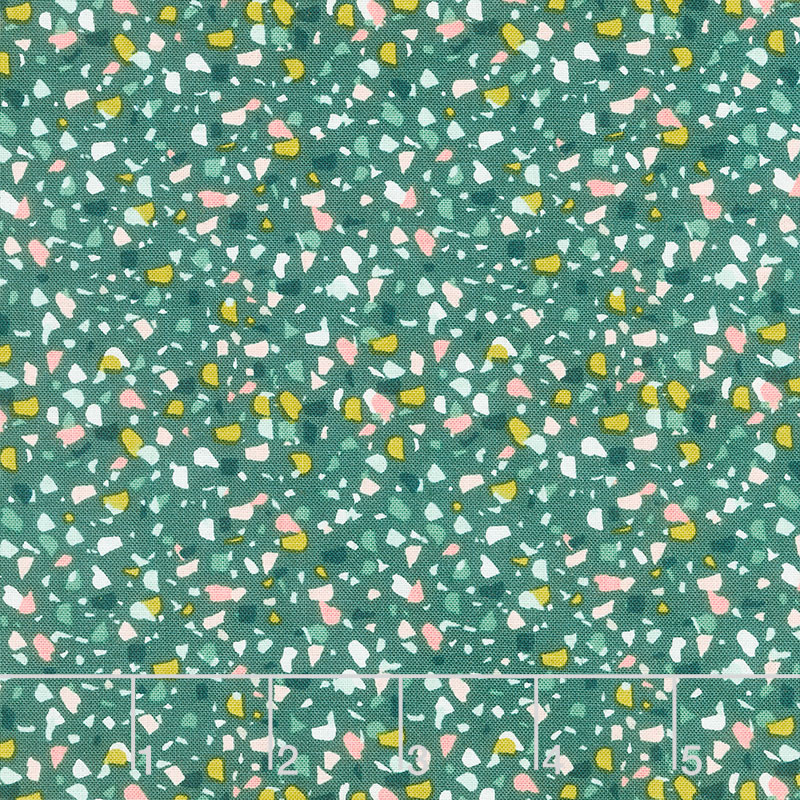 Hibiscus - Confetti Hunter Yardage$11.96Shop →
Common Questions
What is covered in Triple Play: 3 New Churn Dash Quilts with Jenny Doan of Missouri Star?
Triple Play is a favorite tradition here at Missouri Star. Once a month, Jenny, Misty, and Natalie each demonstrate their own, unique spin on a favorite block, technique, or template. In this episode, the talented Doan ladies show off three fabulous new Churn Dash quilts.
How long is the tutorial video?
The tutorial video is 00:42:04.
Are supplies listed for this tutorial?
Yes. The tutorial page includes the supplies and materials connected to this project.
Is a transcript available?
Yes. A written transcript is available on the tutorial page.
Video Transcript
Jenny: Hi everybody, it’s Jenny from the Missouri Star Quilt Company. It’s Triple Play day and I am here with Misty and I’m here with Natalie. And we’re so excited about this one. We love the churn dash. It’s a traditional old block that’s been around forever. I know it’s one of Natalie’s favorites and it’s certainly one of my favorites. And I think it’s now become one of Misty’s
Misty: It’s true.
Jenny: Anyway, this is an old block that was made between 1800 and 1849 so they give themselves about 50 years play. You know, nobody knows for sure. And shapes don’t change. But the reason it’s called a churn dash is because the outside of it represents the butter churn and the inside of it is the dash. You know, so it just is a fun block and we’ve really changed it up to do some fun different things. So let’s take a look at the quilt behind me. So this is mine.
Misty: It’s so cute.
Jenny: Isn’t it cute? First of all, the fabric is so bright and happy, really a fun line. And I’m calling mine Scramble Churn Dash because if you haven’t guessed by looking at it we’re going to make churn dashes and cut them up which I love to do. You know I love to cut up blocks like that. So to make my quilt you’re going to need two packs of five inch squares and I have used Color Wall by Sue Daley for Riley Blake. And you can see, it’s a gorgeous line. You’re going to need some background squares. I used just close to three packs. Remember if you want yardage there’s about a yard in every pack of five inch squares. You’re going to need a little bit for a border, about a yard. And ours is a four inch border. And of course you can make it as big as you want. So for the backing you’re going to need about 3 ½ yards of regular fabric but we used this great piece right here of 108 and let me show you this back because this is a fun back.
Misty: It’s so cute.
Jenny: Look how gorgeous that is. Isn’t that fun? We’ve got some threads on here which just tells everybody that we are quilters. I think it’s a darling back. So if you decide to use this backing, it’s a 108 piece, nice big piece of backing, and you’re going to need 1 ¾ yards for that. This makes a quilt that is 55 by 66 so it’s a great size quilt. So let me show you how to make it.
Jenny: Alright. So this is our standard churn dash block. This is the standard churn dash. I made it with five inch squares so you can even use a layer cake and cut it in fourths if you want to. But let me show you how to do this because we need four half square triangles. And so we’re going to choose, we’re going to take two of our background fabrics and two of our colored fabrics. Now you want four of these squares to make the churn dash. And luckily this pack has two of each. And so I have over here, I have two background squares right here and two of my colored squares. So I’ve already separated out four of these pink ones. And we’ve got those right there. Alright so the first thing we’re going to need to do is we’re going to draw a line from corner to corner. And we’re making half square triangles here so what we want to do is, here Misty I don’t want to run over this with my rotary. There we go.
Misty: Alright. You’ve got it.
Jenny: Nothing worse than having a nice sharp blade and running over it with a rotary cutter. Or running over a pin, not the blade.
Natalie: That would be bad too.
Jenny: Either way. Alright so Misty, if you’ll pull up a chair I’m going to have you sew these. Sorry I tried to lick my finger and talk. That doesn’t work. I should never lick my fingers. Anyway, what we’re going to do is we are going to sew a quarter of an inch on both sides of this line for two of them. And Misty’s just going to sew down one side, slip another one in, chain piece both of them. And here’s one more. She’ll slide that right under there. Then she’ll flip the whole row. Now what this means is you can actually make all your half square triangles for your whole quilt at once if you like rote sewing. So to be fair, I make one block first to make sure that I know what I’m doing, it all works, I’ve got everything in the right spot and then I leave it sitting there so that when I go to put it together I can look at the whole thing and it all makes sense.
Misty: There we go.
Jenny: Alright so I am going to cut those apart and iron them and trim them but while I’m doing that I’m going to have Misty, I have two more squares here right sides together and she’s going to sew right along the sides of both of these sides. So if you’ll go ahead and do that. Natalie and I will get to trimming and to cutting these half square triangles. And Natalie, will you press those open for me, please?
Natalie: Yes.
Jenny: Alright. So out of each block of half square triangles that you make, you’re actually going to get two half square triangles so that makes it real handy. And Misty has those done and I didn’t want to start this until I was sure you could hear me. So what I’m going to do here is I’m going to use the bloc loc and I have a 4 ½ inch bloc loc ruler so we’re just going to square up these blocks. I don’t know about you but for me it doesn’t matter how careful I am, mine never come out quite perfect.
Misty: Really
Jenny: I mean when I’m squaring it does but when I sew them
Misty: Oh, ok, I was like they work great for me.
Jenny: No but there’s always a little bit to cut off and with this size of a block you would think that you would be able to just, I mean it’s a half an inch. But mine never come out just right so
Misty: There is just a little bit of give.
Jenny: I’m pretty sure I’m joining a very, very big club.
Misty: Oh I agree. No, I’m in the same boat. I just thought you were talking about the squaring tool.
Jenny: No, the squaring tool is great. Alright so when you do this with a bloc loc ruler you’re going to want to make sure that your words, if you’ve pressed to the dark side, your words are going to be on your background fabric. And that is how I remember how this goes. And then we’re just going to trim it and this one is going to need a little bit of a trim on all four sides. So I’m going to flip that around, take off this little piece right here, make sure I’m lined up in the corner. I just have a little bit here, a sliver actually.
Misty: It’s amazing how quickly those little bits make a difference when you start trimming.
Natalie: Oh they add up.
Jenny: It really is.
Natalie: If you were to leave them they would add up quite a bit.
Misty: And you would be frustrated with yourself.
Natalie: It would just be harder to put the quilt together.
Misty: Yeah.
Jenny: It is. Now I made it work for years because most people know I did not square my blocks for many years because I couldn’t figure out how to do it with my brain. But once I figured out the clearly perfect slotted trimmer then all of a sudden the bloc loc made sense. And I’m not sure how that all works but it does.
Misty: That’s interesting.
Jenny: Alright so here are the two pieces that Misty has sewn together. We’re just going to set these aside over here, grab that little sliver. And these are the ones Misty sewed together and we sewed just down the sides. And what we’re going to do now is we’re going to come in and we’re going to cut these right in half. And then, Natalie, I’m going to let you iron them open. So there’s those two in half and these two in half. We’re making our bar blocks for the middles in between our, what are those called?
Misty: Half square triangles?
Jenny: Half square triangles. I know there’s a lot of old people out there that have this old brain that can’t think of that word in that moment.
Misty: It happens to all of us.
Jenny: We are good. Alright. Now because these were fives and we only took a seam going one way, we really have to trim these up and make sure. So I make sure that my ruler here is lined up on the 2 ¼ and then I’m just going to cut side to side. And I’ll probably just go ahead and cut all four sides just to make sure so that they are just set in there.
Natalie: So you’re just centering them?
Jenny: I’m just centering them, yep. And so, you know, again I’m going to line this up in here. It just felt right for me to be able to do that.
Natalie: Ya it makes sense. If you’re not using a bloc loc though, then you would just put the 2 ¼ line down the seam in the middle and then you get four, right? Is that right?
Misty: 4 ½.
Jenny: Ya we’re looking for 4 ½.
Natalie: Ya, ok. 2 ¼ plus 2 ¼ is 4 ½.
Jenny: Ya so that’s what I do. It’s 2 ¼ right here on the seam line.
Natalie: You could do that with just a regular ruler if you didn’t have the bloc loc.
Jenny: Oh that’s true. I see what you’re saying. Ok, I was a little confused. I’m like wait, I did that. But you’re right. Alright. Just in case. Alright, here we go. 2 ¼ on the seam line. And we’re trimming this and we’re trimming this. Alright, so we need four of these for each block. Oops, I started way too soon. There we go. So we need four of these for this block and four half square triangles and then we need our middle square. And our middle square, because all the rest of our blocks are 4 ½, you need to make your middle square 4 ½. And so you can just lay this on here and take a half an inch off two sides, just like this. Alright so now
Natalie: You only have to do that to what, 20 squares? So that’s not too bad.
Jenny: That’s just the middles. Alright so Misty what we’re going to do is I’m going to lay this out and then I’m going to have you start sewing it together in rows. So I’m going to start with my middle square and I’m going to put my block squares all the way around it like this. And my block, my color block is going to the middle and then these go fabric in. You know, print fabric in like this. Alright so the way my brain does it is I sew these three here together here.
Misty: Ok
Jenny: Is that how yours, how you do it? Or do you do it by row?
Misty: I did by row but it makes no difference to me.
Jenny: Alright so if you’ll sew these two, then we’ll sew these two and then we’ll sew these two. Slide that one under. There we go. I just had that one off a little bit.
Natalie: It’s really so nice to sew together blocks that are all squared.
Jenny: It’s so nice. Once I started doing that, I know everybody kind of breathed a sigh of relief and the pattern team especially.
Natalie: Ya well the pattern writers were happy because then the math worked out better.
Jenny: This one goes on this side. Right. Otherwise it was like, about, just a bit. Just a little bit, we’re going to add a little. Because I am not a pattern writer and so we have people who are technical people who are pattern writers so they generally, when I do something like this, they work from my finished block backwards which is not generally how it’s done and so it just makes it, for me that’s the way I create and the way I sew. But for them it’s so much easier if we can give them that correct size to begin with. Alright so now you can see that these are all pinned as you would by threads together. So we know that these exact pieces go here. So we’re not going to clip these threads, we’re just going to turn them over and sew the rows down. And that’s just one way of putting together a block. And this is a typical nine patch style block because you have one, two, three, four, five, six, seven, eight, nine. So it’s not a nine patch but it’s that type of a block with nine blocks. Now Misty is nesting the seams as she comes to them, aren’t you dear girl?
Misty: I am.
Jenny: Good girl. And we will iron it when she’s done with her nesting and sewing. Yep, you’re good. We are good. We are happy to wait. Oh you know what I forgot to mention, you guys, look what we’re wearing. We do have fun t-shirts on. So because it’s National Quilting month we have these great National Quilting month t-shirts. And we have a whole thing going for Missouri Star about what quilting is and what it means to everybody. And so we’ve sent out loads of these postcards and we’ve literally gotten back, oh thousands.
Misty: And it’s so cool to read them.
Jenny: It’s so cool to read them because for some people quilting is about their family, about reconnecting with their mom or their daughter. For some it’s about therapy. For some it’s just pure joy. Here, Natalie, can you iron that?
Natalie: Sure.
Jenny: And you know, and so for us here at Missouri Star we thought we’d put the things on it that meant something to us. So on my shirt it says Quilting is and then it’s creative, friendship, therapy, art, life, fun, love, history, resourceful, community. And so I just love this. And I love that it’s in the shape of a log cabin. So yours is all around it.
Misty: Community, art, story, giving and history. Natalie’s is the same.
Jenny: Natalie’s is the same just in different colors. Everybody loves different colors. Alright, we have made this block and you would think it was lovely, right?
Misty: It’s beautiful.
Jenny: It is lovely. But it is not at all like the block that’s behind me because what I did next was I took my little 2 ½ inch ruler that’s two by 15. And I came in here and I cut on the two inch line. So I just nestled my ruler just right on the seam line right here, the two inch line on the seam line. And I’m going to cut here and I’m going to cut here. So just like that we’re cutting two sides, making two cuts.
Misty: Everybody gasps just a little bit.
Jenny: Right. I know hold this down for me Nat, would you just put your finger on there. When I cut sideways it’s a little bit harder for me to keep my ruler straight. Alright so then we have, look at that. Four pieces. So we are going to set those aside and I’m going to cut a few more of these because the cutting part, you know, when you finish a block, the cutting part is the terrifying part for most quilters because they’re like, what if I mess it up. Let me tell you, if you mess this up, it’s just fabric. Toss it in the trash and get another piece, you know.
Natalie: Or make your whole quilt smaller.
Jenny: Yes, or make it a wonky, you know. Or something. But anyway we are just going to cut these in half and I’m going to do this to three or four blocks here so that we can put them together in a scramble fashion. I called my quilt Churn Dash Scramble. I have to cut slower that way. Alright here’s one more. We’ve reached the scramble. See this is what we’re going for right here. I have two more to cut. So right here on the two inch line and I love this little ruler for that because I know it comes all the way across and I can set it right on that half inch line right there and so I’m coming in two inches to the middle. And we’re going to set these over here. And then we’re going to pull this last one in and then Misty I’m going to have you start putting these together because this is what makes this fun little project so happy. When you have a happy little block it’s fun to have a happy fabric too.
Misty: It’s just perfect for it.
Jenny: And the fabric is perfect. So I’m going to leave one of these here. And then I’m going to put one of these here. And I’m going to put this little pink/purple over here in this corner. And then I’m going to put this pink over here in this corner. And I’m going to look at it, and these look a little close to me and this pattern is a little close to me. So I think what I’ll do is I’ll put this one over here and then I’ll stick this one up here. And I’ll see how that looks. I kind of, well those will be lined up either way. Alright so go ahead and sew it together this way. When you get the whole quilt together don’t stress too much about where you’re putting things because it’s just going to look happy. So we’re going to sew these two sides together right here. Now you can nest where the little seams come together. You want to make those line up because that’s what you’re going to see. So let’s take a look at this block right here. So see how these little seams line up. It’s important that you nest those as you go along so that, because if one’s off a little bit you will notice that because it’s all just background. And so it just makes a really darling little block.
Natalie: You could put this together in different ways too.
Jenny: You could put this together in different ways. And I have a fun way to show you when Misty gets this finished up we’re going to press it and we are going to look at.
Misty: Sew these together. One more seam.
Jenny: Yes, one more seam. One more seam. That was just a little riff on, you know, the olden day music. Poor Natalie, grew up with my singing all the time. I have to say she probably loved it.
Natalie: I do, I still love it.
Misty: We all enjoy it.
Jenny: They either love it or they’re really annoyed with me.
Natalie: Well that depends on the day. But overall I love it.
Misty: Making sure these are lined up.
Jenny: Yep, you’ve got to match it up.
Natalie: What if you turned this block and this block in?
Jenny: So you totally can. Let’s play with a few of those right now. So if you have these coming in to the middle right here like this, and you have these coming to the out like this, let’s get the other colored one over here, like this. I mean it’s just a whole new something something.
Natalie: It looks a little bit Jacob’s ladderish.
Jenny: I could have called this the disappearing churn dash because really that’s what it is. We’ve cut it in fourths.
Misty: I did alright.
Jenny: You did alright. A little off, that’s alright.
Natalie: No worries.
Jenny: And so, you know, play with this if you want to, you know, do it. But I want to show you something that’s really fascinating. So if we take these and we turn them the other direction. So we have to start with an unsewn block, and I have a block here that is unsewn. And I’m going to put it together just like the normal churn dash, like this and oop, this here. We’re going to put a white in the middle like this and like this, one in the corner and one more block here. So if I were putting it together like this, I would have a white block in the center. But if we turn these around like this and we make the white the churn dash like this. So you’re just flipping them around. And all of a sudden the white becomes the churn dash and you’re going to throw your color in the center. Now when you do that, because I couldn’t resist sewing one of these together too. So I have another project to show you. So Natalie, if you’ll grab that. So you’re going to cut it exactly the same way but when we put it together in the center, that little four patch, there is going to be. I mean instead of that little churn dash there is going to be a four patch.
Misty: So cute.
Jenny: Isn’t that so cute?
Misty: I love it.
Jenny: And so here’s your churn dash right here. And then also if you sashed this these would pop a little more probably. . But I love how all the color comes together to form these secondary squares and it just makes it really fun.
Misty: It’s adorable.
Jenny: So there’s two great ideas for you. I do want to point out this fabulous quilting pattern. This is a new pattern for us here at Missouri Star and it’s called the Baptist Fan and it’s available in our machine quilting department. And we love it. And so that’s my project. And now we’re onto Misty.
Misty: I’m up next.
Misty: Alright, so this is my quilt. I am calling it Hens and Chicks and it’s a nice big quilt. It measures 86 by 99. It’s really big.
Jenny: Misty, I love it.
Misty: I love it so much. Isn’t it fun?
Jenny: It’s so fun. And the fabric is perfect for it.
Misty: I agree. It’s this beautiful line, Hibiscus line by Simple Simon for Riley Blake and it’s just adorable. And so to make this quilt you’re going to need one package of ten inch squares and like I said we used Hibiscus.
Jenny: And can I say that this packet includes llamas.
Misty: Little llamas. Or alpacas whichever. They’re so cute. And so then one package of background, ten inch squares. You’re going to need 2 ¼ yards of your sashing, that’s just additional background fabric. Then we used 1 ¾ yards for the border and nine yards for the backing. You’re also going to need your clearly perfect slotted trimmers both A and B for this since we’re making two different sizes. So let me show you how we do it.
Misty: Ok so I think one of the most fun things about this quilt is it kind of looks like you set it on point. You have a lot of movement but it’s just two blocks. We’re making this big churn dash block and this block with the four small churn dash together. And that’s all it is to get this beautiful thing.
Jenny: I would never guess that. It looks like it’s circles, the little things.
Misty: I agree. It was like the most magic thing that came together.
Jenny: That is awesome. I love it when that happens.
Misty: I love it too. So let me show you how we did this. And I used a layer cake and so this is how I drew on it for my cutting. This is what it looks like to make the big block. And all of these lines are actually your cutting lines, not your sewing lines. And so, you know, you could go ahead and cut it apart first if you wanted which is what I did. I just cut it in half both directions, like this and like this. And then just like Jenny did, you know, we sewed on either side here and on either side of this middle line to get the pieces that we need. And I went ahead and had that ready here because the only difference between what you did, Jenny, and what I did is I didn’t cut down my bar blocks. I kept them 4 ½ by five. And so when you put this together you just have a full five inch square in the middle. And those 4 ½ by five inch bar blocks go against it just like that.
Jenny: And she had originally sewn this together but we thought it would make more sense to you if we showed you.
Misty: Yes, if you could see it in pieces. So we pulled it apart. And then your 4 ½ inch squares which I squared up with my clearly perfect trimmer A go in your corners just like that.
Jenny: So again the half square triangles are 4 ½ but these are 4 ½ this way by five this way and so the middle block has to be five. And that’s actually a cool thing to remember about churn dashes because as long as this block matches up one way with this these could be any way you want it.
Misty: They could be so long. Exactly. And so then you sew that together and this is what your finished large block looks like. It’s just that easy. And I think, how many did I have in here?
Jenny: Let’s see, one, two, three, four, five, six, seven, eight, nine, ten, 11, wait nope, I lost it.
Misty: One, two, three, four, five, six, seven, eight, nine, ten, 11, 12, 13, 14, 15, 16, 17, 18, 19, 20, 21. 21 big blocks. That should have been much easier than it was. I don’t know why that was so difficult. Alright so let’s move this out of the way and I’ll show you how to make the small blocks. So I also have a cutting diagram on here. And I know it looks like a lot of lines but it’s not as confusing as it looks, I promise. We’re going to do the same thing that we did on the other. And we’re going to cut this in half both directions. So on our center lines on here
Jenny: It’s always such a great idea to know how to get the best use out of a layer cake. And I love that you’ve done this. This makes it really very clear.
Misty: There’s no waste except for what you square, that’s it.
Natalie: That little bit.
Misty: That tiny little bit. And so on here we’re going to sew a quarter inch seam on either side both directions so if you want to do that.
Jenny: I am happy to.
Misty: We’ll start there. And by doing this we actually get four of the little churn dash blocks out of each set of layer cake squares.
Jenny: Oh that’s cool.
Misty: So it goes really quick.
Jenny: Trim these and back the other direction. And I notice you start on the left and I start on the right.
Misty: Oh that’s funny.
Jenny: I’m not sure if that’s because I’m left handed.
Misty: It must be.
Jenny: I was noticing that when you sewed mine. I was like, oh that’s interesting. And just like that we are done.
Misty: We are done. Jenny is so fast with that machine. And then we can cut these in half both directions and vertically and horizontally, exactly, four times.
Jenny: This is the easy eight.
Misty: Alright so then we want to cut it this direction. We can just lay it on the edge since this is a 2 ½ inch ruler. Make those cuts. Keep it together.
Natalie: Itty bitty ones.
Misty: They’re so cute.
Jenny: I usually cut it in half vertically and horizontally first because the other ones have lines and I figure if they scoot around I can always do it.
Misty: You can do the other half that way. Let’s try that. Don’t press them quite yet because we’re going to square. I know you were trying to be so helpful.
Natalie: I wanted to be helpful.
Jenny: Natalie grab, oh nevermind. I was going to say grab another rotary cutter and we can all square but
Misty: That’s ok. We don’t have to square them all because I have some of them done. But I just want to show them how to do it.
Jenny: So then that was side to side and top to bottom. So now even if this moves you can just cut it on the line.
Misty: You’re right, Jenny, that is easier.
Jenny: It’s just, you know, I’m a messy sewer so I come up with ways to do things so it can work.
Misty: No that’s brilliant.
Jenny: Well not brilliant probably but maybe on the scale up there.
Natalie: A really good hack
Misty: Great tip. Great tip. There we go. Alright. So now we have those all cut down and we’re just going to use a little clearly perfect slotted trimmer and we are going to use this tiny two inch line.
Jenny: Oh it’s very little waste, isn’t it?
Misty: It’s very little waste. That’s all we’re trimming off.
Jenny: So now you know out of a charm square you can get eight two inch half square triangles.
Misty: That’s right, just like that.
Jenny: And so when you start thinking about all the different things you do with half square triangles.
Misty: Exactly, exactly. And so I actually have enough for our block already made and squared up for us but Natalie is going to press that back.
Jenny: So show us on this one, where do you sew on this one?
Misty: So on this one we’re going to sew on each outside edge and on either side of this middle line. So if you want to do that.
Jenny: Well we could just do one to show them.
Misty: Yep, that’s true. Just one is enough.
Jenny: Because you have the other ones. So I’m going to go here and I’m going to go here.
Misty: Yep.
Jenny: And how wide apart are these lines?
Misty: So they are 1 ¼ inches apart.
Jenny: So this is an inch and a quarter and I am, so I have sewed edges and down the middle.
Misty: Down the middle, exactly. So then we’re just going to cut these apart now. So same thing, we’re going to cut it in half both directions. And then we’re going to come back and cut these long sides. And by doing this you get your tiny little bars and these measure two by 2 ½. And so we can just press those back. And then I have some of our pieces here ready to go. I went ahead and sewed the middle ones on. This is a 2 ½ inch square in the middle and then we have our 2 ½ by two inch bar blocks and our tiny little two inch corners.
Jenny: Alright so let me sew that.
Misty: Ya you can sew those. Here’s this one too.
Jenny: Well we all love tiny. And the fact that you’ve, you know, put tiny with big is just stunning.
Misty: It came together so beautifully. I’m really happy with it.
Jenny: Natalie has already requested that Misty make her one of these.
Misty: That’s true
Natalie: And Misty has already refused
Misty: I was like, maybe in eight years, I would like too.
Natalie: Not today.
Misty: Not today but that’s ok.
Natalie: I still love her.
Misty: I know you do. I love you too.
Jenny: We just get so busy, it would be fun to be able to do more things for each other. I know we kind of concentrate on that at Christmastime, don’t we?
Misty: It’s true. We try. We have good intentions for sure.
Jenny: Alright so now I am just making these little seams line up nesting them. Nesting this one and coming all the way to the end. There’s that little tiny. You might want to press that.
Misty: Press that back, Nat.
Jenny: And then I will something here. And basically the way I remember this because I am a little angley challenged is that my color touches the color. And so those have to be turned in. And it’s just one on either side of that bar block for the top and the bottom.
Misty: Exactly. And it’s really the exact same thing you did on the big one just working with small pieces. It’s not any harder, it’s just smaller.
Jenny: That’s exactly right.
Misty: We’re almost there. We are done.
Jenny: Oh look how cute that is.
Misty: It’s so cute, isn’t it?
Jenny: It’s so cute.
Misty: I love it. And so then I’ve got some sashing pieces because those little blocks finish up at 5 ½ inches square. And so in between you can see here, these are our 5 ½ by three inch that we put in between this way. And then this, oh I can’t remember how tall this block actually is now. But that sashing strip is three inches by 13 inches, that runs this direction. And so every block has the sashing strip put in between the four little blocks. And then you just alternate in the quilt. Here’s a big block, here’s a little one. You can see each row, one starts with a big block and one starts with a small. And you just switch back and forth and that is it.
Jenny: So what size do your blocks end up?
Misty: These are 13 inch square.
Jenny: And so they just have to match up.
Misty: Exactly.
Jenny: Alright so this is again, how big?
Misty: This is three by 5 ½ and three by 13.
Jenny: That is awesome.
Misty: Works great.
Natalie: So much easier than it looks.
Misty: It really is, isn’t it? It’s super fun.
Natalie: I’ll just make myself one.
Misty: Perfect. You got it.
Jenny: Well we’ll have a sewing night
Natalie: Yes and we’ll call it churn dash day.
Misty: That’s right. It will be so fun. So before I finish up I do want to show you this backing. It’s this really cute kind of pebbly pattern. It’s really cute.
Natalie: It’s abstract but it almost looks like a calico from a distance.
Misty: Yes, really fun. And I used the Simply Roses quilting pattern on that. And it’s got this nice big six inch border with that hibiscus print on it which I think turned out so great. I just really love this quilt. So
Jenny: And how big is it again?
Misty: 86 by 99.
Jenny: It’s a nice big quilt.
Misty: Alright. You’re just next.
Natalie: Ok.
Jenny: Natalie I just love your quilt. I love your project.
Misty: Ya it’s so cute.
Natalie: It turned out really good. So I wanted to do something, I had a layer cake to work with and I wanted to make the biggest churn dash I could make with one layer cake. So all of my half square triangles are ten inch squares. So these are, the whole thing is essentially a layer cake quilt.
Jenny: It’s so easy.
Misty: And a really fun border.
Natalie: Ya so I thought of that at the end and I was like, oh I have these extra half square triangles and this would be really cool. So ya I’ll tell you guys how to do that in just a minute.
Jenny: Awesome, so what are you calling it?
Natalie: So my quilt is called Colossal Churn Dash.
Jenny: Colossal! I love it.
Misty: Which is accurate.
Natalie: It’s colossal. It’s 74 by 93.
Jenny: Oh it’s a nice big quilt. So Natalie, what do we need to make your quilt?
Natalie: So to make my quilt you’ll need one package of ten inch squares. And I have used Honey Bee by My MInd’s Eye for Riley Blake. It’s really beautiful and I love the line work on some of the prints. It’s just gorgeous. You also need 2 ½ yards of an accent fabric and that’s this teal color. It’s what I made the large churn dash out of and the inner border.
Jenny: It’s just beautiful.
Natalie: You’ll need a yard and a quarter of outer border fabric and for your backing you’ll need 5 ¾ yards and I used this beautiful print that has the little beehive and the bees and flowers.
Misty: And what quilting pattern did you use?
Natalie: So this is one of our newer quilt patterns. It’s called Time Warp and I just love it. I think it’s very fun.
Jenny: I love how it shows up on here. It makes it look three dimensional
Natalie: It’s got a lot of fun texture.
Jenny: It’s really pretty.
Natalie: Alright. So this is super simple so let me show you how to do this. You’ll want to take your accent fabric and cut a bunch of ten inch squares. I don’t need that little guy. Not this time.
Jenny: Do you want the big one, the five inch?
Natalie: Nah, this one is fine. Six to 16 is ten, right? One, two, three, four, five, six, seven, eight, nine, ten. Always double check.
Jenny: Count twice, cut once.
Natalie: That’s right. Alright and you should always be able to get four cuts out of one ten inch strip, four squares I mean.
Jenny: Ya you’ll get four squares. Got that little piece.
Misty: You need more room?
Natalie: Just a little bit. Alright, then what we’re going to do is draw a line on this. We’re going to make a half square triangle and we want it to stay ten inches so that it matches all of its other sister blocks.
Jenny: I’m getting ready, I’m getting ready. I’m going to sew.
Natalie: Oops, but this is a lot of half square triangle fabric to lose so at least for four of them sew a half an inch on one side away from the line, the sew line on one side. So let’s grab, that will be good. So we’re going to put them right sides together. We’ll sew on the drawn line to get our ten inch half square triangle and then a half an inch away so that we can have four half square triangles in our corners.
Misty: Did you pick?
Natalie: I did. So you’ll notice my outer border is this yellow so I wanted the half square triangles that I had in the corners to also be a yellow print.
Misty: So you need a different yellow print?
Natalie: I just picked
Jenny: Wait, does it have to be exactly a half?
Natalie: No it does not. You’re going to square it a little bit. We don’t have to do that because there’s several different yellow prints that you can use and they blend pretty well. So that one is the same print but you can see that this one isn’t. So that’s ok.
Misty: And all of these I’m noticing now are yellow with the blue.
Jenny: I want to see if I’m a half. Oh I’m very close.
Natalie: It’s very good. Really, really good job. Alright so we are going to cut these apart. And then if you’ll press that open, that would be great.
Misty: Absolutely. Whoops, there we go. Get it to lay flat. There’s that one.
Natalie: Alright. And so you can see I laid out by layer cake squares. It’s in a six by seven. So one, two, three, four, five, six, seven down.
Jenny: And you did nothing to those, you just sewed them together.
Natalie: I did nothing to those and then I have, whoop this way. You’ll put your blue in. You have one, two, three, four, five, six, seven, eight, eight of these and four of them you want to sew your extra on the other side. I just did all of mine because I figured I would use them for something eventually. Maybe one of those everything-but-the-kitchen-sink quilts where you just put your leftover blocks. But then you just lay them out in this diagram. So you have a half square triangle here. You know, print, print, print and then this one you’ve got your half square triangle and a bunch of background squares. So really you’re just following the diagram and you’ve got a bunch of ten inch squares. You sew them together and that is the whole inside of your quilt. It’s so easy. And so fast.
Jenny: That is a beautiful color with that line too. It’s got a great contrast.
Natalie: I think it would look amazing with a multitude of different colors. Coral would be pretty, a green would be pretty. You know, just something that contrasts. Depending on your line, you could make your churn dash any color you want. Alright so if you will press this open then we’ll square it. Then we’ll talk about how to make the inner and outer border because this is going to be different than your typical, your standard borders.
Misty: There is that.
Natalie: Alright. So I’m going to grab my squaring tool. And I squared these to nine inches. So it’s just a little bit of waste.
Misty: That is very close.
Natalie: So because you’re a half an inch apart, you get a ten inch one and a nine inch one. Ya I’ll go ahead and cut that I guess.
Jenny: Go ahead and trim it up.
Misty: Ya might as well.
Jenny: So it squares to nine inches
Natalie: It squares to nine. So I wanted my inner and outer borders to be different sizes. So this strip right here is four inches and this is 5 ½ to get a nine inch, once you add the seam, you lose that half inch and five and four is nine. So that’s how that works. Alright so what you’re going to do is you’re going to piece these together in long strips because obviously a 45 inch wide isn’t going to be as long as the quilt. So you piece your long four inch strips together. And then you’re going to sew these two together to make one wide border piece
Misty: So she’s got a strip set like this.
Natalie: Your strip sets look like this. And you’re going to sew your sides on first. And then on the top and bottom you’re going to add your half square triangle to the corner and sew that to the top and bottom. So it’s just a giant churn dash border. And it goes like this with the blue in and the sashed strip like this so that it makes a churn dash that surrounds the churn dash in the middle.
Misty: I love it.
Jenny: It’s very cute.
Natalie: So I hope that is clear.
Misty: It makes sense to me.
Natalie: You’ll want to measure your quilt and cut your top and bottom borders to match because you’re adding your half square triangles on the corners so you want that to be pretty exact. If you want to measure, you can. If you don’t want to measure I’ll just tell you the little hacky secret thing that I did. I put these on and cut them to the length of the quilt, the sides first. So I made sure that was trimmed and flat. And then for the top and bottom I added the one on the end so that I got this nice crisp corner. When I got down here, I didn’t sew it all the way to the end but I took it over to the ironing board and pressed it back so that it was all flat and lined up neat. And then I just cut it a quarter of an inch over so that when I added the half square triangle it would line up with the seam. And that worked for me, ok? That’s a hack. It’s something you can practice at. If you want to go ahead and measure it and cut it to that exact length, that’s the right way to do it.
Jenny: I would have done it that way. That’s how I put things together.
Natalie: Ya so it’s easier for me just to cut a quarter of an inch extra and then have that end up in the seam and line it up and it came out great.
Misty: It looks awesome.
Jenny: Well I would say it’s colossal.
Misty: It is colossal.
Natalie: It is colossal. Again, it’s pretty big. I think it’s a good twin size, 74 by 93. We showed the backing. And it’s great. And there’s some prints in here, like this one I think would make a great binding print. They’re just so great. It’s a beautiful line. So I hope you enjoyed the Colossal Churn Dash.
Jenny: Well girls I think this Triple Play was a home run.
Natalie: I think so too. It turned out great.
Jenny: We hope we’ve inspired you with some great ideas about the churn dash block. So we hope you enjoyed this Triple Play tutorial from the Missouri Star Quilt Company. See you later.
Jenny: Hi everybody, it’s Jenny from the Missouri Star Quilt Company. And I am here with Natalie and with Misty and we hope you enjoyed watching our latest Triple Play. You can find us together on the third Friday of each month as we hit another tutorial out of the park. If you aren’t already part of the Missouri Star Quilt Company family be sure to subscribe and click that bell to be notified each time we release a new video. See you next time.


