

Triple Play: 3 NEW Half-Square Triangle Table Runners w/Jenny Doan of Missouri Star
 Jenny Doan
- Charm Pack
- Holiday
- Table Runner
- Beginner
- Quilt size 16" × 64"
Triple Play is a favorite tradition here at Missouri Star. Once a month, Jenny, Misty, and Natalie each demonstrate their own, unique spin on a favorite block, technique, or template. In this episode, the talented Doan ladies show off three fabulous new table runners made with half-square triangles.
Instructor
Jenny Doan
Jenny Doan is an American quilter, author, and YouTube personality. Jenny started Missouri Star Quilt Company in 2008 and today it is the largest quilting supply vendor in the United States.
Shop this tutorial
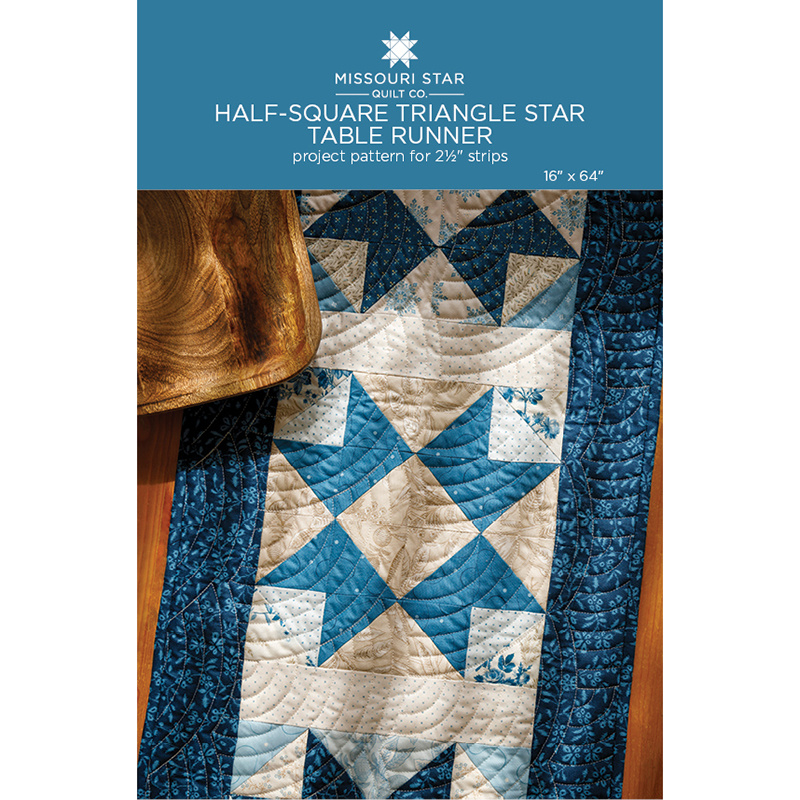 Half-Square Triangle Star Table Runner Pattern by Missouri Star$6.95Shop →
 Digital Download - Half-Square Triangle Star Table Runner Pattern by Missouri Star$4.95Shop →
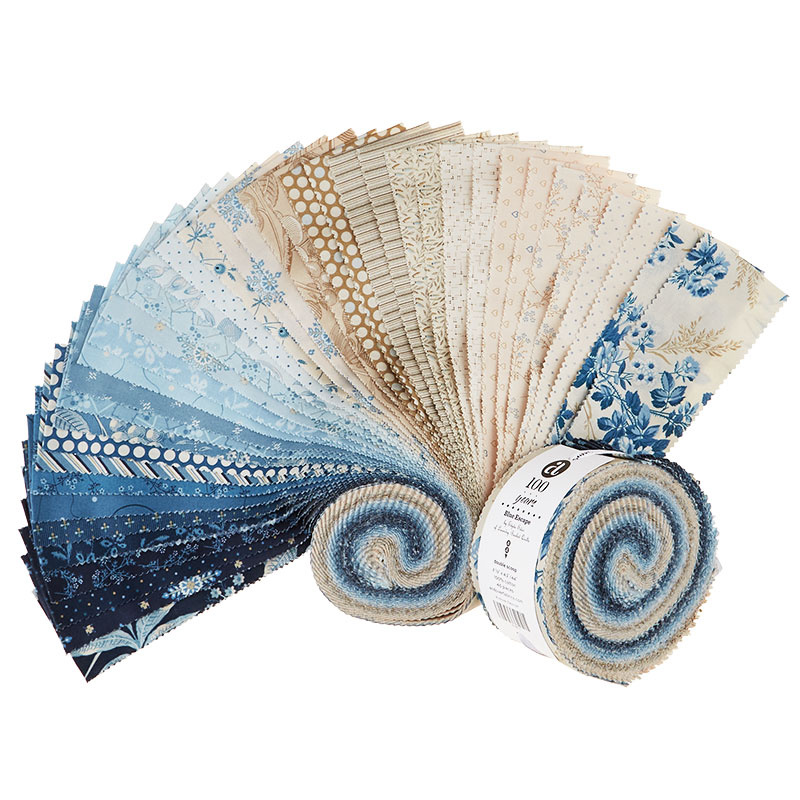 Blue Escape Double Scoops$38.95Shop →
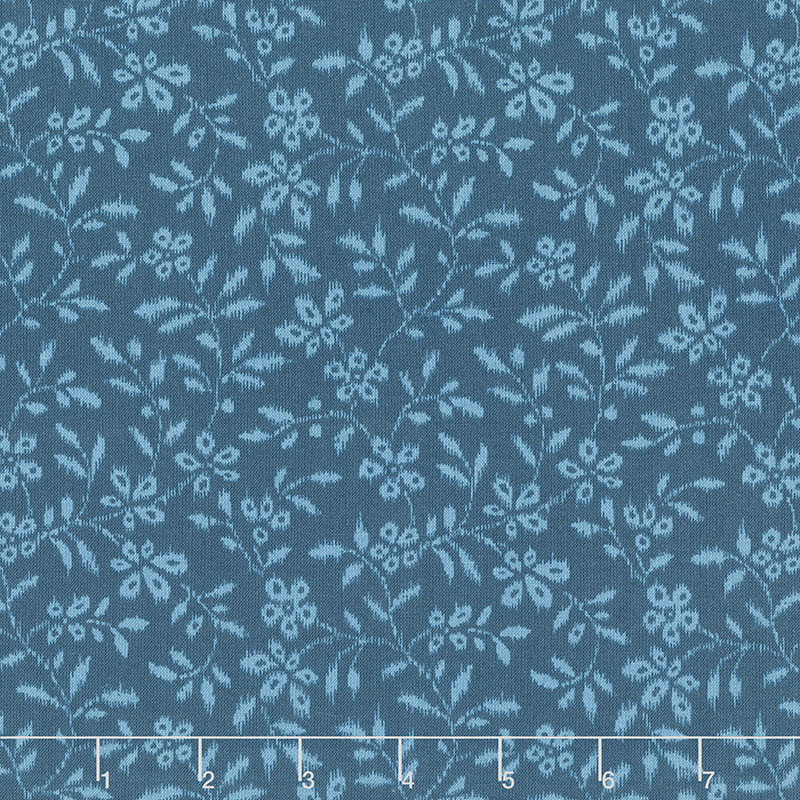 Blue Escape - Vail Indigo Yardage$11.24Shop →
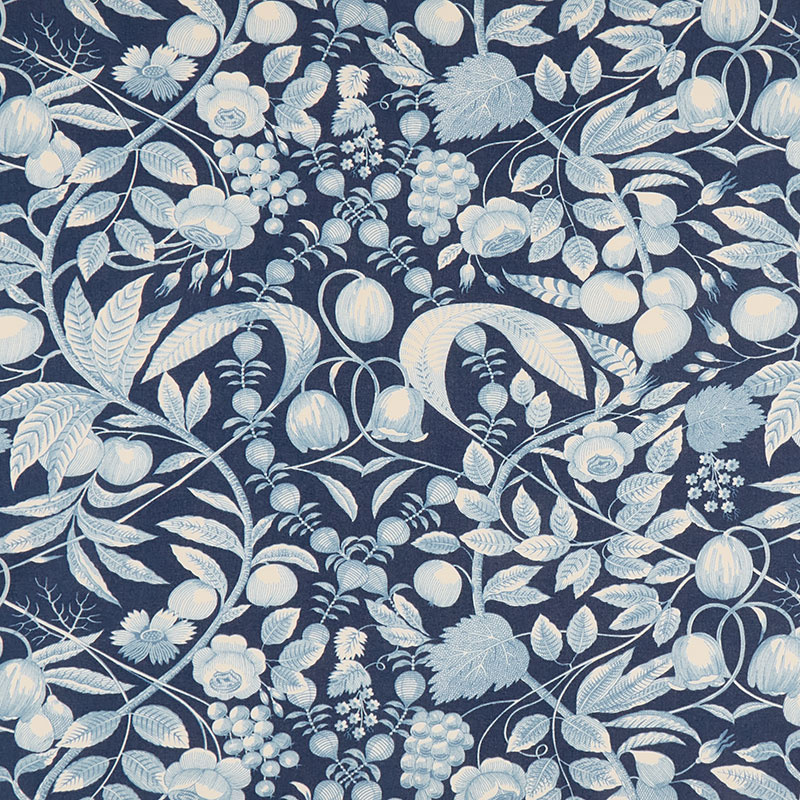 Blue Escape - Valley Navy Yardage$11.24Shop →
 Clearly Perfect Slotted Trimmers$31.95Shop →
 Missouri Star Quilter's Best Blend Bed/Table Runner Batting$14.95Shop →
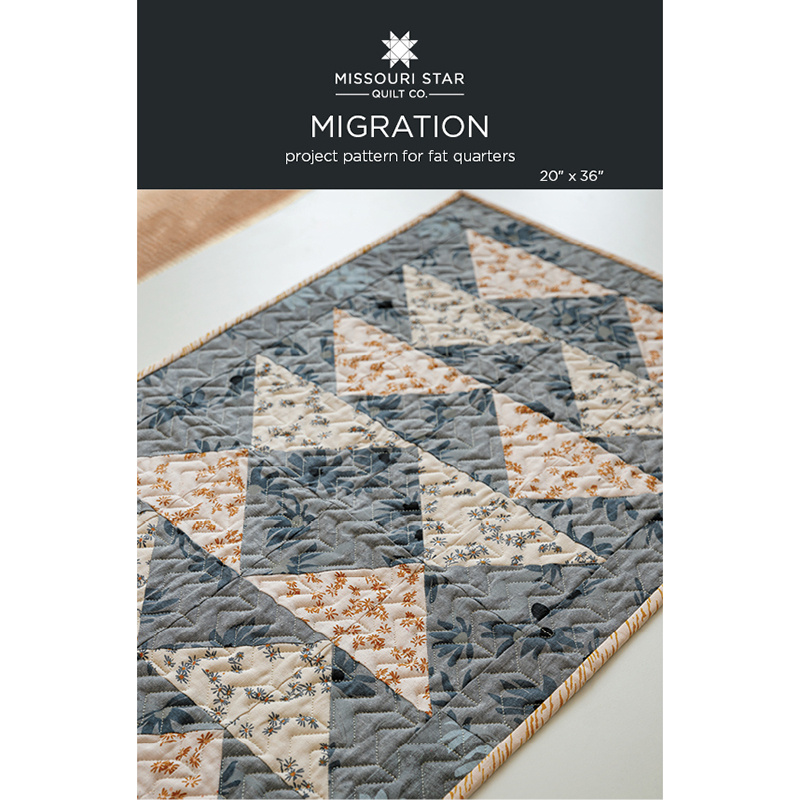 Migration Quilt Pattern by Missouri Star$6.95Shop →
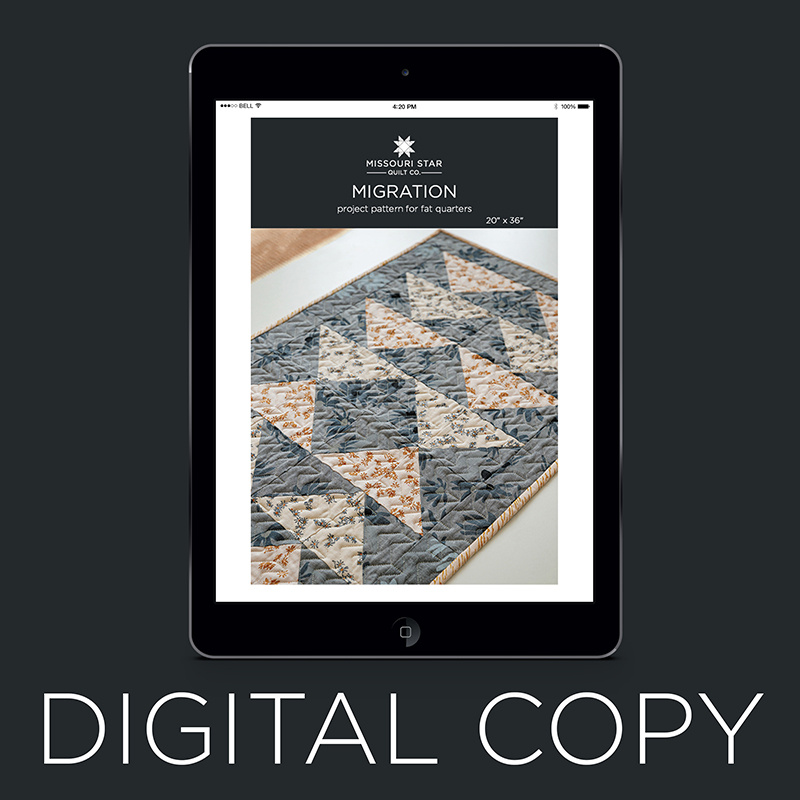 Digital Download - Migration Quilt Pattern by Missouri Star$4.95Shop →
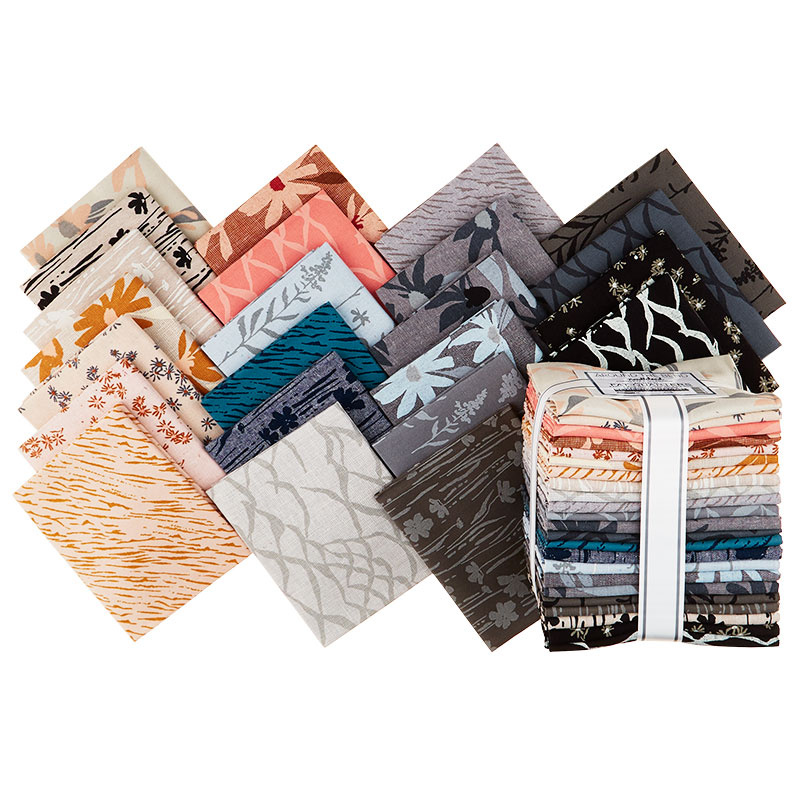 Around the Bend Fat Quarter Bundle$100.95Shop →
 Around the Bend - Stripes Peach Yardage$14.96Shop →
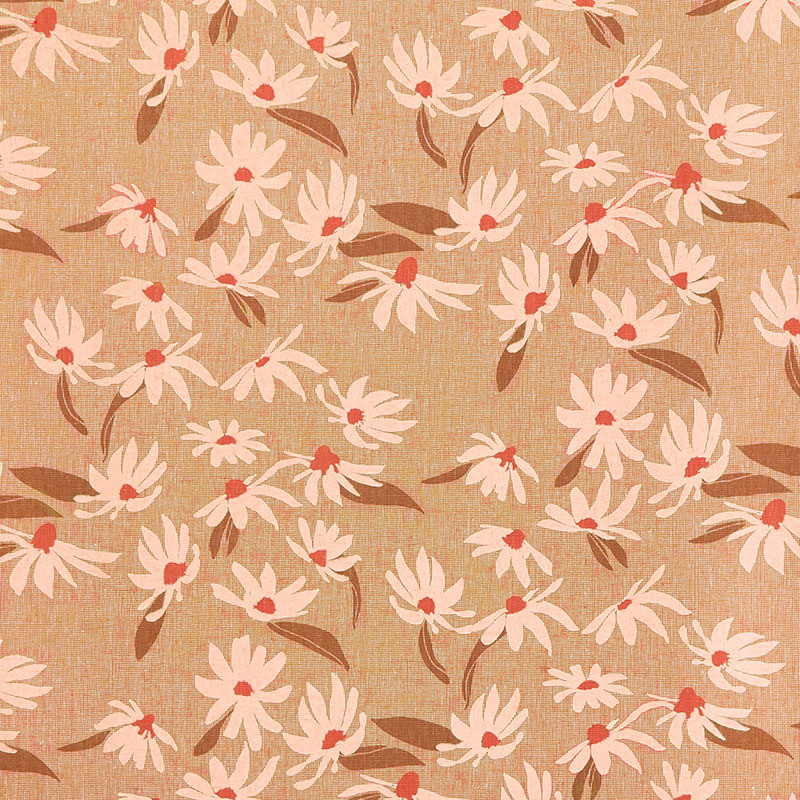 Around the Bend - Flowers Roasted Pecan Yardage$14.96Shop →
- Missouri Star Quilter's Best Blend Bed/Table Runner Batting$14.95Shop →
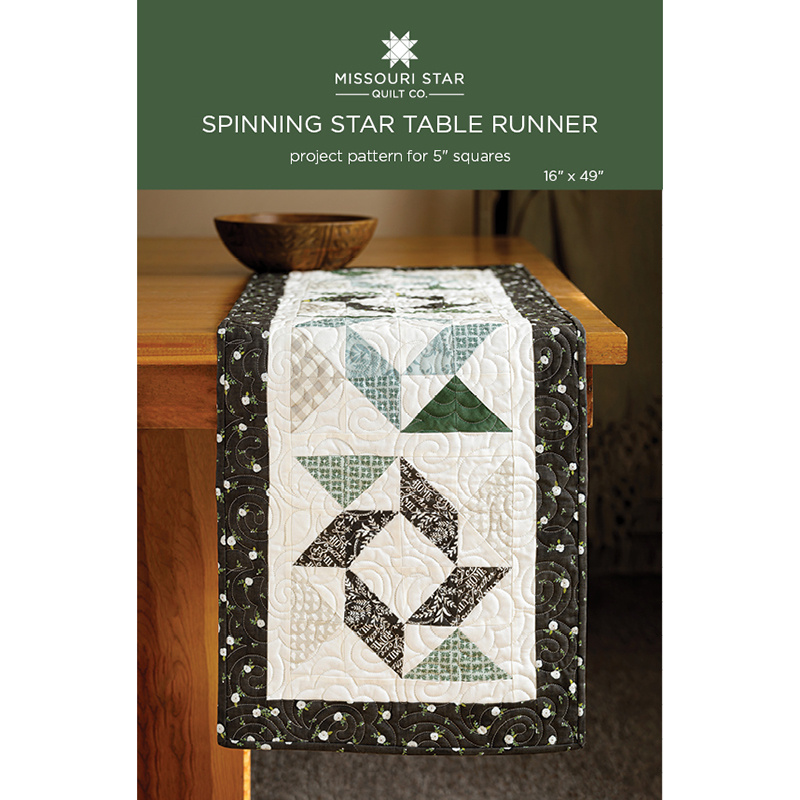 Spinning Star Table Runner Pattern by Missouri Star$6.95Shop →
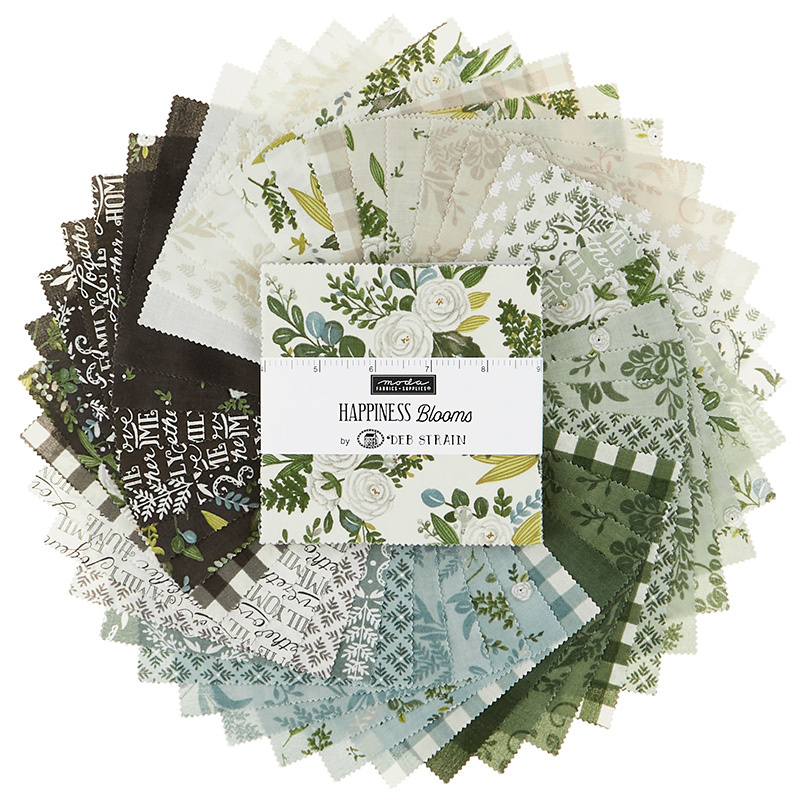 Happiness Blooms Charm Pack$11.45Shop →
 Bella Solids - Snow Yardage$8.24Shop →
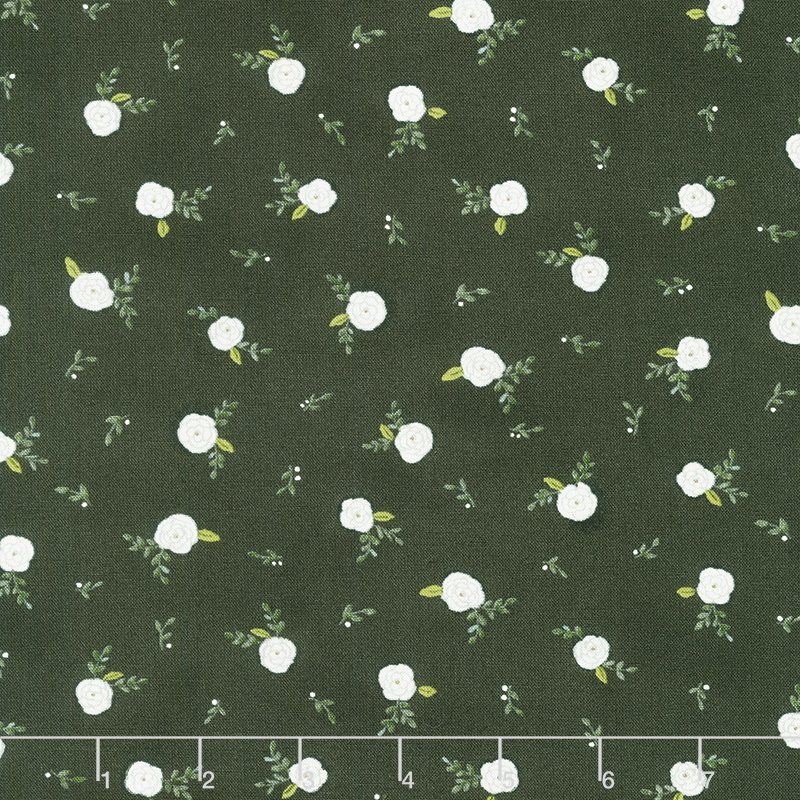 Happiness Blooms - Tossed Blooms Slate Yardage$11.96Shop →
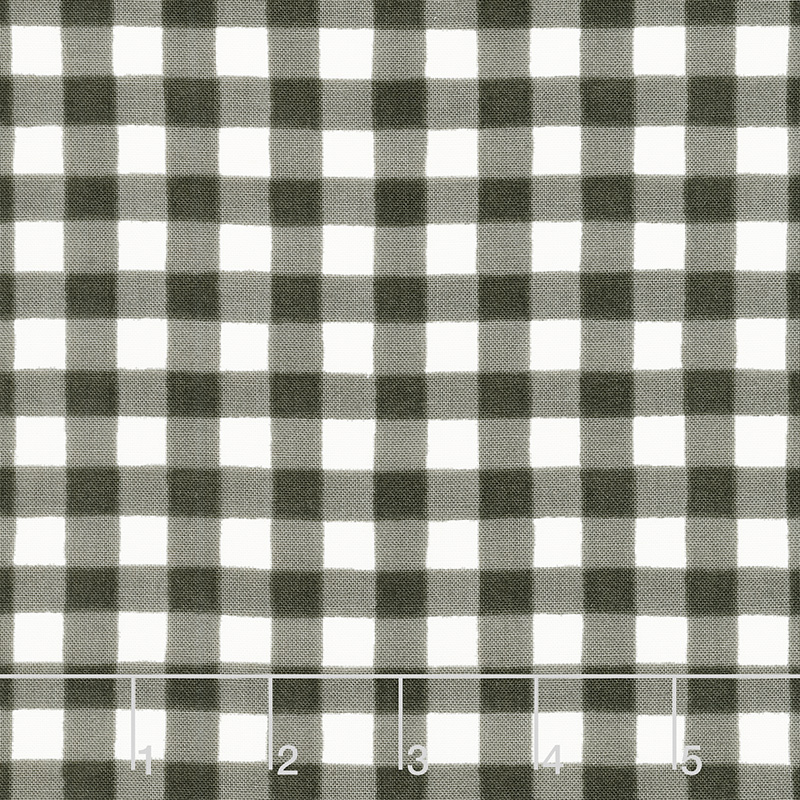 Happiness Blooms - Forest Gingham Slate Yardage$11.96Shop →
- Missouri Star Quilter's Best Blend Bed/Table Runner Batting$14.95Shop →
 Missouri Star 5" x 15" Ruler$15.95Shop →
 Missouri Star 2.5" x 8" Ruler$10.95Shop →
 Baby Lock Accomplish - 1500 SPM Straight Stitch Machine$999.00Shop →
 Missouri Star 50 WT Cotton Thread White$6.95Shop →
 Elan 8" Dressmaker Scissors$20.95Shop →
 Magic Pins™ Quilting Pins - 100 count$18.75Shop →
 Exclusive Missouri Star Jenny TG1600 ProPlus Oliso Smart Iron$199.99Shop →
 Missouri Star Wooly Betty Board - 17.25" x 25.5" Orange Border$98.95Shop →
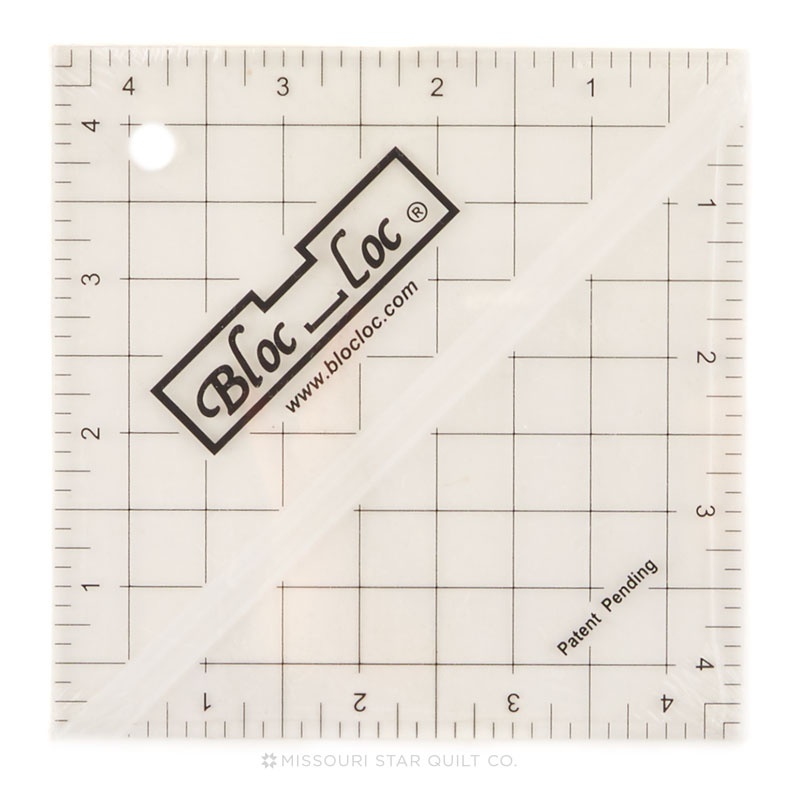 Bloc Loc 4 1/2" Square Up Ruler$23.60Shop →
- Clearly Perfect Slotted Trimmers$31.95Shop →
 Olfa Splash Aqua 45mm Rotary Cutter$18.95Shop →
Common Questions
What is covered in Triple Play: 3 NEW Half-Square Triangle Table Runners w/Jenny Doan of Missouri Star?
Triple Play is a favorite tradition here at Missouri Star. Once a month, Jenny, Misty, and Natalie each demonstrate their own, unique spin on a favorite block, technique, or template. In this episode, the talented Doan ladies show off three fabulous new table runners made with...
How long is the tutorial video?
The tutorial video is 00:29:35.
Are supplies listed for this tutorial?
Yes. The tutorial page includes the supplies and materials connected to this project.
Is a transcript available?
Yes. A written transcript is available on the tutorial page.
Video Transcript
Hi, everybody. It's Jenny from the Missouri Star Quilt Company. And we have a fun project for you, it is Triple Play day.
Misty:
Yay.
Natalie:
Yes.
Jenny:
And we know that it's November, and we know that this is the time when-
Natalie:
There's a lot going on.
Misty:
So much happening.
Jenny:
There's a lot going on, so much to do, but we still want to make cool gifts and fun things. So we have three really fast table runner ideas for you, for gifting, for your tables, plopping over your pianos, whatever you want to do with them. These are going to be three really easy and fun ideas for you. So we're going to start with Miss Misty here.
Misty:
Perfect. Yeah, they all use half square triangles, that's what we decided for the block this month. And mine is this one that you see here. I called it Spinning Star and it measures 16 by 49. And it's just really quick and easy. I had a charm pack for my precut to make mine.
Jenny:
This is actually fun this time, because we all had a different precut and so you'll learn lots of ways to make half square triangles.
Misty:
To make half square triangles. And so I used Happiness Blooms by Deb Strain for Moda. And to make my block, I kind of went through the pack and I just picked out two like fabrics for the star in the middle. And so I've got-
Jenny:
Oh, this is cool. Because I would've thought these were the same fabrics.
Misty:
But they're not.
Jenny:
No, they're not.
Misty:
They just kind of blend together. Oh, that's a surprise for later.
Jenny:
A surprise.
Misty:
It's okay. So then I've got two of those kind of darks that I'll use for my star. And every single one of these prints is going to pair with a background square, a five inch background square.
Jenny:
Very cool.
Misty:
And then I have one green that we'll pair with a background square. And then one kind of tan.
Jenny:
It has just occurred to me that you should be here.
Misty:
Oh, well.
Jenny:
And I will move over.
Misty:
That's fine, that's fine. We can make this work. And so for each of these the construction is the exact same. So let's just start with one of them, we'll do this green guy. And we are just going to sew on all four sides.
Natalie:
Nice. I can do that.
Misty:
We're doing the four at a time method.
Jenny:
Now we're all just going to stare at Natalie.
Misty:
And watch Nat. She's got this.
Jenny:
Yeah.
Natalie:
Got it.
Jenny:
What do these square up to, Misty?
Misty:
I square them up to three.
Jenny:
Three.
Misty:
Yep. You might be able to get three and a quarter, but I liked that nice round number.
Jenny:
It's nice to have a cushion, yeah.
Misty:
Yep.
Jenny:
Especially when you're squaring, to make them all the same size.
Natalie:
I like that too.
Misty:
There we go. All right, so now that we've sewn all four sides, we're going to take our little ruler and cut diagonally.
Jenny:
I'm getting ready with my iron.
Misty:
Perfect. Both directions, there we go. And then we will press those open to the dark side.
Jenny:
This is one of those times where a rotating mat is handy.
Misty:
It's true.
Jenny:
And don't forget that a little mat, a small mat, can rotate.
Misty:
You just pick it up and move it.
Jenny:
You don't actually have to have a rotating mat, you can just pick it up and move it. But it's always better to be safe when you're cutting. If any time you're cutting it feels awkward, just rethink what you're doing.
Misty:
Exactly.
Natalie:
Try a different angle.
Misty:
So I squared mine with the Bloc Loc just because that's my preference, but you could totally use the Clearly Perfect, you would just do it before you get to this point, you would square before you trim. Or, I mean, before you press, sorry, my brain isn't working. And so I am looking for three inches, so I'm just going to slide this on here. The part with the words is always on your background fabric.
Jenny:
If you pressed to the dark side.
Misty:
If you pressed to the dark side, exactly. So we'll trim that. And then I just slide this down so that my square side is on the three, and we'll trim off the other side now. There we go.
Jenny:
And sometimes you only need to square one side, but sometimes you need to square both.
Misty:
Yeah, it just depends. This one looks pretty straight, so let's look at one more. Like that side already looks really straight.
Jenny:
Yeah, that's perfect. So you can just cut these out.
Misty:
And so then I can just trim this one side.
Jenny:
This is a really fun line of fabric.
Misty:
It is. Isn't it cute?
Jenny:
Yeah.
Misty:
So there you go. And you're just going to do the same thing to all of those sets that I started with at the beginning. I have them all squared up and ready to go, and so now we're just going to lay it out.
Jenny:
And again, this is the block we're looking at.
Misty:
Exactly. And I did find with this block I really had to have my template in front of me, I got a little turned around many times. And so on this one I use the blue for my spinning star, so I'm just going to lay those out first. See, I'm already turned.
Jenny:
Would it help you to just do a quarter?
Misty:
Yes, because they're all the same.
Jenny:
Okay.
Misty:
So, yes.
Jenny:
So you do four of those?
Misty:
Actually I need one of each of these prints, and then two of them will have green and two of them will have beige. But if I'm following exactly, I'd better use the beige, right? And so that is how the first quadrant goes. And there-
Jenny:
So you're speaking of this one right here?
Misty:
This one here.
Jenny:
Okay.
Misty:
Top left. And so they're all essentially the same, but they just spin around. And I did kind of play with my fabric a little bit. I picked out that green so that you can see on the runner it kind of spins around by putting it in the same place, it staggers it a bit throughout it.
Jenny:
Oh, yeah.
Misty:
So it's just you kind of want to pay attention to where you put your fabric, but it all comes together pretty quick. So let's just finish laying this out. It is helpful to know that it makes this diamond in the center, that was like a little guide for me. There we go. And we'll just keep going.
Jenny:
Now, once you got this laid out, did you do it in rows?
Misty:
I did.
Jenny:
Okay.
Misty:
I did it in rows, because I had to go to all this trouble to lay the whole thing out anyway, so I just kept going from that point.
Jenny:
Well, especially when you're wanting certain colors in certain spots, it's really helpful to lay it out.
Misty:
Exactly. And that's kind of what I found, I just had better luck that way. And so then these go here, we are almost done. And one more this way, just so.
And then I did, I just sewed it in rows. And this is your finished block, just like so. Turns out really cute. And I did make one just in solids because I thought it would be really cute.
Jenny:
Looking Christmas-y.
Misty:
For the holidays.
Natalie:
Yeah, that's so fun.
Misty:
So it just comes together really quick. And then to finish it up, I sashed in between the blocks with an inch and a half sashing, and then a two and a half inch outer border. And used Curly Twirly Flowers to quilt it. And that same little floral print on the back, so.
Natalie:
So cute.
Jenny:
Now, how much of your charm pack would you say you used?
Misty:
Probably about half.
Jenny:
So you could do two runners out of a charm pack?
Misty:
Exactly. And I don't know if I said, but you need about a half yard of your background and a half yard for your outer border. And so that'll give you plenty to do one runner. So if you want to double it up, you'll just need a little bit more.
Jenny:
That's right. Because a lot of us like to give gifts at Christmas time.
Misty:
Exactly.
Jenny:
And it's really fun to be able to get a couple of things out of a charm pack. A lot of times we'll have this spare charm pack that we bought on a daily deal, you're not sure what to do with it.
Misty:
And now you have something to do with it.
Jenny:
Now it's done, yeah.
Misty:
Exactly.
Jenny:
That is very fun.
Misty:
Well, awesome. So you're up next I think, right?
Jenny:
I am up next, yeah.
Misty:
Let me clean all this up.
Jenny:
So mine, I'm just calling it Half Square Triangle Star, because I had a jelly roll to work with and so...
Misty:
I'll let you back in the middle.
Jenny:
I've got some pieces of fabric here to show things and I've got loads of half square triangles. So I used Blue Escape by Edyta Sitar of Laundry Basket Quilts. And she has all the blues and then all the beiges, so I had background color right away to [do it.
Misty:
That's so nice.
Natalie:
That's so pretty.
Jenny:
And so I didn't have to have any extra background because I have it right in there. And then I used for my outer border right here, little half a yard. And actually, mine is 64 inches long. And so it's a nice, long, it goes way down here. I've got one, two, three, four, five stars. And I have a very long table at my house, and so it's probably 10 or 12 feet long.
Misty:
I'd say at least 10, yeah.
Natalie:
Yeah.
Misty:
It's long.
Jenny:
It's a pretty long table. And so I like a nice long runner and I sometimes like them to hang over the ends. I also like them on my island, I make a small runner for my island. And I like them on top of my piano, which also requires a long runner. And so runners are everywhere at my house. So mine is 64 by 16. What were you going to say?
Natalie:
I was going to say, with the jelly roll you can make it as long as you want or you can make many. You can make some short ones.
Misty:
Yes.
Jenny:
You really can.
Misty:
It gives you so much fabric.
Jenny:
Well, and even with Misty's, if she'd used her whole charm pack.
Misty:
Oh, totally. Yeah, just keep going.
Natalie:
Yeah. It could be really long.
Misty:
Yeah.
Jenny:
So in my mind, I'm thinking of the places I want to use them, and then the people also that I want to give them too, and how it works for them.
So for me, mine was I sewed two strips together, and I have them in here in this little pile right here. Here it is. So I sewed two strips together like this, a dark and a light. And then I just used the Clearly Perfect Slotted Trimmer B for the whole sizes. And I just went and cut it from side to side like this, so I'm cutting at the-
Natalie:
Oh, you sewed on both sides?
Jenny:
Yes, sewed on both sides. So I get twice as many half square triangles. And you can press that.
Misty:
Press that, absolutely.
Jenny:
And I just line my line up with their stitch line and we just switch the cutter from... we just rotate it top to bottom. Here, let me move these out of the way.
Natalie:
That's great. So they're three inches, huh?
Jenny:
Oh, I did want to show something with that backing, so remind me when we get to the backing part that I want to share something about the backing.
So yeah, you just keep flipping them over like this and flipping them over like this. So I made the little stars, which were very fun and very, very quick and easy for me. And I have a little block here, let me find it. Oh, here it is. And so I kept my star one color, which requires 2, 4, 6, 8, 9, 10, 11, 12 of my half square triangles.
And so because I had 12 half square triangles, what I did was I gathered them up in the same color. So I'm going to gather 12 of those right here; one, two, three, four. And what I want you to do, Natalie, is I want you to sew them all together with the whites to the center. Okay?
Natalie:
Okay.
Jenny:
So we're going to sew six sets of those. Five, six, seven, eight. Oh, I got to find the rest, hang on. Wait, let me make sure I have more of those ones and I didn't use half and half. Oh no, here they are. Okay, 2, 4, 6, 8, 10, 11.
Misty:
There should be one more?
Jenny:
There should be one more.
Misty:
Oh, no. Did you put it in here somewhere?
Jenny:
Let me see... 2, 4, 6, 8, 10, 12. Nope, I got plenty.
Misty:
I was going to say, there's one more if you need it.
Jenny:
Yeah. And you'll have one left from these 11... I mean, these 12. Now I've really messed myself up. So you're going to need 12. You're going to sew them together in sets of six. And we're just going to do that to all of our sets, just get that right out of the way.
Misty:
That's a fun trick.
Jenny:
And then it's one of those things where it's like, if you're going to do this one time-
Misty:
You might as well do it six, yeah.
Jenny:
... you're going to do it all the time. And then I took some light squares for my corners, so I need four of those. And I'll just set those out here. And I chose to match those up as well, so let me find four matchers. Oh wait, here's some light ones here. And you could do solid squares there really easily, whatever it takes. Misty, actually, will you press this a little bit while we're waiting?
Misty:
Yes, I will. Absolutely.
Jenny:
All right.
Natalie:
[Inaudible 00:12:26].
Jenny:
So now we're just going to clip these and have Misty iron them open.
Misty:
Okay.
Jenny:
And then we'll lay that out so you can see how it all goes together so quick and easy. It's really fun. So my quilting pattern on this is the Baptist Fan and I love that. I love just that curvy quilting on here.
Natalie:
Yeah, I do too.
Misty:
I love that pattern.
Jenny:
Just makes it really cute. Misty, what was your pattern, your quilting pattern?
Misty:
It was Curly Twirly Flowers.
Jenny:
Curly Twirly Flowers, which we love. All right, so two of these we're going to sew together this way, that's going to make our center. And I'll have Natalie do that right now.
Natalie:
Okay.
Jenny:
And then two of these are going to have blocks on the end. And we want to keep our light color to the inside like this and our light to the inside with the dark. If this goes this way, they should be exactly the same.
And then you're just going to match up that middle seam, nest up that seam. And stars are so great for anything. I mean, they're great for Christmas, they're great for... I mean, I love stars, so-
Misty:
I do too.
Jenny:
So this is a quick, easy star. And also when you think about... If you'll iron this, that would be great.
Natalie:
Do you want me to do these?
Jenny:
Yeah, go ahead and do those. And the thing about doing this, if you think about they're half square triangles. So you think about all the methods we've taught over the years of half square triangles and the different sizes you can get. If we took Misty's two charm packs and did the easy eight on there-
Misty:
Oh, they'd be tiny.
Jenny:
Well, they're about two inches and it would be tiny little... And you could do her tiny blocks, you could do my tiny stars, you could do Natalie's little blocks. So any size half square triangle will work with these. And it just makes it really, really quickly.
Misty:
I'm loving this stripe.
Jenny:
Isn't that fun?
Misty:
It's really fun.
Jenny:
So Natalie's going to sew the ends on these. And then what we're going to do is we're going to sew the legs on this side right here, so sew our legs to the middle.
Misty:
Perfect.
Jenny:
And it just makes a fast little star. And I'm probably going to have to sew a bunch of these more together, because I just think it's so cute.
Misty:
You just might, yeah. You've got a lot ready, so you might as well.
Jenny:
I'm pretty sure whoever I gave them to would love them.
Misty:
We would, I can attest to that.
Natalie:
I would.
Misty:
Yep. I would too.
Jenny:
All right, so let's clip this apart.
Natalie:
Oh, sorry.
Jenny:
Go ahead and press those. And then one of these legs goes on either side of that middle.
Natalie:
Okay.
Jenny:
Put this over here. I can probably start cleaning up my mess, I have so many half square triangles. So you can see right here, literally how many of these could we make? I don't even know, but a lot.
Misty:
A lot.
Natalie:
Oh, [inaudible 00:15:15].
Jenny:
And I just sewed my whole jelly roll into two and a half half inch square... Or sewed my strips together and cut them into half square triangles. And so it really does make a lot of them. And, I mean, it's a great easy way to do gifting for the holidays. I mean, this would be really cute and-
Natalie:
I hope those points are good.
Jenny:
They're good enough for me.
Misty:
Yep.
Natalie:
We'll see.
Jenny:
So I would love to see this in Thanksgiving colors.
Misty:
Oh, yeah.
Natalie:
Oh, that would be so cute.
Jenny:
So pretty. All right, so now what we're going to do is we're going to put this one on this way, and this one on this way. And just like that, you get a star.
Natalie:
You've got a block.
Misty:
Beautiful.
Jenny:
And so if you want to sew those together, then I won't have to sew it together later when I'm making 10 more of these.
Misty:
That's true, it will be ready to go.
Jenny:
That's right. But also think about this, if you had nine, three rows of three, it would be a darling baby quilt.
Misty:
Yes, it would.
Jenny:
Such a cute baby quilt. And so there's just so many things you can do with these blocks when you think about them as individual blocks. I mean, we're showing you runners, but say you have a square table. Natalie had a square table and instead of putting four long, we just put them next to each other and did the little border on there. So whatever table you have that will work, it just makes it quick and easy and very fun. And sometimes we just need something quick and easy, don't we?
Misty:
Absolutely. Especially around the holidays.
Jenny:
Well, we want it to look, "Ooh, ah," without all that time constraint and all that work, so. One more seam.
Misty:
That's it.
Jenny:
And our star is done.
Natalie:
Working on it. Just matching the seams.
Misty:
It looks great.
Natalie:
I try my best.
Jenny:
That's actually one of the things I love about these smaller blocks, is that every time a seam comes together it like realigns.
Misty:
I love that too. Keeps it straight.
Jenny:
Keeps it straight.
Natalie:
Yeah.
Jenny:
You don't end up with a half an inch off the edge where you're going, "How did this happen?" And of course Edyta makes beautiful fabric.
Misty:
That's so pretty.
Jenny:
Go ahead and press that out.
Misty:
All right.
Jenny:
So on mine also, once I did my star I did a little two and a half inch border in between, a little sashing. And I just took the jelly roll, a light jelly roll right out of my roll that I hadn't used yet. And so I just sewed that same jelly roll, did all of my strips. I didn't feel like I needed an inner border because I was using this darker piece up here. And then this is my back here.
Misty:
Oh, it's so pretty.
Natalie:
Oh, that's so pretty.
Jenny:
And I just wanted to show you right here... Where is it? Here, there's a seam on here. So a lot of times a pattern will give you yardage for your runner to run this way minus 64 inches long. Which means that if I cut width strips of fabric, so if I cut them like this...
Natalie:
So you would need two yards. Or a little bit more than two yards, if you were going to go lengthwise.
Jenny:
If you were going to go lengthwise, you would need a little bit more than two yards because it's 64 inches long. But if you're going to fold it this way, selvage to selvage at the fold, you're getting 40 inches. You're going to sew it to another one that's 80 inches. And you're literally only going to need a yard, because a half a yard is plenty of extra on either side for your-
Natalie:
How wide is it?
Misty:
How wide is yours?
Jenny:
Oh, it's... what is it? Oh, 16. So maybe three quarters of a yard.
Misty:
16.
Natalie:
So you need a little bit more, so it's a yard and a half total for your border.
Jenny:
So a yard and a half total, yeah.
Misty:
So it saves you a little bit if you're willing to seam it, yeah.
Jenny:
It does save you a little bit and you can seam it. And I always think in terms of saving fabric and that sort of thing.
Misty:
Mm-hm. For sure.
Jenny:
All right. Well, Natalie, now you can show your wonderful way of half square triangles.
Natalie:
Okay.
Misty:
All right.
Natalie:
Very exciting.
Jenny:
And I'm happy to sew.
Misty:
Okay, I'll keep pressing.
Natalie:
All right.
Misty:
We'll do-si-do.
Jenny:
I particularly love your fabric, Natalie.
Misty:
I do too.
Natalie:
I do too, it's great.
Misty:
It's a beautiful line.
Jenny:
It has a texture to it.
Natalie:
Yeah. It's an Essex Linen. They gave me this beautiful Around the Bend fat quarter bundle, which you can make many, many, many table runners with.
Misty:
Or a whole quilt, because it would be gorgeous.
Natalie:
So many. It would be gorgeous. It was beautiful to sew on, it's just soft and-
Jenny:
It's really pretty.
Natalie:
So I called mine Migration, because it's just flying geese. And Around the Bend by Anna Graham for Robert Kaufman. It's 20 by 36. And I used chevron's for the quilting pattern because I think it's really cute.
And I just wanted to throw out a suggestion. So whenever I send something into the machine quilting, if it's a table runner I ask them to make my pattern a little smaller to fit the runner. Because this chevron pattern, if they put it on a quilt, it would be much larger.
Jenny:
Mm-hm.
Misty:
That makes sense.
Natalie:
And I like a little bit smaller quilting on my table runner, so that they're a little flatter. You'll need, what are they, three fourths of a yard for backing? It's pretty small. And it's 20 by 36, so it fits lengthwise.
Jenny:
In a yard.
Misty:
Yeah.
Natalie:
Yeah. And then I did some border. But everything that you see in the middle of the quilt comes from the fat quarters.
Misty:
Oh, wow.
Natalie:
So I'm going to go ahead and pull-
Jenny:
So did you just choose three fat quarters, or?
Natalie:
I chose four.
Jenny:
Four, okay.
Natalie:
Four fat quarters. So I have two lights and then two darks that are similar.
Jenny:
Oh, Misty, you can move that [inaudible 00:20:34].
Misty:
Oh, yes.
Natalie:
I need a little pair of scissors to cut this. Well, actually, nevermind it just comes right off, just like that.
Jenny:
Wait.
Misty:
She was ready.
Natalie:
You were so close. Okay.
Misty:
There we go.
Natalie:
All right. So I went through the whole pack and there's a bunch that are very similar, so I selected these two for my lights because I really like them. And then these ones are my darks because they look very similar, so when you look at... Actually hang on, it's this one.
When you look at this quilt it looks like it's all the same fabric, but it really isn't. I've got this one here with the black centers, and then this one here does not have the black centers. But you can't really tell, so it looks like a continuous background piece.
Jenny:
Yeah, it does.
Natalie:
And even these ones here-
Misty:
And then you have... Is that this one here?
Natalie:
Yes.
Misty:
Okay.
Natalie:
But I think if you cut your fabric a little differently than I did the first time.
Misty:
Oh, you'd have enough?
Natalie:
You'd have plenty, yeah.
Misty:
Okay. Gotcha.
Jenny:
We work through all the struggles so that you don't have to.
Natalie:
Yeah, I had a little tiny bit of a design struggle there.
Misty:
That's okay. It's part of the process.
Natalie:
Okay. So what I did is I pressed them open and I just kind of laid them together. Because what I wanted to do was the make eight method with a layer cake. So also if you have a layer cake, you can totally make this easy peasy.
Jenny:
Sure, sure.
Misty:
You were just working with what you had.
Natalie:
That's right. Okay, so I just layered them together because I'm lazy and I only want to iron a few things at a time, not all of it.
Misty:
Once. That makes sense.
Jenny:
Except when you have your own ironer.
Natalie:
That's true. It is probably a lot easier to get this done with a helper.
Jenny:
We're probably going to need a pencil too.
Natalie:
Oh, yes.
Jenny:
I just happened to think.
Natalie:
You're absolutely right.
Misty:
Oh, well, you'll probably want that pretty fabric up. Why not?
Natalie:
Pretty fabric up. And then I also folded it in half, because I know I'm cutting a 10 inch strip. So I'm going to make sure it's lined up along the fold, on the line on the mat. And then I straighten my edge.
Jenny:
This is so pretty.
Misty:
It is, it's beautiful.
Jenny:
I wish you guys could feel this, it's just a linen-y feel.
Natalie:
It's very luxurious.
Jenny:
Yeah, it does, it feels luxurious. That's a great word for it.
Natalie:
Okay. So a 10 inch strip. And then these are the strips that get used in the outer border.
Misty:
Oh, okay.
Natalie:
So you can cut your two and a halfs from that side.
Jenny:
And if you don't have enough, you can just grab another fat quarter?
Natalie:
Yeah. If you run out, that's what this one's here for.
Jenny:
There we go.
Natalie:
So those are super easy. And actually you don't need to cut this background piece, I would take that out. I didn't think about that as I was cutting until I finished.
Jenny:
Right. That's fine.
Natalie:
I only used the dark ones.
Jenny:
Okay.
Misty:
That makes sense.
Jenny:
And just so you know, the fat quarter is the original precut. It was the first time that they went ahead and took the yardage and cut it down into smaller packs and packaged it up for quilters, so that they could get smaller pieces.
And for a very long time it was our only precut. And then there's a few fat eights, things like that. And then we started with the squares and the strips. And so fat quarters are great.
And remember that you can, if you don't have a precut of squares, you can cut them out of fat quarters. And there are charts that tell you like, "You're going to cut this many, you'll get this many 10 inch squares out of a fat quarter. You'll get this many five inch squares," and that sort of thing. So they're very versatile as far as a cut. And they're beautiful in a stack on your shelf.
Misty:
Yes, they are.
Natalie:
So pretty. Yes, so pretty. Okay, so we're going to draw the X.
Jenny:
You're going to do the easy make eight?
Natalie:
Diagonal. Easy eight.
Jenny:
Easy eight.
Natalie:
And I used a pen, but a pencil does seem to work. I thought maybe with the looser weave that it would get caught, but it looks like it's working just great.
Jenny:
All right, so we're going to sew on both sides?
Natalie:
Sew on both sides of that line. And then we'll cut all of our half square triangles from it.
Jenny:
And the other side. And then on the other X.
Natalie:
Cut these little babies.
Misty:
So close.
Natalie:
Yeah, it was real tight.
Jenny:
There we go.
Natalie:
Okay. So for this we're going to cut across first, because it's good to cut where you don't have drawn lines just in case something gets moved around. A little trick my mom taught me.
Misty:
She's full of so many good ideas.
Jenny:
So many tips.
Natalie:
All the hacks.
Misty:
Yep.
Natalie:
Oops. Oh, sorry Misty.
Misty:
No, you're good. I was just trying to give you room.
Natalie:
Okay, so now we're going to press them all open. And then we'll square them to four and a half with our Bloc Loc.
Misty:
Okay.
Natalie:
So you don't have to press all of them-
Misty:
But just a few.
Natalie:
Just at least two.
Misty:
All right, I can do that.
Natalie:
Okay. I did think that this would be fun in really scrappy. But then once I started putting them together, I actually really like the matching.
Misty:
Yeah.
Jenny:
Mm-hm. The color play.
Natalie:
Yeah.
Misty:
It's beautiful.
Natalie:
So I think it could go either way, to your preference. All right, I'm going to go ahead and turn this because that's nice and straight on that side. This four and a half inch Bloc Loc is really convenient, because you just square to the size of the ruler. And so I like that, it makes it really easy.
Jenny:
I love having a ruler that's the same size as my block. My finishing block.
Misty:
I do too.
Natalie:
It makes it almost so you just don't have to think about the math at all, you're just cutting around the edges.
Misty:
This fabric is delightful.
Jenny:
Isn't it?
Natalie:
It really is.
Misty:
I'm enjoying pressing it. It's so nice.
Natalie:
Yeah. So then all I did was make a bunch of flying geese. I put my lights together.
Misty:
16.
Natalie:
Yep.
Jenny:
16 flying geese?
Natalie:
Mm-hm. That's it.
Misty:
Yep. Beautiful.
Natalie:
That's the whole thing.
Jenny:
Well, I am... So I saw it as the darks together, but it's the lights together and the dark is on the other side.
Natalie:
It's the lights together, and then dark ends up creating the...
Misty:
The middle pattern.
Jenny:
Yeah. You can show how it-
Natalie:
Yeah, so I'll show... Oh, if you'll press it, that'll make it look prettier.
Jenny:
Show how it fits in there.
Misty:
There you go.
Natalie:
There we go. So you just have all these little flying geese that fit together. And I did half going one way and half going the other. I put my lights, and then my pinks, and just whatever-
Misty:
Alternating.
Jenny:
I do love the colors together.
Natalie:
Just follow the diagram or make up your own. But that's all it is, is these cute little flying geese blocks.
Jenny:
And on your back?
Natalie:
And then we have a cute little border. And the back is this beautiful, what are these? Cornflowers?
Misty:
Cornflowers. Gorgeous.
Jenny:
[Inaudible 00:28:15]. Gorgeous. And this?
Natalie:
Yes.
Jenny:
And that was in the...?
Natalie:
And I have a little stripe. This is in the fat quarter bundle as well.
Jenny:
That is so cute.
Natalie:
But you need a half a yard maybe for your binding.
Jenny:
Maybe. Like probably three strips.
Natalie:
Yeah.
Jenny:
Wow. That's awesome.
Misty:
Really cute.
Natalie:
It really is that simple, it's just some half square work triangles made into flying geese and...
Jenny:
Yeah.
Misty:
I love it.
Natalie:
And the-
Jenny:
So these are all super good ideas for you guys for the holidays. We know it's a rush time and now you have three different half square triangle ideas for quick and easy ways to fancy up your house, or gift to your friends or family.
As the season approaches, this season of Christmas and Thanksgiving, we hope you remember those around you who are less fortunate than you are. And we hope that you also take time to be grateful and think about all the things you have in your life to be grateful for. So we hope you enjoyed this Triple Play from the Missouri Star Quilt Company.
Hi, everybody. It's Jenny from the Missouri Star Quilt Company. We hope you enjoyed watching this video. If you aren't already part of the Missouri Star Quilt Company family, be sure to subscribe so you won't miss a thing. And if you click that bell, it will notify you every time a new tutorial comes out. See you next Friday.


