

Triple Play: 3 New "Lovely Leaves Quilts with Jenny Doan of Missouri Star
 Jenny Doan
- Charm Pack
- Traditional
- Wall Hanging
- Beginner
- Quilt size 55" × 55"
Triple Play is a favorite tradition here at Missouri Star. Once a month, Jenny, Misty, and Natalie each demonstrate their own, unique take on a favorite block, technique, or template. In this episode, the talented Doan ladies show off three adorable projects based on the Lovely Leaves quilt.
Instructor
Jenny Doan
Jenny Doan is an American quilter, author, and YouTube personality. Jenny started Missouri Star Quilt Company in 2008 and today it is the largest quilting supply vendor in the United States.
Shop this tutorial
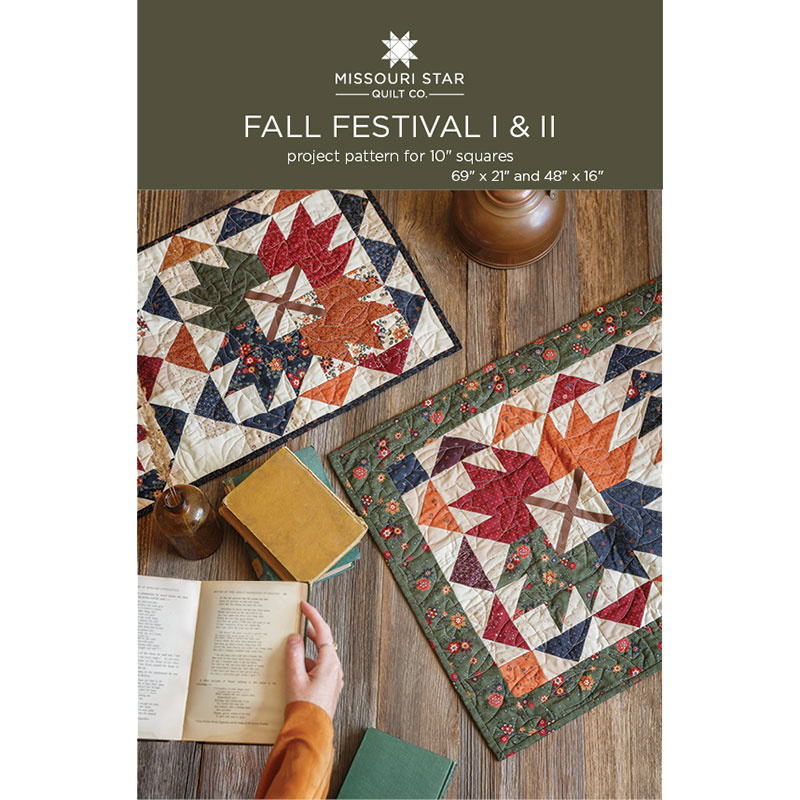 Fall Festival l & ll Quilt Pattern by Missouri Star$5.95Shop →
 Digital Download - Fall Festival l & ll Quilt Pattern by Missouri Star$4.95Shop →
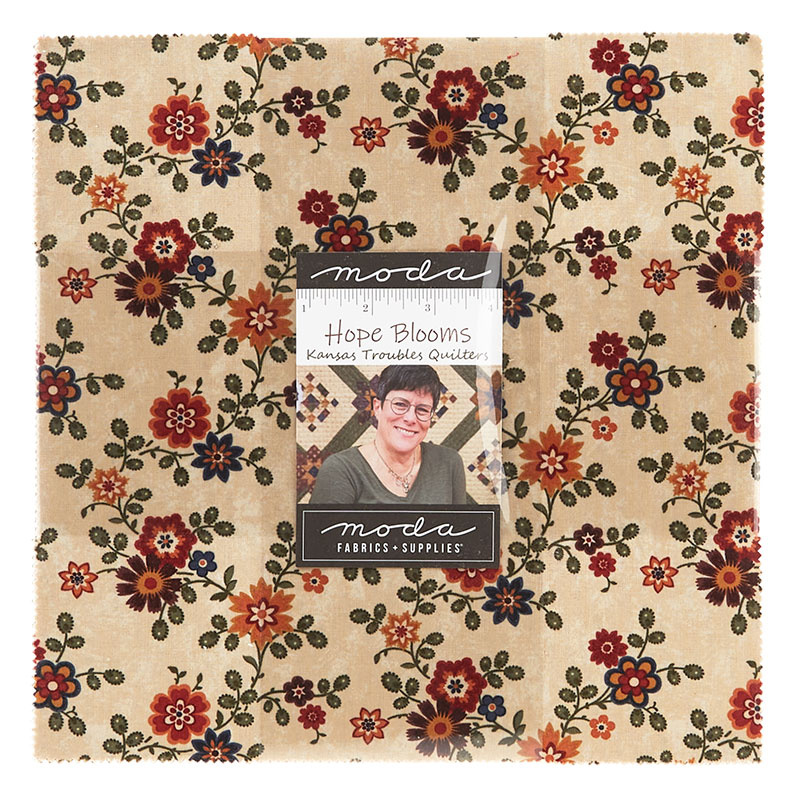 Hope Blooms Layer Cake$46.95Shop →
 Bella Solids - Parchment Yardage$7.24Shop →
 Bella Solids - Natural Yardage$7.24Shop →
 Bella Solids - Chocolate Yardage$7.24Shop →
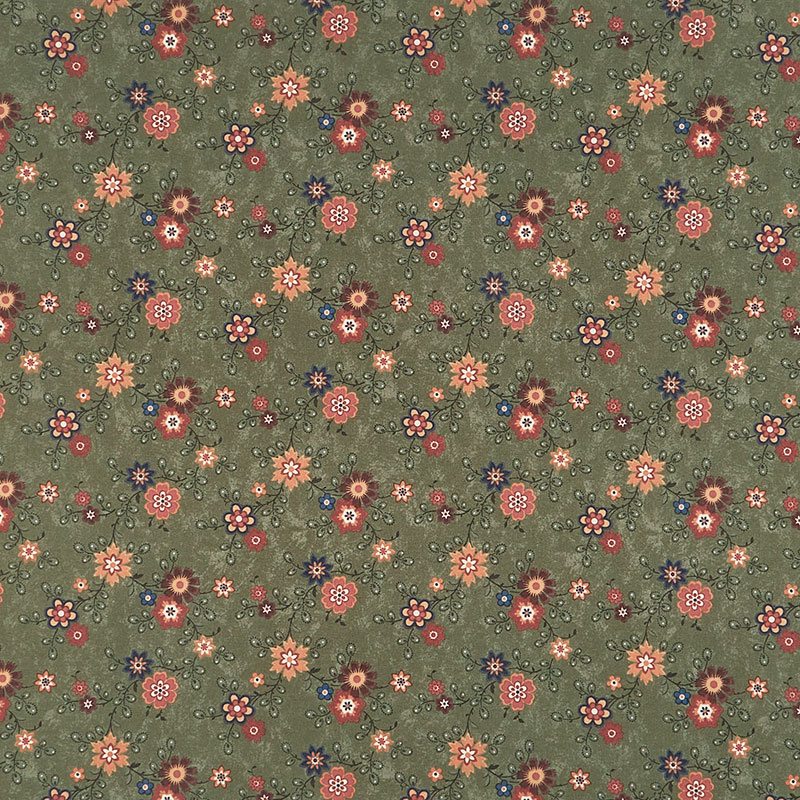 Hope Blooms - Hope Blooms Sage Yardage$10.76Shop →
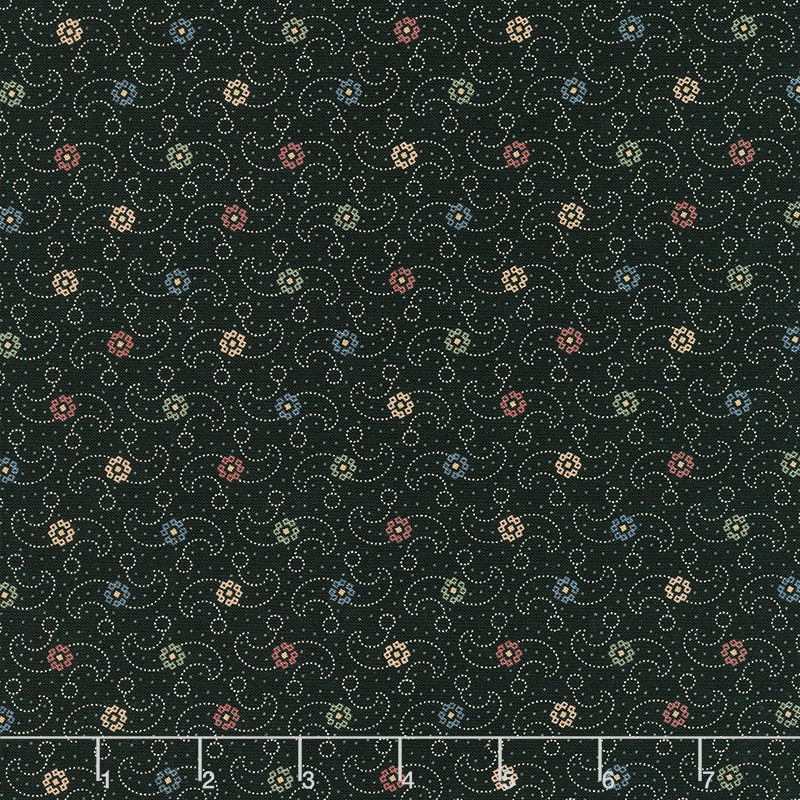 Hope Blooms - Wind Swept Midnight Yardage$10.76Shop →
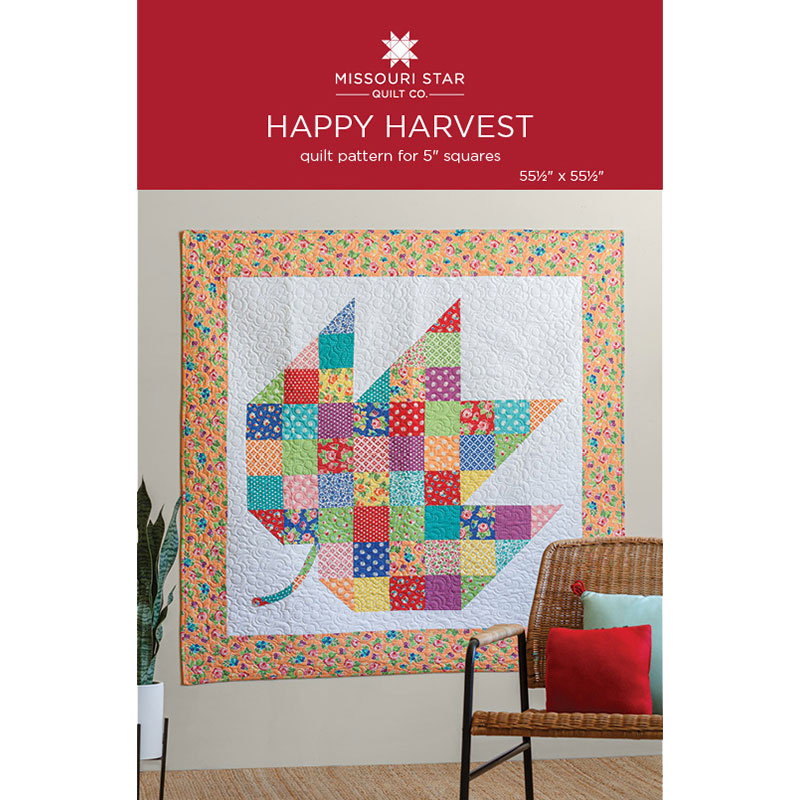 Happy Harvest Quilt Pattern by Missouri Star$5.95Shop →
 Digital Download - Happy Harvest Quilt Pattern by Missouri Star$4.95Shop →
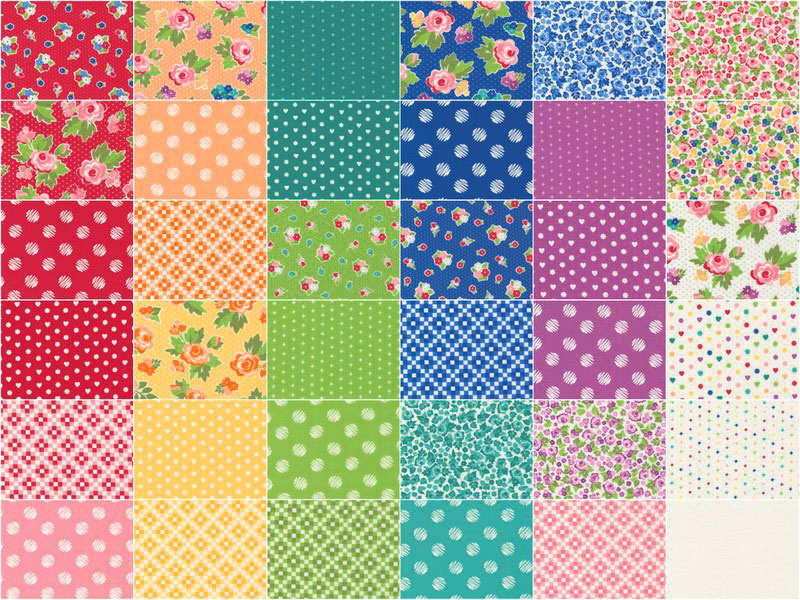 Love Lily Charm Pack$11.45Shop →
 Kona Cotton - White Yardage$6.76Shop →
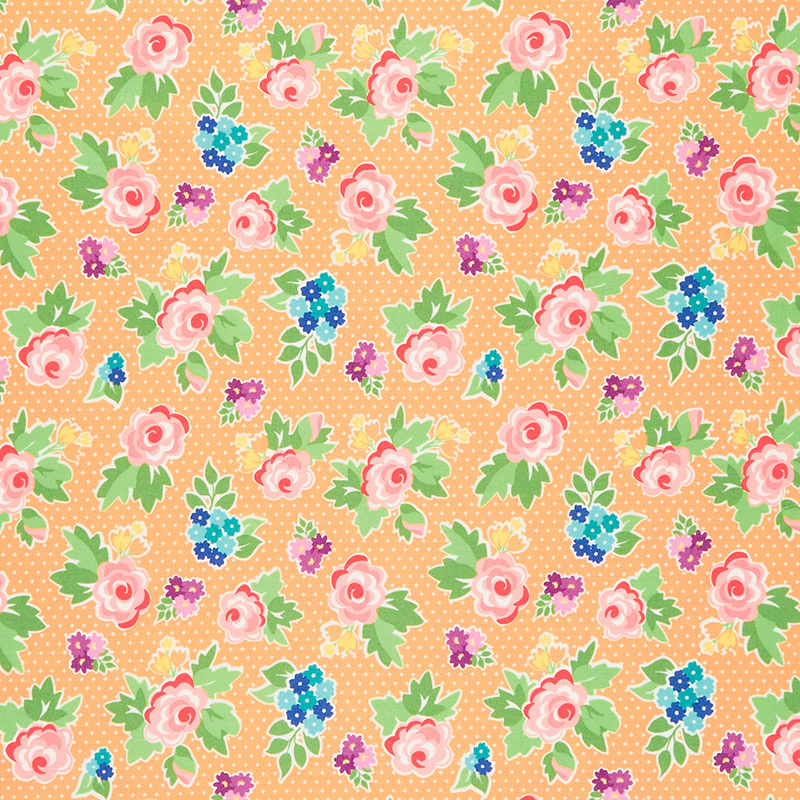 Love Lily - Rosey Orange Blossom Yardage$10.76Shop →
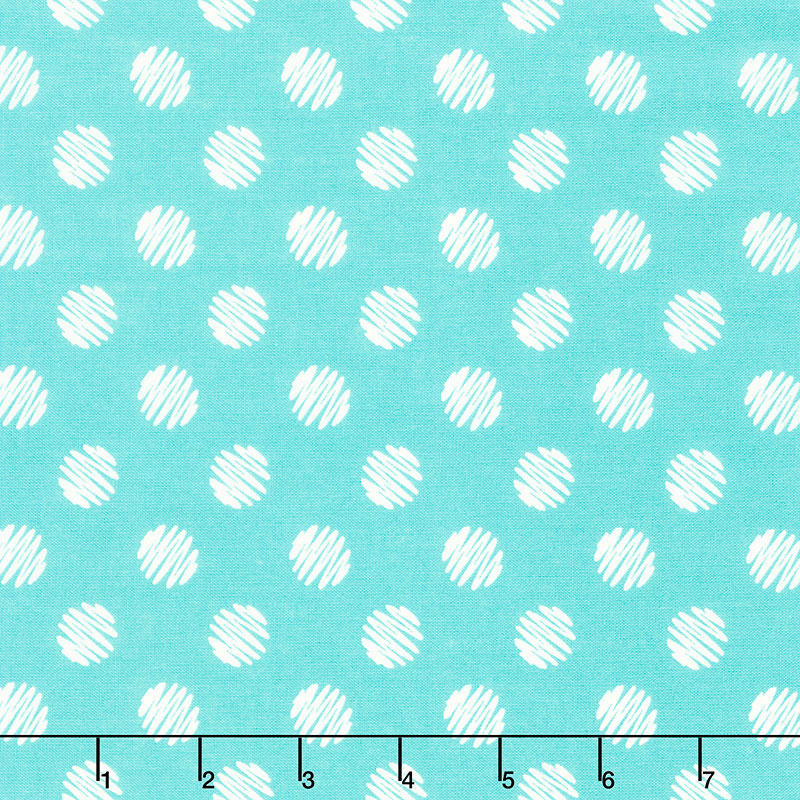 Love Lily - Scribble Dot Surf Yardage$10.76Shop →
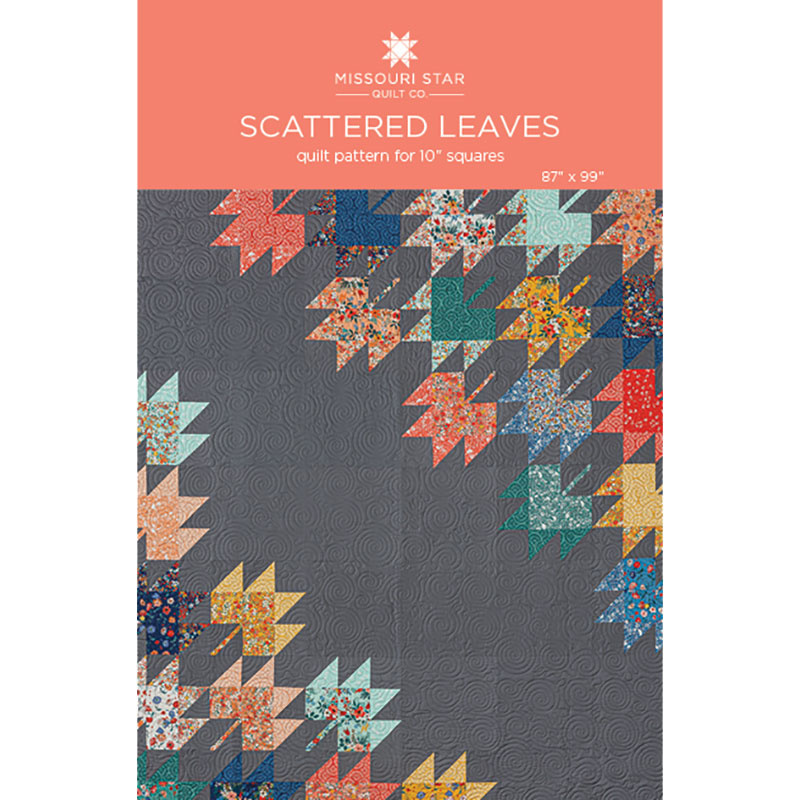 Scattered Leaves Quilt Pattern by Missouri Star$5.95Shop →
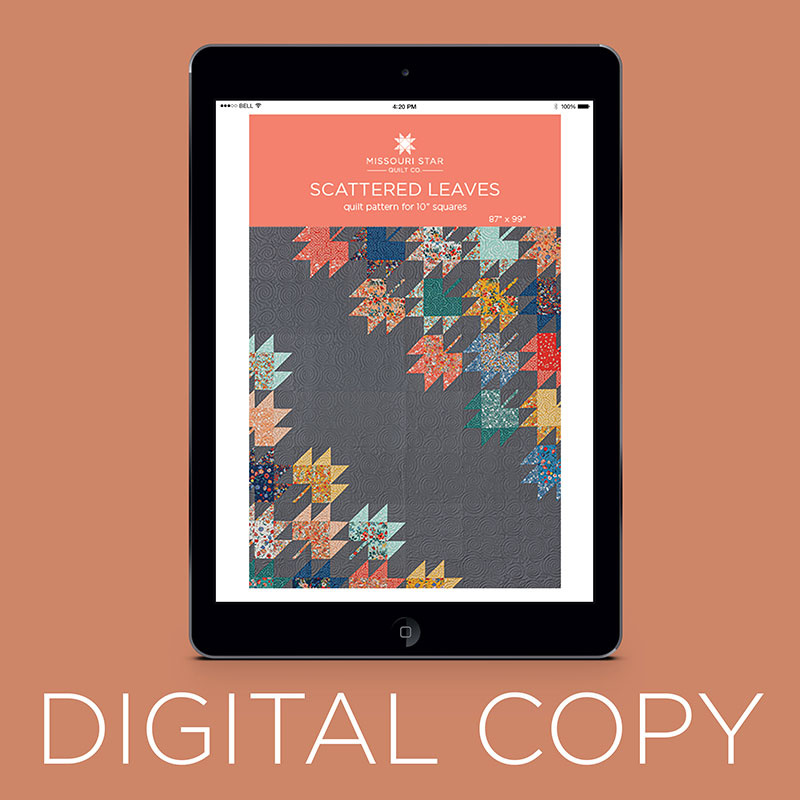 Digital Download - Scattered Leaves Quilt Pattern by Missouri Star$4.95Shop →
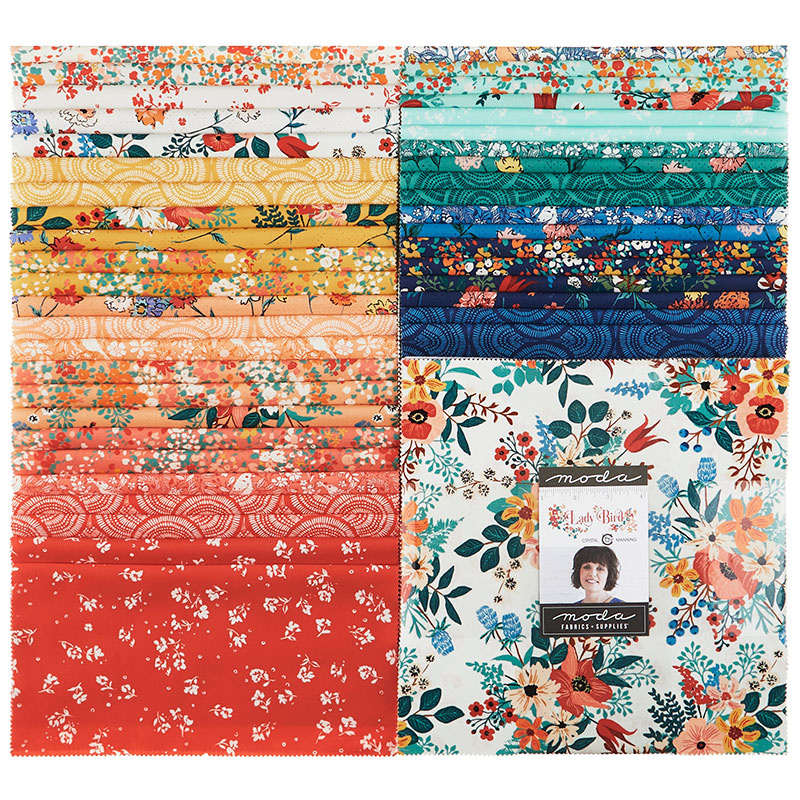 Lady Bird Layer Cake$46.95Shop →
 Bella Solids - Graphite Yardage$7.24Shop →
 Lady Bird - Wild Flowers Saffron Yardage$10.76Shop →
 Lady Bird - Tail Feather Teal Yardage$10.76Shop →
Common Questions
What is covered in Triple Play: 3 New "Lovely Leaves Quilts with Jenny Doan of Missouri Star?
Triple Play is a favorite tradition here at Missouri Star. Once a month, Jenny, Misty, and Natalie each demonstrate their own, unique take on a favorite block, technique, or template. In this episode, the talented Doan ladies show off three adorable projects based on the Lovel...
How long is the tutorial video?
The tutorial video is 00:53:15.
Are supplies listed for this tutorial?
Yes. The tutorial page includes the supplies and materials connected to this project.
Is a transcript available?
Yes. A written transcript is available on the tutorial page.
Video Transcript
Jenny: So today we’re going to start and this is actually Misty’s project. We don’t usually let you see those first but you get a sneak peek at Misty’s first. But mine ended up being table runners. So I made these two table runners.
Misty: They’re beautiful.
Jenny: They’re gorgeous. The reason I went with table runners is because the blocks I ended up with, you know, I have lots of leaves but when I put them together in the four leaves all together I didn’t really end up with enough blocks to make a quilt so I opted for these great, gorgeous runners. You know, you’ve heard me talk, I have a long table, feed a lot of children so I love a nice long runner. And the fabric I thought just suited itself beautifully for a nice runner.
Misty: It really does.
Natalie: Perfect for fall.
Jenny: Yes. And this actually, my doing it first will actually set up the making of the leaf so that you guys can follow and show your things along and it will just be like clockwork. It will be great. So to make my Fall Festival table runners, you will need one layer cake. And we have used Hope Blooms by Kansas Troubles Quilters for Moda. You will need ¼ yard of accent fabric, ½ yard of two different background fabrics. Your outer border is a half a yard. Your backing is 1 ½ yards for each runner. You’ll also need some Heat N Bond. We have one package here. And you will need a squaring tool. Alright, so what I did with mine is, and you know I love the cardboard on the back of the layer cake and I’m always making some sort of a cutting diagram so that I can see exactly how it’s going to work because I want to be efficient with my use of fabric. And I want to make sure that I get everything that I need out of it. So when I went to cut these I stacked a light and a dark. And you can see right here I have this light one underneath right there, a light and a dark, and made two cuts at a time so that I could do a leaf and four geese. Now on these runners you’ll see that I have four leaves together in the middle and then they’re all surrounded with flying geese but I’ve just set them differently and given them a different look so we’re going to get all those pieces out of our square, our ten inch square. So the first thing we’re going to do is we’re going to make a cut and cut this in half the long way. So now we have a five by ten inch rectangle. And I’m going to cut this piece off right here and cut it in half again. So now we have two five inch squares. So again if you did have charm packs you could actually make it with that as well. And so Natalie I’m going to put these two together. I’m going to have you sew all the way around the outside because we’re going to make four half square triangles out of this and we need that for the body of our leaf. We also need four 2 ½ inch squares, actually we only need three. We’re going to have one piece leftover. And so I’m going to cut this square into four like this. Now these two that are still together, these are going to be our flying geese and so my geese are all solid in the middle with the lighter on the outside. So now I’m going to go ahead and cut all of these in 2 ½ inch strips like this. And I should get four out of this. And then what I’m going to do is I’m going to go ahead and stack all these red ones up. And my white ones are going to be cut in 2 ½ inch squares because those are going to be the corners on our flying geese. Because we’re using 2 ½ inch squares because those are going to be the corners on our flying geese. Because we’re using 2 ½ inch squares, we’re going to need to cut our geese down to 4 ½. So I’m going to stack these four pieces up right here and just make one cut. So I’m going to lay this right here and I’m going to make one cut off of the edge right here, just a half an inch to take my five inch rectangle down to 4 ½. There’s your little bit of waste.
Misty: Not bad.
Jenny: And then these, we’re going to line up also like this. And I am going to cut these into 2 ½ inch squares so we can put them on the sides. Alright, so the way we’re going to make our flying geese is we are going to take a long rectangle. And we’re going to put our corners on like this. And we are just going to sew straight down this side. Now you can draw a line, you can iron a line or you can use the diagonal seam tape which we love. And so Natalie, I’m going to have you make one of those. And I’m going to get started here on the half square triangles. So this is how we’re going to make our half square triangles. Natalie has sewn all the way around the outside. Now what we’re going to do is we’re going to cut this diagonally both directions like this and over here again. And then we are going to square these to 2 ½. And I’m going to use the clearly perfect slotted trimmer and I’m just going to slide it to one side right here and Misty if you’ll make sure that iron is good and hot I’ll let you press these open. This is a great way to square blocks. You can use any squaring tool you like. Some people like the bloc loc rulers. Some like just a regular square ruler. Just remember
Misty: You’re squaring these to 2 ½, right?
Jenny: 2 ½. And you know, different tools make sense to different brains so it wasn’t until I got this clearly perfect slotted trimmer that I felt like I could really square up half square triangles. Alright. And one more. So now on this right here, Natalie has sewn these down. We’re going to go ahead and trim these little sides off right here. And you’re going to make all of your flying geese the same way. And then you’re just going to have them in a pile and they will be all different colors, all different, you know, backgrounds. I’m just going to trim this off right here.
Misty: Do you want me to press it?
Jenny: Sure. Alright. This is waste. Alright so now we’re ready to make our leaf and we just need to take from our blocks over here, we have these four little half square triangles . And our blocks, these that we cut out of our layer cake are also 2 ½ inches so they should all match up just perfectly. And what we’re going to do is we’re going to take one of these background blocks is going to be our stem. Now the stem on the leaf, let me show you the leaf. Let me show you what I’m talking about right here. So this is how our block is going to look. And this is our little stem right here. And there are several ways to do these stems and I’ve done all of them. And this time I just did it a little bit different. The leaf turned out to be a little bit tinier than I thought. You know, what do you think? Misty’s is big.
Misty: I know.
Jenny: Mine is tiny this time, you know, we kind of swapped places. But to make this little stem what I did was I got some Heat N Bond and I ironed it onto this little strip of background fabric like this. And I just cut a half an inch. Now if you cut a half an inch there’s no room to turn that under so we’re literally just going to take this like this. And we are going to iron it across, diagonally across our piece of background fabric right here, our square for the corner. And so, Misty I’m just going to lay this across here corner to corner like that.
Misty: Did you cut it off?
Natalie: Did you use a pressing pad or something?
Misty: I’m afraid it’s going to stick.
Jenny: It does kind of stick to your ironing pad but I have to say I do have a few little sticky marks but it’s better than your iron. Alright, close your eyes. So then I just pulled it off and just clipped it from there.
Misty: You’re way braver than me.
Natalie: So I would just use a scrap piece of fabric, you know, a little square or fat quarter or something like that that you don’t care about, some trimmings from the back of the quilt.
Jenny: Ya and I just make it work so
Natalie: And that would protect your ironing pad if you had just a sheet underneath it that you could then just toss.
Jenny: It totally would, it totally would. You’re absolutely right. So ya, however you want to do that.
Misty: I love it.
Jenny: Anyway, on this edge then you can do a little straight stitch. I did a little zig zag, you know. On mine you can see right here if we come in real close. And it’s a table runner so it’s not going to take a lot of washing or you know, that sort of thing.
Misty: I mean you don’t have kids at home anymore. Mine take a lot of washing.
Natalie: I do find that I wash my table runners more often than my quilts.
Misty: I agree
Jenny: Alright, well whatever works then
Natalie: We’re just going to disagree today.
Jenny: There’s more than one way to do things
Misty: You’re right, absolutely.
Jenny: Alright. So let me show you how I lay this out. And we are going to take and we’re going to put our plain square up here in the corner. And then we’re going to put two of our triangles that face inward like this. And then there’s another plain square right here. And then we’ve got two more over here that go inward. And these go the same direction and these go the same direction. You know, I have to make these little mantras for myself. This guy is going to go here. And we are going to have this one here, this little red guy here and then one over here. And so I lay out these blocks to make sure what I’m doing. You can sew these together in three rows of three. I tended to kind of do sections when I did it. Did you guys have a way that you did your leaves that was
Natalie: So I did mine the way that you teach us a lot where you string piece these two, these two these two. And then you go back to the top and add this one to this one and then they’re all connected. That’s how I pieced them.
Misty: That’s how I did mine also.
Jenny: Ya so that’s kind of what I do as well. And so however you guys want to put these together, at the end of the day we’re just going to sew these together. So Natalie, you want to go ahead and sew these together? So let’s do these two and then these two.
Natalie: Oops, I messed this up.
Jenny: And then these two.
Natalie: I’ve got to make sure I’m putting these together in the right direction.
Jenny: Right like that.
Natalie: Ok.
Jenny: And then these go along the side.
Natalie: I separated them and got confused. A little double checking is always ok.
Jenny: And this, actually, this way of chain piecing is a very, very smart way to do and keep all your pieces in place because literally if you don’t cut your threads, everything should be going exactly the right way. We’ll have to see how good Natalie is at this.
Natalie: Well it helps me to keep everything straight. I really appreciate that. And I actually, I don’t think I’ve ever done it before. Does this go like that? Ya.
Jenny: Really?
Misty: Before this project?
Jenny: Interesting.
Natalie: No, because I usually just, I don’t know, I don’t know why
Misty: That’s interesting, ya.
Jenny: Well everybody does things differently and that’s one of the reasons I love Triple Play is that, you know, we’ve got these three different brains that work completely differently
Natalie: So then these stay together?
Jenny: Yep, these stay together. You just open them up like and then we’re going to add these next ones on. So you’re going to add this guy on here and this guy on here and this stem in the corner.
Natalie: Ok.
Jenny: And then you’re going to just sew your three rows together. You’ll make sure, you can press before if you want to. On these, I just tended to press after they were finished.
Natalie: I found that to be easiest as well because then you can make the seam go the way you want it and then
Misty: Make it flat at the end.
Natalie: And then I press them all the way they needed to be, you know.
Jenny: Right.
Natalie: No twisting.
Jenny: Ya and I do that a lot when I’m sewing a block together, is I’ll sew it all and then when I press it I make the seam go the way it wants to. Now if it’s tiny pieces and it’s difficult for you to do that I would make my, you know, I would make this row go this way, the middle row go that way and the bottom row go that way. You know, it’s really whatever works best for you. So now we have these three rows together.
Natalie: Alright, let me show this.
Jenny: And you can see how this all holds together. And then we’re just going to lay this row on top of this row and sew those rows together and then our block will be finished. And that’s how you chain piece a block and keep all your pieces together. And these are a few little leaves on these projects.
Misty: There are quite a few.
Jenny: So I have one, two, three, four, five, six, seven, times four. I have 28 leaves.
Misty: 48
Jenny: Seven times four
Misty: Oh you’re right. I don’t why I thought 48. Math is hard.
Jenny: I could have made a quilt with that. Actually anything can be a quilt or a runner. It’s really whatever you choose. This would be great, if I did three rows of three.
Misty: I think this is so perfect for fall on your table. It’s beautiful.
Jenny: I do too. It’s just gorgeous. Ok, we’re at that last row. She’s just going to put this on top of here. And when she gets to those seams she’ll make one seam go this way, one seam go that way so all the bulk, there’s no bulk in the middle and so it lays evenly on either side of the seam.
Natalie: You can nest them really easily because they’re not trying to go one way or the other yet.
Jenny: Good point. And then you will get to iron this, Misty.
Misty: Awesome. I’m going to do a great job.
Jenny: You are. I can feel it coming. You’re going to do great.
Natalie: Hopefully. That didn’t feel like it was quite nesting right.
Jenny: I’m sure it will look great on a galloping horse
Natalie: I’m sure. They make horse blankets for that one reason.
Jenny: It looks great on a galloping horse. See isn’t this nice? No we’ll show it to you more in a minute. Alright.
Misty: It looks great to me.
Jenny: Isn’t that beautiful? They’re pretty gratifying. And they’re pretty easy, you know, as far as you don’t stress too much over this. So look at this darling little leaf. Now I’ll show you for real. The seams actually match up. They look great. And what we’re going to do then is we’re going to put four of these together. So I have two sewn together right here. And then we’re going to put these two in the same way with all the stems facing the middle. So they’re going to go like this. I think I’ll put this this way. And so Natalie, if you want to attach these two right here and then we’ll attach it to this right here. Misty, maybe you could iron that for us.
Misty: You bet.
Jenny: It’s so handy to have these helpers, you know.
Misty: Good team work.
Jenny: We do do good team work. Now that little bottom one was one I did very quickly. And so the reason she is moving it a little bit is because it’s probably not lining up.
Natalie: I’m just lining up points, it’s ok.
Jenny: Probably not as perfect. But all those little imperfections you hide in the seams so, you know, it’s really doable.
Natalie: Ya, you just have to look at the points that you want to match and then ease in the rest.
Jenny: Right. And if you’ll press that one.
Misty: Sure.
Natalie: And a lot of times if you have something off a little bit one way or the other it’s not a big deal, it’s not going to show up.
Jenny: That’s exactly right. Alright, so now what we’re going to do is we are going to sew these two together to this one. And the nice thing about sewing a block like this that has all these little junctions is that at each one you’re going to re-line it up. So it’s going to keep your block very square. And so you’re just going to start and you’ll just re-line at every little seam, you’ll sew until you get to the next seam, make sure those seams are going the right direction.
Natalie: I stop after I get past that and then check the next one
Jenny: That’s what I do. I check every seam.
Misty: Ya every one.
Jenny: Every seam as I go along so that one seam is going this way and one seam is going that way
Misty: And I love having those check points along the way.
Jenny: I do too. I do too. It really makes for a nice block. Now one of the reasons I made my flying geese and my leaf out of the same block, I could have done all my leaves out of one set and all the geese out of one set but I love the scrappy look. I love them all mixed up. I actually, there are more dark fabrics in this line than there are light fabrics. So I actually brought in a couple of solid light fabrics. You know, you could use shirting or whatever. But you can see I brought in some of this color right here. And then I brought in some of this lighter color right here like on this one because I just didn’t have enough and I just wanted to keep it scrappy and I needed to make more. So this is our leaf block all sewn together. It looks darling. And what I did was I decided I was going to put flying geese all the way around it. And so because they’re 4 ½ they match up exactly, there’s no measuring. So all my little flying geese, I just sewed three of those together and put them around the sides and put a 2 ½ inch corners in the middle because you have a few leftover of your light ones and you have one leftover of a red one. And so on this quilt right here, and I kind of whizzed past the flying geese but, you know, you keep those all in a pile. You’re going to make those
Natalie: A whole bunch of them.
Jenny: A whole bunch of them. And then I sewed these together in threes, you know, one, two, three like this and then put it on the outside of my star here. And then I had three here and three here, three here. And so they were all sewn together in threes. And then I just attached the corners to that last row when I put them on. Now this is exactly just those three blocks sewn together. It’s exactly what it is. Those three blocks. Every single block is surrounded by geese which makes a double row right here. So right here you’re going to see that double row. So here’s our double row of geese and it really is just what happens when we bring the blocks together like that.
Misty: Pointing at each other.
Jenny: Yes, they just point at each other.
Natalie: It looks a little bit like an hourglass.
Jenny: Ya. And so as I was making the second one, I changed it up a little bit. And I put my geese on the top and the bottom of the block. So let me move this down so make sure we can see this in the picture. So my flying geese are on this side and on this side. But then in between I did a whole column of them where, you know, I stacked them all up, which of course means since I had this guy, you know, going the same direction as these, it makes a square here and it echos the square here and down there as well.
Misty: I didn’t even notice that until just now.
Jenny: Ya and then also on the corners of these I didn’t use my light, light square in the corners. In these corners I put a dark square. And so I made use of some of those, you know, one extra squares. And it just makes a beautiful quilt and I love the idea that, you know, the leaves are falling, you know, they’re going south, all the geese are going south.
Misty: And you added a little border to this one.
Jenny: Yes, this one I felt, I don’t know. You know, sometimes I think a runner warrants a border and sometimes it doesn’t. And I just thought this one, I just wanted to see. It just needed it.
Misty: It looks great.
Jenny: I love the look of it. Alright. Oh wait, one more thing before I go. Because this fabric is so distinctive and it’s so fall oriented, I just wanted to show you. We made a couple of these in brights.
Misty: They’re so cute.
Jenny: So just by changing out the color, you’re going to get a whole different look in your pattern. And so, you know, this could be a really fun bright look as well, you know. You could do Christmas leaves, you know, whatever you wanted to do. So a lot of times we see, you know, we’ll see a quilt made in a fabric and you feel like that’s the only way it can be made and it just isn’t so. Have fun with that fabric, you know, choose something different. See what you do with it.
Jenny: So this is the bigger runner and it ends up being 21 by 69 so it’s a great size, a nice long runner. It has a stitch pattern of fall leaves on it. And we put this back. And I think for the back you need about a yard and a half for each one. And the yard and a half will also include this little bit of border. This one, we just bound, no border on this one. This one has the same back and again you can see the pretty fall leaves on here. And it ends up being 16 without the border by 48. So really whatever size you want. Honestly one of the things I love about runners is that Natalie has a square table so sometimes you can just take a square and border it out a couple of times. Or I could put four squares of leaves in a square rather than drawing them out long. And so, you know, you can have, just have fun with it and do whatever you want.
Natalie: There’s so much room for ideas, different sizes.
Misty: And personalization for whoever it’s for
Jenny: Absolutely. And now we’re onto Misty.
Misty: Alright, as we turn things around and I made a giant block this time. So I made this really big leaf and I think it turned out really cute. It’s really quick and it’s assembled much like Jenny’s only larger. But it’s based on this nine patch block that you can see here. Alright, to make my quilt you’re going to need two charm packs and I used Love Lilly by April Rosenthal for Moda. You’ll also need 1 ¼ yards of background fabric which includes your inner border. For your outer border you’ll need one yard. And for the backing you need 3 ¾ yards with horizontal seams. We’re going to start with our five inch squares and just lay them out into
Jenny: This is such a happy line.
Misty: It is so cute.
Jenny: It really is a cute little line.
Natalie: So bright.
Misty: Let me find a few different ones in here
Jenny: I might need one of these on my porch for a porch quilt.
Misty: It would be a good porch quilt. Ya it really would.
Natalie: It would be a great baby quilt too.
Jenny: It would be a great baby quilt. Or a lap quilt for somebody you know. I mean it would just be so cute.
Misty: Lots of options.
Jenny: It’s just cheerful. It’s one of those things where when you look at it, it just makes you kind of smile.
Misty: Trying to make sure I’ve got some variety in here. Which one do I want? That one or
Jenny: How about another blue? Ya that little blue would be good.
Misty: This one? Perfect. Cute. Alright so and then we’re just going to sew these together. I used the same method that you taught where you just fold them across like this and just sew down. And then add your next one. And I have a finished one here. And so you can see, here’s our finished nine patch. And you can see where they fit. And so we’re going to make three of these. One, two, three. Here, here and here in the quilt. And then let’s talk about how we’re going to make the points of our leaf and our fun little stem down here. So on this I did it a little bit differently. Instead of laying it out a full nine patch and you know, cutting it corner to corner or anything like that. I wanted to cut back on the waste and so I actually just laid out, I believe it’s seven, six of these. So we’re just going to lay this out.
Jenny: This is really interesting to me. Again, this is a brain thing. A completely different way of doing it. This makes a giant half square triangle out of a nine patch.
Misty: Exactly.
Jenny: But you actually keep the same size and it’s just so fun to see how you did this.
Misty: So we’re going to start by sewing these three, I always did my three first. And now we can just sew these together. So I’ll start here Jenny. And hand you that. That one too. And add one to this one.
Jenny: There we go.
Misty: And Nat if you want to press that. And then this one as well. When I was sewing these together I always liked to start at the bottom. I don’t know why, this is just the way my brain works. And it was easier for me to come through and nest these to start with to just make sure that this seam nested and so we’ll do that first. And then we’ll come back and add the single to the top.
Jenny: And I’m just going to sew all the way to the end of this?
Misty: Yep. Exactly. And then we can just go ahead and open. And add this one since we don’t have anything to nest there. Just like that. And I’m going to go ahead and grab a longer ruler
Jenny: Alrighty, there we go.
Natalie: Press it?
Misty: Yep.
Jenny: And how many of these points do you need?
Misty: So you need four just like your normal leaf block. So you’re going to do this assembly four times. And then you do something very similar for the stem but you just switch it up a bit. And so what I did for this is I just laid this straight on my mat. And I laid my ruler corner to corner but I made sure I have my quarter of an inch overhang so that I’m not going to lose the points that I’ve done here. And so then you do the same thing on the outer edge, just a quarter of an inch overhang from your point. And then
Jenny: Put this under?
Misty: Ya that would be great. And I think that looks good. And then I’m just going to trim off this excess. There we go.
Jenny: And don’t throw those away.
Misty: Ya, we’re going to need a few of these for our stem so hold onto those. I just put them in a pile. And then I cut 14 ½ inch background squares. You can see I have one here. And then we cut this in half diagonally. And we’re just going to pair this up with our piece here. And that will match up and give us our correct quarter inch seam.
Jenny: Very cool.
Natalie: Surprisingly easy. Just sort of a different technique
Misty: Ya it is because the whole point is we’re wanting to sew point to point there. That’s where we want our seam to be. And if we didn’t cut this off we would have all these wasted pieces that then wouldn’t fit in our block. And I didn’t want to have that. And like I said you’re going to make four of those to make your points of your leaf. So you can see how they set in just like that. Now for the stem you can see down here, this is done almost exactly the same but I have it together here. And the only difference is you put a background square, a background five inch square instead of a print square here.
Natalie: And it’s right in the middle?
Misty: Right in the middle. Then it’s assembled the exact same way. You can see we just trimmed it and sewed it together. And so this is the basis of our stem unit here. And before I sewed all these together we are going to add this stem. And so let me show you how we did that. So remember I said to hold onto a few of your leftover triangles. We’re going to sew five of those together just end to end to end like I’ve done here. And this is what’s going to make our stem. You can see the patchiness of it in the stem itself and this is how we did it. Because these triangles have some bias, this is just like making, you know, bias binding.
Jenny: Sure, it will curve.
Misty: It will curve. And so I was able to get this nice curve of my stem. And so I just went ahead and pressed it in half like this. And then I’m going to trim it off straight to begin with.
Jenny: This is very clever, Misty.
Misty: Thank you. I was excited when it worked out. There we go. And then Nat if you will press under just one end, about a half an inch or so. Just eyeball that.
Jenny: Actually wait, do you want, I can actually just sew across the top.
Misty: That’s true. That’s true.
Natalie: Do you want to do that or just?
Jenny: I guess it is your call, it’s your quilt.
Misty: It doesn’t matter either way. I topstitched once I put it down which is why I didn’t. So at this point, but you totally could if you don’t want to mess with it. I just ironed it under just like
Natalie: Just a little bit on one side, right?
Misty: Or you can press it the way when you open it up. That might be easier. To turn it that way. Yep.
Natalie: Alright. We’ll do it just like this.
Misty: Exactly.
Jenny: Lots of ways to do things.
Misty: Absolutely.
Natalie: I’m going to re-press just to make sure that that is nice and flat
Misty: Yep and will lay the way you want it. Ok. And so then what I did is I started with that piece that I turned under and I think I am going to use all of this. But I eyeballed it first. When I was making it I sewed more than just the five. So let’s go ahead and press under the bottom end too so it’s ready to go. You can eyeball it and if you want a shorter or a longer stem. I just kind of checked and then trimmed it off.
Natalie: Ok and fold that down.
Misty: Yep, exactly.
Natalie: There you go.
Misty: Alright. So now we’re going to the raw edge and we’re just going to kind of overlap the top and you can kind of position this as you go. If you want to pin it you can. I totally just eyeballed it and played with it at the machine. But you do want to make sure that you’re over the bottom of your point there. And we’re just going to sew a quarter of an inch down this side. So Jenny if you want to do that and you can curve it however you want.
Jenny: Ya so when you fold this over, do you start over here so you can fold this over to the middle?
Misty: Yep, I actually just kind of lined it up right with the point and then it worked out fine.
Jenny: Alrighty. I like to put stems on this way. This is one of my favorite ways.
Misty: And I love that you can get that curve effect because of the bias.
Jenny: Right. We’re just going to curve this around here.
Misty: Exactly.
Natalie: Kind of an interesting concept. I didn’t think I thought about curving things in that way. I feel like I have some ideas.
Misty: Yep. And so then we can just roll it back. And I went ahead and pressed it. Do you want to roll that and give it a good press Nat?
Natalie: Ya so it can stay.
Jenny: Ya whenever anything is on the bias, it has give.
Natalie: If you had any trouble too, you can probably do some little clips just to give yourself a little bit of flexibility.
Misty: Ya you totally could.
Natalie: But really pressing it down will make it stay in place.
Misty: And there really is no right or wrong way to do that. Think about leaves in nature, you know, they come in all different shapes and curves and that’s part of the beauty of it.
Jenny: You could do it straight if you want. You could do it the other direction.
Misty: Exactly. And so now we’re just going to topstitch right along the top, side and bottom edge. And I just did a straight stitch on mine.
Jenny: Awesome. I shall do the same. It hides the little seam.
Misty: Yep. So you have no raw edges that are showing through.
Natalie: I’m just thinking of all the curved blocks, all the interesting curved piecing that you could do that’s not actually pieced in. If you’re using that style on just a solid background you could just make whatever kind of arcs that you wanted to make. That would be very cool.
Jenny: Ya this is how I do my cathedral windows.
Misty: And so you can see how that fits in here just like that. And we assembled it in a giant nine patch just like Jenny’s And then I just added a 2 ½ inch inner and a six inch outer border and it finishes up at 55 inches square. So it’s a great baby quilt.
Jenny: So cute. So what cool pattern did you use on this?
Misty: This is called Daisy Days. It’s one of my favorites especially for babies.
Jenny: And what’s on the back?
Misty: It’s this awesome polka dot.
Jenny: Isn’t that darling?
Natalie: Such a great backing.
Jenny: Really cute.
Misty: So I think it turned out great
Jenny: It’s super cute. I love it.
Misty: So Nat you’re up next.
Natalie: Alright and so this is my quilt. It’s called Scattered Leaves because I did a few leaves up here and a few leaves down there.
Jenny: Let’s kind of, shall we pull this up a little bit so they can see? It has such a cool
Natalie: It is mirrored. So we have a group up here in the top and then a group down here in the bottom.
Misty: It’s beautiful.
Jenny: It’s so beautiful.
Natalie: So what that means is you can follow the directions or the diagram if you want to or you can mix and match and put your leaves any which way you want. There’s a lot of variety in layout that you could play with as you want.
Jenny: Awesome and has such a clean, kind of modern look, you know, the leaves tends to go toward fall colors and this just brightens it up and makes it so happy.
Misty: The collection is just gorgeous.
Jenny: The collection is gorgeous.
Natalie: I didn’t want to lose my light or dark prints so I went with a gray background because I thought the colors really popped nicely off of that. It was a little more subtle than white or black.
Jenny: No it’s perfect.
Natalie: To make my quilt you’ll need one layer cake and I have used Lady Bird by Crystal Manning for Moda fabrics. You’ll need 4 ½ yards of background fabric and that includes your inner border. You’ll need 1 ¾ yards of outer border and nine yards of backing fabric with vertical seams or three yards of a 108.
Jenny: We’ve done them all different ways today.
Natalie: So I’m going to start by talking about the background. These blocks finish at 12 ½ so anywhere you have a negative space block you need a 12 ½ inch square. So you’ll cut a bunch of those
Jenny: So that’s actually really smart because you don’t have all these different measurements. You just put another block
Natalie: And you just put this together just like squares. So you’re going to cut a bunch of ten inch squares to make your half square triangles that are these points because these match up with your layer cake squares. You’ll need a bunch of five inch squares that you’re going to cut on the diagonal to make your stems.
Misty: Ok
Jenny: Oh she’s done hers even a different way.
Misty: I know.
Natalie: Yes, pieced in. You’re going to 4 ½ inch squares for these corners which is the corner point of the leaf block. So then once you have all your background cut, if you want to cut ahead that’s fine. If you don’t, you can cut as you go. I’m cool at that too. But the layer cake was fun. So I planned it out by doing the make eight half square triangle method. So each of these, there’s four on a square and I used like these four right here for this block and this block.
Misty and Jenny: Oh ok.
Natalie: So what I need to do when you go through your layer cake, go ahead and open this. You need to select sets of three. So I would go through and I would say like this piece and this piece, these are going to be the body of the leaf. And by that I mean this part right here. And then this piece is going to be the leaf points, the tips.
Misty: For both of them?
Natalie: Yep. So you go through and you do the whole thing in sets of three. You’ll have three blues and three oranges and three pinks and whatever variety you want. And I just mixed them up and then set them in lines so that I could keep them all together. Then you’re going to start with making your half square triangles. So if we know these two are our bodies and these are our leaves, what we’re going to do is we’re going to take this one and draw a line diagonally from corner to corner. So we’re just going to draw a line. I didn’t quite get that one over there. I don’t think you’ll survive.
Jenny: She’s like she’s done a few half square triangles
Natalie: It does tend to work easier if you go middle out.
Jenny: That’s true. Oh she’s having pity on me.
Natalie: I’ll just add it a little more there.
Jenny: There we go.
Natalie: Ok, and now you’re going to stack these together with your print to the inside because you want your right sides to create that half square triangle. And you’re going to sew on either side of the line, both directions.
Jenny: Both sides, yep. Alright.
Misty: So speedy.
Natalie: It is so speedy. It actually is so speedy
Misty: So satisfying to get so many at once.
Jenny: Ya this is a great way to make half square triangles. There we go.
Natalie: Alright so now we’re going to do the cutting. And the cutting on this is super simple. So I, you can do the diagonals first or go straight across. It doesn’t really matter.
Jenny: I always do the straight across because the diagonals have a line. So if you get lost I could just go back to the line. I mean hopefully you don’t get lost on those.
Natalie: So you cut both directions horizontally and vertically. And I usually look at these cross points in the seam because this part is probably going to get trimmed off when I’m squaring and I want to make sure that I go through the middle. Ok then you just do your diagonals and this way, actually I’m going to go this way. So you can do it either way but if I go on the top then I just have to hip over this direction instead of going over my arm. Ok, so then what we’re going to do is press these all open and then we’ll square them up. And while she’s pressing we’ll talk about cutting these guys. Ok so these, what we’re going to do is we’re going to stack them both together because they’re going to get the exact same cuts. And I’m going to cut 4 ½ inches in a strip because these all need to be 4 ½ inch squares because they make up these middles and 4 ½ is what we’re going to square our half square triangles to.
Jenny: Ok, perfect.
Natalie: Ok, so I do a 4 ½, pull that aside. I’ve got one more 4 ½ over here. And this piece goes in the stem.
Jenny: Nice.
Natalie: So set that aside. And then you can stack these up if you want to or you can just do them one at a time. It’s not a big deal. So this is a little extra piece that we don’t use. And the other thing, as we’re going along here you’ll notice that we only use three of these squares and we have a stack of squares leftover. So these three go in our leaf. And this one is extra. So I’m going to go ahead and cut it anyways because I have a bonus project at the end that I made with all of these leftover pieces.
Misty: Awesome.
Natalie: Ok, so if we have our 4 ½, ope one more thing, sorry. We’re almost ready to start assembling. We do need to square our blocks and we need to make our stems. I just about go ahead of myself.
Jenny: She’s going to get out ahead of herself. She’s running fast.
Natalie: Ok, so to make the stem we’re going to take our five inch squares and we’re going to cut right down the middle so we end up with these little pieces. And then, and I pretty much because I’m making two blocks at a time this entire time, I do two of these and I just do a little finger press to line it up so it’s super easy. And then I finger press these two as well. You have a lot of stuff to work with so if it gets off you’re just going to square it. It’s not a big deal. But I did finger press because I was trying to be meddley and proper
Jenny: Measuring and all the words.
Natalie: Yep. So I found it was easiest to, you know, do one side and then flip it over and put the other side on top of it.
Jenny: Alright, I’ll do it. Misty probably has your squares done.
Natalie: She does.
Misty: They’re ready.
Natalie: As a quick reminder though, I didn’t press this until after I was done. And then if you, as you line this up you can also still eyeball that this point lines up with that point. And then you end up having good square squares. So if you lose that middle, it’s ok. It can be lost a little bit as long as you watch these points and then you’ll end up with a nice thing to square. Ok, so we’re going to square all of these to 4 ½ while Mom is making our stems. The way that I do that
Jenny: Here Misty.
Natalie: Is I put my 45, you want to do this one too?
Jenny: Sure.
Natalie: Thank you
Jenny: Happy to
Natalie: On the end. And I make sure that it’s lined up here with the 4 ½ inch line here, that this line goes into the corner and we’ve got 4 ½ on this side. And if this cut side isn’t super straight you can move it in a little bit and then trim both sides. But this side looks good. It’s very straight so I’m going to get it all lined up and we’ll go through and square these. I’m going to do them all because I want to show both blocks.
Jenny: I had to check my little middle thing over here. I never noticed that before.
Natalie: The corners?
Jenny: Ya, that was pretty cool. Here you go.
Misty: Thank you.
Natalie: That one is a little bit off.
Jenny: Honestly there are a lot of squaring tools that are out there.
Natalie: The bloc loc would be ideal for this style
Jenny: And if you didn’t iron it you could use the clearly perfect slotted trimmer for those.
Natalie: That’s true
Jenny: Any square with a diagonal will work. It just helps you line it up corner to corner
Natalie: Yep. I just have a couple more.
Jenny: I’ll keep these for something
Natalie: For nothing. You take a picture to show how proud you are of all the squaring trimmings and then you throw them away because you don’t need them, I promise.
Jenny: You can stuff a dog bed with them
Misty: That’s true.
Natalie: Ok…
Jenny: She’s like, Mom’s going to keep one more thing
Natalie: It’s true. If you wanted to, you could. You could make good stuffing.
Misty: I love seeing all those squares come together so neat.
Natalie: It’s kind of the best part.
Jenny: And you’re so quick at it.
Natalie: Ya I get a lot of practice. Just spin it around and line it back up. And you know exactly where you’re supposed to put everything. Ok, same thing with our stems. We’re going to square those to 4 ½. And the trick here is to look at the center line. So you just kind of want to eyeball it and put it right down the middle. And it doesn’t matter if you’re closer to one end or the other. You have to square both sides because you’re not going to get super close to that 4 ½ inch mark. So I eyeball my stem. And it looks, typically there’s a quarter of an inch on each side. The thing about the stem is technically it measures an inch but if yours aren’t exactly the same, it doesn’t matter because I never matched the stems up in this entire quilt.
Misty: Right, they’re not intersecting with anything
Natalie: I don’t specifically measure it because I’m worried more about the 4 ½ inch squares than I am about the stem width. Don’t stress about that. You don’t have to go back and make sure they’re all the same size. It doesn’t matter.
Jenny: Well mine are wider because my quarter of an inch is skinnier, you know, so you’re just squaring your block to 4 ½.
Natalie: Yep. So you just eyeball that and make sure that stem is going down the middle, flip it around, stick that into the 4 ½ inch. And it should still line up. So there’s just a little bit of extra waste there but not a ton. I’m going to eyeball that again
Jenny: I love seeing how everybody does these differently. It’s fascinating to me.
Misty: Oh I love it.
Natalie: It’s pretty simple to get these pieced in like this. I didn’t have any trouble with it. I enjoyed this quilt. I got to make it a couple of times.
Misty: That’s true.
Jenny: Ya people always ask me, how many of these do you make? Well you at least make one.
Natalie: Alright so from our three squares we now have all the ingredients to make two squares, two complete leaves. So you start by laying them out. I usually start with my corners and my stems because I know those go in the same places. And then you’re going to put all of your, I’m right handed. So all of these match up like this
Misty: I just love this fabric so much. All those florals are so pretty.
Natalie: And then you put your half square triangles up here, that one goes there.
Jenny: Perfect, beautiful
Natalie: And like that. So then you’re going to go ahead and sew these two, these two, these two and keep them chain pieced and add these ones. So I’ll hand those off to you.
Jenny: Perfect
Natalie: Slide these under
Misty: And layout the other one.
Natalie: Yeah. That goes there.
Misty: Part of your blocks
Natalie: Nope those right here
Misty: Those are your extras. That’s right, I forgot.
Natalie: My leftovers. And I just really liked the variety kind of, of showing them with different things. I do think it could be really fun to completely scrap it up and just choose however many you need to make your half square triangles and then mix and match your blocks in the middle. I could be really, really cute and fun. But for this particular one, this is what I did.
Jenny: Oh is it going the right way?
Natalie: You’ve got it going the right way. That’s right.
Jenny: All of a sudden I picked it up and I’m like wait I didn’t look. Alright we’re going to open these up. And we did.
Natalie: Flip that up. Two more seams and you’re done.
Jenny: Again, this is the big one, you know, you can see how it’s all hooked together, you know, and we didn’t have to pin. You don’t have to do any of that, just keep it together when you’re sewing it.
Natalie: The other thing that’s so cool about that is even though your half square triangles are going in the right direction because everything was assembled in the right order. It makes it a little bit less mind work, a little bit less stressful I guess. I like it.
Misty: I do too.
Jenny: I also love your gray background.
Natalie: I enjoyed that too.
Jenny: It’s just fun to see.
Natalie: I didn’t lose any pieces
Jenny: And when you get a layer cake there are inevitably going to be some light ones. This way you were able to keep all of those.
Natalie: Yeah.
Jenny: She’s tapping her nails at me. Did you just see that? She’s like, hurry up Mom, hurry up.
Natalie: No you’re fine. No worries.
Misty: Just enjoying watching you sew
Natalie: One press and we have a finished block.
Jenny: It’s so pretty. And it is fun how the little petals just seem to go.
Natalie: That’s it. That’s our creation.
Jenny: I love it.
Natalie: And they go just wherever you want them to go. So I have, I believe it’s a six by seven layout because, wait one, two, three, four, five, six, one, two, three, four, five, six, seven, yeah. So it’s six by seven layout. The quilt, let’s see, I did a 2 ½ inch inner border and a six inch outer border. And the quilt measures 87 by 99.
Jenny: That’s a nice big quilt.
Natalie: We quilted it with Sticky Buns, one of our favorites. And this is the backing we used. Isn’t that a beautiful print?
Jenny: Really pretty.
Natalie: Ok so remember how we had all those little squares set aside. One little bit of magic that happened is that when I was assembling all the colors, all the sets of three, I had three squares leftover that didn’t match at all. Three full squares and I decided I was going to make them into half square triangles. So I took that leftover square and I did the same method, drew the line, made the X, made all the half square triangles. And then I put all of the square squares together in the middle and put the half square triangles around the outside edge to make this cute little guy.
Misty: I just love it.
Natalie: It literally is just the extras, leftover things that you already had
Misty: A true bonus.
Natalie: We had a true bonus because you have enough fabric in your supply list. You’ll have all these 4 ½ inch squares cut out. You’ll have, you know, enough ten inch squares to make your triangles. And this is just a little bit of extra backing and a little bit of binding.
Misty: So cute.
Jenny: It’s really pretty. And look at the back.
Natalie: Well this fabric is beautiful. It’s probably my favorite print in the line. I love it. But this is a great 28 inch, ya it could be a table topper, a wall hanging.
Jenny: Literally if you bordered it a couple of times it could be a baby quilt.
Natalie: Also you could make it into a baby quilt. It could be the medallion of something fun you’re doing.
Misty: I think that should hang in our studio for sure.
Natalie: Yeah, it would be great. And I love a true bonus where it’s like you don’t have to add any extra fabric to your supply list to get this out of your leftovers.
Misty: Great little project.
Jenny: That is awesome. I taught you well. Great job with the Lovely Leaves
Natalie: Thanks.
Jenny: Well that’s it for our Lovely Leaves Triple Play. We hope you enjoyed today’s tutorial from the Missouri Star Quilt Company.
We hope you enjoyed watching this video. If you’re not already part of the Missouri Star quilt family you can hit the subscribe button below so you won’t miss a thing. And if you click that bell it will notify you every time a new tutorial comes out. See you next Friday.


