

Triple Play: 3 New Quatrefoil Quilts with Jenny Doan of Missouri Star
 Jenny Doan
- Charm Pack
- Queen
- Beginner
- Quilt size 79" × 91"
Triple Play is a favorite tradition here at Missouri Star. Once a month, Jenny, Misty, and Natalie each demonstrate their own, unique spin on a favorite block, technique, or template. In this episode, the talented Doan ladies show off three fabulous new Quatrefoil quilts.
Instructor
Jenny Doan
Jenny Doan is an American quilter, author, and YouTube personality. Jenny started Missouri Star Quilt Company in 2008 and today it is the largest quilting supply vendor in the United States.
Shop this tutorial
 Four-Patch Quatrefoil Quilt Pattern by Missouri Star$5.95Shop →
 Digital Download - Four-Patch Quatrefoil Quilt Pattern by Missouri Star$4.95Shop →
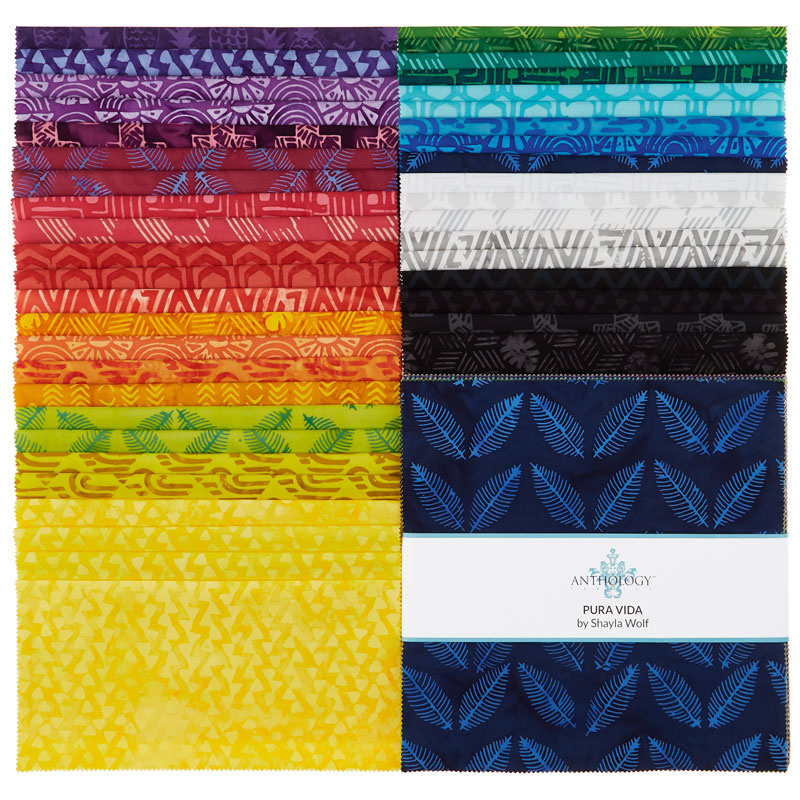 Pura Vida Batiks 10" Squares$37.95Shop →
 Kona Cotton - White Ten Squares$30.95Shop →
 Kona Cotton - White Yardage$7.28Shop →
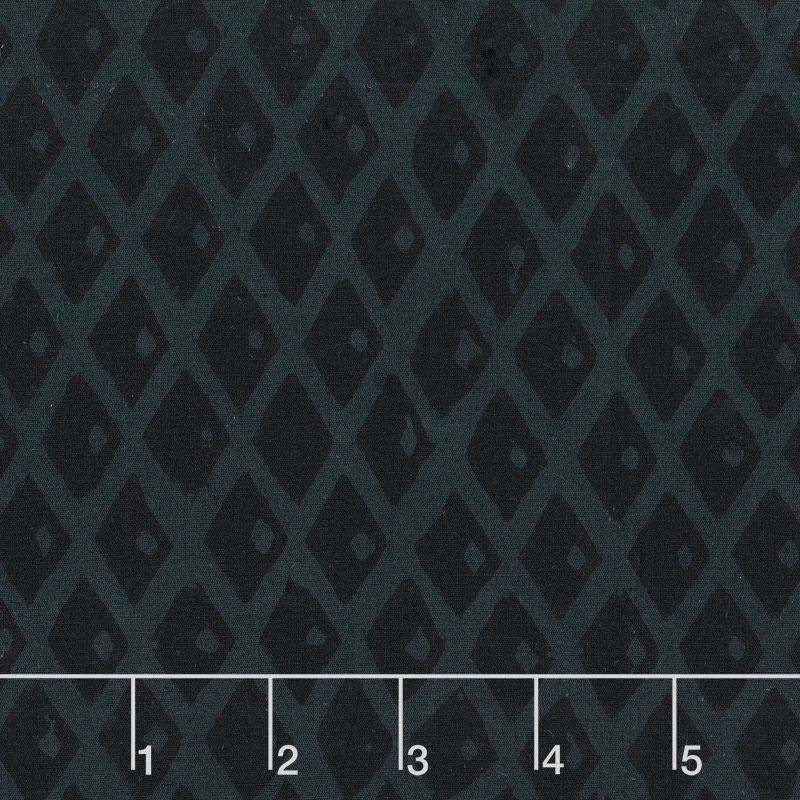 Pura Vida Batiks - Crystal Cave Night Sky Yardage$11.24Shop →
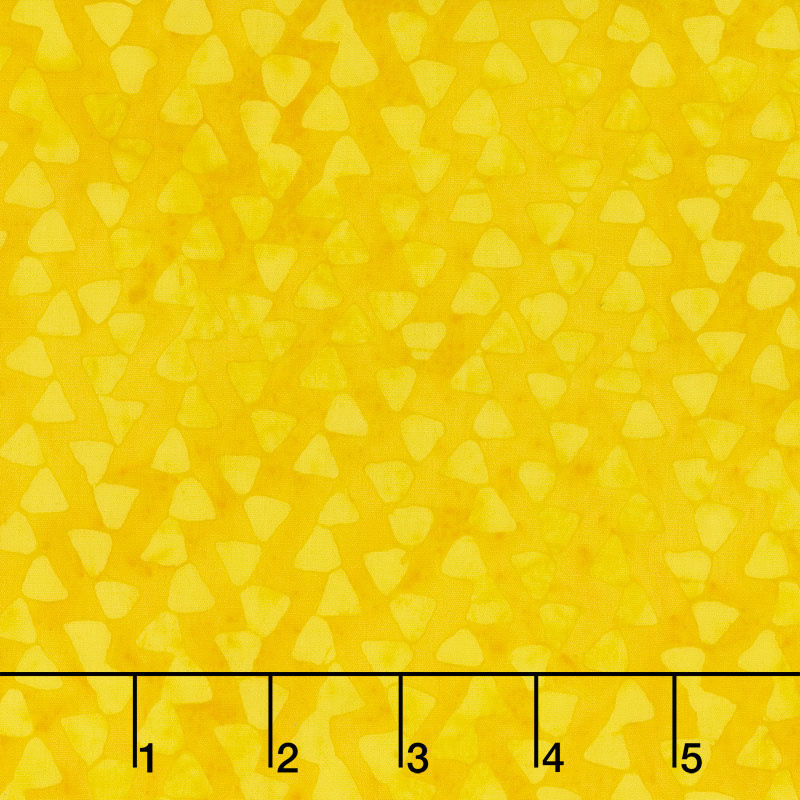 Pura Vida Batiks - Sea Breeze Banana Yardage$11.24Shop →
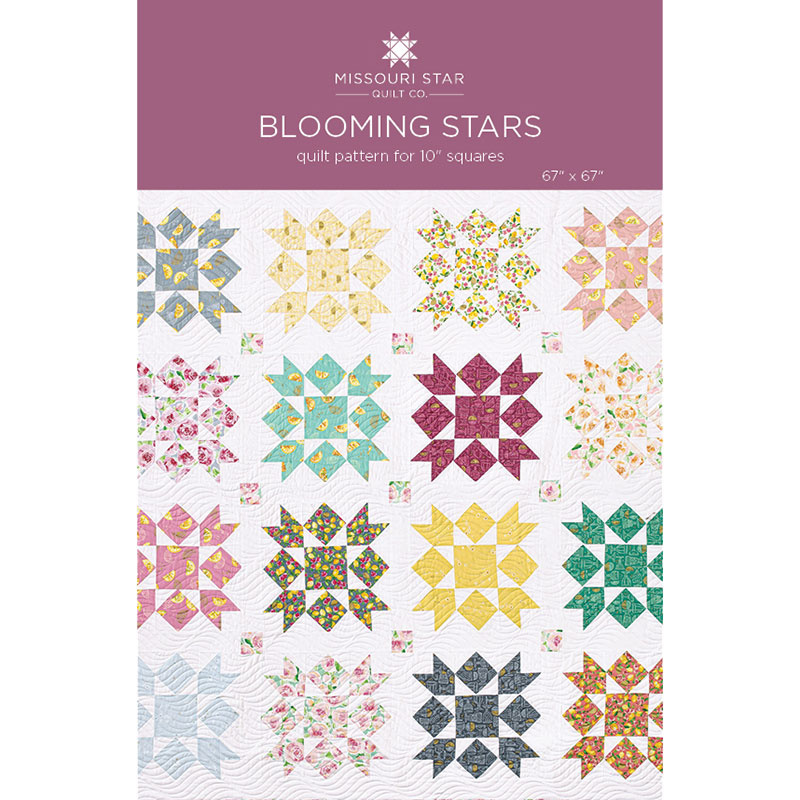 Blooming Stars Quilt Pattern by Missouri Star$5.95Shop →
 Digital Download - Blooming Stars Quilt Pattern by Missouri Star$4.95Shop →
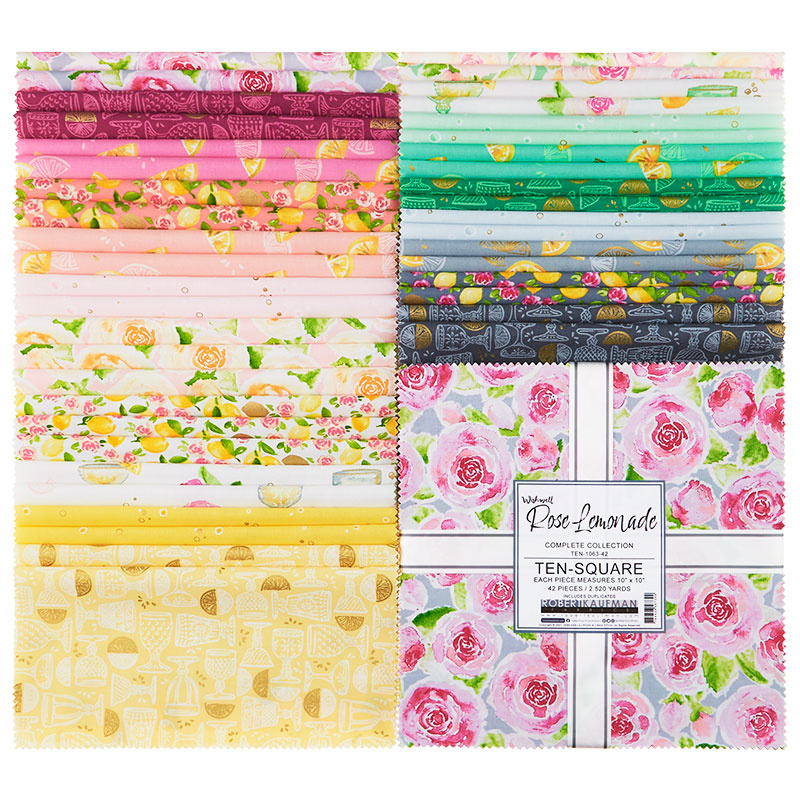 Rose Lemonade Ten Squares$37.95Shop →
 Kona Cotton - White Roll Up$30.95Shop →
- Kona Cotton - White Yardage$7.28Shop →
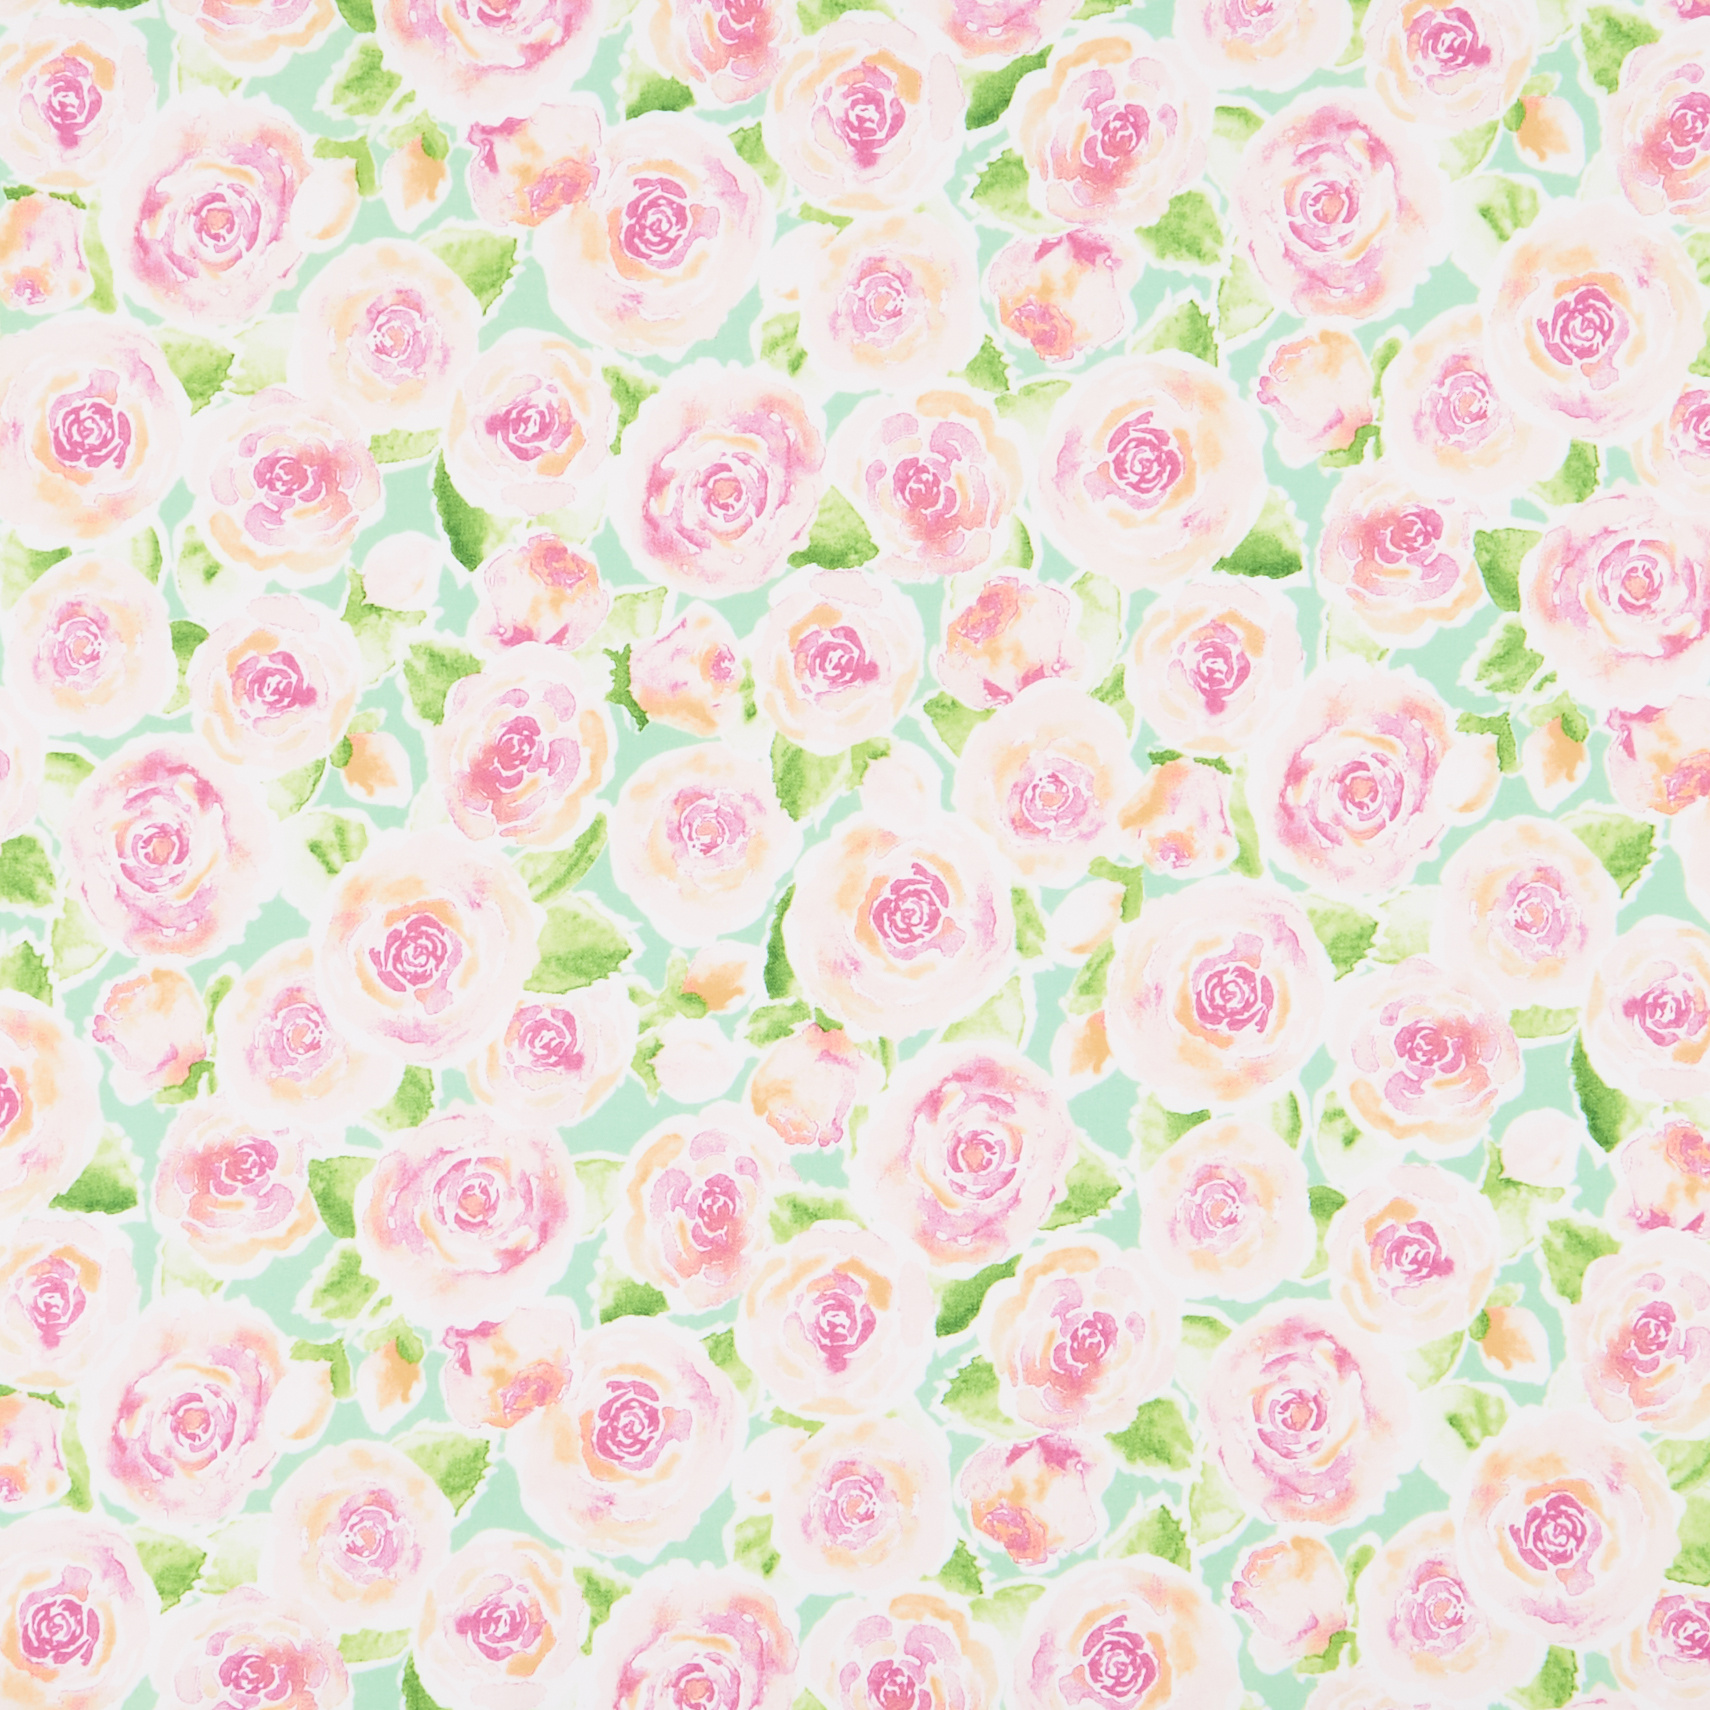 Rose Lemonade - Roses Jade Yardage$11.24Shop →
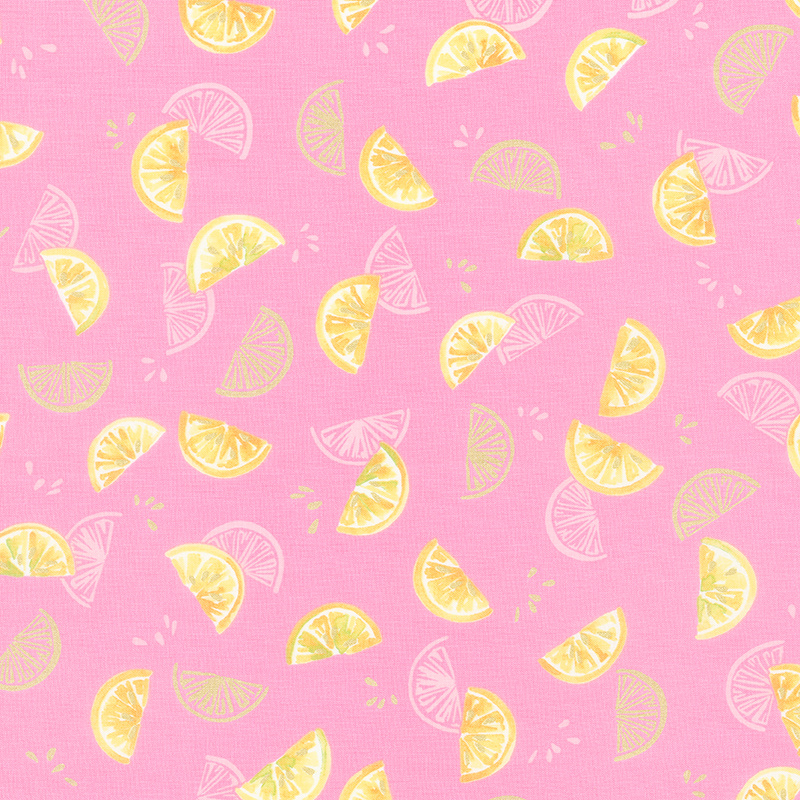 Rose Lemonade - Lemon Slices Rose Metallic Yardage$11.24Shop →
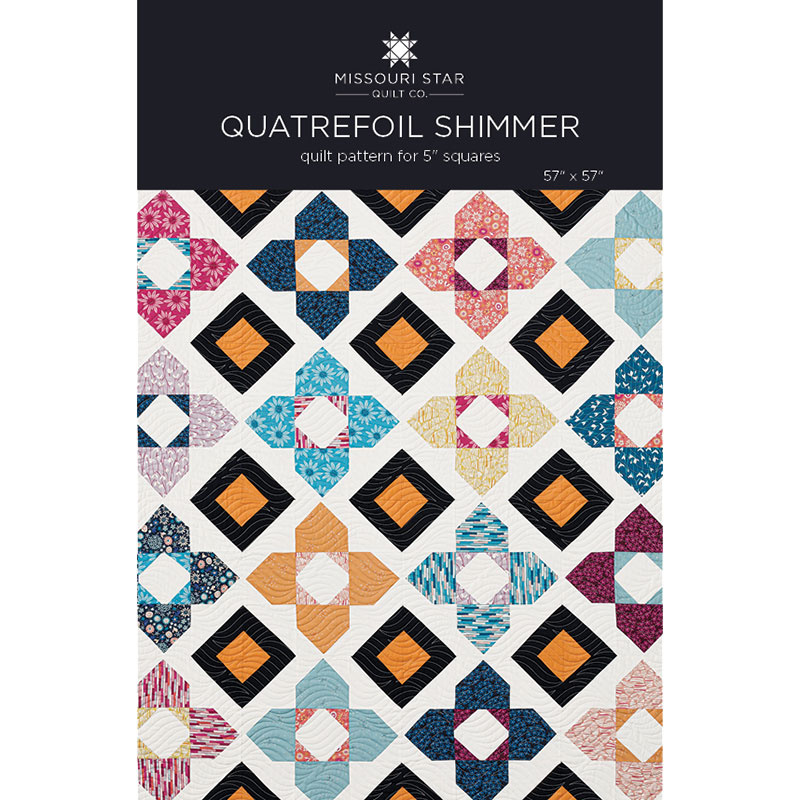 Quatrefoil Shimmer Quilt Pattern by Missouri Star$5.95Shop →
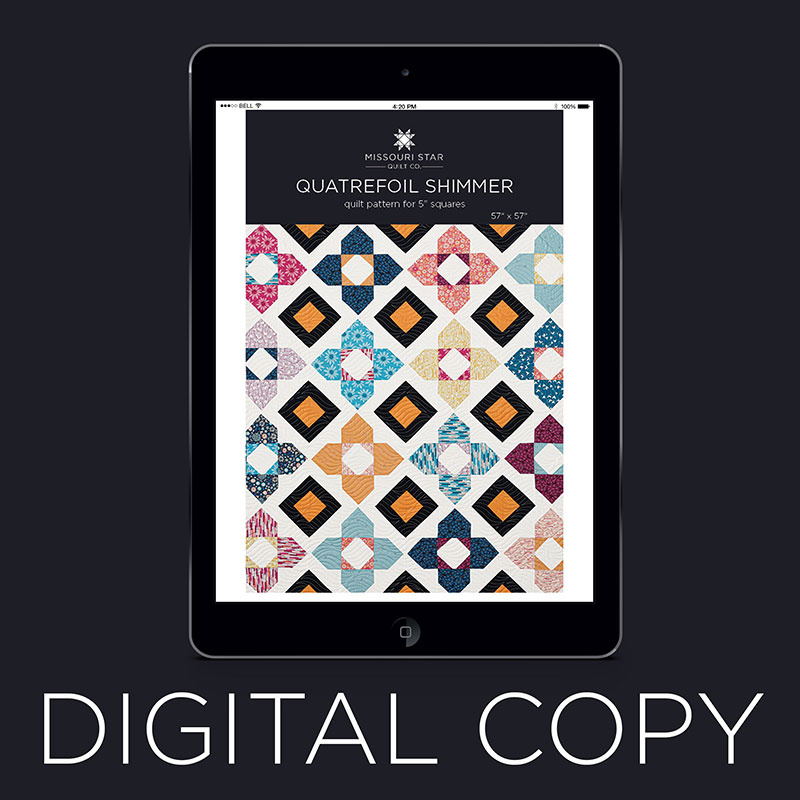 Digital Download - Quatrefoil Shimmer Quilt Pattern by Missouri Star$4.95Shop →
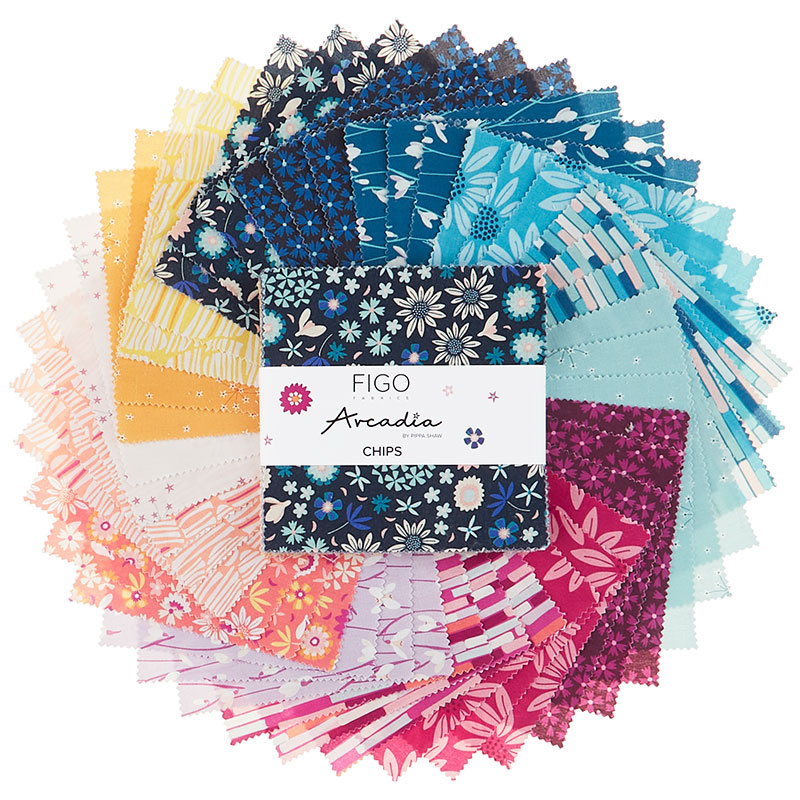 Arcadia Chips$10.45Shop →
 Bella Solids Snow Charm Pack$10.45Shop →
 Bella Solids - Peacoat Yardage$8.24Shop →
 Bella Solids - Amelia Apricot Yardage$8.24Shop →
 108" Quilt Back - Peppercorn Bedrock 108" Wide Backing$14.96Shop →
Common Questions
What is covered in Triple Play: 3 New Quatrefoil Quilts with Jenny Doan of Missouri Star?
Triple Play is a favorite tradition here at Missouri Star. Once a month, Jenny, Misty, and Natalie each demonstrate their own, unique spin on a favorite block, technique, or template. In this episode, the talented Doan ladies show off three fabulous new Quatrefoil quilts.
How long is the tutorial video?
The tutorial video is 00:42:17.
Are supplies listed for this tutorial?
Yes. The tutorial page includes the supplies and materials connected to this project.
Is a transcript available?
Yes. A written transcript is available on the tutorial page.
Video Transcript
Jenny: Hi everybody, it’s Jenny from the Missouri Star Quilt Company. And I am here today with Natalie and Misty and it’s Triple Play day. First can we all talk about how we all showed up here in the same kind of hue of colors
Natalie: Peach day
Misty: Didn’t even plan it.
Jenny: No we never plan it and we show up like this. I think that’s so fun. So today we have an awesome tutorial for you. It’s three different ideas that are all based on the quatrefoil quilt. This is the original quilt. It is made up of these four blocks, four patches in the corners and a sashing that runs through the middle. It’s very fun but wait until you see what we’ve done. So I’m going to start and we’re going to reveal my quilt right now. So Misty if you’ll help me take this down.
Misty: Of course.
Jenny: We’ll get this. So here is my quilt.
Misty: Tah dah! It’s so pretty.
Jenny: I can hardly wait to show you how to make this.
Jenny: So to make my quilt you’re going to need one packet of ten inch squares and we’ve used Pura Vida by Shayla Wolf for Anthology Fabrics. You’re also going to need one packet of ten inch background squares. In addition to that you’ll need 1 ¾ yards of background fabric. You’re going to need four yards of accent fabric and that also includes your four inch border. And your backing is 5 ½ yards of 45 or 2 ¾ yards of a 108. This makes a quilt that is 79 by 91. So this was such a fun quilt to make. I can hardly wait to show you how. Let’s take a look at the quilt behind me. It looks different, really different from the other one. And the difference is so small but I love how one little difference makes a striking, just a striking change. This is quilted with the Baptist’s fan. And I opted to have the white go over the black than have the black come over the white. So when you’re picking thread just think about what you to look. I want to show you the backing here because look how happy and fun that is.
Misty: I love that. It’s so fun.
Natalie: The fan almost makes it look like little sunrises.
Jenny: It does look like suns and I love a pop of happy color on the back. It just makes it really fun. So the traditional quatrefoil block is made up of a middle square and then you have four of these squares. Now to make these squares we used the extra, an additional accent fabric. And I cut 4 ½ inch squares out of that. And then what I did was I took two 2 ½ inch squares and I snowballed the two top corners. So to do that, what you can do is you can draw the line like this. I’m going to draw the line for you, Natalie.
Natalie: Oh thank you.
Jenny: We do have that diagonal seam tape on our machine so you can follow along with that. You can press a line, whatever you’d like. But we are going to draw the line on this. And Natalie is going to sew one on here on this corner. And she’s going to sew directly on the line. So for those of you who want to save that little piece out here, just come over a little bit and sew again and cut in between. But once she’s sewn that we’re going to add the other square on so that it will be snowballed at the top like this. So Natalie, if you’ll go ahead and sew one of these on, because I have the three other ones done for you.
Natalie: Ok
Jenny: And so this is the first of the block. No pressure, Natalie.
Natalie: I can do it. Follow the line. Got it.
Misty: You’ve got it.
Natalie: Now you want to trim that and press it back, right?
Jenny: You do. If you add the other one and sew it down before you press it back you’ll have a little fold in there and you’ll end up taking that part out.
Natalie: It won’t look quite how you want it to.
Jenny: You want to press it back and then we’re just going to do the same thing. We’re going to add our 2 ½ inch square on the other side, staying on the top and just sewing straight on this line. . And this gives you a great cross over here so you will never lose that point. Well, unless you take half inch seams which we hope you don’t.
Misty: Not for this quilt.
Jenny: Not for this quilt.
Natalie: I’m getting better at using that scissor cut.
Jenny: Yes you are. Alright, give that a press.
Misty: You’ve got it.
Jenny: And you’re going to need four of those for each block. So we’re going to put those in a stack. Now the other block is just four patches but we have layer cakes so I wanted to show you how I do four patches with a layer cake. And basically what I’m going to do is I’m going to take my ruler and I’m going to lay it right along the edge of here. I’m going to come in five inches and I’m going to draw a line, just like this. Now Natalie, what I’d like you to do is sew on the outside lines and on both sides of this middle line right here.
Natalie: Ok.
Jenny: And so you want to look and make sure that your layer cake is centered on there real nice.
Natalie: Lined up as good as can be.
Jenny: So she’s going to sew down the sides and on both sides of the line we’ve drawn down the middle. This is just another way to make four patches. Obviously you can cut them all into 2 ½ inch squares.
Misty: That just takes so much time.
Jenny: It does take so much time. And it gives you a great deal of different blocks to choose from.
Misty: A lot of variety, which is fun.
Jenny: It really does. Alright, she’s almost there. She’s got two done. You’re going to make a big pile of these. We’re going to cut these into strip sets and you’re just going to make a big pile of these so that you can mix up all of your four patches. And this is such a bright, fun, happy line. It’s just fun to sew.
Natalie: I just kept those threads connected.
Jenny: No it’s fine. I’ll just clip them so it lays down flat. Alright so now what I’m going to do is I’m going to come on this edge right here and I’m going to come in 2 ½ inches right along the edge. And I’m going to make a cut here. And then I’m going to come over and cut on the line. And then I’m going to cut another 2 ½ inches. And now you have all these long pieces like this. Now before we press them open what I like to do is I just like to kind of turn these like this, leave them stacked up like this. And I’m going to come along and cut these 2 ½ inches in right here. And that’s going to give me a half segment for my four patch. So it’s going to give me a piece that looks like this. Ok? And so you can do that to your whole block. And you’re going to then press them open, press to the dark side. Go ahead, Misty, give that a press.
Misty: Of course.
Jenny: And then you’ll sew those together like a four patch. And so I guess I don’t have to cut all the rest of these
Natalie: You just mixed them all up at that point, right?
Jenny: Then they’re all just going to be mixed up.
Misty: Because these would be the same since it’s from the same layer cake but you would just mix it.
Jenny: So you’re just going to go ahead and cut them all up and make a big stack of them. And you’re going to go that to 32 of your ten inch squares. Alright so here’s a four patch like this. And one of the things I like to do, when you’re putting blocks that are supposed to be the same size together, I actually want to just lay a ruler on it and make sure that indeed it is 4 ½ inches. Because sometimes, you know, things might get a little wonky, you know, or this one is great. But if you have one where the wing slips out a little bit
Natalie: I did that with mine too.
Jenny: Or if it slips in. Even if you see one where it’s in a little far, you know, you know that you can still catch that in the quarter inch seam but you know to watch for it.
Misty: Exactly.
Jenny: Alright so the only difference between my quilt and the original quatrefoil is that I ran all my four patches the same direction and took out the sashing. That’s literally it.
Misty: I love it.
Jenny: And so I’m going to put my four blocks together right here.
Misty: Well and your center is a four patch too.
Jenny: Oh my center is a four patch too. And so on this you want to make sure that your white peaks are to the outside and then we’re going to line this up right here, take this off. Oops, I’ve got a little four patch under here. Alright so these blocks now are all 4 ½ and we are going to, so this is our block right here. And I laid my four patches all running the same direction. And so I’m going to put my color up here. Now on the quatrefoil, they’re like this, where the colors come into the middle. But I’m going to run mine all the same direction like this. So all the same direction just like this. Oop, let’s get a different one. And then a center block right here and that’s the whole quilt.
Misty: And you did every block this way?
Jenny: Every block this way and so Natalie, if you want to sew these together. I’m going to hand these to you like this in rows. We’re going to sew these two sections together like this. And don’t cut in between. I know you’re loving that scissor cut
Natalie: I will not.
Jenny: Just hold yourself off
Natalie: I will chain piece this block.
Jenny: Right.
Natalie: The seam flipped on me underneath. I just had to make sure to lay that back down.
Jenny: Ok. Then this one. I love this method of sewing things together because, wait, whew that’s right.
Misty: Had to double check.
Jenny: I had a little panic moment. I love this method of sewing things together because the thread kind of acts as pins for me and it holds it together and you can literally just sew the whole thing together.
Misty: I love it too.
Natalie: That seam just keeps wanting to flip
Jenny: That’s alright, you can handle it.
Natalie: I sure can.
Jenny: You’re tough, you’re tough. Alright now go back to the top row.
Natalie: Can I cut, can I thread cut?
Jenny: Yes. Cut now. Go back to the top row and add this four patch on the side making sure it’s going the same direction. I always want to say no pressure. It’s intense pressure you when you’re filming.
Misty: There’s something about when the cameras are on that it does feel a little stressful.
Natalie: I just don’t want to mess it up.
Jenny: And of course the white parts are going on the outside on the sides. I do think it’s so fascinating when we do these triple plays and we make one little change and it’s like, something so new.
Misty: They look so different.
Natalie: Alright I’m ready for that last four patch.
Jenny: I’ve got it. I’m ready for you.
Natalie: And it also goes like this?
Jenny: Yep. Everything, same direction.
Natalie: Ok, I’m trusting you.
Jenny: I’m hoping I got these, yep I did. All of a sudden I was like, did I do that block the same as this one. Because it really doesn’t matter which way they go. It matters that they go the same. Alright, so now you have these pinned together, we’re going to open them up and make sure that it’s right. And then you can just fold this over like this and sew those together. Now I like to remember that my middle block, my seams are going to go and I just choose a way, either out or in. But I make that the same every time I come to a middle block. That seam is always going to lay in or it’s always going to lay out.
Misty: So you can nest them.
Jenny: What will Natalie choose? What did you choose?
Natalie: I think I chose out.
Jenny: Alright.
Natalie: I can’t be sure because I just don’t know.
Jenny: Which means the one you’re sewing on goes in which is easy. And then we’ve got that one more row on the other side.
Natalie: I almost forgot the scissor cut again
Jenny: There we go. Does your machine not have a scissor cut?
Natalie: It does but it’s in a different place. I don’t usually use this type of machine so nothing on this machine is natural for me.
Jenny: This is the machine I use all the time so it’s real natural for me. These go in, remember.
Natalie: I just wanted to, I lost where I was in the block for a minute.
Jenny: Alright, she’s got one more block to go. You can tell how patient I am, can’t you?
Natalie: I’m sorry that I’m so slow.
Misty: You’re not. Quilting takes time.
Jenny: You know, it really does. And that’s really a good point is that, you know, you see us put things together and they look like they go together so fast but it does take time and it’s a journey.
Natalie: Well a lot of it does go together pretty fast but when you have to make three of them.
Jenny: Alright so let me show you how this fits in the quilt. You can see right up here in this corner, here’s this block. And I literally just put them together one after the other. So I have one, two, three, four, five, six. It’s kind of an optical illusion. Six by seven blocks down, seven rows of six. And because we’ve just taken out that sashing and turned our four patches and added one in the middle you get a whole new idea.
Misty: It’s so fun.
Jenny: I’m glad you like it. Alright. So now, Misty I think you’re up, aren’t you?
Misty: Alright, let’s go.
Misty: Alright, so this is my quilt behind me. I called it Quatrefoil Shimmer. And it’s really fun and quick to make. I really love how it came together. So let me show you what you’re going to need to make this is two charm packs. And I used Arcadia by Pippa Shaw for Figgo Fabrics. You’re also going to need 1 ¾ yards of background fabric. I used Bella Snow. You need a half yard of accent fabric. This is apricot. And 1 ¼ yards of a dark accent. And I used piccot. And then for your backing you need 3 ¾ yards or two yards of a 108 which I did use this 108 backing because I liked it but, you know, it wasn’t necessary because this quilt is only 57 square. So sometimes you just have to use the fabric you like. Exactly. So let me show you how to make this.
Misty: Ok, so let’s start by making this little center block. And I just did kind of a square in a square. So we’re going to take one of our five inch squares. Where’s our little ruler? We’re just going to cut it in half both directions like so. And we are going to sew one of those on each corner of a five inch square. So if you want to do that, Jenny.
Jenny: I’m happy to.
Misty: And this five inch square is just cut out of our background fabric.
Jenny: And you left them five inches?
Misty: I did, yep.
Jenny: And that means on the center part, you’re going to lose your points?
Misty: Exactly. I decided I was ok with it.
Natalie: And you can mark, you can draw a line on the back of those if that’s easier.
Misty: I could, totally. I just always use the diagonal seam tape.
Natalie: I do too. I just want to make sure people know technically you are sewing on the line.
Jenny: I’m just sewing opposite corners?
Misty: Yep. And then from these
Jenny: Because technically you can lay them all on that square and sew them.
Misty: You can.
Jenny: But it just felt a little risky today for some reason.
Misty: That is fine. So we’ll trim these off and Nat if you want to press those back.
Natalie: Sure.
Jenny: And then I’ll add the two squares to the other side.
Misty: Perfect. There you go, Jenny.
Jenny: And so by doing this, this is going to stay at five inches.
Misty: Yes, exactly.
Natalie: A little square slid off the back.
Misty: Got it?
Jenny: It was trying to escape. It didn’t want a bunch of needles in it.
Misty: I was going to say, it was running away.
Jenny: It’s like, I’m going to make you beautiful. Make something beautiful out of you. That is really cute fabric too.
Misty: Isn’t it such a cute line? Trim that one. And then that one. And then, Nat you can press it and our middle is done. So then for the petals, you do need to pick from each of your charm packs, remember we have two. You want to make your petals out of the matching prints. So you need to have two matching out of each charm pack so you have a total of four.
Jenny: And to be fair, not every charm pack has two pieces in it. So think about that when you’re looking at a charm pack because you need four to make your block.
Misty: Exactly but we only have 16 blocks and usually they have at least that many matching so you should be fine. So we’re just going to take our five inch squares that match. And for this we’re using three inch squares for those snowballs. And I can draw a line like Natalie mentioned or you could use your diagonal seam tape. And we’re just going to, again, sew right on that line. And then we can add the other one once we trim it.
Jenny: I thought we were making a middle again so I was going to say, I can put one on both ends.
Misty: No, we’re onto the petals. Not this quilt.
Jenny: Alright, there’s that one.
Misty: Awesome. We’ll trim this. There we go. And Nat if you will press.
Natalie: Yep.
Jenny: You want to draw another line for me?
Misty: Yes, I’d be happy to.
Jenny: It was kind of fun to have the drawn line on there.
Misty: You betcha.
Jenny: We so rarely do that and it is exact.
Misty: There we go. Intersect that other one and this way we will not lose our points because we wanted to keep them on the petals.
Jenny: Alrighty, there you go.
Misty: Let’s trim this.
Jenny: And you need four of those, right?
Misty: Exactly. And I have the other ones already made. So there you go, Nat if you want to press that. You can see I have the other three matching ready to go. So we will just keep those stacked up. Exactly. So now we’re going to do this cool kind of stripe outside corner. And so to do that you need, I believe this measures, is it 5 ½? Yes, 5 ½. From both your background and that dark accent. And I’ve gone ahead and drawn a line here. And we’re going to sew a quarter inch seam on either side of that line.
Jenny: Because again, we want to keep this block five inches.
Misty: That’s what we’re aiming for, exactly.
Jenny: Awesome. And because it’s all cut out of yardage, you can cut it any size you want. Which means in reality, you could have made this tiny.
Misty: I could have made it tiny. It’s true.
Jenny: Doesn’t your heart just melt at the thought of it? I could have made it tiny.
Misty: And you’ll press this to the dark side.
Natalie: I sure will.
Jenny: It’s beautiful, though.
Misty: Thank you. I really like it.
Jenny: It is fun to see how just little differences make a whole different quilt.
Misty: It’s true.
Natalie: I was going to say if you find that you have a line you want to use that doesn’t quite have enough in it, if you bought four charm packs you would for sure have enough and just be able to make a bigger quilt.
Misty: Exactly.
Natalie: And that wouldn’t be, or even a layer cake. Choose a layer cake and you could cut it into the sizes you need.
Misty: You could keep going, I just stopped here.
Natalie: Ya because when you need the ones that match, you know, you have to go in those numbers but you’re not always going to find one that has doubles.
Misty: That’s true. So I do want to just square this up so it finishes at five. So I’m just using my five by 15 ruler but it has the 45 line that I can put right on this.
Jenny: I love seeing you do that with this ruler. That’s very cool.
Misty: And then we’ll just trim so that this stays nice and square. That one is ready. And then I’ll go ahead and trim this one.
Natalie: You think this wouldn’t add up. It adds up so fast.
Misty: It does. It really does.
Natalie: Just not quite the same size.
Misty: It’s always worth taking the time for me.
Jenny: Ya it took me a long time to realize the value of squaring but now I square everything.
Misty: Ya it makes a big difference
Jenny: Well you just want things to fit together and lay nice.
Misty: Right because you want to enjoy the process.
Natalie: Ya I was going to say, if you can make them fit together, if you can make them lay flat, then your sewing process is so much more pleasant when it’s easy.
Jenny: It just refines itself as you go along in your journey.
Misty: It’s so true. So now that we have these squared, we’re going to go ahead and use that fun orange apricot color I chose. And we are going to set that on the corner of our navy side. And we’re just going to snowball this again. So I can draw the line there for you and we’re going to sew right on that line.
Natalie: One more opportunity for a tiny half square triangle.
Misty: One more. That’s true. You could totally slide over if you want. .
Natalie: These look like they’re three inch squares.
Misty: Ya, I think I said that. Did I not say that? I thought I did.
Natalie: I’m not sure. I might have missed it but ya, they’re three inch instead of 2 ½.
Misty: Ok three inches instead of 2 ½. Do you want me to draw the line or you’re good? Ok.
Jenny: I will use this diagonal seam tape on the sewing machine.
Misty: Perfect. And then we’ll trim this one off. And like they said, you could totally save these tiny little half square triangles if you did another row of stitching.
Natalie: Some love to do that and sometimes I just toss them out.
Misty: Exactly.
Jenny: I’ll actually do that on this one so they can see what we’re talking about.
Misty: Ya that would be awesome.
Jenny: So I’m just going to come over, not probably quite a half an inch, sew another row and then when Misty cuts in between those two you’ll have a little, it looks like maybe a two or 2 ½ half square triangle.
Misty: It leaves us this little one that’s just waiting for another project. And then we can press this one back.
Jenny: You know we do a lot of these flippy corners and I was thinking the other day that, because I have baggies of different colors and if I threw them all in a jar and they’d be cute and they’d all be in one place. Literally I save these with the project and I’m not really going to use them in that project.
Misty: It’s true. So now that’s really it. You’re going to need four of these made and we can just lay out our block. So remember this is our center and then our petals build out from there with the white on the outside just like on Jenny’s. And we just set it like so. And then our stripe blocks go in the corners. Let me find my other ones here. And now we can just sew them together in rows.
Jenny: Now nobody did this in our quilt off today, you know, all of our different options but I just want to show you this. If you turn these blocks around like this, it will make a star.
Natalie: Ya we do have a quilt called Quatrefoil Star where we did that.
Jenny: It’s so cute though.
Misty: That’s why can’t do it today. She had already done it.
Jenny: Just one turn and you get this little star.
Misty: It’s so true. I love that you showed that. Alright so we’ll turn them all back.
Jenny: I mean I just can’t help the what happens if factor.
Misty: I know it’s the best.
Jenny: So you want me to sew this together?
Misty: Ya let’s lay these together.
Jenny: Do these two first.
Misty: Oh ok. I always do these and then add the other one but that’s fine.
Jenny: It’s on the right side for me.
Natalie: A lefty thing.
Misty: That is fine.
Jenny: Was it for you, Natalie, to do it this way?
Natalie: Well I do mine the way Misty does. I go from the right to the left
Misty: I think it’s just left handed brain, right handed brain.
Natalie: But it wasn’t weird though.
Misty: No, it still works out the same. There you go.
Jenny: I do love that this block is intentionally cutting off the point.
Misty: I chose to do it.
Natalie: It gives it a really cool, rounded look.
Misty: Ya I wanted it to be like the center of a flower. And so I was ok with losing that point in the middle.
Natalie: It’s purposeful.
Misty: Yep.
Jenny: Alright so then I’m going to come back up here. And add this side one.
Misty: There we go.
Jenny: Alright. Add the next side. It points out.
Misty: Here’s the next one. Then one more.
Jenny: Oh no, I shouldn’t have cut it, that was a habit. Oopsie daisy.
Misty: That’s alright.
Jenny: And one more. Let me make sure this is lined up. And then we’ll bring this up here and open it up.
Misty: And now we can sew our rows together.
Jenny: Sew our rows together. I’ll flip this over here.
Natalie: I really like this line.
Misty: I do too. I think it’s really happy and kind of modern. It’s just really fun.
Natalie: And I love that it looks black a little bit but it’s navy. It’s a really dark navy.
Jenny: I didn’t know it was navy until you said that.
Misty: I think it turned out really fun. And I love that when you set the blocks together you get that secondary, you know, little diamond.
Natalie: I love that.
Jenny: So that’s actually a really fun thing too, you know, for our whole what if thought process is that, you know, just adding that one snowball corner brings a whole other element of surprise.
Misty: Ya.
Jenny: Alrighty, home stretch.
Misty: Now we can press it. Alright.
Jenny: And did you, you didn’t sash yours or anything?
Misty: Nope, no sashing. Just a little 2 ½ inch inner border and bound it with the same.
Jenny: Can I just say I love how this happens on the outside?
Misty: I know. It’s just kind of magical, isn’t it?
Jenny: It is magical because it’s not a plan but when it gets together you’re like ah, this is the best. So it just frames it with that little chevron look.
Misty: Ya it’s really great. And you didn’t have to do any extra work to get it. It’s just part of your block. So let’s set this in and show them how this fits. It just sits right like this. And it’s just four across by four down. And like Natalie mentioned earlier you could very easily, you know, get a layer cake or a few more charm packs and make this as big as you wanted. So it comes together really fast.
Jenny: I love that.
Misty: Alright. Thanks guys.
Jenny: Well that was easy and fun.
Misty: Nat you’re up next.
Natalie: Alright.
Natalie: Well I am really excited to teach you how to make this quilt. I love it. I’m calling it Blooming Stars because there’s a star in the center and then it just kind of looks like a burst, like a pretty little bloom.
Jenny: It’s gorgeous.
Natalie: And I love the fabric line. It’s got these beautiful cottage roses and all this fun little lemons. And then there’s a little bit of shimmer in it. It’s so fun.
Misty: I love that it’s not a lot. It’s just a little.
Natalie: Yes and it has just enough bold colors to make it pop but then it’s also very soft and sweet like a little tea party.
Jenny: Show the back because it’s so cute.
Natalie: Yes, so this is the backing I used. It has this really fun lemon print.
Jenny: All the lemons.
Misty: I love it. And we used the same quilting pattern.
Natalie: Yes and so the quilting pattern is Time Warp. Time Warp is one of our newer modern patterns that we’ve just got in machine quilting. We’ve been working on freshening up all of our patterns and adding fun things. So this one if you’ll notice is actually going sideways, horizontal.
Jenny: So it was quilted the same way on the machine but then you just turn the quilt and it’s sideways. Great idea.
Natalie: It looks great.
Misty: Almost looks like ocean waves.
Natalie: Yes, it’s so fun. And so it’s 69 square and if you wanted to make yours bigger you absolutely could. It’s a great quilt and the blocks are so fun and easy to make. Alright, so to make the quilt you’re going to need one packet of ten inch squares. And I’ve used Rose Lemonade by Wishwell for Robert Kaufman. You’ll need one roll of 2 ½ inch strips and 1 ¼ yards of additional background and sashing yardage. A yard and a half for your outer border and that includes your cornerstones. And then for your backing you’ll need 4 ½ yards, unless you use a 108 and then you’ll need 2 ¼ yards of a 108.
Jenny: Perfect.
Natalie: So this is the block. It’s my spin on the quatrefoil and I’m really excited to show you guys how it’s done because it’s a lot easier than it looks.
Jenny: But it’s quite a spin, isn’t it?
Natalie: It is a spin. I don’t think that it’s that different.
Misty: I totally see how you got there
Natalie: Ya, ok. So you are going to need to select two matching prints. And I’m going to show you how these are cut. Because you’re going to get all of your pieces from these two. So the first thing I’m going to do is cut off a 4 ½ inch strip. And then I’m going to cut this down into four 4 ½ inch squares
Misty: You have both layers stacked up there?
Natalie: Yes. This just saves me a little bit of cutting. Alright, so these four squares are going to make up these four blocks right there in the middles. So if you had a layer cake that didn’t have two matchers I would do these four out of your one print and then the five that make up this cross section out of your other print. And that’s how I would mix them up.
Jenny: Oh that’s a great idea.
Natalie: Ok, so then this one we’re going to separate these two now and cut one more 4 ½ inch square for our middle and that just stays as it is. That doesn’t get any special treatment.
Jenny: I think that makes it sound like it feels a little bad.
Misty: It’s still special.
Natalie: He is perfect just the way he is. Ok so that is our fifth square and that goes in the middle. This I’m going to cut into 2 ½ inch strips.
Jenny: I love it when just by making cuts you do it all.
Natalie: And these are also 2 ½ inch strips. Ok. Alright so from our background we’re going to need several 2 ½ inch squares. All the background can be in 2 ½ inch strips and then you’ll need a bunch of 2 ½ inch squares and strips. But the first thing we’re going to do is sew these strips to this strip. And we’re going to sew them all
Misty: Straight down the side. Ok, you’ve got it.
Natalie: Actually we’re going to just do the one strip to the white first.
Misty: Ok. Just one of the long ones.
Natalie: That’s right.
Misty: There we go.
Natalie: Ok, then we’re going to trim this off. This guy is a little bit long. We’re going to cut this into 2 ½ inch segments. Fold those back for a minute. Just doing our little 2 ½ inch squares here.
Jenny: Do you want me to iron those open?
Natalie: You can press those open.
Misty: Sorry, I was trying to move the extra piece out of your way. Pulled it from you.
Natalie: That’s ok. So we’ll get all four little 2 ½ inch segments out of this one initial strip.
Jenny: And then?
Natalie: And then they get stitched to the rest of these print strips. So it doesn’t really matter which direction they go but I tried to keep mine all going the same way. All that does is it would just change whether your long strip is this way or that way. And ultimately it doesn’t matter.
Jenny: Well because you’re turning at every corner anyway, right?
Natalie: Exactly.
Misty: Ok. Great.
Natalie: So one each for these little guys and they are admittedly a little bit longer. But it doesn’t make sense to cut them down when you’re going to cut them down again anyway. All those and then this one, the other two just fit nicely right on there. So that is your really great use of fabric.
Misty: That’s so great.
Jenny: Very little waste.
Misty: I’ll go ahead and give you guys these two.
Natalie: We’ll get these trimmed and pressed open.
Jenny: Because Mom needs a job.
Natalie: That’s right, we’ve got to keep her busy. And these should stay 4 ½.
Misty: There’s those.
Natalie: Ok. Alright so we have little squares that look just like that. It’s kind of like, I mean I guess you could make it into a little heart. I guess it doesn’t matter. I’m going to leave that little pinked edge on there. I’m sure it will be fine. It will be fine. Ok so at this point we have all of these beautiful little squares. And now what we’re going to do is snowball these two corners.
Misty: Ok
Jenny: And these are the corner blocks, correct?
Natalie: These are the corner blocks. We’re making the little stary points.
Misty: Ok do you have some more 2 ½ inch squares?
Natalie: Yes, I do.
Jenny: I actually thought they were tiny little half square triangles so this is a very cool way to do this.
Natalie: So you’re going to snowball both of those. And we don’t have to finish these three because I have some other ones made here.
Misty: Ok. Flip this around.
Natalie: So this is the block we’re making for our corners.
Misty: So pretty.
Natalie: And that’s the hardest part of the whole thing. So the middle stays the same. We’ll just trim these off and press them back.
Jenny: So Sandy Gerveaux was here teaching this week. And she calls these connector blocks.
Natalie: Oh the little snowballs?
Jenny: And I was like, what is a connector block? And she’s like, oh it’s when you put a corner on and do that. And I said, oh I call that snowballing. She’s like, everybody has a different name for things.
Natalie: That’s so interesting. Alright so now we’re going to do these four blocks and they just get snowballed on all four corners. And because they’re 4 ½ and our squares are 2 ½ they overlap giving you a nice quarter of an inch so you don’t lose the points.
Misty: And so this is all you’ve done here compared to the regular quatrefoil?
Natalie: The original already had these two and I just added two at the bottom. And it is very similar to our quatrefoil star except for these outer corners I changed into kind of like a bear paw, sort of. I’m not sure exactly what that block is called, maybe somebody out there knows. But ya it’s really not that different but it gives it a completely new look.
Misty: I think it’s beautiful.
Jenny: It’s just a bear with only two parts, you know, two fingers on both hands.
Natalie: The bear peace sign.
Misty: Alrighty, so opposites.
Natalie: You do your two opposite corners and you can draw the line. We’re sewing right on the line. Then you trim and flip and press and put your other two opposite corners on.
Misty: I love that you were able to get all of these pieces out of two squares. Such a great use of fabric.
Natalie: Ya I thought so too. I was pretty happy with how it turned out.
Misty: It’s a beautiful block.
Natalie: Two more corners, two more squares. And then we will put this whole thing together.
Misty: Well and this is kind of easy to remember because it’s like, 4 ½, 2 ½, that’s what you’re working with on the whole thing.
Natalie: The whole thing is 4 ½ and 2 ½. That’s right.
Misty: I love things like that. It helps me keep it straight.
Natalie: Now I will suggest because there’s so many corners added you might want to go through and check and just make sure that they all are in your 4 ½ range. If they’re not just square your little corners. It should match up pretty easily because you don’t really have a lot of points to watch. You just have some areas that connect. But even if they’re off a little bit it’s not going to show up that much. So it’s not a super stressful quilt to make but it can get out of whack if your squares are a little bit big or small or if, you know, the little corner kind of curves out or something.
Jenny: It’s interesting how you’ll just be sewing on the line and still you’ll look at it and you’ll be like, what happened there?
Natalie: Ya. Alright so we’ll start with our center and then we’ll add our blocks that make up the petals which are now diamonds. So we’ve got these ones here. And then our little corners come in. I’m going to move this up just a little bit. Whoops, not there. A different corner petal, yes.
Jenny: That is so pretty.
Natalie: And there and then we can sew that together.
Misty: I love it.
Natalie: Alright so shall we do it like that?
Jenny: You can do it your right handed way too, you know.
Misty: That’s ok it all works out
Natalie: We’re going with it.
Misty: Whoops, this seam is trying to fight me.
Natalie: These blocks are 12 ½ unfinished. And when you’re making your sashing strips just cut them all 12 ½ and then add, I always do my sashing and cornerstones horizontally because then I can just sew the strip on and then sew the row. That’s typically how I do it. And again they’re all 2 ½ inches wide by 12 ½ and then the cornerstones are 2 ½ squares that I just used the same border fabric because I thought it looked cool. There’s only nine of them so you easily could have used, you know, a variety of different squares leftover from your layer cake because there are a few fabrics leftover.
Jenny: This just looks so watercolor to me. It’s just so pretty.
Natalie: It is, it’s really pretty.
Misty: I’m adding this last set
Natalie: And due to the way that I wanted to put the squares together where I had matching colors, I ended up getting 12 blocks, so it’s four by four. 16, sorry.
Jenny: That’s ok, quilt math is hard.
Natalie: 16 blocks, four times four is 16. I got hung up on the 12 ½ inch square and sorry about that.
Jenny: 16 blocks. So 16 times two is 32.
Misty: Why are we doing more math?
Jenny: So 32 is almost the use of a full layer cake, that’s what I was getting at.
Natalie: Ya there’s not many squares leftover. But the ones in this pack were all very, very light also and I didn’t think that they would stand out against my white background. So that’s why I left these ones out.
Jenny: You definitely want contrast.
Natalie: Also I’m not sure. I just wanted to make sure that they would be where you could see them, that they would pop out. Some of these are very pastel. And they’re beautiful, they really are.
Jenny: I used 32 squares with mine and there are some white squares and some black squares in there and I just pulled those out so that I could just use the bright ones.
Misty: So beautiful.
Jenny: Very pretty.
Natalie: I almost did a dark background with it because, just a different color because I think sometimes those look so beautiful. Alright so this is how it looks in the quilt. 12 ½ inch square. You’ve got four across by four down, 2 ½ inch sashing with 2 ½ inch cornerstones. I have a little 2 ½ inch border and my outer border is five inches. And again this backing is this beautiful lemon print that I just love so much.
Misty: I love lemons so you can’t go wrong with that.
Natalie: It’s a great picnic size or lap quilt.
Jenny: It does look like summertime
Natalie: So I hope you enjoyed that.
Jenny: So this was really a fun day, wasn’t it? All the different things you can do with a quatrefoil quilt. My quilt is so big I can cozy up in it. Three amazing new ideas all based on this original quatrefoil. And we hope you enjoyed this Triple Play from the Missouri Star Quilt Company.
Jenny: Hi everybody, it’s Jenny from the Missouri Star Quilt Company. And I am here with Natalie and with Misty and we hope you enjoyed watching our latest Triple Play. You can find us together on the third Friday of each month as we hit another tutorial out of the park. If you aren’t already part of the Missouri Star Quilt Company family be sure to subscribe and click that bell to be notified each time we release a new video. See you next time.


