

Triple Play: 3 New "Spools" Projects with Jenny Doan of Missouri Star
 Jenny Doan
- Charm Pack
- Traditional
- Lap / Throw
- Beginner
- Quilt size 58" × 68"
We have a new tradition here at Missouri Star: Triple Play! Once a month, Jenny, Misty, and Natalie each demonstrate their own, unique take on a favorite block, technique, or template. This week these talented Doan ladies are showing off three adorable spool quilts.
Instructor
Jenny Doan
Jenny Doan is an American quilter, author, and YouTube personality. Jenny started Missouri Star Quilt Company in 2008 and today it is the largest quilting supply vendor in the United States.
Shop this tutorial
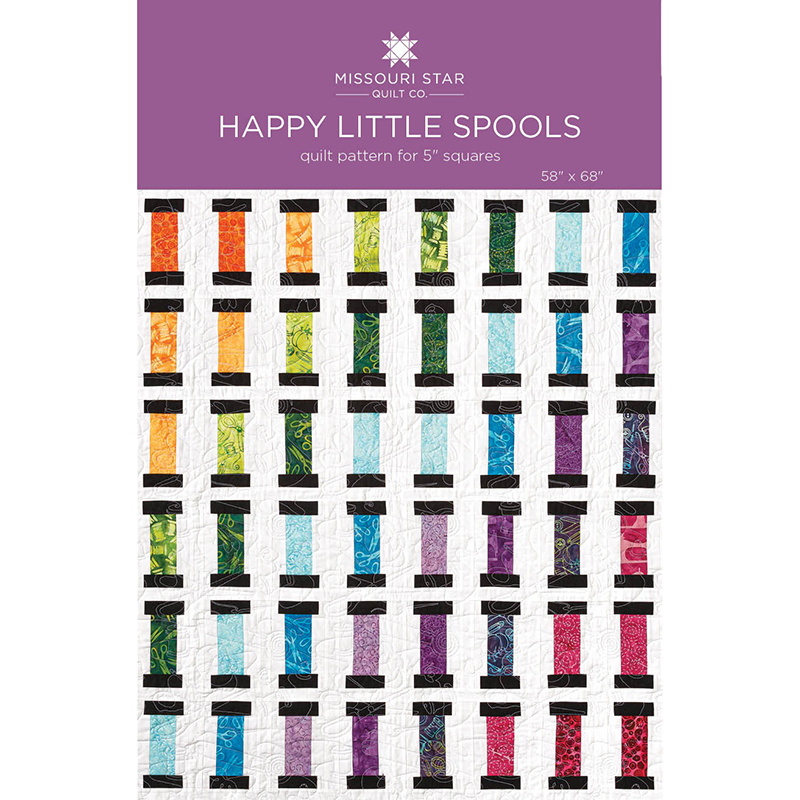 Happy Little Spools Quilt Pattern by Missouri Star$4.95Shop →
 Digital Download - Happy Little Spools Quilt Pattern by Missouri Star$3.95Shop →
 Missouri Star Quilter’s Best Blend Twin Batting$25.45Shop →
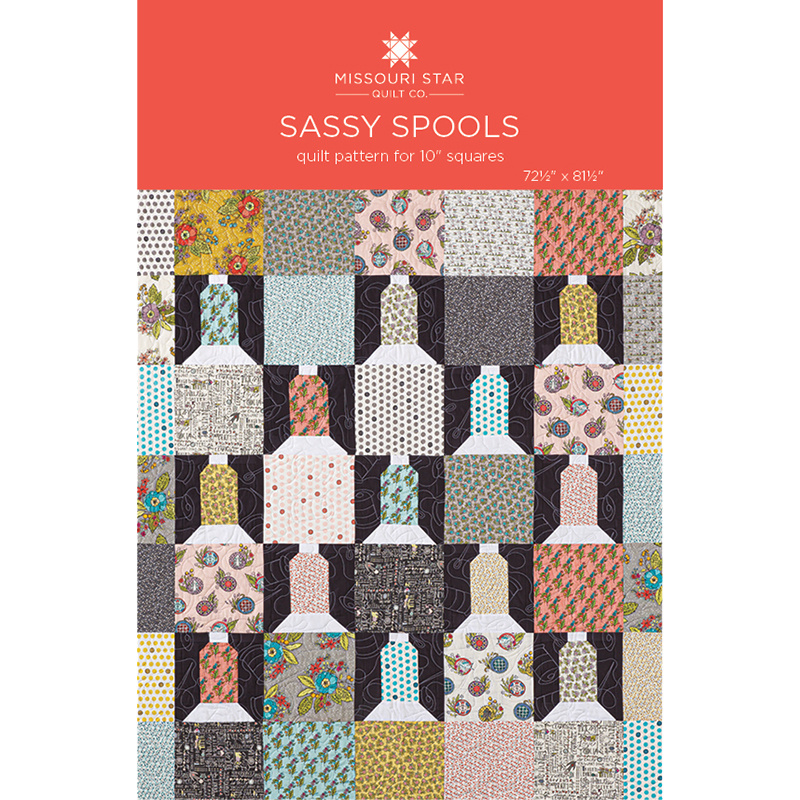 Sassy Spools Quilt Pattern by Missouri Star$4.95Shop →
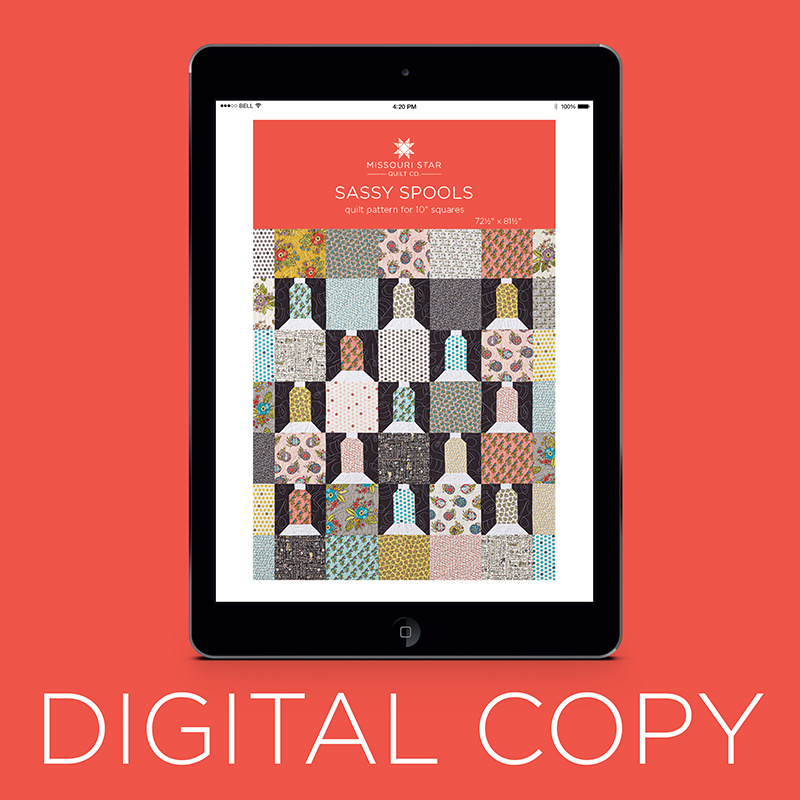 Digital Download - Sassy Spools Quilt Pattern by Missouri Star$3.95Shop →
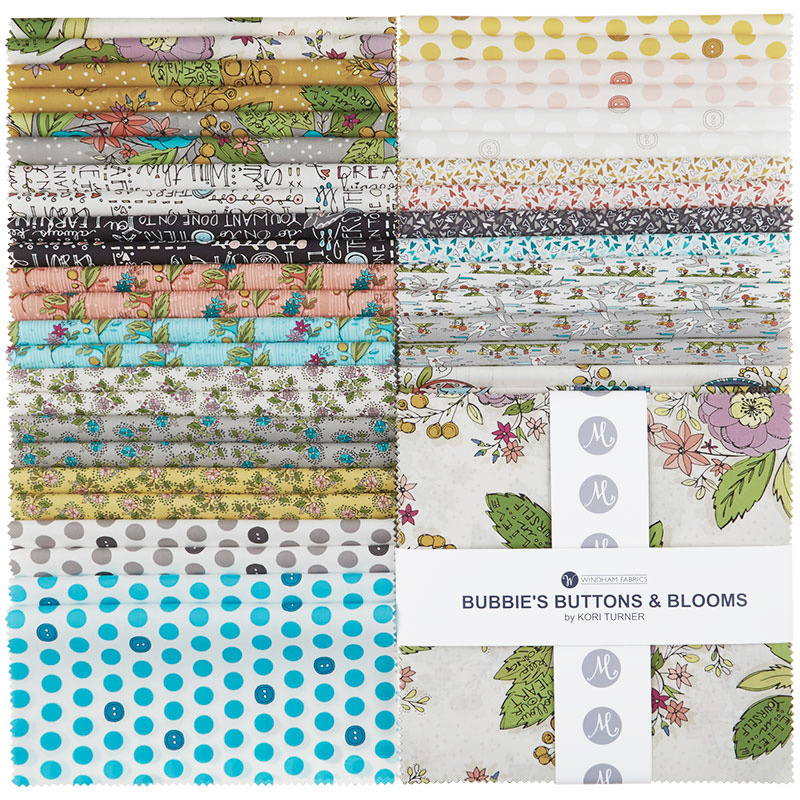 Bubbie's Buttons and Blooms 10" Squares$36.95Shop →
 Kona Cotton - White Yardage$6.25Shop →
 Kona Cotton - Black Yardage$6.25Shop →
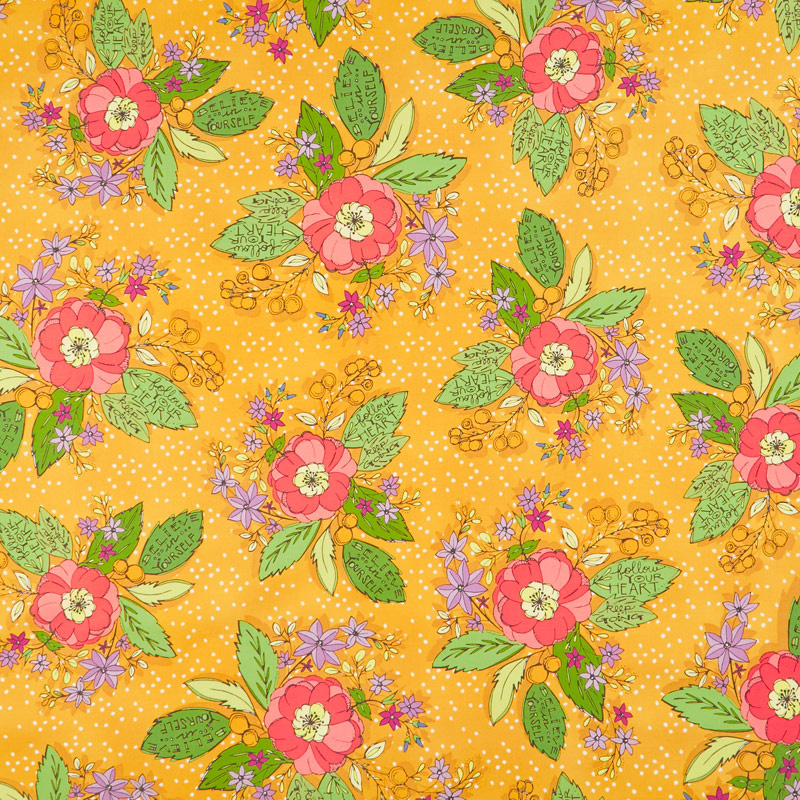 Bubbie's Buttons and Blooms - Grandma Sharon's Bouquet Curry Yardage$10.45Shop →
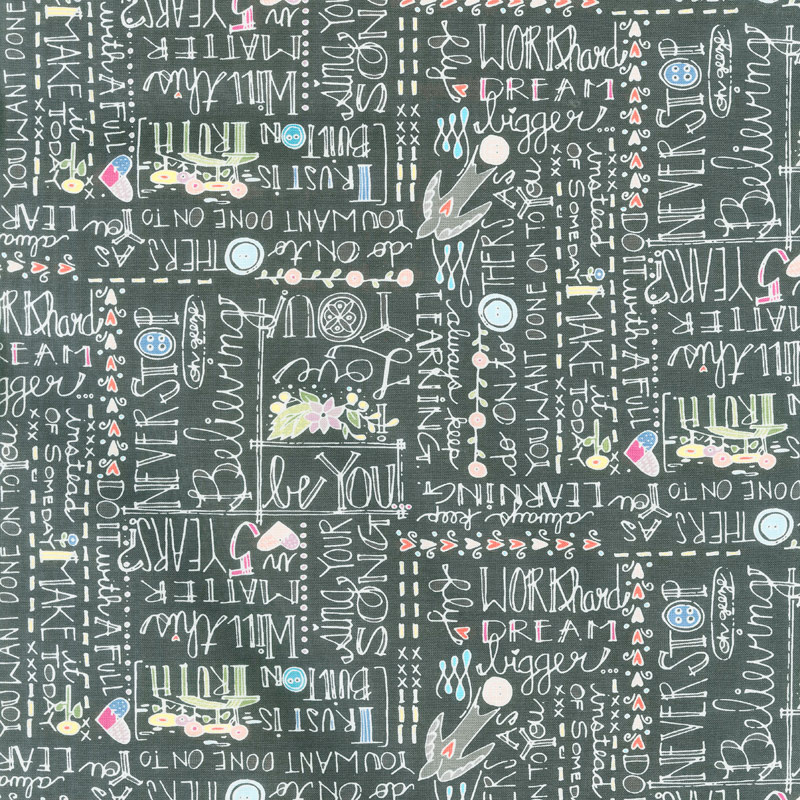 Bubbie's Buttons and Blooms - Bubbie-isms Truffle Yardage$10.45Shop →
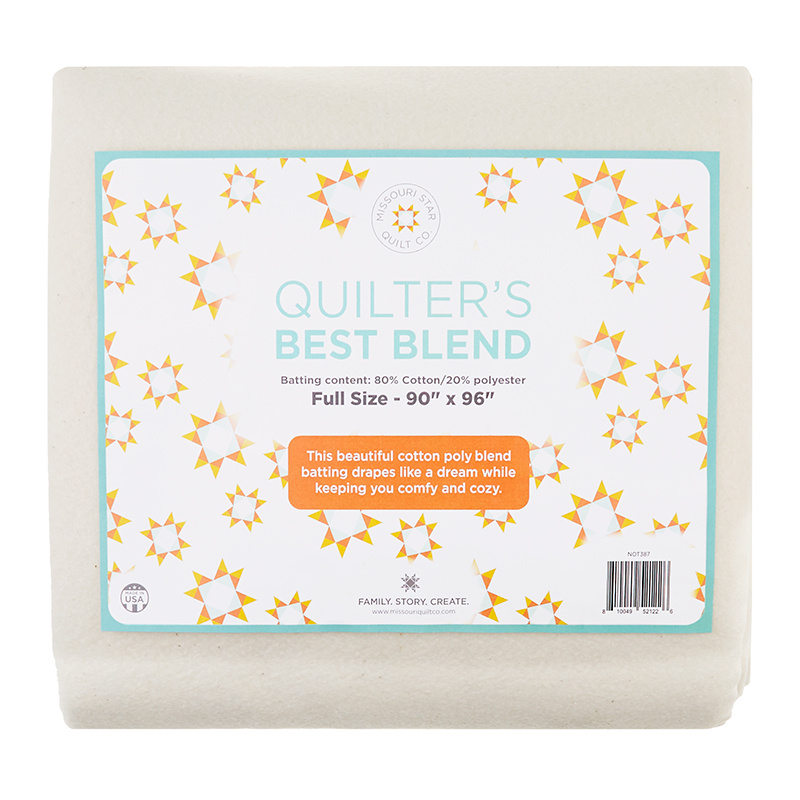 Missouri Star Quilter’s Best Blend Full Batting$31.45Shop →
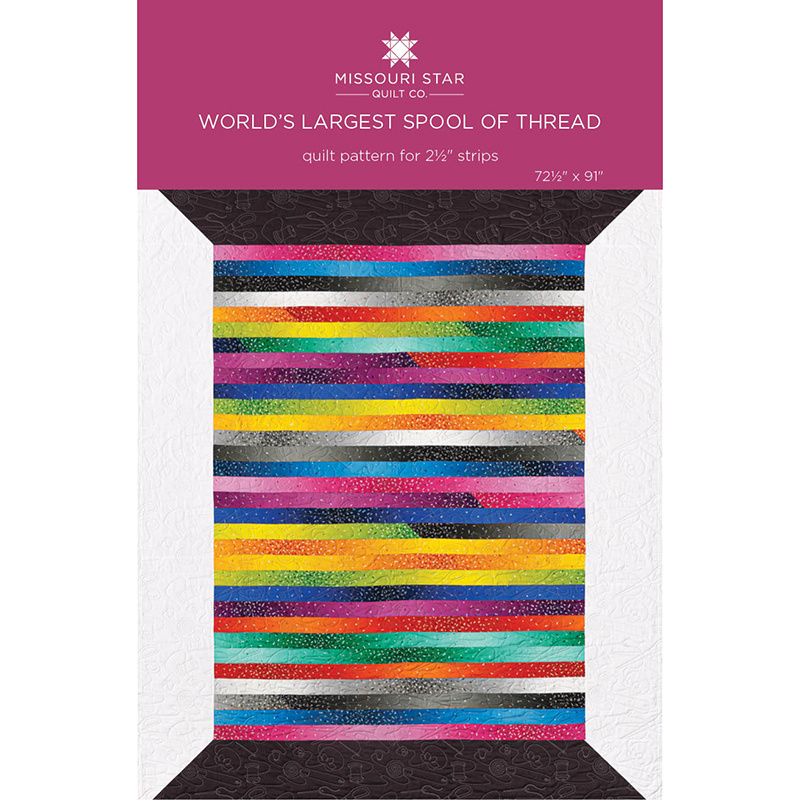 World's Largest Spool of Thread Quilt Pattern by Missouri Star$4.95Shop →
 Digital Download - World's Largest Spool of Thread Quilt Pattern by Missouri Star$3.95Shop →
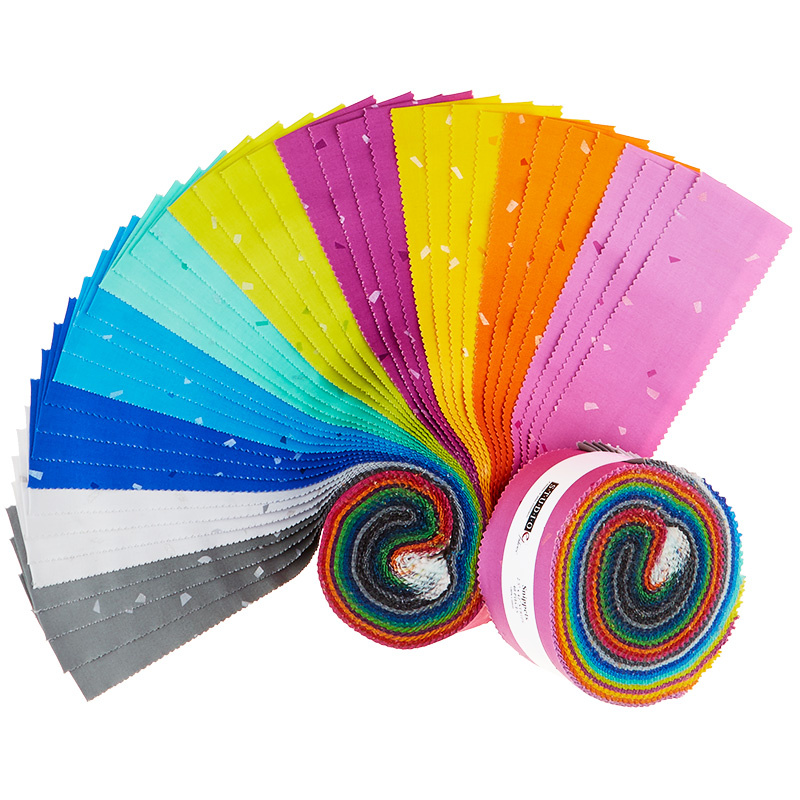 Snippets Pearlized 2.5" Strips$35.95Shop →
- Kona Cotton - White Yardage$6.25Shop →
- Kona Cotton - Black Yardage$6.25Shop →
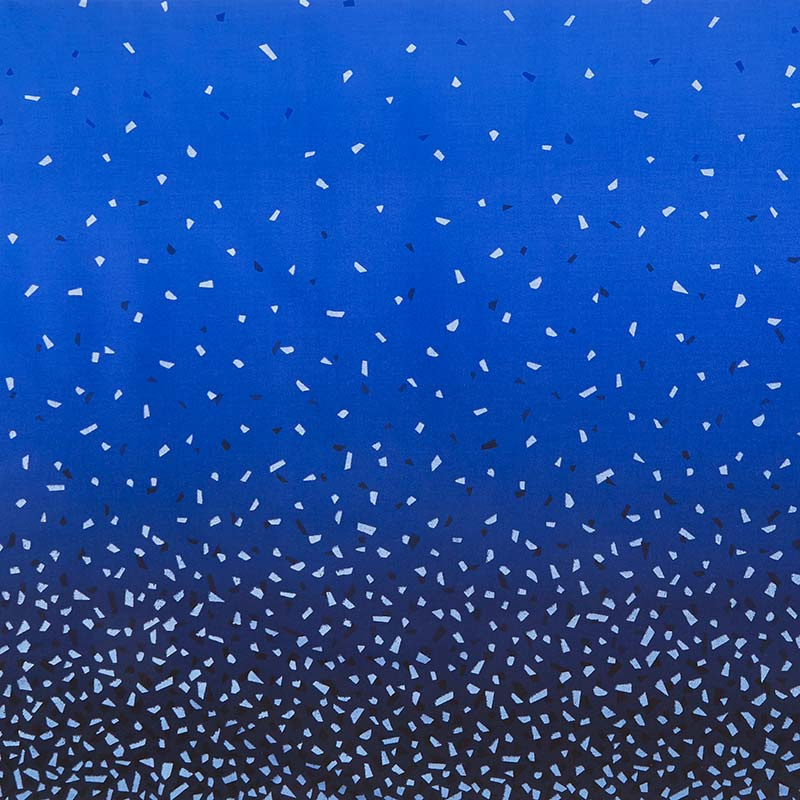 Snippets - Ultramarine Pearlized Yardage$10.95Shop →
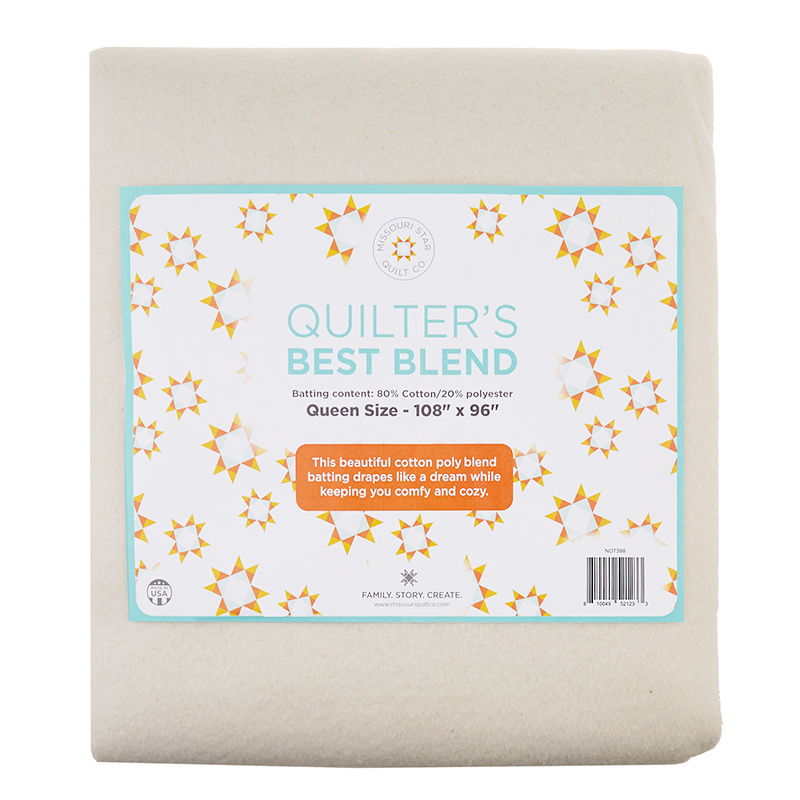 Missouri Star Quilter’s Best Blend Queen Batting$36.45Shop →
Chapters
- 0:00Introduction to the Spools Triple Play
- 1:15Misty's Happy Little Spools
- 1:45Happy Little Spools Supplies
- 3:30Happy Little Spools Block Construction
- 6:25Happy Little Spools Final Layout
- 7:23Natalie's Sassy Spools
- 7:43Jenny Gives a Thread Spool Tip
- 8:12Sassy Spools Supplies & Quilt Description
- 9:26Sassy Spools Block Construction
- 15:25Sassy Spools Adding Sashing and Final Layout
- 19:04Jenny's Largest Spool of Thread
- 19:30Largest Spool of Thread Supplies
- 20:31Largest Spool of Thread Jelly Roll Race Construction
- 29:11Largest Spool of Thread Borders, Top and Bottom
- 31:45Conclusion to the Spools Triple Play
Common Questions
What is covered in Triple Play: 3 New "Spools" Projects with Jenny Doan of Missouri Star?
We have a new tradition here at Missouri Star: Triple Play! Once a month, Jenny, Misty, and Natalie each demonstrate their own, unique take on a favorite block, technique, or template. This week these talented Doan ladies are showing off three adorable spool quilts.
How long is the tutorial video?
The tutorial video is 00:32:37.
Are supplies listed for this tutorial?
Yes. The tutorial page includes the supplies and materials connected to this project.
Is a transcript available?
Yes. A written transcript is available on the tutorial page.
Video Transcript
Natalie: I like your shirt.
Misty: Great minds.
Jenny: We all dressed alike. Look at that. Ok. Hi everybody, it’s Jenny from the MSQC. And it is Triple Play day. And I’m here with
Misty: Misty
Jenny: And
Natalie: Natalie
Jenny: The same three you get on the third week of every month, it’s Triple Play Day. And so we’ve got these Triple Play baseball shirts. How cute are these?
Natalie: I love them
Jenny: I love it too. And these are all Triple Play blocks that we’ve done and so I just think they’re really cute. So look on the back where it says Triple Play. Look at that.
Misty: We’re very excited about them.
Jenny: Very excited. Anyway this month is March and it is national sewing month and so we’ve got a special Triple Play planned for you today. And it’s all about spools.
Misty: That’s right.
Natalie: Or thread.
Jenny: Because let’s face it, it doesn’t matter how long you sew if your bobbin runs out, if your top thread runs out you’re not sewing. You’ve got to have thread. And so we have three different thread patterns for you today, spool patterns for you today. And we’re really excited about it. They’re just really fun. So Misty is going to start with this gorgeous quilt behind us.
Misty: Alright. So this quilt is called Happy Little Spools. And I was actually inspired by, Jenny has this cute little blue spool that I meant to bring over here that hangs out in our studio.
Jenny: I have a few spools.
Misty: She has a lot of spools.
Jenny: Let me just say, it’s sort of a fetish.
Misty: Yep, there’s a lot. But there’s one that is so cute that actually inspired this quilt. And it’s, you know, not too tall but, you know, kind of tall and skinny. And I wanted to just create all of these cute happy little spools. And so it came together really quick and easy. And I think you guys will be surprised to know that this takes just one package of five inch squares. And we used these awesome Sew Fine batiks by Kathy Engle for Island Batiks. And these are so fun because they have sewing notions printed on them so really, really cute. And they’re perfect for a project like this. And these are exclusive to MSQC. So we’re super excited about that.
Jenny: I like that they did this for us.
Natalie: They’re so beautiful.
Misty: I am too. They’re just so pretty.
Jenny: Stitches, the scissors, the pincushion
Misty: And buttons, they’re just so cute.
Jenny: So thank you guys.
Misty: Yes. Thank you so much for doing it, we love it. One package of five inch squares. Then you’re going to need ¾ yards of an accent fabric. That’s going to be this, the spools themselves, the top and bottoms of the spools. And we’ve got this great black fabric that also has a very subtle design.
Jenny: It’s part of the line.
Misty: Part of the line.
Natalie: It’s so cool.
Misty: It’s so cute. So ¾ yards of that. And then you need 2 ½ yards of your background fabric. And that includes your sashings and this inner border here. And so that’s all you need to make this quilt. Oh wait, and then your border. We used this cute purple for the border. And that’s ¾ of a yard. And that’s a four inch border.
Jenny: Let’s just talk a minute about this quilting pattern though.
Misty: Oh yes.
Jenny: This is such a cool, you can probably see it better on the back here. But looks it’s got scissors and a rotary cutter.
Misty: And I think this one is called A Notion to Sew.
Natalie: It is.
Jenny: A notion to sew.
Misty: It’s very cute.
Jenny: I quilted mine in that too.
Misty: You did.
Natalie: I did mine with thread on it.
Jenny: Did you, Natalie?
Natalie: I think I did mine in a thread spool pattern which is a little bit different.
Jenny: We have a few cool quilting patterns that are sewing themed. I think that’s fun.
Misty: We do. They’re really, really cute. And so you can find those on our website. But let me show you how to do this. This is all based around your five inch square. And so what you’re going to do is you’re going to start by cutting your entire pack in half. And so I’m just going to lay my ruler along the edge so that we have 2 ½ by five inch rectangles. And then we’re going to sew those, and I just chain pieced these, to a 1 ½ inch background strip.
Jenny: Ok I’m ready.
Misty: You’re ready. So I just laid them along there and then sewed down the side.
Jenny: Alright, so you want me to sew one or two?
Misty: Oh you can just do one. Just make one spool. But just keep in mind it’s really easy to just feed one after another and get a whole string of them ready to go.
Jenny: Yes so at this point I would just pop another one right on.
Misty: Exactly, exactly.
Jenny: Oh wait, do you want me to do both sides?
Misty: Yep, ya so we’re going to sew it to the other side. She’s on it.
Jenny: I’m just going to do this other side.
Misty: That’s perfect.
Jenny: Now I couldn’t do this if I chain pieced. I’d have to chain them all but this will work, right?
Misty: Exactly.
Jenny: There we go.
Misty: And so now we can just trim this off.
Jenny: Natalie is your iron hot?
Natalie: Uh, yes it is. I’m ready for you.
Misty: Alright. So we’ll trim that off and now we can press these back. So while she’s doing that we’re going to make our top and bottom of our spool. And so we’re going to take a 3 ½ inch strip. And on either side of that we’re going to sew a one inch strip to it. So we’re just making a strip set. I have one of these already ready to go.
Jenny: So 3 ½ and then one on both sides.
Misty: Exactly and so then now we’re just going to cut down our strip set into 1 ½ inch strips. So let me just do that.
Jenny: Man I love when you can do a strip set for something. It just makes it so much easier than all those little tiny squares.
Misty: Exactly.
Natalie: Yep, so, so smart.
Misty: And you’re going to need two of these for each of your spools. So I’ve got those there and we’re just going to sew one to the top and one to the bottom.
Jenny: And these should line up exactly?
Misty: They should line up exactly. And now that you mention that I do want to say that sometimes when you’re working with pre cuts those little peaked edges, they can make your block measure not exactly five inches. And because we are working with some small seams you really do need all of your measurements to be accurate otherwise it can get off quickly. And so I would just check that and make sure your blocks are actually 2 ½ by five because my sample, when I started was not and then I was like why doesn’t this add up.
Natalie: Why don’t they work?
Misty: Exactly.
Natalie: That’s very frustrating.
Misty: And then we’re just going to press those back. And that is really it. It is such a simple, simple block.
Jenny: I love it.
Misty: So we can just set them together. And I just put a 1 ½ inch sashing in between each block so you can see in the quilt, there’s just a little strip in between and then we sashed this way as well.
Natalie: That looks so cool.
Misty: And then the inner border is also 1 ½ inches. And then that four inch border so it comes together.
Jenny: So one, two, three, four, five, six, seven, eight, nine, ten.
Misty: It’s ten across by eight down and that’s because it’s taller than it is wide you actually need more across than you do up and down.
Jenny: Also can I say I love how the colors run.
Misty: Yes you get that rainbow effect.
Jenny: Ya I love the rainbow effect.
Misty: It’s so much fun. And the quilt finishes 58 by 68 so it’s a great throw size and I just think it’s so happy.
Jenny: Well everybody would want this in their sewing room, right?
Natalie: Or the living room.
Misty: Anywhere. It’s so happy. And so that’s it. That is my happy little spools quilt
Jenny: That is happy.
Misty: And I think we will turn the time over to Nat right?
Natalie: Alright.
Jenny: Awesome.
Natalie: Ok so for my quilt I wanted to do spools of thread that were just like the Missouri Star thread because I love the shape and think they’re really cute
Misty: So cute.
Jenny: It’s really cute.
Natalie: So and I wanted to be just a little different, why not? I called it Sassy Spools. It’s 72 ½ by 81 ½ roughly.
Jenny: Because these spools, I mean, take a look at these. These are sassy.
Natalie: They’re cute
Jenny: Did you guys know that this bottom pops off so that when wind your thread you can tuck it in here and hold it, keep from unraveling.
Natalie: That’s awesome. So awesome.
Jenny: Ya just a little thread tip there.
Natalie: That’s great. We need to know that. I did not know that. That’s very cool. I don’t know how I didn’t know that but I guess I never neatly tucked my thread in before. Ok, anyway I used the line Bubbies, Buttons and Blooms by Cory Turner Goodheart for Windham fabrics. And it’s very cute.
Jenny: It has sewing words and buttons on it.
Natalie: It’s very very cute
Jenny: It’s perfect for March the sewing month
Natalie: Oh yes, of course
Jenny: National sewing month
Natalie: Yes let’s see what else can I tell you. I have a 2 ½ inch inner border and a great six inch outer border. The outer border is 1 ½ yards.
Jenny: So how much background fabric did you use?
Natalie: Oh a yard and a half. And that’s this gray is considered the background. And it includes the inner border and then the white is just like an accent fabric and that ½ yard because there’s just a few strips here and there.
Jenny: Alright and show us what’s on the back.
Natalie: Now the back is this beautiful words. I feel like words always make a great back because then you can really read all of it.
Jenny: Yes and it’s hard to see on here because there are words but Natalie used the thread, this is a quilting pattern
Natalie: It’s called Spools of Thread. And I feel like I was just spot on with that machine quilting.
Jenny: So it’s got needles and it’s got spools
Natalie: Yep the spool is right here and then the needle is right there. Very cute.
Jenny: Absolutely.
Natalie: Alright so let me show you how to make this
Jenny: The sassy spools.
Natalie: They’re actually very quick and easy. You get two spools from each ten inch square. So first we’re going to cut off three inches from one end.
Jenny: Alright and I’m going to get my chair out.
Natalie: And that is just the piece that you can stick in your stash and use for something else.
Jenny: I’m pretty sure that I’m going to be the sewer since I’m standing over here so I’m just going to get ready.
Natalie: Excellent, excellent. Ok, so then this
Jenny: Look at the hearts, they’re so cute. I’m sorry I didn’t mean to interrupt you.
Natalie: You’re very distracting right now
Jenny: I’ll try to behave.
Natalie: Alright so then this ends up being a seven inch wide and we’re going to cut it to 4 ½. And then you’ll get two. So here’s one. That can be the one we work with but I’ll go ahead and cut this one anyway. So you just have this very little strip leftover and then this one can just be used for another project. Alright so that is the main body of this spool. So what we’re going to do is add two little 1 ½ inch squares to the top corners.
Jenny: That’s the background fabric.
Natalie: Yep and you can press them in half if you want to or draw a line. The gray is kind of hard to see a line unless you have a white chalk pencil.
Jenny: Well and we have this great diagonal tape.
Natalie: But it’s so small you could use the diagonal seam tape as well and that would be so easy.
Jenny: I love that. I don’t know why it took me so long to use that.
Natalie: It’s super easy.
Jenny: There we go. Do you want to trim those off and
Natalie: Alright, we’ll trim them and have Misty press them back
Misty: I’m ready.
Natalie: Super quick and easy.
Jenny: I love that they’re different shapes. You know, all different shapes.
Natalie: Ya
Misty: Alright.
Jenny: So that’s the top of the spool
Natalie: That is the main spool. That’s just this part right here.
Jenny: Ok
Misty: Very good.
Natalie: Alright so for the top we’re going to make a strip set. And that is a 2 ½ inch strip with 3 ½ on either side. And then we’re going to cut that to 1 ½ to go on top of this spool.
Misty: I love this method. It makes it so easy to get a bunch at once.
Jenny: Ya anytime you can get
Natalie: Right and then you can make pretty much, I mean at least half from one. I don’t know exactly. My numbers are in the pattern.
Jenny: You just need one for each spool.
Natalie: And I’m going to cut this just a little wide because it’s uneven on this side. I’ll flip it around and make it nice and straight.
Jenny: That is one of the things that I find interesting about sewers. Some sewers prefer to square up and trim down and some want it to be just exact and you’re a square upper. You like to do that.
Natalie: Ya. Ok. So now you can see that this is where the top of your thread is going to go but it’s a little bit too wide so we are going to add a 2 ½ inch by seven inch strip on either side of this. We’re just building out the block. And you could strip piece these and then we’ll just trim them off as we go.
Jenny: Alright so I’m going to just start here.
Natalie: It’s so nice making a quilt with sewest and pressers. It’s just like the most convenient thing.
Misty: It is. It’s pretty great. I love it.
Jenny: Alright and then I’m just going to sew this other strip.
Natalie: So in theory you could just, you know, strip piece all the way down. If you wanted to you could cut a whole bunch of 2 ½ by seven inch strips and just do it that way. It’s like quilter’s preference.
Misty: Whatever works for you. That’s right.
Jenny: There we go.
Natalie: Alright. So we will trim these
Jenny: You didn’t even have to cut off the selvedges because I just hang over
Natalie: So they are automatically. Let me make sure that’s nice and flat so we don’t get any rumples.
Jenny: No rumples. We don’t like rumples.
Misty: Alright I’ll press that.
Natalie: I mean, I don’t think so.
Jenny: Sometimes when I wake up my face looks a little rumply, I don’t like it.
Misty: Oh goodness.
Natalie: Same. I think I had a sleep mark pressed into my cheek the other day the whole day.
Jenny: Could this just not happen to me?
Misty: That’s just the sign of a good night’s sleep though, right?
Natalie: Right. Ok so now we have our top and our middle, we need to make a bottom, the base of the spool. That is a white strip. And it’s going to be 8 ½ which is what this should measure. Let me just double check. Yep, 8 ½. So we’re going to put two gray 2 ½ inch squares on either side.
Jenny: Ok
Natalie: And you just do that same method. You’re just snowballing the corners. Do you want to do one or should we just go ahead and use this one that’s already done?
Jenny: So I think if you, if we just showed them how right here, you know, this one is
Natalie: You can press the sew line, sew on the corner. Same as the top.
Jenny: Snowballing.
Natalie: Yep. Alright so then you’re going to just put these three pieces together.
Jenny: Alright.
Natalie: That goes on the top and this goes on the bottom. We’re just building a spool of thread.
Misty: So cute.
Jenny: Alright. Now this is probably where your quarter of an inch kind of, you kind of want to watch that quarter of an inch
Natalie: It does matter quite a bit and you do want to kind of make sure and line that white top up with the middle of your spool.
Jenny: Which I didn’t check so let’s see. I’m just a little bit off.
Natalie: You’re just a tiny bit to one side.
Jenny: So we should normally line that up. Do you want me to take it off?
Misty: When you do that did you press it in half and pin the center or how did you get it?
Natalie: It’s actually pretty, it’s pretty easy to see where the white goes like right on top because then you can just kind of meet it and put a couple of pins in there.
Misty: Perfect.
Natalie: That’s what I did as I went along. And then if I was a little bit of extra fabric one way or the other I just trimmed it off.
Misty: Ok.
Jenny: Now I’m hoping the bottom lines up.
Natalie: It should. You’ll see there’s a couple places where it got a little to one side or the other but once it’s all together you don’t really notice. Alright, go ahead and press that back. Alright so the next thing we’re going to do is add a 1 ½ inch strip to either side of this block and that makes it, that will make it ten inches. So you can just add that.
Jenny: So I’m just going to go ahead and start, so this is just on the sides, right?
Natalie: Yep. And I will say just so you guys know this 1 ½ inch on either side, it makes the block a little bit big and I wanted that because I wanted to be able to trim them down to. Well there you go. I wanted to be able to make them match the ten inch squares perfectly because I just wanted to put together an easy layer cake quilt. I wanted it to be quick and simple and fun and not too much work.
Misty: I love that. I love that you mixed in with those big squares.
Natalie: Ya
Jenny: Well adding layer cakes in between, honestly, that adds, that makes a big difference
Misty: Do you want me to iron that?
Natalie: Yep and then we’ll trim it.
Jenny: I mean you know, an easy layer cake quilt
Natalie: Well this fabric lent itself, it had, you know, really cool things to look at and fun things to read. And I just thought let’s leave some big spaces. I also thought, part of my design process was I love those old antique boxes that you put little spools of thread in so I was kind of trying to go for that look.
Misty: Oh I love that.
Natalie: Alright so you guys can see this is our finished spool. And then, I’m just going to take this ten inch ruler and make sure that everything lines up. And it mostly, like it is very, very close. So we’re just going to trim this tiny little bit off this side. We’ll just take those two top things off. I’m going to flip it for the sake of flipping it because that’s fun.
Jenny: For the sake of safe cutting.
Natalie: Yes, for the sake of safe cutting. That is accurate. So we’re just shaving off just the tiniest bit on each side. And then I’m just going to clean up this top just a tiny bit.
Jenny: And then because you’re using this ten inch ruler it will naturally fit with the layer cake square because they are ten inches.
Natalie: Exactly.
Jenny: Perfect.
Natalie: Yep. So that is going to be great. We’ve just got a little bit there and that will ease right into the seam. Alright.
Jenny: That looks so cute.
Misty: That is so cute.
Natalie: So very good. Alright so one more thing, as I was putting this quilt together it ended up being a funny shape and I thought well let’s do half pieces on the side so that it can be tall and skinny, the way I kind of like my quilts.
Jenny: We kind of like the rectangle shape.
Natalie: Shaped rectangularly instead of square. I mean square is great too. It’s just a different way of doing it. So this is just your ten inch square cut in half, put on the sides. And then you add your 2 ½ inch inner border and your six inch outer border and you are done.
Misty: So how many of these spools do you have in the quilt?
Natalie: So I have one, two, three, four, five, six, seven, eight, nine, ten, 11, 12, 13.
Misty: 13, ok awesome. And the rest are ten inch squares.
Natalie: So essentially you’re going to take seven squares of your pack, cut them in half and make all your spools. You’ll take seven square and cut them in half and make your sides. I’m pretty sure that’s seven. One, two, three, four, five, six, seven, yep.
Misty: Ok, awesome.
Natalie: And so then the rest of them get to be the big fun squares that you look at the whole piece of fabric and it just works out so great.
Misty: Really cute.
Natalie: So simple and easy.
Jenny: Well and a lot of times we have fabric we don’t want to cut. You know, it’s like you want to show this whole piece, you know, and so those often go in a layer cake. And so that’s makes it perfect. Awesome.
Natalie: So I hope you guys like this.
Jenny: We do love it. The Missouri Star spool, Sassy.
Misty: Sassy Spools
Jenny: Sassy Spools. Ok. Alright and I’m up next.
Natalie: Now onto Mom.
Jenny: So my quilt, the world’s largest spool of thread
Misty: I love it so much
Jenny: I’m like go big or go home.
Natalie: It’s so great.
Jenny: I just love it. Now the cool thing about this quilt is that this whole center part right here, secret spoiler alert, this is a jelly roll race. It’s a jelly roll race with a top and a bottom and sides and it makes this glorious quilt. So to make this quilt you’re going to need one roll of 2 ½ inch strips and we have used the Snippets Pearlized by Chelsea Designworks for Studio E. You’re going to need some accent fabric, that’s this gray up here. You’re going to need a yard and a half because these are big 13 inch strips. And you’ll need four of those. And we’re going to need some side fabric, that’s our background. And that’s two yards. And it includes the side pieces and we did a little 2 ½ inch border all the way around it to set it off. And so on the back we just used this beautiful, let’s get it up high so right here, see the middle. These strips are actually ombre strips and so they go from the light to the dark. And we sewed our seam right here so it went from light to dark on both sides. But look at this quilting pattern. You can see it really well on this fabric. And this is the Notion to Sew, right Natalie? Notion to Sew?
Natalie: Yep.
Jenny: And I love it, the scissors, the rotary cutter, the spool of thread, the little tomato pincushion.
Misty: It’s adorable.
Jenny: Really, really cute. Alright so let me show you how to make this. So basically I have several videos on making the jelly roll race. I actually have three of them. And wherever these fabrics come together like this, in the other videos I did, I show you how you can put a square, you can put a triangle or you can put a set of squares. Anything you can do in here to add interest. It’s just going to add interest to your quilt. On this one, however I wanted to sew strip to strip to strip. And so you can see that when these sets come they come in, you know, sometimes depending upon which roll it is, but they come several of the same color at once. Now here’s the trick with the jelly roll race quilt, as they come off the roll that’s how you sew them together. Our OCD nature goes I don’t want the pink to touch. I don’t want, you know, we want to put them all over but the way this gets sewn together is that if you do that you’re going to end up with your colors stacking. You’re going to end up with blocks of color. And you can see on this one, you know, there might be a couple where colors come together but very few. And so you just trust me on this and sew them together. So I’m going to start sewing my strips together and you’re going to sew every strip in this whole roll together. And it’s going to make a strip that is 1600 inches long so it’s a very long strip. Now the method we’re using for this is the plus method. So we’re going to just put them together like this and sew corner to corner. And I will be using my diagonal seam tape to do this. But honestly when you start sewing these together you’ll notice right away that you get a rhythm for it and you’ll just start sewing them together. So I’m going to start here and then I’m going to bring my next strip over. And I leave these stacked up right here, put this guy out here. And this one goes to the side and I bring the next one up and put it on top here. Natalie could you find me a pair of scissors?
Natalie: Sure
Jenny: Alright so again we’re just going to add this one. And remember the same color, same color, same color. One after the other so there’s four of each color in this pack. And it looks like Natalie might need to travel to get some scissors.
Natalie: Ya, sorry about that.
Jenny: For me it’s easiest to cut these apart using scissors rather than a rotary cutter because I’m chain piecing. You’ll see I’m not cutting any of these, just one after the other. Corner to corner like this. And you can see this is going pretty quick. A jelly roll race is a really fast, easy quilt to make. It’s great for, it’s just a little smaller than a twin size. So you add a couple of borders and you’ve got a great little quilt. If you have a, you know, 2 ½ inch strip that you don’t know what to do with then this is a great, fun thing to try. Now by the magic of television, no we can’t say that anymore, it’s not the magic of television. But by this computer magic I’ve sewn all the rest of these together. I’m going to add it to this. Because it’s the putting together part that is important. Alright, now what I’m going to do is I’m going to cut these apart. And this is kind of a good thing to watch. You can use your rotary cutter but what I do because I’m old school, scissors and cut that strip and let it drop.
Natalie: I do that when making binding too.
Misty: Me too, ya.
Jenny: Scissors, ya this is exactly the same. Exactly the same as binding. If somebody could find the other end of this strip that would also be very helpful.
Natalie: I think so.
Misty: There it is.
Jenny: That was quick.
Natalie: It was easier to find the end of the 1600 inch long strip than the scissors.
Jenny: Oh wow
Natalie: The tales of the sewing room.
Jenny: That’s right. Well and I didn’t know, you know, I didn’t know where it was going to be down there and I just thought well this is going to take me awhile if I have to search for it.
Natalie: Misty gave me a really good hint.
Misty: I saw it earlier, I knew it was red.
Jenny: That is so fun. Alright. So now I’ve cut all of these apart. You’re going to give those to Misty.
Misty: And I’m going to throw them away.
Jenny: Alright now the first thing we want to do is we want to cut about half the strip off and it can be on one side or the fold or the other and just save that for another project. If you leave them whole all your seams end up in exactly the same places. If you cut off a piece then it staggers everything.
Natalie: It is offset, that’s great.
Jenny: Alright so now I’m just going to put these two pieces together and I’m going to cut off this selvedge edge right here. And I’m going to sew, I’m going to line these up and I’m going to sew these two really long strips together all the way down the side. So I’m just going to a little backstitch and here we go.
Jenny: Alrighty we’re almost to the end of this and if you’re lucky yours will line up exact. But if you’re like me you’re going to have a few folds or twists in here. So what I do is I try to pull it out and get it, you know, exactly in half as I can, clip it. It’s going to look ugly but we’re going to finish sewing that up right here.
Natalie: It’s not that bad.
Misty: It looks good.
Natalie: Because you’re going to trim the sides anyway.
Jenny: Look at this. Well I’m going to trim it right now. Alright so obviously this is a little bit of a mess. You’re going to trim this straight. We have a nice straight edge to start with. And now we’re going to open this up and we are going to find the beginning end.
Misty: The other end.
Jenny: And we are going to do this again
Natalie: I believe it’s right there.
Jenny: Alright so now we’re going to lay these down next to each other and we’re going to put two on top of each other right here like this.
Natalie: And Misty and I are going to ribbon dance again.
Misty: That’s right.
Jenny: And there will be more ribbon dancing. And alright now we have, we’ll have four sewn together and we’re off.
Jenny: Alrighty. Now for the big reveal. Misty hold this corner
Misty: Yep, you got it.
Jenny: I’m going to cut it straight across the top here, make sure we’re even here.
Natalie: Make sure on that.
Jenny: There we go. Just like that. We’re going to cut straight across this top.
Natalie: You could do this with a rotary cutter if you wanted to
Jenny: You can.
Natalie: But this is just as easy.
Misty: There we go.
Jenny: Alrighty. Now let’s take a look at this amazing
Misty: So cute.
Jenny: How cool is that? Jelly roll race. So fun, so quick, so easy. But we’re going to show you now how to turn this into the spool.
Jenny: So over here on this wall we have our jelly roll race middle. And we’ve sewn a ten inch strip to the side. You’re going to just cut those the width of the fabric and you’re going to have to sew several together. Now because everybody’s quarter inch seam is a little bit different make sure to measure yours so that you know that it’s exactly the right size. We have a size in the pattern but that’s my quarter inch seam and they may not be the same. You know, we all, they’re all a little different.
Natalie: And you could also add it like your, you know, with a little bit of extra length and then just trim it off
Jenny: Absolutely, absolutely. And then for our top spool piece, it’s a 12 inch piece of fabric. And this is our accent. And I went with this charcoal gray. And girls if you could bring me a couple of pins.
Natalie: Oh sure.
Jenny: So what you’re going to do is you’re going to also measure your top piece and you’re going to have to sew two pieces together on this as well. But this corner. I know you’re wondering how do we get the spool. The spool is a single ten inch piece of fabric like this. And you are going to iron a line like this. And we’re just going to press this. We’re going to attach it to the bottom of this strip before we sew it to the race. It’s going to go here on the bottom of this strip. So we are just going to put this on here. We’re going to pretend that we sewed right on this line.
Natalie: So it’s like a snowballed corner
Jenny: Exactly a snowballed corner.
Misty: It just doesn’t go all the way to the top of the spool.
Jenny: Right that’s what gives it the spool look because you can see on this one, it has that straight edge. And that’s what gives it that. It goes up and straight like that. Then I put a 2 ½ inch strip all the way around it just kind of to frame it up and set it off and so I just think it came out really good. I love how the sewing notions show up on the gray. A lot of times people wonder when you have a quilt that’s like this with all these different colors, what color thread do you choose for your quilting. And I chose, this is kind of a light gray because I even wanted it to show up in the white. And I wanted it to show up all over. So basically you’re going to kind of lay some threads on your fabric, see which one you like the best and then do it. So just as easy as that you get a really fun, largest, the world’s largest spool of thread
Natalie: To date.
Jenny: Right, to date. Natalie will probably add one more strip tomorrow
Natalie: The competition is real.
Jenny: That’s right. So we hope you enjoyed this Triple Play on Spools. Natalie’s got
Natalie: Sassy Spools
Jenny: And Misty
Misty: And Happy Little Spools
Jenny: And I’ve got the World’s Largest Spool of Thread. And we hope that you enjoy this quilting month and National Sewing month and that we’ve inspired you to make something really fun for your sewing room. And we hope you enjoyed this Triple Play from the MSQC. See you later.
We hope you enjoyed watching this video. If you’re not already part of the Missouri Star quilt family you can hit the subscribe button below so you won’t miss a thing. And if you click that bell it will notify you every time a new tutorial comes out. See you next Friday.


