

Triple Play: 3 NEW Swedish Heart Quilts with Jenny Doan of Missouri Star
 Jenny Doan
- Charm Pack
- Holiday
- Table Runner
- Beginner
- Quilt size 68" × 68"
Triple Play is a favorite tradition here at Missouri Star. Once a month, Jenny, Misty, and Natalie each demonstrate their own, unique spin on a favorite block, technique, or template. In this episode, the talented Doan ladies show off three fabulous new Swedish Heart quilt patterns.
Instructor
Jenny Doan
Jenny Doan is an American quilter, author, and YouTube personality. Jenny started Missouri Star Quilt Company in 2008 and today it is the largest quilting supply vendor in the United States.
Shop this tutorial
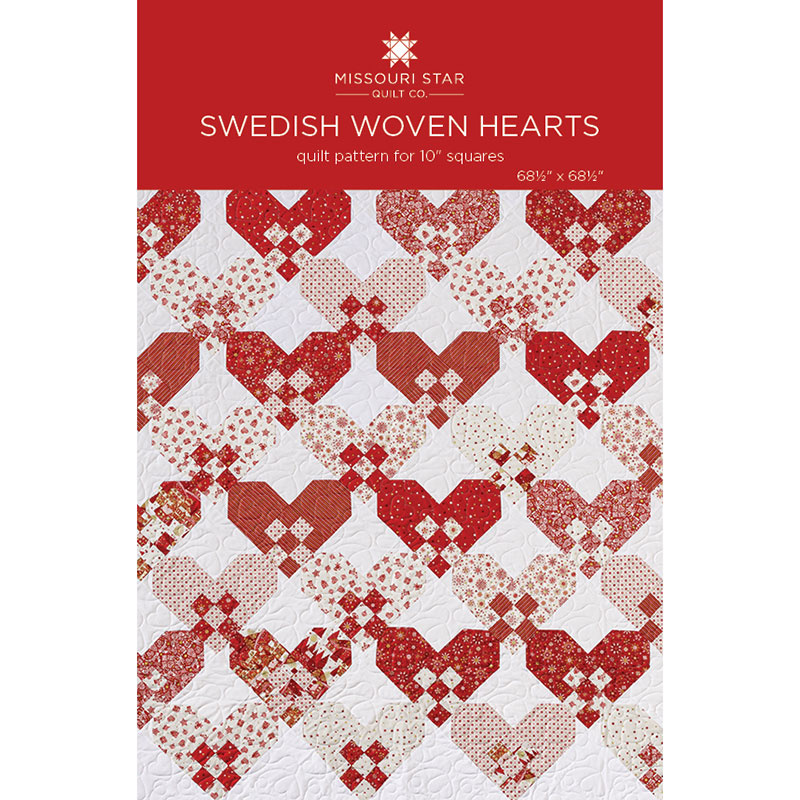 Swedish Woven Hearts Quilt Pattern by Missouri Star$5.95Shop →
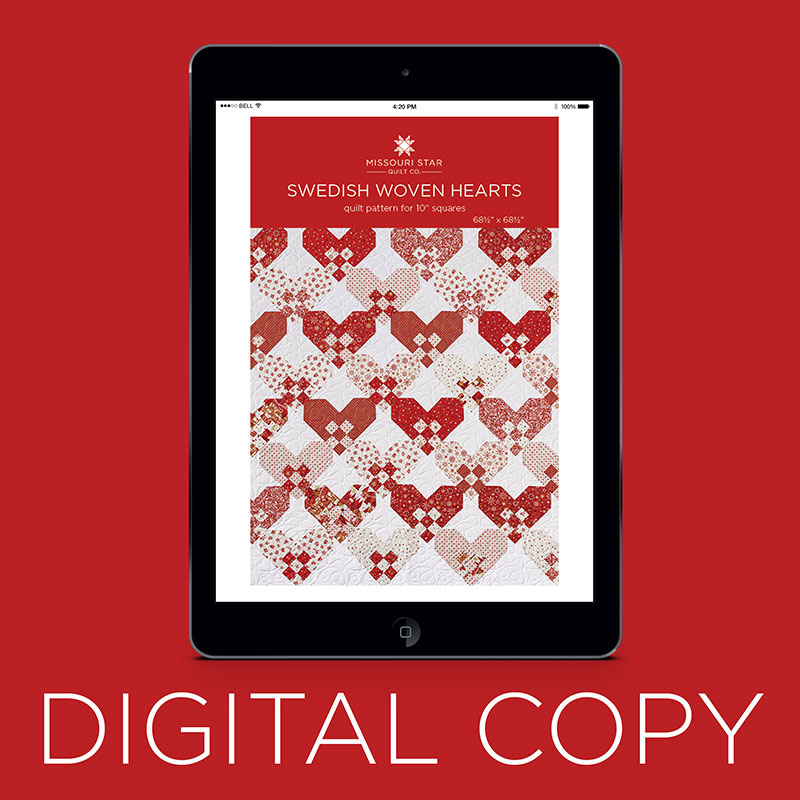 Digital Download - Swedish Woven Hearts Quilt Pattern by Missouri Star$4.95Shop →
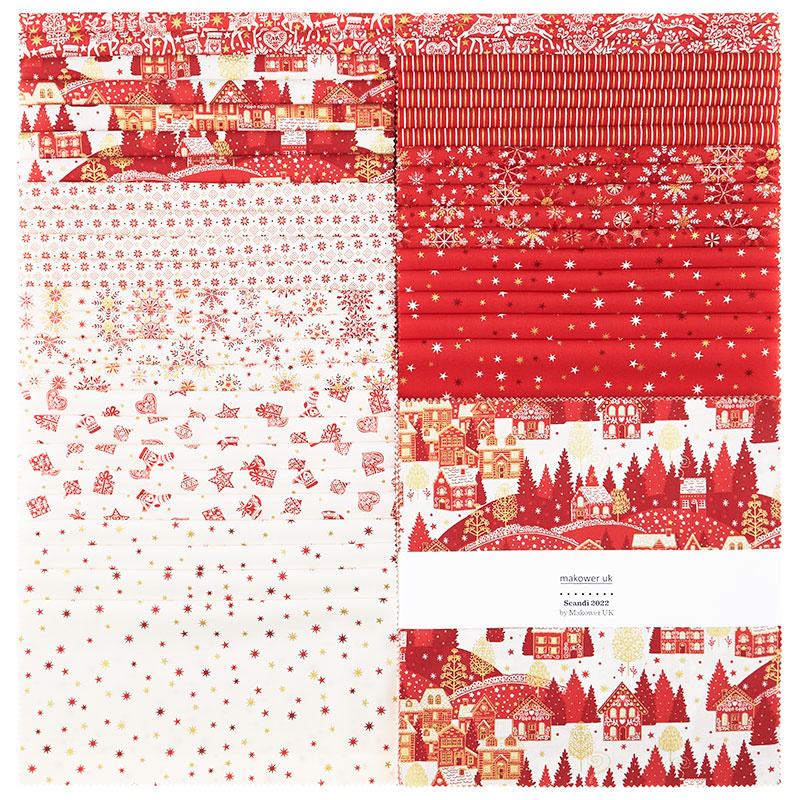 Scandi 2022 Metallic Sundaes$38.95Shop →
 Kona Cotton - White Yardage$7.28Shop →
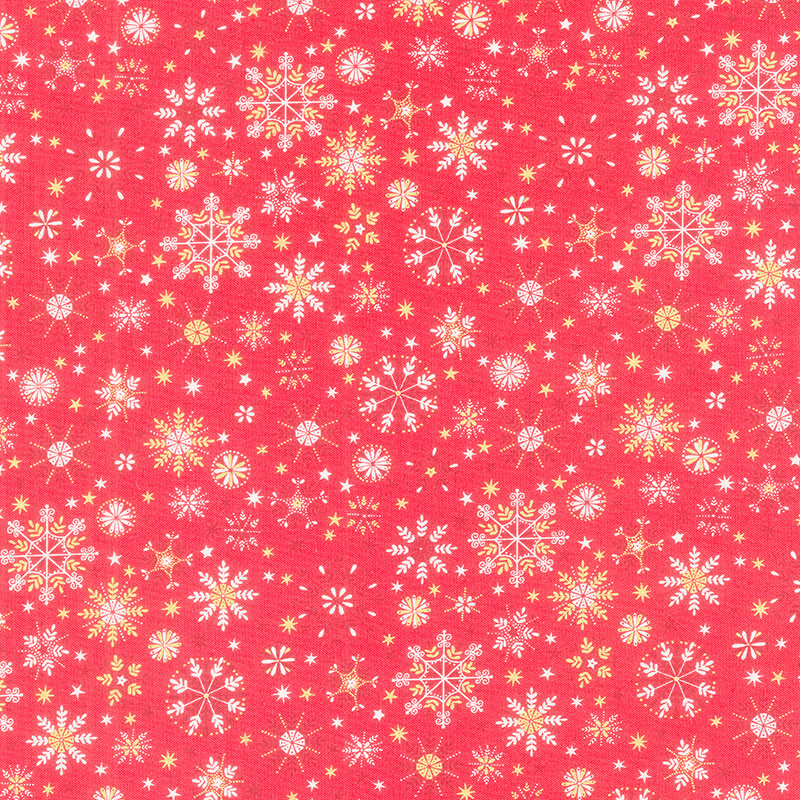 Scandi 2022 - Snowflakes Red Metallic Yardage$11.96Shop →
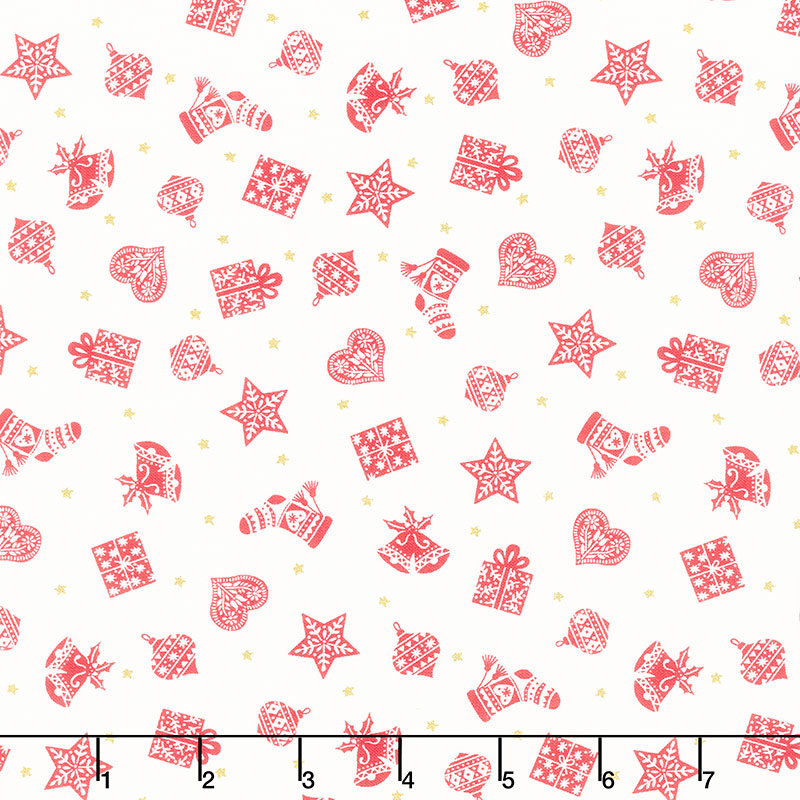 Scandi 2022 - Scatter Red Metallic Yardage$11.96Shop →
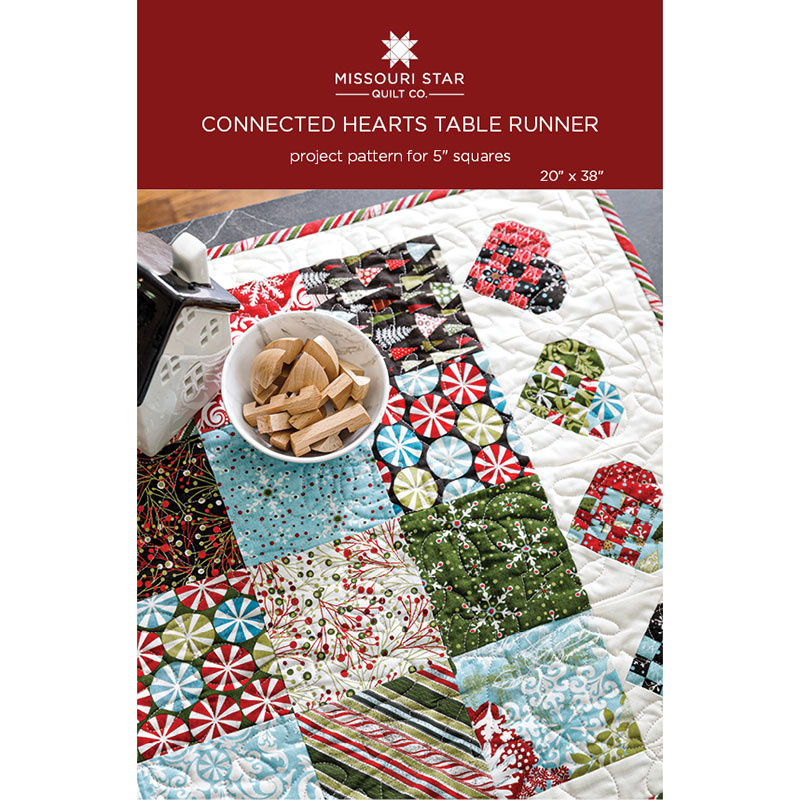 Connected Hearts Table Runner Pattern by Missouri Star$5.95Shop →
 Digital Download - Connected Hearts Table Runner Pattern by Missouri Star$4.95Shop →
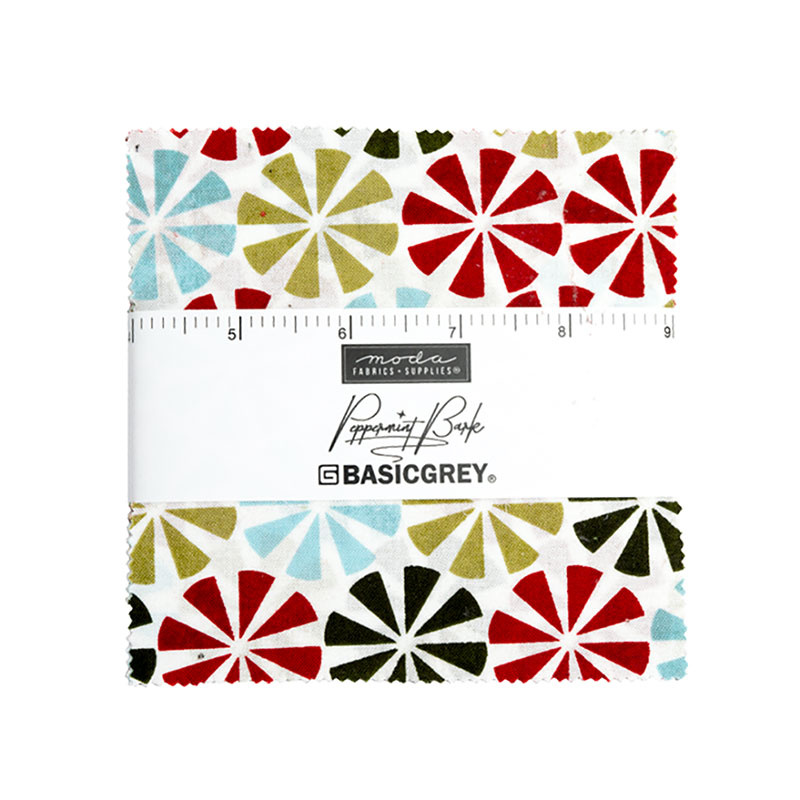 Peppermint Bark - Charm Pack$11.45Shop →
 Bella Solids - White Bleached Yardage$8.24Shop →
 Peppermint Bark - Pepperberry Dark Chocolate Yardage$11.24Shop →
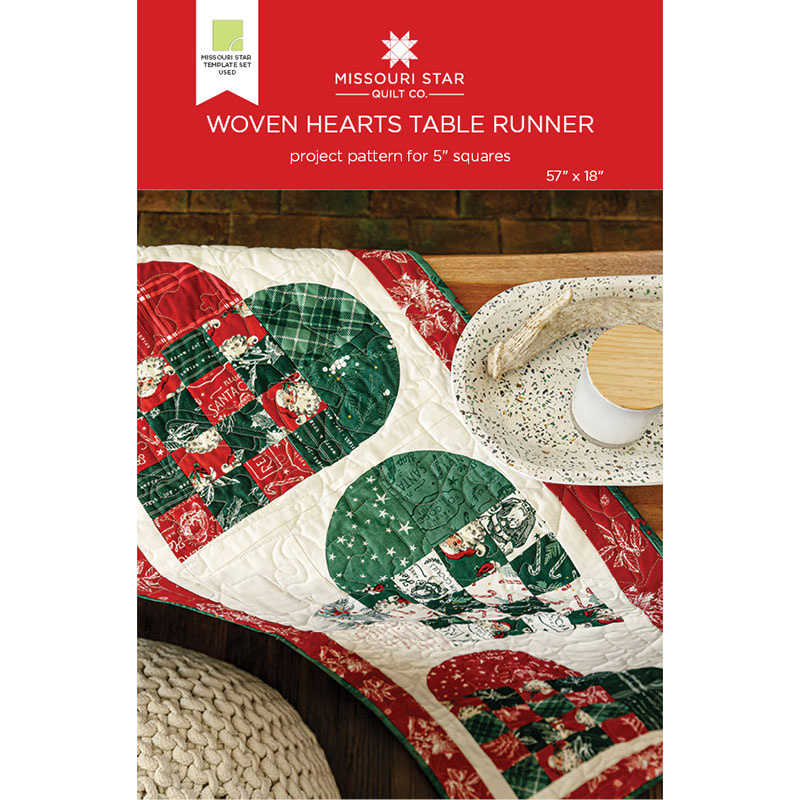 Woven Hearts Table Runner Pattern by Missouri Star$5.95Shop →
 Digital Download - Woven Hearts Table Runner Pattern by Missouri Star$4.95Shop →
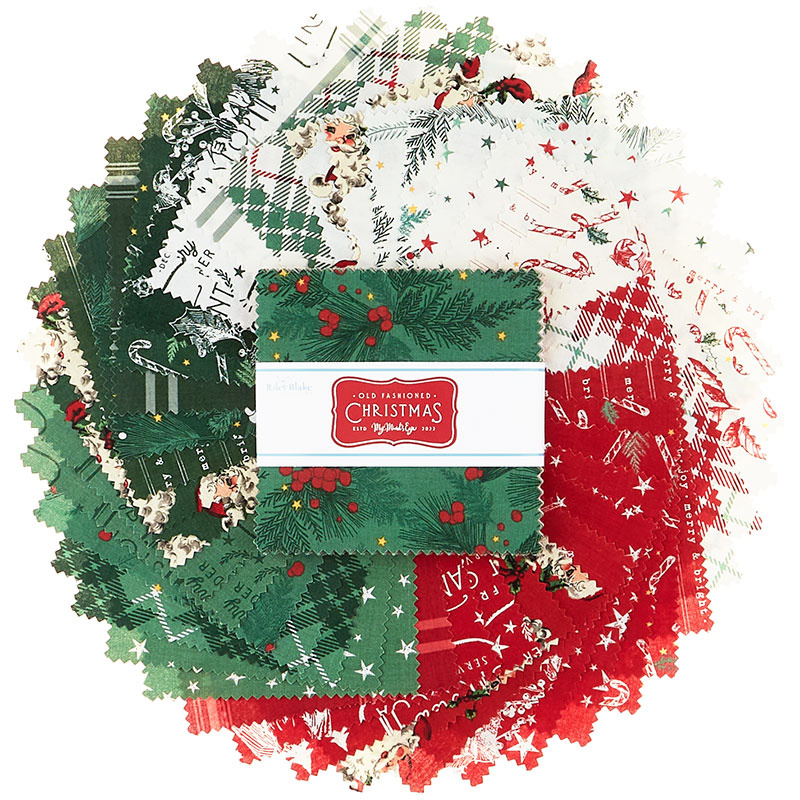 Old Fashioned Christmas 5" Stackers$12.45Shop →
 Bella Solids - Porcelain Yardage$7.24Shop →
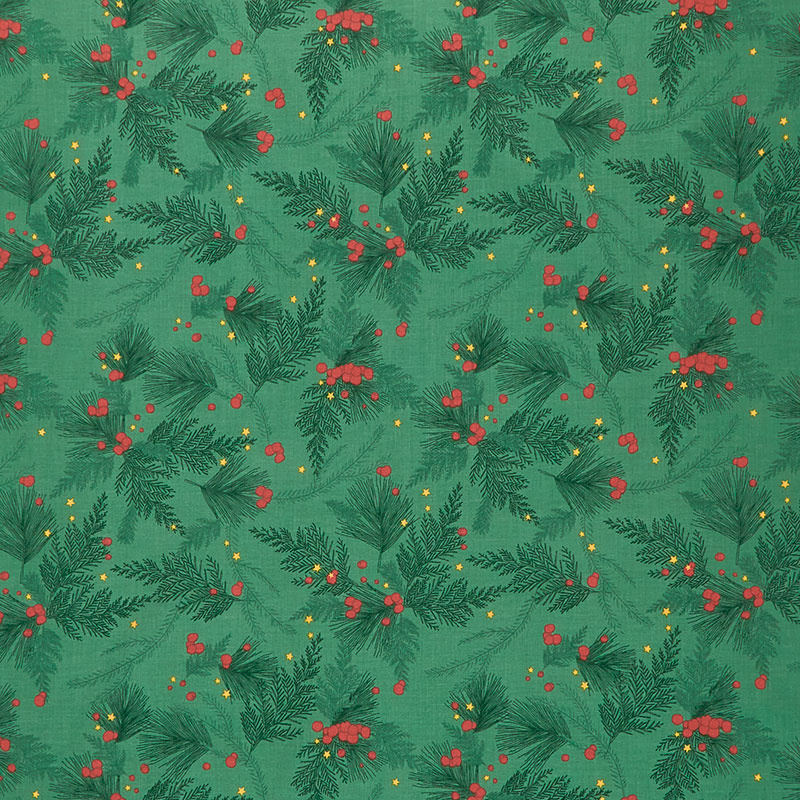 Old Fashioned Christmas - Main Alpine Yardage$11.96Shop →
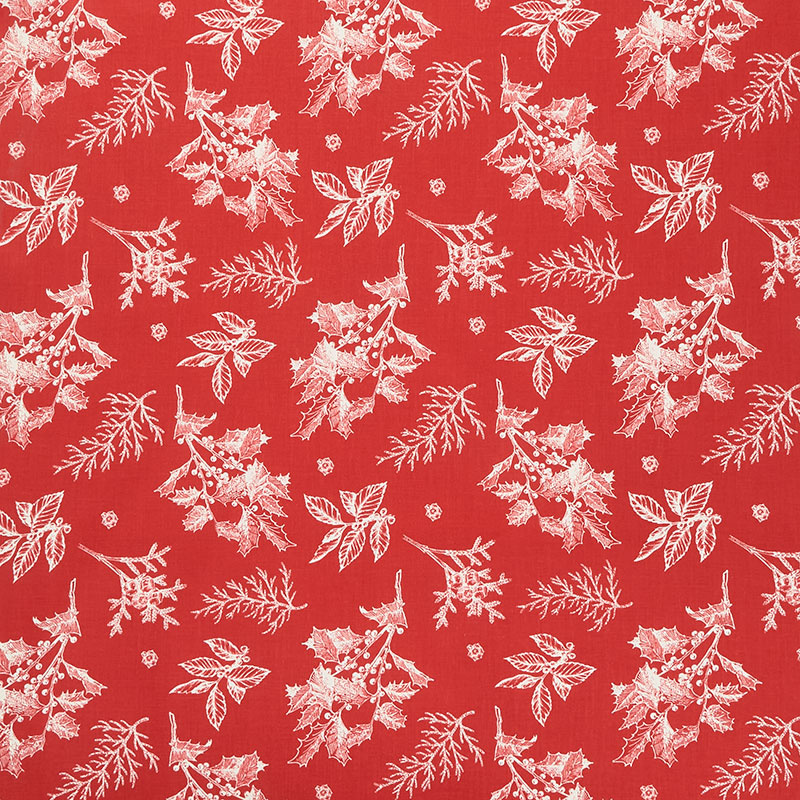 Old Fashioned Christmas - Sprigs Red Yardage$11.96Shop →
Common Questions
What is covered in Triple Play: 3 NEW Swedish Heart Quilts with Jenny Doan of Missouri Star?
Triple Play is a favorite tradition here at Missouri Star. Once a month, Jenny, Misty, and Natalie each demonstrate their own, unique spin on a favorite block, technique, or template. In this episode, the talented Doan ladies show off three fabulous new Swedish Heart quilt pat...
How long is the tutorial video?
The tutorial video is 00:41:36.
Are supplies listed for this tutorial?
Yes. The tutorial page includes the supplies and materials connected to this project.
Is a transcript available?
Yes. A written transcript is available on the tutorial page.
Video Transcript
Hi.
I'm here with Misty.
Hello.
But even better, it's Christmas in July.
Yes.
Yay.
Christmas in July. So you will notice-
It's going to sneak up on us. We've got to get ready.
Yeah, we want to get started early.
Totally. We want to get ready early. Like any of us are really going to start in July, but we want to, right?
Yes. It's ideal. We love the idea.
It's ideal. So today we are doing our whole Triple Play based on a childhood memory of mine. It's on the Swedish woven heart, and my mother's Swedish, and she used to have us make these and we'd fill them with candy and take them around. We did them for, actually for Christmas, we did them and put them in the tree. We did them for May Day as well. We would take them as little baskets around.
They were cute for Valentine's Day too.
Cute for Valentine's day. They're just fun little heart punches. And I actually have a little tutorial on how to make-
How to do the woven heart.
... how to make the woven heart. But we thought we would turn it into a quilt block, and do it for Christmas in July. So this is my quilt behind me, Natalie and Misty both have table runner patterns, which-
Yay, super quick.
... are awesome. And when you have a smaller project, particularly at Christmas time, it's super helpful, I think.
Great for gifts.
Yes.
Great for gifts, because we all want to give something from our hearts.
Also for decorating your house.
Yes, exactly.
I always want a new table runner around my table.
Me too.
Well, thank you for saying that.
I do.
Always.
Always. All right. So let me show you how to make this. So to make my quilt, we're going to use one packet of 10 inch squares, and I have chosen Scandi by Makower UK for Andover Fabrics. You're going to need some background fabric, two and a quarter yards of whatever matches your fabric. Your outer border is going to be one and a quarter yards. And this is my outer border right here. My backing is going to be four and a quarter yards, or you can use two and a quarter yards of a 108.
My quilt comes out 68 by 68, and I set it on point. My hearts are set on point. If you'll see right here, that means they stand up because the block is actually made like this. So you can put it in your quilt this way. You can put it in your quilt this way, but I wanted to stand mine on point. And so that's how mine goes together. Six inch border out here. We use this darling... It reminds me of cookie cutters on the back.
It's so cute.
It's so cute.
My quilting patterns is hearts because...
Hearts.
Hearts.
Hearts.
Seemed right.
All the love.
Yeah, it seems right. So let me show you how to make this. So basically my little heart is a nine patch right here and then two five inch squares that are snowballed on two sides. So it's super easy. And the trick is in the cutting. So I'm going to take a light and a dark. You want to separate your fabric into lights and darks, and I'm going to take... Well, this one's kind of fun, isn't it?
Yes, it is.
It's really cute.
All right. So I'm going to take these two and I'm going to put them together like this and line them up bright sides.
You want me to move those out of your way?
Yeah. You just keep me organized and be not so messy.
You bet.
There we go. All right. So line these up on top of each other, and then we're going to lay our ruler right along the edge and cut a five inch strip off like this, and this is going to make two hearts. And so then I'm going to take this and turn it. Make sure I'm still lined up on the end or, oh, there we go. I had to see that red peeking through. And then just trim this right here. And so two of these will be our dark background heart, and one will be the lighter heart. So we're making two blocks. So we'll put these aside like this.
Now this little piece right here, what we're going to do is we're going to cut this in two inch strips. And Natalie, as soon as I cut them, I want you to sew these together.
Okay.
And they're laying right sides together. And so if you set them this way, it makes it go much quicker. And we're going to sew three sets of these together like this. And we're just going to keep cutting two inch strips. All right. All right. Now what we're going to do, Misty, I'm going to have you press these open.
Okay.
And we are going to make some pieces so that we can make nine patches.
These don't want to come apart.
Uh-oh.
Oh, there we go.
Did Natalie sew-
I didn't sew both sides.
No, she didn't. It just was like, they were just nestled in together.
All right. So Natalie, if you'll sew a white on this side-
Okay.
... of this one. And then a red on this side of this one.
All righty.
Oh, this side. So we'll have two sets. One will be white, red, white, and one will be red, white, red. That sounded like I was going to break into Red Rover. So for these right here, what I'm going to do is I'm just going to lay these two pieces on top of here, because I'm again, going to cut this in two and a half inch segments. Let me make sure this is straight on here. Actually, that's kind of living dangerously. Maybe I'll take that off and just line them up like this.
On the bottom side.
Do you want those sewn or are they for a different part?
Nope. Just wait, just wait.
Okay.
We're going to do this. Because of how our fabric works out, this is kind of how we have to do it.
Okay.
And so if you'll press these.
Yep.
So then these we're just going to make our pieces for.
Okay, so these are the middles then?
Mm-hmm (affirmative). Well, one is the middle and one is the outside. And then these, we will cut up and you'll have a little piece left over. And I'm just going to lay these on top of here like this.
Do you want these sew together?
Yes, please.
These are all separate?
Yeah.
Oh, this one's already together.
Oh no, this one's together.
Okay.
There we go.
All right.
Yeah, because you end up with a single square. So we're going to cut two and we're going to cut two. Whoop, that kind of slid a little bit. Let's make sure that's straight. There we go.
Here's these.
All right. So these right here, if you'll press those.
Yep.
Now I will have a white, red, white right here. You can see, this is one block right here.
Mm-hmm (affirmative).
And you'll sew that together. And this will be red, white, red. We'll sew this together. And so you'll have these two little leftover squares. Crumb stash.
That's right.
That's right.
For another project, huh?
So once you have your nine patches sewn together, aren't they cute?
They're adorable.
They're so cute. We are now ready to work on the block. And for the block, you're going to need some background fabric. And so you're going to cut some strips out of your background and you're going to cut a 10 inch and you'll cut those into 10 inch squares. You're going to cut a five inch. You'll cut those into five inch squares. And you're going to cut a two inch and we will cut these into two inch squares right now. And this is what's going to snowball the corners of our little heart over here and give it that curved look.
And so I'm just going to cut a few of these because we need four for each block and I'm cutting four-
Perfect.
... every time I make a cut. So, you get a lot of those very fast and I already have way more than I need to show you.
No, one more cut.
So I'm just going to stop.
One more and then we can...
No, I actually have four in here.
Yeah.
Look at that.
Yeah.
Oh, nice.
Look at that.
We've got plenty.
All right. So on this little one right here, what we're going to do is we're going to put our two inch squares on the corner. Now I went with two because it gives a little more of a curved look. And so we're going to sew up this way and down this way on both sides.
All right.
And Natalie's already going on the lighter ones.
I'm going to start right now.
Perfect.
She can read my mind. All right. So here's the reds just like this. Now you can draw the line if you want to or press it or use the diagonal seam tape like we do here. And this will make the curved heart tops for our heart. All right. Let me see these. And I'm just going to clip this thread right here.
Perfect.
And then we will just trim these.
I'll press it for you.
There we go. Now I'm just going to stack these here so you're ready for them.
Excellent.
And again, what we're doing is sewing right on the corner. I mean, right on the-
Diagonal.
... on the diagonal.
Yeah.
So not to either side. However, if you want to save these tiny, tiny...
I put it in the scrap.
Goodness. These are little though.
They're tiny.
These are tiny.
They really are. Look at it.
They would be so cute.
So small.
Somebody might love them.
It's true.
But they're going to go in our scrap bin down here. Let me just grab this one from you.
Oh, I thought I did that. Sorry.
You might have, I might have double cut.
That's all right.
All right. Then this one. There we go.
Awesome.
And then we are ready.
There you go.
One more.
All right. Let me just trim this one. This one doesn't want to get trimmed for some reason.
It's rebelling.
Yeah.
It's trim resistant. All right. So now you're going to pair up, these are our light ones, and you're going to pair it with a nine patch that has the light. And those are going to make one block. And then these where this dark fabric is on the outside, that's going to make one block as well. And so each two pieces, you're going to get two hearts, which I think is really fun. And you're going to need a five inch square. And so what we're going to do is we're going to put our little nine patch right here. We're going to put one heart top going this way, one heart top going this way. And then this way is our filler block right there. And that gives us our heart block.
Cute.
It's like a little four patch.
So, yep. So Natalie, if you'll sew these two sides together.
Mm-hmm (affirmative).
And then these two sides. And this cool little thing, this cool little hack, can we press this a little?
Absolutely.
A little... Give it a real press.
Mm-hmm (affirmative).
I want it to be nice and flat. When you cut strips two inches, and you're... Wait, am I doing this?
Like that, yep.
And your seams are accurate, they should measure five inches, which is the same as a charm square. And I think that's a cool little hack. So I'm going to sew these down. Oh, I can get my next one ready. And we can have two done.
So quick.
So here.
Shall I go ahead and sew these together?
Yep. The curve goes to the outside. Curve goes to the outside, and this little middle piece is here.
Adorable.
So cute, right?
Yep.
I actually like... I might like making these better than making the paper ones.
Yeah, just a little bit.
First of all, they're-
Well, you're a little more into sewing than...
Well and their tad bit confusing, but I can remember, we would use a lot of times wrapping paper, and it's not so heavy duty and you'd get halfway into the weave and it would tear and you'd have to start over. Oh, good.
Cute.
Iron that up. We'll start this one. And this one. Now the interesting trick... How cute is this?
So cute.
The interesting trick about putting this quilt together, and I'm just going to let you keep sewing while I show them this.
Okay.
Is they have to be set on point, which means as we set our blocks in, there's going to be an empty space here, because our blocks are going to go this way. We're going to make a row that goes like this. And so what I did for that was I took my 10 inch squares and for, I need my long ruler, and I cut them on the diagonal, just like this.
And then what I did was I set these squares. Now I want to show you how these squares work in here. So across the top, they're going to go in like this across the sides. They're going to go in like this. Okay. Does that make sense? And what I did was when I get to the top of this row right here, I just laid this down like this and sewed that onto here. So we're going to take this one, and if you're angle-y challenged at all, make sure you're doing this right. And so we're going to put this here at the top of this row. Actually, we can just do this right here. And we can... What I do is I just lay this back here like this.
Do you want me to help hold it?
It was a little floppy, but I'm going to just lay this right on this corner, match up this corner. And that's going to give me about a quarter of an inch on the other end. So if you will-
I will.
... do that, that would be great. And all of your rows, so they're going to start here. This row's going to start with a triangle. This row's going to start with a triangle. This row's going to start with a triangle. Now, interestingly, some people...
Me.
Her. They see it going the other direction, but I see it going this way. And so this one right here, because he's up at the top-
Press that.
Yep.
... he doesn't have a whole, he just needs a little triangle.
A quarter of one.
For the corner triangles, what I'm going to do is I'm just going to take one of these squares and I'm going to cut it in fourths. So cut it edge to edge like this, and then the other direction as well. So diagonally both directions.
Oh careful.
And this will give me my little corner square. Now, when we go to put these together, again, this is going to go this way and then I'm going to put a light one and then I'm going to put a dark one and we're going to sew them and it's going to fill that whole row. Okay? So when we do the middle row that stretches top to bottom, you will have your little heart right here like this, and you'll put this little corner on here like this. And you'll have a corner on the top and on the bottom of this one long row right here, because it's all set on point. Now, on this other row because of how they offset each other, this one down here is just going to be two of the big pieces put together.
And so it works out really great. So Natalie, if you want to sew this on top of here, and what I did was I made a little... Right here, there's a seam. Made a little finger press. So this is going to hang off about a quarter inch off either side.
Okay.
And so if you will just sew that on there, that will make the top of that middle row.
All right.
And so, as I was putting it together, this one down here, I realized it just needs a quarter, just one triangle sewn in half, one of these. Wait, do we have one un-sewn? Yes, right here. So this one goes in here just like this. And then this same type of triangle comes in here just like this. There we go.
Very cool.
These ones stack.
I hope that makes sense to you.
No.
Other way.
Yes. So this one goes in the middle right here, like this.
Oh, and this goes on the top side.
Mm-hmm (affirmative).
And then this one will go next-
Whoops.
Whoops.
[inaudible 00:16:16].
[inaudible 00:16:16] next.
Now here, let me...
There's little pins in the...
All right.
There's this one.
So there's that one. And then this is... And of course you'll just keep sewing your hearts on here. And then this one is the top corner-
The corner.
Like this. And you'll just keep sewing your hearts on here and you'll do it-
Whoops.
... row by row by row.
They just don't want to stay.
They don't.
That's okay.
So I hope this makes sense to you, you get the gist of it, and they come together long. I made 32 hearts. Makes a great size quilt. It is... What was it? 68 by 68. Yep. 68 by 68. And so it's fun, I love how it came together.
It's really cute.
Really cute.
And now we've got a couple more projects for you, and Natalie you're up.
All right.
All right.
It's going to be fun.
All right. So Natalie, show us your project.
All right. So this is my table runner.
It's so cute with those tiny hearts.
I went true mini on these, you guys.
I love it.
It's so fun and it's a lot easier than you think, I promise. It's not so scary.
I am excited.
So I called it Connected Hearts and it ended up being 21 by 39.
Adorable.
And I do love a runner that has straight blocks in the middle and the frou-frou on the ends, because the end is what you see.
I love it. Yeah.
No, I love it.
So it turned out really cute.
All right. So show us... Tell us what we need to make it.
So to make my quilt, you just need one package of five inch print squares. And I used Peppermint Bark by BasicGrey for Moda.
I love them.
You need three quarters of a yard of background fabric. And that includes this little border. I just wanted to set it in. I thought it would look really cute. You'll need a yard for your backing. And then binding is like half a yard, but I use this really cute little stripe.
Here's the backing.
I just thought it was so cute, because it's printed already on the diagonal. So you're cutting straight grain binding, but getting that cute little stripe.
I love it. You guys know, I love a stripe.
Really cute.
Can't pass that up.
The first thing we're going to do. So this middle part is all made out of five inch charm squares. You don't have to do nothing. They're ready to go.
They're ready to go.
I love it.
Pick them and lay them out. And so-
To make your little hearts, though-
One, two, three, four, five, six, so, 24 for the middle.
Yeah.
Yep. So you can pull them out, but I would focus on pulling the fabrics for your hearts because you need really high contrast.
Okay.
Okay.
So if you can see in the quilt here, you can see the pattern in the black and red one, but this one you can't really see it because-
It does kind of mush up.
Yeah.
This has a little... Like a few too many colors and the prints are... It just doesn't show the pattern as well.
It muddies it up a bit.
So look for really strong contrast. Just a plan tip.
Good plan.
It's a great tip. Yeah.
So something like this. This will go really well. And then you want something. Maybe we can find a red.
Oh, there we go. Perfect.
This is a good one. So pull together your sets of-
And you'll need eight sets.
... high contrast fabrics. And then we're going to get to cutting. And we are going to cut one inch strips.
Oh my goodness.
One inch.
One inch strips.
I love it.
Yep. You crazy girl.
I know.
I love tiny, it's so cute.
And we're going to sew them together. So we're going to cut four.
Right sides together?
Uh-huh (affirmative).
All right. I'll get those.
Four one inch strips.
So if you actually had laid those right sides together, they'd be ready to go.
Yeah, they'd be ready.
Sorry. I could have done that.
That's all right.
Just a little tip.
Actually, we're only going to cut three.
All right.
I got my count wrong.
Okay.
Well you got excited.
Yes.
Because you were making all the [inaudible 00:19:57].
Yes, I was like, "All the one inch strips." We are only going to cut three, and then this one we're going to cut at one and a half.
Okay.
And then we're going to cut it in half again at two and a half. So these are going to be the tops of our little hearts.
Oh, how cute.
And they should stay in two sets. This is our little extra.
Here's those.
So press those.
Oh, oh. I have a job.
Yep.
I'm ready. I'm ready. Oh my goodness. These are so tiny.
They're so cute.
They are.
All right. There's one.
Mm-hmm (affirmative).
You do want to make sure that you don't have any folds, correct?
Yes. You have to be very careful with your sewing and pressing.
Yeah.
I recommend a scant quarter inch. Just so you have a little extra space. So now you can stitch these together.
Okay.
Oh, I see what you're going to do. This is so clever. There we go.
Yeah. And I don't even know if we actually need this one now that I'm thinking about it.
Maybe we can make two.
We'll see at the end it might be an extra.
There we go.
Here we go.
And iron again.
So we're going to press that open with our little strip set.
So cute. Look at those tiny stripes.
They are so cute.
All right. Let me see here. Let's all go one direction.
Yeah. And honestly, this is a project where starch is your friend. I would go ahead and have my starch out.
Do we have any down here?
Okay.
I didn't see any.
So what we're going to do is we are going to sub-cut one inch strips. And I'm going to go ahead and cut that side and I'm going to flip it around, because that edge was just not super, super perfect. And I'm going to clean it up. Okay. So we have one of those.
Wow. This is a great hack for making the woven heart.
And then this is a flip. That way.
That way.
Why couldn't I see it? I don't know. And then this one goes this way.
You want me to start sewing it?
Yeah.
Yep.
Okay.
And then I will go ahead and... If all of your seams are pressed in the same direction, as you flip those rows, they will automatically nest into each other.
Yes.
And you can do two and two and then put the two together. You just need... It comes out into a, is it 16 patch?
Yes.
A very tiny 16 patch.
So you can see how all the seams go in opposite directions.
Yeah.
And they auto nest.
So nice.
Because we pressed that one big sheet in one direction. All right. So now we actually don't need that. We are going to cut some one inch squares from our background.
She looks at me. She is like, oh, she knows mom's going to be dying here.
One inch squares.
One inch squares.
All right.
Okay. So I'm going to cut one, one inch strip for our little corners. Because we're snowballing those babies.
Oh my goodness.
And then I'm also going to cut a five inch strip. And this is what we're going to use to set these little tiny blocks on point. I'm just going to have that and I'll get to it in a minute, but I wanted to cut while I was cutting.
I'm just lining these up over here.
All right, here's your little one inchers.
I'm going to set this aside.
Here you go, Jenny. You could press that block.
Press it nice and flat.
You got it.
I love it.
You could just press this little tiny, tiny thing. Oh my land of lakes.
It's so cute though.
It's so cute.
It's so cute. You definitely need some starch.
Yeah.
Yeah. It's helpful.
Right, I'm going to put the heavy weight of the iron on it.
Okay. So we're going to make our little toppers.
Maybe if you flip it over and press on the back.
And these little guys we're going to use one of each color because I like that the wheat woven paper is two different colors. And so I wanted mine to reflect that.
To match.
Oh, that's a great idea. I should have done that with mine.
So you're just going to sew from corner to corner just like any other snowball. And they're just little, so just go slow. It's not any big deal.
I'm still pressing.
It's good. It's all good.
It's perfect.
And this, yep. It should be two and a half inches wide on both sides.
Oh my gosh. 16 blocks in two and a half inches.
It's so cute.
It is so cute.
I love it so much. Good work Natalie.
You should make a king size quilt for me out of that.
I know, right?
Right.
So cute. So we're just going to trim these little babies off and press that back.
Okay. Pretty sure I can handle this.
Sure. Oh, I need one more cut. I need... For the corner it's got to be one and a half inch square. I forgot that one.
Here. I'll trim this one.
Oh yeah. To set it together.
Yeah. Uh-huh (affirmative).
I wasn't following for a second. Am I good to just sew this one on?
You are. Okay. But what I do is I make sure that the outside of this matches this.
Okay.
So that shows my weave.
And here's the other topper.
Okay. We need the other little corner.
Yep. So the little corner that goes in between, because these are one and a half inches wide by two and a half, you need a one and a half inch square to go in the middle to fill that little space. So that's what these are for.
You want to press that one?
I will.
And I feel like this might be a little bit bigger than one and a half. It's looking bigger than my other square.
Yeah.
What is it? Oh, it's two.
It's two. Yeah.
I'm just going to trim that.
That's fine.
To a one and a half inch square.
You were just thinking one and a half looks small.
We all cutting mistakes. It's just what we do sometimes.
It's true.
Okay, so this square gets sewn onto to this side.
Because [inaudible 00:26:17].
It'll go in the middle. So just like...
It goes on that side.
Either way actually. Yep, just like that.
Yeah.
Perfect.
So stitch that to the side and then you'll add that to the top, the other piece.
Perfect. Got it.
Yep. So from your background, you need a one inch strip, a one and a half inch strip and a five inch strip.
Pretty easy.
Yeah.
All right. Here's this guy.
And we'll put these together. Look at these little tinies. I just can't get over it.
They're so fun. They're so fun. All right. I'm going to go ahead and cut this next step is our setting triangles or whatever you do to put it on point. I don't really remember what that's called.
Setting triangle.
Setting triangles, yeah.
Kind of. So I'm going to cut these five inch squares and then I'm going to cut them on the diagonal both directions.
There you go, Jenny.
Perfect. Oh my gosh.
It's so darling.
So cute.
It's the cutest thing I've ever seen.
I love it.
Yeah. Cute.
It's a little wonky. Sometimes tiny things are.
I think it looks amazing.
We're going to go ahead and surround, oops. That didn't cut all the way through.
So each one of these will do a block.
But we're going to go ahead and put these on. We'll use this outside edge. And you can center it up if you want, or you can just eyeball it.
Okay.
And so the two outsides first, then we'll press those back and sew on the two other sides. And then here comes the tricky part, you can square it to whatever size you want and I picked five inches so it would match my charm squares.
I think that was brilliant.
Perfect.
How easy is that?
Brilliant.
That's so good.
That is brilliant because that's where you run into trouble is a different size block, and do you add a piece? Do you take your seams deeper? What do you do? But this fits perfectly.
Nope... So, yeah. All right. Press those back.
My pleasure.
And it does the whole adding that square around the square to set it on point, it just covers all those little edges. It makes it look so perfect.
All those little... Anything that feels a little whoopsie daisy.
Mm-hmm (affirmative).
Slide this up just a smidge. There we go.
Yeah.
I'm going to have to go home and make some tiny hearts. This was a really fun...
You're going to be addicted to this like you are with the houses or whatever.
I think so.
Because they're so easy.
So cute. And one more.
Yep. And I also feel like I can make eight of these for a table runner and it's not overwhelming.
Right. Oh, I got a little narrow there.
It's not like making an entire... That's okay.
I think it's all right.
Yeah. It's going to be fine. So we'll press that back. It's not like you're making a whole king size quilt of teeny tiny things.
You volunteered earlier.
You heard me say it.
I did.
But, they're really cute.
And while you're at it, make two.
Or seven.
Or seven.
Okay. So I'm just going to square this to five inches and I'm going to sort of center it. I'm going to look for all my middle lines and line that up. And I think that looks good. So I'm going to do these two corners first. It's nice because this is a five inch ruler. So I can do that. And then I can line this edge up with my five inches and cut the other sides. Whoops. I want to make sure I have a quarter inch all the way on these little points. It makes it easier.
Well, you won't lose any.
Yeah. And that way that keeps it sort of centered so it doesn't look like one heart's up and one's down, which also would be fine though, by the way.
Right.
It's true.
Totally cute. And that's it.
Adorable.
That's so cute.
And that's it.
I love it.
So you just make eight of them at your leisure and then they go in the quilt just on the edge here.
Let's hold this up.
Or on either side.
Yeah. Just like that.
And how big is this border?
And so the border is one and a half.
Okay.
Because I had to cut that strip, but I didn't need all the strips to...
Right.
To make your [inaudible 00:30:34].
I just needed that one little square in the middle, and I thought if I'm cutting one and a half inch borders, I might as well go ahead and just put it all the way around the edge.
It is adorable.
That's it.
So cute. I love it.
It turned out really fun. I quilted it with Pine & Twine. And this is the backing. It's just a really pretty piece in the line. I think any of the fabrics from this line would be great on the back though.
Oh, absolutely.
It's true.
And there's several colors of this-
Stripe.
... diagonal Stripe that I love.
Awesome.
So that's it. It's that simple.
Well, Misty, let's see what you got.
All right, let's go.
So Misty, look at your project.
Isn't this fun?
It's so cute.
A little bit bigger hearts than Natalie's.
Much larger.
A tiny bit bigger.
Just a tiny.
And I like that it's curved instead of snowballed.
Yes.
Right.
That's really cool.
Just a little bit different option, and it's really simple to make.
Super cute.
So let me show how we did this. So to make this little runner, you're going to need one package of five inch squares. And I used Old Fashioned Christmas by My Mind's Eye for Riley Blake.
It is so cute.
It's really fun. And then you're going to need three quarters of a yard of background fabric. That includes your sashing and this first little inner border. For this outer border you're going to need a half of a yard. And then for your backing, you need one and a half yards.
And this is a really cute back.
It's a really cute back. Kind of holly.
Yeah, very pretty.
It's cute.
And then you will also need the small Drunkard's Path template.
Nice.
Woo.
We're going to make some curves. So let's dive right into this.
So for every block that you make, you're going to need eight, five inch squares. Four from each contrasting color. And so let's just pull those out now. And I did just make it scrappy because...
So your reds didn't have to match.
They didn't have to match.
It was just reds and greens or whatever.
Exactly.
Okay.
I'm just going to find some variety in here. There's one more red and then some green. Okay. So there we go. Now we have four and four. And you're just going to pick out the two that you want to be the tops. So I'm going to use these two. We'll save those for the curves. And these two. And now I'm going to match up a red and a green of the other two, and we're going to sew down both sides.
Oh, goody.
Nice.
I get to sew.
You get to sew.
On both sides, right?
Yes, please. All right. And then now I'm just going to use my little ruler. We're going to cut this in half, both directions. So that way and this way. And then Natalie, if you will press those open.
Sure.
And we'll do the same thing on this one. There we go.
Are we making four patches?
We are making four patches.
Very cool.
Yeah. We'll just put it back together.
Isn't it fun how they have the same look, but everybody used a different method to get there.
Mm-hmm (affirmative).
I love that.
I love that too. So if you want to press one of those, then we can mix them up, because I made them scrappy on purpose.
Nice.
And this is such a cute line. It really has the old fashioned Santa in there.
It really does. It's so cute. And then we'll just pair these together. If you want to sew those down.
We're making four patches.
We're making four patches, exactly. So I'll just keep pairing these up and handing them to you.
All right. I'll just keep sewing.
Perfect.
We got us a plan.
Oh, you got them both.
Here's this one.
There we go. That.
Oh.
And this. Press that.
Sure.
And this one.
You're like a speed demon over there.
Well, someone's got to do it.
Pretty fast on the machine.
It's awesome.
Well, and normally we would do these as a chain piece.
It's true.
We go along, go along, go along and I'm just popping them off and handing them over to you.
It's true.
There we go.
We'll press this last one. And then we're just going to arrange it in a 16 patch.
Nice.
And we'll sew these together, just like that.
All right. And then you want me to sew that center line too to make one big 16?
Yes please, just put it all together.
All right.
While you're doing that, I can go ahead and start teaching the curve part. So let's get... Let me find my background squares, should be here somewhere. Here we go. You are going to cut a four and a half inch strip from your background. And then we are going to use our Drunkard's Path template on our prints. We just need this curved piece.
Just the outside, huh?
Just the outside. You could totally do something else with the extra. We're just going to cut this curve.
Your [inaudible 00:35:57].
Just like that. And then from our background square, we can cut out the opposite piece.
Aren't you a clever girl.
There we go. And then now we are just going to set these together and I like to finger press. So I have a center mark. Do you do this when you do curves? Because I don't pin, but I like to have a place to match. So I'm just going to...
That's a smart idea.
Press that like that.
I don't usually think of it, but-
And then I just line it up and then whichever way you like.
There we go.
I actually have another one ready. So I'm only going to make you do one. But this is really nice, because it's just a really gradual and you just kind of ease it along as you go.
Yeah. You don't sew like a wild cat like usually.
It slows even Jenny down.
It even slows me down, but you're just lining up the edges as you go along.
It's true.
And it just works out really well. Our little template is really a nice, slow curve for it.
It is.
Five inch squares?
Well, four and a half.
Or four and a half?
I thought I had more, but I've misplaced them. So I'm just going to cut some, I don't know where they wandered off to.
Today is that day. I'll tell you what.
It just seems to be.
Everything is somewhere.
Here you go, Nat, if you want to press that down.
Yeah.
Yep.
One of my favorite things actually about the Drunkard's Path template and cutting them is that I love the pressing. They lay back so, so pretty.
Yeah, it's so satisfying, isn't it?
It's very satisfying.
I agree. So there we go. I'm going to cut that four and a half inch strip and then we can cut this into a four and a half inch square to set our pieces together because...
That little corner.
Yep. So one, two, three, four, wait. One, two, three, four, and a half.
Much better. Measure twice.
That's exactly right.
[inaudible 00:37:57].
Okay. And so now we have that ready, and let's pull over this other piece because we do want to sew two together to make the tops of our house.
Oh how cute. Clever.
So if you will put that together and I have the-
Oh, and here's your green side.
And I have the green already made.
Nice.
You can see those were the four that we set aside at the beginning to make our [inaudible 00:38:19]. Perfect.
Maybe, I'm going to look.
It looks great. It's good enough. Good enough for me. Good enough.
It's good.
It's off just a hair.
It's fine.
She'll survive.
I absolutely will.
I should have probably started from the top part and matched that little place because that part matters.
Yeah, it's true. And so then now we can just lay this out-
But not as much as you'd think, because it will also be in the seam.
You can't really see it.
It's true.
True.
And so then-
Oh, how cute.
... set it like that.
It's so cute.
And so we'll just sew this together.
Perfect.
And this together. It comes together really quick.
This has been a fun project.
Four nice big hearts.
Yeah.
Christmas in July.
Exactly. And then this one.
And I love that everybody's different take on them.
We should make a three inch Drunkard's Path, or a two inch.
I have been saying that, or just a little two and a half. That'd be so cute.
Because then, yeah, if it was-
Tiny.
... It would go on my cute little hearts.
Yes it would.
Oh my gosh. That'd be so cute.
I think we should do it.
I think it would actually need to be like one and a half, maybe.
It would be so small.
Yeah.
Yeah.
Stop it girls.
I love it.
Really small.
Just stop it. You're going it down a really scary path right now.
We're dreaming over here. We like small sometimes.
I do too sometimes.
I know you do.
They're so cute.
They're so cute.
There it is.
I always tell people, it's not harder, it's just smaller.
Yes.
Exactly. You just have to take a little more time.
You just take a little more time, but it still always, I have to say, makes me a little nervous.
Yeah. Well, I think you have to be really careful because your fingers are closer to the needle and the iron and all those things when you're working on it. But it's fun.
And they're big.
Yeah. It's true.
But you know what? That is where a stiletto comes in. That makes it really handy.
It's true. And so this is our block.
Look how darling.
You can see how quick it comes together. We just made four of these big blocks for the runner, and I just kind of twisted them back and forth.
Nice.
And set in between with a one and a half inch sashing and then took that and did the inner border, one and a half inch, and then a two and a half inch outer border. And this finishes at, I think it's like 18 by 57.
That's actually exactly right.
I got it.
She got it.
I got it.
That's perfect.
And so this, I do want to point out this quilting. Hopefully you can see it on the back because it's just so cute.
So cute.
This is one of our new patterns, isn't it?
It's new. It's called Christmas [Pano 00:40:50], and it just looks like cookie cutters.
It really looks like cookie cutters.
Yeah, like little sugar cookie.
It's so cute. So that's it.
Sweet.
All done.
It's so cute.
Awesome.
Well you guys, I have to say I loved our projects today.
I did too.
They're so cute.
They're so fun.
They're all so different and fun and great. And what a wonderful childhood memory for me. So we hope you enjoyed this Triple Play on the Swedish woven hearts from the Missouri Star Quilt Company.
Hi everybody. It's Jenny from the Missouri Star Quilt Company. We hope you enjoyed watching this video. If you aren't already part of the Missouri Star Quilt Company family, be sure to subscribe so you won't miss a thing. And if you click that bell, it'll notify you every time a new tutorial comes out. See you next Friday.


