

Triple Play: 3 New Tumbler Projects with Jenny, Natalie & Misty of Missouri Star
 Jenny Doan
- Charm Pack
- Traditional
- Lap / Throw
- Beginner
- Quilt size 85" × 89"
We’re starting a new tradition here at Missouri Star: Triple Play! Once a month, Jenny, Misty, and Natalie will each demonstrate their own, unique take on a classic MSQC pattern. This month, our talented Doan ladies are demonstrating three new tumbler patterns. And, as always, each of these projects is quick, easy, and lots of fun!
Instructor
Jenny Doan
Jenny Doan is an American quilter, author, and YouTube personality. Jenny started Missouri Star Quilt Company in 2008 and today it is the largest quilting supply vendor in the United States.
Shop this tutorial
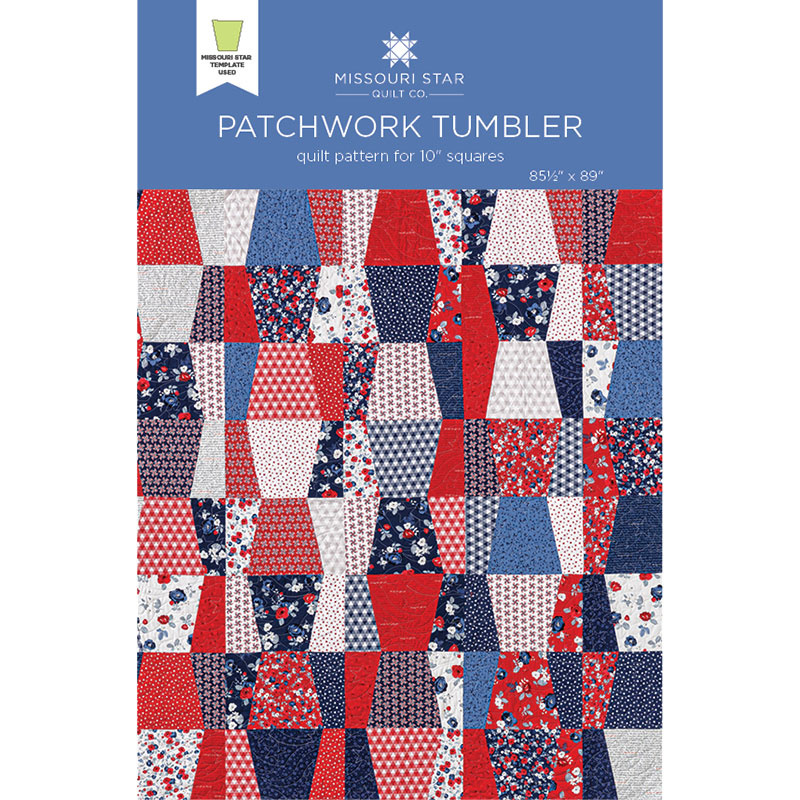 Patchwork Tumbler Quilt Pattern by Missouri Star$4.95Shop →
 Digital Download - Patchwork Tumbler Quilt Pattern by Missouri Star$3.95Shop →
 Land of Liberty 10" Stackers$38.95Shop →
 Confetti Cottons - Crayola Solid Color Riley White Yardage$6.75Shop →
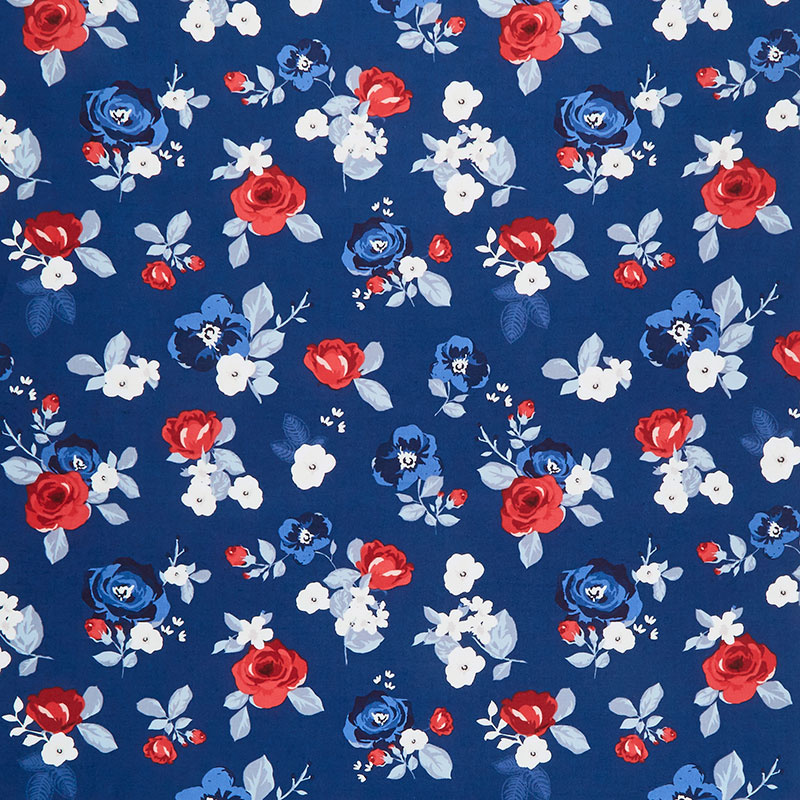 Land of Liberty - Floral Main Navy Yardage$10.95Shop →
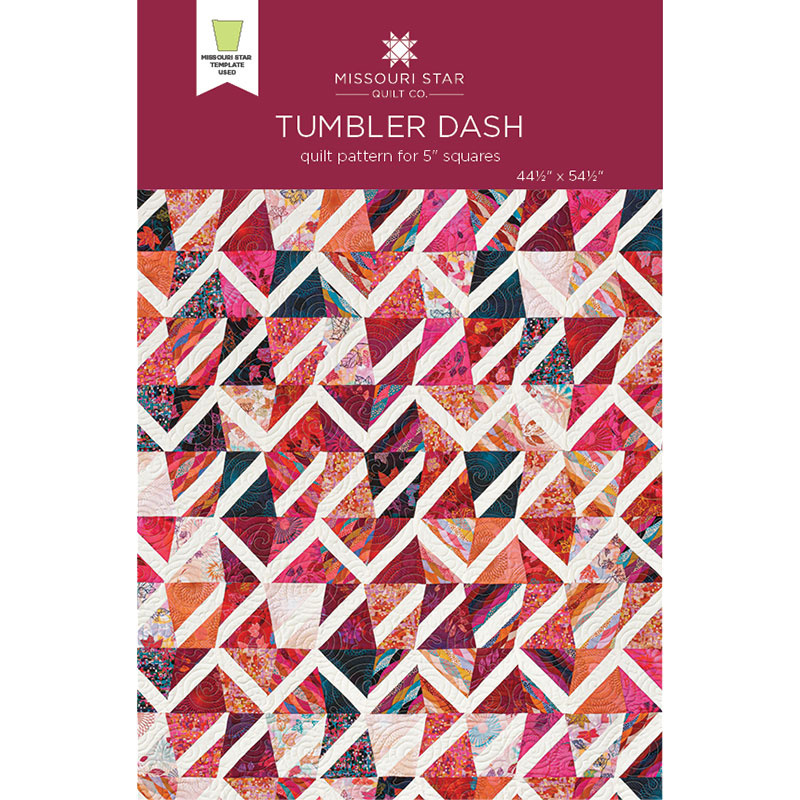 Tumbler Dash Quilt Pattern by Missouri Star$4.95Shop →
 Digital Download - Tumbler Dash Quilt Pattern by Missouri Star$3.95Shop →
 Loose Leaf Digitally Printed Charm Pack$10.45Shop →
 Kona Cotton - White Yardage$6.25Shop →
 Loose Leaf - Spiral Aubergine Digitally Printed Yardage$10.75Shop →
 Four-Patch Tumbler Quilt Pattern by Missouri Star$4.95Shop →
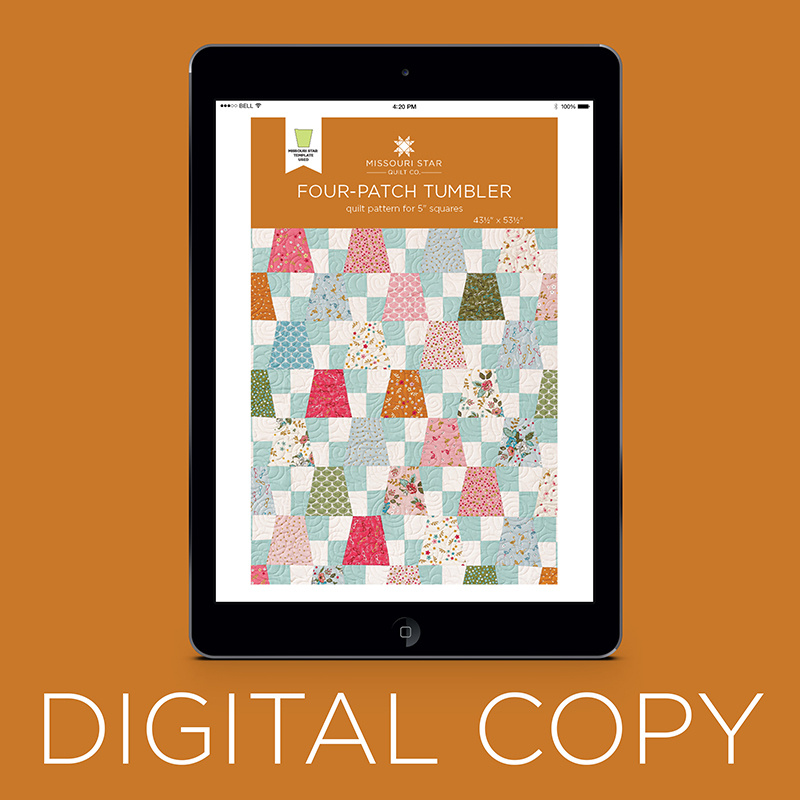 Digital Download - Four-Patch Tumbler Quilt Pattern by Missouri Star$3.95Shop →
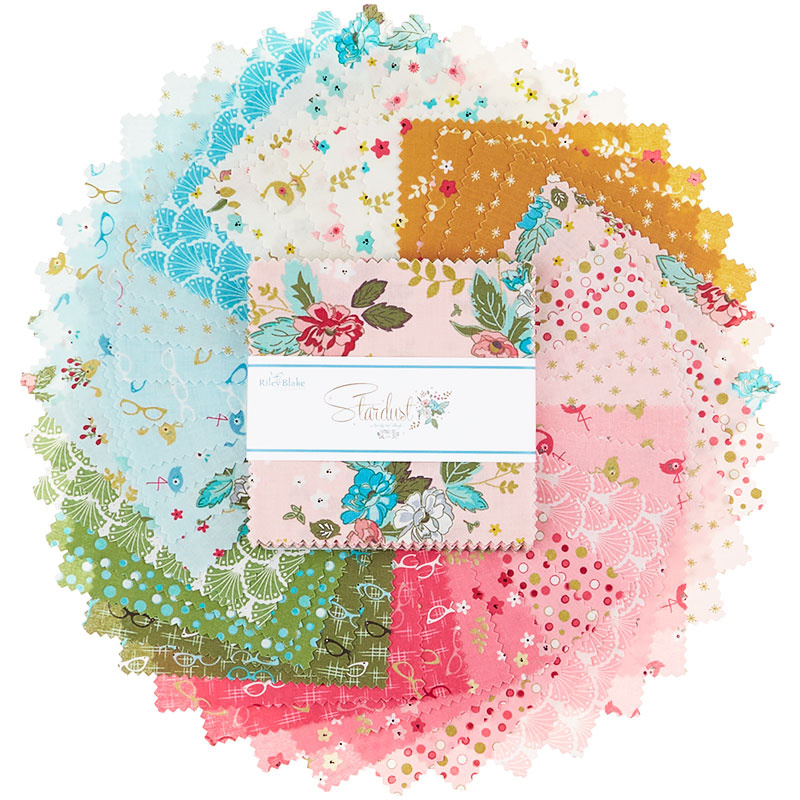 Stardust 5" Stackers$11.45Shop →
- Confetti Cottons - Crayola Solid Color Riley White Yardage$6.75Shop →
 Stardust - Floral Mist Metallic Yardage$11.95Shop →
 Missouri Star Large Tumbler Template for 10" Squares$16.95Shop →
 Missouri Star Small Tumbler Template for 5" Charm Packs$7.95Shop →
Common Questions
What is covered in Triple Play: 3 New Tumbler Projects with Jenny, Natalie & Misty of Missouri Star?
We’re starting a new tradition here at Missouri Star: Triple Play! Once a month, Jenny, Misty, and Natalie will each demonstrate their own, unique take on a classic MSQC pattern. This month, our talented Doan ladies are demonstrating three new tumbler patterns. And, as always,...
How long is the tutorial video?
The tutorial video is 00:24:00.
Are supplies listed for this tutorial?
Yes. The tutorial page includes the supplies and materials connected to this project.
Is a transcript available?
Yes. A written transcript is available on the tutorial page.
Video Transcript
Misty: Misty
Jenny: And with
Natalie: Natalie
Jenny: And we are so excited about today’s project. We chose the Missouri Star tumbler template to work with. And I know you guys love to see all the different things that we do. And today we’re going to start with mine. And that’s this quilt behind me right here. First of all the fabric is darling. I love anything red, white and blue. Doesn’t this look like a giant picnic waiting to happen, doesn’t it? Now how does this quilt come out? I can’t remember.
Natalie: 85 by 89
Jenny: So it’s a great big nice size quilt. We actually used two packages of layer cakes to make this. And so you can fit a good size family for a picnic on this one. Why not, right? So to make my quilt, you’re going to need two packages of ten inch squares. And we have used Land of Liberty by My Mind’s Eye for Riley Blake. Your first inner border, you’re going to need 1 ½ yards of a corresponding color. And we used white. And we used this fabric right here for our outer border. You’ll need 1 ¼ yards. For our binding, you’ll need ¾ of a yard and for the backing you’ll need 8 ¼ yards of vertical seams or 2 ¾ yards of 108. This is the backing, the border, the binding. I also used the Missouri Star large tumbler template. So this is super simple to make. You’re going to use two packages of ten inch squares. And one whole pack you’re going to cut whole tumblers out of. And so we’re just going to take this out. And one of the things I love about this, our templates, is that they are made for the pre cuts. So they fit right on there, you know, edge to edge with very little waste. And so this is going to be our center like this. And we’re going to cut it both sides just like that. And then your second pack, you’re going to take the whole pack, and you just stack those up. So out of your second pack of ten inch squares we are going to take all of those and we’re just going to fold them in half like this. And you’re going to do this to each one. Now what this is going to do is it’s going to make sure that you have one piece that, you know, slants this way and one piece that slants this way. So what we’re going to do is we’re going to take our template and we’re going to line up this middle line right here along the edge of our square that’s folded in half. So you want to make sure that it’s folded exactly, you know, that those lines are meeting up. And then we’re just going to lay this on here like this and we’re just going to make one cut. And this piece is going to go over here. And then we will have a piece that goes this way and this way. So see how they both, they both slant differently. So then what we’re going to do is we’re going to put all of these in a pile as well. So when you start making your blocks, you’re going to grab one of these. And you’re going to grab two different ones of these. So we’ll grab one like this and put it on here. And we’ll grab one like this, oop this one didn’t get quite cut. Grab that. And we’re going to put it on this side over here, this one. So, you know, for those of you that are angley challenged like me make sure your sides end up straight and that everything just ends up, you know, going the right direction. Alright so Misty, if you will sew these together.
Misty: Absolutely.
Jenny: And this is one of those templates that you’re just going to kind of line it up as close as you can get to the corner. And it’s not a lot of, oh are you on, there you go. Make sure the sewing machine was on. So this is super easy. Literally this goes together so fast. And we’re going to flip that around. Natalie, make sure that iron is hot cuz we’re coming to you next.
Natalie: It’s ready.
Jenny: Coming to you next.
Natalie: Awesome.
Misty: Make sure we’re lined up.
Jenny: Now even if these get off just a little bit, remember you’ve got a full quarter inch seam to catch them in so it won’t matter if they’re just a little bit off.
Misty: There we go.
Jenny: Alright Natalie, if you’ll iron those out, that would be awesome.
Natalie: Sure.
Jenny: Let me move the scissors for you. So basically guys, this is our block. You just keep doing this a bunch of times and you’re going to have a quilt just like the one behind me. So when we put it together literally what we’re going to do is we’re going to line them up like this and just sew them together in these rows right here. And so this secondary block right here, what it does is it makes this little four patch looking thing. So let’s take a look at this. So here’s our whole block here and then we’ve got these two. So you can see the pieces on either side. But then when we line them up as a row, this part right here kind of does a four patch patchwork kind of thing. And I just think it looks really cool how it comes together. It ends up looking way more scrappy, you know, than we intended. But it’s super easy and super quick. And so again we have one, two, three, four, five, blocks across the top. And then one, two, three, four, five, six, seven, eight down. And it makes a quilt, again Natalie, that is
Natalie: 85 by 89
Jenny: 85 by 89. So it’s a great size quilt and I just hope you love my project. It’s quick and easy.
Natalie: Ya it’s really cool. I love that you don’t have to trim the edges.
Jenny: Right, it makes a straight edge.
Natalie: Often when you’re doing, on mine, when you’re doing a tumbler quilt you just have to cut off that edge to get, to make it straight.
Misty: And it just goes together so fast.
Jenny: We did a little six inch border on here and then this backing. We also used the same fabric for the backing. And this quilting pattern is Star Spangled and it’s just so cute. Look at it. You can probably see it pretty well in some of the darker colors. Again, on quilting we tend, I tend to choose the lighter color, go with the lighter color. And that way it kind of shows as part of the pattern over here but it doesn’t distract in the lighter color. Also we put a little 1 ½ inch strip around the outside just kind of to frame it in and make it work. I mean it came together really quick and easy. It’s a really fun project. Ok, so who’s next?
Misty: I think I am.
Jenny: Alright. I’ll clean up my stuff.
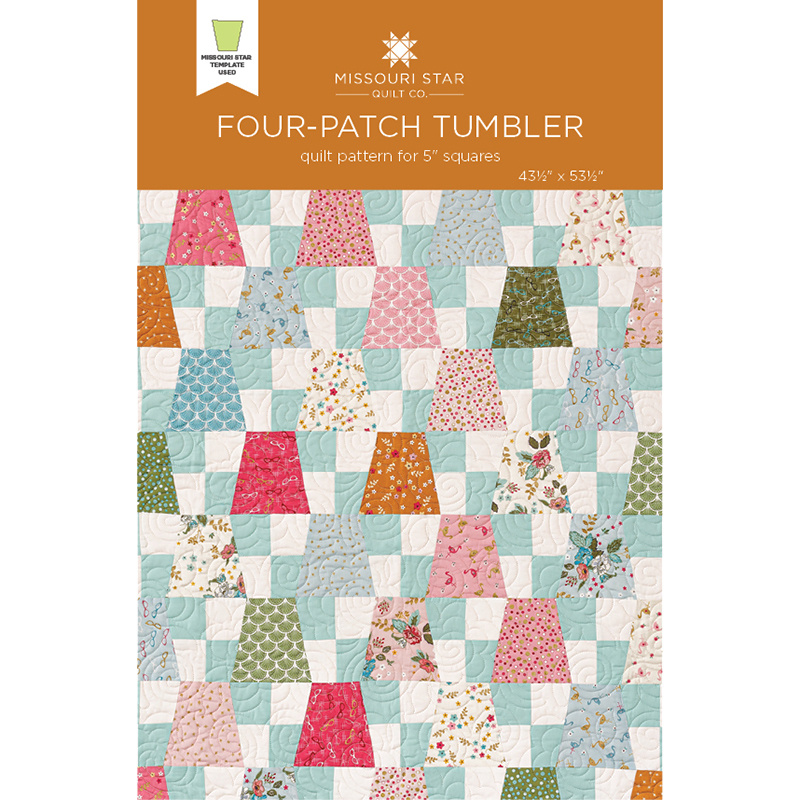
Misty: Alright, this is my little quilt. I made this little baby quilt that I just called Four Patch Tumblers because we have actual four patches in between our tumbler shapes.
Jenny: It’s so cute.
Natalie: I love it.
Misty: I love it too. It came together really quick and it’s super easy. To make my quilt you’re going to need one package of five inch print squares. And I used Stardust by Beverly McCullough for Riley Blake. You’ll also need ¾ of a yard of background fabric . And that includes your inner border. One half yard of accent fabric. One yard for your outer border and an additional half yard for your binding. I used the same fabric for that. And then three yards of backing, horizontal seams. And the small Missouri Star tumbler template. So to begin with you just need one package of five inch squares. And we’re going to use the small tumbler template and we’re going to cut that entire pack into our tumbler shapes which we’ve got here. And then to make these accent four patches we’re going to use strip sets. And these are 2 ¾ inches so you have your accent color and your background color. And I just sewed those together all the way down the side. And then we’re going to cut those into 5 ½ inch rectangles. Then we will put these right sides together, opposite colors exactly and we’re just going to lay those like that, make sure our seams nest and then we’re going to sew a quarter of an inch on either side. I actually went ahead and did that already.
Jenny: She’s so smart.
Misty: Just like so. And then we can measure over. And if you just lay this little ruler on the seam line it’s exactly in half because we’re trying to still have a five inch finished square here. That’s what we’re shooting for. And then we can press these open.
Natalie: That’s interesting. I think you should show that again because you didn’t lay it on the edge of the fabric. You laid the ruler right next to your stitches.
Misty: Yep. I have another one ready here.
Natalie: Because it’s 5 ½ and you took in a quarter of an inch on each side then that makes it right down the middle. I think that’s very cool.
Jenny: And my mind just went a little crazy because now we have something that’s the exact size of a charm.
Misty: Exactly.
Jenny: And by making your strip set just that quarter of an inch bigger
Misty: It matches your charm pack.
Jenny: It matches your charm pack, oooh! A whole bunch of ideas coming here.
Misty: Exactly. So let’s show that one more time. So here’s my stitch line. You can see that’s a quarter of an inch from the edge of the fabric. So that’s where I’m going to go ahead and
Jenny: And these rulers are 2 ½ so really if you had a normal ruler, it would just be 2 ¾
Misty: Exactly, which I could show on the other one. And so we’re just going to lay that right on the edge and then make a cut. And that will give us our four patches.
Natalie: It’s such a great hack though. I really like that.
Misty: It is. It works. Well I love using this little ruler so anytime I can figure out a way to use it that’s what my brain likes to do. So then now for the rest of this we’re just going to treat our four patches just like we would our five inch squares. The only thing you want to keep in mind is when you’re cutting your tumblers out you just want to keep your four patches oriented the same way. So I always
Jenny: Oh, that’s a mistake I would have made.
Misty: I always put my blue up and to the left every single time when I cut out my tumblers. And then you can see when we do that it allows them to chain through. If you switch it up they won’t chain like that. So you have to pay attention to
Jenny: It would have taken me a few hmms before I figured that out.
Misty: It took me just a second. I did make that mistake.
Jenny: I like how we have these lines on the tumbler so you can center that up on your
Misty: Exactly, it makes it perfect for your four patch so you can see these markings are on here and we’re just going to line those right up with where we sewed. And then we can cut out our tumblers. I did use a rotating mat but you can just turn it.
Jenny: Well any mat is a rotating mat if you just turn it around.
Misty: Exactly. That’s right. And we’ll trim that side. And it is ready to go. And it is as simple as putting your tumblers just alternating with the four patches. And that’s it.
Jenny: It’s so cute. Now I do want to say I saw this when you showed it to me, it was hanging the other way. And to me it looked like flower pots. And you know there was a
Misty: That would be so cute. If it was turned over we could applique little flowers. I love it
Jenny: Such a great idea.
Natalie: That’s so great. I love it.
Misty: And did we say what size it finishes up?
Natalie: 43 by 53.
Misty: 43 by 53
Jenny: And what a fast baby quilt.
Misty: Oh super fast
Jenny: I mean, some people that we know and love are having two babies a week. Not the same two people but grandmas, you know. So we need baby quilts. And this is a great way to get a baby quilt really quickly.
Misty: I agree. It comes together super fast. We put this little 1 ½ inch inner border and I believe this is a five inch outer border. And it just frames it up.
Jenny: And what did you quilt this with, what is this? Is it Curly Twirly Flowers?
Misty: I believe it is
Natalie: It sure is.
Jenny: I love that. Oh look at that cute back.
Misty: A pink backing.
Jenny: So you can see the little flower right here. That’s so cute. One of my, that’s one of my favorite stitch patterns. I really love it.
Misty: I love it too. So Nat I guess you’re up next.
Natalie: Alrighty.
Jenny: Natalie I love yours, this is so great.
Misty: It’s adorable.
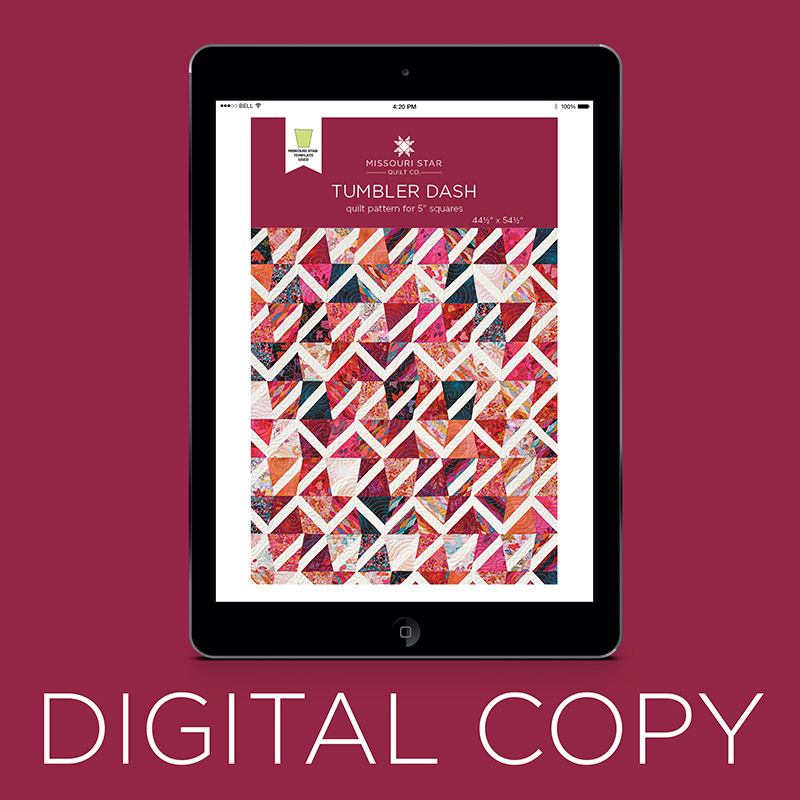
Natalie: Thank you. I called mine Tumbler Dash because I think that these look little like dashes and I thought it was kind of a fun way to put it together. But you’ll find that it’s really very similar to like a lattice quilt.
Jenny: Well there’s probably a million ways you could put this together.
Natalie: I could have set this several different directions. I had a really hard time actually picking a layout.
Jenny: I love this though.
Misty: I love it too and when you step away from it, it’s so interesting because these white lines just kind of make these boxes and you don’t even see the tumblers. It’s really deceiving. I love it so much.
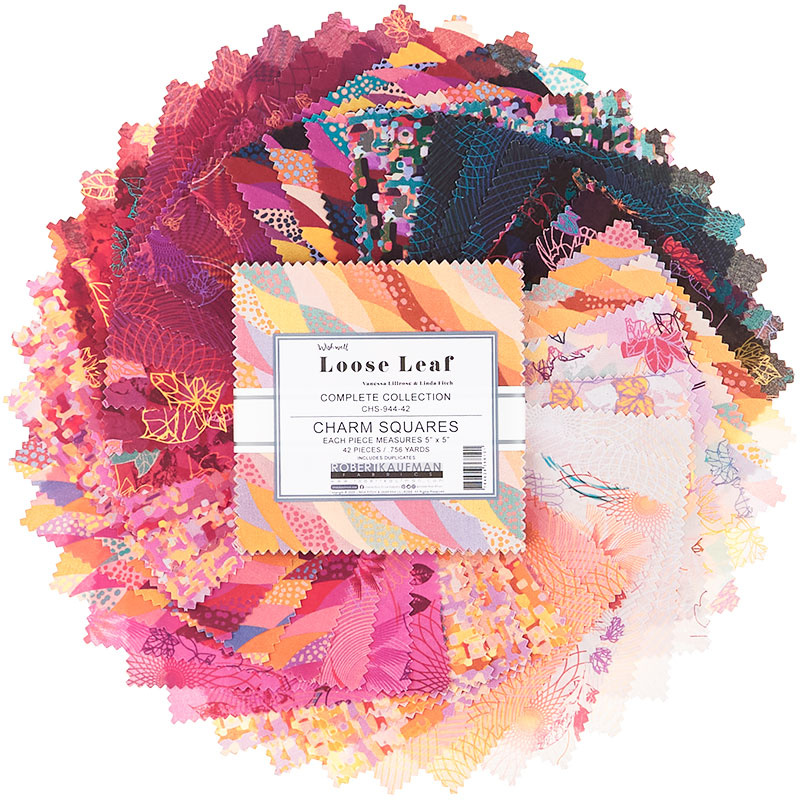
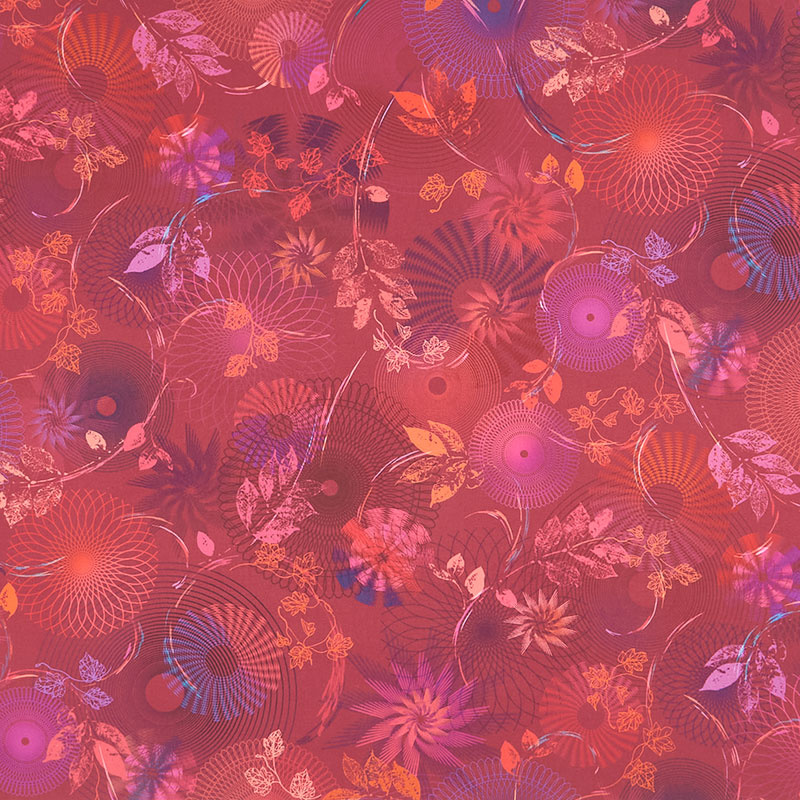
Natalie: Ya so when you make, if you make your own you can play around with the layout. There’s so many different things that you could do with it. So to make my quilt you will need three packages of five inch squares. And I’ve used Loose Leaf by Wishwell for Robert Kaufman. You’ll also need a yard and a quarter of background fabric. And at the outer border is ¾ of a yard. Your backing is three yards or you could have a 108 yardage and we used this beautiful piece. You’ll need a yard and a half for that. You’ll also need the small Missouri Star tumbler template. So the first thing we’re going to do is take all of our charm squares and we’re going to cut them on the diagonal. And for this part it doesn’t matter which direction you go because this fabric is all multi directional. So just lay your template on there, your little ruler and cut diagonally. And then what we’re going to do is we’re going to piece a strip of background fabric down the middle. Now you can cut these pieces into seven inch strips and you can fold your triangle and find the middle and fold your strip and find the middle and all that jazz but being the daughter of Jenny I decided to piece mine
Jenny: I just didn’t know what was coming next.
Natalie: I know right. I found a hack. So I just pieced my strips this way and I actually did to be organized, I set my pieces in two different piles because you want these two pieces then to match up. So you keep on set in one pile and one set in the other pile. And you’re going to strip piece all of the one side first.
Jenny: Ok.
Natalie: And then we’ll press them back. And I’ve got a couple other ones here we can add to our pile.
Jenny: So this is one of those fun chain piecing projects.
Natalie: Totally and it’s so fast.
Misty: Makes it so quick.
Natalie: Right. So those ones stay together. And actually what I did is I would go through how many would fit on my strip, which you’ve got two right there.
Jenny: Oh, I just saw that when I went to pick it up.
Natalie: Ya this fabric is very fine. It almost feels like laun. It is very beautiful.
Jenny: It’s really fun though. It sews so different. Alright so now right here, I’m putting this one right next to here.
Natalie: It’s ok, it doesn’t have to be a certain amount apart because we are just going to cut them straight apart.
Jenny: Ok. Oops, I veered on that one. Now I’m having all the troubles. Here we go.
Natalie: That’s ok.
Jenny: One more time.
Natalie: So what I did is I would get about, I think maybe five, four or five that fit on a strip. And then I would just select those four or five and I would flip them over because when you flip your strip the last one that you sewed is going to be on top and that’s how I would pick them back up. Like just for a little easy hack to keep going without it being too tricky.
Jenny: Alright anymore?
Natalie: Ya let’s do one more.
Jenny: One more. One more piece. There we go. Oops, do you have to be perfect on this.
Natalie: You do not have to be perfect. These are all going to get trimmed in a different, with a tumbler ruler after.
Jenny: Oh good.
Natalie: So then
Jenny: I really veered on that last one.
Natalie: So I actually didn’t press them back until after I stitched the other side. But I wanted to show how this is going to look so just kind of finger press it for a minute and then what you’re going to do is lay this down. Instead of stressing about, you know, finger pressing and finding middles, I just laid mine on top of it and kind of eyeballed it.
Misty: So that the points match up.
Natalie: Sort of center it so this point matches with that point.
Jenny: Are these two the same? Did I use the same two fabrics?
Natalie: There’s multiple prints in this charm pack.
Jenny: So I would be a little nervous about doing this because I’m not so good at the lining up things.
Natalie: You’re a great eyeballer, what are you talking about? You eyeball everything.
Jenny: I know but I feel like I would fold over the middle strip and then lay it from there, you know.
Natalie: Well and if you’re worried about it you can totally do it that way. It’s 100% ok. So just practice and see how it goes. What you want to make sure is that you have about the same amount on each side and that this point right here, the middle point, lines up with that point.
Jenny: Ok. I mean, I’m close, right?
Natalie: Ya it’s really forgiving because we’re going to trim everything into a tumbler shape anyway.
Jenny: And the next one is the butterflies.
Natalie: There you go.
Jenny: And this is the same fabric.
Natalie: It sure is.
Jenny: So I kind of love fabric where you know if you cut one piece out of it and it looks like it’s a completely different fabric.
Misty: With larger prints you get that quite often.
Natalie: The other thing I had fun with was cutting these this way or that way. It looks different in both directions which I kind of enjoyed. So for me this was very easy, therapeutic. I just pushed them all through. I didn’t worry too much about anything.
Jenny: Alright, I’ll try not to worry too much about anything.
Natalie: Don’t worry. Ok so now we’re going to press them open. And I just pressed from the top so
Misty: Just roll them back?
Natalie: Ya roll them back.
Misty: There we go.
Natalie: If you’ll go ahead and do all of them.
Misty: Absolutely.
Natalie: Ok so now comes the fun part. We’re going to cut and we have to remember that we have an A block and a B block. And I didn’t think that was important at first because I thought, oh I’ll just flip the tumbler and the strip will go the other way. But it doesn’t. It stays going the same way. So the A block is, I believe it’s this one. So we’re going to cut all of the A tumblers in this direction. And what I did is I lined up in the opposite corner. So I just used this top right corner for all of my A blocks.
Misty: And so when you say going this direction, you mean this part, right?
Natalie: Yes, I mean the strip is going top left to bottom right for all of your A blocks. So you’ll see though, like you lose quite a bit and it doesn’t really matter if it lines up exactly.
Jenny: Ya I would have been nervous about that. I would have been, this has to be, this has to match.
Natalie: Right, now you could do that if you wanted to. You could say oh I want everything to line up with this bottom quarter inch line but I didn’t. I went with the top corner of my block. So
Jenny: Well that’s good to know
Natalie: It’s nice though because it’s flexible enough that you could do it however you wanted to. So then we just trim these off. And I’m just going to go a little under the arm. Don’t tell anybody. And I’m going to trim that top just a tiny bit. Ok so then you’re going to make, how many of those, I have a little, is it 85?
Misty: 36 A blocks.
Natalie: Ok. 36 A blocks.
Misty: And 85 B.
Natalie: 85 B blocks. Ok. Alright so the B block just goes in the opposite direction.
Jenny: So you don’t have to sew anything different?
Natalie: Yep, all my sewing is done now. I did all of that exactly the same and then I just cut, you know, a stack. We have three charm packs to work with so we just made them all up and then cut 36 of one and 85 of the other. And this one gets lined up in the opposite corner. And that was just how I remembered, you know, which direction to sew it.
Jenny: That’s fascinating to me.
Misty: It’s really cool.
Natalie: So. And if you wanted to do a different layout like we were talking about like a lattice work. Depending on what you did you might need different numbers. You would maybe need half and half if you were doing chevrons.
Jenny: Right.
Natalie: So mine just ended up differently and I’ll show you in a minute the rows, how the rows worked out. Ok, so what did we say about how many, was it 85?
Misty: 85 B.
Natalie: 85 B blocks and 36 A blocks, right? Ok so the reason for that, and this is all you need to do to make this quilt, this is it. And the reason for that is that this row is up and down so you need one of each in this whole row. And then this row they all go exactly the same. So this is the one that you need 85 and then these ones you need only 36 because you only use every other one in each row.
Jenny: And you’re flipping them, right?
Natalie: Do you see what I’m saying? I thought that it would flip but it doesn’t . It’s the same block and you need more of them in these dashed rows than you do in the zig zag rows.
Misty: That’s so interesting.
Jenny: Ok so let’s lay it out and see what happens.
Natalie: Ok. So if you’re wanting to do a chevron you’ll need one of each and those will go like this. Oops, not that one. There we go. Ya it was a little bit
Jenny: You’re a little bit high, let’s go down a little.
Natalie: Oh sorry.
Jenny: So we can get it in the camera.
Natalie: It was a little bit tricky doing this. And you could do, let’s see, there’s so many different ways to do this. So what am I trying to do here? There we go. So we have the chevron and we have the dashes.
Misty: Ok
Jenny: And so those are your two rows? Chevron, dashes, chevron, dashes, chevron, dashes.
Natalie: And that’s exactly right. And then they create the boxes.
Jenny: They create the boxes. Oh my gosh. I love it when a layout doesn that.
Misty: I love it so much.
Natalie: So but then if you wanted to you could do little X’s with just different, having different, oop this one and then this one. Nope, yes, this way. It’s a little bit tricky but you can have a lot of fun with it, I promise.
Misty: Ya it’s so cool.
Natalie: So I want to talk about the border really quick. I wanted to leave this edge so that it did its tumbler shape. So I just cut solid tumblers out of my border fabric. And then the top and bottom is three inches because that is the width of the narrow end of the tumbler. And so it ends up looking, you know, very similar.
Jenny: Look at that backing.
Natalie: Ya this backing is gorgeous.
Jenny: And I love, this is Sticky Buns.
Natalie: It’s actually a 108. Wish Well has some really beautiful backing fabric so if you like the fabric look at the backings because they’re great.
Jenny: That is gorgeous.
Natalie: So hopefully that is inspiring and fun and new ideas.
Jenny: Three new uses for your tumblers.
Natalie: New ideas for tumblers.
Misty: Exactly.
Jenny: So we hope you enjoyed our Triple Play using the tumbler template. I think we gave them three great, new ideas, fun and easy things . But I have one more thing to share
Misty: A little surprise.
Jenny: A little surprise. So I love this line so much. You know, I love red, white and blue anyway. But this is a panel that comes with that line.
Misty: It’s so cute.
Jenny: Is that not the cutest thing? And so this whole panel, it’s just a panel. There’s no block. The first little tiny star border is part of the panel. I did add the bigger outer border to it but
Natalie: It’s so quick though and so fun for your porch.
Jenny: So easy and I mean it’s just perfect. So watch for this panel you guys. That’s a great little project to make for your upcoming holidays. And we hope you enjoyed this month’s Triple Play. We’ll see you later.
Jenny: We hope you enjoyed watching this video. If you’re not already part of the Missouri Star quilt family you can hit the subscribe button below so you won’t miss a thing. And if you click that bell it will notify you every time a new tutorial comes out. See you next Friday.


