

Triple Play: 3 Ohio Star Quilts with Jenny Doan of Missouri Star
 Jenny Doan
- Charm Pack
- Traditional
- Lap / Throw
- Beginner
- Quilt size 48" × 48"
We have a new tradition here at Missouri Star: Triple Play! Once a month, Jenny, Misty, and Natalie each demonstrate their own, unique take on a favorite block, technique, or template. This week these talented Doan ladies are showing off three Ohio Star quilt projects, and they are all quick, easy and "sew" pretty!
Instructor
Jenny Doan
Jenny Doan is an American quilter, author, and YouTube personality. Jenny started Missouri Star Quilt Company in 2008 and today it is the largest quilting supply vendor in the United States.
Shop this tutorial
 Ohio Star Celebration Quilt Pattern by Missouri Star$4.95Shop →
 Digital Download - Ohio Star Celebration Quilt Pattern by Missouri Star$3.95Shop →
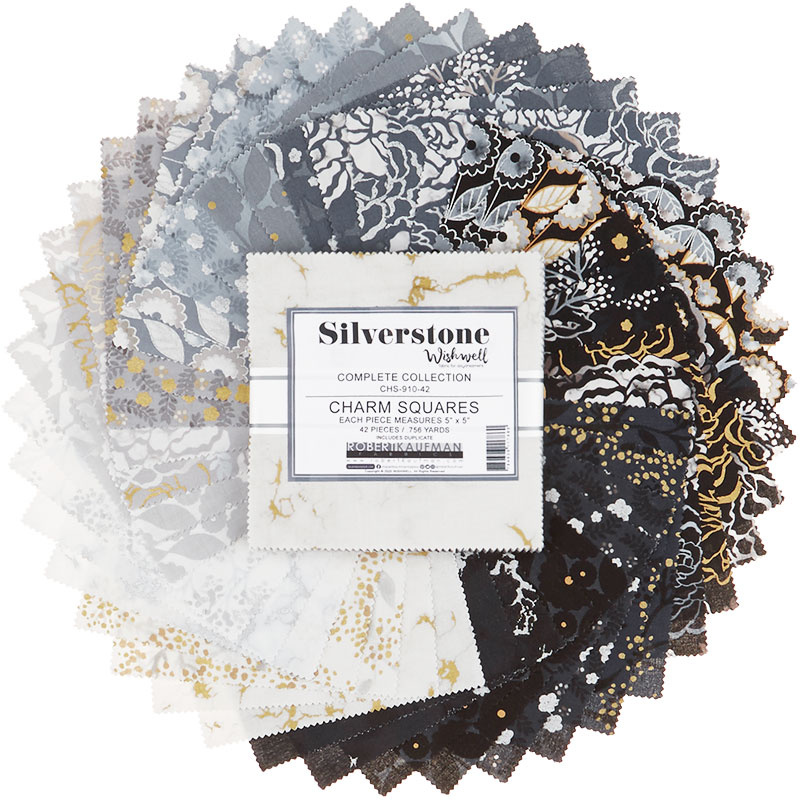 Silverstone Metallic Charm Pack$9.95Shop →
 Kona Cotton - White Yardage$6.25Shop →
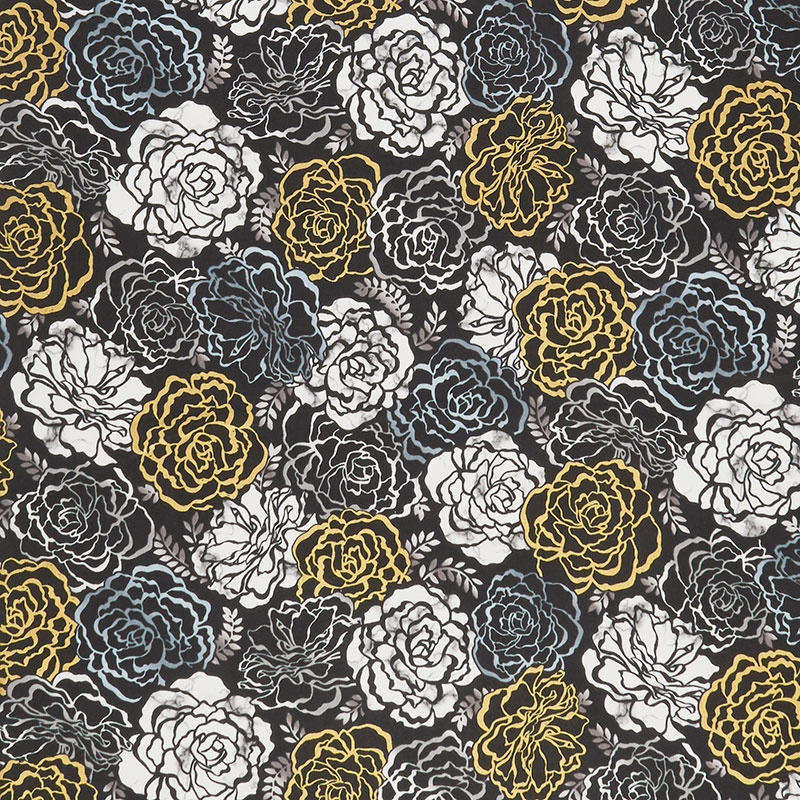 Silverstone - Flowers Onyx Metallic Yardage$10.95Shop →
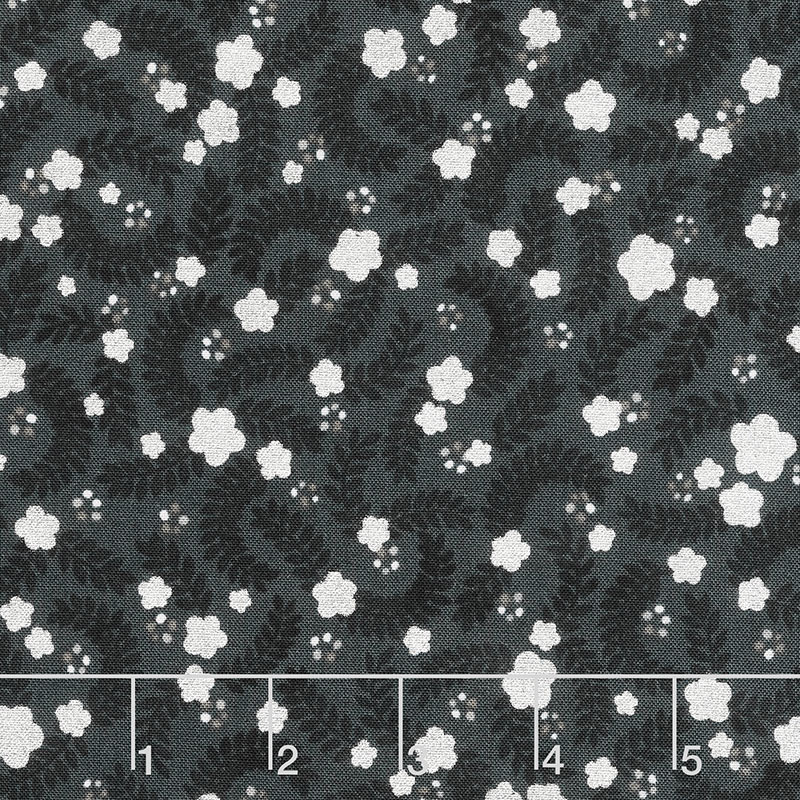 Silverstone - Vines Onyx Metallic Yardage$10.95Shop →
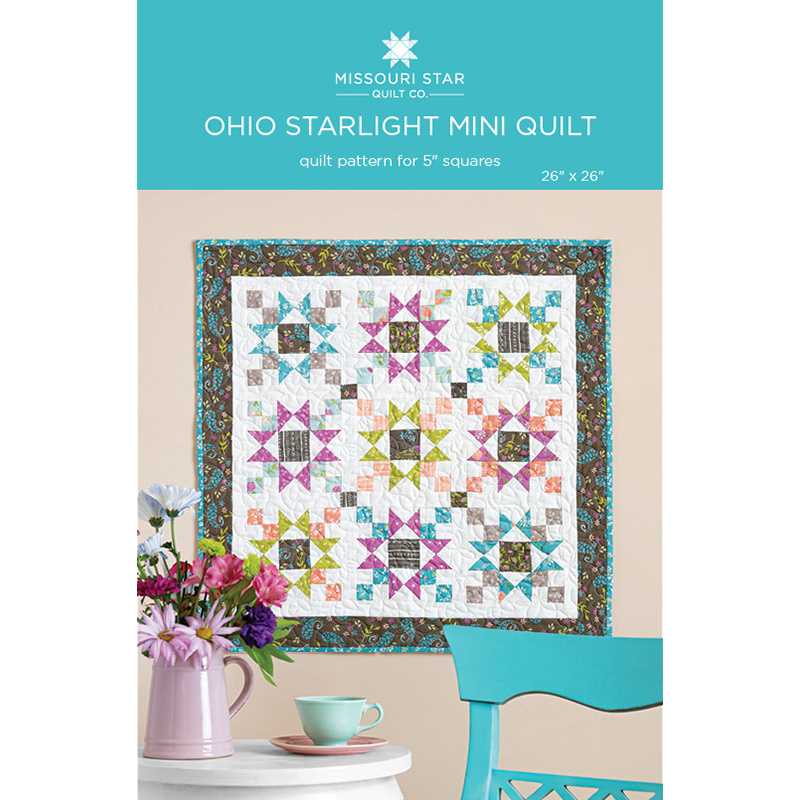 Ohio Starlight Mini Quilt Pattern by Missouri Star$4.95Shop →
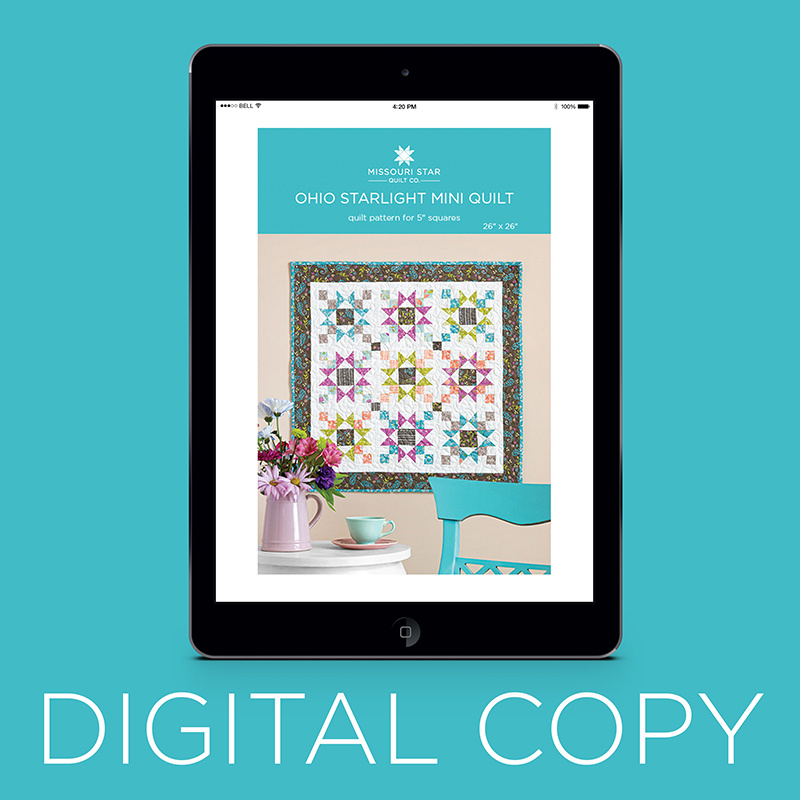 Digital Download - Ohio Starlight Mini Quilt Pattern by Missouri Star$3.95Shop →
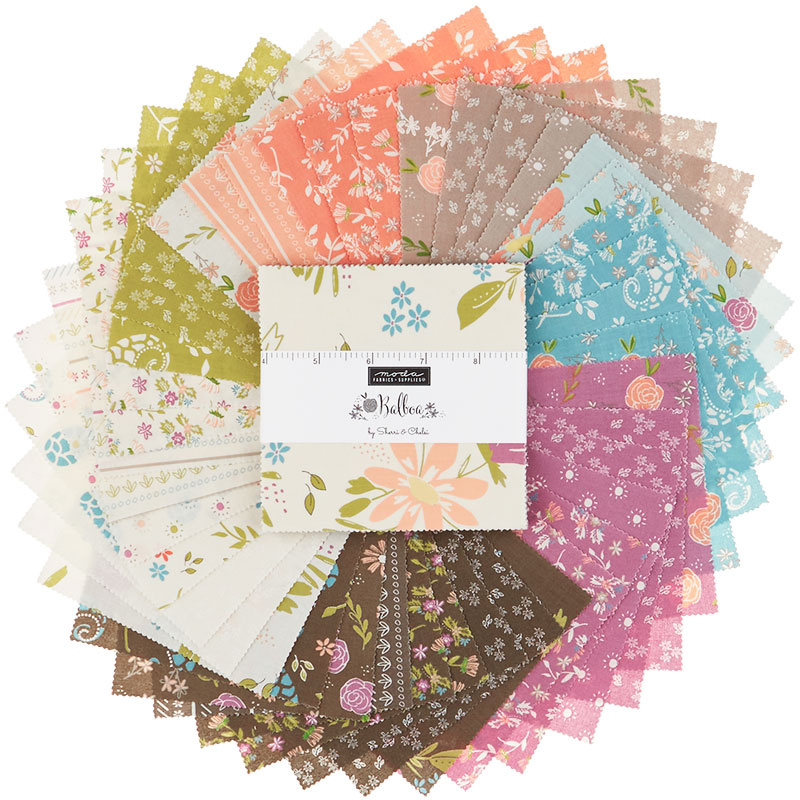 Balboa Charm Pack$9.95Shop →
 Balboa - Marina Charcoal Yardage$10.45Shop →
 Bella Solids - White Bleached Yardage$6.95Shop →
 Balboa - Primrose Ocean Yardage$10.45Shop →
 Blue Ribbon Ohio Star Quilt Pattern by Missouri Star$4.95Shop →
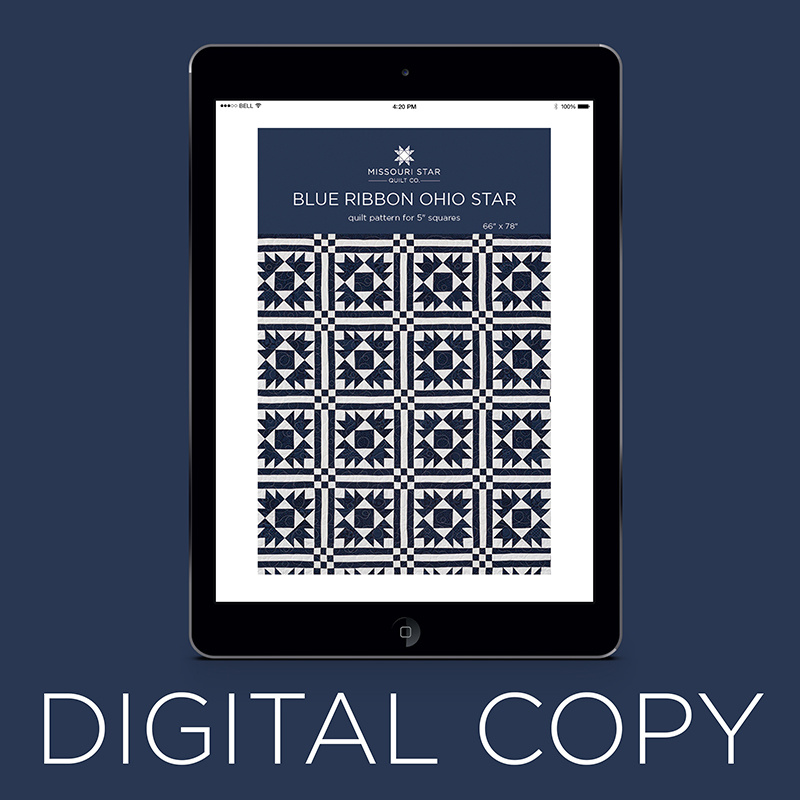 Digital Download - Blue Ribbon Ohio Star Quilt Pattern by Missouri Star$3.95Shop →
 Wilmington Essentials - In the Navy 5 Karat Gems$9.95Shop →
 Bella Solids White Charm Pack$8.95Shop →
- Bella Solids - White Bleached Yardage$6.95Shop →
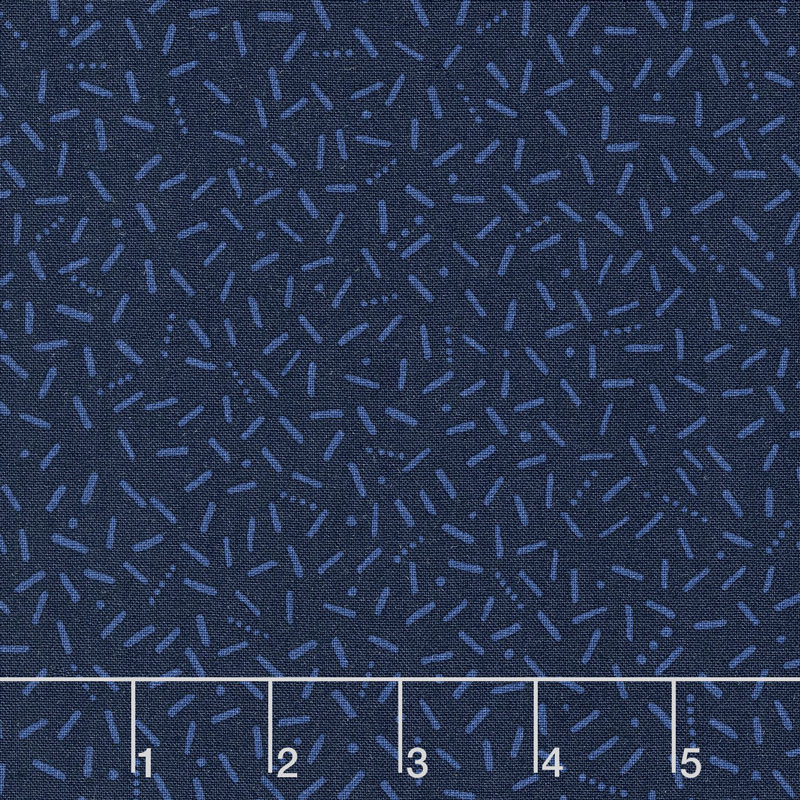 Wilmington Essentials - In the Navy Sticks Navy on Navy Yardage$9.45Shop →
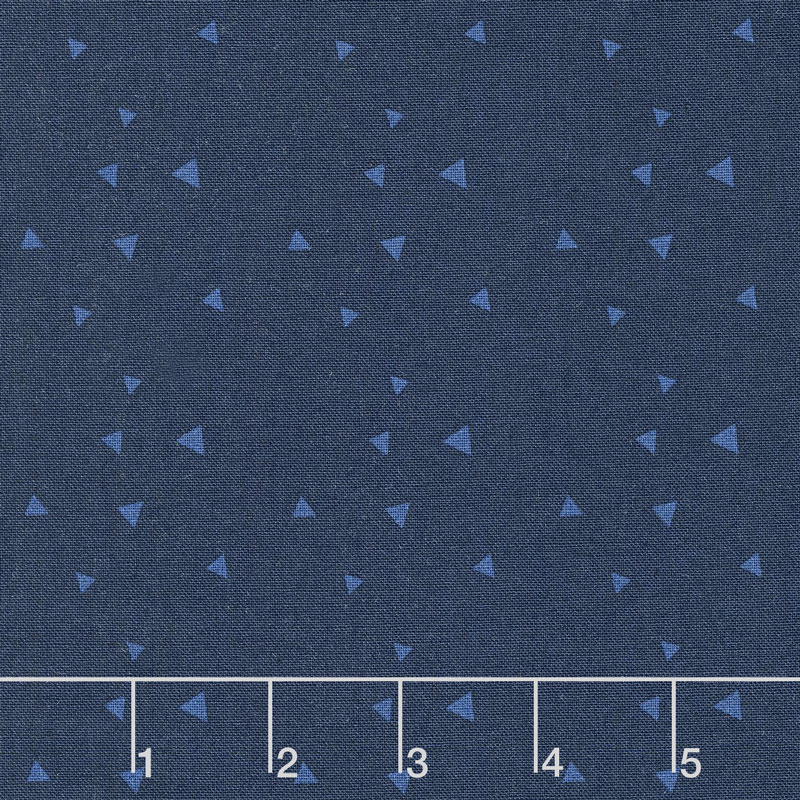 Wilmington Essentials - In the Navy Tossed Triangles Navy on Navy Yardage$9.45Shop →
Common Questions
What is covered in Triple Play: 3 Ohio Star Quilts with Jenny Doan of Missouri Star?
We have a new tradition here at Missouri Star: Triple Play! Once a month, Jenny, Misty, and Natalie each demonstrate their own, unique take on a favorite block, technique, or template. This week these talented Doan ladies are showing off three Ohio Star quilt projects, and the...
How long is the tutorial video?
The tutorial video is 00:40:29.
Are supplies listed for this tutorial?
Yes. The tutorial page includes the supplies and materials connected to this project.
Is a transcript available?
Yes. A written transcript is available on the tutorial page.
Video Transcript
Misty: Hello
Jenny: And with Natalie.
Natalie: Hi.
Jenny: And we are going to tackle the Ohio star this week. So we’re super excited about it because this is a really old traditional block. And it’s one of those where if you just tweak it a little you get, you get whole new ideas and so it’s really fun to look at. So I’m going to start and this is my quilt back here. And my Ohio star is pretty standard with just a little cornerstone out here that makes a secondary block of a little churn dash out here. And I”m going to show you how to do that so just by adding that little block in the corner we’ve changed up the Ohio star a little bit.
Jenny: So to make my quilt what you’re going to need is two packages of five inch squares and I have used Silverstone by Wishwell for Robert Kaufman. And then you’re going to need some background squares. And I used these five inch squares but if you used yardage you’re going to need 1 ¼ yards of yardage. And that yardage will also include all this sashing that’s on this quilt. You’re going to need, your border is ¾ of a yard and it’s five inch strips. Now you’ll notice on this quilt I only made nine blocks. That’s because I got so excited about what happened in the corners that I actually made two more little projects that I’ll show you like right at the very end. So backing is 3 ¼ yards. And we’ve just used this beautiful gold with the gold metallic. You know, honestly I wasn’t sure I was going to love this fabric but once I got it into the quilt, it’s just beautiful. The print on here is called just roses and, our quilting print is called just roses and it’s just that all over pretty print. And the only other thing that I used is the clearly perfect slotted trimmer. And it’s this little ruler right here. And I used this for squaring up my blocks.
Jenny: So let me show you how to do this. Now to make this type of block right here, let’s go right here, where we have color in the center and white on the outside, there’s a trick for that. And here’s the trick. So what you want to do is you want to go through your pack and you want to pick a square for your middle. And you want to pick a square for your hourglass blocks and you want to pick a square for the middle color. And you want those to all be a different, you know, different hues so they stand out. And then you need one charm pack that you’re going to put in your corners. And I’ve already cut my charm pack right in half, my five inch square right in half and made it four 2 ½ inch squares. So you’re going to take one white background square and your light background, or your light square and we’re going to draw lines on those and we’re going to lay those on two squares that are exactly the same fabric. So we’re going to put these on here. And we’re going to sew a quarter of an inch on both sides and I’m going to let you do that.
Misty: Alright.
Jenny: And so just draw your line, corner to corner and we’re going to sew a quarter of an inch on both sides. Now this is a really fun way to make them. You can make them so that obviously, you know, both your colors are the same on either side of the square. But I love how this makes a square here that’s different from the squares that are out here. And actually if you had no sashing and you butted those right up next to each other it would make a whole different block. Alright so I’m just going to trim these on the line right here. And then Natalie, if you’ll press these open for me and press to the dark side that would be awesome.
Natalie: Sure.
Misty: Whoops, hold on there.
Jenny: Oh you’re good, you’re good, it just got a little wild there. We had a lot of fun with this block because it’s so traditional and it’s such a great block, I called mine Celebration because, well one, because I think the shiny, pretty fabric and the other reason is because of the runners I made. And I just thought it looked kind of like a party.
Misty: And turned out so pretty.
Jenny: Alright so now we have one of these and one of these. And we’re going to combine these two together. So I’m going to draw the line on the back of either one, you can do either one. I’ll do it on the solid. And I’m just going to line up my ruler. And I’m going to draw a line. And I’m going to go from the center out just because of this seam right here I think it would make it a little difficult. Then what I’m going to do is I’m going to put one of these that has the lighter background and the darker outside. And then the plain and I’m going to put them so that my colors are opposite like this so that they nest up real nice and snug. And I’m going to do that. And you can feel that there’s no room in between. And I’m going to go ahead and let Misty sew and again we’re sewing a quarter of an inch on both sides. And I will do this one while we’re waiting.
Natalie: Does it matter at all which piece goes on which side to get the marbley-like print in the middle?
Jenny: No
Natalie: It doesn’t matter?
Jenny: No because you can just turn it. It’s the same. At least I don’t think it does.
Misty: There we go.
Jenny: We may find out in a minute if it does.
Natalie: I was just curious. I would want to make sure they were all in the right place. I don’t know if it makes any difference.
Jenny: I think it works out fine either way. Alright, so now I’m going to cut these in half. And that’s going to give us two of these where you’ve got the color on one side, ya because you can do this.
Natalie: Ya, you can turn them either way.
Jenny: Ya, now do before we iron these I am going to trim them up. Now the reason I use the clearly perfect slotted trimmer is because it has this center line and this straight line. So I can lay this whole thing up. So this goes on this stitch line, this goes on this stitch line and it makes it super easy for me. You guys have heard me talk about making sure that you have a tool that works well for your brain. Now Natalie is going to show you a different way to square these up and so
Natalie: I did use the clearly perfect slotted trimmer but I can tell you how to do it if you don’t have one.
Jenny: Yes.
Natalie: They’re so much easier to trim with this trimmer though.
Misty: I don’t love the slotted trimmer for like half square triangles but for hourglasses I really love them.
Jenny: I love them all the time.
Misty: I know, they’re your favorite.
Natalie: They’re like perfectly built for the hourglass trimming.
Jenny: Yes
Natalie: It makes squaring so easy.
Jenny: With that little seam at the top. And there’s that one. And then I’ve got one more here. You know if you girls had helped me all along I could have made this quilt a lot faster.
Misty: Only we had to make ours too.
Jenny: There you go.
Natalie: You did help me and it did go fast.
Jenny: Alright so now we have a middle square and these are now squared to four inches. So all of our center square and our outer squares all have to be four inches. So I’m going to take four of my white squares which are going to go in my corners. And I’m going to take my one middle square right here and I’m going to cut them all to four inches which means I’m going to cut like an inch off. So you can do that this way where you have yours lined up in the corner right here. Or you can cut an inch off the side here which is what I’m going to do. And mine aren’t exactly the same size so I’m making sure that I’m measuring from my little inside block right there. And then I’m just going to clean up this edge over here so here’s my four. So I probably made a few more cuts than I needed to but you know.
Misty: At least they’re right.
Jenny: At least they’re right. Alright. So once you get all your squares cut to four inches you’re ready to assemble your block. So we’re going to put this middle out here. And then we’re going to take our hourglass blocks and we’re going to put the lighter square toward the center like this so it forms that square in a square look. So it gives it, you know, some real fun dimension there. And then we’ve got these corner blocks that we’re going to put in here. Now you can see on the quilt behind me that mine are snowballed on the corner. And by snowball, you know, I use that term a lot and people don’t always know what that means. Somebody said, what is she doing, what does she mean by snowball. That’s when you put a little block on a corner like this and it makes it have a round effect like a snowball. So you can snowball your blocks once your whole block is put together or you can do them before. And I’m going to have Misty do these before. And do you need me to draw the line or can you eyeball it?
Misty: I can eyeball it. I’ve got this diagonal seam tape that makes it easy.
Jenny: Oh, I love that diagonal seam tape. You guys if you have any trouble, you know, doing that whole diagonal seam tape thing or the whole diagonal sewing thing, make sure you check out the diagonal seam tape because that is super helpful. I’ve been doing it long enough I just kind of eyeball it corner to corner but you know sometimes we have to draw the line. Sometimes we use the seam tape. Whatever it takes to get it right. Alright here’s the last one.
Misty: Alright.
Jenny: And I’m going to go ahead and cut these off and get them to Natalie so she can iron them. So I’m just going to trim this off right here. And you can do that with scissors or your rotary cutter. I have scissors in my hand so that’s what I’m using.
Misty: It’s easy to use.
Jenny: I’m a creature of habit. There we go. And then we are ready to put our block together. I’m going to have Misty go ahead and start on this center row. So what we’re going to do is we’re going to put our light ones next to it and we’re going to lay them right on here like this. Now if you want you can clip these little corners off right here. And sew straight down that side. I’ll clip this little corner off. When you square these you only end up with two little peaks on there. Alright so you only need two of those. Then these other two right here, they’re going to have, each one is going to have two squares on either side and the squares are going to face to the outside. So just to remember on this, this part is at the top and these squares face outward. And it’s the same on both rows. Oh sorry, yes, thank you. Outward, that outward. Alright so then we’re going to go here and we’re going to do the same thing. So Misty if you can put these together.
Misty: Absolutely.
Jenny: And then Natalie if you want to press these so that the seam goes toward the middle .
Natalie: Ok.
Jenny: This will help you nesting your block up if your pressing is, your middle one is toward the middle and your other ones are toward, go toward the outside. And I generally do it the way the seams want to lay, you know they have their own direction and I let them do that. And generally it works out best. Alright and then here’s these. There we go.
Natalie: And these ones you want pressed out?
Jenny: I want those pressed out. And see they naturally want to go that way. And so we just let them do their thing. There we go. And so you can see how this is coming together real quickly here. Now you’re going to match up these center seams right here. You’re going to look and make sure they nest and it looks like this seam right here is just a tad bigger, just a hair bigger. So I”m going to have Misty put that one on the bottom because the feed dogs will take in more fabric and so that will make that match up a little nicer. But she’ll sew along and she’ll make sure that these two are lined up exactly. And you know you can just give those a little tug one way or the other to make sure that they’re, that they match up exactly. Have I made you nervous by saying that?
Misty: Nope. Doing my best.
Jenny: Alright and here’s the other side.
Misty: Turned out pretty good.
Jenny: It turned out perfect.
Misty: There we go.
Jenny: And that’s the important thing. We just do our best, you know, nobody has ever given a quilt back to me because the points weren’t perfect. So don’t worry about that. Ya just remember to get those lights to the center and we’re good to go.
Misty: There we go.
Jenny: Alright, now Natalie, if you’ll press that. Then we can show it off.
Misty: Such a fun block.
Jenny: It is so fun, isn’t it? And I know we’ve all enjoyed doing the things that we’ve done with them. But I have a couple of more things to show you. Alright. So this is our block. And it’s perfect. And for this quilt we used nine of these. So here’s how these go in here just like this. And you can see that it makes a little secondary block here. Now whatever size your block is that’s your size of your sashing and then the little cornerstones. My sashing is 2 ½ inches wide and these are little 2 ½ inch cornerstones. And that’s how I put that together. But I got looking at this and I got looking at this corner and I thought what would happen if I snowballed both corners. And so they would be in here like this. And I wondered what it would look like. So let me show you these table runners that I put together. Now this one here, look how different that block looks just by adding that other corner. And on this one right here I still stayed with my 2 ½ inch sashing. And I just did a 2 ½ inch white border and then bound it with the color. Now this is exactly the same block with two little gray squares in opposite corners. But I changed up the size of my sashing and look how different that looks with just by changing up that size. So this is inch and a half sashing here and I bordered it all with the inch and a half and then I went ahead and bordered with a little three inch border out here on the side. And so just by changing up those corner squares, it just made a whole different project and it just looks really, really fun.
Misty: And all of those are in the pattern, right?
Jenny: Yes all of those are included in the pattern and so it just makes it really fun to think about the what happens if factor. So now we’re going to take, send it over to Misty who takes the what happens if factor even bigger.
Misty: That’s right. Or smaller.
Jenny: Or smaller.
Misty: Ok so this is my little wall hanging, mini quilt.
Jenny: It’s so cute.
Natalie: I love it.
Misty: It’s so happy, isn’t it?
Natalie: It’s so cute.
Misty: I just decided to do a smaller project with this. I wanted to try making these little Ohio star blocks and as you can see I put these little four patches in the corner which kind of creates this beautiful chain effect and it’s really simple to do, almost exactly like Jenny’s, just smaller. So
Jenny: That corner block is just so key.
Misty: It’s so fun to play with. So let me show you how we do this. To make this quilt you’re going to need one charm pack and I used Balboa by Sherri and Chelsea for Moda. It’s such a beautiful line. And I really, really like it. I did leave out all of the lights in this particular collection and decided to use a background print just to make sure that my prints really popped off. And so you’re going to need ¾ of a yard of background and that includes all of your blocks and your sashing and inner border. And then you’re also going to need a quarter of a yard for your outer border. This is just a little 2 ½ inch border. And then one yard on your backing.
Jenny: Oh here.
Misty: Which is this pretty blue print. I love that.
Jenny: And what stitch pattern did you use? Is that like that little daisy?
Misty: I think it is, that’s a good question. I actually don’t remember.
Jenny: It’s a cute little flower.
Misty: Just a little floral pattern. It turned out really nice and it’s super easy. So let me show you how I did this. I began, as you can see I kind of followed the same color patterns in my block so I picked like a purple and a blue that I wanted to use for my block on this one. And then I used my dark gray is for all of the centers so all I did there is I took a five inch square and cut it in fourths and those create your center blocks. The bases of each of these is 2 ½ inches so I can just set this aside while we work on our star legs. So to do that I am going to place these right sides together and we’re just going to sew a quarter inch seam all the way around.
Jenny: Ok.
Misty: You’ve got that.
Jenny: I’ve got that. Let’s see here.
Natalie: I love how each project uses half square triangles to make the Ohio star but each of us made them differently.
Misty: Just a little different, ya.
Natalie: We each used a different method. Mom did make two. You’re doing make four and I did make eight.
Misty: Ya.
Jenny: Oh she’s a wild woman over there.
Misty: She is a wild woman. Alright so then we’re just going to cut this diagonally both directions. And then Nat I’ll have you press these open for me.
Natalie: Alright.
Misty: To the dark side, of course
Natalie: Of course. Oop. The legs didn’t go down.
Jenny: It’s tired.
Misty: It’s tired.
Natalie: Not so fast.
Jenny: Like what are you all doing. I’ll be good.
Misty: And then since we’re going to make our little hourglass blocks, just like Jenny showed, we’re going to place these right sides together with our prints on opposite sides and we’re going to draw a line corner to corner. Whoops.
Jenny: It’s interesting how quick these get tiny.You know because those half square triangles didn’t look so tiny and all of a sudden they’re going to get really tiny.
Misty: They’re going to get really small. And so you’ll sew a quarter of an inch on both sides.
Jenny: Alright let me make sure this is all nice and nested. There we go.
Misty: Same here, thanks Nat
Jenny: Alrighty.
Misty: Sorry I got so enthralled by you sewing I forgot I needed to mark this one.
Jenny: Ya you can’t eyeball these. You want to make sure these are really, one, mark these and make sure they’re right.
Misty: Yes, so there’s that. And then we can cut this one in half.
Jenny: This one, I can see is like a little skewed over here.
Misty: Oh do you need me to do it over again?
Jenny: No, no
Natalie: I think you could eyeball it except this, you’re sewing on either side of the line and if there’s no line then you can’t eyeball it.
Misty: You can’t eyeball it. Exactly. And so. Oh I need the other trimmer. So I”m going to square mine to 2 ½ . And again I’m lining up my stitch line and then the line that goes up and down. So let’s just trim that off.
Jenny: This tool just this makes this so easy.
Misty: It does make it super easy.
Jenny: But you can do it without it and I’m glad Natalie is going to show you how.
Misty: And I like to cut off my little corners because especially with these small blocks I find it makes it much easier.
Jenny: Ya we don’t really want to call them dog ears because we don’t want to rotary cut puppy ears.
Misty: No we do not.
Jenny: So we’re trying to change that. Call them our
Misty: Our little corners.
Jenny: The little corners. Trimming the corners.
Misty: Alright so there’s that one.
Natalie: They’re just so tiny and perfect.
Jenny: Aren’t they perfect. They’re so cute.
Misty: They’re so cute. Alright and then square these up. And I love this method because then you get four matching star legs out of your one charm square which I think is really handy if I can get in that little slot. There we go. And one more. There we go. And those are ready to go.
Jenny: I’m just going to clean this off here.
Misty: Thank you. I have to say I did love like all of the little trimmings from this. They were just so happy and cheerful. So then for the little four patches in the corner I still just used a five inch square. But what I did is I cut 1 ½ inch strips off of that and then I sewed them to 1 ½ inch background strips.
Jenny: Ok. And are you going to square these or does the quarter of an inch matter?
Misty: The quarter of an inch does matter because we want these to finish right at 2 ½. So as long as your seam is right you won’t need to square.
Jenny: I’ll try really hard.
Misty: I believe in you.
Jenny: Well my quarter inch seam , everybodies quarter inch seam is like a fingerprint, you know.
Misty: It’s a little different, that’s true.
Jenny: And so that’s why, you know, if a friend helps you make these you’re not going to be very happy about it because hers are going to be just a little different than yours.
Misty: That’s true. And so here’s a little trick that’s actually not in the pattern, but it saves you a little bit of time. So let’s go ahead and press these open.
Jenny: I tried to stay right on the line.
Misty: Press that open, thank you.
Jenny: And I’m closing your rotary cutter.
Misty: Thank you I appreciate that. So I don’t get yelled at, sorry guys.
Jenny: That’s right, you won’t owe me a quarter.
Misty: That’s right.
Jenny: Actually I’m the worst offender of that.
Misty: So then on this one I just put right sides together and I take this to my machine and I sew a seam. And I have a little nest when I’m sewing. So I sew a quarter inch seam and then I measure over an inch and a half and I trim that off and then keep going down my row.
Jenny: Awesome. I’ll do this one so you can show them.
Misty: Yes.
Jenny: There we go.
Misty: Alright, so ya there you can see she’s just sewn this edge. And then I can measure over an inch and a half from the edge of the fabric and you can see I get my little four patch.
Jenny: And I sew again?
Misty: Sew again. There we go.
Jenny: That’s a pretty good trick.
Misty: It was a good trick. It was speedy
Jenny: So you almost get all of them out of one little strip
Misty: All but one and then you just have to take your last little strip to make one more. And so I just cut those down into 1 ½ inch pieces and we’ll just sew those together. But it’s just very little waste which is so awesome. There’s that one. There we go and one more.
Jenny: So can you get more than one block out of a charm pack or you get like 1 ½?
Misty: Out of a charm square?
Jenny: Ya I mean of these. So you get three of these out of one strip set and one more out of another strip set. So could you just get two sets of legs out of one charm square?
Misty: No you can’t. There’s not quite enough. Not quite. But then now once we have that we can put together our block. So remember we cut our five inch squares in fourths and so this is our center. And then we put our little star legs with the white going in. And then our four patches, they kind of want to poke up, don’t they? And then our four patches
Jenny: So tiny
Misty: I know, we put the color in towards the center just like that.
Jenny: Oh they’re so dang cute.
Misty: So cute. And then we just sew them in rows.
Jenny: And you also have nine.
Misty: I do, I also have nine
Jenny: Yours is obviously much smaller than mine.
Misty: I know. Ya I think our blocks are like 6 ½ inch unfinished, I believe, is that right?
Jenny: Wow. That’s awesome.
Misty: So it’s just super cute. And then I just continued that 1 ½ inch sashing with a little 1 ½ inch cornerstone in between and then like I said a 2 ½ inch outer border and it comes together super quick and easy and it’s just really happy. So now we’re going to turn the time over to Natalie and she’s got something very fun to show us.
Jenny: So now we have Natalie with her magical quilt. This is a, it’s an Ohio star.
Misty: So beautiful.
Natalie: Yep.
Jenny: Show us the star, Natalie. Show how to do this.
Natalie: Ok. So my quilt is called Blue Ribbon Ohio Star.
Jenny: And it looks like a blue ribbon.
Misty: It deserves a blue ribbon.
Jenny: It deserves a blue ribbon.
Natalie: And I used this line called In the Navy which is actually really cool. Every piece of fabric has a print on it but it’s all navy based so it looks like a two color quilt. Alright so you need two packages of navy and two packages of white to do all your squares and then you’ll need another yard and a halfish of background fabric for the sashing and the inner border. And that’s all of these nine patch sashings and this inner border right here. Whoops, right here.
Misty: Did you need navy as well for this?
Natalie: The navy is part of the border fabric amount. It’s the same fabric so you’ll need 2 ¾ yards for that.
Misty: Ok.
Natalie: So that includes the outer border which is, I think, six inch, yep six inch border. And then that also includes these strips.
Misty: Awesome.
Natalie: And I think it may also include the center, ya all the centers are the same. So that’s that same piece of yardage, 2 ¾ of the navy and 1 ½ of the white.
Jenny: And I’m peeking at your backing.
Natalie: And it’s solid blue. Another beautiful print. All of these prints are like, they’re great because they could go modern or traditional, either way. Like, they’re so beautiful.
Misty: They are beautiful. I love them.
Natalie: And they’re not specific to one style.
Jenny: Do you used about five yards on the backing?
Natalie: Ya about five yards.
Jenny: And this is the loops and swirls pattern.
Natalie: And it ends up being 66 by 78 which is a good size for a lap quilt or almost a twin. It’s probably a little small. If you make your borders bigger it would be a twin, easy.
Jenny: I could border that out.
Natalie: Just expand that a little.
Jenny: Just add a few more borders.
Natalie: No problem.
Misty: Love it.
Natalie: Alright so this block is made in a nine patch setting just like the other two girls’ blocks. Only my four patch in the corner has two half square triangles in it. So we have one of these, or I mean, I’m sorry. There’s four, we have four that go in the corners and then your hourglass block in the middle. And then you’ve got a solid square which I think is up here. Oop, did I turn it the wrong way. That’s funny how that happens. Ok so these are the three blocks and then you just make multiples of them to create this block. So I did my hourglass blocks the same way Mom did for the original part. We do draw on the line and make two half square triangles and stitch on either side of the line. Whoops it didn’t quite stitch all the way there. Let me go from the center out. This does seem to make the pen work better for some reason.
Misty: It really does when it’s marking on fabric.
Natalie: I’m not sure what the difference is but if you pull it out instead of dragging from the top it seems to work better.
Jenny: Now this is the way I did mine and you’re going to square these to what?
Natalie: To 3 ½. All of my squares are 3 ½.
Jenny: Oh ok, but these you did a different way, didn’t you?
Natalie: Yes, so those I did, make eight using the five inch squares.
Jenny: Ok why don’t we show that because we’ve already seen the way to make the other hourglasses.
Natalie: Alright. And I did square my hourglass using the clearly perfect trimmer but if you want to go ahead and let Misty sew the hourglass, I can teach how to trim that, how to square it up not using the clearly perfect trimmer.
Jenny: Ok, perfect. I’m just going to iron this.
Natalie: Just so that everybody out there knows another way to do it..
Misty: That’s a great idea.
Natalie: Alright so to make eight from my little half square triangles we’re going to stitch on both sides of the line and then cut it in both directions. Let me grab a, I’ll just use these.
Jenny: Here, Misty let me hand these to you.
Misty: Perfect.
Jenny: If you want to draw the line on there. Misty is drawing her diagonal line across the two.
Natalie: Oop sorry. I didn’t get to that one yet.
Misty: That’s alright.
Jenny: I’m sorry, I don’t mean to rush you.
Natalie: Don’t you, though.
Jenny: I’ll relax
Natalie: I feel like this is a large part of my life, Mom come on let’s go, come on let’s go.
Misty: Come on, let’s go. Let’s go. We can make it faster.
Natalie: : It’s ok, it keeps us all on our toes and we get a lot done.
Misty: You do get a lot done. Alright so there are those hourglasses. And then do you want me sew a quarter of an inch on
Natalie: On both sides of both lines.
Misty: Ok. You got it.
Jenny: That’s the easy eight.
Natalie: We’re going to make eight so that we have enough half square triangles for our little corner four patches. Alright so if you’ll press that
Jenny: There’s this one.
Natalie: Ok. So what we’re going to do. The trimmer square is so easy because you line it up before you cut it but if you don’t have one of those you can use any ruler that you have. And you decide what size you want. So I want 3 ½ inches. So what I’m going to do is lay my ruler on it. And I’m going to put the corner marks of the ruler into the corners, like where the lines are, you want your points to be right in the corners so that you keep those points.
Jenny: Oh ok.
Natalie: So you’re going to put, you’re going to make sure that your 3 ½ mark here lines up with this point, this point, this point. And then you can’t see this one but we’re going to get to that one in a minute. And if all three of these work, then I’m going to cut these two corners, or these two sides. And then we’ll flip it right around.
Jenny: Oh I’m always looking for the center.
Natalie: Well you are cutting this block into the center. You have to cut all four sides. You can’t square up a block that has four points without doing all four sides. Otherwise this middle part would go down and not be accurate.
Jenny: So you’re looking at the 3 ½ line
Natalie: So you’re lining up. You want a 3 ½ inch square. And you’ve got to use the part that makes the most sense to you. You know, so if you’re a lefty you’re going to flip it over and do it this way, right? So you’ve got
Jenny: So on the 3 ½?
Natalie: Yes. Whoops.
Jenny: You’re not a lefty.
Natalie: I’m not a lefty. Ok so 3 ½ . Ya if you know what you’re looking at. Ok so just the 3 ½ goes into all the points and you just cut all those extra pieces off and they come out perfectly square. And just remember that, you know, you’re going into the center and you’ve got to make sure you have enough room on this end as well as this end before you make that first cut.
Misty: Awesome. Alright here is the easy eight.
Natalie: That looks great. So the easy eight, you’re going to cut 2 ½, because this is still a five inch square, so we’re going to cut 2 ½. And we’re going to go across both directions and then we’re going to cut on those diagonal lines to get eight half square triangles.
Jenny: And it’s a good idea to cut the vertical and horizontal cuts first because there are no drawn lines.
Natalie: Right. And then if they get messed up you can always just cut these ones with the lines separately. That could work.
Misty: A little more forgiving with those marked lines.
Natalie: And that one. Yep, just like that it got a little off but I can scoot it back and it’s totally fine. Alright so if you’ll press some of these. I think just two because we’ve got, I’ve got some other ones made already. So we’ll just make one of these blocks.
Jenny: There’s one.
Natalie: So this block is essentially a four patch. And it has a navy on one side and a background on the other side. And then the two half square triangles pointing the same direction. So for these little guys, I’m actually a bloc loc fan as well. Use whatever tool you need to get the job done and I believe in multiple tools and multiple uses.
Misty: They all have their purpose.
Jenny: They do and they all work for different people.
Natalie: So these square up nicely to two inches.
Jenny: Two inches, that’s awesome.
Misty: I love it.
Natalie: But you get a whole bunch and you don’t have to work that hard at it. It’s not difficult.
Misty: That’s what so great about that easy eight.
Natalie: Yep. So this little block is a four patch and then as you sew them together there’s a little routine or a mantra that I use to keep myself on track and to know that I’m doing them all right. Because you’d worry, I worried that I wouldn’t get them going in the right direction and I’d sew them opposite or whatever. So I realized pretty early on that they literally both sew the same way and then you flip one of them.
Misty: Ok.
Natalie: Alright so this always points this way with the white pointing this direction and the navy pointing that direction. And then you’re going to put your navy block on top. And you’re going to do the same thing for the same half. You do half and half.
Jenny: Half white and half navy.
Natalie: Yep, exactly but they stitch together exactly the same.
Misty: So your solid pieces always go like that.
Natalie: They always go top to the dark.
Misty: Ok.
Natalie: Or the navy side, ya. So then you can stitch them. And I actually, because this is just how I do it, I just did a navy and a white and a navy and a white. And I did them like one after the other kind of in that order. But I think you could, if you wanted to, do all your navies first and then all your white ones. But we’ll get those stitched together. And your little squares also are two inches just as a reminder, they match the half square triangles. And they come right out of your yardage. Now I just finger pressed these because I, you know, didn’t want to get up and press every single one and they’re so little, they press back pretty easily. And then your solid blocks go in opposite corners and that creates that little block just like this. So you’ll see your solids in opposite corners and we’ll stitch that together and you nest that little seam.
Misty: Absolutely.
Natalie: Which, you know if you’re finger pressing you get to decide which way they go more easily. And they’re small enough they can switch direction if they want to but typically they like to press towards the solid side which is fine because they’re going opposite directions anyway so if just naturally nests.
Jenny: Right.
Misty: There we go. So cute.
Natalie: Alright.
Jenny: That is really cute.
Natalie: Alright so then we have our block in the middle that’s 3 ½ inches that we cut from our yardage. We’ve got, I think I have a few extra. These point towards the center.
Jenny: One more here.
Natalie: And one more here. And a couple more hourglass blocks.
Jenny: The white to the middle.
Natalie: Yep, which I think I may need to square that one real quick.
Jenny: And just like that, that corner block just
Misty: Just magic.
Jenny: Oh my gosh.
Natalie: Ya I thought I had all my hourglass but let me just square this one real quick and we’ll be good to go.
Jenny: I’m actually so glad you showed that method because I would have been lost with that.
Misty: And sometimes you just don’t need another tool. You’ve got rulers on hand and you can make it work.
Natalie: Well and that also I the quote, I think it might be Picasso maybe, somebody will have to check me on that. But it’s like learn the rules like a professional so you can break them like an artist.
Misty: Exactly.
Natalie: So all the tools, just do what you need to do with whatever. But it’s good to know that there are other ways to do things as well.
Jenny: Right.
Natalie: So once these are all sewn together you have your finished block and then it’s time to make the sashing which is just a great nine patch sashing. So I just took 1 ½ inch strips and stitched together a set of navy, white, navy. And then another set of the white, navy, white. Now your long sashing strips are the length of your block and those are all navy, white, navy. And as I cut them I was able to get four I think from a strip set. And then I always had this little piece leftover and that’s what I made or I used for my middle strip
Misty: Oh for the nine patches.
Natalie: Ya so you don’t have to make extra for your little nine patches. So those go together really easily. I just cut the strips into 1 ½ inch segments like so.
Jenny: Here let me scoot this up. Well, nope.
Natalie: Nice.
Jenny: I didn’t do it. There we go.
Natalie: Alright so you start with a white, navy, white and then pop one of those in the middle with a navy, white, navy and then a white, navy, white. And that makes your little nine patch for the center which is essentially a cornerstone, which I think also can open up so many ideas really for sashing. If you put, you know, you make an entire block for your cornerstone instead of just a solid. How many ideas could we come up with for that.
Misty: You certainly got my mind racing.
Jenny: So many. It’s just darling.
Natalie: And then you know beyond that once your nine patches are made and your sashing strips are made, it is essentially the same as any other quilt that you sash and cornerstone. You just put them together.
Jenny: Ya and this is a great sashing because you could use it so many different blocks.
Natalie: Ya and it really, I think it just kind of like elevates it a little bit where it’s like, wow that’s fancy.
Jenny: Ya it does.
Natalie: The other thing I thought about is like how different it would look if I had done opposite where there was one little blue strip in the middle and a lot more white space. It might have looked a little bit more, maybe a little more modern. Or a little more, a lot more negative space for sure.
Jenny: Ya this is real traditional looking and
Natalie: Which I love also. So much love for all the different varieties. So I put these together. There’s 20 blocks. And I put them together in a four by five setting and I think it just looks great. I think it’s fun and the blocks are 9 ½ just in case.
Jenny: Now I feel like we’ve made this Ohio block very simple and very doable and with all the different things we’ve added to it, it’s just, we’ve just, you know, upped it and upped our game and shown you lots of different ways to do things.
Natalie: Hopefully we’ve inspired some good creative thinking and some new ideas for you.
Jenny: So again here’s mine. And here’s Misty’s
Misty: Mine.
Jenny: And Natalie’s
Misty: So beautiful.
Jenny: And we hope you enjoyed this triple play on the Ohio star block from the MSQC.
We hope you enjoyed watching this video. If you’re not already part of the Missouri Star quilt family you can hit the subscribe button below so you won’t miss a thing. And if you click that bell it will notify you every time a new tutorial comes out. See you next Friday.


