

Triple Play: 3 Tiny House Quilt-As-You-Go Projects with Jenny Doan of Missouri Star
 Jenny Doan
- Charm Pack
- Modern
- Table Runner
- Beginner
- Quilt size 83" × 6"
We have a new tradition here at Missouri Star: Triple Play! Once a month, Jenny, Misty, and Natalie each demonstrate their own, unique take on a favorite block, technique, or template. This week these talented Doan ladies are showing off three adorable projects made with the quilt-as-you-go house templates by Daisy and Grace.
Instructor
Jenny Doan
Jenny Doan is an American quilter, author, and YouTube personality. Jenny started Missouri Star Quilt Company in 2008 and today it is the largest quilting supply vendor in the United States.
Shop this tutorial
 Quilt As You Go 3" Cozy House Pillow Pattern by Missouri Star$4.95Shop →
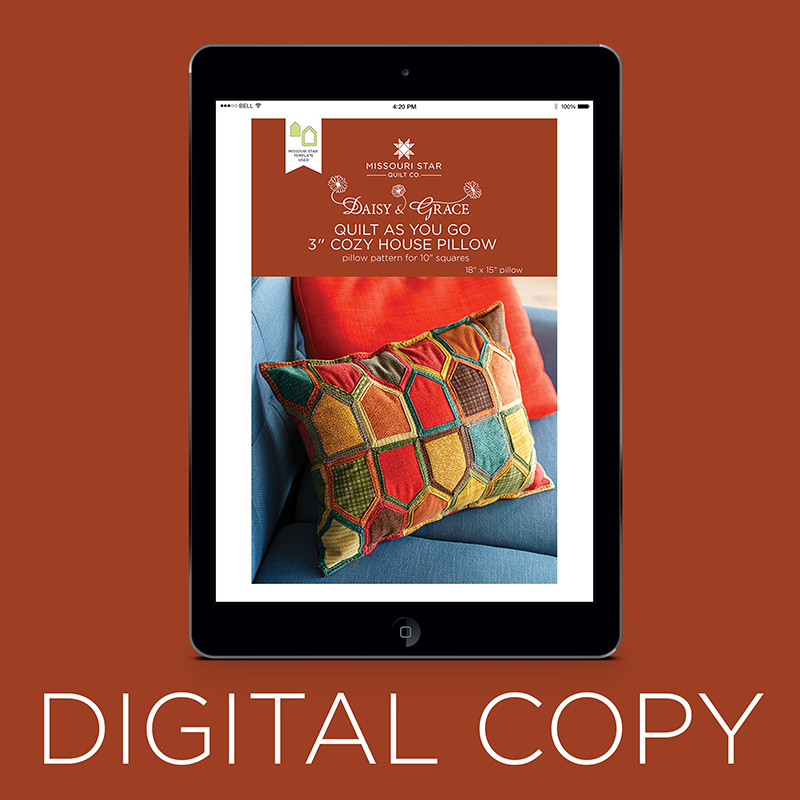 Digital Download - Quilt As You Go 3" Cozy House Pillow Pattern by Missouri Star$3.95Shop →
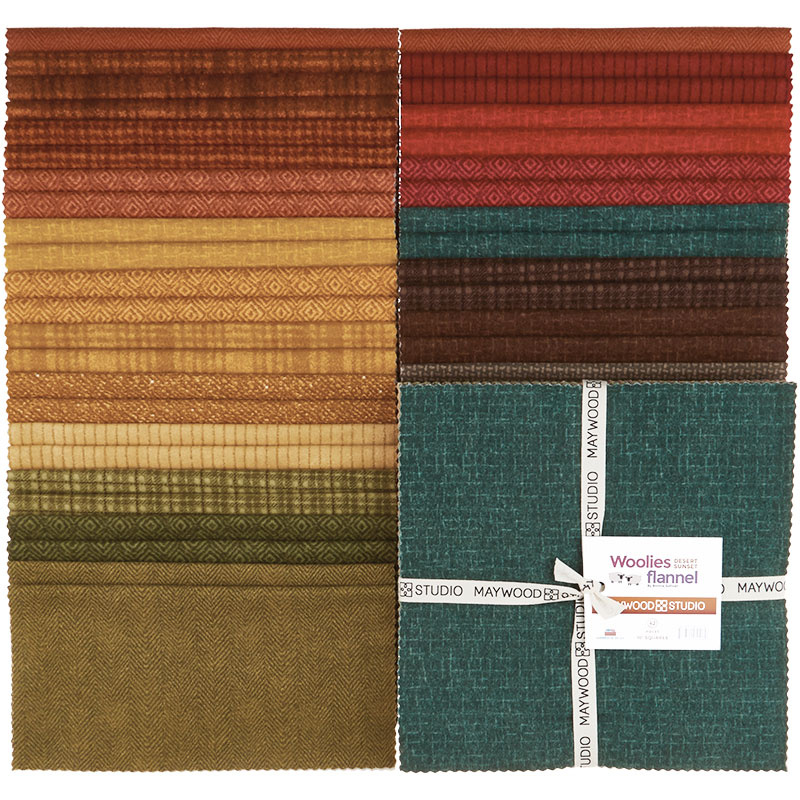 Woolies Flannel Desert Sunset 10" Squares$39.95Shop →
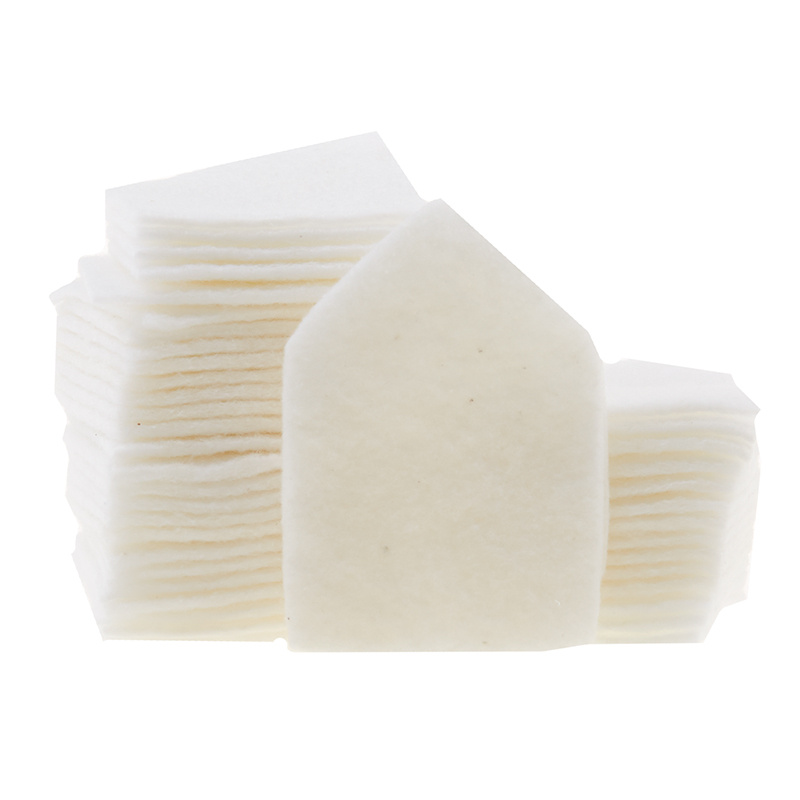 Missouri Star Daisy & Grace Quilt as You Go 3" House Precut Batting Shapes$12.95Shop →
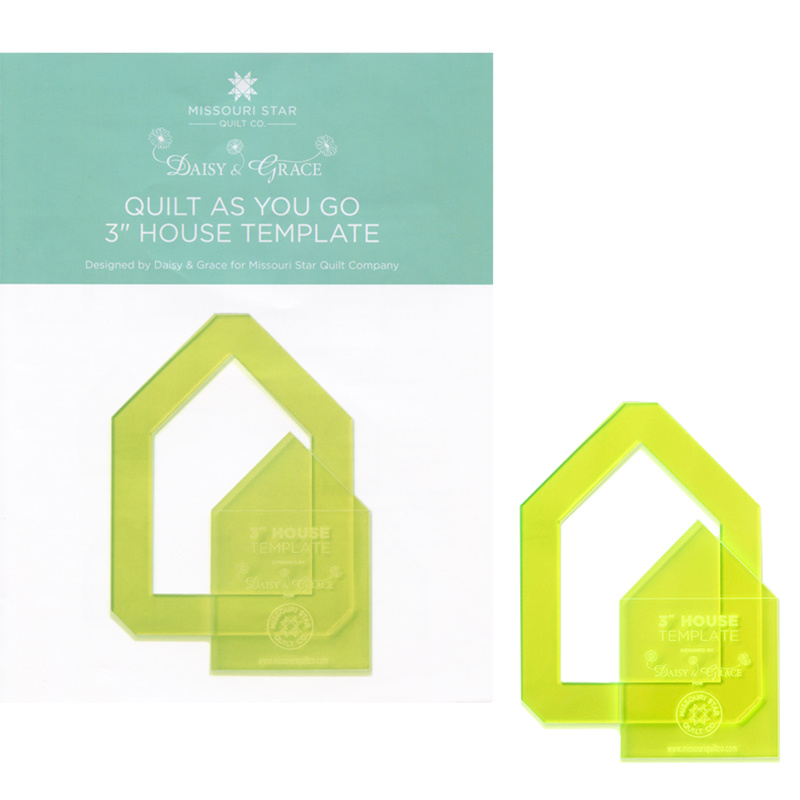 Quilt As You Go 3" House Template Designed by Daisy & Grace for Missouri Star Quilt Company$13.95Shop →
 Poly-Fil Fiber 12oz$5.45Shop →
 Quilt As You Go 4" House Garland Pattern by Missouri Star$4.95Shop →
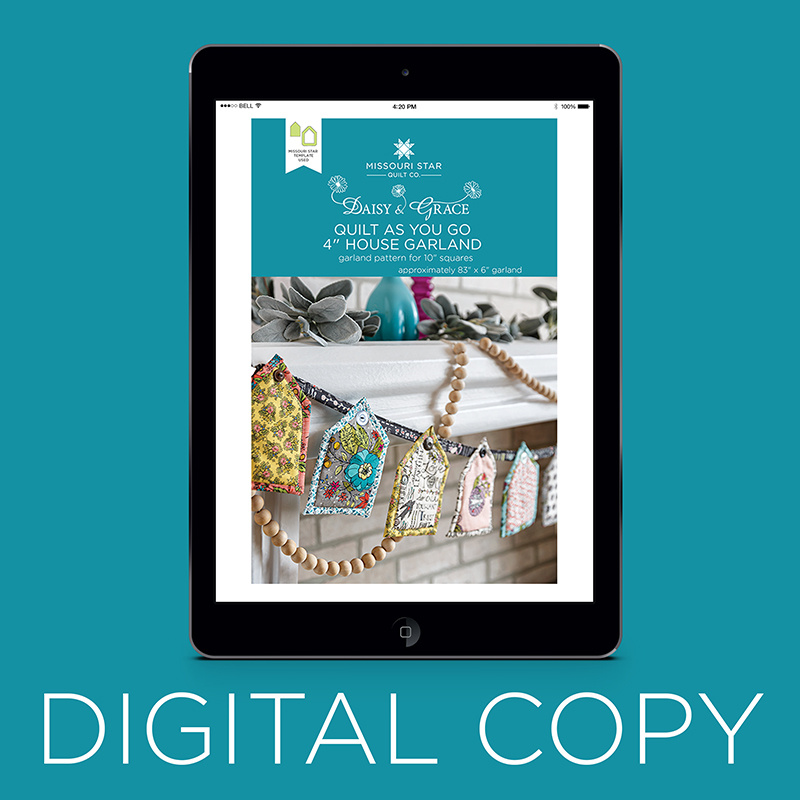 Digital Download - Quilt As You Go 4" House Garland Pattern by Missouri Star$3.95Shop →
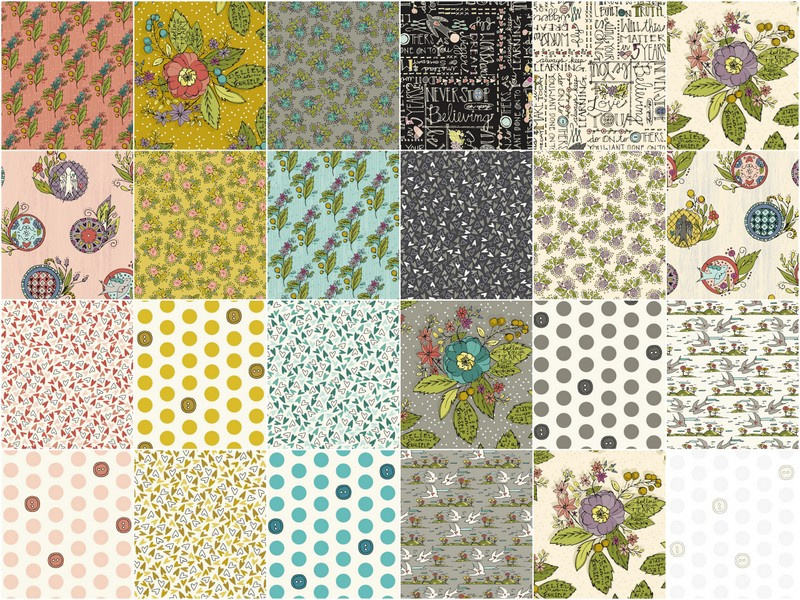 Bubbie's Buttons and Blooms 10" Squares$36.95Shop →
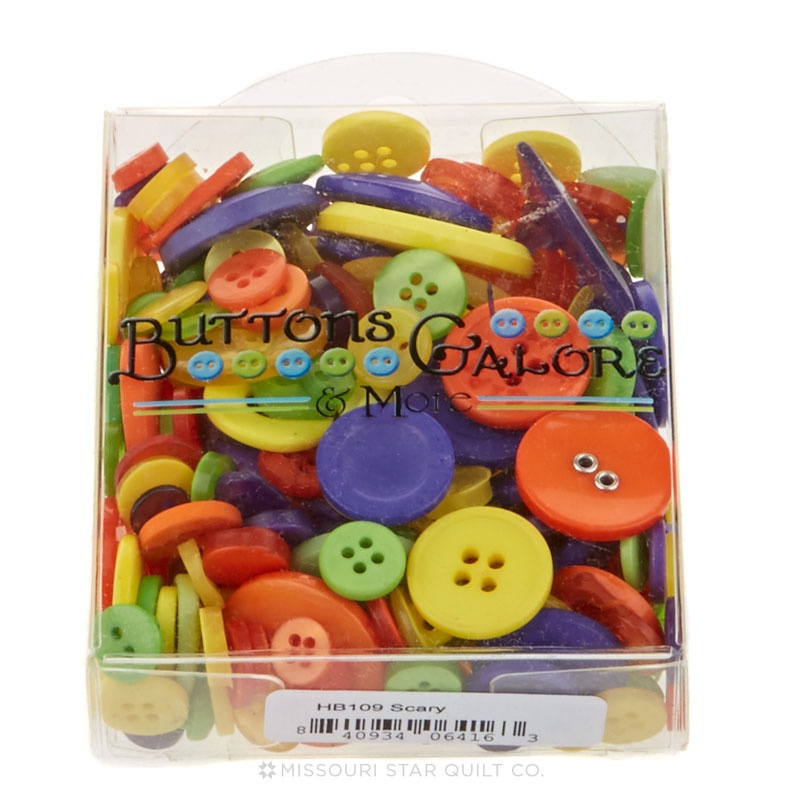 Variety Buttons - Tote Bag Scary$3.95Shop →
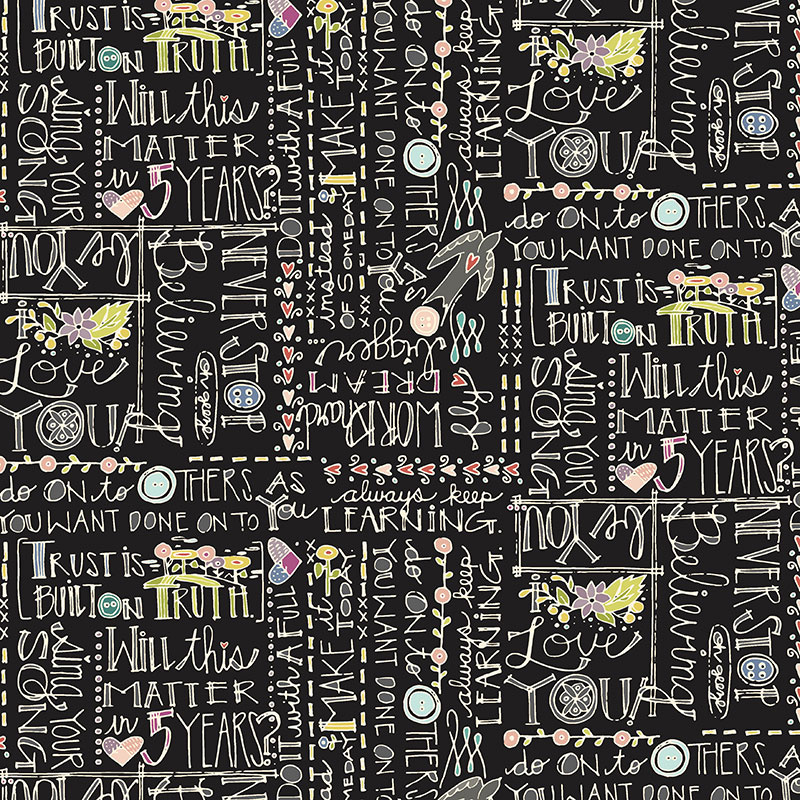 Bubbie's Buttons and Blooms - Bubbie-isms Truffle Yardage$10.45Shop →
 Quilt As You Go 4" House Template Designed by Daisy & Grace for Missouri Star Quilt Company$15.95Shop →
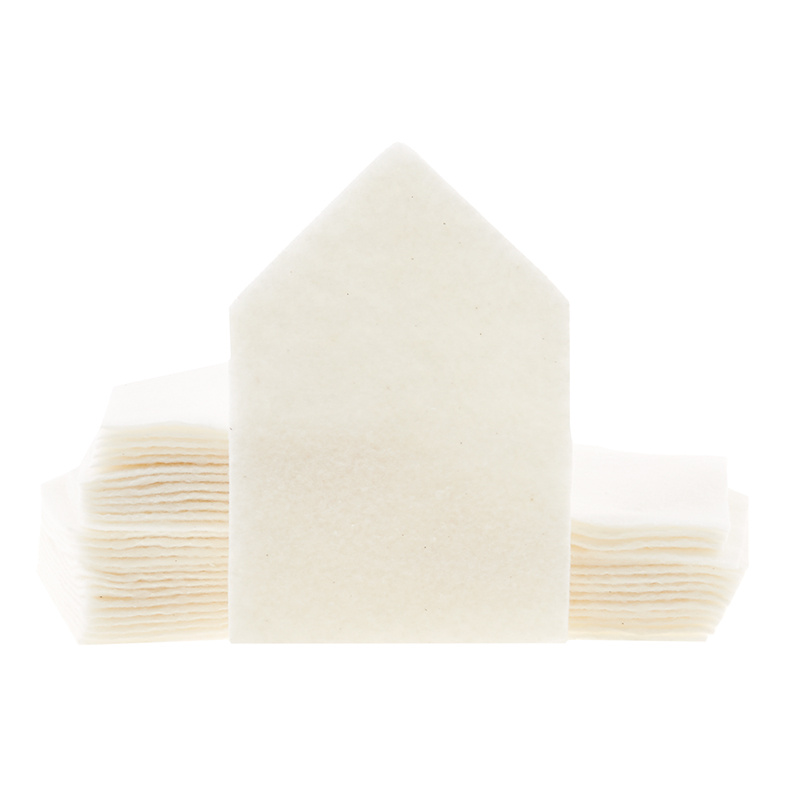 Missouri Star Daisy & Grace Quilt as You Go 4" House Precut Batting Shapes$13.95Shop →
 Around the Block Table Runner Pattern by Missouri Star$4.95Shop →
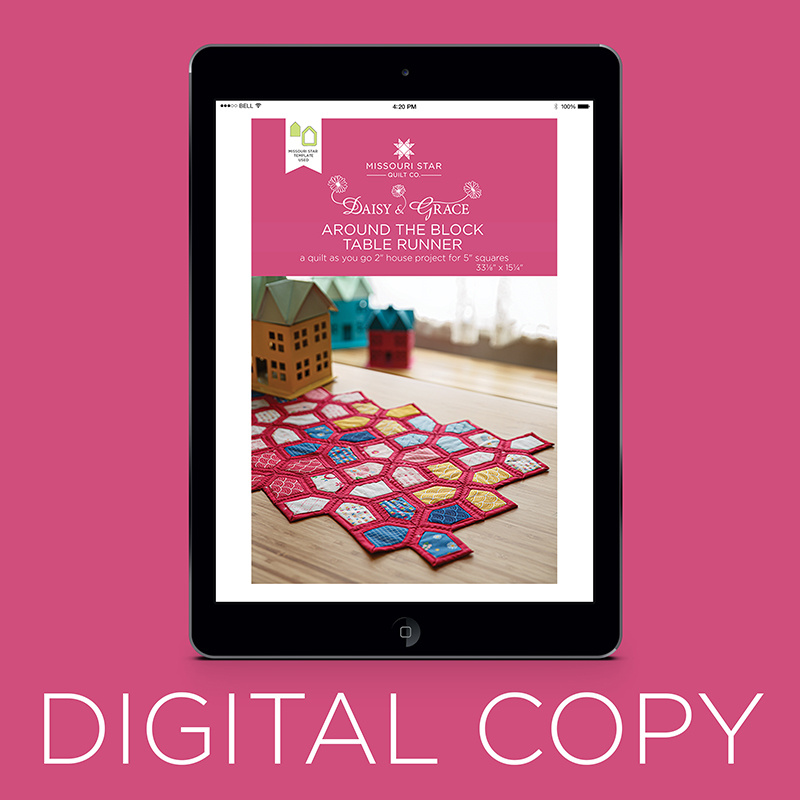 Digital Download - Around the Block Table Runner Pattern by Missouri Star$3.95Shop →
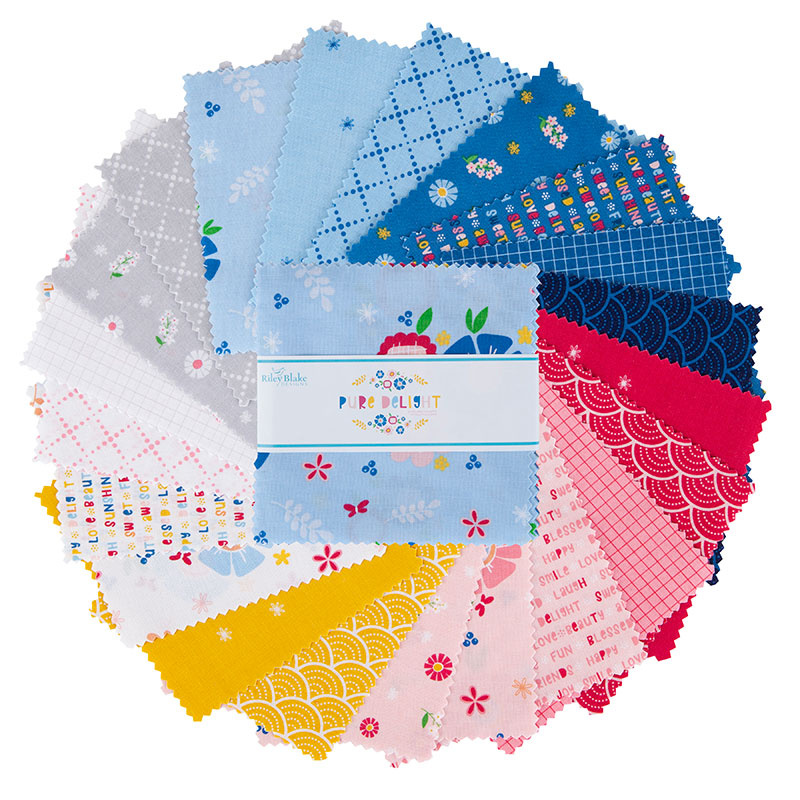 Pure Delight 5" Stackers$9.95Shop →
 Pure Delight - Daisy Raspberry Yardage$10.45Shop →
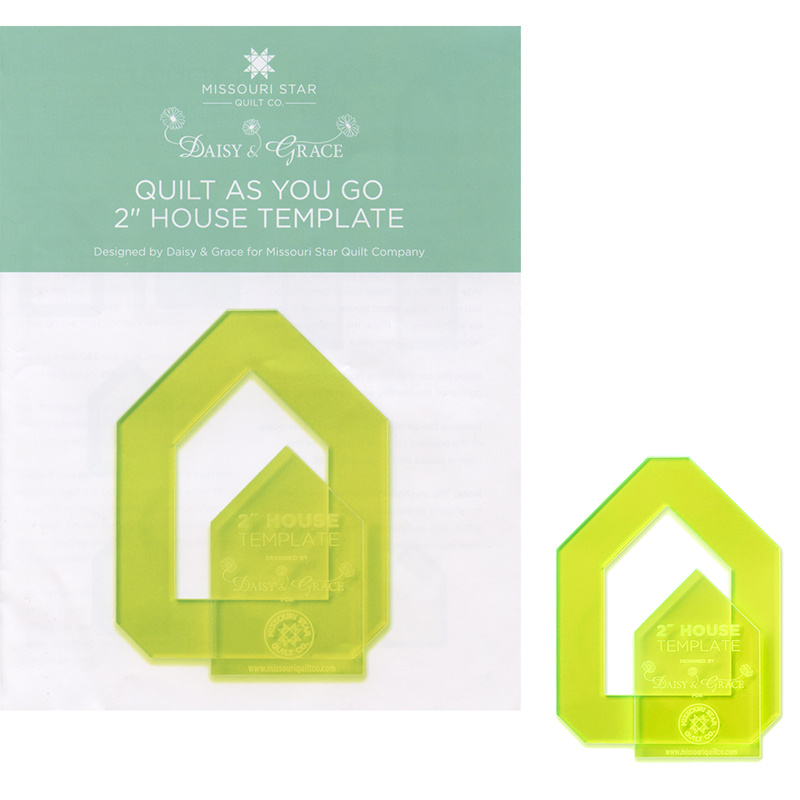 Quilt As You Go 2" House Template Designed by Daisy & Grace for Missouri Star Quilt Company$11.95Shop →
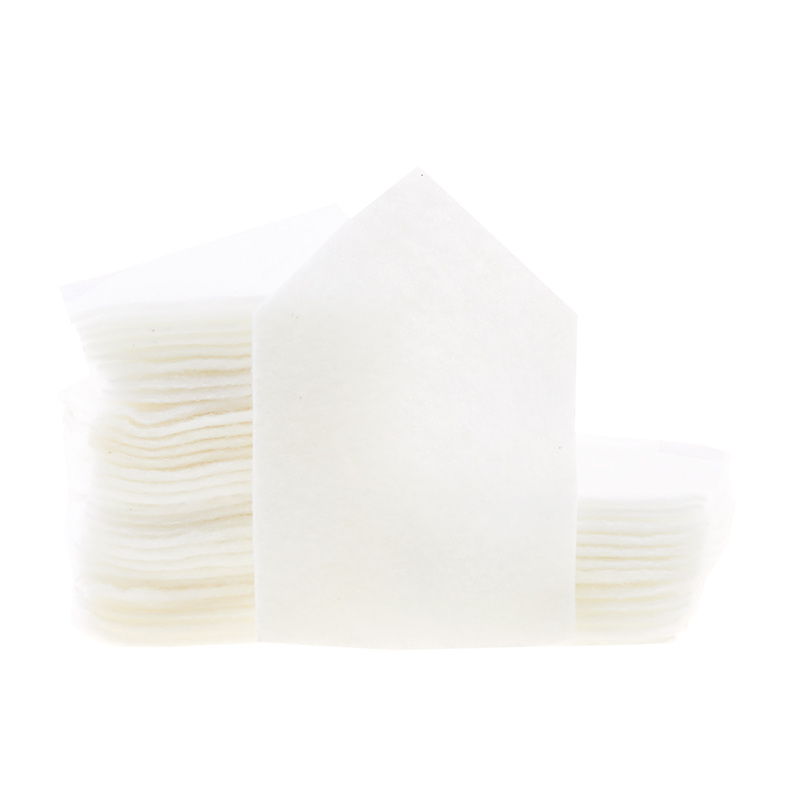 Missouri Star Daisy & Grace Quilt as You Go 2" House Precut Batting Shapes$9.95Shop →
Common Questions
What is covered in Triple Play: 3 Tiny House Quilt-As-You-Go Projects with Jenny Doan of Missouri Star?
We have a new tradition here at Missouri Star: Triple Play! Once a month, Jenny, Misty, and Natalie each demonstrate their own, unique take on a favorite block, technique, or template. This week these talented Doan ladies are showing off three adorable projects made with the q...
How long is the tutorial video?
The tutorial video is 00:34:05.
Are supplies listed for this tutorial?
Yes. The tutorial page includes the supplies and materials connected to this project.
Is a transcript available?
Yes. A written transcript is available on the tutorial page.
Video Transcript
Natalie: Natalie
Jenny: And
Misty: Misty
Jenny: And we have an awesome project for you today. Today we’re featuring this house template. It’s another Daisy and Grace template. It comes in several sizes and we have all used different sizes to show you this. My project is this little House Banner. So cute. Isn’t it cute?
Misty: It’s really fun.
Jenny: So the fabric I used for this is called Bubbies, Buttons and Blooms and it is by Corey Turner Goodheart for Windham Fabrics. And it is just an adorable line. It is so cute and it lends itself very well to what we’re doing. Now these templates are a quilt as you go method. And it’s like the one we did, last year we did one with hexagons. She has all kinds of shapes. But the house one just, you know, it was just like these little houses are so cute. And honestly the smaller they get the cuter they are. But I decided to start with the big one. And so what we’re making are these little houses right here. Now one of the cool things we’ve done is we have the pre cut batting so you don’t even have to cut out your batting which
Natalie: Makes it so much easier.
Jenny: It does. It does. Well not really for me because if I need batting cut, guess who does it?
Natalie: Ok true story.
Misty: True story
Natalie: I cut a lot for Mom.
Jenny: She does. My shoulders aren’t so great so she does a lot of, if I need a lot of cutting done, she’ll be like, I’ll cut that for you. And so I’m always happy to let her do that. So let’s get right in on how to make one of these houses. There’s a couple of things I want to point out on this. First and one is that I did need one long strip of fabric for this. It’s actually two 2 ½ inch jelly roll strips that I sewed together. And I’ll be talking about that. My project was made out of a layer cake but it doesn’t use the whole thing nor does it use the whole layer cake. So I’ll talk a little more about that. Also I sewed mine on, because it was Bubby’s Buttons, I used a button to attach my little house to the banner and we are also going to give you an alphabet so that if you want to write a special message on yours like happy birthday or welcome or whatever, you can do that as well. So all these things are going to be available to you and we’ll talk more about them as we go along.
So basically we’re going to show you how to make this whole project using the big house and it’s exactly the same for the other sizes. But the other girls have done some different and fun things with theirs so I think you’re going to really enjoy this. Alright. So one of my favorite things to do with these houses is I’m cutting out two, I’m using two fabrics for my house. I’m using a background and I’m using a center for the house. And so the templates come apart like this and we’re going to use a background here and then Natalie I’m going to let you go ahead and cut that out right there.
Natalie: Ok. and it is actually so much easier to do these if you have a spinning mat.
Jenny: It is.
Natalie: Or if you have a little mat that you can just turn.
Jenny: Ya so we do actually have one. Do you want me to grab it? It’s right here.
Natalie: Sure.
Jenny: It’s right under here.
Natalie: How convenient.
Jenny: How convenient. Ta dah! And now Natalie can spin. There we go.
Natalie: Yay.
Jenny: There we go.
Natalie: I’m just going to scoot this up.
Jenny: It is handy. Now if you have, like she said, any mat can be a rotating mat, you know, if you have a small mat, just turn it.
Misty: Just pick it up and turn it.
Jenny: Ya, just turn it and slide it. Anyway she’s going to cut that out. And while she’s doing that, one of the things I love about these is they’re clear. So they enable you to fussy cut which means you’re going to put, get exactly what you want in the center of that little house block. Now this line of fabric particularly, I mean, you can see some of these different fabrics up here. It really lends itself to fussy cutting. And so you have this one cut out and I’m going to have you cut this one out as well because it’s like
Natalie: Right on the middle of that cute flower.
Jenny: Right in the middle of that flower.
Natalie: Or this
Misty: Can you get an inside and outside from the same print?
Jenny: You can get
Natalie: You can
Misty: From the same ten inch square?
Natalie: Yes, see how the little house fits but then you’ll have this little extra bit of something.
Misty: Ok I was just curious.
Jenny: So actually what happened with that since you asked is I got caught up making some tiny little ones because I had this leftover fabric.
Natalie: She’s obsessed. But look at this fabric. It’s so cute. It has like: follow your heart, keep going, believe in yourself in all the leaves and then the words are all these cute little encouraging sayings.
Misty: It’s really cute.
Jenny: And this one right here, you know, it looks almost like a little birdhouse because it has that little circle in the center right there.
Misty: So Cute.
Jenny: And of course I love words. And there’s a lot of words on this fabric and it’s just, it’s an adorable line for anything but I think, you know, when I saw that I got to use this I was just pretty excited about it. Alright so let’s put this back down. And so now what we’re going to do is we’re going to take our, Misty do you want to make sure that iron is hot?
Misty: Absolutely.
Jenny: We’re going to take our backing and we’re going to put it pretty side down, so right side down. And we’re going to use this house template to line up our middle pieces. We’re going to lay that on there. We’re going to put our house batting right in there like that. And then we’re going to put our little house right on the top. Now what I like to do is I like to put a pin through the center so it holds it. And then I can take this off and then I’m ready to fold. Now just like the other template, you know, you’re going to start in one place and you’re going to fold and you’re going to fold up again like this. And you’re going to put a pin in there. Now depending upon whether you’re left or right handed is what direction you’re going to go. So I’m going to turn mine and go this direction right here. Now let’s talk about these corners for a minute because we all did it a little differently. And I actually did mine half and half because I was trying to see what would work the best. So if you just fold this in here like this and fold it over again, it makes a nice corner. And all your pieces are inside. You can also fold this over like this and make a little 45. And then fold it up like this and you’ll have a little corner right there that meets. And if you want to miter them you’re going to want to do that before you do the bottom.
Natalie: That is the mitered corner what you did.
Jenny: Oh what I just did?
Natalie: Uh huh. Yes.
Jenny: Oh because I also did them a third way then.
Natalie: You did?
Jenny: I did. So what I did was I folded this up like this and it came up on here like this and then folded.
Natalie: Oh you did your corners first.
Jenny: Ya so then when it miters up it’s an actual perfect miter. So I think it just depends on whether or not
Misty: Well and it’s interesting because every time I started at the peak.
Natalie: I always start at the peak as well
Misty: And work down. Every time.
Jenny: Oh! So I love it. So that’s actually one of my favorite things about doing these kinds of projects, especially with Triple Play, is that you just go around.
Natalie: And it’s funny too. We all sit and work in the same room and we’re doing everything differently.
Jenny: And we all actually show up many, many days wearing the same color.
Misty: Ya without planning it.
Natalie: By accident.
Misty: Yes.
Jenny: By accident totally.
Misty: It was blue day.
Jenny: I know. And all of us went into our closet like 20 times going, what should we wear, what should we wear? And then we come dressed alike. Or coordinated at least. Alright so now I’m still going around here and I’m up on this peak now and
Natalie: The little angled edges miter all by themselves.
Jenny: They do. They just miter naturally.
Natalie: You don’t have to do anything.
Jenny: No and they just go around. And so on this one I did the same thing where I just folded it over like this. So does your top miter?
Natalie: Yes.
Jenny: You mitered your top.
Natalie: You just turn it in at a little 45 degree angle and then fold it.
Jenny: Fold it over.
Natalie: And you’ve got a nice mitered, pointy top.
Jenny: Nice miter. There we go. Alright so what we’re going to do is we’re going to go around this. Now you’ll notice these pins that we’re using. These are called magic pins?
Natalie: I think they are.
Misty: I think that’s right.
Jenny: Magic pins and we do love these for this project and the reason is, is that the little ends are silicone so you can iron them and they don’t melt. So that makes it really cool. You’ll notice this is looking a little wonky but once we get it together we will be able to just press that and it will lay nice and flat. And I’m just going to put a pin in here. So I actually have done three different corners on this house and at the end of the day it’s not going to matter. Oops.
Misty: Oh you alright?
Jenny: Ouch. I’ve got nine more of those fingers so I’m ok. I only hurt one. My poor children, they would come to me with a sore and I’d say, you have nine more.
Natalie: Very tough.
Jenny: You have nine more fingers. Don’t stress. Ya I was kind of a tough mama. I still am a tough mama. I mean I have some sympathy. Let’s say it Natalie, please.
Natalie: Oh she’s very sympathetic.
Misty: You sounded totally sincere.
Jenny: Totally sincere. Alright. So now oops, this one is poking out so we need to make sure that’s turned under.
Misty: You want me to press it again?
Jenny: I just want to make sure that, once you press a little crease in there
Natalie: Then it will be stuck.
Jenny: Ya And that would bother me, that little dip in there so I think that will be fine. But see how flat that came out even after you pressed it. Alright. So what I want to talk about is I took a bunch of these home and I hand sewed the edges down on these. And I just thought this would make a fun take along project. And so I wanted to see how it worked to hand sew. And so I have a little needle and thread here. And I just want to show you. Actually I unfolded this, I came up through the fold and brought my needle right out through the fold and
Natalie: And that hides your knot, right?
Jenny: It hides my knot. And then I’m just going to do the same stitch I do on binding which means wherever your thread comes out you go right in and then you’re going to come out, and come out the fold. So you go right in and you come out about, I don’t know, a little less than a quarter away and so it hides the stitch. And that’s a binding stitch or a ladder stitch, not a ladder, a hidden stitch. So then the other thing was I wanted to try sewing them down. And so this one is sewn and I used this invisible thread. And the main reason I used invisible thread is because I didn’t want to change my thread for every color. And I wanted to use the invisible thread. Now the old invisible thread used to be not so good. You know, if you put your project in the dryer it would melt or whatever but this is much better. If you haven’t used, if you’re like me and you used it once and it was like
Misty: The worst
Natalie: Did you press that thread with the iron?
Jenny: I think I did because I pressed all of these so.
Natalie: With thread in them?
Jenny: Uh huh.
Misty: Interesting.
Jenny: So ya so
Natalie: So it must be very heat resistant then?
Jenny: I think so.
Natalie: That’s good
Jenny: And so, you know, if you’re like me and you know 100 years ago, you know, this stuff comes out and you try it and then, you know, it’s not so great. Just know that technology takes care of a lot of that stuff and we move forward in the sewing world. And we are way forward with this thread.
Natalie: Excellent, good to know.
Misty: That’s awesome.
Jenny: Good to know. So the other thing is that on this one I did a straight stitch and on this one I did a little zig zag. Now I found, and on this one, can you see here? See these are my mitered corners all the way around. And this is a straight corner right here. And you know at the end of the day it’s whatever works best for you and does it. So then I want to show you, I just used a 2 ½ inch strip to attach my little houses to. And basically what I did was I ironed it in half like this
Misty: Do you want me to press?
Jenny: I’m just going to show them this I think because this is pretty easy and quick. So I ironed it in half
Natalie: Just finger pressed it first.
Jenny: So I had a line. And then I folded my fabric into the line like this on both sides like this. And then folded it in half like that. And pressed it down and just sewed a seam on the outside of it. You know and so you can see my little seam on the outside of this. And then when I had that done and I actually sewed two pieces together and just straight stitched the ends, cut off my selvedges and straight stitched the ends.
Natalie: And you could put as many strips together as you wanted. You know if you wanted to decorate all around the house with these banners.
Jenny: So I made the garland to fit the size of my hanging, my design wall at home because I thought it would be really cute. And so if you wanted it longer you obviously could do it longer. Now one of the things I want to talk about, actually you are going to need to press one of these down because
Misty: I wondered because you’re going to have to sew it.
Jenny: I am. So now I have a thing for buttons.
Natalie: She does. So many buttons.
Misty: So many buttons.
Natalie: It was actually one of my favorite things to do as a kid was just dump out the button jar and look at all the different colors and sizes.
Jenny: Yes and we would dump them out and so you don’t think I’m crazy we dumped them out on cookie sheets so they didn’t go everywhere.
Misty: Oh that’s smart.
Jenny: And so the kids, and I would have them put like buttons together. And I mean I’m really good at keeping children busy and this was fun. But there are so many different buttons. And I do love old buttons and I do have a lot of old buttons. So to make this work you’re going to need buttons that have just two holes in them. And I picked different buttons on every single house because I love buttons and I love different buttons. And so for these I tended to go for just the two hole buttons like this because I’m going to show you how to sew these on using the sewing machine. Now if you’re going to use a sewing machine to sew on a button it’s got to have a zig zag stitch. And so what we’re going to do is we’re going to sew side to side without moving forward. I do a lot of mending and it is so easy when you sew a button on with the sewing machine. It’s actually super life changing and so I think this will be really fun for you to see and to watch and I’m going to put those buttons over there. And I’m going to use this button but I’m going to find a darker house so you can actually see it. And
Natalie: Oh that one at the bottom is perfect.
Jenny: This one?
Natalie: Ya, it’s dark colored you can
Jenny: Alright. So I didn’t measure where these went. They’re all eyeballed and they’re all ready to go and we’re going to go ahead and sew on this strip right here.
Natalie: Alright.
Misty: The first part is pressed but
Jenny: Ya so I’m going to have you just sew down the side of this. And honestly we don’t even have to sew the whole thing because I just want to show how to attach it.
Natalie: Ok
Jenny: So Natalie is just sewing right along, you know, about an ⅛ or a quarter of an inch from the edge of this down one side. And that’s really all you need to do. Now I want to point out something. If you’re using invisible thread you use regular thread on the bobbin so like even on this house right here. The top invisible thread. The bottom regular thread. So your bobbin is going to work much better for you.
Misty: I was going to ask that.
Jenny: Ya if you put both in it’s not a pretty sight.
Misty: I’ve never used invisible thread so.
Natalie: Is it thicker than regular thread or thinner?
Jenny: I actually don’t know. It probably comes in weights just like normal thread. This says 250 millimeters which I have no idea what that means but you know so
Natalie: That might be the length
Jenny: Ya I just don’t know, it could be. Alright that’s enough of that. That’s enough.
Natalie: Alright there you go.
Jenny: Alright so now what we’re going to do is when I did my banner and I chose the number I wanted I put my first house in the center and I pinned them all before I sewed them down. But once I sewed them down I sewed them down with a button and I just, literally I eyeballed this and put it on. Put my
Natalie: You did them all three at the same time?
Jenny: Sewed through all three layers?
Natalie: Uh huh
Jenny: Yes, yes I just did one thing. Now you can do
Natalie: Trade me?
Jenny: You can do all three. I do. And I want to use a zig zag stitch that’s going to be wide enough to go through here. So when you do this what you’re going to do is you’re going to release your little presser foot right here. So we’re going to take this off. And then we’re going to lay our, what do we call this, back piece, hanger thinger, the banner holder
Misty: The ribbon?
Natalie: Don’t you also need to drop your feed dogs?
Jenny: No
Natalie: For real.
Jenny: Yes, no you don’t because we’re changing the fact that the foot only goes, it’s only going side to side. The stitch isn’t moving forward. This is a regular zig zag and we’re fixing the width but we’re not changing, it’s not going forward. And so what we want to do is we want to come over here to a number nine is a good little zig zag on here. And actually I’m going to go with eight I think. And then what we want to do is we want to go to our length and we want to set it to zero so get it as close as you can to zero. And then the top stitch is dependent upon how far apart your buttons are. So what I do, I mean the little holes. Yes. So what I do is I move this around until my needle goes right in that hole and I do one round by hand first. So then I, see then it pops right over to come down the other side. And if it goes in there really easy with no problem then I can just press on that presser foot and sew side to side and sew a button on without
Natalie: If it had hit the button though you would want to change the width, right?
Jenny: Yes. So if it had and generally on this machine it’s 3.5. And I would say that’s pretty standard, you know, so
Natalie: That’s pretty awesome.
Misty: That is awesome.
Jenny: So then you sew your buttons like that and you just go across and I used all different kinds of buttons and it’s just a really cool, neat little trick. Now one more thing before I leave you. I also have an alphabet for you guys and numbers so that you could put letters on your banners. You know, I have some right here. This is a P. This is the beginning of Happy like this. Or Appy depending on whether there’s an H in there somewhere.
Misty: Certainly there’s an H.
Jenny: And there’s a Y. Oh there it is. So ya we can just lay these out here. So here’s our H A P P Y. This is a free download, these printables right here, this is a free download. And they’re already backwards. A lot of times when people do things with Heat N Bond they forget that they have to reverse them for them to come out right. So when you trace them on, you know, you’re just going to lay your Heat N Bond over here, trace the letters that you want, iron it onto your fabric and then cut out whatever word you want. And this is birthday. This has birthday on it. But it would be just fun to have little messages on these. And you could do it for holidays. I mean how cute would a Halloween one be or a Christmas one or welcome or you know, fun to stick in a package to, you know, to celebrate like if you have a loved one’s birthday far away you could send a little thing like this. It just makes it really cute and I just love these little house blocks. I think they’re so darling. Alright so that is my project. And now we’re going to move on to, who goes next?
Misty: I think Natalie
Natalie: I get to go next.
Jenny: Awesome. Well let me clean up this mess.
Natalie: Alright.
Natalie: So for my project I used the three inch house template. And it looks like this. It’s a cute little guy. It’s the middle size.
Misty: That’s right.
Natalie: And I used these wooly flannels, Desert Sunset by Bonnie Sullivan for Maywood Studios. And it is beautiful.
Misty: It is so pretty. And I just love how thick and awesome it is in a pack.
Jenny: Ya when you get the pack it’s like three times as thick.
Natalie: It’s also pretty forgiving to do these quilt as you go houses because it doesn’t get super funky. It has just a little extra
Misty: I was curious if you thought it was more difficult. But you felt it was easier?
Natalie: I think it was easier.
Misty: That’s awesome.
Natalie: Ya I think it was pretty easy.
Jenny: Now on these house templates can they get these individually?
Natalie: You can get the house templates, whichever size you want or you can buy a bundle of three.
Jenny: Oh ok, that’s perfect.
Natalie: The two, the three and the four.
Jenny: And we also have the smaller batting?
Natalie: Yes and for my projects I make two things using the entire layer cake and you would need two packages of this if you were going to make both of them. And they come in a count of 42 so you just kind of have to decide how big your project is going to be.
Misty: Depending on what you’re making.
Jenny: This is a really cute project. I really love it.
Natalie: You know I’m glad. It turned out really fun. I feel like it would be so easy to freshen up and cozy up your couch for winter.
Misty: Absolutely.
Natalie: But if you wanted to cut your own batting you totally could using the template, the middle size template. Sorry, the inner house. Ya but just layer maybe two pieces and if you wanted to go with four because you’re
Jenny: Well and honestly notice how thin this batting is. I mean this is not your thick batting.
Natalie: Right but this is four layers and it’s a lot to cut through. I mean it’s almost a half an inch.
Jenny: Now do you use a 60 inch blade?
Natalie: A 60 millimeter, yes. That would be what I recommend.
Jenny: 16 millimeter. 16 inch would be
Natalie: If you were doing four layers of batting.
Misty: Ya and a good sharp blade.
Natalie: I think it just makes it safer to use two layers. Just easier.
Jenny: Two layers, ya. And she does cut most of those for us so
Natalie: Good times, good times.
Jenny: But now we can buy them in a package so that’s really handy for you. I’m pretty sure that was her idea.
Natalie: It’s a good one.
Misty: It is.
Natalie: Ok so because my template is three inches, I was able to get all four pieces out of one square. So I’ll show you how I did that. I’m not actually going to cut. I’m just going to demo so you can see. So I folded it in half because it doesn’t really matter. There’s no direction to this fabric. And I got the larger piece from down here and the smaller piece from up here.
Jenny: Oh that’s perfect
Natalie: So I had completely even numbers. It was so great. And then I just mixed and matched all the colors and backgrounds.
Jenny: Well that takes all the guilt away because I felt a little guilty because I had these whole pieces and I couldn’t really throw them out, you know.
Natalie: You know what though those are great pieces to cut into little squares and save for other projects. Ok. So I put mine together in the same way Mom did. I mitered all the corners and stitched them down. I actually prefer to use a decorative stitch. And so this is a feather stitch and then this one is just straight but you could go either way.
Jenny: Ya I do love that.
Natalie: I just think the feather is so pretty.
Jenny: The feather is so pretty. It adds a lot. Now did you just choose one color of blending thread or did you change your threads?
Natalie: I choosed, choosed? I choosed one color.
Jenny: Ok
Natalie: Because I didn’t want, I don’t want to keep changing it all the time. I think it doesn’t take away.
Misty: It doesn’t take away at all. It just disappears.
Jenny: It just disappears. It’s beautiful.
Natalie: It’s a little bit of, almost a taupe color I probably could have gone a little darker. But I just used what I had. So I put mine together. This is the table runner that I made. And I think it’s pretty cute. It actually almost looks to me like a spool of thread.
Misty: That’s what I was going to say. It totally does.
Natalie: Ya so it just kind of a fun little thing you could use. And you can make this as long as you want.
Jenny: Now did you get both of these projects out of that?
Natalie: Yes.
Jenny: Oh awesome.
Misty: Perfect.
Natalie: Both projects.
Jenny: So you really could make a long table runner?
Natalie: You really could, ya . Or you could make a wider, more square one. And my pieces are put together kind of in a little zig zag shape. So I stitched these little lines and then added, so they go together like this. Whoops, let’s use a different color.
Jenny: So did you stitch all these little side seams first and make one row?
Natalie: You know, I kind of just added them as I went. And I made this row and then this row separately.
Jenny: Oh ok.
Natalie: So because you can’t do, well you could. You could do all the little side seams and then join this section, you know, just like this. But I ended up stacking my top row and my bottom row in little piles. And then I did, this is the top one and this is the bottom one. And I just added to the row.
Misty: Did you use a zig zag first?
Jenny: Different brains, different brains. I love that.
Natalie: What do you mean the zig zag first?
Misty: Like did you attach this way or did you come in and attach them?
Natalie: I did them simultaneously. So if I was doing this row, I started with these two pieces and then I added this one and went up this way. And then I added this one and went down this way. And added this one and went up this way.
Misty: Oh, ok.
Jenny: That is so fascinating.
Misty: That is so awesome.
Natalie: So that way it came together as a full row and then I’m just joining rows to create this table runner.
Misty: That is awesome.
Jenny: That is cool.
Natalie: So then I had this table runner up there and it actually, the pillow started out as a table runner and it was really long. And I thought that what would happen if I just rolled that around and made a pillow. So to do that what I did was I made this table runner a little longer and I added, I had this piece on a side where you can see that it goes together kind of like a puzzle so this piece, this side sticks out and this side has the inward curve. And when you pull them around they go together like a little puzzle, it locks together like puzzle pieces.
Jenny: Ya
Natalie: So do you want to go ahead, would you mind sewing these pieces together so that I can show joining the center piece?
Jenny: No I don’t mind at all.
Natalie: Because that is the trickiest part about putting this pillow together. And then literally the only other thing that I did was I stitched close the top and bottom after stuffing it with polyfil.
Misty: So just a straight stitch.
Natalie: Super simple. Well I used the, I totally used the turkey stitch on the top and bottom.
Misty: It’s so cute.
Natalie: I just left a little piece so I could stuff in all the poly fill and then stitched that middle part closed.
Jenny: Now my thread is white so it’s going to really show up.
Natalie: That’s ok
Jenny: And I’ve got the turkey stitch going here.
Natalie: Awesome.
Jenny: And I’m just going to sew these two together.
Natalie: The nice thing about this project too is that because all the shapes are different you can assemble it in multiple different ways. So this isn’t exactly how I put the runner together but having these two pieces fit in, we’re just going to stitch from here to here and go around that little curve.
Jenny: Alright, I will do that. Ya I love how we all come to it from a different place.
Misty: Ya I would have never thought to do this whole part together.
Jenny: Ya I would have sewed the sides and then done a zig zag .
Natalie: Oh funny.
Misty: Ya that’s why I was asking. How’d you do it?
Natalie: I just kind of did what felt natural and I wanted to build out the whole row
Misty: Well once you said it it makes perfect sense, it’s just like Jenny said, it never occurred to me to do it that way. I love it.
Natalie: Well I can’t wait to see how you did yours because your project is going to be so cute.
Misty: It’s pretty fun.
Natalie: She uses tiny little ones.
Misty: The tiny ones.
Natalie: I can’t wait to see it.
Jenny: Alright, turn this and come down this side and we’ll have these two together. You notice I have to bite my lip while I’m doing this.


