

Triple Play: How to Make 3 NEW Drunkard's Path Quilts
 Jenny Doan
- Charm Pack
- Double
- Beginner
- Quilt size 75" × 91"
Triple Play is a favorite tradition here at Missouri Star Quilt Company. Once a month, Jenny, Misty, and Natalie each demonstrate their own, unique spin on a favorite block, technique, or template. In this episode, the talented Doan ladies show off three fabulous new quilts made with the Drunkard's Path Template. Misty’s Solstice quilt is a modern masterpiece. Natalie’s Moonshine quilt is a kaleidoscope of color. And Jenny’s Drunkards Path Pineapple quilt is a tropical treat.
Instructor
Jenny Doan
Jenny Doan is an American quilter, author, and YouTube personality. Jenny started Missouri Star Quilt Company in 2008 and today it is the largest quilting supply vendor in the United States.
Shop this tutorial
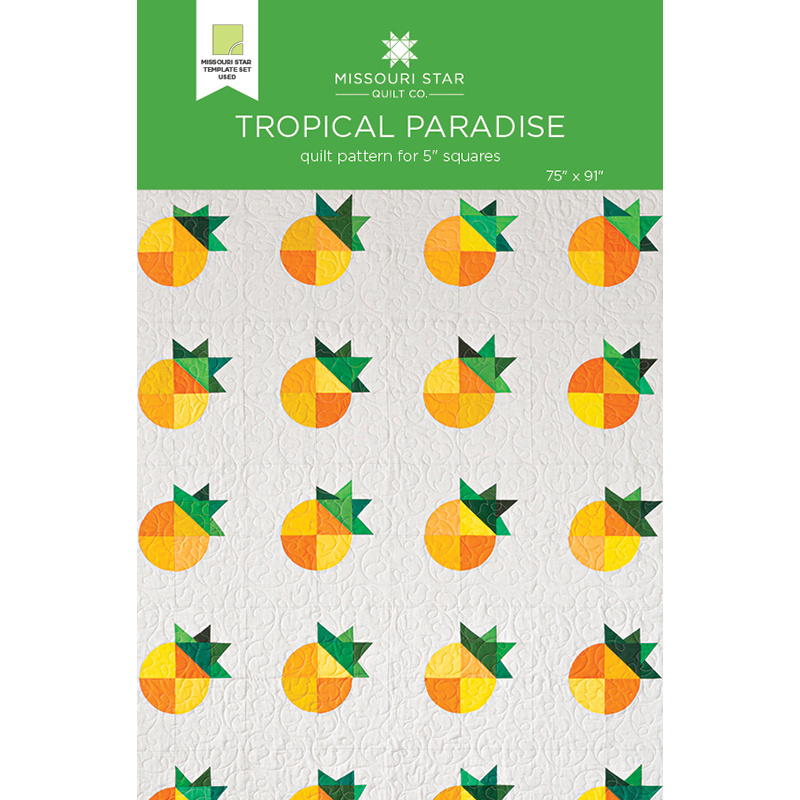 Tropical Paradise Quilt Pattern by Missouri Star$6.95Shop →
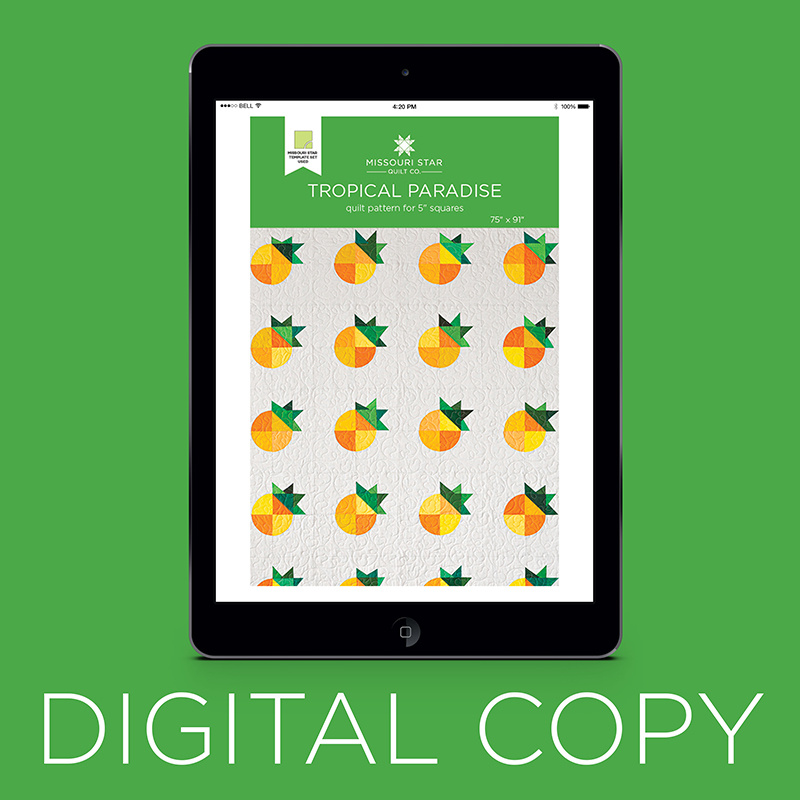 Digital Download - Tropical Paradise Quilt Pattern by Missouri Star$4.95Shop →
 Kona Cotton - Citrus Burst Charm Pack$9.95Shop →
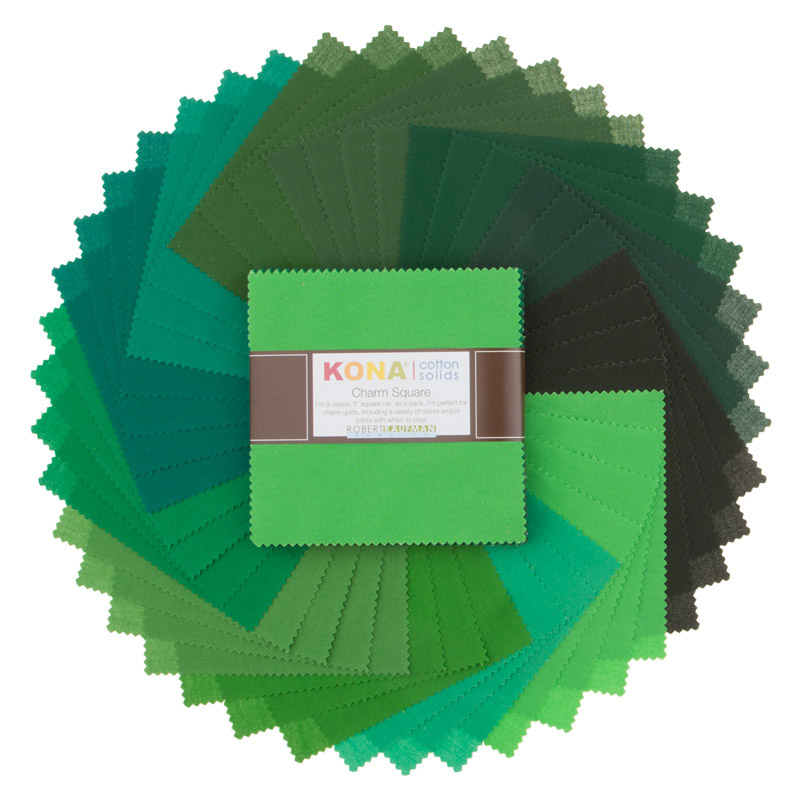 Kona Cotton - Wondrous Woods Charm Pack$9.95Shop →
 Essex Yarn Dyed Homespun - Silver Yardage$11.96Shop →
 Kona Cotton - Leprechaun Yardage$7.28Shop →
 108" Quilt Back - Lava Lamp White 108" Wide Backing$14.96Shop →
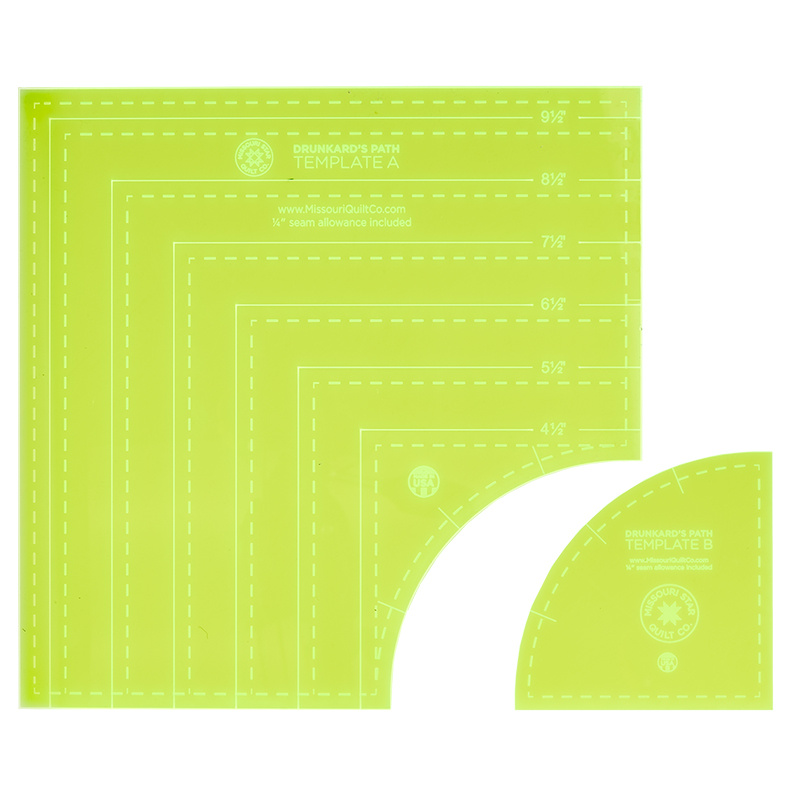 Missouri Star Drunkard's Path Circle Template Set - Small$19.95Shop →
 Clearly Perfect Slotted Trimmers$31.95Shop →
 Missouri Star Quilter’s Best Blend Queen Batting$37.45Shop →
 Moonshine Quilt Pattern by Missouri Star$6.95Shop →
 Digital Download - Moonshine Quilt Pattern by Missouri Star$4.95Shop →
 Kona Cotton - Paintbox Basics Ten Squares$30.95Shop →
 Kona Cotton - White Yardage$7.28Shop →
 Kona Cotton - Storm Yardage$7.28Shop →
 Kaffe Classics - Millefiore Blue Yardage$12.64Shop →
- Missouri Star Drunkard's Path Circle Template Set - Small$19.95Shop →
 Missouri Star Quilter’s Best Blend Twin Batting$26.45Shop →
 Solstice Quilt Pattern by Missouri Star$6.95Shop →
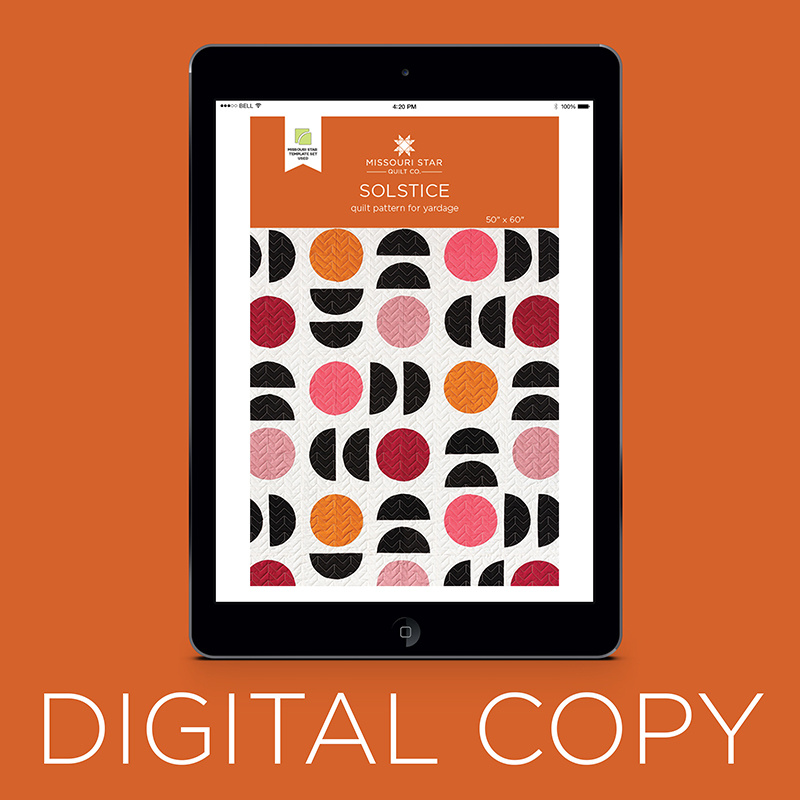 Digital Download - Solstice Quilt Pattern by Missouri Star$4.95Shop →
 Kona Cotton - Snow Yardage$7.28Shop →
 Kona Cotton - Punch Yardage$7.28Shop →
 Kona Cotton - Cedar Yardage$7.28Shop →
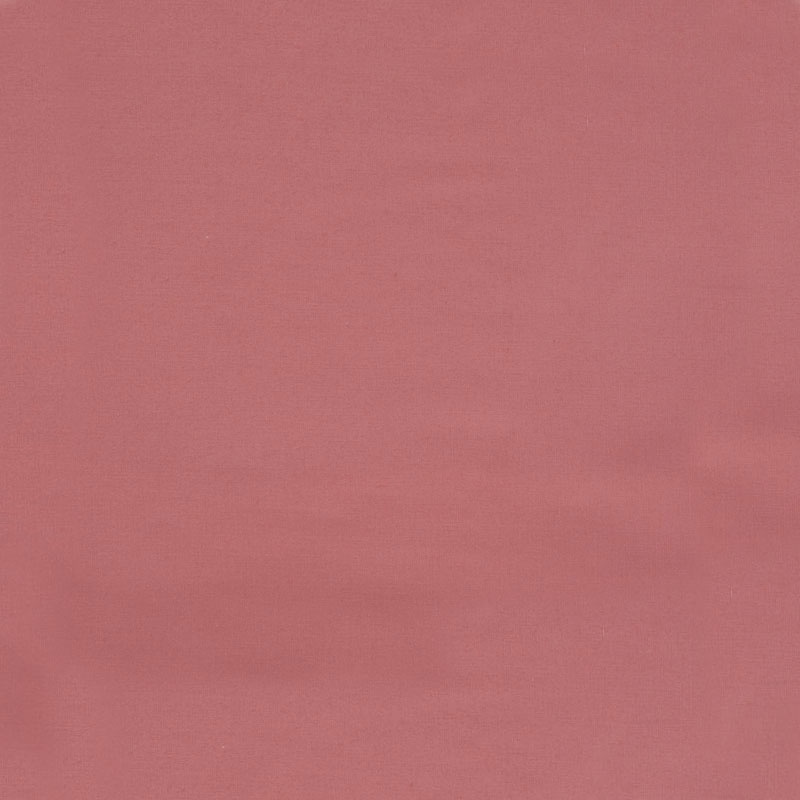 Kona Cotton - Rose Yardage$7.28Shop →
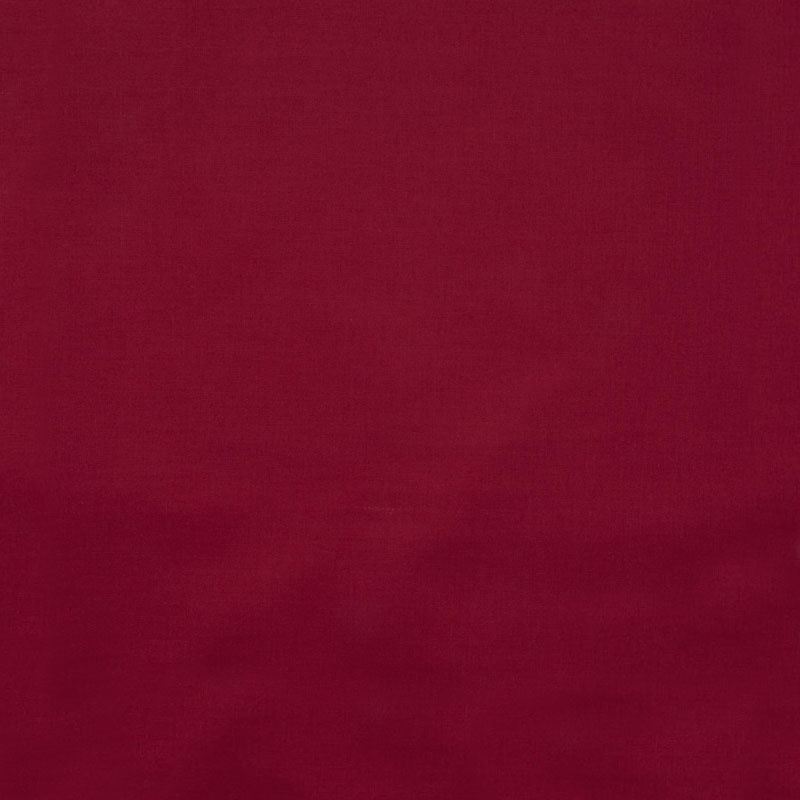 Kona Cotton - Wine Yardage$7.28Shop →
 Kona Cotton - Black Yardage$7.28Shop →
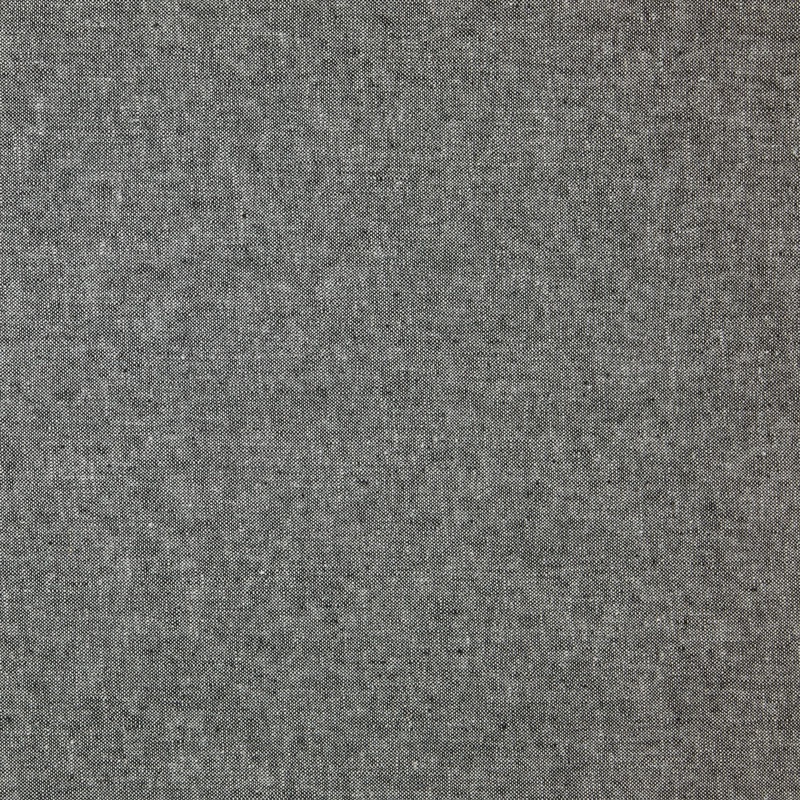 Essex Yarn Dyed Linen - Black Yardage$11.24Shop →
- Missouri Star Drunkard's Path Circle Template Set - Small$19.95Shop →
 Missouri Star Quilter's Best Blend Throw Batting$20.95Shop →
 Missouri Star 5" x 15" Ruler$15.95Shop →
 Missouri Star 2.5" x 8" Ruler$10.95Shop →
 Baby Lock Accomplish - 1500 SPM Straight Stitch Machine$999.00Shop →
 Missouri Star 50 WT Cotton Thread White$6.95Shop →
 Olfa Splash Aqua 45mm Rotary Cutter$18.75Shop →
 Elan 8" Dressmaker Scissors$20.95Shop →
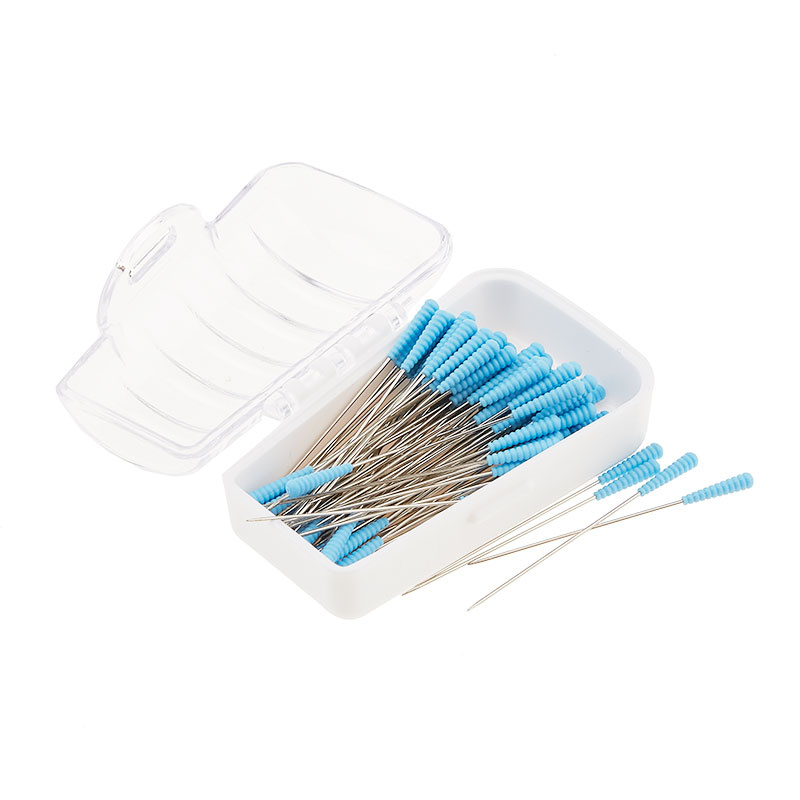 Magic Pins™ Quilting Pins - 100 count$18.75Shop →
 Exclusive Missouri Star Jenny TG1600 ProPlus Oliso Smart Iron$199.99Shop →
Common Questions
What is covered in Triple Play: How to Make 3 NEW Drunkard's Path Quilts?
Triple Play is a favorite tradition here at Missouri Star Quilt Company. Once a month, Jenny, Misty, and Natalie each demonstrate their own, unique spin on a favorite block, technique, or template. In this episode, the talented Doan ladies show off three fabulous new quilts ma...
How long is the tutorial video?
The tutorial video is 00:29:28.
Are supplies listed for this tutorial?
Yes. The tutorial page includes the supplies and materials connected to this project.
Is a transcript available?
Yes. A written transcript is available on the tutorial page.
Video Transcript
Yay.
Our favorite week.
Our favorite week. I'm here with Natalie and Misty. And today, we are talking about the Drunkard's Path, which we love. We seem to do one of those every year because it's just so versatile. And we are going to start with Misty and her quilt. So Misty, you better get your stuff and get back here.
All right.
Okay.
All right. So this is my quilt. I called it Solstice. And it's pretty simple, just straightforward Drunkard's Path blocks.
I love it.
Thank you. I love it too.
It's so cute.
And it was fun getting to pick some solid colors that I wanted to work with. And so I used all Kona solids, and I just picked four for the big circles and then I used black and snow for the background. And I used this pretty Essex linen on the back, which-
Oh, and I love the quilting pattern.
That is a beautiful color.
I love that too. It just really ties it together.
That's graphite, right?
Yes, it is.
The linen just gives it a little texture.
A little texture. Yeah.
It's very nice.
I think so too. Did I say the size?
You did, but-
No, I don't think so.
... you could say it again.
Okay. It's 50 by 60.
There we go.
Great little lap size and it-
Perfect.
... it's just a quick one to make. So let me show you what you need. You need a half yard of each of those four colors for your circles.
And for real, they could pick any colors they want. Yeah.
Any colors. Absolutely. And then you'll need one and a quarter yard of your black, and I believe it's three yards of your background. And like I said, I use snow. And then we'll need the small Drunkard's Path template as well. So let me show you how to do this Drunkard's Path block.
Awesome.
So first, I cut all of my colors, since I did use yardage, into five-inch strips. And so I have my burgundy color here, and we'll just cut a few of these.
Well, and if you leave them a strip, you can literally cut a stack at a time.
Exactly. And so-
Yeah, that's pretty convenient.
This is folded. There's a couple. So.
Perfect.
We'll just do that. And then for my background, I decided to make it a little bit larger. So this is actually a five and a half-inch strip instead of our four and a half. But then this just fits on here, just like so. I don't want to be on the fold, though, so let me trim off this end and we'll go from here.
I do love that we can just lay this on the five and a half-inch mark and get that-
Yeah.
Yeah, you can-
... that corner.
... choose any size.
Any size you want. And it was fun when I was designing this to play with the different sizes to see which one I liked best.
Well, and how much of an edge do you want.
Yeah.
If you were doing a Clamshell, you don't want any edge. But if you're doing something like this-
Something like this.
... you want a little more space between your [inaudible 00:02:42].
Exactly. So then I'm just sitting this right on that five and a half-inch line, and I'll just cut gently around that curve and go like that. And I did keep it like this because then I could come back and set them. And I didn't have a whole lot of waste by going-
Oh, that's really cool.
Yeah, that's smart.
... going every which way.
Very smart.
I like that.
Awesome. And so then now, I just take my pieces here. And for your circles and for every block, you're going to need four of each of them.
Right.
And I'm going to finger press in the middle just so I have that center line, and then I do the same thing on my quarter circle. And then I just line these up. And then do we have pins? I usually pin the middle.
Let me look.
Do you?
Yeah, just that one pin. And then I found-
Oh. Over on your side, Nat.
Okay.
Got them right here.
You don't have to pin, but I find it-
You can stick a pin in that.
... it just keeps it all lined up for me.
I always sew them opposite.
Do you?
With the concave on the bottom.
Oh, interesting. Well, I'll let you do that then.
Okay.
You can do it however you want.
I'm just going to flip this pin.
Flip the pin over.
I think it's good to practice on this and try them different ways.
Yeah, absolutely. Because I've tried both ways and I always come back to the other, the opposite way.
Oh, interesting.
Really?
It's easier for my brain.
Okay.
But like Jenny said, just try it because I think it works both directions.
Yeah.
Yeah, I think I usually do it the way Natalie does.
Do you?
I don't know. I'd have to sit down. My brain is going, "Which way? Which way?" But maybe I do it both ways in and don't even realize.
And don't even realize. Yeah.
Well honestly, they both work. So whichever way you like.
Yeah.
They do.
At the end of the day, we're just trying to sew two pieces together.
Yeah. I think maybe the reason that I did all of these this way is for some reason, it's easier for me to see the dark underneath the white.
Oh, interesting. Yeah.
And so then I can guide that on top of it. But I don't know.
I actually noticed that one of our sewists puts a dot of glue.
That works great. After she told us, I tried it.
At the little corner, yeah. So when she puts them on like this, she puts a little dot of glue here that holds that. Because I never pin and I-
But it helps those edges line up.
Right.
I never pin either.
And then right after she shared that, I saw someone online glue the whole thing. They glued that whole curve.
Ooh.
And I was like, "Hmm, that's interesting too." All right, and so you can see Natalie has sewn all the way around that. It looks beautiful. And if it looks wonky like this, you did it exactly right because we're just going to press it back.
And they press so great.
They press so great.
You just press them.
Yep. Just like so.
And look how gorgeous.
And then we're just going to put these together. I have a few ready.
You might want to sew one more.
Well, I a half.
Oh, you have that one.
I have a half, so then we'll just go ahead and sew these two together.
Wait. Before you sew those, I'm noticing on the black ones right here, so did you literally just turn this?
I did. I have some more of those ready, so we can-
That's so cool.
Yeah, they're just set differently. So if you want to sew those together, and then we'll sew it together like a four patch.
All right. I would love to.
We do really enjoy the Drunkard's Path.
Every time I'm like, "There's just so many possibilities." It's really a fun one to make.
I agree. I always love-
Do you want to press it or you want to just sew them together?
Doesn't matter. I'll sew them together unpressed and then we'll press.
I'll let you just sew it and then we'll press. Yeah.
She's living on the wild side.
Absolutely. And then I'll grab these other-
You know me.
... little blocks.
To show?
To show. So it's really just two blocks. You have the circle that Natalie's working on.
I need a helper because I don't know how to thread this machine.
Oh, okay.
I can.
Is that where it goes? Just [inaudible 00:06:20]?
Nope. Just straight down and then around the little hook.
Okay.
And then through the needle.
No. Here, let-
This way?
No. No, the other way.
Okay.
Yeah.
So you're going to... You just go here.
From left to right.
Let me do this.
Well, thank you.
Mama knows best.
Yes.
Mama knows best.
Yes, you do.
Here we go.
Thank you.
All right.
It's not my normal machine. I can work on it while it works, but...
So then while she's stitching that down, we can talk about this because there's really just these two blocks in the quilt. You have the circles that Natalie's sewing and then our little half moons, and they just set together instead of going in the middle like a circle. Just like Jenny was saying, we're just going to flip this half around and that's really it. And then I just spun the direction that they were in the quilt so you get lots of movement, which I thought was really fun.
It is so great.
Thank you. Yeah.
It's very modern-looking and it just is beautiful. I love it.
Thank you. I was really-
There you go. That's ready.
... happy with how it came together. And it is really just as simple as that. So then it's set five across by six down, not seven. So five by six. And it comes together really quick and easy.
I love it.
Thank you.
That is awesome. I love it too.
It's a great quilt.
Thank you.
It really is. And it's called solstice.
It's called Solstice. All right. And I think Natalie, you're up next.
All right.
There we go.
I'm excited.
So you're up, Natalie.
All right.
I love your quilt.
So I'm excited.
It's so happy.
I had a lot of fun doing this quilt. I called it Moonshine.
Nice.
Because I think it... Like yours. Yours was Solstice.
Yeah.
I'm like, "These half moons and circles just reminds me of all that." So it's beautiful and fun.
It is gorgeous.
It's really easy to make.
Mm-hmm.
You'll be surprised, I think.
Awesome.
All right, so what do you need?
It ended up being 63 by 63, which is just a great little picnic quilt or lap size.
Perfect size.
Yep.
Something to snuggle on the couch with.
Yeah.
Yep.
Super easy, and you could easily make it bigger or smaller. I had enough to do one more row, but I wanted to keep it square so I just did it.
Just left it.
Yeah, I often do that too.
Yep.
Yeah. So it's six by six. And anyways.
Very cool.
All right, so to make my quilt, you're going to need one package of 10-inch squares. And I used the Paintbox Basics Coordinates. I just think it's a really lovely color palette.
It is.
And it's by Robert Kaufman, Kona cotton solids. The background is a yard, and that includes your inner border. And that that's just these little two and a half-inch squares-
Oh, okay.
... and an inner border.
Nice.
I figured up the little two and a half-inch square packs that have 84?
Mm-hmm.
Robert Kaufman makes them.
Yeah.
That's exactly the perfect amount to do this quilt.
Very cool.
Oh, that's awesome.
And so that would work too.
I love the precuts.
Yeah, you could just have one little pack and probably a half yard for your inner border if you wanted to do that.
Sounds perfect.
So the precuts are so easy to use.
Yeah.
Save us a little time.
Yeah. So less cutting, but if you want to save, whatever. It's a yard.
Well, then maybe they want to use a different color.
Right.
Right.
So they... Yeah, could be anything.
Yeah. Your outer border, I just went with a thin... It's a three inch. So this is two and a half and this is three.
Nice.
I thought it was cute. A little great.
A little frame.
It's a good framer.
Yes.
Yeah. Three-fourths of a yard. Super easy.
Yeah, and I love that quilting pattern.
I do too.
Thank you. This one's called beaded, and I think it's really pretty.
It is pretty.
It's really cute.
Oh, backing.
What did you use on the back? Yeah.
I actually went with this really great Kaffe backing.
Oh, that's so fun.
Oh, I love that.
I thought it was really cool and-
It takes all the colors.
... blended with all the colors in.
Yeah, it pulls all of it in.
Yeah. And this is available in a 108, which I thought was great.
That's awesome. I love when we can find a 108.
Yeah.
Yeah. But if you're just doing 45, you need four yards. If you're doing 108, 2 yards will be plenty.
Nice.
Perfect.
And the Drunkard's Path.
Of course.
Small, same as Misty, template A and B. All right. Well, I'm excited to show you guys how to do it. Let's get started.
Okay.
First thing we're going to do is just cut a few two and a half-inch squares from our background fabric so we have those ready to go. And I'm going to just fold this in half and cut a strip.
So out of each two and a half-inch strip, you're going to get about 16-
16.
... two and a half-inch squares.
Yeah.
And so that's always good to know when you're figuring things out.
Mm-hmm.
I'm one of those who cuts a strip as I go.
Yeah, we'll do that. We'll do that today because-
I'll fold that for you.
... we're only going to need a couple of them.
Some people like to cut everything out first. I like it all cut out, but I just get tired of cutting.
Yeah. I hear that.
And your little border's two and a half as well, isn't it?
It is, yeah.
Yeah, so you're just-
The inner borders is two and a half, so all of your background-
You're just cutting two and a half-inch strips. Yeah.
That's right. Oops. Don't get them crooked.
That's good, that's good.
And then I'm just going to cut off that fold. So these are ready to go.
This really is a pretty palette.
Yeah, it's so happy.
It is great. So I just cut the entire palette. Let's see. We'll go with maybe, ooh, this.
It matches me.
That pink. Yes.
This one matches exactly. Look at that.
There we go.
That's a perfect match. And then-
I wonder what color that really is.
Oh, I can look it up. It takes a minute to find it though.
No, it's all right. Not now.
Oh, okay. Later.
Later, later, later.
Later.
We'll have a moment later-
All right.
... when we talk about my color of my shirt.
So I did go through and cut the entire pack, and I separated my little inside circles. What do you call it, a quarter circle?
Yeah.
It sounded very scientific.
Oh, perfect.
I was like, "Okay, I like that." But-
I didn't even realize I said it.
Yeah. Anyways.
You're so smart.
So the first thing I did is I cut using the nine and a half, because I wanted to have enough room to get my corner. And if you go into the 10, you don't have quite enough room. So I went out to nine and a half. So all of these squares are nine and a half unfinished. And you can layer several. I usually do at least four, three or four at a time, just because it saves a lot of time.
Yeah, it makes it go much faster.
Yeah. So then you're just going to cut off that little edge because it's extra.
And it really is a gentle curve. It's easy to cut with the rotary cutter.
Yeah, totally.
Yeah.
I know people get a little-
Little nervous.
... wigged out about curves, but it just goes together so easily.
So these are done. And then this set, you just... There's just a tiny bit of difference in that curve.
It is always fascinating to me that that curve doesn't equal this curve.
It's not exact. Yeah.
Yeah. I mean, just why wouldn't that work? But it just doesn't. I don't know.
No.
I'm not a math girl, so I don't have to think too hard about it. But you know.
I'm glad somebody figured it out for us.
That's right, that's right.
I agreed and then I just mixed and matched. I didn't do these two go with these two. I literally just grabbed whatever color I felt like as I went along. If you're worried about it, you can set them up. But typically what I do, and this is a lazy girl hack, right I mix and match until I get down to about the last 10.
Yes, yes.
Mm-hmm.
And then you're like, "Wait, I have-"
And then I make sure.
You like how they look.
I go through and I'm like, "Okay, these are the ones that are going to go," and I just separate out those last few.
Yes.
I think because we tend to pick our favorite colors first without... Not without thinking about it, but just we tend to. All of a sudden, it's like-
Do you want this pinned?
No. No, I do not.
Because I didn't. I don't pin-
I don't pin either.
... when I do it. I don't, I always line up. I do it exactly like this.
So I start-
That's how I do it.
... with a few little stitches.
I line up at the top. Yep.
And I'm going to have to move this out here. And then I just start pulling and turning. So I do a few stitches.
Yep. That's exactly how I do it too. And it's very gentle.
Yeah, it just-
I go nice and slow. At about the halfway, well, probably about three fourths of the way, I check to see if my two ends are going to line up.
Make sure you're... Still match. Yep.
And then I hold that to ease in anywhere that there might be a little discrepancy.
Right?
The first time I learned to do this, someone recommended pinning a lot. And it made it, in my opinion, way more difficult.
All right.
It gets really ruffly then.
Yes.
And you're looking at all this fabric. It's so much easier to me to... To me, it's like it's merging traffic.
Yes.
You want to zipper it.
Yes. Yeah.
Pinning makes me... The more pins, it seems like it makes me nervous.
Ah, okay.
It's like I've got to get this just right, you know?
All right, well-
All right. So now we have...
... I get that too. So now you're just going to snowball two corners.
Which two?
And they're these opposite ones.
What would happen if we do these?
So this one here and this one here.
Oh my. That's a whole nother quilt.
It would be a completely different [inaudible 00:14:55].
It'll be a whole different quilt.
Right. I love that.
And you're just going to sew... If you are a line drawer or if you want to press it, you can. If you have diagonal seam tape, it's just straight across, corner to corner.
Point to point.
Point to point. Yep.
I got mine on there. I'm going to line this one up.
And every block is made the same.
So simple math. I love that.
And just like that, you've made the whole quilt.
Just like that.
Almost, almost.
Yep. You're almost done. So we're going to trim this off.
You only have to do it 40 more times.
Right.
Press it back. It went together very quickly. It's one of those ones that just... It's rewarding.
Yeah.
Yeah. All right.
And then really, I started with this center medallion as far as the layout goes. I have halves going out from the middles and then quarters in this section and three quarters in the corner.
Ah.
I love that.
I love it.
So honestly, just follow the layout. Lay it out. You can do it just like this or you can do whatever you want.
That's what I was going to going to say. It'd be fun to play with.
And [inaudible 00:15:55]. Yeah.
I had three or four different ones that I had to choose from before I actually put it together and settled on it.
I believe it.
That would be next year.
Yeah.
Yeah, so [inaudible 00:16:05].
So you can see it just sets right in like that. They're all the same. You turn them whichever direction you want.
I love that. And those pops of white really, really make those blocks stand out.
Yeah, it's so fun.
Oh, here's one exactly the same.
There we go.
Just right there.
There we go.
Now, you'll never know.
How will they know? They'll never know. That block just looks great. Well, that was awesome.
Yeah. I hope you guys enjoy it. It's super easy and fun. And it looks a little bit tricky, I think. It's one of those ones that Drunkard's Path always feels a little bit modern to me.
Yes.
And you're like, "Okay, I don't know if I can do that."
But you totally can.
You can. Totally can.
You totally can. Yeah.
It's great. Super easy.
We love the [inaudible 00:16:41]. All right, well-
So I can't wait to see what you did with yours.
Well, we're going to see.
All right.
So everybody, this is my quilt, my pineapple quilt.
It's so happy.
It's so pretty.
My Drunkard's Path Pineapple. That's what I'm calling it. And we're making pineapples, and I've got this cool backing on here.
That's pretty.
And mine's a little bigger. These blocks, as you make them, are about 16 inches. And so it's the same Drunkard's Path with just a little bit of extra stuff going on.
I love that.
So to make my quilt, what you're going to need is one packet, one five-inch Charm pack of the different greens. And I use the Kona Wondrous Woods. You're also going to need one packet of the Sunburst or the Citrus Burst palette with all the yellows and all those oranges.
It's cool that they come in such a variety of yellows and oranges.
Yeah, colorways like this.
That's great.
It's very cool. You're going to need some background, about four and a half yards. Our backing is going to be two and three quarter yards of a 108. This is a 108. Or if you use regular fabric, it's five and a half yards. And then our border fabric out here is one and a half yards, and I just went with the green to accent the little pineapple tops.
It's so cute.
It looks so great. I love it.
So let me show you how to do this. So this makes a quilt that is about 75 by 91. And I don't know if you noticed, but I used the little MSQC chick quilting pattern.
Aw, that's so cute.
It is cute.
He just needed a tropical holiday.
Absolutely.
And so I just threw him on this quilt.
I love it.
This is the block we're talking about right here. And I actually use the Essex linen as the background, which I think in my mind it was like pineapples and sand, that sort of thing.
Okay, yeah.
Yeah. Yeah, that's great.
And so I had a couple of thoughts going on with that, but I did-
I love Essex linen.
I do too.
I did cheat a little. So in our Triple Play book that we came out with, there is a quilt in here that is made and done and has never been tutorialed.
Yes.
Oh, nice.
It is this pineapple quilt. And I thought it needed a tutorial because it's so adorable.
Oh, it's called Tropical Paradise.
It sure is.
So cute.
Tropical Paradise.
That's great.
And of course, when we did the book we used ombré fabric.
So it's a twist on your bird of paradise.
Totally a twist on the bird of paradise.
N: Nice.
I love that.
Which to me looks like the COVID quilting block.
[inaudible 00:18:55]. It's a little spiky.
It's got that round with the spiky ends on it. And so we just change it to the pineapple and put some spiky ends on one side for the pineapple top. And I'm going to show you how to do that. Now, we have just made Drunkard's Path twice.
Mm-hmm.
Uh-huh.
And so I'm pretty sure you're good on that little curved circle.
Yes.
Yep.
Except my squares-
So yours is the same, just a, what, eight and a half or something?
Yeah. My squares are cut at eight and a half.
Okay.
Okay.
I've got this all pinned together. Hang on.
Awesome.
And so my square is eight and a half like this. And so when I lay my ruler on here, I'm just going to put it on the eight and a half line like this and I'm going to cut this out. And I'm not going to use this piece.
Yeah.
Right. That just gets tossed.
And so then my color comes in here. So I think what we'll do is we'll just go ahead and make one more.
Okay.
Yeah.
Yeah, you might as well.
And I have to turn this as well for my-
Oh, for your lefty.
For my left hand. So I'm just going to move this over here, and then I'm just going to cut this right here.
Nice.
And then I always leave my ruler on top after I've cut to make sure that I actually got it on the line because the curve always feels like ... and then you're like... I just want to make sure that it's right before I move the ruler.
Yeah, it could slip a little.
All right. So Misty, I'll let you go ahead and sew that on there.
Absolutely.
And we're going to talk about the next block. So this next block right here that we're going to talk about is a half square triangle. And we take two colors to do that. And basically, what I did was I just took two pieces. These are my green and my yellow. I put those together.
It could be orange. It's just one from each pack, right?
Anything. Yeah, anything. So basically, yeah. So what we did was we just drew the line, sewed on both sides and got two half square triangles and trimmed them to four and a half. And I'm pretty sure... Do you think we need to do that, or you think we're good with that? We could do it.
We can do it.
All right.
It doesn't matter.
Misty's going to be real busy today.
We have lots of time.
That's all right. Got a little off on the end, but it'll be all right.
So if you will sew both of those together.
No worries.
Just on either side?
The Essex linen does have a little bit side bit more of a stretch than the regular cotton.
Yes. Actually, that was actually a little bit of a learning curve for me. Because of the way this is woven, it's a looser weave. And I had a hold of that bottom piece and it was a little bit longer.
Yeah, so just try not to put it too hard.
I just caught it right away. And just make sure that you keep your hand on that top one.
But if it's within a quarter of an inch, it'll be hidden in the seam. So no worries.
Right, right.
Here we go.
All right. So we're going to cut this in half, and then we're going to square this to four and a half. And you can use any squaring tool that you'd like. I have my Clearly Perfect here, and I'm just going to lay this on here and trim around. And you just need one of these per block. Oh, just want to make sure that's right. So we'll go ahead and let you do that.
We make three of these for our block, so I have the three different colors here. And what we're going to do now is we're going to do these stems. And our stems are Wonky Legs, which you guys know I love. I've done one. So for that top corner, you need one plain block, one Wonky Leg block and then another Wonky Leg block over here. And so what I do, how I make my Wonky Legs is I actually take my piece, and you can see I already have a piece cut out of here, but I just take my scraps and I just sew right here, making sure that square crosses the center middle. So we should have enough to do this on both. Grab another square charm.
You need another green?
Yeah, just a different green.
Like a light? Oh yeah, maybe this one.
Yeah, that'd be perfect. And so what I do is I just press that back, and then I'm going to trim it off like this. Line my ruler. Let my square be the-
Your guide.
... the guide. And then we're going to go ahead and we're going to take this. And we're going to make sure that this crosses this part. And it can go anywhere along here. So we can have the long pineapple top, a short pineapple top. If you look at the pineapples behind me, they're all different. I will let Misty decide.
Ooh, I get to play with it. All right. I'll give it a little-
You get to choose. I'm so symmetrical that mine tend to come out almost identical.
I find the same thing when I make Wonky Legs.
I think we just have a muscle memory or something.
We do. I'm sure we do.
Here we go.
All right. So if you'll press that back.
Sure.
Then I will trim it off.
All right.
And we will put this block together. Going to move this up a little bit.
The last component.
Right. So I'm just going to trim this off right here. And I like to save as much of this as I can. And this is where that piece I put on first, you saw, had the little-
Cut-out corner.
... cut out of it.
Yes.
Yeah. This is what it is right here. And so there's our little block, and so let's go ahead and assemble this. And I just need one of these.
So the whole stem thingy is just like a four patch?
It is.
That's awesome.
So it's this way. Or actually, we could use this one. Oh, well, although it matches so let's do this one.
Oh, that's okay.
I like all the different ones.
All the shades.
The variety.
Here's my other legs over here. And this is going to be one unit that we sew together. So Misty, go ahead and sew these together. And it sews together just like a four patch.
Okay.
[inaudible 00:24:23].
You want to keep your yellow color toward the pineapple side, and you want to make sure that your legs go in on this side and in on that side so they all go together to make that pineapple block.
And open them up.
Yep. And then just put them together.
Ooh. There we go.
There we go.
I was like, "What happened?" It was all flipped. There we go.
And then this makes our pineapple. And what we're going to do on this is we're just going to put three together like this only this way. This way, this way, and then over here. Actually, let's put this dark orange down here.
So then you've just got a larger four patch.
Right.
That's cool.
Here we go.
So Natalie, if you'll press this nice and flat.
Yep.
And isn't the linen-
I love it.
... fun to sew on?
I love it. Yeah.
It's just a-
It's buttery.
It's a different texture. People are always like, "Why do you always use light backgrounds?" And I'm like, "Because it's better for the camera." But at the end of the day, it's fun to switch out your-
It is.
... your background sometime.
Try new things.
Love it.
All right. So now, this is just going to go together like a four patch. So these two will go together.
All right.
And then these two will go together. And the only thing I really watch on this is I'd watch to make sure that this bottom little seam is lined up.
With the curve?
Yeah, the curve is lined up. I don't iron one way or the other because the curve naturally, this wants press toward the color. And I like to let it do that because actually on this, if these are lined up... And this is a little short. See how that's just a hair short? You can actually... The feed dogs will take in that little bottom section if you take a hold of that top. So I'm going to let you go ahead and start that. And just watch those two seams to make sure that they-
All right.
... they line up.
They work out.
Although if it isn't perfect, it isn't-
It's okay.
It's okay.
It's okay.
Pineapples are not all perfect and the same.
They're all unique.
They're all different.
Hopefully, I got it close.
You did. All right. So now, what we're going to do is we are going to open this up. And you did very well, my girl.
Thank you.
And we'll do this. And we're just going to put this with this. And we'll match that center seam and the first seam. So where your blocks come together, you want to make sure that those line up and your seams come together. But because they're such nice big blocks, it's not hard. It's not hard at all.
Yeah. They're matching up nicely.
Yeah. You got your iron ready?
Yes. I was actually-
Almost there.
... just thinking I can't wait till the next Drunkard's Path challenge.
I know, right?
Because there's so many cool things to do.
There really are.
The Drunkard's Path has actually been included every year in our Triple Play. This is our third year, and so it's fun to see all the different things.
[inaudible 00:27:26] we go.
All right. So go ahead and press that.
All right.
So happy.
And you've used the Drunkard's Path several times on your show.
So many times. Yeah.
At Home with Misty.
I love it.
It's just a great tool.
It was one I was afraid to try, but now it really is one of my favorite blocks to make. I really enjoy it.
I was always terrified of curves.
Yeah, me too.
It's something I just-
Thought I would never do.
... thought I would be too afraid.
Yes.
And I love them.
So here's our little pineapple.
It is so cute.
Our take on the pineapple. Our tropical paradise, if you will.
I love it.
And of course, these are all going the same direction, so they just go here like this.
Cute.
It'd be fun if you turned them and the second row went the other way. I mean, you can do anything you want to.
Absolutely.
And so this is my take on our Drunkard's Path, and just really enjoyed making it. So we made 20 big 16-inch blocks. Again, how big is our quilt?
It's 75 by 91.
Yeah, 75 by 91.
[inaudible 00:28:23].
And our backing-
The backing is so fun.
So fun. It looks really tropical, I think, like little surfboards or something.
Oh yeah.
Yeah. And what size was your border?
My border's about six... It's six inches.
Okay, awesome.
I was thinking six or six and a half, but then I remembered our ruler rule.
Yes.
Oh yeah.
People always ask, "How do we cut our borders?" And it's literally what ruler is laying on the table.
Yes.
That's the size border it gets.
It's true.
So this is a six-inch border, and I bound it with the same green. I wanted to just keep it-
Really fun.
... really fun and clean.
It's beautiful.
And so we really enjoyed doing the Drunkard's Path thing. Well, we hope you enjoyed this month's Triple Play on the Drunkard's Path and that you'll give these curves a try. See you next month. Bye everybody.
Hi, everybody. It's Jenny from the Missouri Star Quilt Company. We hope you enjoyed watching this video. If you aren't already part of the Missouri Star Quilt Company family, be sure to subscribe so you won't miss a thing. And if you click that bell, it'll notify you every time a new tutorial comes out. See you next Friday.


