

Triple Play: How to Make 3 NEW Orange Peel Quilts - Free Quilting Tutorial
 Jenny Doan
- Charm Pack
- Modern
- Lap / Throw
- Beginner
- Quilt size 40" × 44"
Triple Play is a favorite tradition here at Missouri Star Quilt Company. Once a month, Jenny, Misty, and Natalie each demonstrate their own unique spin on a favorite block, technique, or template. In this episode, the talented Doan ladies show off three fabulous new quilt patterns made with the Orange Peel template.
Instructor
Jenny Doan
Jenny Doan is an American quilter, author, and YouTube personality. Jenny started Missouri Star Quilt Company in 2008 and today it is the largest quilting supply vendor in the United States.
Shop this tutorial
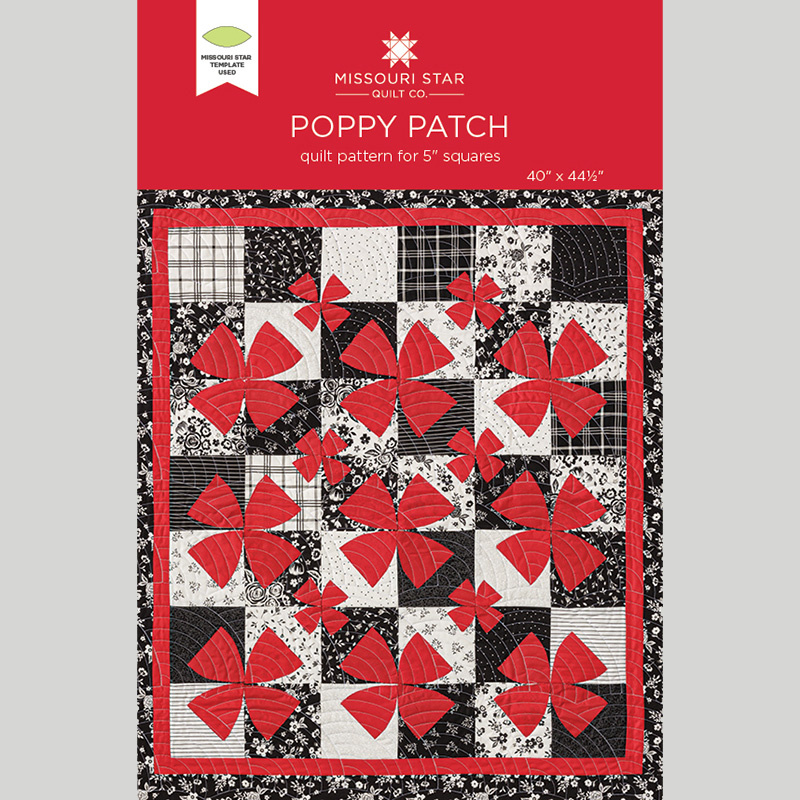 Poppy Patch Quilt Pattern by Missouri Star$6.95Shop →
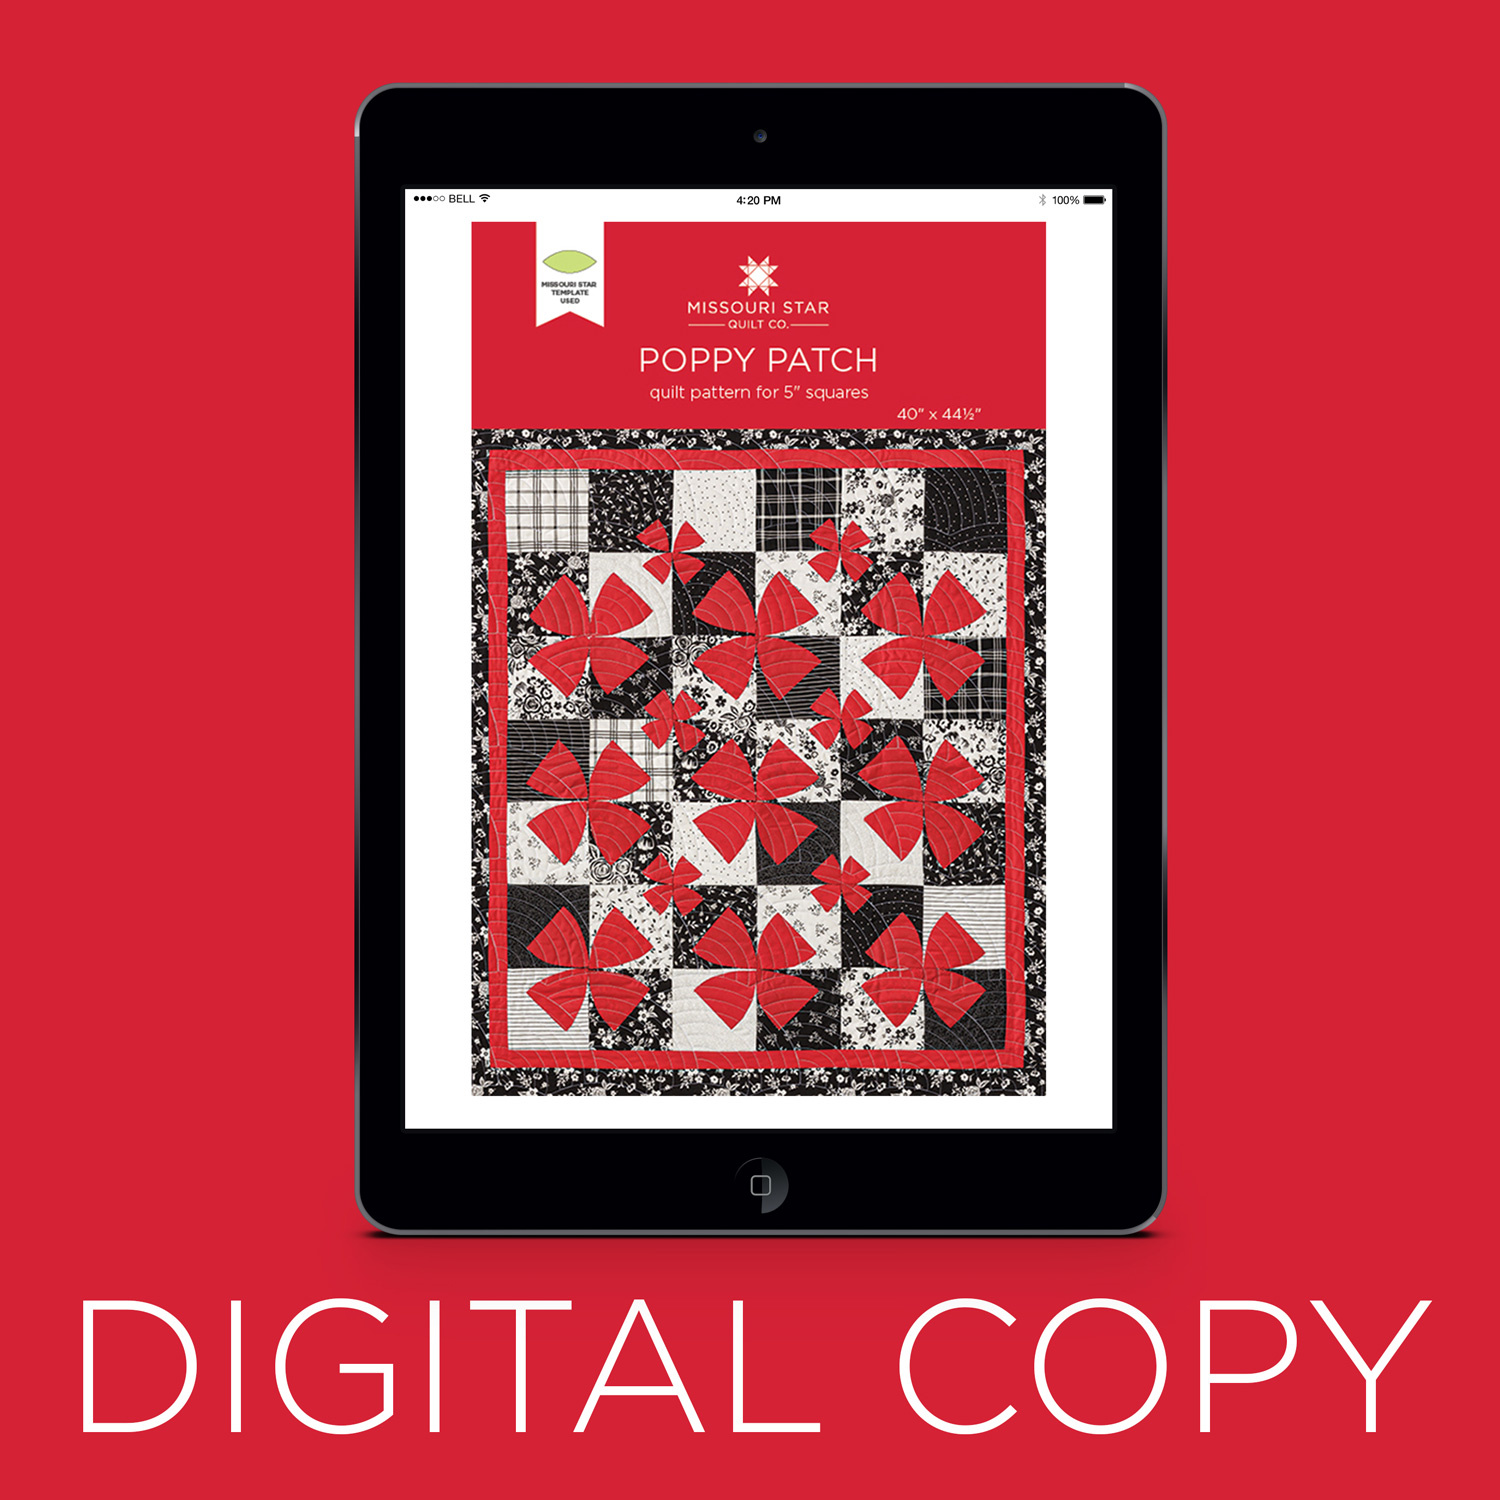 Digital Download - Poppy Patch Quilt Pattern by Missouri Star$4.95Shop →
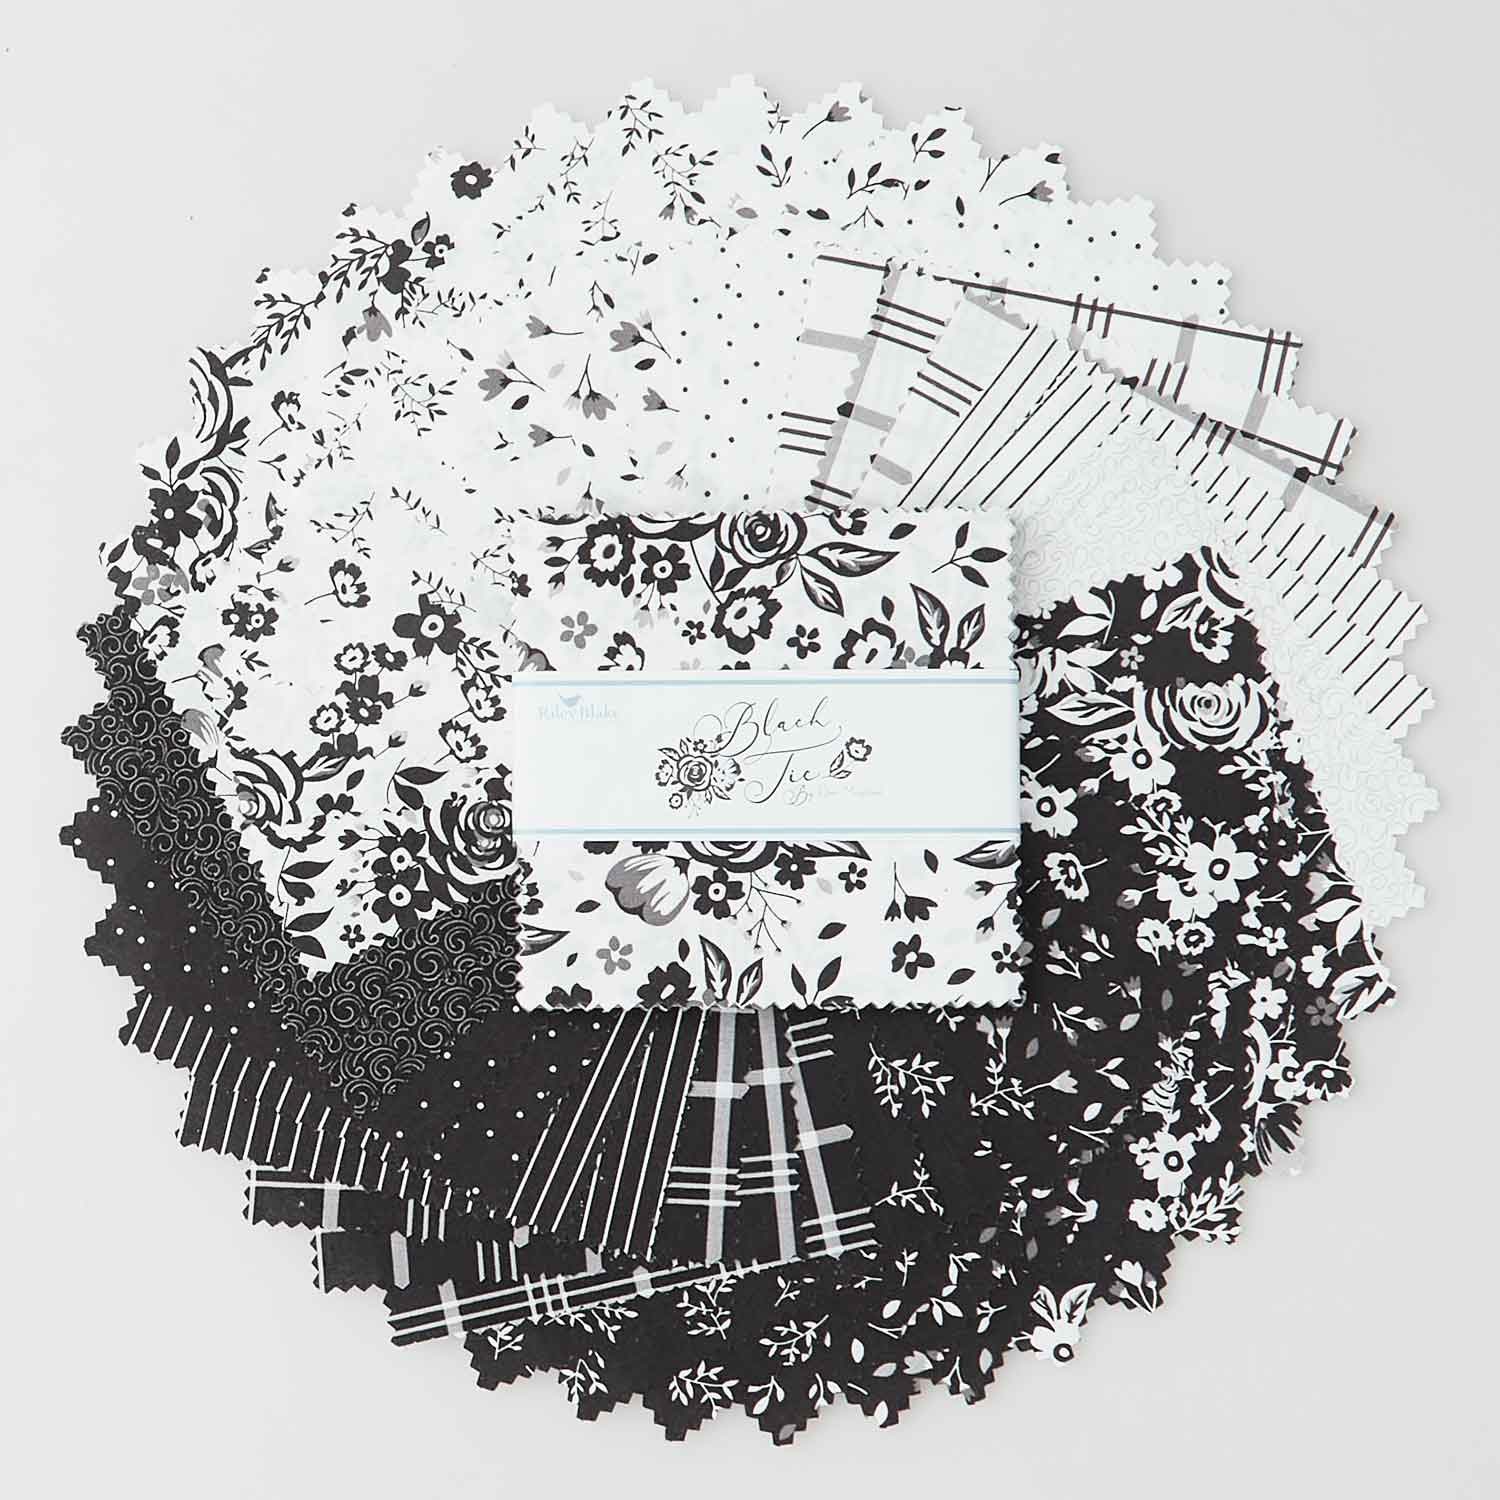 Black Tie 5" Stackers$11.95Shop →
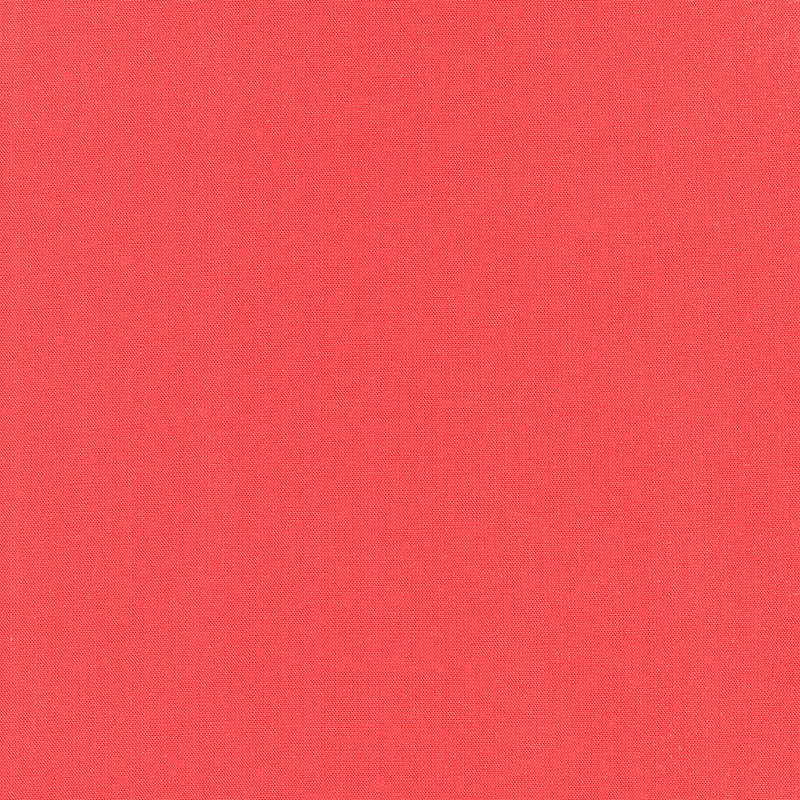 Kona Cotton - Color of the Year 2023 Yardage$6.76Shop →
 Black Tie - Floral Black Yardage$11.96Shop →
 Black Tie - Swirls Black Yardage$11.96Shop →
 Missouri Star Quilter's Best Blend Throw Batting$20.95Shop →
 Missouri Star Small Orange Peel Template for 5" Charm Packs$7.95Shop →
 Missouri Star Mini Orange Peel Template for 2.5" Squares$3.95Shop →
 Missouri Star Sew Light Fusible Adhesive - 12" x 15 yards$28.95Shop →
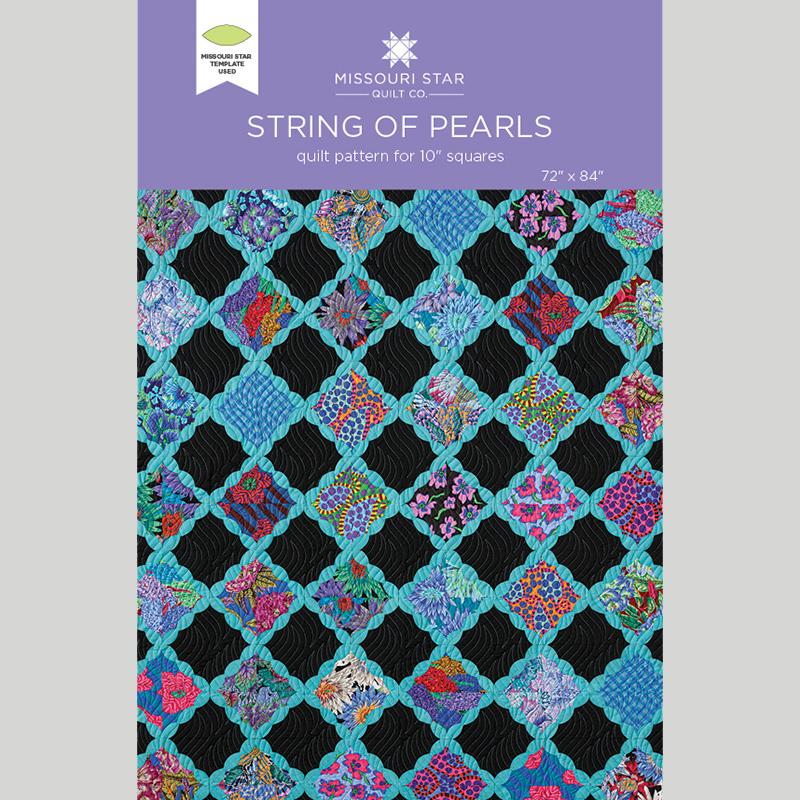 String of Pearls Quilt Pattern by Missouri Star$6.95Shop →
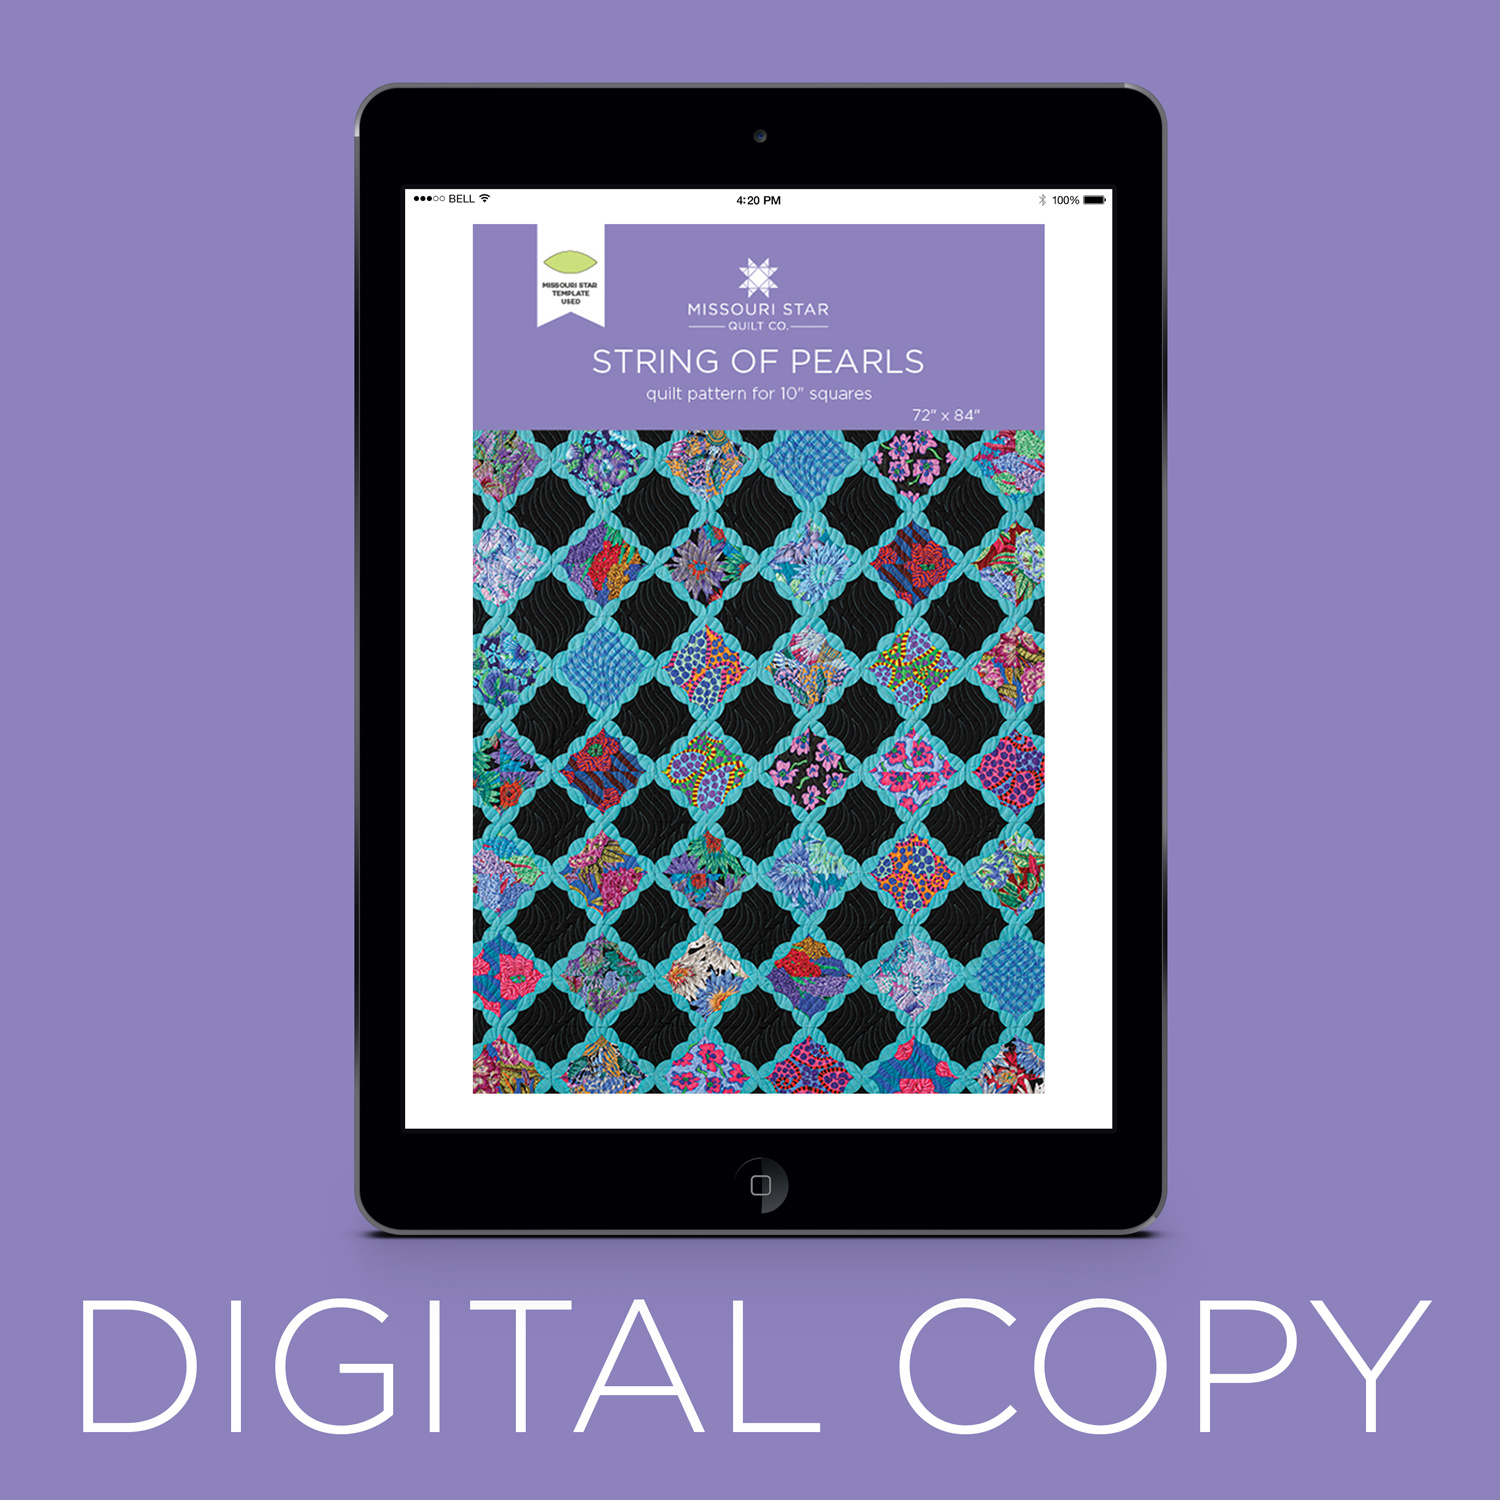 Digital Download - String of Pearls Quilt Pattern by Missouri Star$4.95Shop →
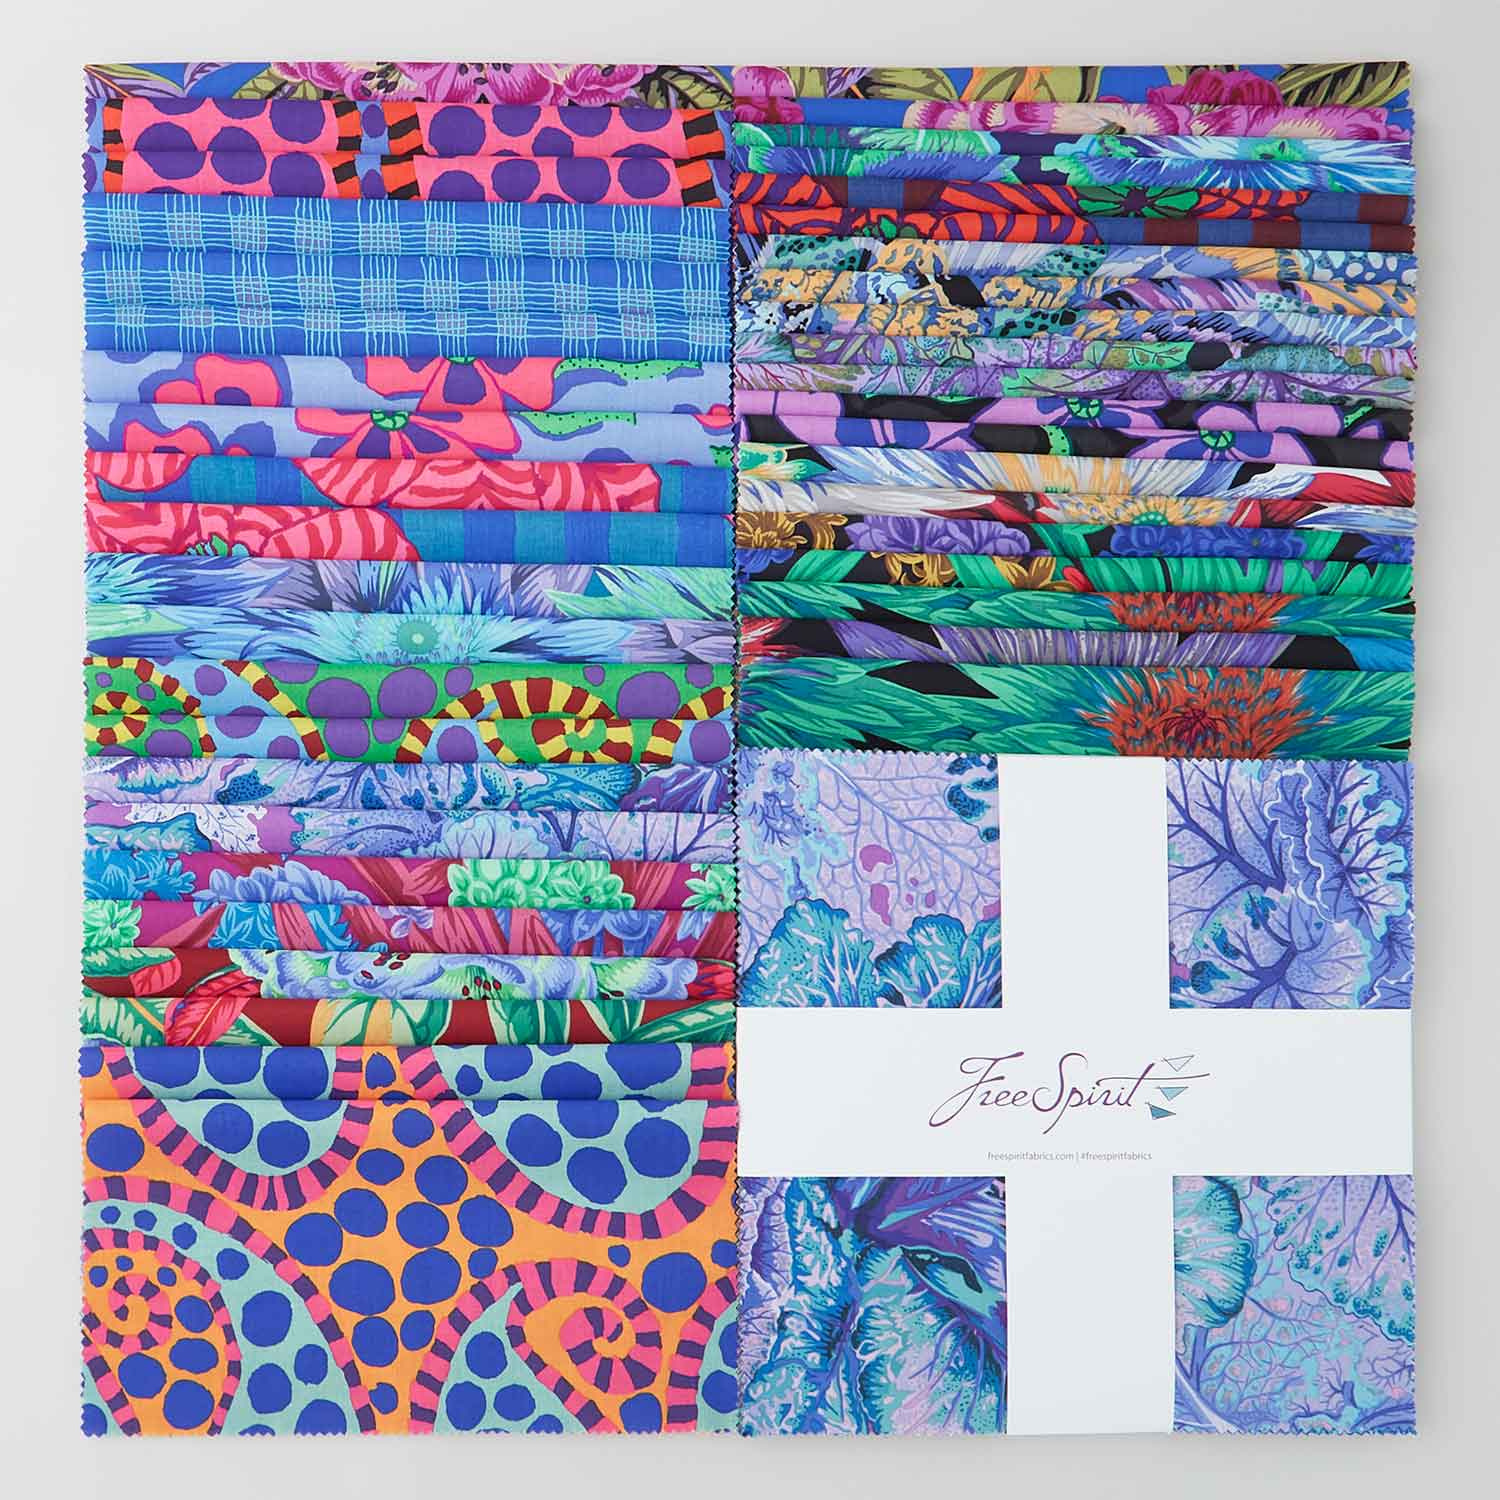 Kaffe Fassett Collective - August 2023 Cool Colorway 10" Squares$43.95Shop →
 Kona Cotton - Black Ten Squares$30.95Shop →
 Kaffe Fassett Shot Cotton - Glacier Yardage$10.76Shop →
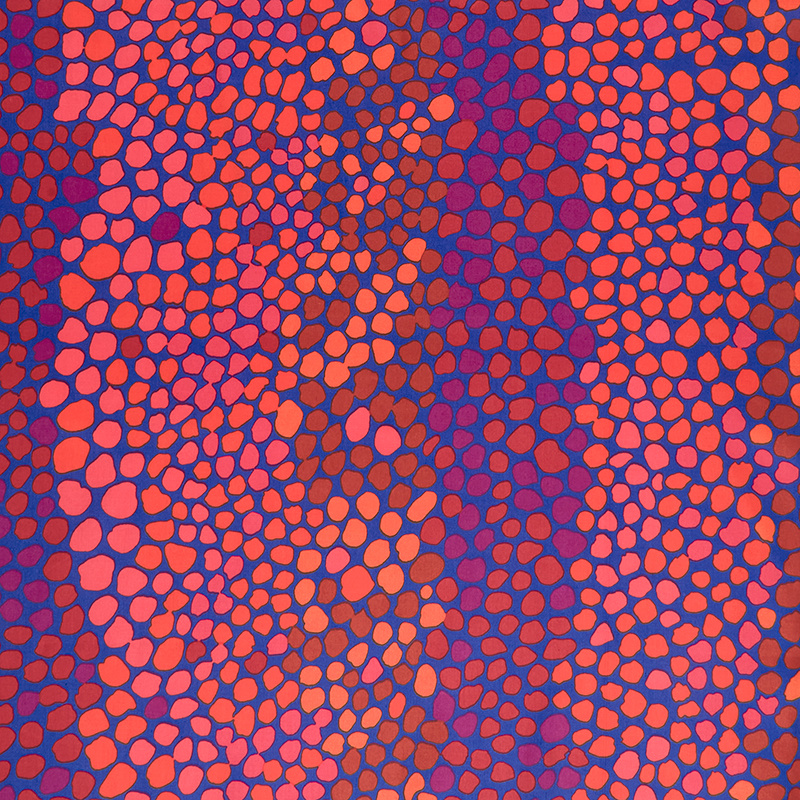 Kaffe Collective - Pebble Mosaic Prune 108" Wide Backing Yardage$23.96Shop →
 Kona Cotton - Black Yardage$7.28Shop →
 Missouri Star Quilter’s Best Blend Full Batting$32.45Shop →
- Missouri Star Mini Orange Peel Template for 2.5" Squares$3.95Shop →
- Missouri Star Sew Light Fusible Adhesive - 12" x 15 yards$28.95Shop →
 Bloc Loc 6 1/2" Square Up Ruler$30.10Shop →
 Main Squeeze Quilt Pattern by Missouri Star$6.95Shop →
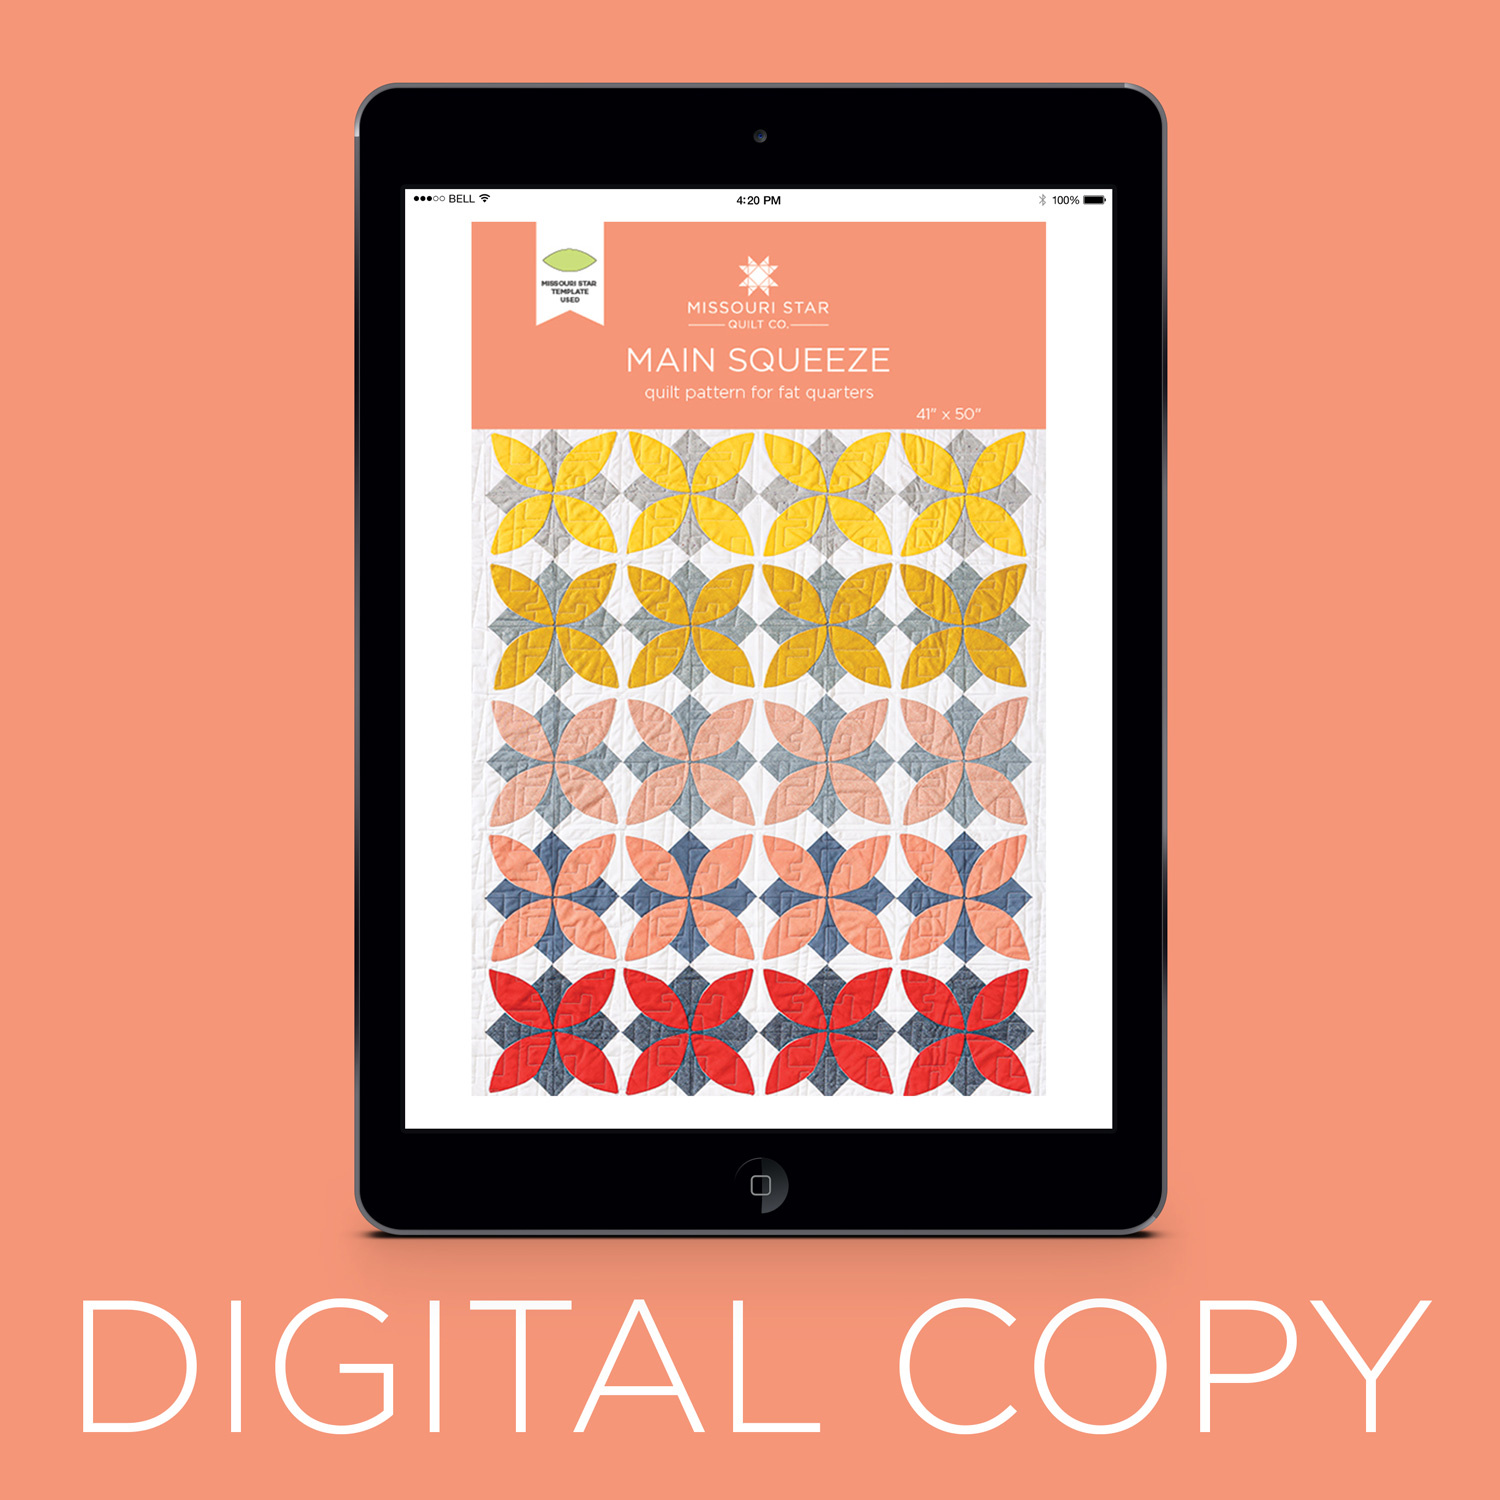 Digital Download - Main Squeeze Quilt Pattern by Missouri Star$4.95Shop →
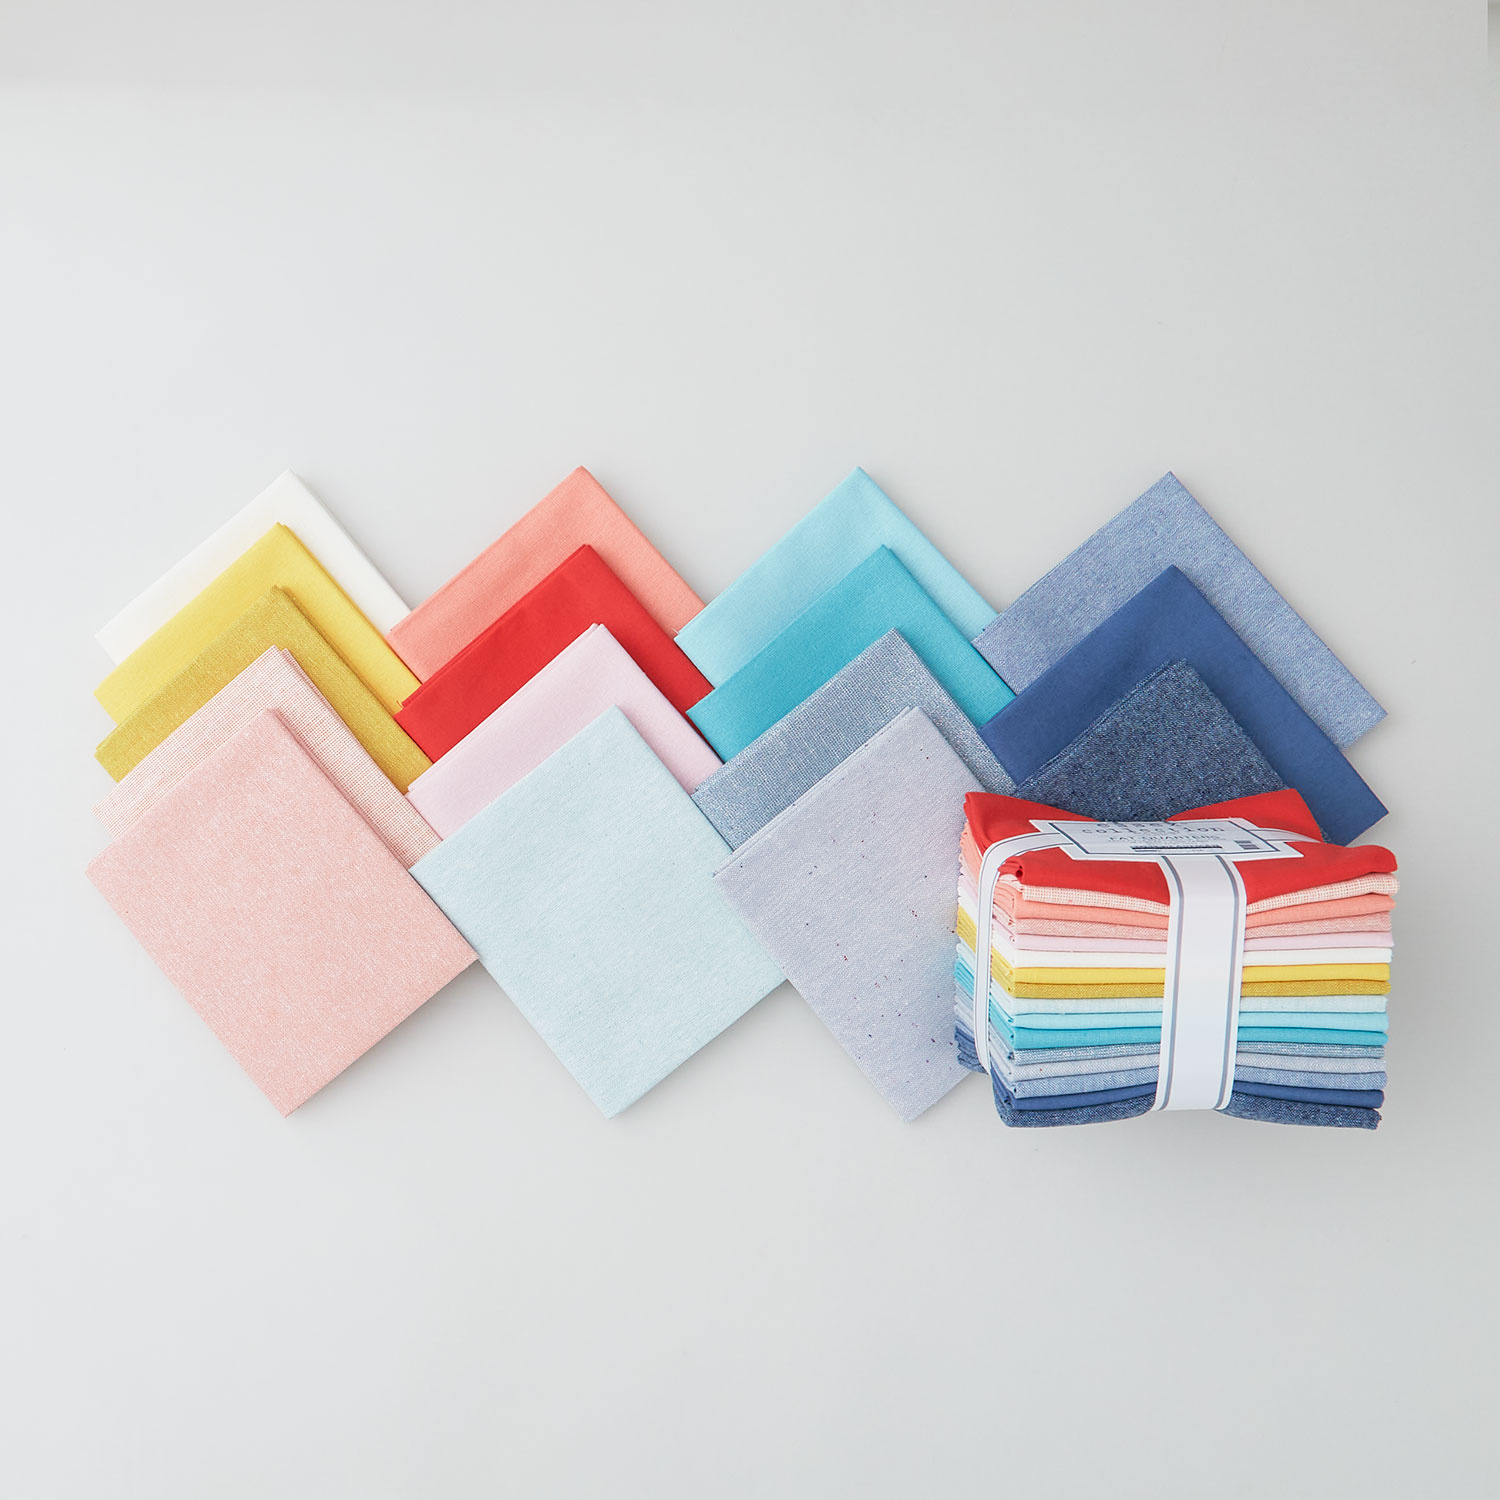 Essex Collection - Springtime Fat Quarter Bundle$66.95Shop →
 Kona Cotton - White Yardage$7.28Shop →
 Essex Yarn Dyed Linen - Nautical Yardage$11.24Shop →
 Essex Linen - Grey Yardage$10.96Shop →
- Missouri Star Quilter's Best Blend Throw Batting$20.95Shop →
- Missouri Star Small Orange Peel Template for 5" Charm Packs$7.95Shop →
- Bloc Loc 6 1/2" Square Up Ruler$30.10Shop →
 Pellon Featherweight to Midweight Fusible Interfacing White Yardage$2.95Shop →
 Invisible Nylon Thread (250m / 273yds)$5.95Shop →
Common Questions
What is covered in Triple Play: How to Make 3 NEW Orange Peel Quilts - Free Quilting Tutorial?
Triple Play is a favorite tradition here at Missouri Star Quilt Company. Once a month, Jenny, Misty, and Natalie each demonstrate their own unique spin on a favorite block, technique, or template. In this episode, the talented Doan ladies show off three fabulous new quilt patt...
How long is the tutorial video?
The tutorial video is 00:31:32.
Are supplies listed for this tutorial?
Yes. The tutorial page includes the supplies and materials connected to this project.
Is a transcript available?
Yes. A written transcript is available on the tutorial page.
Video Transcript
Hi, everybody. It's Jenny from the Missouri Star Quilt Company and it is Triple Play Day, and I'm here with Misty and with Natalie. Today, we have three awesome projects for you all based on the orange peel template. Let's get started. I guess, Misty, you're first this time.
Misty:
All right. Yeah, this is my little quilt behind me. I called it-
Jenny:
I love it.
Misty:
... "Main Squeeze" and it's just a little baby quilt, 41 by 50 is what it measures.
Jenny:
It's really cute.
Misty:
Thank you.
Jenny:
I love it a lot.
Misty:
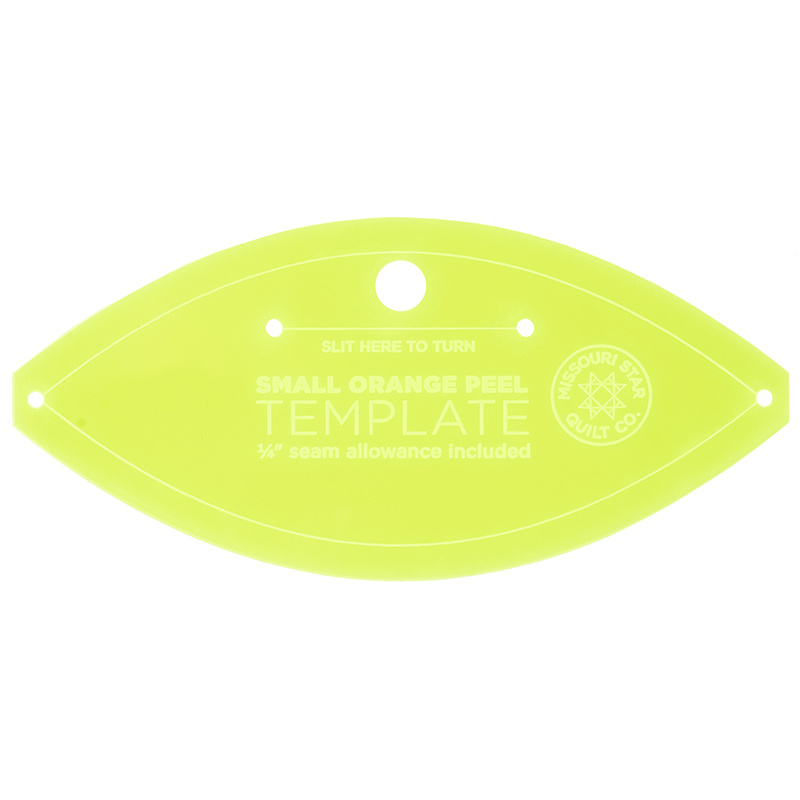
I really like it. To make this quilt, you're going to need one fat quarter bundle. I use this Essex Springtime collection and I just love all the fun colors in there. You're also going to need one and a half yards of your background fabric, two and three-quarter yards of your backing, and a half yard of your binding. You'll also want to grab some iron-on interfacing, just some lightweight. You'll need your small orange peel template, a squaring tool, and I use invisible thread for my stitching.
Jenny:
Smart. Never have to change that thread.
Misty:
Exactly. Let's get this out of the way and I'll show you how we made it. All right. To get started, let's go ahead and open up our fat quarter bundle.
Jenny:
It's almost painful to open that fat quarter bundle. They're so pretty.
Misty:
It is a little bit painful.
Jenny:
And this is a pretty one.
Misty:
It's really fun. What I decided to do is I use five of what I called "The cool colors" and five of the warm colors to create this gradient. I just went through and picked the ones that I wanted, and I'll just order them from light to dark.
Jenny:
Are these for the backgrounds now?
Misty:
These are for the backgrounds, the half-square triangles of the block, and then let's pick some for the other.
Jenny:
Oh, my gosh. It's so pretty.
Natalie:
It's really cute.
Misty:
It's really fun. I think I used this guy. There we go. You can see we've just got five and five, so you have a few extra leftover that you can use. The math, this is what worked out to make this quilt.
Jenny:
Okay.
Misty:
We'll just save these for another project. I'm going to grab this guy right here. Nat, if you want to press these for me, that would be super helpful. Then we're going to cut-
Natalie:
Open them up all the way?
Misty:
That one, you can leave folded, because we're going to cut the orange peels out of all of our warm colors. Turn into orange peels.
Jenny:
Okay. One of the things I love about the fat quarter bundle, and we don't think about it this way very often, is that it is the original pre-cut.
Misty:
It is, yeah.
Jenny:
We sell a lot of pre-cuts here and the fat quarter bundle is the original pre-cut. It gives you so much leeway, because especially if you're thinking in your mind, "What about a layer cake or what about something?" You get layer cakes out of this, so you get strips out of this. Whatever you need, you get from a fat quarter bundle, so it's always a good choice-
Misty:
It's a great option, and one of the things I love about it, too, is you get a lot of versatility. Maybe in a pattern you need a 10-inch square and a five-inch square, you can totally get all of those out of a fat quarter bundle.
Jenny:
Yeah. I Don't tend to use them as much, but they're so useful.
Misty:
They really are. I just folded mine like this and we are going to cut-
Jenny:
Cut in thirds?
Misty:
It's in...
Jenny:
In half.
Misty:
In half and in half again, but I'm just watching to make sure my salvage is out of the way.
Jenny:
Yeah.
Misty:
Then I just fold it like so and set my template on here. What you need is you need 16 total. I don't need to trace it, I'm just going to cut.
Jenny:
Look at her.
Misty:
Yeah.
Jenny:
Pen back.
Misty:
We'll just trim that.
Jenny:
I love this new rotary cutter with its ball bearing.
Misty:
It's so nice. We'll just cut, so I'm getting four at a time this way. Like I said, you're going to need 16 for the quilt, so you'll just keep continuing across. For all of your print orange peels, you're also going to need one of your interfacing, so you'll just want to cut a bunch of those as well for the quilt. That is how you would do all of the warm fat quarters and then, from the cool, we can cut this into eight-inch squares. We're going to need four eight-inch squares to make our half square triangles. Eight-inch strips, so we'll cut one and then we'll come back and cut another. Make sure this is laying smoothly.
Jenny:
She's on the edge.
Misty:
There we go, we can set that aside. Then we will turn these and cut it into eight-inch squares. I like to trim up both sides just to make sure it's nice and neat.
Jenny:
Yeah.
Misty:
We'll start on this one and slide down and trim this up. There we go. Now we have our four eight-inch squares. With each of these, you're going to pair them with a background square. Now we are just going to put those together and sew all the way around with a quarter inch seam.
Jenny:
I knew sewing was coming, I got in my spot.
Misty:
You were ready.
Jenny:
I was ready. Hang on, let me line this up a little bit.
Misty:
No worries.
Jenny:
We don't want to... Sometimes it just doesn't want to align.
Misty:
I know, it just has a mind of its own.
Jenny:
That's right. All right, here we go. All the way around, quarter of an inch.
Misty:
Yep.
Jenny:
I feel like the whole world is staring at me right now.
Misty:
You're doing great.
Natalie:
I mean, we are.
Misty:
A little bit, but...
Natalie:
It's okay.
Jenny:
Even if I'm not...
Misty:
You can all the pressure, you've got it.
Jenny:
Even if I'm not perfect... We're going to square this, right?
Misty:
Square, exactly. That's exactly right.
Jenny:
All righty, there we go.
Misty:
Okay. Once we have that sewn on all four sides, we're going to cut this corner to corner in both directions, so I'm just going to leave this here.
Jenny:
I do leave this method of making half square triangles.
Misty:
It does make it pretty quick, that is for sure. There we go. I like to use the block lock, so Nat, if you want to press one of these open, I have some squared, but we'll go ahead and square one.
Natalie:
I'll keep busy over here.
Misty:
That's fine. Perfect. Okay. Then I am looking for five inches, so you can see there's just a little bit that you're going to trim off to square this up. We'll cut.
Jenny:
Do you like to square on both sides?
Misty:
I do. I like it to be really, really square. Then we'll just slide this down. My fabric is wanting to slide more than the ruler today, but that's all right. Then make sure that that's lined up on the five-inch mark and square up this side. There we go. I have the rest of those done. We are just going to put those together, so that our prints match up in the middle and we'll sew it together like a four patch. I did go ahead and sew these blocks together before I add my orange peels, so if you want to sew those.
Jenny:
Okay, perfect. Squared and red.
Misty:
Squared and red, yeah.
Jenny:
Is this like a big square in a square then?
Misty:
Exactly.
Jenny:
All right. Then we're just going to open those up.
Misty:
Open it up and sew it together. Perfect.
Jenny:
We can match this side right here. This little seam can lay together.
Misty:
Then match up the middle when you get there.
Jenny:
Yep, match up my middle. Your outside seams are on the bias, so don't pull them.
Misty:
Yeah.
Jenny:
Just let the machine do its job.
Misty:
All right. Nat, if you want to press that. Then we can start prepping all of our orange peels, so we are going to put this with the bumpy side of our interfacing down and then we are going to sew a quarter inch all the way around, and then we will slit it and turn it.
Jenny:
Okay. This is not interfacing, but it's like a woven.
Natalie:
It's like what I would use on a T-shirt quilt.
Jenny:
Okay.
Misty:
It's just the one-
Natalie:
It's a light weight stabilizer.
Misty:
Yeah, you can use-
Jenny:
Any of those probably would work.
Misty:
Any would work, yes. That's just what was on my table.
Jenny:
I love that. I am worrying about if this piece is rumpling, but it's not really going to matter.
Natalie:
Doesn't matter.
Misty:
I'm real particular, so I go back and I trim off these little ends a bit, and then they turn really nicely.
Jenny:
Nice.
Misty:
We'll just snip a little bit of the bulk off of those ends of our orange peel. Oops, didn't quite get to the end there. Then we just pinch this and cut a little slit. Then we can turn this right sides out. I maybe didn't get that quite big enough, but I think it'll still work.
Jenny:
I'm pretty sure.
Misty:
We'll make it fit through there. We just-
Natalie:
If you use the little bamboo tool...
Misty:
Yeah, this right here.
Natalie:
I like to use that to poke out the point and-
Misty:
Yeah, it makes those edges, because you can't press it until you're ready to put it on your block, so this helps a lot.
Natalie:
Yeah.
Misty:
There we go. Just like that.
Jenny:
The tips and tricks.
Misty:
It gives you a nice crisp seam on those edges.
Natalie:
Chopsticks work, too.
Misty:
Yep, whatever you want to just run it around. Then that's what we're looking for like that. I just roll it and make it lay the way that I want to.
Jenny:
Nice and flat.
Misty:
For each block, you're going to need four of those. We are just going to put those on here to make an X now. Just like that. Then, Nat, if you want to...
Jenny:
How close do you get them in the center?
Misty:
I just float them in the block.
Jenny:
[inaudible 00:10:19]. Make sure we can... They don't touch in the middle?
Misty:
They don't touch, nope.
Jenny:
Okay.
Misty:
I just float them in there and I just want them to run corner to corner.
Jenny:
Make sure that this isn't... There's still a quarter of an inch.
Misty:
Exactly, because you don't want to cut that off when you put your blocks together. Now, Nat, if you just want to press those in place.
Natalie:
All right. You got it lined up how you want it?
Misty:
I think so, you can double check. I trust you.
Natalie:
I'm just going to press it straight down, because I don't want to-
Jenny:
You're going to press it in place right now.
Misty:
That's perfect.
Natalie:
I don't want them to slide once they...
Misty:
Yep. That's perfect.
Jenny:
I love that look, how they just...
Misty:
I was really happy with how it came together.
Jenny:
It's so adorable and I love that it's-
Misty:
You could do just iron-on, if you wanted to just fuse these in place, you absolutely could, but I liked the texture. It gives it a little bit more locked.
Jenny:
Yeah, makes them stand up off the block a little bit.
Misty:
Yeah, exactly. Once you have those pressed down, you can do whatever type of top stitch you wanted. I did a tiny little blanket stitch with invisible thread, so you can't even see it. The beauty of that is you don't have to change your thread color with all of these different orange peels.
Natalie:
Now, when you use invisible thread, do you just use your regular bobbin?
Misty:
White bobbin thread and then this is in the top.
Natalie:
Okay.
Jenny:
Let me just say that, for my generation, the invisible thread, there was a little bit of danger involved, because it was-
Misty:
Yes.
Natalie:
It was more like fishing line.
Misty:
Yes, I know. I was afraid of it for a long time.
Jenny:
All of you who are my age, don't be afraid of invisible thread, because it's good now.
Misty:
I agree, I actually had the same experience. I was terrified of it and Courtney actually convinced me. She's like, "I promise there's good stuff now."
Jenny:
Yeah, yeah.
Misty:
I was excited to see and it turned out just beautiful. Let me show you how this fits into the block. This one goes right down here and I just set them straight across. I did the whole thing, so it graded... What's that word, "Gradient"? Down from top to bottom. It's four across by five down, so it's light to dark in your orange peels and in your half-
Jenny:
Out of all of your your warms, you cut all four squares... I'm sorry, not your warms, I'm saying that wrong. I'm looking at the backgrounds right now.
Misty:
Yeah, all the backgrounds. You cut your eight-inch squares.
Jenny:
These are all eight-inch squares. Each different color that you have in there and then-
Misty:
Then all of your other colors that you selected for the oranges peel are the pedals.
Jenny:
It's beautiful.
Misty:
There's just a little three-inch outer border that I just set it off from the edge and then I used... I think it's Abstract Skyline.
Jenny:
I was going to say, it's that quilting pattern. I don't recognize it.
Misty:
I haven't used it for a long time, but I thought it would be fun.
Natalie:
Love it.
Jenny:
What about the back?
Misty:
It's just another one of the pretty Essex linens.
Natalie:
That's beautiful.
Jenny:
Very nice. That came out beautifully.
Misty:
Yep.
Natalie:
It's so soft and such a nice feel.
Jenny:
What size does it end up in?
Misty:
41 by 50.
Jenny:
41 by 50, which means you can actually use regular yardage to back it.
Misty:
That's true.
Jenny:
Which I always love when that happens. Mine tend to be like 44 and be like, "We got to [inaudible 00:13:12] a little more."
Misty:
A little miracle.
Jenny:
Little miracle. All right, that's awesome.
Natalie:
I love it, that's beautiful.
Misty:
Thank you, guys.
Jenny:
I think I'm up next, so we'll see you soon.
Misty:
Perfect.
Natalie:
All right.
Jenny:
Okay, so it's my turn and I went super simple with this. Sometimes we never know really what pre-cut we're getting and I got a charm pack, so I decided-
Natalie:
It's so cute, though.
Misty:
It's adorable.
Jenny:
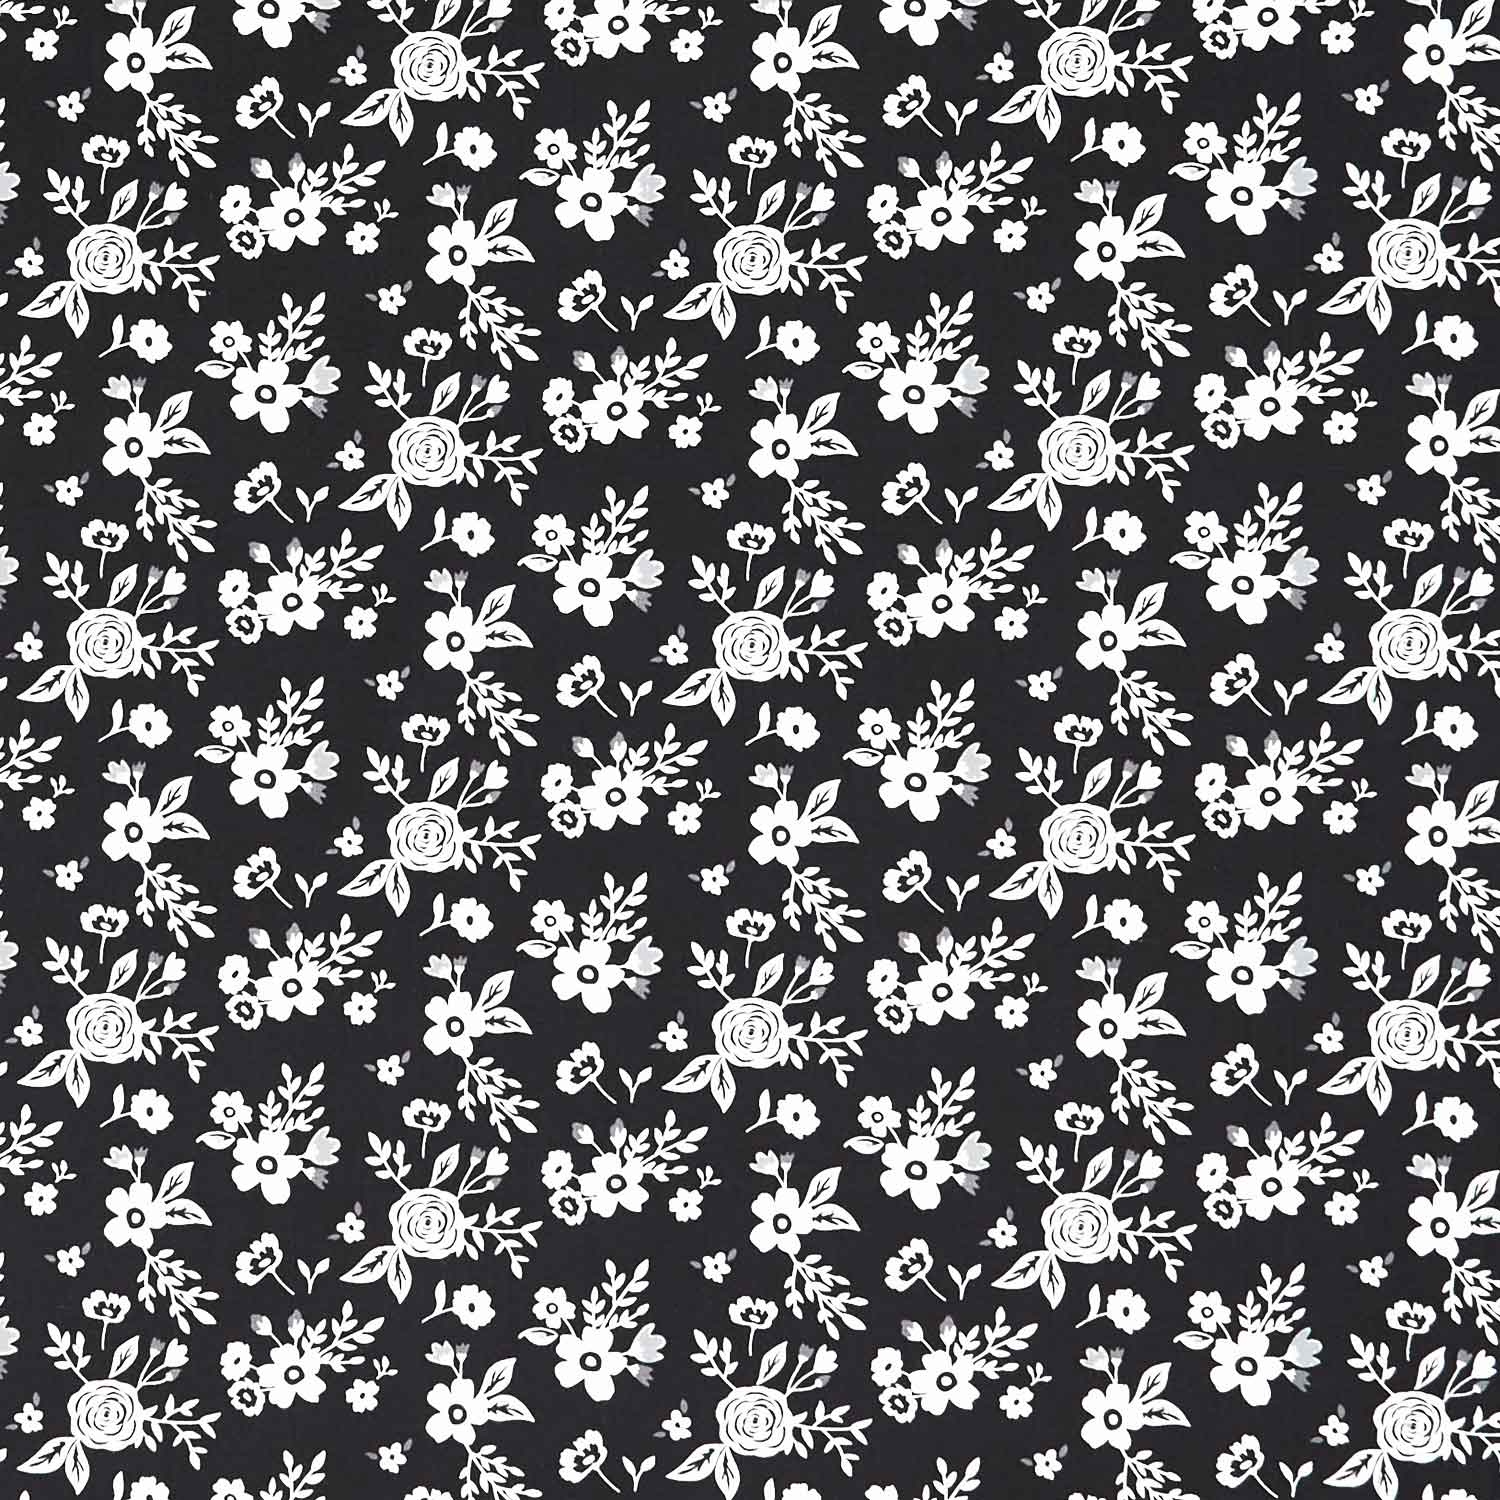
... to use one charm pack and see what I could do. This is my little quilt back here. I love that it was black and white, because it enabled me to use this bright color on here. Let me show you how to do it, because it's super easy. To make my quilts, you're going to need one charm pack and we have used Black Tie by Danny Mogstad. It's this little one right here and it's just beautiful, it's black and white. Then we're going to need some accent fabric, you're going to need three quarters of a yard, and I used the color of the year, Crush.
Misty:
Awesome.
Jenny:
It's called "Crush" by Robert Kaufman. You're going to need a border and I went with a nice, big six-inch border just because it's so tiny, it gives it more oomph. I also use the accent fabric on that first inner border as well.
Misty:
I love that.
Jenny:
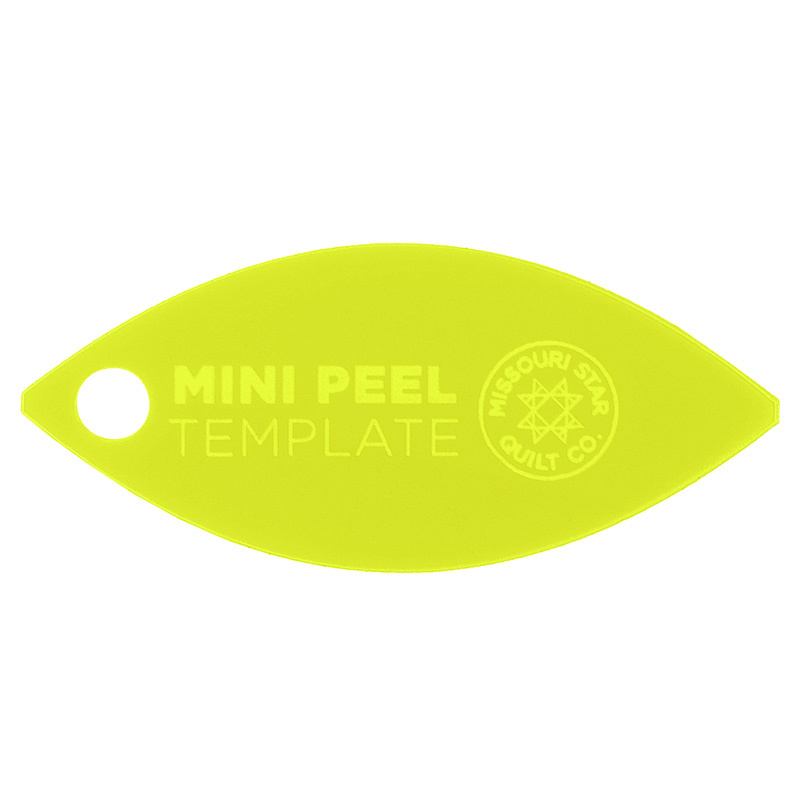
I think that made it really pop. Then our backing is two and three-quarter yards, our binding is a half yard. It's not a big quilt, but it's sure a fun one. You're also going to need some fusible. I did the iron-on, I did the easy way to attach the orange peel. I did the iron-on, a fusible, and you'll need about two yards of that. You're going to need the regular and the mini of the orange peel template. Let me show you how I did this. I have a lot of this almost done and it's so simple that I almost feel like I cheated on this one, but it's so dang cute.
Misty:
It's adorable.
Jenny:
Anyway. Actually, you're going to need some Heat n Bond, you're going to iron it to your fabric, and you can tell that I have been actively using this. I just want to show you how I do this. This type of Heat n Bond irons on very quickly and very easily, and I'm a little bit old school, so I did not rotary cut around mine. I traced mine on here with a pencil and then I scissor-cut them. I'm going to trace a big one as well. I guess I could rotary cut, I might live right on the edge right now and rotary cut.
Misty:
You've got this, you can do it.
Jenny:
When you're sitting at your desk, it doesn't really occur to you to do this, because I just go for what I would normally do.
Natalie:
I would put it on the fabric side, though. You might have a little better grip.
Jenny:
Interesting. I never thought about that, because I'm always drawing it.
Natalie:
Yeah.
Jenny:
Okay, I guess I can do that. It feels risky, Natalie. It feels risky. This feels way out of my...
Misty:
You've got it.
Jenny:
All right, here we go. All right. Slowly, Jenny, slowly. This rotary cutter is so smooth and it works so fast that... Because it can cut through layers and layers, because it has that ball bearing in it and not much drag on it. All right, let's see if I got it. Okay, so that is good right there.
Misty:
Looks great.
Jenny:
You need one of these, or you need however many of these you're going to make, and you're going to need a bunch of these as well. I just literally started... This is how I did it. I started by laying them out in black and white, so I wanted to have the contrast and, luckily, there's enough blacks and enough whites that it's pretty even. I tried not to get my same prints close by each other, so I just laid them out and then I decided where I wanted my flowers to be. I took my big template like this and, originally, I was just going to use the big template and make poppies. I just thought that would be really fun. I folded it in half and I just literally cut it in half with my scissors like this, and then I decided that I wanted to make flowers. Oops, can you iron that a little bit more like that?
Misty:
Absolutely.
Jenny:
Get that to stick a little better. This one is good. I just started putting them on. I lay them in about a quarter of an inch like this and I put my flower to the middle like this. Let's go ahead and cut another pedal. Oh, my. I'm going to have to trace again. I mean, rotary-cut again. Literally, it's easier for me to scissor-cut.
Misty:
It's so funny how we just each have different methods.
Jenny:
It takes longer.
Natalie:
We can do it either way.
Jenny:
It takes longer.
Natalie:
It doesn't even matter.
Jenny:
But you get used to doing it.
Misty:
One way or the other.
Jenny:
I want to appear forward and modern like you girls.
Natalie:
You're fine.
Jenny:
This is what I'm going to do. I'm going to move into the next century and use a rotary cutter. All right. All right. Iron this a little more, I can already see that that's not adhered very well.
Misty:
There we go.
Jenny:
Okay. Again, I'm just going to cut this in half like this and we'll peel these. I put them on here like this to make flowers. Now, I set them in, so they were at least a quarter of an inch. I wanted them to catch in the seam, but not add too much bulk, so I put them on like this and I made my flowers. I actually laid out my whole quilt. When you'd use a charm pack, it's 42 squares, so it's six across by seven down, so I laid it out and I started putting on the flowers and I added all these big flowers. Then I was like, "What happens if I do little ones in the corners?" That was a really fun addition for me. I just did the same thing, I took a regular small orange peel like this and cut it in half and then started adding them in the corners, so then they would add...
This guy didn't stick at all. Let me see if I got a sticky one here. All right. Then I added this one on this corner like this, so as I have two flowers... Let me add another set over here. You girls are awful quiet today.
Misty:
We're just watching.
Jenny:
As I started putting them together, this secondary... Some of my blocks would have two half flowers ironed on them and some of them would just have one. Because it's six by seven, it doesn't end up even, so I ended up with my little petals on the bottom right here. They're being an extra little set of little petals on the bottom. If I'd had more charm packs, I would've probably done it another row up on the top, but let's go ahead and iron a couple of these on. It's just so simple and then I honestly just sewed around them. These, I sowed. Let me see.
Natalie:
They could just be in little four patches.
Jenny:
I did a tiny blanket stitch. Because my fabric was all the same color, I did not use the invisible thread. I could actually match my thread color, because I knew I wasn't going to change it.
Natalie:
Yes.
Jenny:
It's a tiny little applique stitch, or you could use a little zigzag as well. Once I got them all laid out like this, I just literally started putting them together in four patches and made my quilt. It goes together really simply and really easily. I love that it uses one charm pack and just a little bit of accent fabric. What is the size on this, Misty?
Misty:
It measures 40 by 44.
Jenny:
40 by 44. With the nice six-inch border and the one and a half inch border right here, it just gives it a little bit more. On the back, I use the floral.
Misty:
It's so pretty.
Jenny:
Isn't it pretty? The quilting pattern on this is the Baptist fan. I love it, it has a modern feel to it and it's just really... I think it came out really pretty.
Misty:
It's really pretty.
Jenny:
I guess it's your turn, Nat.
Natalie:
Okay. All right. All right, so this is my quilt.
Jenny:
I love it.
Misty:
It's so beautiful.
Natalie:
I love how it turned out, I think it's great. I'm calling it "String of Pearls."
Misty:
Perfect.
Natalie:
Because the little orange peels just create these cute little border around the half square triangles. It's much easier to make than you think.
Jenny:
I was going to say, it does look like you worked really hard.
Natalie:
Yeah. It's pretty easy. All right, so to make this quilt, you're going to need a package of 10-inch print squares and I use the Kaffe Fassett collective, the August 2023 edition, Cool Colors. You're going to need a package of 10-inch print squares and I've got this beautiful black Kona fabric. You'll need a little bit of accent fabric, about two yards, and that's what you make all your little orange peels with. My backing, I used a beautiful 108, so two and three-quarter yards, you can see here. It's really pretty.
Misty:
It's so pretty.
Jenny:
It's gorgeous.
Natalie:
Yeah.
Jenny:
Cape's backing have a sheen to them.
Misty:
It's so soft.
Natalie:
Yeah, it's nice and soft and-
Jenny:
Just a nice hand feel.
Natalie:
... lovely. Now, if you don't have 108, you can use five and a quarter yards of regular yardage.
Jenny:
Because why not?
Natalie:
Yeah.
Jenny:
Your binding?
Natalie:
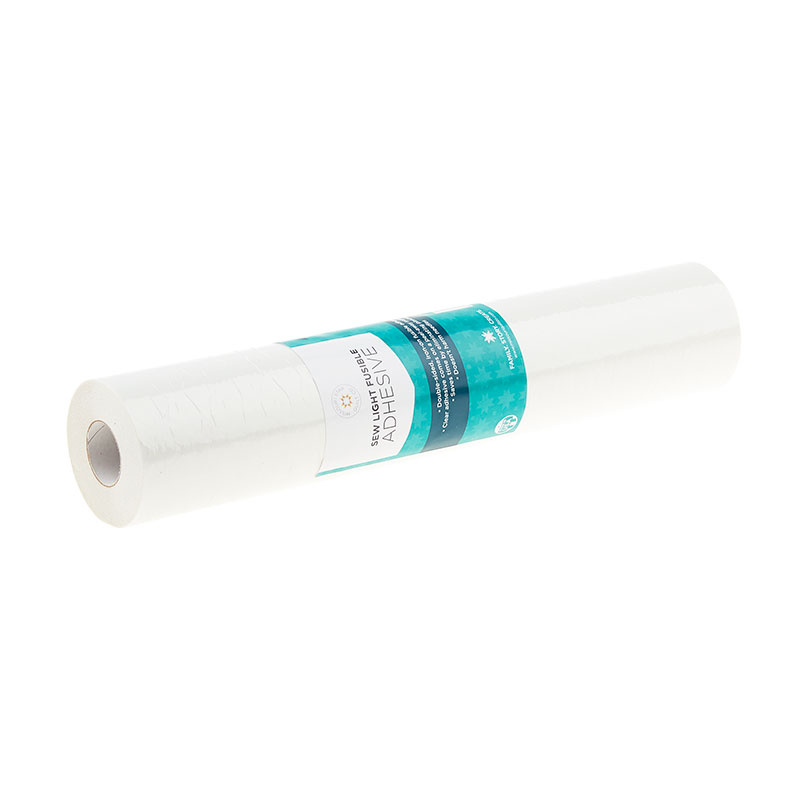
I just used black for my binding and it's about three fourths of a yard. You also need the mini orange peel template, it's a handy tool to have. You'll need some sew light fusible adhesive, it looks like about three packages. It's just a bunch, I don't know. If you have a roll, just cut until you run out.
Misty:
Until you have what you need.
Natalie:
Until you have what you need. Yeah.
Jenny:
I do love that the rolls fit in these boxes.
Natalie:
Yes, it's so convenient. I use the block lock for trimming, for squaring, but if you like the clearly perfect, that will work as well. It would be trimmer A. Cool, that's what you need, so let's get started. Okay. The first thing we're going to do is just make some half square triangles and I did mine the same way you did. We're just going to pair our two layer cake squares together.
Misty:
Okay.
Natalie:
All the way around the outside edge.
Misty:
Perfect.
Jenny:
No trimming this time.
Natalie:
We'll trim after.
Jenny:
I know.
Natalie:
I had this beautiful layer cake to work with and I wanted that pretty angle, I thought it would be really fun.
Jenny:
It is so interesting that it's a half square triangle quilt, basically.
Natalie:
It is.
Jenny:
Just fun to realize.
Natalie:
Yeah.
Misty:
We had a moment of panic when we realized we both did half square triangles, but they're so different.
Natalie:
We had to check. She's like, "I put my orange peel on a half square triangle," and I was like, "What? Me too. What does yours look like?"
Misty:
Not the same, nope. That's the beauty of triple-
Jenny:
That's actually one of the things people ask us most often. It's like, "Do you know ahead? Do you plan it?"
Natalie:
Not always. Our lives can be super busy and sometimes we don't see each other.
Misty:
Yep.
Natalie:
All right, so we're going to cut this in two fourths, diagonally, both directions. I'm just going to turn that, because I don't want to cut crosswise today.
Misty:
That's all right, better to be safe.
Natalie:
All right, so if you will press those open, that would be great.
Jenny:
You will be impressed with my pressing.
Natalie:
Okay, cool.
Jenny:
Maybe not.
Natalie:
Not so far, but we'll get there.
Jenny:
We'll get there.
Natalie:
All right, I'm going to start squaring. I squared my half square triangles to six and a half.
Misty:
Perfect.
Natalie:
There's plenty of room to do that.
Jenny:
Did you have any trouble getting six and a half out of all of them?
Natalie:
No.
Jenny:
Okay, excellent.
Natalie:
Nope, it worked for every single one. Didn't have to over stretch or make it too tiny of a seam, or anything, it just works.
Jenny:
It's such a great way to make half square triangles, it's quick and easy.
Natalie:
Yeah, and this block lock is exactly the right size, which is super great.
Misty:
So convenient.
Jenny:
Yeah. Actually, when you're trimming and your square is the right size, that helps so much.
Natalie:
Just makes life so easy.
Misty:
Yep.
Jenny:
Yep.
Natalie:
All right.
Jenny:
I would be using the clearly perfect slotted trimmer, which is just a different squaring tool.
Natalie:
Yeah, it's also great.
Jenny:
Whatever works for your brain.
Natalie:
Yep. I will go into the corner if I can get it straight, but these just aren't working out that way this time.
Misty:
Sometimes they get a little wonky.
Jenny:
That's the nice part of squaring, right?
Misty:
Yeah, exactly.
Natalie:
All right, so now that we are at this point, I'm going to go ahead and... We're going to make the fabric for the orange peels, so you've got to put that adhesive on your accent fabric.
Jenny:
We have-
Natalie:
You just have a little piece to work with.
Jenny:
A piece of accent fabric. I have this Heat n Bond and the sticky bumps are down to the fabric. I'm just going to lay this on here and iron on this piece. I'm ironing from the paper side.
Natalie:
Great.
Jenny:
Then we can let that cool just a little.
Natalie:
Okay. I just cut mine out using the rotary cutter. I can layer probably... I feel most comfortable with two layers thick. After that, it gets a little bit too slippery. They slide around and I feel like I'm not getting-
Jenny:
Do you want to fold it?
Natalie:
Folded is harder, because it just doesn't shift-
Jenny:
When it needs the raise.
Natalie:
Yeah, it shifts.
Jenny:
Okay.
Misty:
Yeah.
Natalie:
I like to layer them, but I will do two layers at a time just to go a little bit faster.
Jenny:
All righty.
Natalie:
Then I usually just give it a little flip and get the other side. I don't cut the points off, because it's just not necessary.
Jenny:
It's pointless.
Natalie:
It's pointless.
Jenny:
Right?
Natalie:
We're going to overlap these anyways, so I'll cut another one just to show that.
Jenny:
How many do you need for a-
Natalie:
Hundreds.
Jenny:
... square? No, I mean just for one.
Natalie:
Just three.
Misty:
The whole quilt.
Natalie:
Three for each little half square triangle and I did these before I put the squares together.
Misty:
Okay.
Natalie:
The way I did it, I started with-
Misty:
Three sounds much more manageable than hundreds.
Jenny:
Yeah. It's three per half square triangle.
Misty:
Yeah.
Natalie:
Yes.
Misty:
That's awesome.
Jenny:
There's 42 blocks times four times three. That's how many.
Natalie:
Great, okay.
Jenny:
We're not going to tell you the answer to that.
Natalie:
I just line these up, I put my two little orange peels on the edges, and you can just peel those off and line them up. I keep my points on that center seam to keep everything nice and straight. Come on, little guy. Then I overlap these just a little bit. Usually, it's just about a quarter of an inch on each end.
Misty:
It's perfect.
Natalie:
If you don't like the way that end looks, you can just trade places and put them in the same-
Jenny:
There you go.
Misty:
There you go.
Jenny:
Yeah, because sometimes I'll roll it from the end and it'll get a little...
Natalie:
Yeah.
Misty:
Yeah.
Natalie:
Then we just press that nice and flat.
Jenny:
All right.
Misty:
Just like that.
Natalie:
You got it, you got it.
Jenny:
Yeah. If when you're Heat n Bonding, you move your iron back and forth, things could slide, so it is always best to just press.
Misty:
Truly press.
Natalie:
Yep. That's it, this is the basis of the whole quilt. I put them back together with their partners and made these little blocks like that after these guys are on and they're top-stitched before they're sewn together.
Jenny:
Yes. It's always easier to top stitch before you...
Natalie:
That's right.
Jenny:
Before you have the big block. Definitely don't iron them onto the entire quilt top.
Natalie:
No, because when you're trying to put that whole quilt under your machine, it's just too bulky, so do your top stitching before your half square triangle is pieced into this block, and then you're just going to put them together in a six by seven layout.
Misty:
It's so pretty.
Natalie:
Yeah, I love how the teal stitching shows up on the black fabric. I just think it looks really cool.
Jenny:
It's really cool.
Natalie:
The quilt ends up being 72 by 84.
Jenny:
And no border.
Natalie:
No border. I just thought it looked pretty the way it was, but if you want to add a border, that's totally fine. The fabric is beautiful.
Misty:
It's gorgeous now.
Natalie:
That's it, it's just that simple. It's half square triangles with some little orange peels overlapped.
Misty:
Perfect.
Natalie:
I hope you enjoyed this, it's fun.
Jenny:
I do want to point out, on this one, we did do a tiny little zigzag.
Natalie:
Yes. Again, it's all one color, so you can just put your little matching teal thread on there and go for it.
Misty:
Use that the whole time.
Natalie:
If you want your invisible thread, that's fine as well.
Jenny:
Yeah, it's really simple.
Misty:
Perfect.
Natalie:
Just so you know, don't be worried. You do lose your points here, they do turn into this little thing that makes a little criss-cross, so you're not trying to save any of those points. They just get caught up in the seam and I think it looks great.
Jenny:
I love how they're caught up in the binding as well.
Natalie:
The binding as well, yeah.
Misty:
Really rounds it off.
Jenny:
It rounds it off, yeah. No, I think it looks really great.
Natalie:
I like the effect. I think it looks great and I hope you guys do, too.
Jenny:
Three great new projects for you this time.
Natalie:
Yep.
Jenny:
You guys, if you have the orange peel template and you know how to make one thing, it's a good template, but when we give you all these different ideas, it becomes a valuable tool. We hope you enjoyed this tutorial on the Orange Peel template from the Missouri Star Quilt Company. Hi, everybody. It's Jenny from the Missouri Star Quilt Company. We hope you enjoyed watching this video. If you aren't already part of the Missouri Star Quilt Company family, be sure to subscribe, so you won't miss a thing. If you click that bell, it'll notify you every time a new tutorial comes out. See you next Friday.


