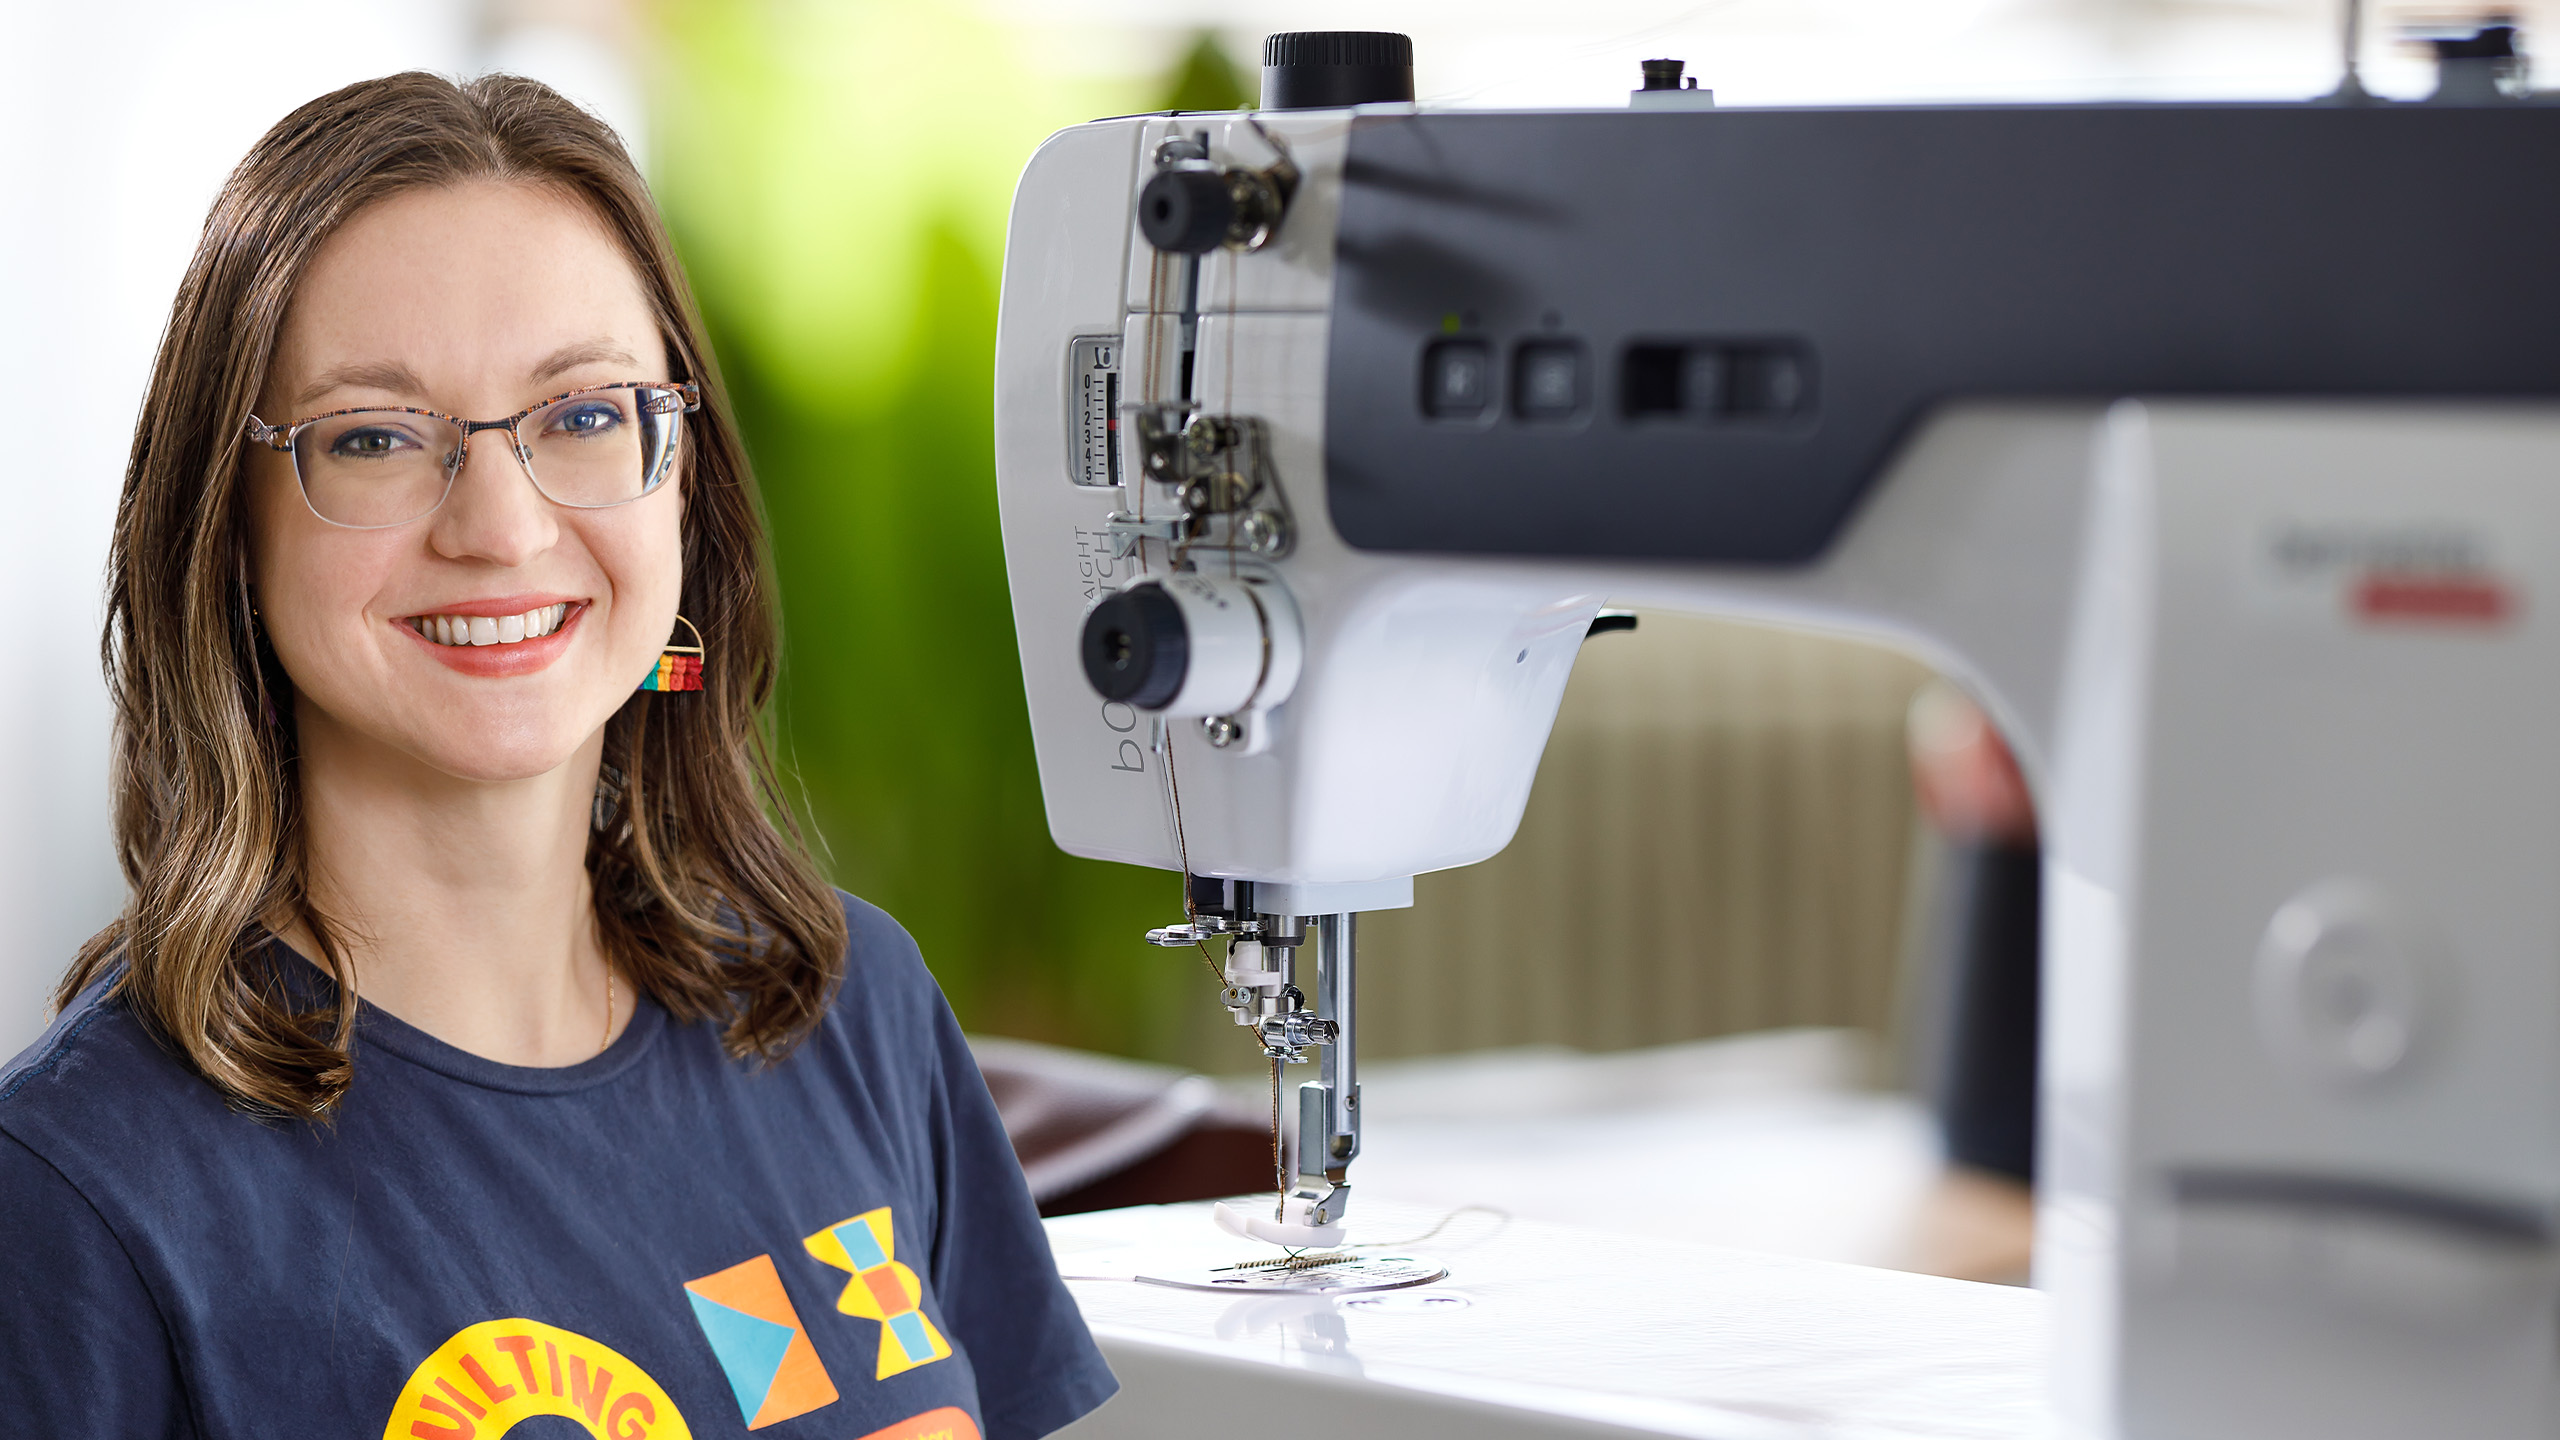
Don't let tension stress you out! HollyAnne Knight of String & Story will help you troubleshoot tension issues on your domestic sewing machines. The correct tension is vital to not only the look of your stitches, but the strength of your seams. Find out what's causing those loopy threads, bird's nests, breakage, puckering, and more!
What is covered in Troubleshooting Tension on your Domestic Machine with HollyAnne Knight?
Don't let tension stress you out! HollyAnne Knight of String & Story will help you troubleshoot tension issues on your domestic sewing machines. The correct tension is vital to not only the look of your stitches, but the strength of your seams. Find out what's causing those lo...
How long is the tutorial video?
The tutorial video is 00:07:51.
Are supplies listed for this tutorial?
Yes. The tutorial page includes the supplies and materials connected to this project.
Video Transcript
It's time to bring your quilting vision to life. We have solved lots of roadblocks together about how to go from a quilt top to a finished quilt, and it's time to actually start stitching. Now, I know that it can feel overwhelming to quilt your own quilts, but here's the thing. You don't need that much stuff, so you might as well give it a try on a nice, simple project. You're going to need a couple of key items. First of all, you need, of course, your sewing machine. Please take the time to put in a fresh needle, oil your machine, and make sure it's in good working order. Then you're going to want to thread your machine with a high quality cotton thread. My personal favorite is this Orurafhll 50 weight. It's really fine, and I find that it makes it a lot easier to balance our tension when there's not a lot of extra thread bulk pulling on those stitches. You'll want to put a hopping foot on your machine. This hopping foot actually doubles as a ruler foot. You can tell because it has these very tall sides. If these were flatter and there wasn't a lot of extra lip on the side of this foot, it would just be a freeotion foot. But if it has those tall sides, you can use it for ruler quilting, too. If you're making an investment for the first time in a foot like this for your machine, I recommend getting the ruler foot. Then you only have to get one. The last thing that you're going to need is some gloves. These are machineers quilting gloves. And what they're going to do is give us a little bit of grip as we are hanging onto our quilt. This is going to continue to reduce hand stress. It's also going to help make sure that we don't get any oils or sweat or crumbs or anything else on our quilt as we're working. So, I'm going to put these on and I'm going to put this foot on my machine and together we are going to start by adjusting our tension. Now, the tension on your machine is going to be key to making sure that you get beautiful stitches. We have, of course, our top thread that comes down and goes through our tension discs and comes down through our needle. underneath inside the machine in the bobin we have our bobin thread and every time you take a stitch that needle comes down and your bobbin race twists twice. Those two threads come together in order to form a stitch. And ideally that little come together point falls right inside of our batting. However, if our tension is out of whack, if the balance of that little tugofwar game that's happening isn't quite right, then we could end up with messy looking stitches on the back where our top thread is pulling through to the back of the quilt. or we could end up with thread breaks on the top. So, we want to even out that game of tugof-war to make sure that our stitches are going to be beautiful. Keep in mind that if you're on an industrial machine or a long arm, you may need to adjust your bobbin tension. You would do that with a tower gauge, and that's beyond what we're going to talk about today, but you can find tutorials available for that. What we're going to do today is talk about our top tension. So, we're assuming that our bobbin tension is set. It's ready to rock and roll. It probably is. I would jump in with this step first. And we're gonna begin by simply putting our foot and needle down and drawing our bobbin thread up through our machine. So, you'll notice I just gave um a little tug on that top thread as it came up. And now I have my top and bobbin threads in place. When we're adjusting our tension, we want both of these threads on top so that it doesn't the bottom thread doesn't get tangled in our stitches on the back. When you're actually working on your quilt, you want to bring both of these threads to the top so that you can secure and bury them later so that your starts and stops become invisible. Let me get these gloves on and we'll be ready to rock and roll. The first thing we're going to do is simply a meander. We're going to hang on to this quilt and we're going to move it around just making a little wiggly line. And then I'm going to throw in a couple of loops just so we can see how these stitches look. Now, this these stitches look pretty good from the top, but let's take a look at the back and see what's going on. This is exactly what we want it to look like. So, notice that I have clear starts and stops to my stitches. So, this is nice and balanced. But what happens if your tension is too loose? Let me loosen mine up and I'll show you so that you'll know how to fix it. We're going to do the same thing where we're going to draw that thread up. Oh, it's a tiny little thread tail, so I got to be careful not to move things too much. There we go. I'm going to just make sure this is really loose so we're sure to get a nice mess. Now, you can see from the front this looks fine, but I have a suspicion that it's not going to look fine on the back. Sure enough, we call this eyelashing. So, you can see that that top thread has actually come through to the back of the quilt and the bobin thread is floating with all these gnarly loops all around it. It's pretty likely that the first time you freeotion quilt, this is what your stitches are going to look like. It's totally normal. Don't worry. But we are going to need to touch that tension knob together in order to tighten it back up. And we're going to do that simply by experimenting. You can see here on the front, we have those nice clean starts and stops to our stitches. And we want to adjust this until it looks the same on the top and the back. Now, every single time you adjust your tension, make sure you raise that presser foot up. When we lower our presser foot, that's what claps those tension discs together and puts resistance on our thread. So, if I adjust my tension right now, it's not going to be effective because those discs are engaged and the spring can't do its job. So, make sure you raise your presser foot and then we can turn that knob to the right in order to tighten up our tension. Righty tighty, lefty loosey. If you're adjusting your tension on a digital machine, a higher number is going to be more tension. A lower number is going to be less tension. So, I've tightened that up. Let's raise our bobin thread together again. And we will stitch and see if it was enough. Again, we've got nice, beautiful stitches on top, but what does it look like on the back? That looks phenomenal. So, I want you to see here. See, we've got these nice clean starts and stops where I can see the gap in between each of my stitches. And it looks just the same over on the front of this quilt. So, when those match, we know that we have made that nice game of tugofwar between our top thread and our bobbin thread. Even that is our goal. And when your stitches look like this, you're going to be ready to quilt your project. I recommend that every time you sit down to quilt on your quilt, you take a moment with a practice sandwich and do this experiment. Your tension may need to be adjusted depending on the exact motif that you're working on. And that's totally normal. Tension isn't necessarily set it and forget it. It doesn't mean that you're doing anything wrong. It just means that we're working with a mechanical machine and there's lots of variations and variables that could be going on. If at any point you find that no matter what you do with your tension, you're still ending up with gnarly thread nests or you're ending up with thread breaks, I recommend unthreading your machine, cleaning, oiling, putting in a new needle, rethreading, and trying again. That will solve a lot of the potential issues you could be running into. Rockstar, you're ready to start stitching. I'm so excited to have been here with you to guide you through these steps to make your quilting dreams a reality. My name is Hollyan Knight of String and Story. I hope you've enjoyed this Missouri Star Quilt tutorial.


 Schmetz Universal 5 pk size 14/90 Needles$3.95Shop →
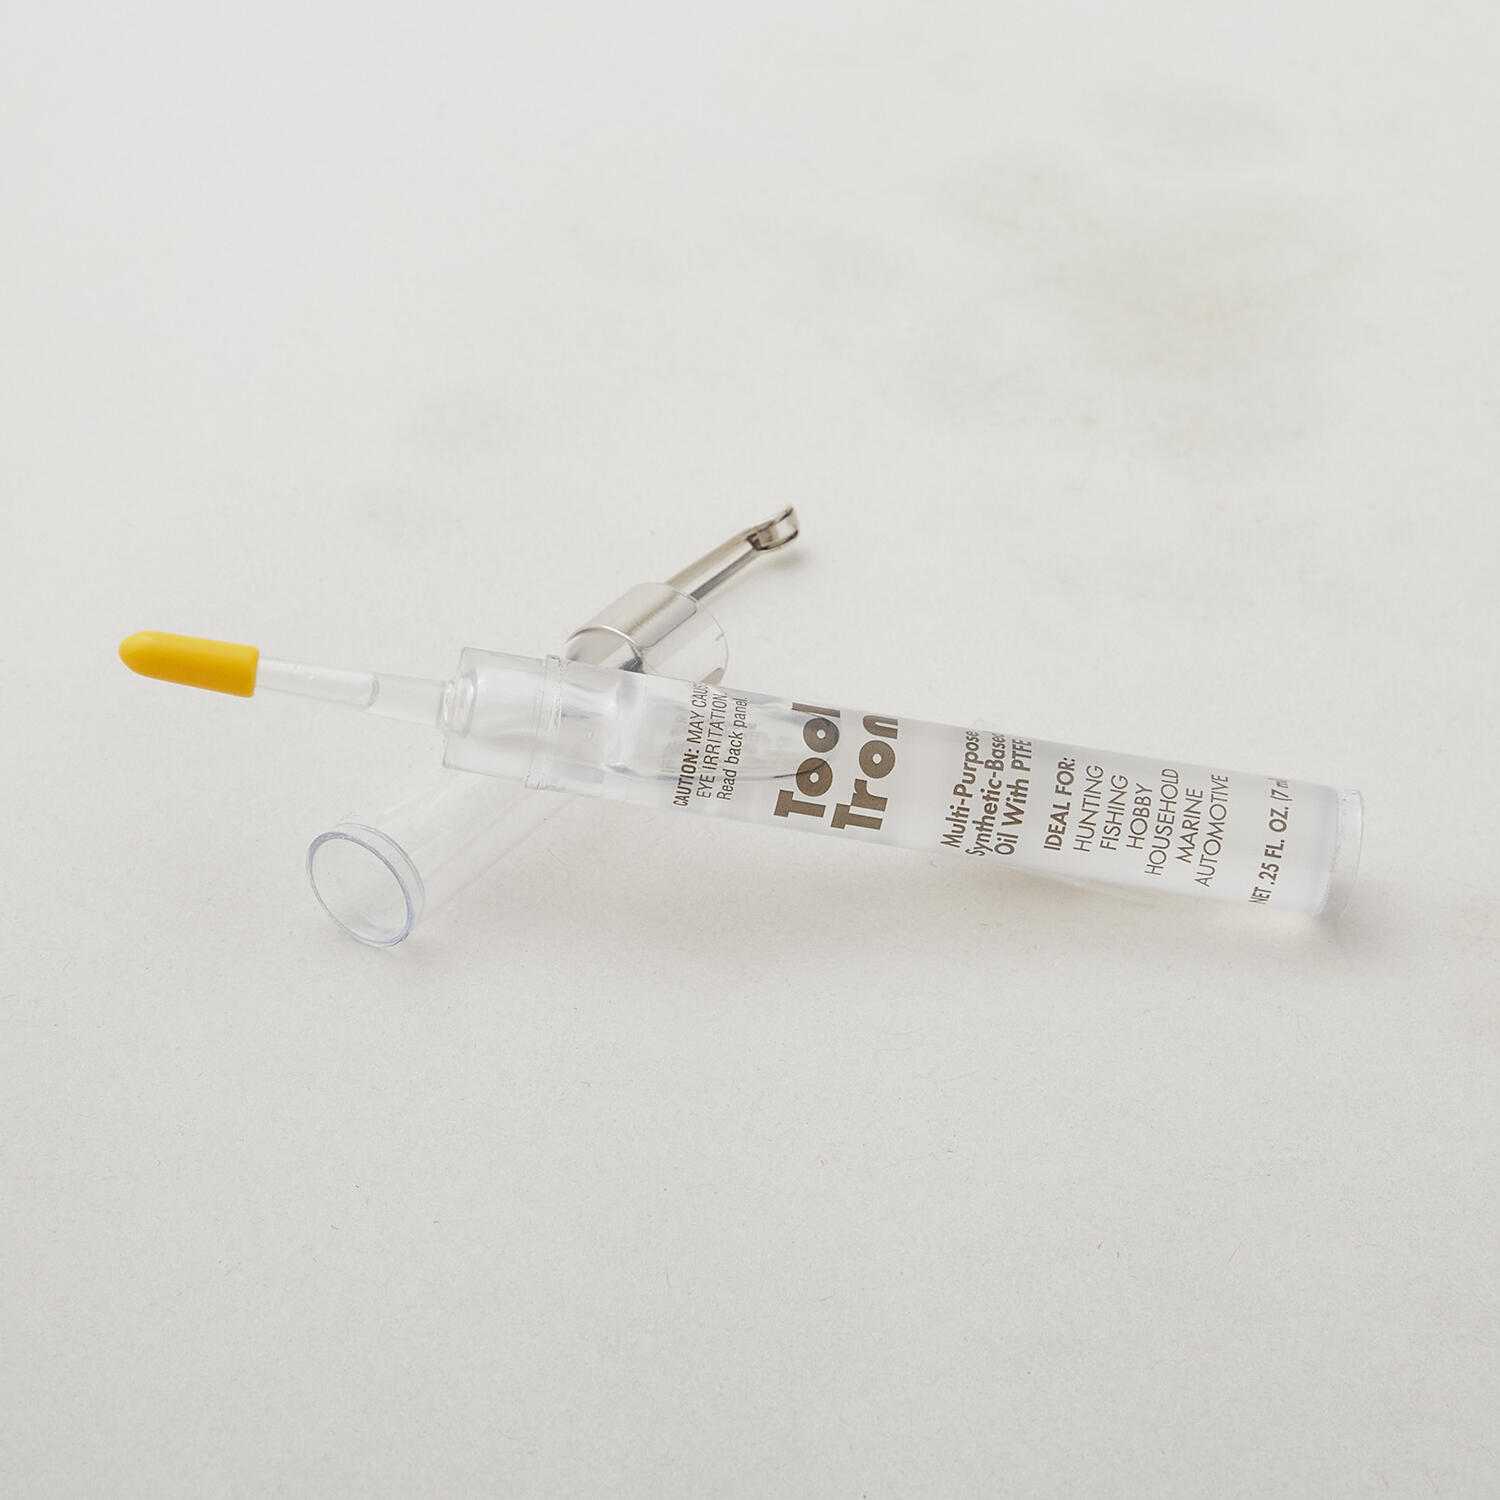 Sewing Machine Oil$9.95Shop →
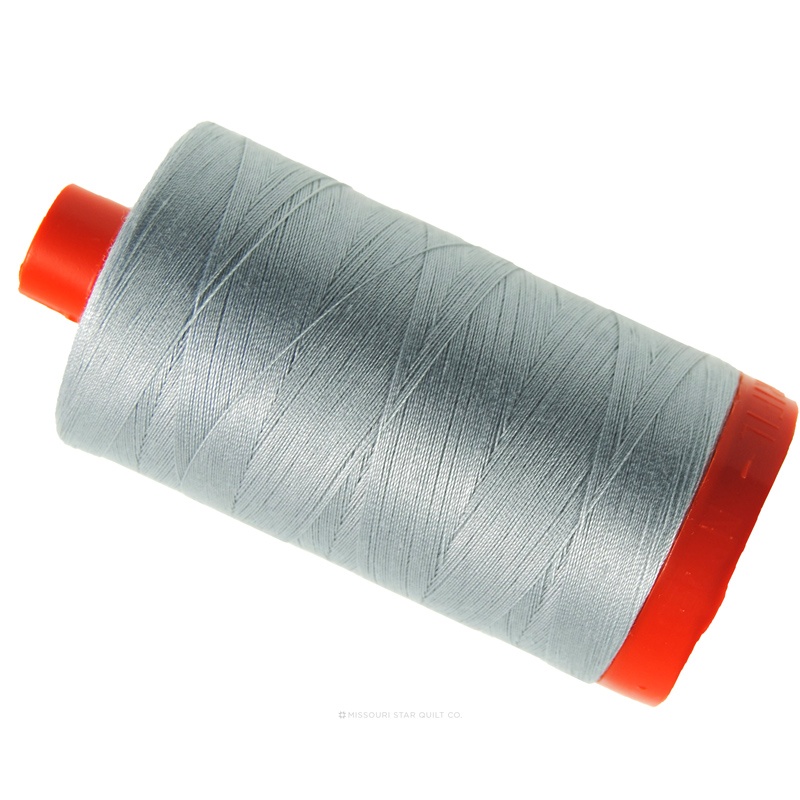 Aurifil 50 WT Cotton Mako Large Spool Thread Dove$14.95Shop →
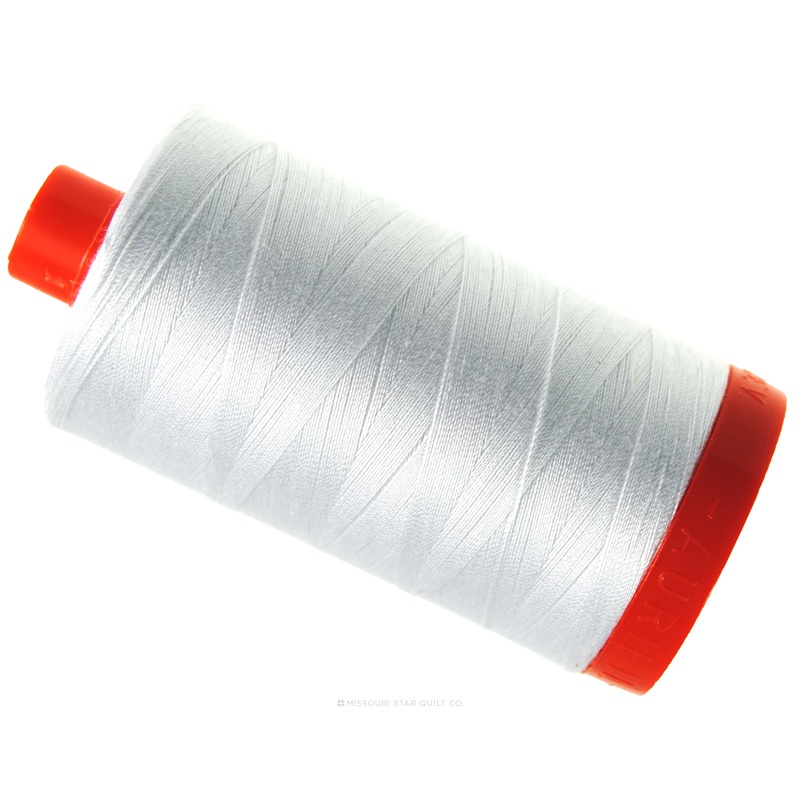 Aurifil 50 WT Cotton Mako Large Spool Thread White$14.95Shop →
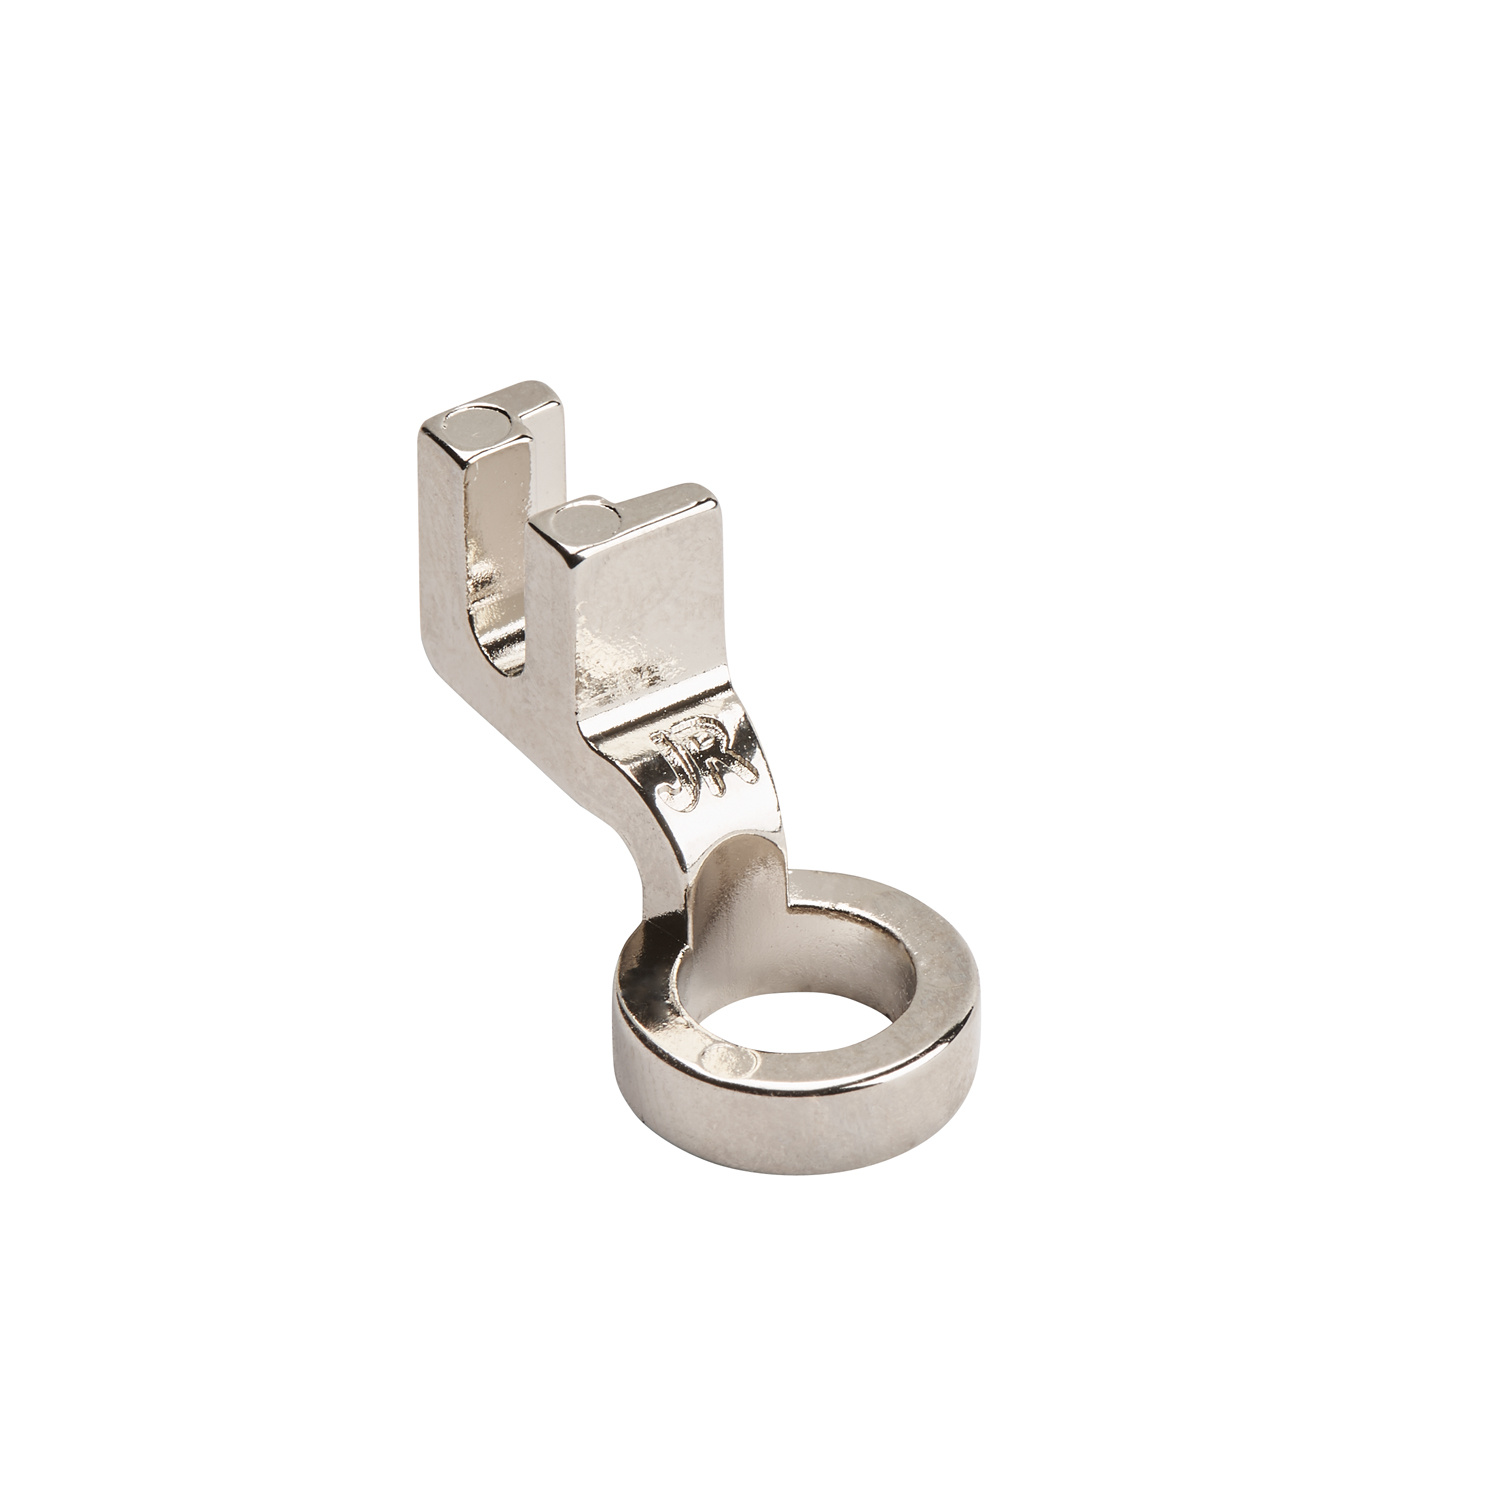 Bernette Ruler Foot - fits B79/B77$61.99Shop →
 Machingers Quilting Gloves - Small/Medium$9.00Shop →
 Machingers Quilting Gloves - Medium/Large$9.00Shop →
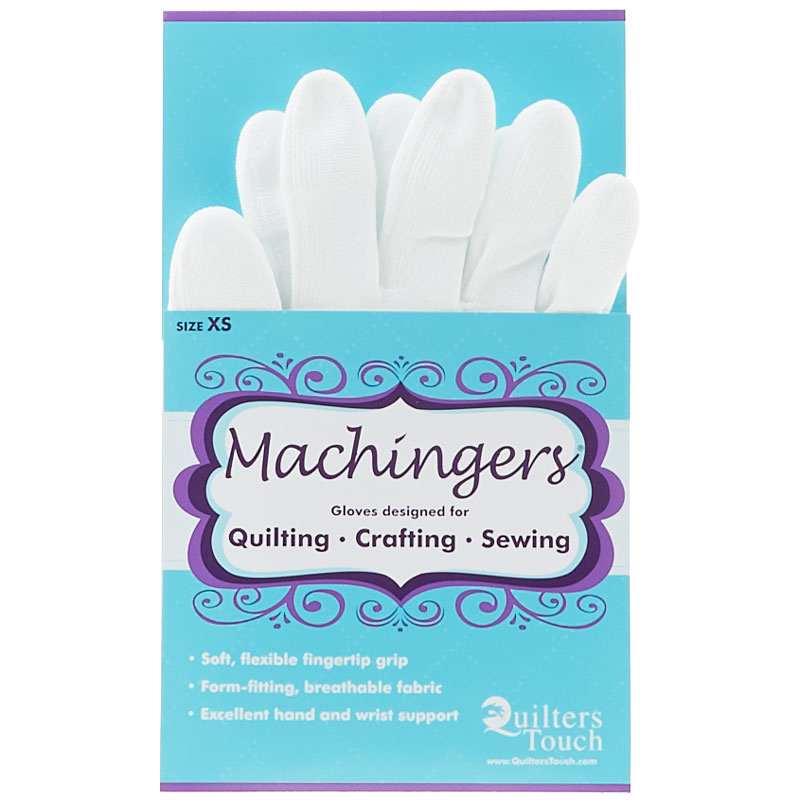 Machingers Quilting Glove - Extra Small$9.00Shop →
 Missouri Star 8" Everyday Scissors - Amelia$19.95Shop →
 Missouri Star 28mm Rotary Cutter - Klara$16.95Shop →
 Missouri Star 45mm Rotary Cutter - Olga$19.95Shop →
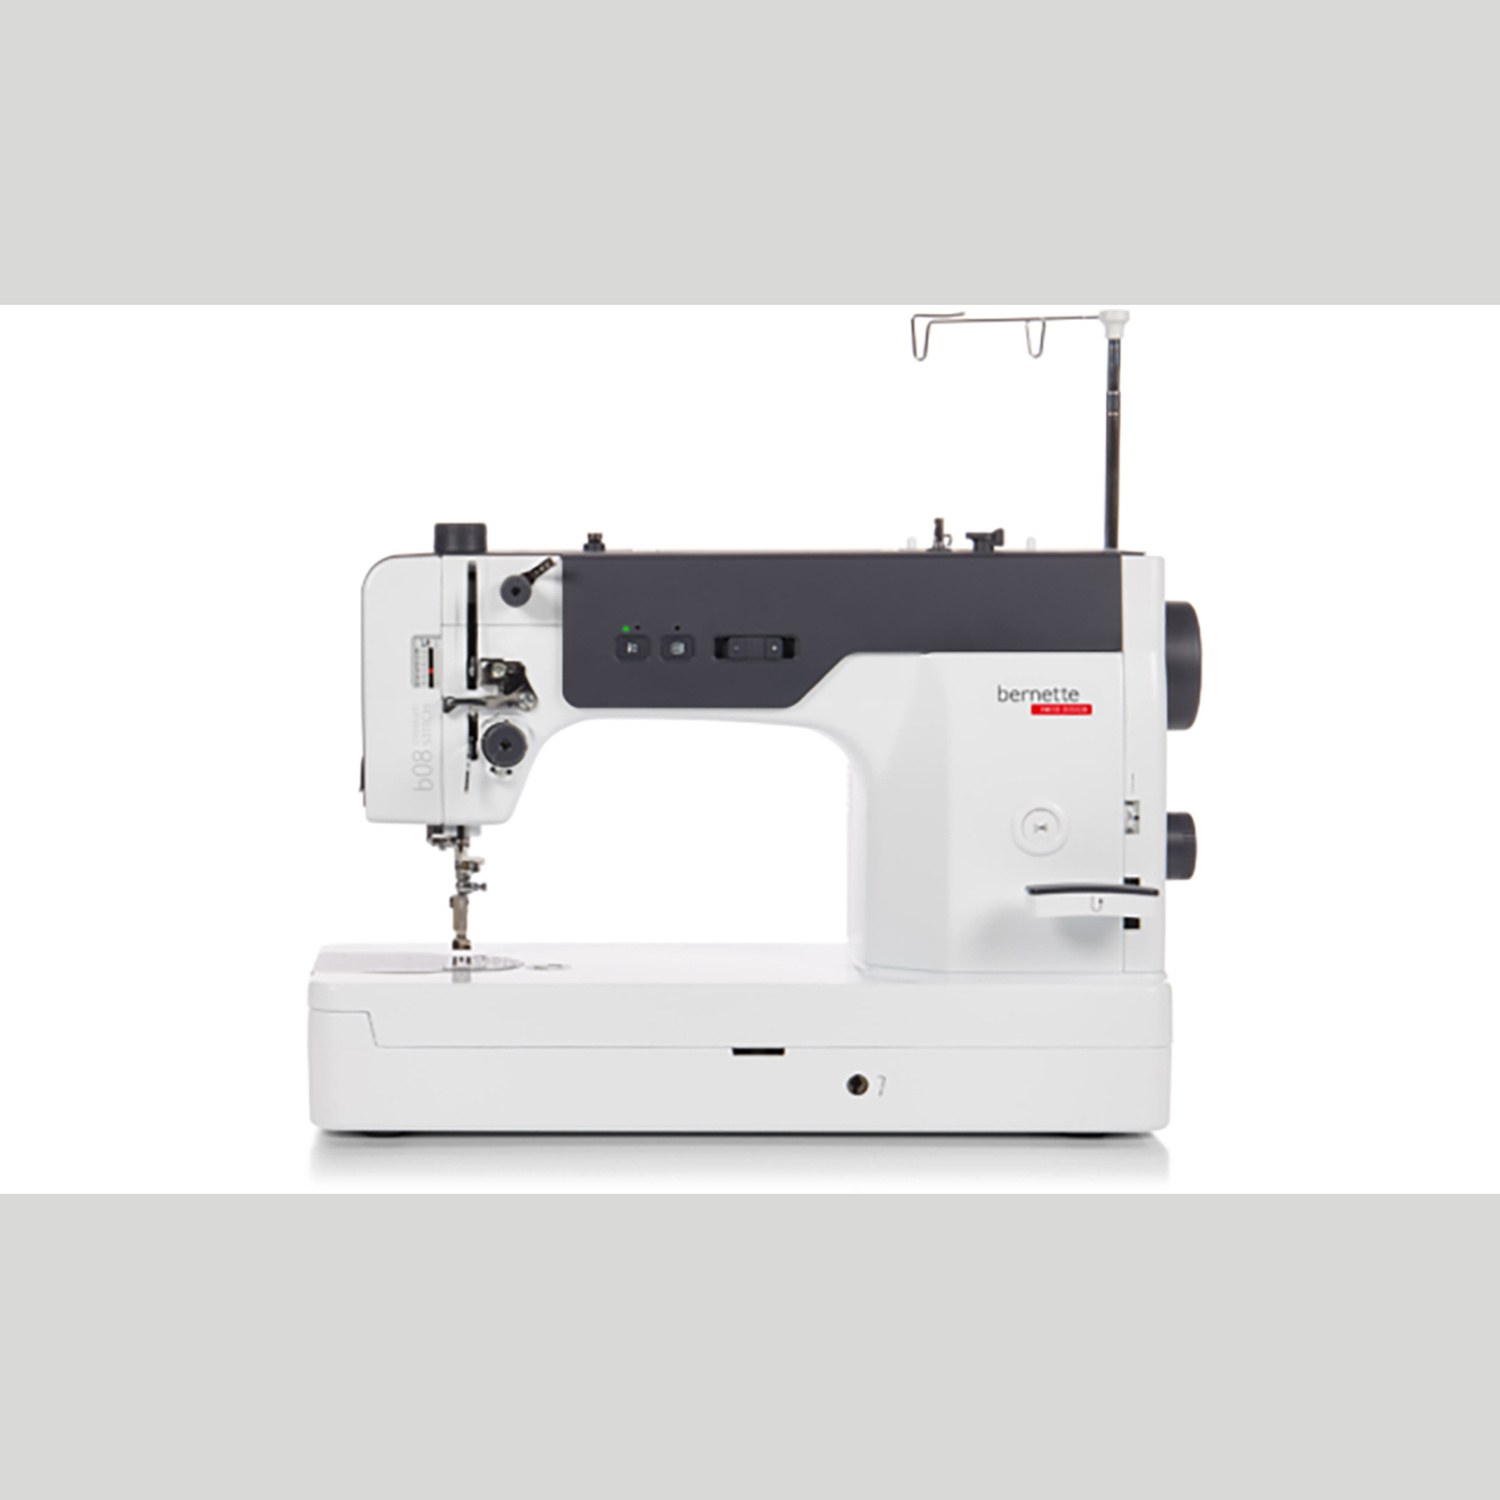 Bernette 08 Straight Stitch Sewing Machine$2299.00Shop →