Sew along with Natalie as she walks you through the Twilight Lattice Quilt—a charming design that puts a fresh spin on the classic log cabin block. In this tutorial, you’ll create beautifully layered blocks with pinwheel centers that add movement, contrast, and just the right touch of whimsy! As a special bonus, sew up a coordinating Table Topper pattern with your fabric scraps. Don’t miss this video how-to, because you’ll love the finished product!
Natalie is the host of Quilting 101, Embroidery 101 and the Creative Strategist and Editor of Block Magazine at Missouri Star Quilt Company. She was taught how to sew by her mom, of course, and began quilting when she grew up.
Sew along with Natalie as she walks you through the Twilight Lattice Quilt—a charming design that puts a fresh spin on the classic log cabin block. In this tutorial, you’ll create beautifully layered blocks with pinwheel centers that add movement, contrast, and just the right...
How long is the tutorial video?
The tutorial video is 00:19:26.
Are supplies listed for this tutorial?
Yes. The tutorial page includes the supplies and materials connected to this project.
Video Transcript
Hi everybody. I'm Natalie with Missouri Star Quilt Company and today I have a fun project for you. I'm calling it Twilight Lattice. And you can see back here, it's just kind of it makes a really beautiful lattice effect, but it is easier to make than you think. So, I am excited to teach it. All right. So, to make this quilt, you're going to need a package of 2 and 1/2 in print strips. And I've used Love Struck by Kim Deal for Henry Glass. You'll need some accent fabric, 2/3 of a yard. And I've used this lovely navy from the line. You'll need 2/3 of a yard of background fabric. And you'll also need 2/3 for your outer border. Some other helpful tools will be your rotary cutter and your ruler. And then we're going to do a couple of half square triangles. So, whichever half square triangle tool is your favorite. I love the block lock or the clearly perfect slotted trimmer. And we'll be using the A set today. And that's just about it. uh you know, aside from obviously your sewing machine and your iron and but we can get started on those blocks now. Okay, so this is our block. It's a nice big 16 and 1/2 in block. And some of you may recognize how this block is put together. It's been traditionally known in the quilting industry as the potato chip block. But there are a lot of really fun things you can do with the potato chip block. So, this is just one of the ways that I love and I think there's probably going to be more to come for me cuz I just think it's such a fun uh it's a fun way to put things together and it's a fun thing to do with your scraps. So, wait, you know, watch and see for more about the potato chip block. All right, so for this block, the first thing we're going to do is grab four set u we're going to separate our pre-cut into sets of four because you'll need four strips for each block. So, I've picked out these four, and what we're going to do is cut them into 4 and 1/2 in lengths. So, the whole uh the whole strip set, the entire roll gets cut down. And I'm going to go ahead and stack these by two. And then cut them all at once for speed because you're going to keep all of your colors together. And we're going to use them in the block. The fun thing about the potato chip block from the past, the history is that you just continue to cut your scraps down and then when you have enough scraps, you just mix them all up and put them together in a block and they look really cool. It's a great scrap quilt. But when we ask ourselves, what if we did something a little bit different? We can come up with a lot of very cool variations and fun ways to lay this out. So, I'm going to start by trimming off my salvage. here. And then because these are lined up nice and straight and they're already two and a half inches wide, I'm just going to cut some 4 and 1/2 in segments. And I'm going to stack them all up in their colors, making sure everything stays nice and lined up. And then I am going to go ahead and press these open so that I can get that last cut because we're going to need it. I I think we're going to need it. I don't know for sure. We'll see. All righty. And that is waste for our scrap bin. You could cut these into two and a half inch squares for a whole other project. Okay. Okay. So, now we're just going to really quickly separate these into their colors. Well, that didn't press very effectively, but oh well. Okay, let's just take a minute. It's funny how your brain wants to put them in the wrong piles, but your your mind like you know it's not right. Okay. All right. So, now that we've got these cut and ready to go, we are going to work on these pieces out here, our corner accents that form all of the pin wheels that go together. So, for that, we're going to take our accent and our background and we're going to cut them into 10in squares. And so, I've got a couple of these already cut because that part is pretty basic. And we will get to that in just a little bit. So, now that we've got everything cut, we're prepped to start putting this block together. Okay. So, we're going to start building this block from the middle out. So, we're going to add our two pieces to the center and those start to make up this one long row of color. And then we're going to add our colors to either side. And our last bit is going to go on the outside edges. So, and the assembly goes in a way that is very similar to how I'm going to lay it out. So, you will then sew also in that order. So, we're going to sew this seam first, and then we'll do tops and bottoms, and then we'll do sides, tops and bottoms, sides. So, it's very similar to the construction method that you would follow for a courthouse steps block. All right. So, I've got the whole block laid out, and I just want you to take a look at it really quickly. You'll notice that we've used eight pieces from each strip. So you have four of the green on this side and four on this side. And then here you've got your eight all the way through the middle and then eight that make up this little pretty corner and eight over here of the yellow that make the other corner. And now we're going to assemble it in a courthouse step style. So I'll first sew the center seam and then the two cross seams. Then I'll sew these two together and they will go across these seams and vice versa all the way around until we get to the end of the quilt or the the block. We're just going to do the one block and then we'll get into how to make those cute little pin wheels appear on the corners. All right. So, I'm going to go ahead and start sewing and pressing and we'll uh we'll meet back up from time to time. We'll see you. Okay. All right. So, we've made our final seams. We've got all of our pieces sewn together. This is our block as it is right now. Isn't that great? It's coming together really nicely and it's going to make really beautiful patterns. But I think we can add one more fun element and we're going to make some half square triangles that are going to come together to create those pin wheels that pop out in between the blocks on the quilt. So I'm going to slide this forward. We're going to grab our background and accent fabric and I'm going to draw a line from corner to corner on my background. And then we're going to we're going to do the make eight method to get a whole bunch of 4 and 1/2 in half square triangles. Let's grab a pencil. There we go. Okay. Now, we're going to pair this up. Right sides facing. And because I drew the lines on this side, this is now my wrong side or my outside. So, we're going to line those up. And then I'm going to stitch on both sides of both diagonal lines. Still using a quarter inch seam allowance away from that line. We'll do our other side. Now, this is a great way to get a bunch of half square triangles very efficiently with little work. All right. So, this is the fun part. We get to do our cutting. And I always cut my horizontal and vertical lines first because there is no line for that. You're just measuring. You're going to measure 5 in from the edges because these are 10in squares. And we want to be cutting through our um where the seams cross in the middle. So we'll start with our vertical and then we'll flip our ruler and do our horizontal cut. And now we can cut our our diagonal lines because if this should for some reason come apart, you've got those drawn on there. So there's no crazy like trying to figure out where the middle is. It it just works out really easy that way. All right. So, we'll go corner to corner and then here corner to corner. Now, we get to square up these half square triangles. They all need to be 4 and 1/2 in square. And I'm going to use the clearly perfect slotted trimmer today. We're going to line up our seam line with the dashed line on the trimmer on the 4 and 1/2 inch unfinished side. This is trimmer A. So that lines up right there on the seam. And I'm going to go ahead and just trim off that extra. And then I'm going to cut the little in the little notches. That's where you are removing bulk from the corners. And now this is a perfectly squared half square triangle. And what I'm going to do is press it open. And I've got a few others over here. For each block, we're going to need one per corner. And we're going to attach these on the corners that have our our mismatched pieces. So, and it's not going to be where the blue goes all the way through. It's going to be these outside corners. So, what you want to do is make sure that they're all kind of aligned in the same direction. And then your your half square triangles have to go a certain way. So, you'll want to refer to the diagram. Although I will say as long as you make all of yours the same, it doesn't really matter which which angles you pick. So for the sake of this one, I'm going to do my dark blue. So since I want my blue up in this top corner, I'm going to flip it over this way. And what we'll do is we'll draw a line across corner to corner. And we're going to sew on that line. Now you'll notice there's a lot of waste here. So, if you wanted to, you could sew a/ inch away and keep this extra piece for a little special bonus project. So, the thing to remember is that you want these going opposite directions. So, if my blue is on this side up here, I want to flip that around so that it goes the other way down at the bottom. Okay? And you just have to be consistent so all of your blocks are the same. And then as we turn them in the quilt, they're going to create those really beautiful pin wheels. All right? So, let me go ahead and draw this line here. Just going right across that seam. If you're not going across the seam, you might want to rotate your half square triangle because they they need to go needs to go across the seam. And we're sewing right on that line. And then I'm going to sew a half inch away to get that extra bonus piece. Move that guy. All right. Okay. So, since this one is this way, I need it to go the other way. Just going to fold that in there. Okay. So, now I'm going to trim off my little edges here. and this one. And now we can press them. And our blocks are ready to go. Alrighty. So, we have got our block done. We've got our corners on. I think it looks really great. You can look at it in the quilt behind me. So, I've done four across by five down. And so you can see how these kind of line up and then they create these fun pin wheels in the corner and you just turn your next block and they come together so cute. Now, I will say if you get your if you get your half square triangles going the opposite direction, that's totally fine. You just want to make sure that all of your blocks are done the same way so that you can make fun pin wheels. If you don't want to worry about um like a white print, you could just do fun colors and then it wouldn't even matter and they're still going to come together and make great little pin wheels that'll be super cute. So that's it. That's the basics of this quilt. So we've added a cute little 2 and 1/2 in border that I think just frames it up nicely. Our backing is the same as this lovely accent fabric and I just think it's so cute. We quilted it in a beautiful whimsical flower pattern called curls of flowers. And I typically like to do thread that blends in with the background. And cream is always a good guess for that one. So it ends up being 68 by 84, which is a great size quilt for a twin or a picnic or lap size. But if you wanted to make it even bigger, all you got to do is add another border. There's plenty of room for that. Okay, so we had mentioned earlier a little bonus project. And we've got these little off cuts from our corners. I'm going to go ahead and square these to 3 and 1/2 in. And then I'll show you what I made with mine. And this is a true bonus. I didn't use any extra fabric aside from binding and backing. Um, and it's really cute. It's going to be a great size for a wall hanging in, you know, anywhere in the house or a table topper. It's It's pretty fun. All right. So, I'm going to go ahead and square these to three and a half. And you should have plenty of room. Now I want to square my three and a half just so you know with this center line. And um I'm going to go ahead and I'll do one with block lock and then the other with clearly perfect because clearly perfect has that great line down the middle that makes this very easy. And I didn't think about that until I had this one all lined up because with a quarter square triangle you want all of your seams to go into the corners. All right. So, that one is done. And let me show you how this works with the Clearly Perfect. We want to leave them unpressed. And you're going to lay it with the seam side up. So, see how this side is just the solid and then this side has the seam. So, what we'll do is we'll line this seam up. And we're going to line everything up on the 3 and 1/2 inch dashed line. and that straight line that goes right up the middle, that gets aligned with that other seam that goes in the middle. All right. So, now we're just going to go ahead and trim off both corners. And we'll trim our little extra triangle pieces. And then you've got a perfectly squared quarter square triangle, which is so great. It's it's one of my favorite ways to square those particular blocks. All right. Now I can go ahead and press this and I'll show you my cute little wall hanging. Isn't that fun? So, we just put the whole thing together and made it really cute. I think it would look great on your wall or with a pretty, you know, an arrangement of flowers or a bowl of fruit. I mean, it really is just ideal. This is great for those nightstands or little end tables by the couch. Pretty much anywhere in the house you could use this and it would make a great gift as well. Well, I had a lot of fun making this quilt and I hope you enjoyed this tutorial on the Twilight Lattice Quilt from the Missouri Star Quilt Company. See you next time, guys. Hi everybody. I hope you enjoyed today's video. We're trying super hard to get to a million subscribers. So, if you enjoyed it and you want to see more, just hit subscribe and share with your friends and encourage them to do the same. And I will see you next Friday with a brand new tutorial.


 Natalie Doan
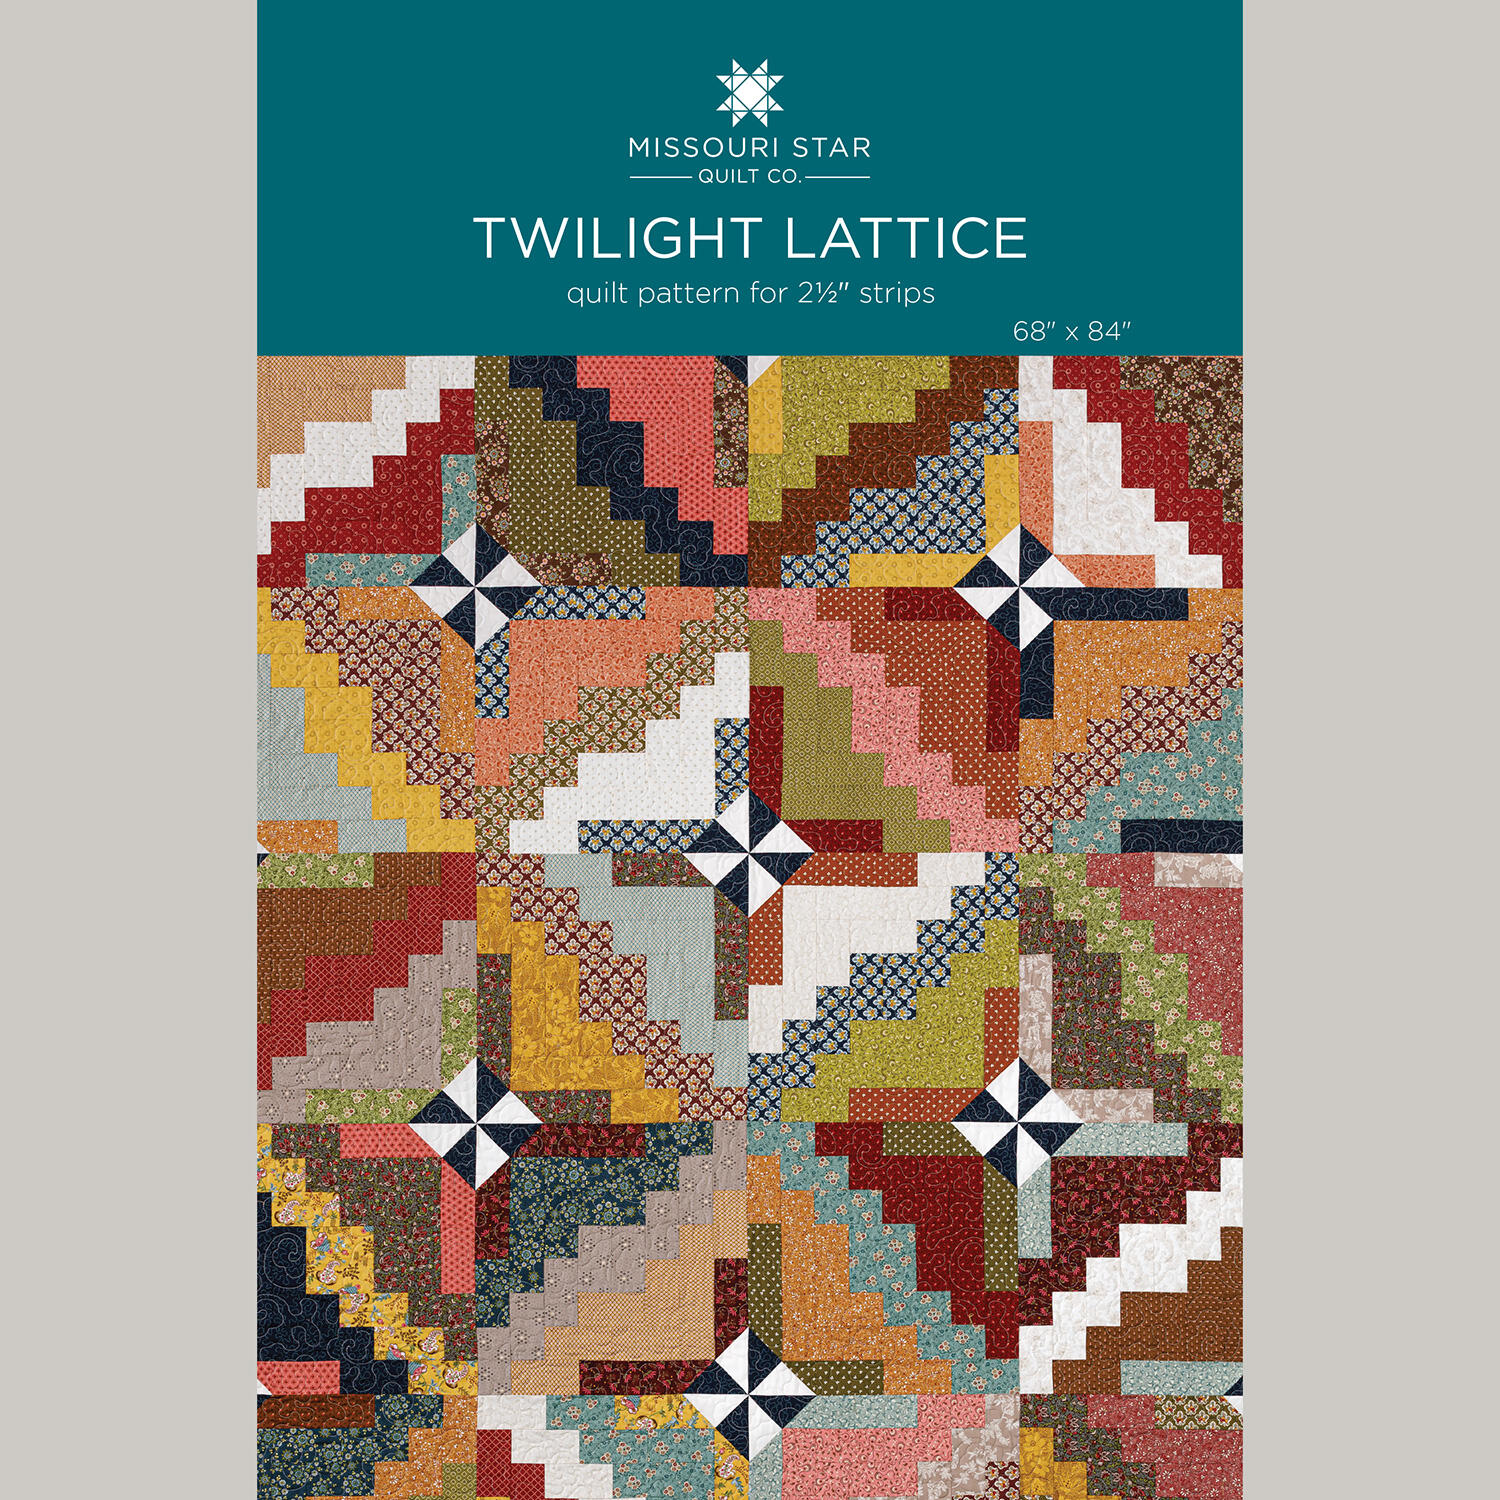 Twilight Lattice Quilt Pattern by Missouri Star$8.50Shop →
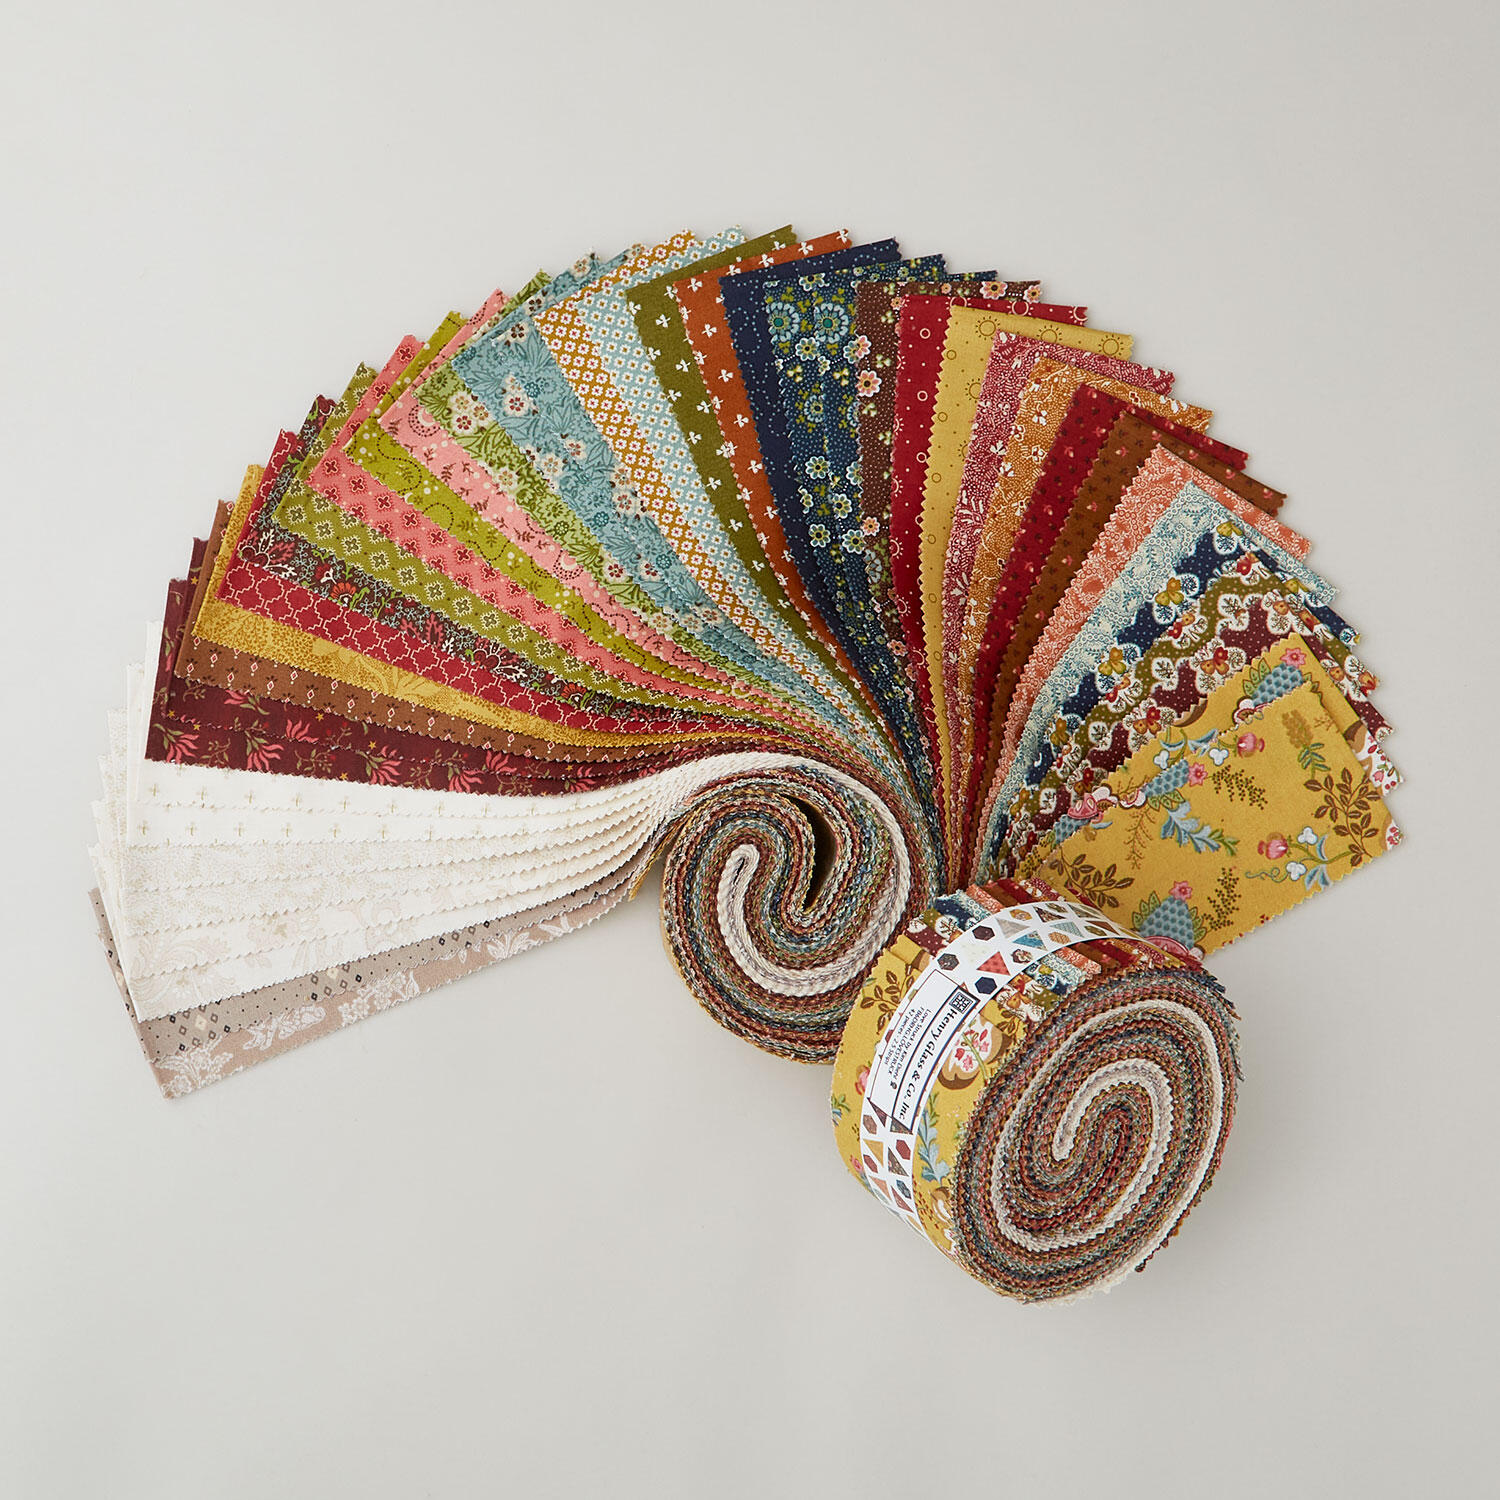 Love Struck 2 1/2" Strips$52.95Shop →
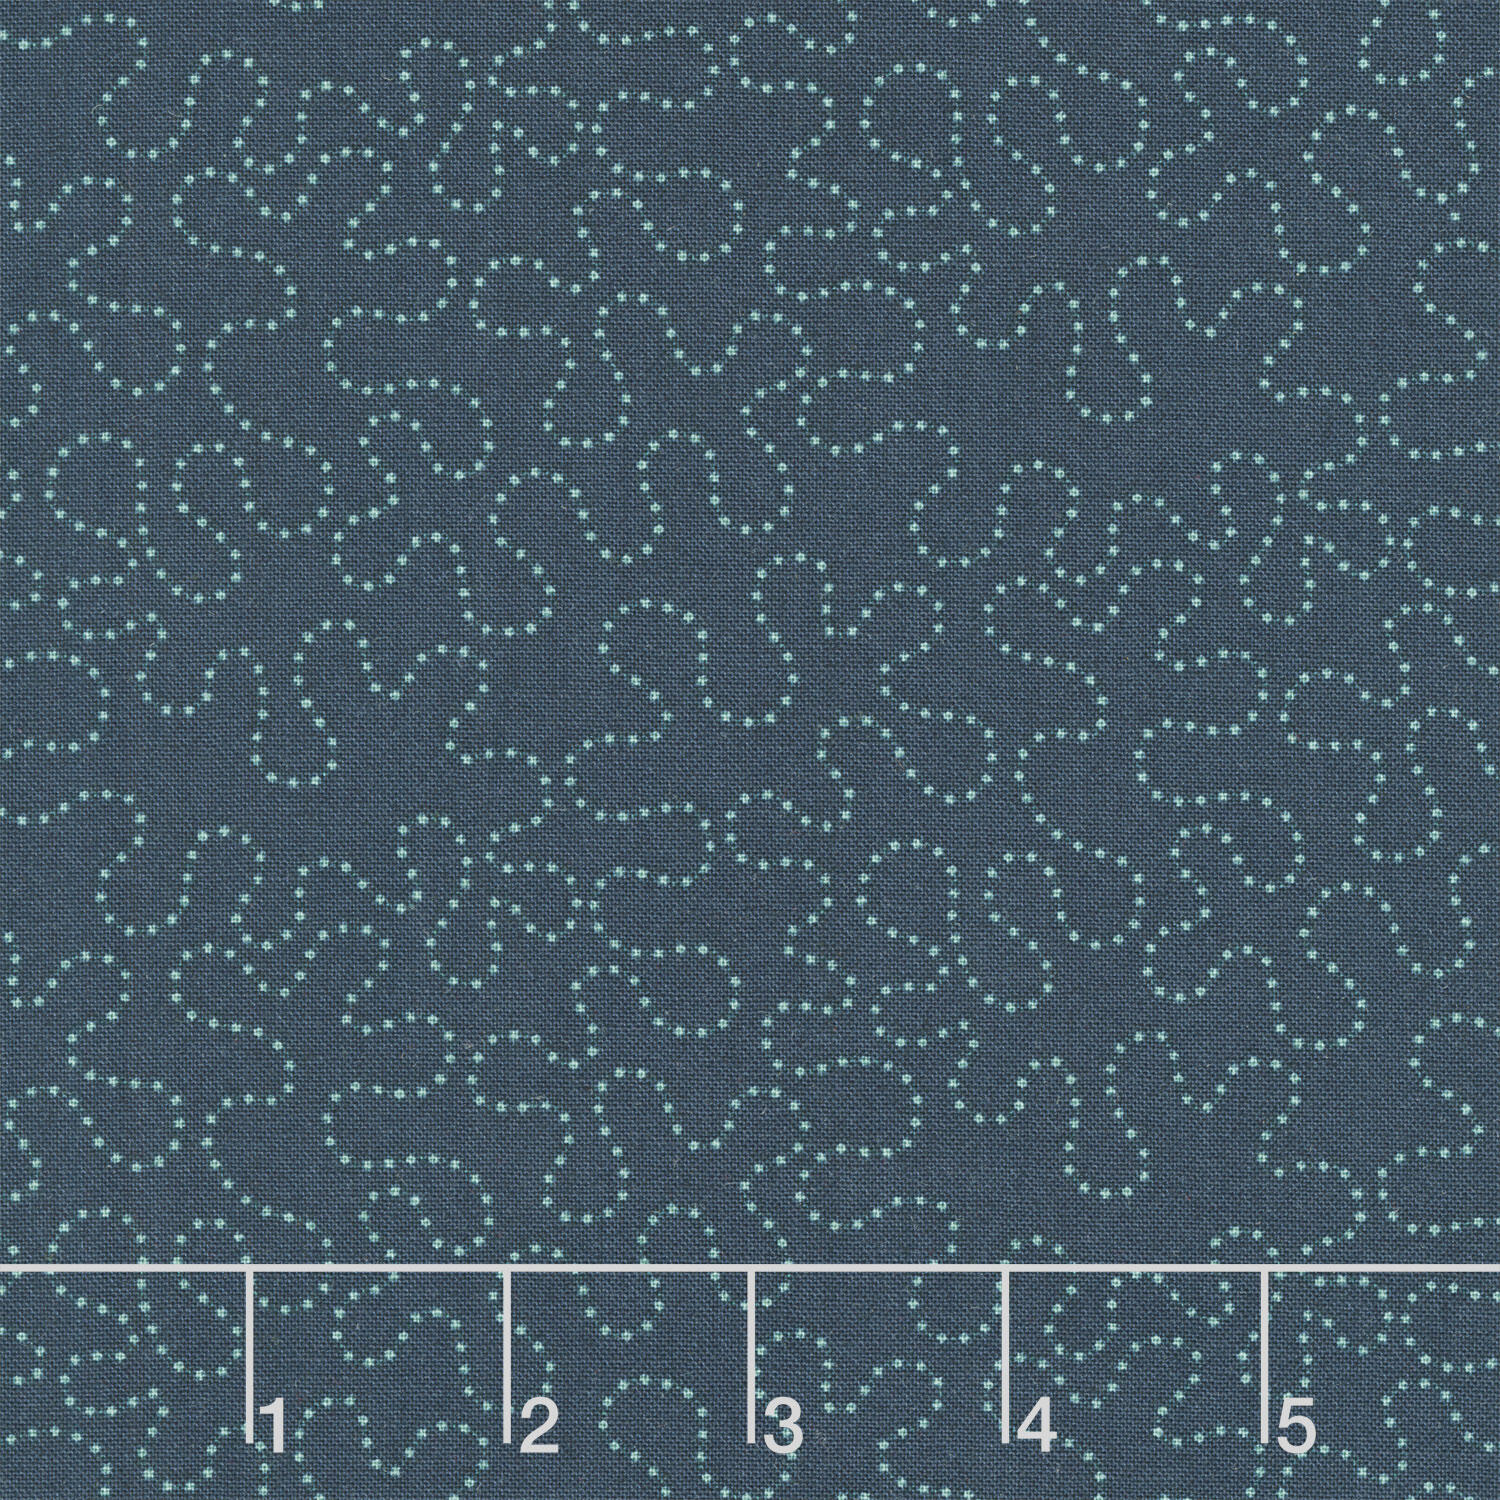 Love Struck - Dotted Stipple Navy Yardage$12.56Shop →
 Colorworks Premium Solids - Eggshell Yardage$8.12Shop →
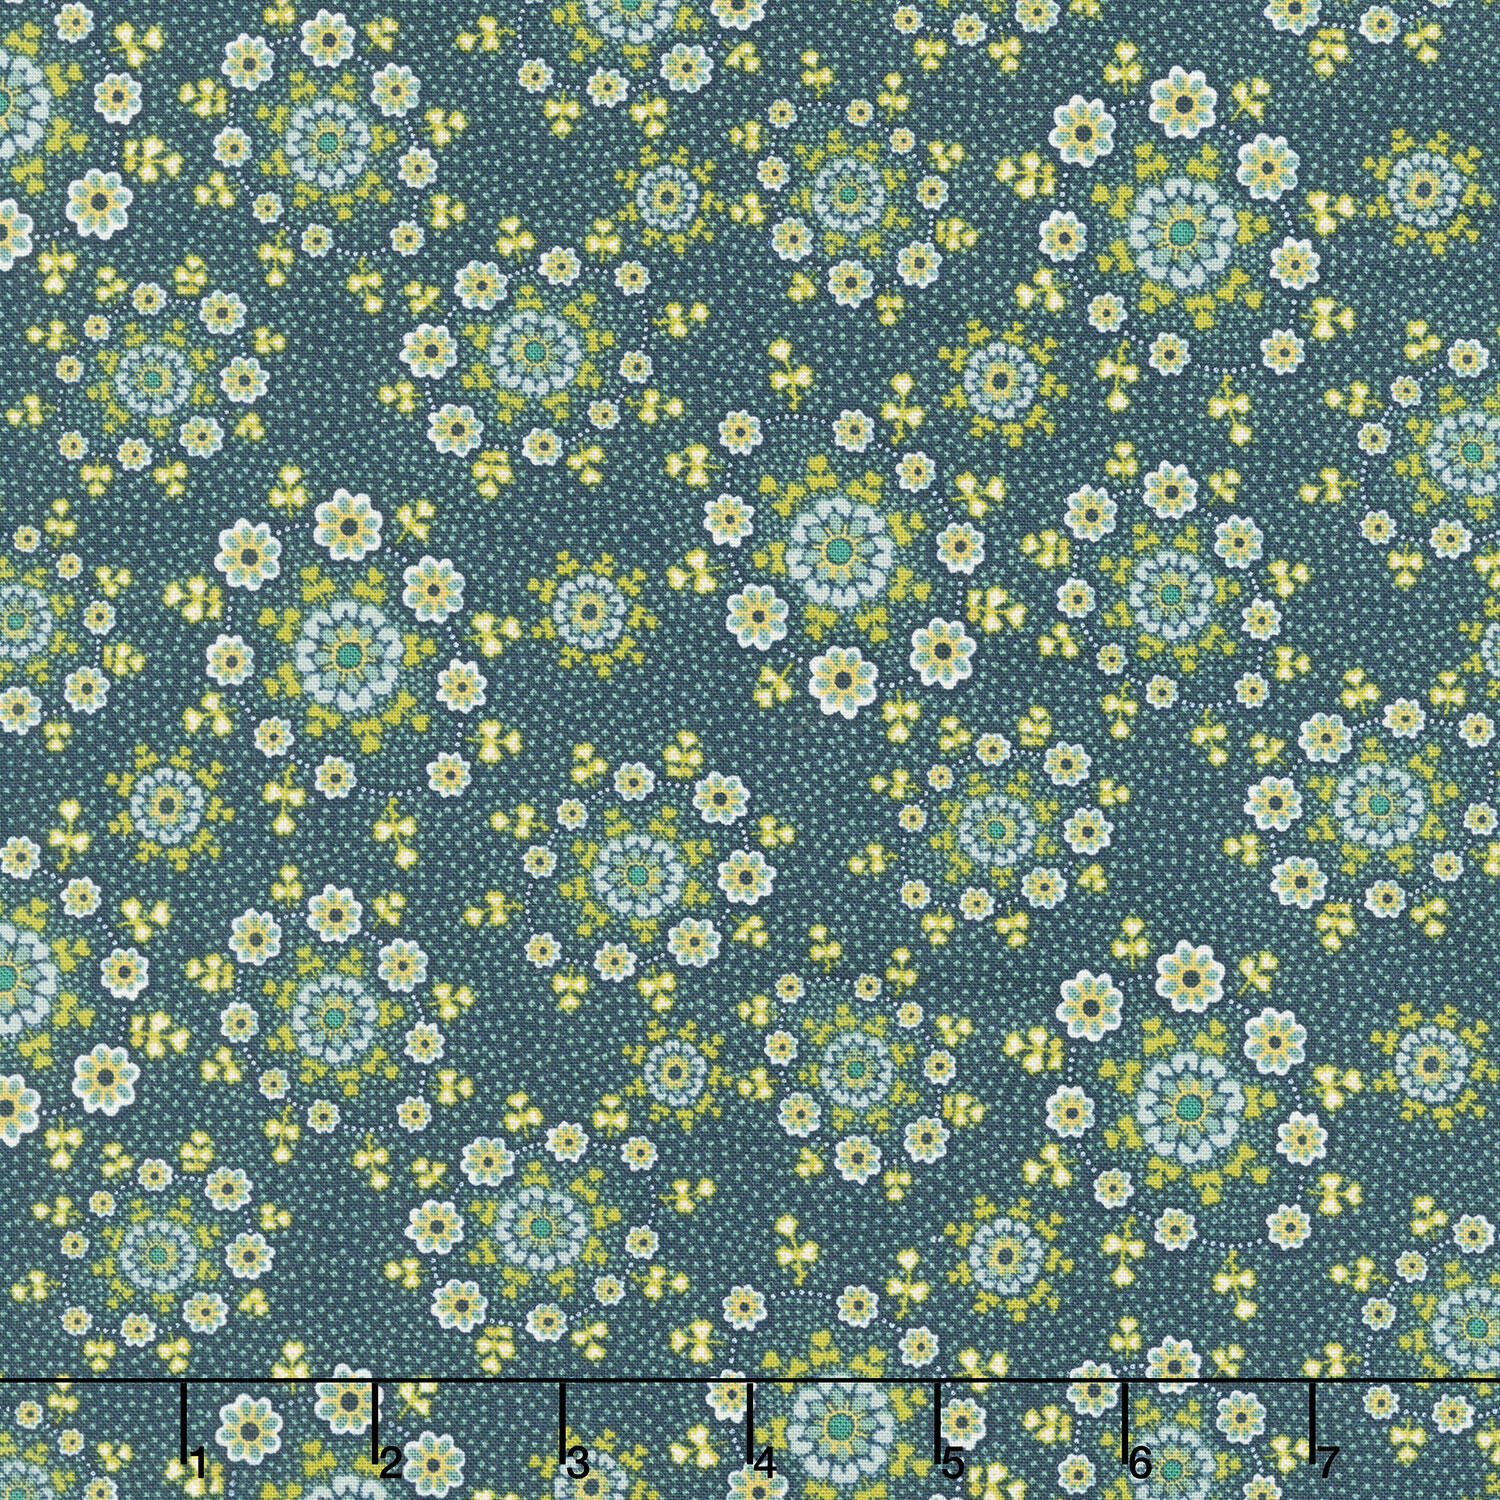 Love Struck - Daisy Wreaths Navy Yardage$12.56Shop →
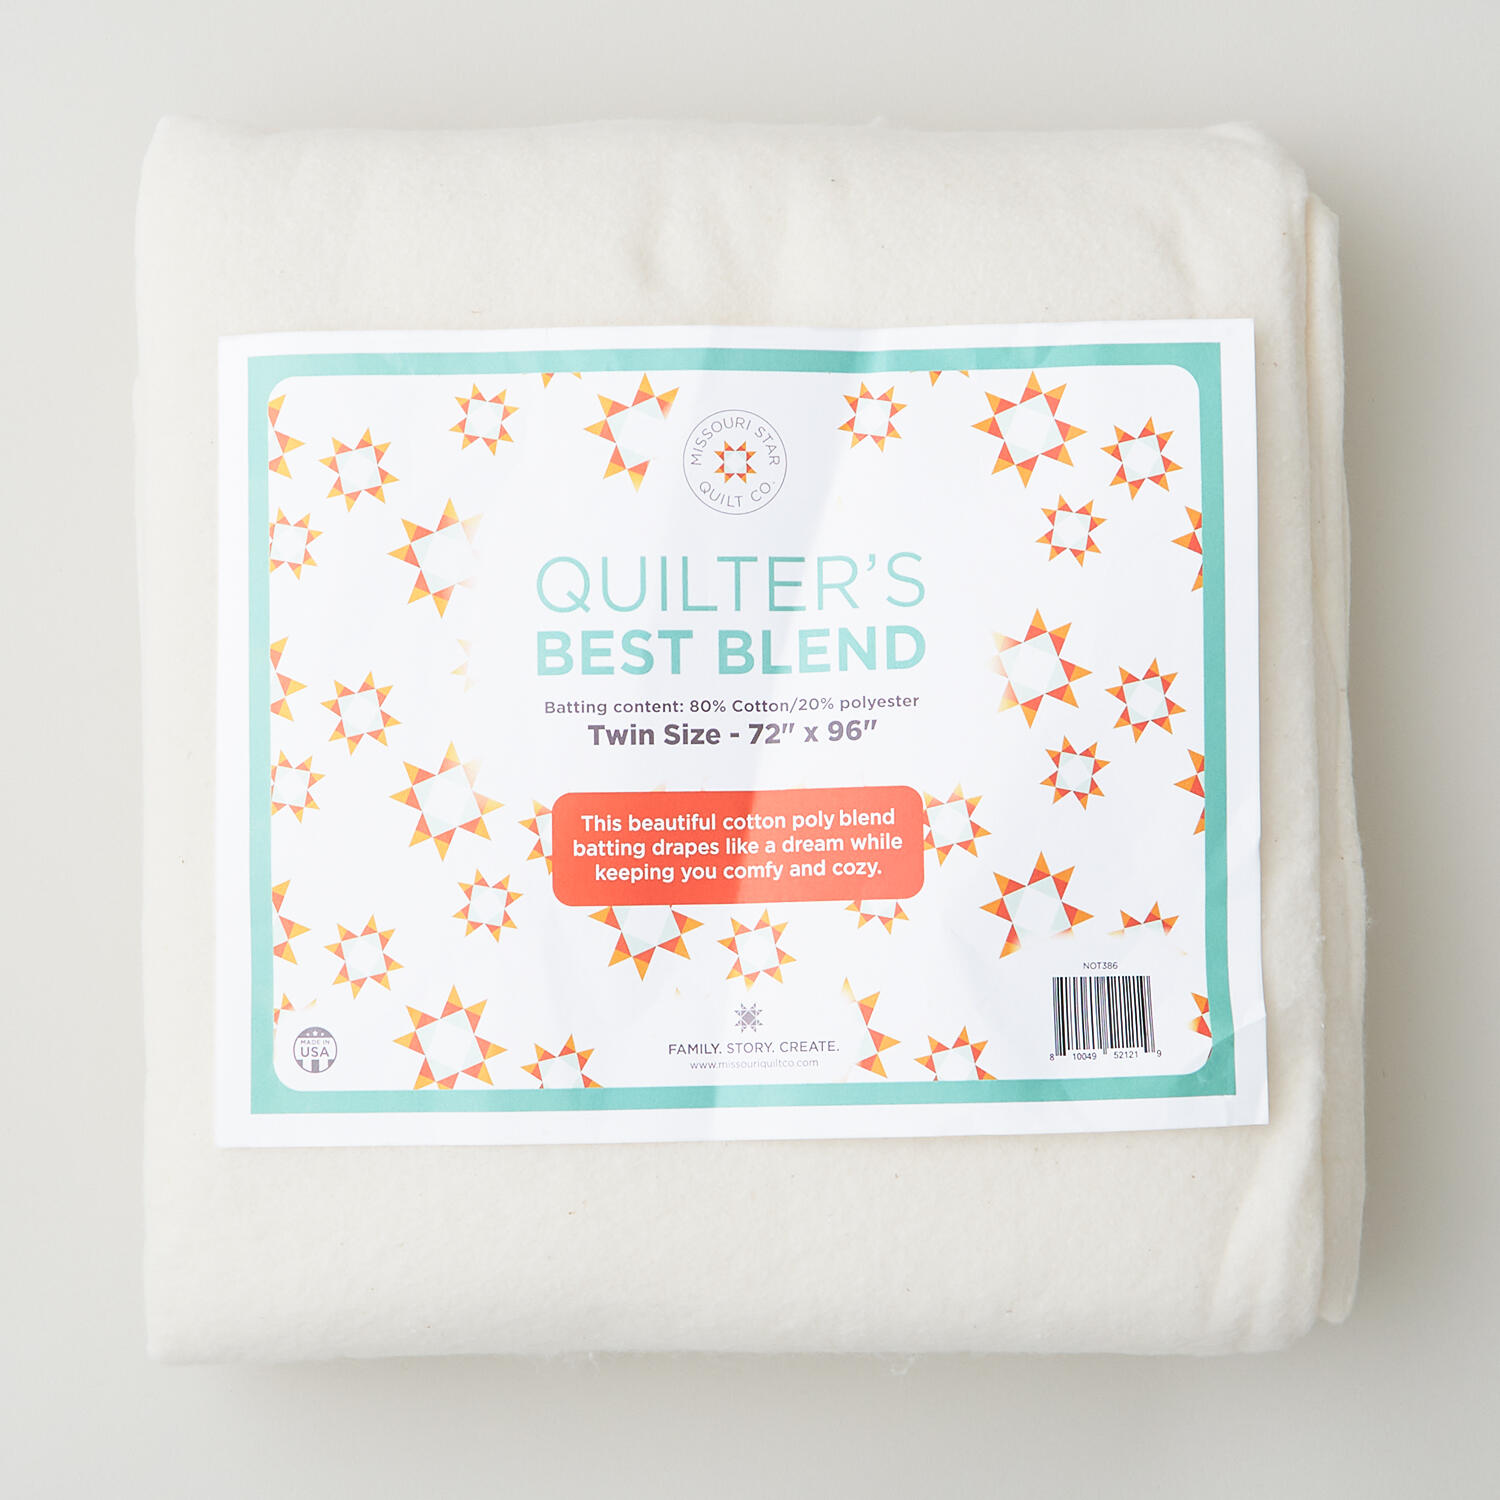 Missouri Star Quilter’s Best Blend Twin Batting$26.95Shop →
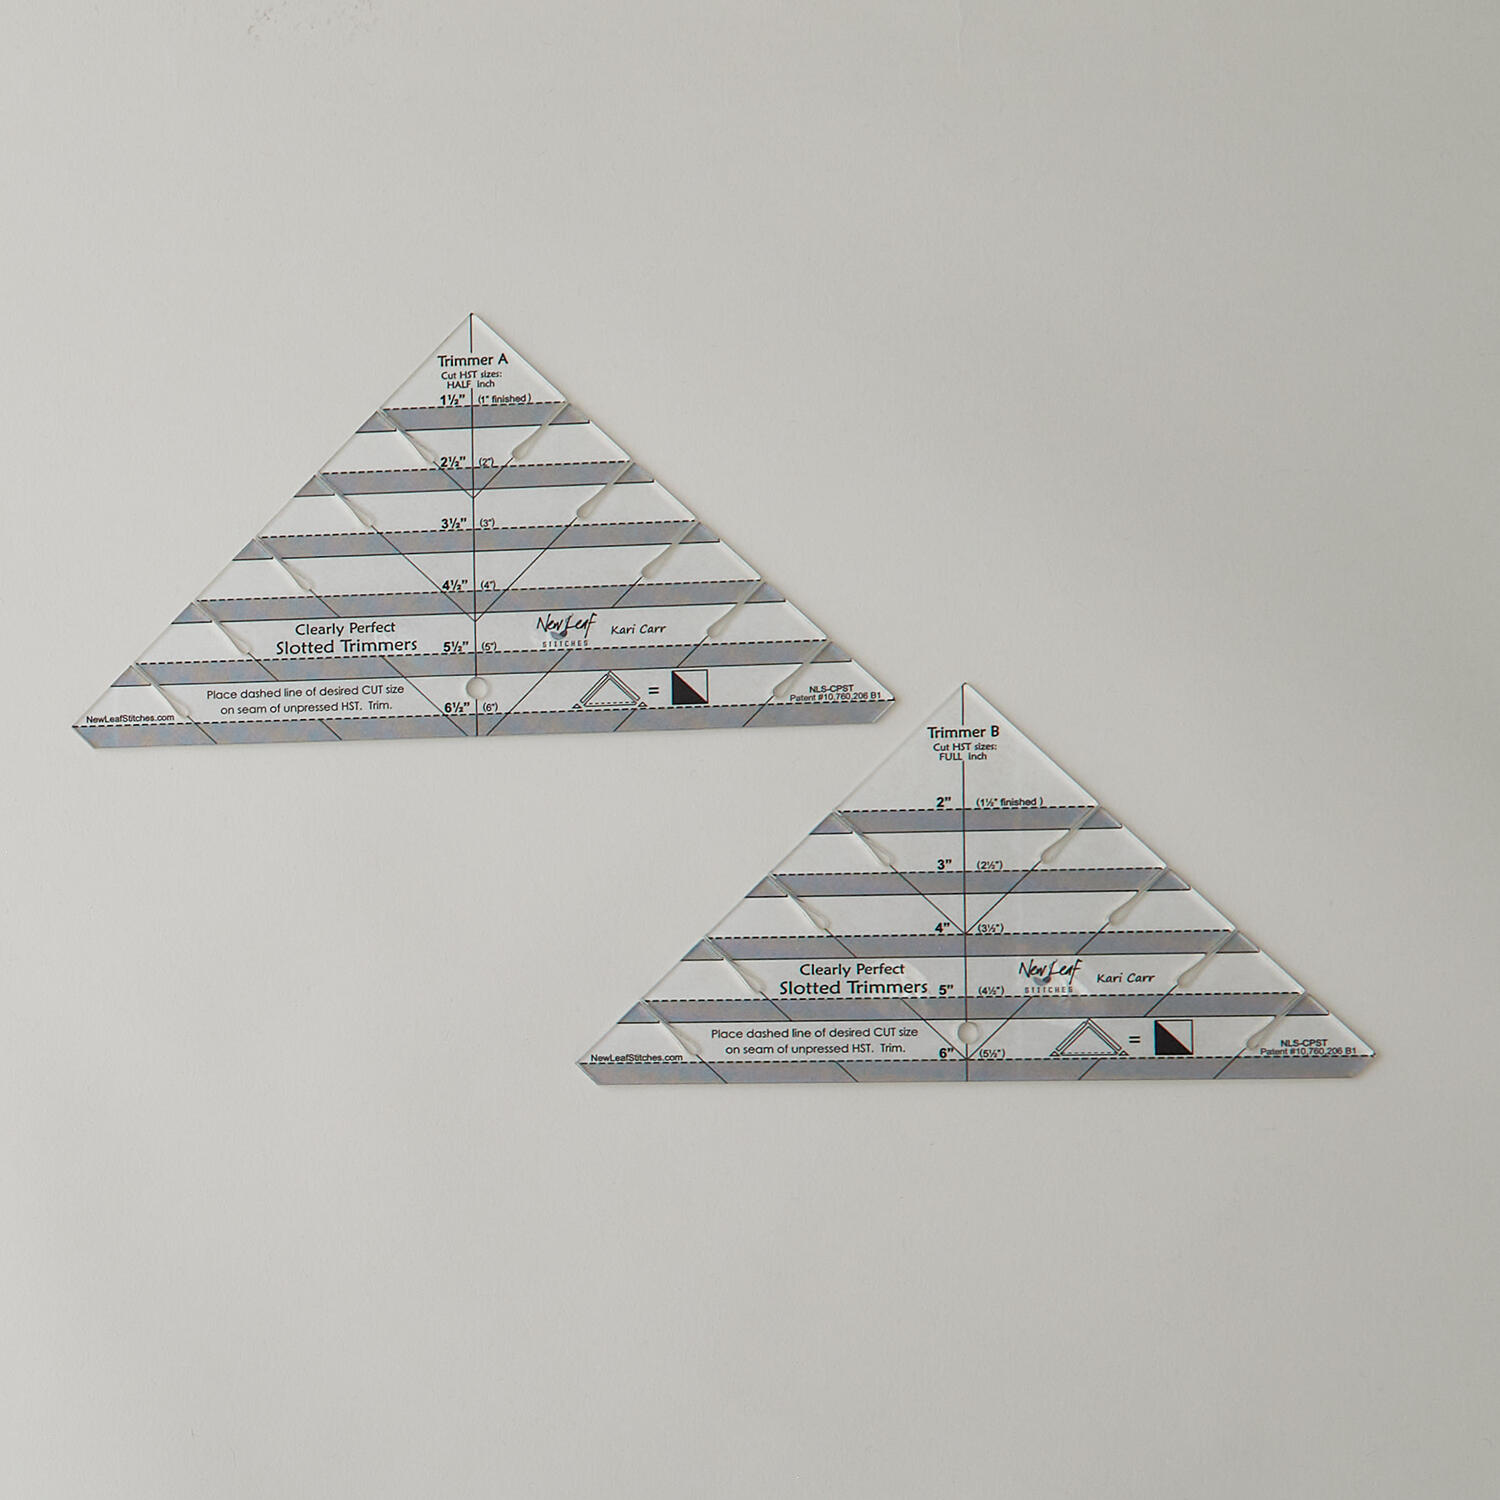 Clearly Perfect Slotted Trimmers$33.95Shop →
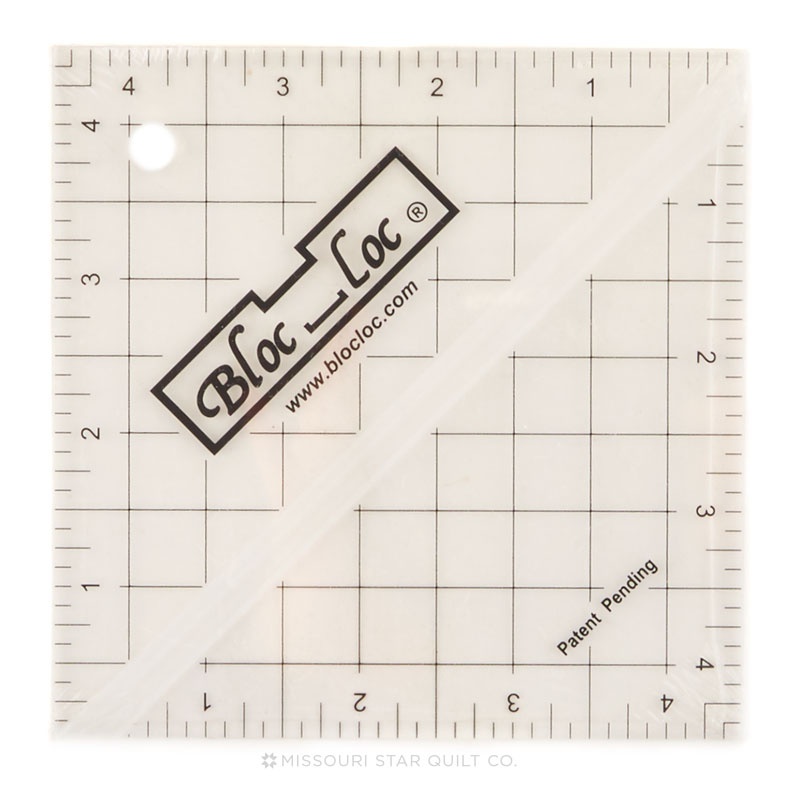 Bloc Loc 4 1/2" Square Up Ruler$32.50Shop →
 Bernette 77 Sewing and Quilting Machine$1699.00Shop →
 Missouri Star 50 WT Cotton Thread White$7.95Shop →
 Missouri Star 45mm Rotary Cutter - Olga$19.95Shop →
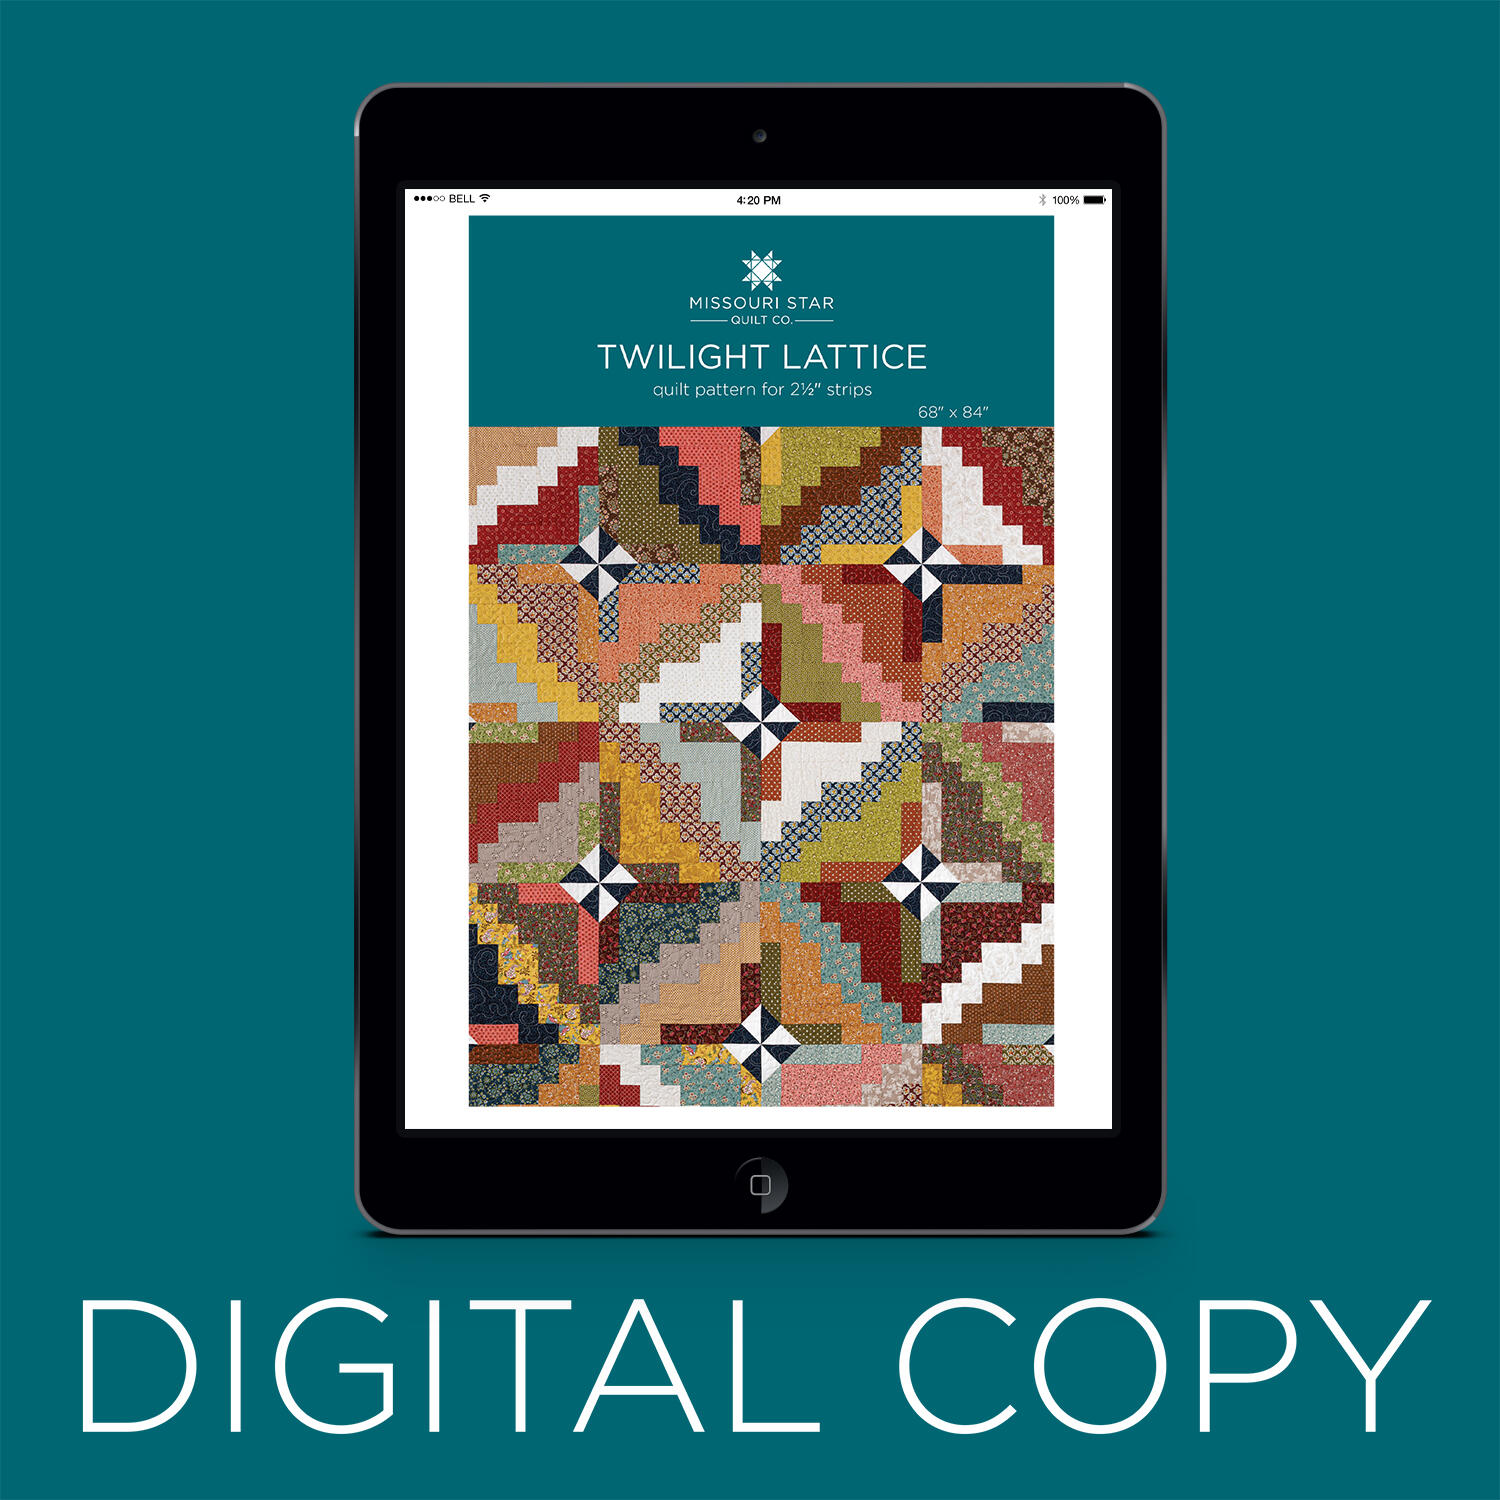 Digital Download - Twilight Lattice Quilt Pattern by Missouri Star$6.95Shop →


