
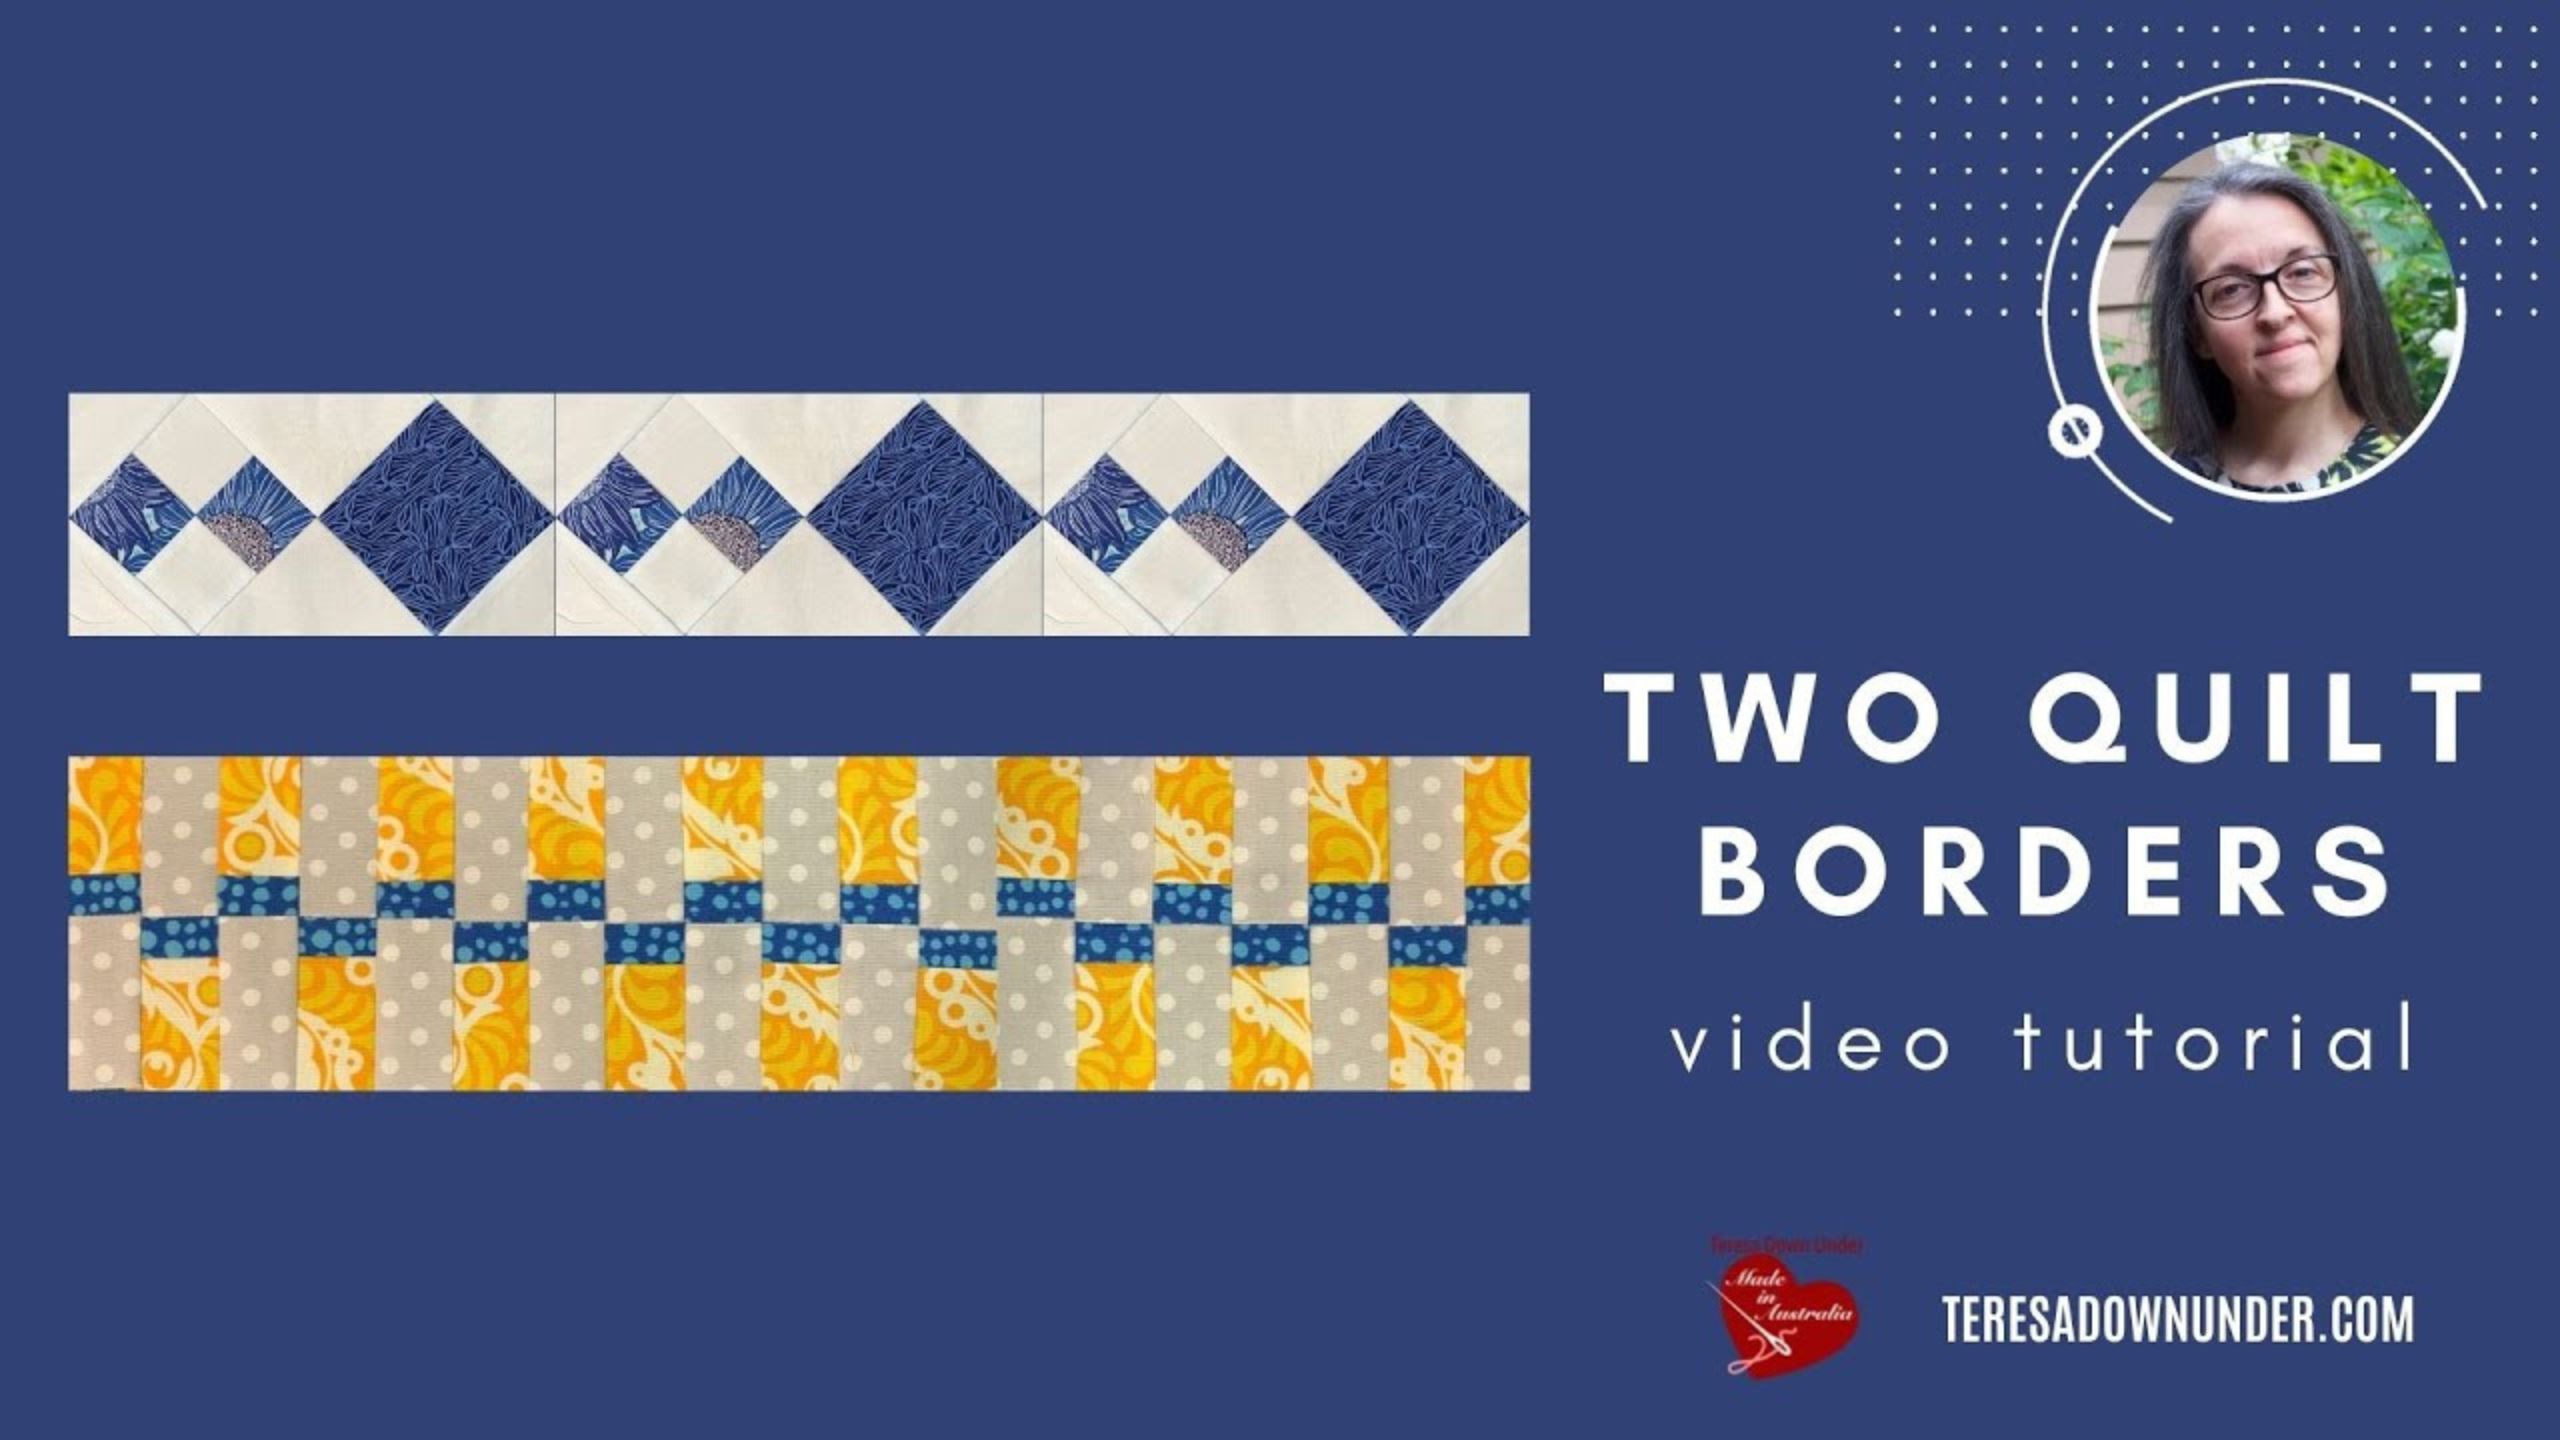
Two easy quilt borders video tutorial with Teresa from Teresa Down Under
Join Teresa from Teresa Down Under as she shares some of her favorite borders to add to quilts. The fancy piano keys border increases by 1″ so it’s easily added to any size quilt. The other one increases in 6″ increments so any quilt with 6″, 12″ or 18″ blocks is ok for this block too.
Instructor
Teresa Mairal Barreu
Teresa loves spending her spare time sewing and designing. She is the author of “Turnabout Patchwork. Simple quilts with a twist,” a book all about playing with blocks – making a block, slicing it up, and turning or repositioning the pieces to make a completely different block. She shares several new quilt block tutorials each week on her YouTube channel and blog.
Shop this tutorial
Common Questions
What is covered in Two easy quilt borders video tutorial with Teresa from Teresa Down Under?
Join Teresa from Teresa Down Under as she shares some of her favorite borders to add to quilts. The fancy piano keys border increases by 1″ so it’s easily added to any size quilt. The other one increases in 6″ increments so any quilt with 6″, 12″ or 18″ blocks is ok for this b...
How long is the tutorial video?
The tutorial video is 00:09:15.
Is a transcript available?
Yes. A written transcript is available on the tutorial page.
Video Transcript
To make a piano keys border, you will need to cut strips of fabric that are the same width and length as the sides of your quilt top. The width of the strips will depend on the desired size of the piano key.
First Teresa gathers strips of of 3 different colors of fabric, joining them at the long edges to make a larger strip pieced unit.
Then with her rotary cutter and ruler she subcuts the strip unit into smaller rectangles of equal length. Then she sews the strips back together, rotating every other rectangle by 180 degrees, creating what looks like piano keys.
Once all the strips have been added, trim the edges of the quilt top so that they are even with the edges of the border. Quilt and bind the quilt as desired.


