
Two Table Topper projects from the Snow Flower Design Roll Part 1 / 2
Hi, it’s Jenny, from the Missouri Star Quilt Company, and I’ve got a couple of fun projects for you today. We have this new Jelly Roll from Westminster Lifestyle Products. It’s actually called a Design Roll, and it’s the Christmas Snow Flower collection, and it is darling!

Instructor
Jenny Doan
Jenny Doan is an American quilter, author, and YouTube personality. Jenny started Missouri Star Quilt Company in 2008 and today it is the largest quilting supply vendor in the United States.
Shop this tutorial



Common Questions
What is covered in Two Table Topper projects from the Snow Flower Design Roll Part 1 / 2?
Hi, it’s Jenny, from the Missouri Star Quilt Company, and I’ve got a couple of fun projects for you today. We have this new Jelly Roll from Westminster Lifestyle Products. It’s actually called a Design Roll, and it’s the Christmas Snow Flower collection, and it is darling!
How long is the tutorial video?
The tutorial video is 00:04:16.
Are supplies listed for this tutorial?
Yes. The tutorial page includes the supplies and materials connected to this project.
Is a transcript available?
Yes. A written transcript is available on the tutorial page.
Video Transcript
As you can see in these quilts that I’ve done, I’ve put them together in a couple of easy projects and I’d like to show you how to do those right now. You’re going to unwrap your Jelly Roll and lay them out, because it’s mostly red, and green, and white, you are going to put your strips together. Red and greens opposing, and stitch ¼” along all the side.
Now, remember when you’re sewing long strips if you sew this one going this way, the next set you want to sew going the opposite way. So, if you’ll go with me over to the sewing machine we’ll sew these together. Here we are at the sewing machine and we’re going to sew ¼” seam and sew these two together. The fun part about these strips is that you sew two together, then you sew four together, and then you sew eight together, and your pieces get bigger really fast. So, let’s finish up this strip.
Now, we're going to iron it, and what we’ll do remember, we press it down and then fold the dark side up, and in these there’s not a lot of darks and lights. So, you just have to decide which side you want your seam to go to.
So, we’ll iron that and then we’ll attach a couple more rows together and you’ll see that piece get bigger and bigger really quick. So, now we have this whole strip set sewn together. That’s the miracles of modern filming! The strip set is sewn together and what we’re going to do is we’re going to even up one end so that we have an end to start with.
So, we’ll take our ruler, and we’re going to put it over here. Now remember I’m left-handed, so this is going to come at a different direction for some of you. You may want to start on the other side, and I’m going to take a healthy chunk off, so that I can make sure that I get all these little salvage edges off.
So I have a straight line. So, the first thing we’re going to make with this strip set, oh, excuse me, my blade must not be very sharp. That’s alright, those things happen in the quilt shop. Here we go, so, now we have a nice straight edge, and we’re going to start with this table runner first. Now, I’m probably reinventing the wheel, and I’m sure there’s a pattern for this, but I tend to be one of those that thinks off the cuff.
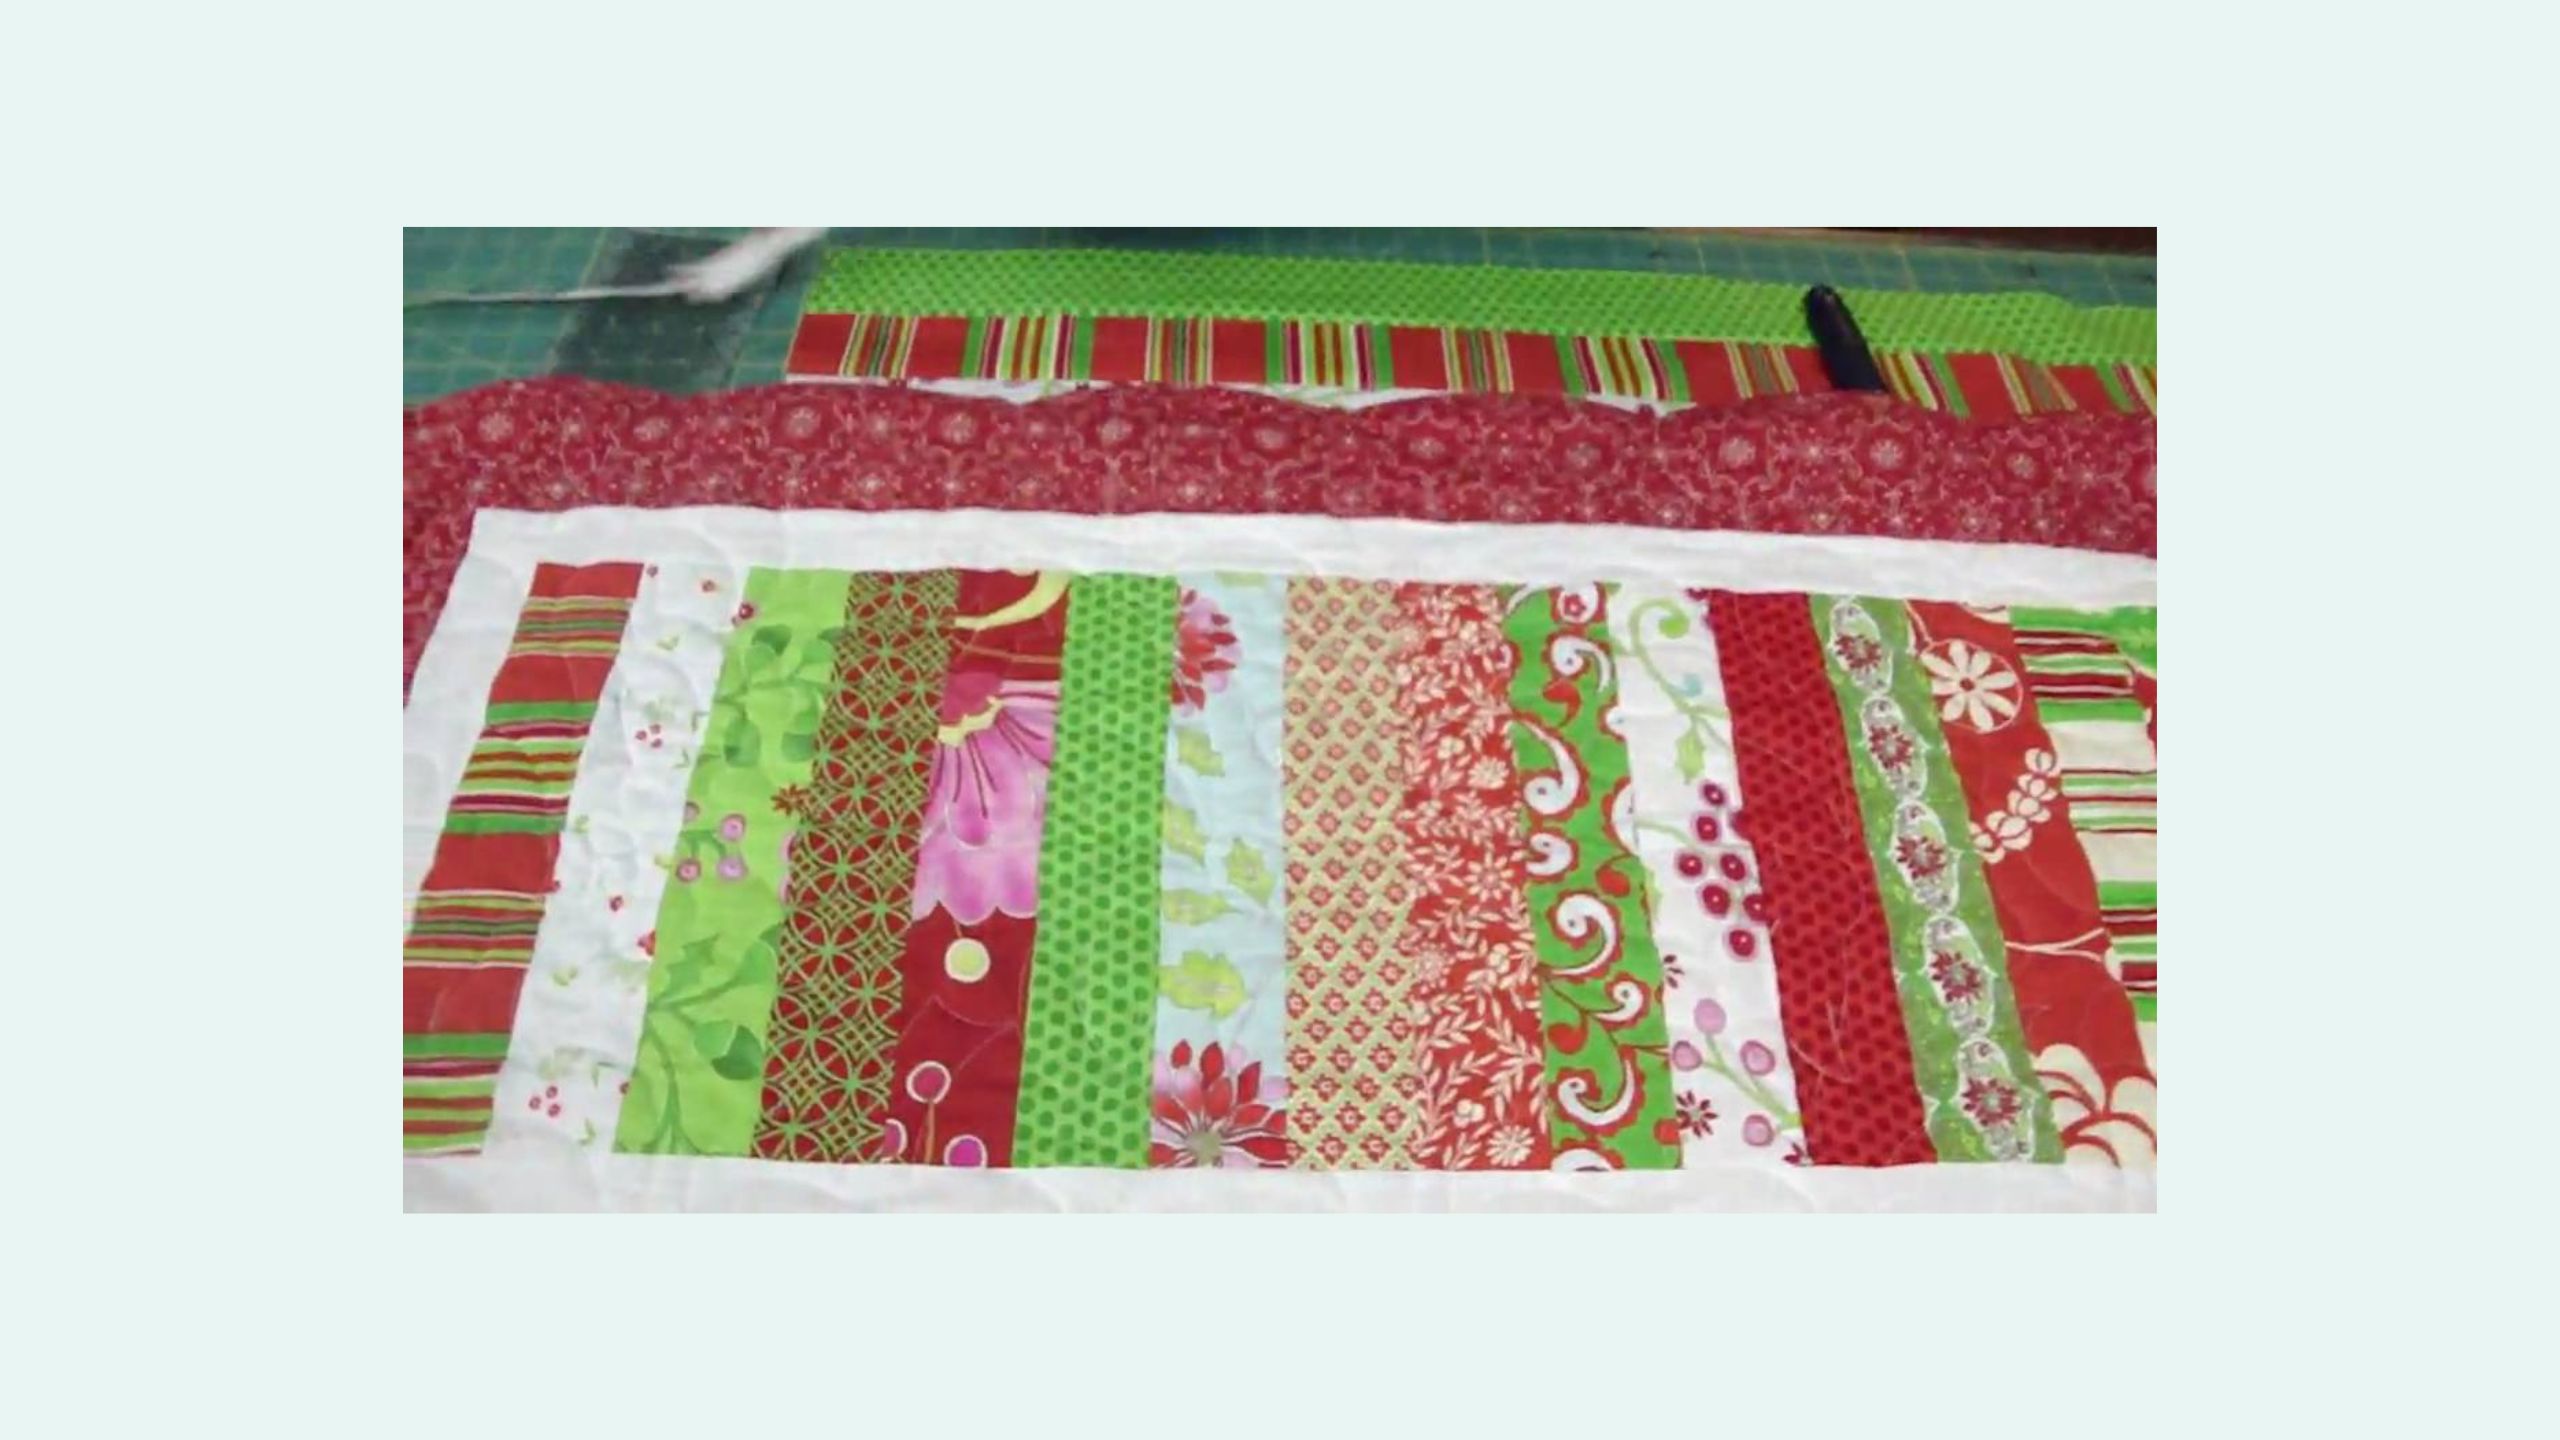
So, I’ll see a little thing and I’ll think, “Oh, I can do a little table runner out of that!” So, what I did was, I decided how wide my table, I wanted my table runner to be, and this is approximately 12” wide, so I took and cut a 12” chunk. Then I took a 2 ½” strip of white and framed it, took a 4 ½” strip of a corresponding, matching color, and did the border around it, and then I quilted it, and then I did the little scalloped edge on it. You can see the scalloped edge here on the end, and it just came out really darling.
So, let’s go ahead and cut that strip. One, two, three, four, five, six, seven, eight, nine, ten, eleven, twelve. Hillary will you come put your finger up underneath on the end there? There we go it always helps to have somebody help you. Here we go, we’re going to cut this 12” strip. Let me run that by there again. There we go, and then we’re going to slide that apart, and you can see the beginning of a really darling table runner that showcases the entire line of fabrics.


