A block as old as the Bear Paw has seen it all. After 200 years of popularity, it’s been made every which way imaginable.
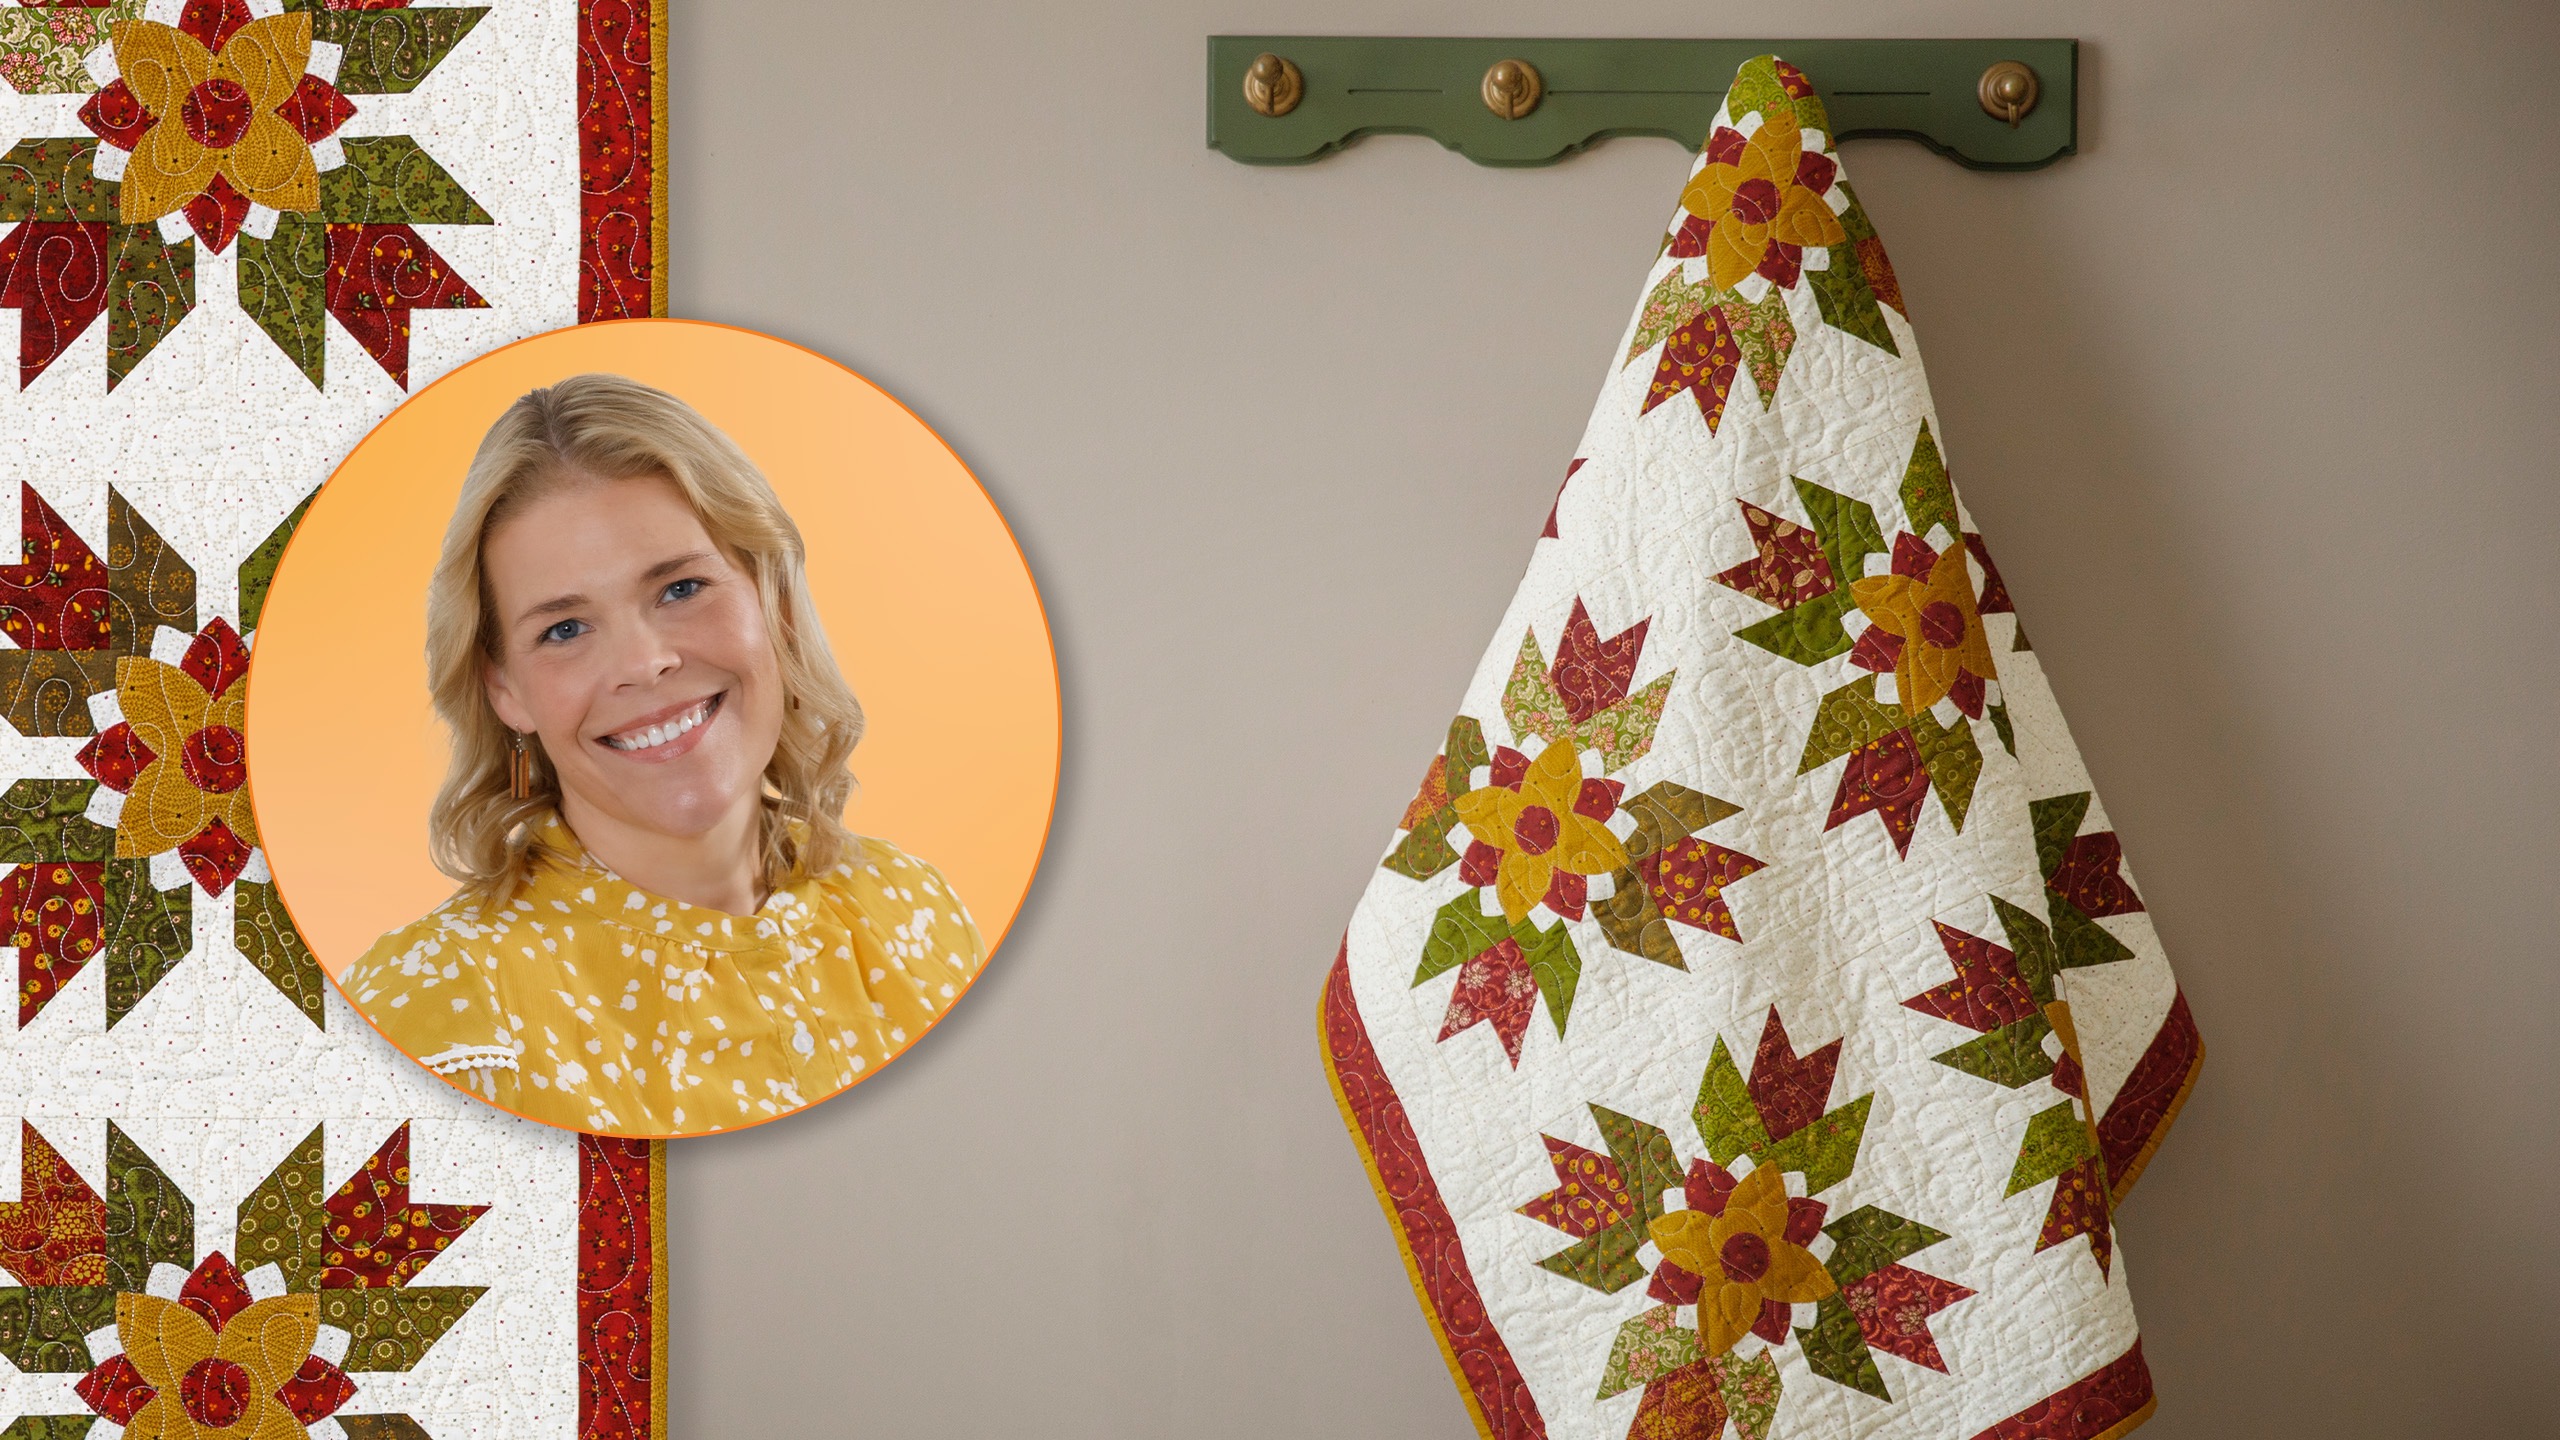
But this week, Natalie is adding something new: A pretty bit of appliqué at the center of every block.
Natalie’s quilt is made with the Baubles and Balsam collection by Kim Diehl for Henry Glass Fabrics. Pick up the kit, or experiment with your own fabrics!
Natalie is the host of Quilting 101, Embroidery 101 and the Creative Strategist and Editor of Block Magazine at Missouri Star Quilt Company. She was taught how to sew by her mom, of course, and began quilting when she grew up.
A block as old as the Bear Paw has seen it all. After 200 years of popularity, it’s been made every which way imaginable. But this week, Natalie is adding something new: A pretty bit of appliqué at the center of every block. Natalie’s quilt is made with the Baubles and Balsam...
How long is the tutorial video?
The tutorial video is 00:25:46.
Are supplies listed for this tutorial?
Yes. The tutorial page includes the supplies and materials connected to this project.
Video Transcript
Hi everybody. I'm Natalie with Missouri Star Quilt Company and it is What If Week. It's one of my favorite weeks of the month and today we're going to be talking about the Bearpaw quilt. So this is our first release of the Bearpaw. It came out in 2015, so it's 10 years old. Um we decided to reverse our print and our background. So, we got these really lovely negative space bearpaw that we separated with a little sashing and we used all of the print fabrics for the background fabric and I think it turned out really fun. It's cute. It looks like kind of like bear paws through the window. But then we did another version. So, hang on just a second and I'll show you that one. Okay. So, 5 years later, we had another idea. We set these Bearpaw patches on point. We took out the sashing from in between and they just look very cute. We use this really fun bright tulip pink fabric. And I love Bearpaws on point. I think they look great. It's really amazing what happens to a block when you have it um straight as compared to on point. It just looks so different. Sometimes it seems like it looks like a much more work too, which it isn't. It's just a different way of putting it together. So, this was really fun and I love it, but I am so excited to show you a new quilt today. Let's get started. [Music] All right. So, to make this quilt, you're going to need some yardage. And we have used the line Bobbles and Balsom by Kim Deal for Henry Glass & Company. So, what we're going to need to start out with, um, we've got some red fabric and some gold. And these are for our applique. So, the red fabric, you need a yard and 5/8. And then of this gold fabric, you need 3/4s of a yard. And you'll find those mostly in the applique here. And then out in our our little border, it's a little 2 and 1/2 in border. And then our binding is made out of that gold fabric. So, lots of room to play there. Um, and then for the main part of the quilt, you'll need 7/4 yards of red and 8/4 yards of green. You're going to need some background fabric, which would be 3 and 2/3 yard. And then our backing fabric. You'll need five yards. If you have a vertical seam and you're using regular 45 in wide fabric, you'll only need 2 and 1/8 yards. If it's 108 in wide, you're also going to need your templates. And these come, they're probably downloadable with the pattern. You'll need some fusible. And I've used MSQC so light adhesive. You'll need about 3 and 78 yards of that. Now, this quilt measures 66 by 81 and it's just beautiful. This is the backing and you can see the machine quilting really well here. I used the uh one of our newer patterns. It's called dollop and I think it turned out really cute. It's kind of whimsical, kind of elegant. Okay, so let's get started. [Music] So, I'm going to take these and set them aside. They're for our applique pieces, and we'll get to that in a minute. Um, and then these pieces, these all need to be cut into 2 and 1/2 in strips, and the pattern has all the numbers for that. It's it's about three strips per piece, which is all you'll need. And then we're going to subcut them into smaller pieces and get all of those things organized. So, I'm going to put these aside because I've already pre-cut my strips. And I have some started in their sizes. So, we are going to need green strips in 2 and 1/2 by 6 and 1/2. We're going to need a bunch of background 2 and 1/2 in squares. And then our um our reds, we need 2 and 1/2 in squares and 4 and 1/2 by 2 and 1/2 in strips. So, we'll set these aside. And then our greens we separate because we've got 2 and 1/2 by 4 and 1/2 and 2 and 1/2 by 6 and 1/2. So, these are the sizes. Some of these will need to have the line drawn on the back, but I would probably just do a pile of those and then use them up as you go along. Um, and the background fabric is super interesting because it does background and sashing strips. So, we're going to cut this at 13 and 1/2 in. And then we will cut lengthwise across that or widthwise across it to get our sashing strips that are going to go in between our blocks. So, we'll pick those up and come back to it as we go. This is the block we're going to be making. It's 1/4 of the bearpaw block. And we're going to start by stitching together our background square and our red square. So we'll take this piece here and this piece and we're going to sew them together. Wh I'm going to use one that's not pre-marked. We'll use that next. Okay, I'm going to go ahead and trim off that thread and then I'm going to press this back. Set my seam first. Okay, so we are working on this section of the block right here. Next, we're going to add our red 4 and 1/2 in rectangle. Goes right down there. So, I'm going to fold that over and stitch on that side. All right. Now, I'm going to take this over to the sewing machine and I'm going to press it. I'm going to put the seam side down. set my seam and then fold this row back. That way I'm not having to press pre-stitched seams in a direction that they don't want to go. I think that it lays a lot nicer that way. All right. So now we have this section and we are going to snowball these corners. So we'll take our 2 and 1/2 in squares and we're going to draw a line from corner to corner on two squares. We'll line them up like this. And they overlap just a little bit. But don't worry, we're not stitching that part. In fact, this is something that I always look at when I'm doing a block like this. If you're going side to side and you want to make sure things are centered and square, you can see a little square that's made when these two um pieces overlap. And it helps you to just have another another point of reference for making sure things are lined up. So, we're going to sew right on that line. and then trim off a quarter of an inch next to it. We're not sewing on either side this time. We're sewing on the line from point to point. Okay, I'm going to flip it around and do the other side. Okay. So, I've got these on and you can use your rotary cutter to cut quarter of an inch from that seam line. And then I will flip it over and do the other side. Then we'll press this. set those seams and roll back those new little corner triangles. And you've got the start of your bear paw. Now, we're going to add our green um around the outside edges. So, we'll put a green 2 and 1/2 by 4 and 1/2 here. And we'll follow that with a 2 and 1/2 by 6 and 1/2. So, I'm going to stitch this side first and then press and add the other side. Okay. Again, I'm leaving that on top. Keeping my seams on the new piece of fabric on top and keeping my seams on the bottom. Setting the seam and rolling that back. I'm going to add this 6 and 1/2 by 2 and 1/2 in strip. setting the seam again and pressing this back. Just rolling them back. Okay, now we've got this piece and we need to add our last 2 and 1/2 inch triangle snowballs. And I've got these ready to go. So, I'm going to put that this way. We're going to stitch on the line point to point following the same direction that we did the last one. Okay, now we're at this point of trimming again. Trim off these little babies. We'll press them back. And these blocks should measure 6 and 1/2 square unfinished. Oops. All right. So, I've got three other blocks already made here, and it is time to add our sashing. We're going to go to grab our 13 and 1/2 in strip, and we're going to cut some sashing strips and we'll subcut them down. So, I've got this here. I'm going to cut a 2 inch because I've still got to remove the salvage on this one. So, I'm going to flip that around and set this aside for later. And we are going to need 13 and 1/2 in strip. And then one of these strips we need to cut down into six and a half inch strips. So I like to lay these ones out on the mat because uh then I can use the mat and the ruler. So I will also Oops. Let me scoot that over. I will go to six and a half this way with these little pieces. Keep them lined up. And then and then we'll need one of those. And we'll do this one. So, it's really a pretty good use of fabric. You a little bit left over. All right. So, now we're going to take these sashing strips. We're going to move this stuff out of the way. And we are going to put together our four blocks. We have one, two, three, four, and we're going to do a sashing strip in between each. And then our long sashing strip across the middle. And our block will be built. And we can be ready to work on applique. Okay, I'm going to stitch these two first. And I'm going to bring this over at the same time because I can do this one as well. Okay. All right, I'm going to take these over and we're going to clip them apart first and and press them back so that they're ready for their sashing strip. And I do tend to press these in the same direction so that when I put them together, they're going opposite even though they don't nest. creature of habit, I guess. Okay, I'm going to go ahead and put this strip on here, and then I will add the next one to it. All righty. This is a good time to practice lining up these um these seams. You know where you try to put them together and it tends to always go one side or the other. The beauty part is we're going to cover it with applique. So, it's a great quilt for practicing on without any pressure to get it perfect. So, you can practice your skills of lining up those seams and pinning it in. I would um you know, a lot of times you want to like peel it back and make sure all the seams are lined up. I think if you can get it pretty good, you can probably stick a pin in there. I will give it a shot and we'll see how well we do. But I love the I love the idea of a pressure-free practice quilt because it just saves my sanity to take the pressure off. Remove your pin as you go. So you don't want to run that over. All right, let's see how we did. We're going to give it a press. And it's not too bad. But I'm kind of impressed by that. Who knew? Now, all right, we've got our block ready for applique. So, let's take this quilt down and we can get to the design wall and cut out those flowers. I'll see you in just a sec. All right, so we are ready. We've got our design wall up and our block is up on the wall. We've got our templates here. So, um, B and D go on the red fabric that we picked out. So, I'm going to write red on them just to help me remember. And then C is the gold petals and A is the background. So, I'm just going to put background on there. All right. So, now what we're going to do, we're going to cut a little bit of our soite. And this is where we start tracing these. You can use a uh a light board, but honestly, it's pretty easy to see them. So, I'm going to do uh I'm going to do a gold flower. And I just trace right over it. You can use a window or a light board, but it's pretty easy for me to see the lines through here. And then what I'm going to do, I'll probably also add a little circle here. Whoops. Got to make sure my lines are pretty. Okay. Red. Okay. So, I've got that traced. I'm going to set that over there and grab my gold fabric to cut out the gold petals. I'm going to rough cut this shape because I don't want to put too much adhesive on fabric that doesn't need it. And it saves my adhesive, too, along with my fabric. Okay, so I'm just going to take this over and press it. I would probably draw out all of my gold leaves at the same time and then press them onto a large piece of fabric. I'm going to press it down with the iron. I like to go across, kind of slide around first to make sure everything's in place. And then just hold it and count to three or five, whatever you feel like. And then we can take it off. I do advise letting it cool a little bit. You might burn yourself. Somebody's iron's that hot. I just know it. Sometimes my iron is that hot. All right. Well, I'm going to cut that out. Just going to cut right on those lines. And they don't all have to be exactly the same. You can be a little bit imperfect and it's not going to matter. All righty. Just about done here. So, you're going to make a bunch of these out of gold, a bunch out of red. You'll need one of each for each block. So, so for each of your blocks, you need a red background and then a gold and then a red circle for the center and then all these little guys. It's um these are all made out of background and they're going to tuck right in back here behind your flower to make it look like it has an extra layer, but it doesn't add the extra bulk. So, I think that is a pretty cool little feature. So, I'm going to go ahead and take this off. And I like to use, yeah, a pin. All right. So, I like to take my pin and score the back of the paper to tear off. Um, and that leaves the adhesive behind and keeps your edges nice and clean. So, what we're going to do is we're going to line this up right here and just cover up that midsection. And I think I will go ahead and stick a pin in that. Yep. I'm gonna have to do it. I'm going to grab a couple of pins here. Okay. So, this guy goes on right here in the middle. I'm going to pin him up there. Oops. There we go. Next, we'll take our gold flower that we just made. You can use the end of your scissors, too, if your if your pin just got stuck to the wall. Okay. So, then this one goes at an angle to give you that crisscross effect with the layered leaves. I'm going to stick that in there. Now, I'm going to add my little circle. This goes right in the middle of our flower. It's our little center. And then each of these little background pieces, you'll notice that they have two sides that are kind of curvy and kind of have a smooth rounded edge on one side and then the other two are pretty sharp. The sharp edges tuck under the back of the other applique pieces. And this gives it that really lovely layered look that um it just makes the flower look like it has a lot more depth without adding all the extra bulk. So, I'm going to take this down because I don't want to put that many pins in it and bring it over here so we can look at it from the top camera down. I'm going to stick that there. Oops, this guy fell off. So, I like to get all of this stuff ready. We're going to tuck these guys in. I think they're so cute. This has been really fun for me because I tend to get um I I sometimes can be a little bit lazy with my applique and I really love the way these layers all came together. So pretty. All right, so you just tuck one underneath every little petal. uh every little intersection where they overlap. And then I'm going to press them all at once. Right over here. I'm going to go straight down first and just hold it for about 3 seconds. And then I'm going to move it so that I cover the entire thing. I'll do 3 seconds on this side and 3 seconds on this side. And then we're pretty well stuck. And all that's left to do on this block is add your favorite top stitch. You can use the thread that that matches. You can use the monofilament thread. And um and I typically will either do a blanket stitch or a zigzag stitch around it just to keep everything down. You can do a straight stitch if you like. whatever your favorite top stitch is for um ironon applique and you're done. Okay, so this is how the quilt block fits in the quilt. They match just up here. We've got 4x5 and they are joined by 2 and 1/2 in sashing strips. These are 2 and 1/2 by 13 and 1/2. And then this is a strip that runs the length of the row. Okay, so these are both 2 and 1/2 in our inner and outer border. And then we've got our cute little gold binding. And I just think this what if quilt turned out amazing. So, I hope that you enjoyed this tutorial on our whatif series Bearpaw quilt from the Missouri Star Quilt Company. See you next time. Hi everybody. I hope you enjoyed today's video. We're trying super hard to get to a million subscribers. So, if you enjoyed it and you want to see more, just hit subscribe and share with your friends and encourage them to do the same. And I will see you next Friday with a brand new tutorial.

 Natalie Doan
 Missouri Star Bear Paw Quilt Kit$159.95Shop →
 Heat N Bond Lite Iron-On Adhesive$2.25Shop →
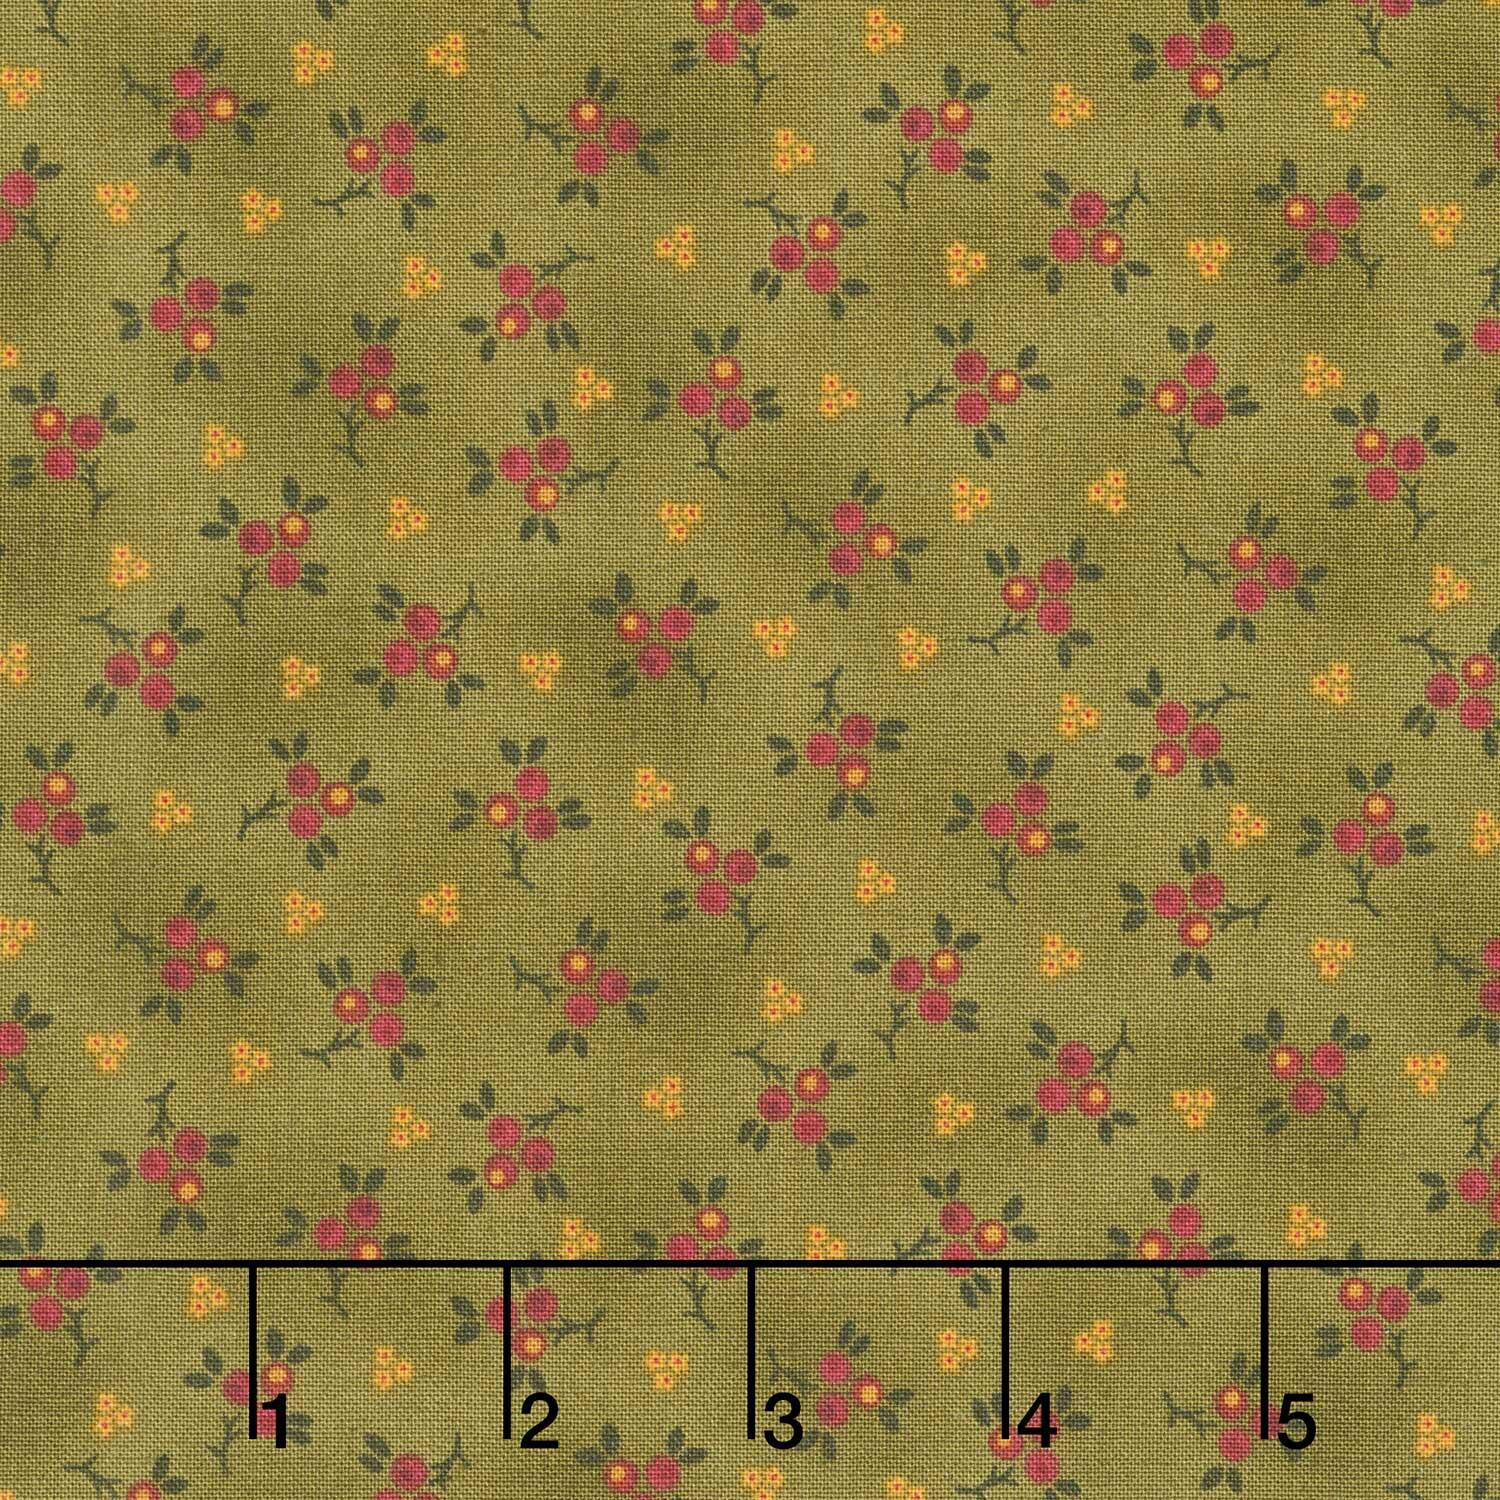 Baubles and Balsam - Berry Sprigs Evergreen Yardage$11.96Shop →
 Missouri Star Quilter’s Best Blend Twin Batting$26.95Shop →
 Missouri Star 5" X 24" Ruler$29.95Shop →
 Bernette 77 Sewing and Quilting Machine$1549.00Shop →
 Missouri Star 50 WT Cotton Thread White$7.95Shop →
 Missouri Star 45mm Rotary Cutter - Olga$19.95Shop →
 Missouri Star + Oliso TG1600 ProPlus Iron$209.95Shop →
 Missouri Star Wooly Betty Board - 17.25" x 25.5" Orange Border$99.95Shop →
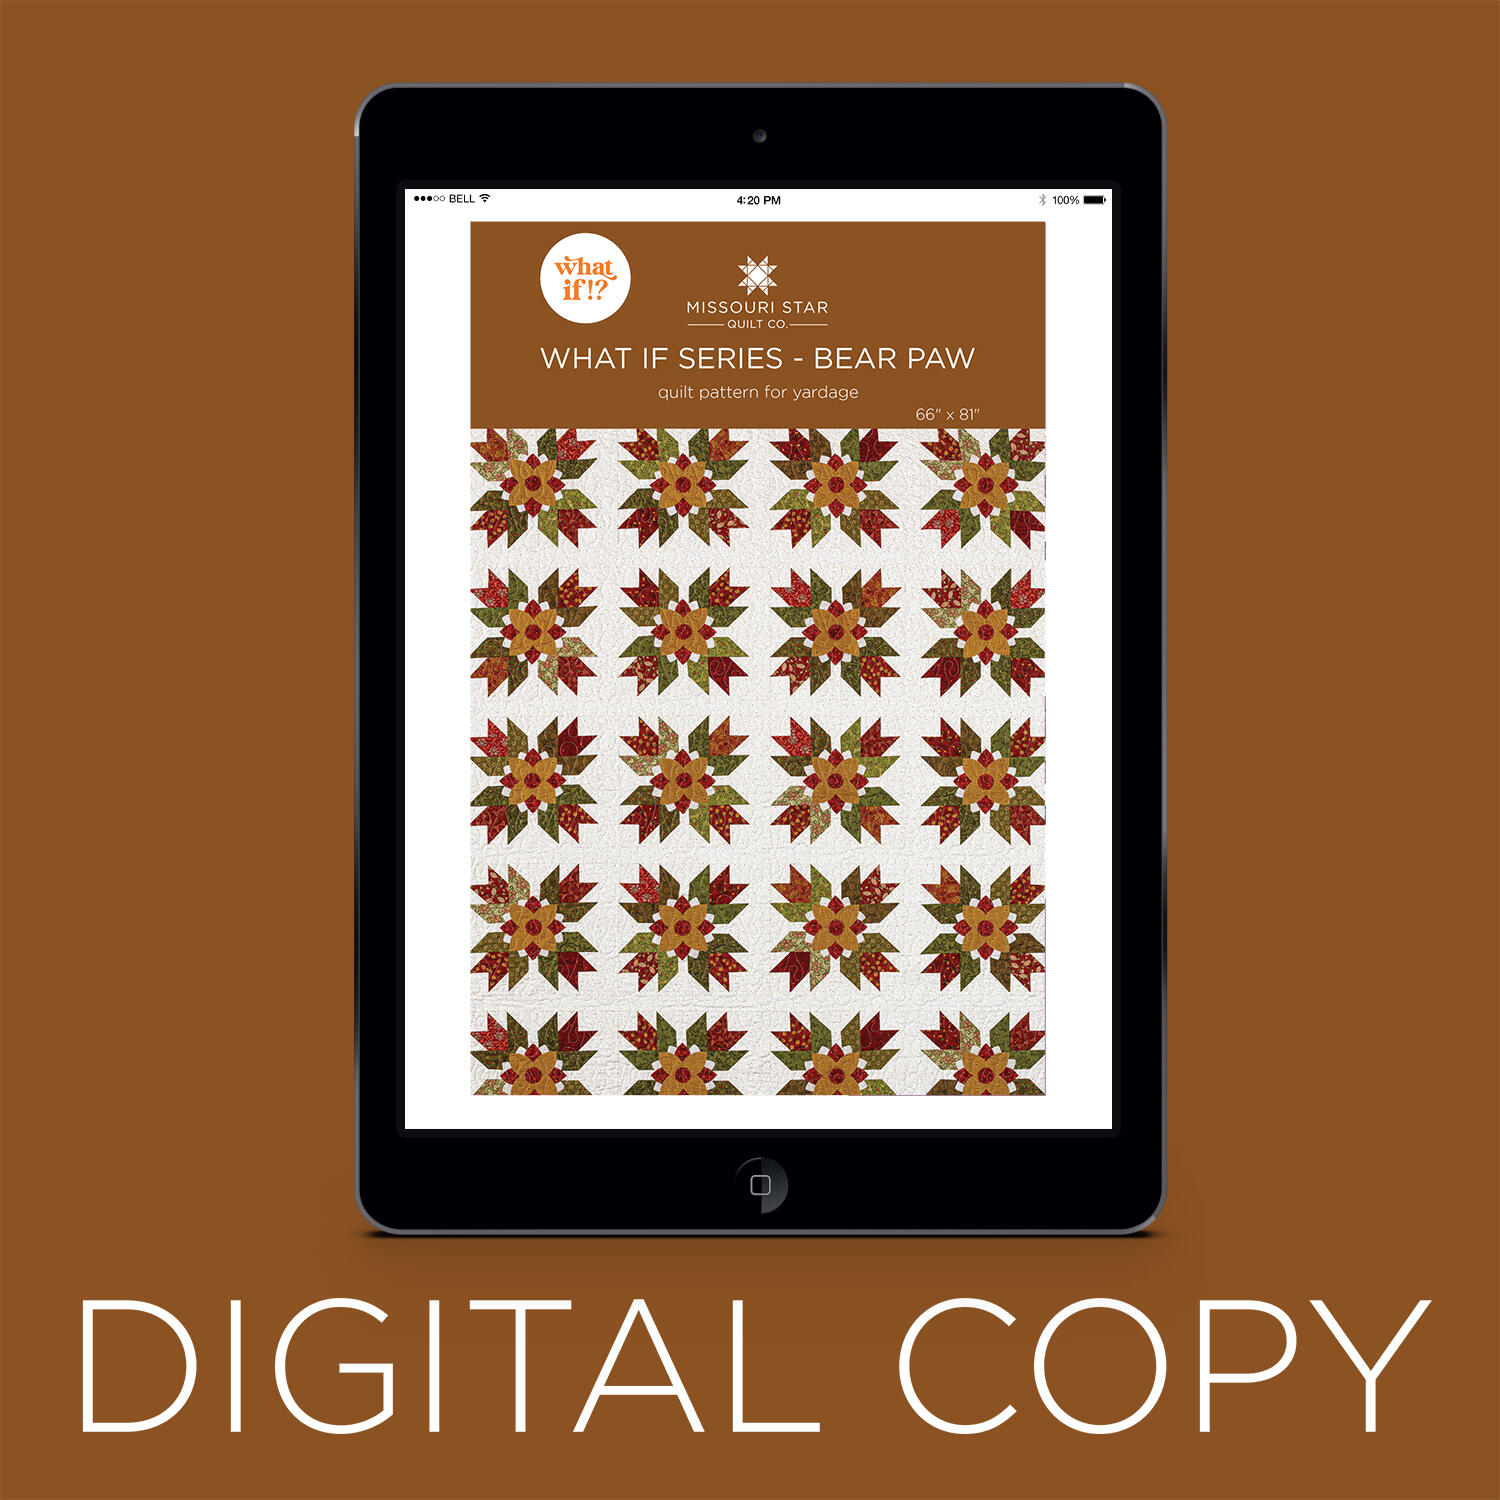 Digital Download - What If Series - Bear Paw Quilt Pattern by Missouri Star$6.95Shop →
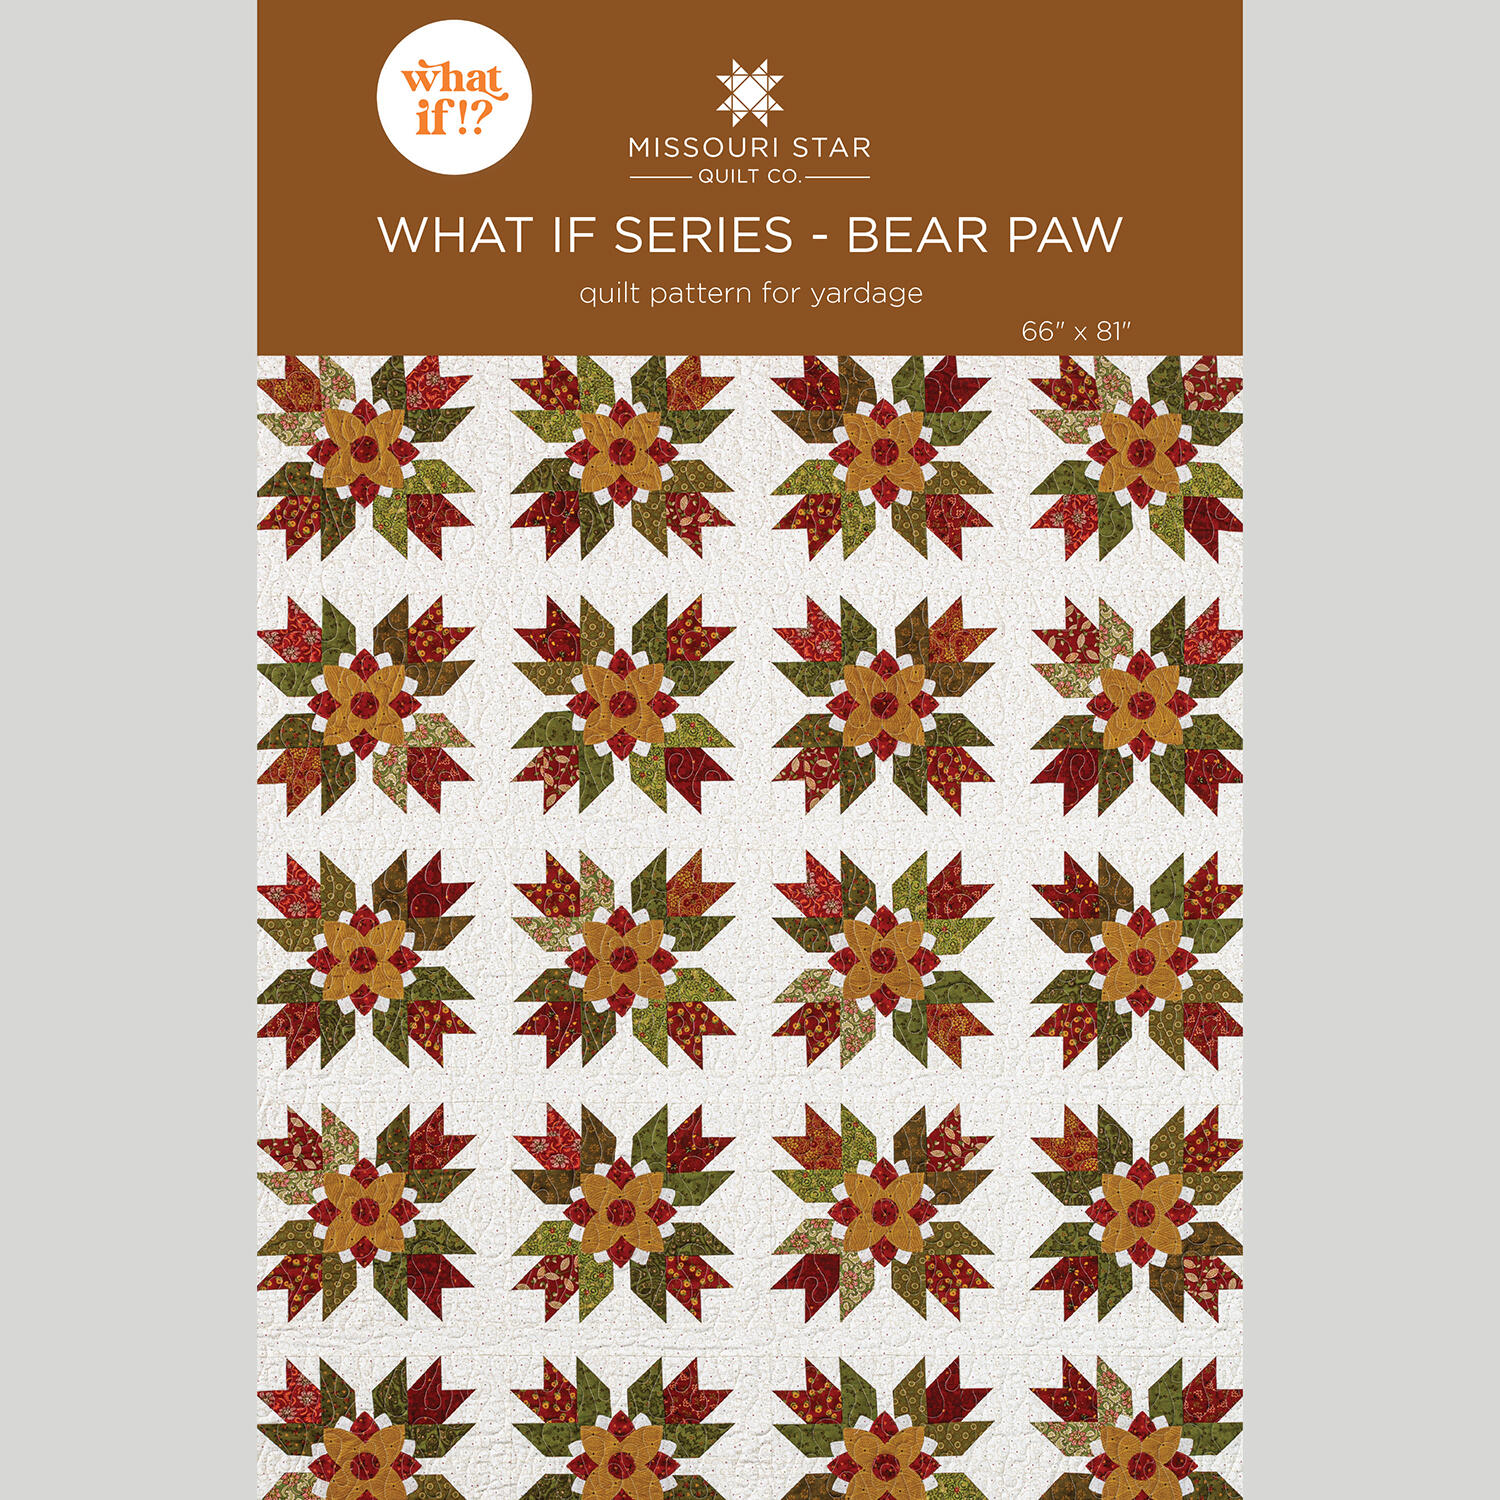 What If Series - Bear Paw Quilt Pattern by Missouri Star$8.50Shop →


