
Working with Wool - The Itty Bitty Club Pattern with Jenny and Leonie Bateman
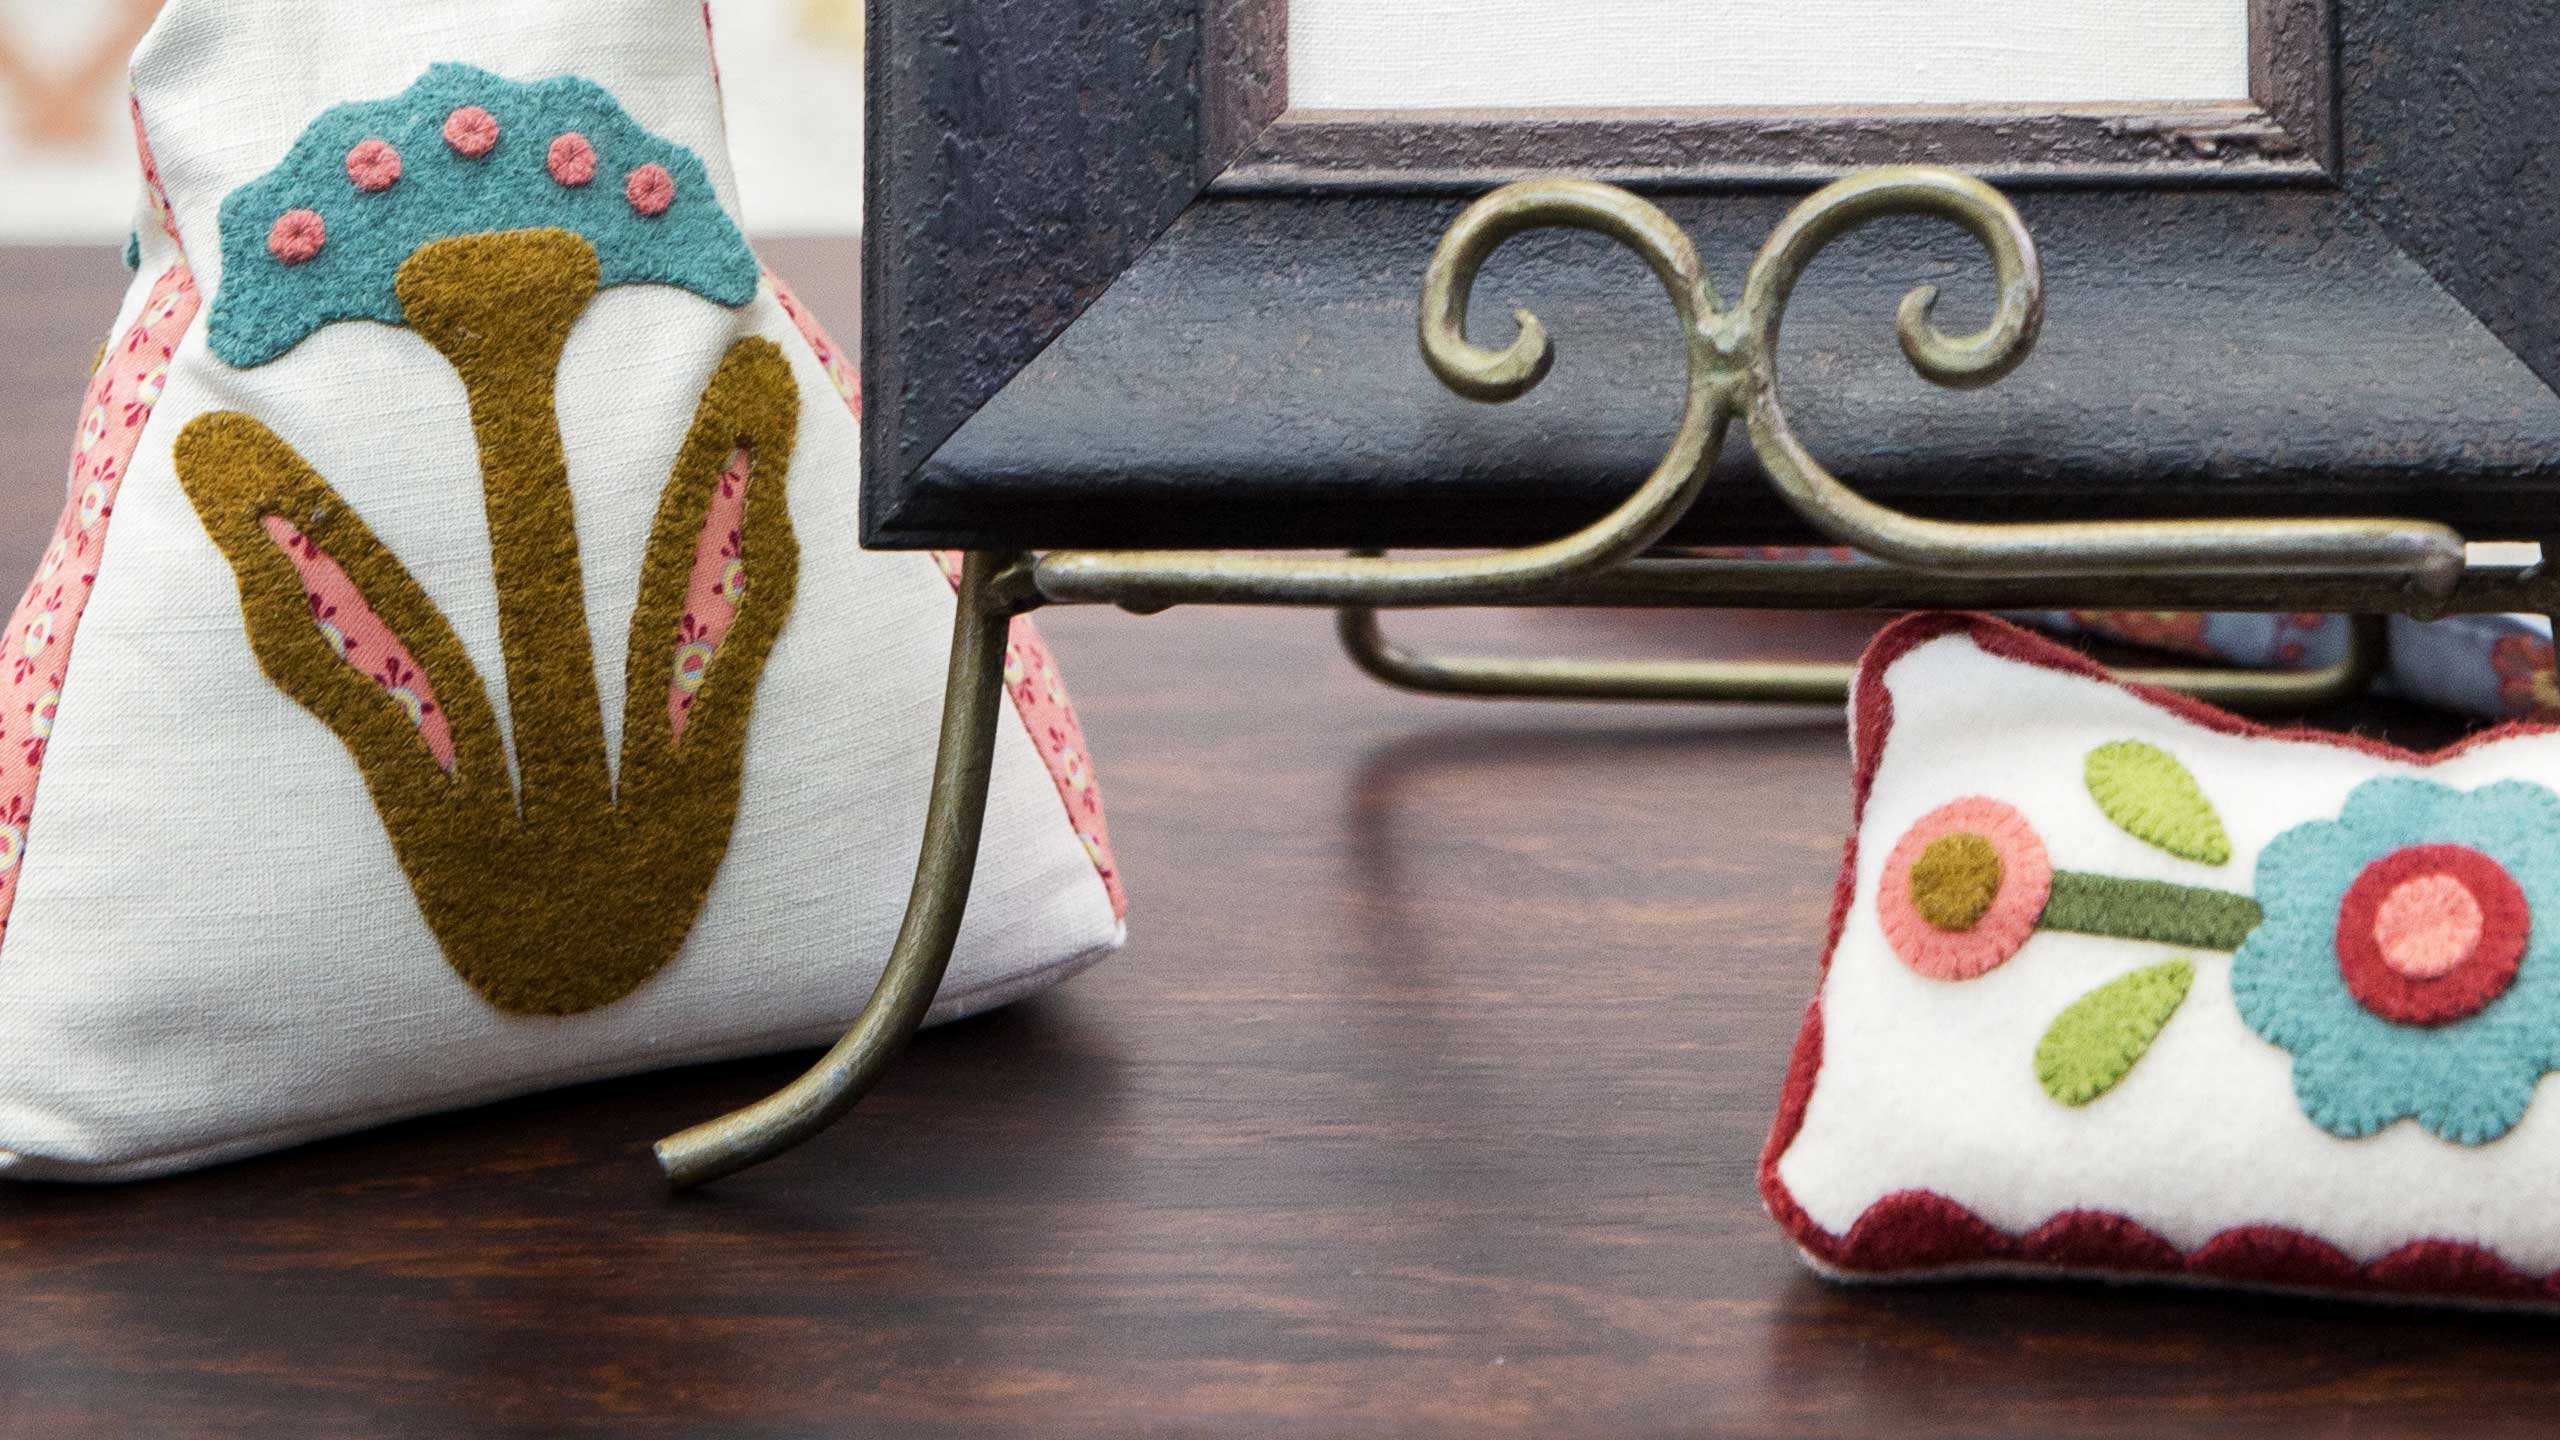
This week Leonie Bateman joins Jenny to demonstrate a quick and easy way to applique with wool fabric. This "glue and staple" technique requires wool fabric (we used Wool Darks precuts by Riley Blake Designs), a Lapel Stick, Sue Daley Milliners Needles, freezer paper, and a sandpaper board. This piece is called Birdsong. It is part of Leonie's Itty Bitties pattern pack.

Instructor
Jenny Doan
Jenny Doan is an American quilter, author, and YouTube personality. Jenny started Missouri Star Quilt Company in 2008 and today it is the largest quilting supply vendor in the United States.
Shop this tutorial

Common Questions
What is covered in Working with Wool - The Itty Bitty Club Pattern with Jenny and Leonie Bateman?
This week Leonie Bateman joins Jenny to demonstrate a quick and easy way to applique with wool fabric. This "glue and staple" technique requires wool fabric (we used Wool Darks precuts by Riley Blake Designs), a Lapel Stick, Sue Daley Milliners Needles, freezer paper, and a sa...
How long is the tutorial video?
The tutorial video is 00:13:33.
Are supplies listed for this tutorial?
Yes. The tutorial page includes the supplies and materials connected to this project.
Is a transcript available?
Yes. A written transcript is available on the tutorial page.
Video Transcript
Leonie: Good. I’m excited too to show you my technique.
Jenny: Oh my gosh, so let’s talk about this quilt behind us first. This is beautiful.
Leonie: Thank you, Jenny. This quilt is made using my current line called Kellington Mill. So I like to combine piecing with wool applique. So see it’s got the wool applique center using my glue and staple technique.
Jenny: I love this little churn dashes.
Leonie: You can’t go past a churn dash. And beautifully quilted by a girlfriend back in Australia.
Jenny: So, so I just have a question about the wool in general. You’ve got wool on there with cotton. Can you wash that?
Leonie: Absolutely, yep.
Jenny: See that’s a whole new thing there. That’s awesome. Look at this beautiful wool. I mean I’m just, I’m just entranced by it. It’s just gorgeous. Alright so, you’ve got a pattern.
Leonie: I have.
Jenny: And it’s, it’s well you’ve got lots of patterns.
Leonie: I do. Quite a few.
Jenny: Quite a few.
Leonie: But today we’re going to be working on this little one over here in the frame called Birdsong. It’s actually out of a group of patterns, a whole little collection.
Jenny: So the one pattern actually has all these little things to cut out.
Leonie: Yes, yes. Called itty bitties.
Jenny: Oh, that’s really cool.
Leonie: Called itty bitties which is really cute.
Jenny: It’s really cute. Alright so what do we need to do this?
Leonie: So all of my patterns will have a full scale design sheet. It makes it super easy. So there’s no having to go to the store to enlarge it. It will work with that design shape.
Jenny: That’s, do you know what, that in and of itself is super helpful.
Leonie: Absolutely. You’ve got to make it easy for people.
Jenny: Well especially if you’re in the middle of nowhere and where do you go to get it enlarged. You know that’s how we are here in Hamilton.
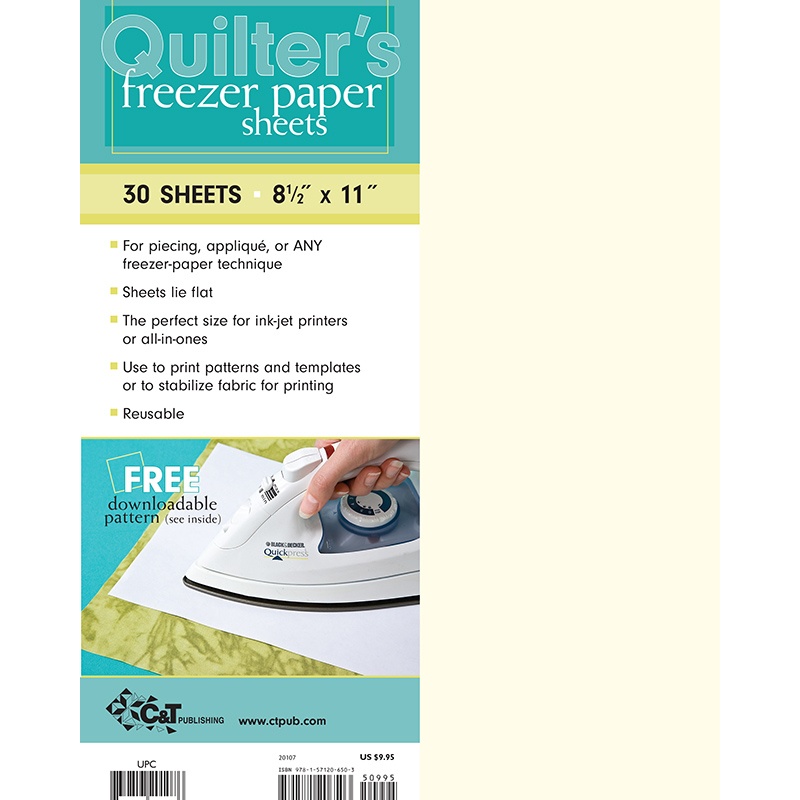
Leonie: So I’ve got a super, duper easy technique. I use freezer paper to get my shapes onto my wool. So I’m going to step you through that first. And I use glue and staples to keep my pieces in place.
Jenny: Glue and staples.
Leonie: Glue and staples. I love glue and staples.
Jenny: Glue and staples, awesome.
Leonie: So I’ve stepped out this little board here. I trace all of my shapes onto freezer paper. Just using a mechanical pencil or whatever pen you’ve got.
Jenny: Freezer paper, just regular freezer paper that you can buy at the
Leonie: That you can buy at the store.
Jenny: Ok
Leonie:Trace them out, leaving about a quarter of an inch outside of each shape. And then I cut them out roughly just outside of the drawn line.
Jenny: Oh ok
Leonie: So the beauty of using freezer paper over a heat ‘n bond is that it doesn’t leave any sticky residue on your wool. So if you iron it onto the wrong color or you cut it out and you’ve cut your previous piece out too large, it’s not going to leave any residue.
Jenny: Ok perfect.
Leonie: Does that make sense?
Jenny: Yes.
Leonie: So I cut it out outside of the drawn line just roughly. Just iron it on your chosen piece of wool and then cut it on your drawn line to get your perfect shape
Jenny: Alright.
Leonie: Easy as that.
Jenny: Yes that’s really easy.
Leonie: So if you can cut and glue you’re halfway there.
Jenny: Alright so we’ve got our piece now
Leonie: So you’ve got your piece. So I’m working on Sue Daley’s linen here. So you’ll notice on my design sheets I always have reference lines just to make it a bit easier so making it easy.I’m going to fold my piece in half. Finger press
Jenny: And this is your background?
Leonie: This is my background. Finger press a seam, I mean a reference line, another one.
Jenny: A fold.
Leonie: And I’m just going to line those fold lines up onto my design sheet. And if we’ve got a little pin handy I would pin.
Jenny: I do
Leonie: Right there just so it doesn’t move.
Jenny: I do. There we go.
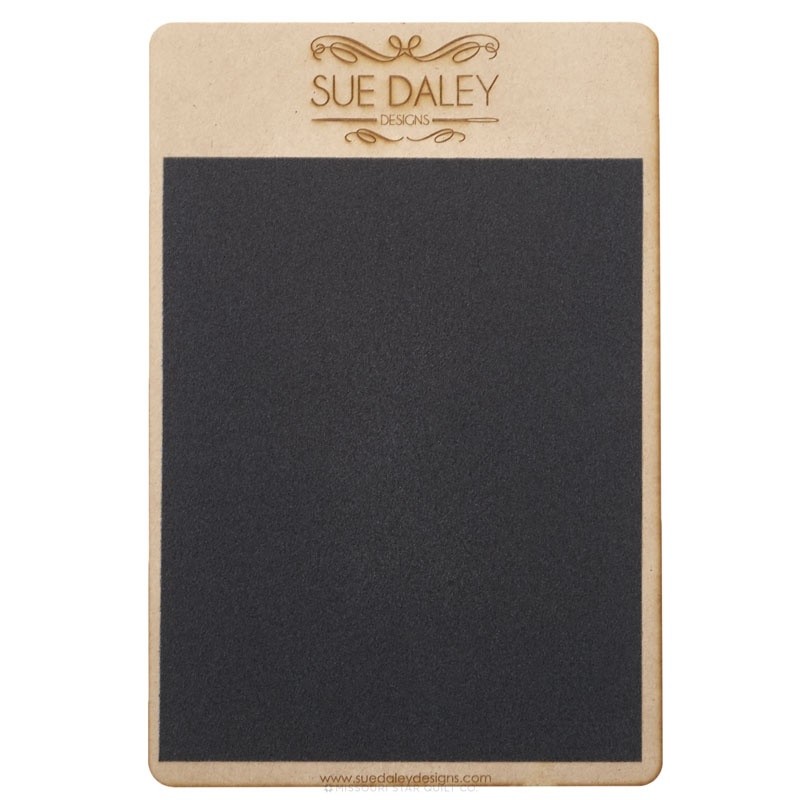
Leonie: Keep it in place.And then there’s a couple little tools that I like to use to make life easier. I’m just going to set that back there a bit. A sandpaper board. Now what this is going to do is prevent all of our wool pieces from slipping.
Jenny: Ok
Leonie: When we’re applying the glue to the back. So I use a water soluble glue.
Jenny: The lapel stick which I love. I love that your needles don’t stick through it, yes.
Leonie: And see if I was to use, try and put this glue
Jenny: Let me move this right up here.
Leonie: If I was to try and put that glue on that stem it will stretch and it will slip.
Jenny: Ok
Leonie: If I put it on the sandpaper board
Jenny: Oh that’s a handy tip.
Leonie: So you really, really do need to have a sandpaper board. You can see how much glue I’ve used. I’ve used quite a lot of glue. I don’t want this thing to move. So I’ll bring this back into the
Jenny: Into the frame. There we go.
Leonie: Center here. And following that design sheet underneath we’re just going to position our stem in place. I don’t know if you can see that design there. That line.
Jenny: You really can see through it. You may not be able to see through it with the camera but you really can see the print through it.
Leonie: A little bit longer than I need. So I’m going to give it a little snip. Press that into place. Especially the long stem. I want to show you how easy it is to position a long stem with curves. You don’t need to cut the wool on the bias. You just cut it on the straight. See how that sandpaper board just grips that.
Jenny: It does. That is a really, really good handy tip.
Leonie: So I’m just going to start at the top. And I’m just going to let that stem rest on top of the background.
Jenny: And it curves so nice.
Leonie: Yep, yep. And where it’s got a bit of a dog leg there. I’m going to tease it out with my scissors and I’ll show you that. Ok. So see how it’s got a little bit of what I call a dog leg.
Jenny: I wondered what dog leg was.
Leonie: You know a dog’s crooked leg
Jenny: There we go.
Leonie: So just tease it into place with the tip of your scissors to create that really nice, smooth curve. Again, it’s a little bit long there. So just snip it off.
Jenny: And the glue just holds it on there.
Leonie: The glue holds it in place. Use the sandpaper board again just to press it in place. We always feel like we need to stretch it out and flatten it down but we actually just want to press it down in place so it’s nice and flat. And there it is. And that’s how easy it is to put a stem down.
Jenny: That’s really, really cool. Because usually you know any other type of fabric you’re cutting on the bias and
Leonie: Ya
Jenny: That’s really cool
Leonie: Ya it’s cool you don’t need to do that. So you can do really long vines and flowing things and criss crosses and, but no need to cut on the bias.
Jenny: Very nice.
Leonie: Ok, so now we’ve already prepared a few little elements earlier. And we do the same with the positioning of all of our other shapes. So we just run a bit of glue that you can see from before. I’m pretty heavy handed with the glue. But the reason I just don’t use dabs of glue is because it will loosen. So I like to glue the whole piece. Following the design underneath again, just position it in place. And you’re going to continue with all of your pieces.
Jenny: This is really fun, it’s really cut and paste isn’t it?
Leonie: It absolutely takes you back to your kindergarten days. If you can cut, you can use a glue stick, you’re halfway there.
Jenny: There we go.
Leonie: It’s as simple as that.
Jenny: So I have to look over here and see. Oh ya.
Leonie: So it’s coming together.
Jenny: It sure is.
Leonie: And what I love about wool, it’s instant gratification. And I’m all about instant gratification.
Jenny: With our kind of personalities we do like that. Oh look it’s done. How fun is that?
Leonie: So you notice on the wool there’s a bit of a ribbed side and what I refer to as a flat side.
Jenny: Let me look. Ya, ok I see that.
Leonie: And I use the ribbed side here you see here. I tend to use the ribbed side as the wrong side.
Jenny: Oh ok
Leonie: So there we go. That’s all done. Pop that on there. Just need to add some leaves.
Jenny: That is very cool. And so quick.
Leonie: It is. It is. We’re going to move this one out of the way and bring over this other one that we prepared earlier.
Jenny: Instant gratification
Leonie: The leaves are ready to go. So how’s that?
Jenny: That is beautiful
Leonie: So you see these little cutouts as well. In some of my work I will pop a piece of cotton fabric behind there. And so that’s how
Jenny: Oh how cute
Leonie: I call it reverse applique. So it just creates another element to and a bit more color in there with the wool behind and that adds a bit of extra depth. So we’ve got all of that positioned and then I’m going to bring my trusty stapler. So my technique is using glue and staples. So I’ve glued it all down. And now we’re going to get in and use the stapler.
Jenny: Stapling actually really works with wool. When I was a girl if I had a wool skirt on and the hem came up, I’d staple it. And it doesn’t show.
Leonie: It doesn’t.
Jenny: Now what is the purpose for stapling it on? Because you’ve glued it.
Leonie: I have glued it. But you find that when you start working with that piece in your hand that glue is going to loosen and shift.
Jenny: So this is going to keep it on here even if it takes you a month to do the handwork. Ok, that makes sense. That makes total sense.
Leonie: You’re not going to drop half your leaves down the street on your way to class.
Jenny: Right.
Leonie: So the other reason I like to use staples too, pins get caught. They get caught in your clothing. You prick your fingers, your thread gets caught around them. So staples are the way to go.
Jenny:This is for if you’re going to hand applique or sew
Leonie: Even when on machine blanket stitching, I’ll put staples in.
Jenny: Really?
Leonie: Yep. I’m just a little bit mindful of where I’m going to put them. So you can see I’m stapling all through the center of those leaves. You don’t want it too close to the edge because it’s going to be caught on the blanket stitch. So I’m just going to take that one out and redo it. You can see how easy they are to remove.
Jenny: Sure.
Leonie: It just pops out there.
Jenny: Who would have thought? Who would have thought?
Leonie: I know.
Jenny: Staples and glue.
Leonie: Staples and glue will be your best friend when you’re working with wool. Now when I’m doing a stem rather than staple through the center like I’ve done with all of these other elements, I tend to staple along one edge. And the reason I do that is because when I’m blanket stitching if I staple right through the center it’s going to be in the way. The further it is away from the other edge the easier it is for me to applique. So I come up here and sew this edge first. Remove the staples and then come down the other side and sew.
Jenny: Oh ok, I was going to say. That makes total sense.
Leonie: So I’ll just come in and I want to, whoops. I would never normally staple over the edge there
Jenny: Ok, I’ll forgive you this one time, this one time.
Leonie: Thanks Jenny. You scared me there for a minute. That one is a bit dodgy too. But I would tail, tail them together like that because if you put one here and one up here, this bit of glue underneath here, this will loosen. So you need to staple
Jenny: How interesting. I would never have known that.
Leonie: Otherwise your staple is going to lift. So tail
Jenny: This makes this completely portable.
Leonie: Absolutely.
Jenny: Like you could take this anywhere
Leonie: I say to ladies, you know a lot of the prep work they can do at home, all of that tracing out
Jenny: Sure
Leonie: Cutting out, throw it onto the background, glue, staple and then take it to class and just spend the day stitching.
Jenny: Absolutely.
Leonie: It’s that easy.
Jenny: Alright so let’s look at some of these finished things. I, these are other projects in the same pattern.
Leonie: Absolutely. Yep that’s right.
Jenny: So basically we’ve used the same types of shapes.
Leonie: Yes.
Jenny: It’s so cool. So this is like, this is one of these.
Leonie: It is one of those heat packs
Jenny: Oh
Leonie: For the warm cold
Jenny: Awesome
Leonie: A little heat pack.
Jenny: A little pin cushion right here. It’s so cute. And this.
Leonie: A doorstop.
Jenny: Perfect.
Leonie: Or whatever else you’d like to use it for.
Jenny: And this little. It’s so cute.
Leonie: That’s a little mug rug.
Jenny: That is adorable. That is really adorable. Well I think this is going to help everybody get on their way to working with wool.
Leonie: I hope so. I hope so. Because it’s super easy to do.
Jenny: Yes, and do you have any like certain needles you use or thread or that sort of thing.
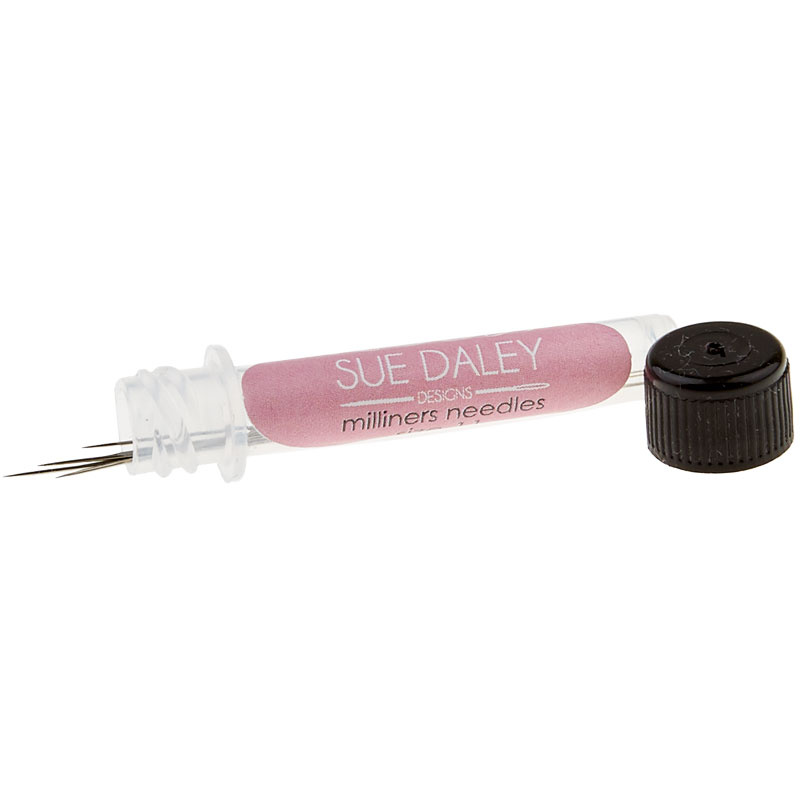
Leonie: I do. I like to use Sue Daley’s milliner's needles. Now the reason I like to use these is they’re long, they’re sharp, they’re fine. They’ve got a good eye on them. And they flex. So when you’re taking those nice chunks of the blanket stitch of the wool through the cotton they will bend nicely.
Jenny: Perfect. Perfect.
Leonie: A water soluble glue stick is going to be what you need. The sandpaper board which we spoke about earlier. Stapler.
Jenny: A stapler
Leonie: Is a must have for my technique. And I suggest if you’re cutting out lots of the same shape that you perhaps make a template out of some template paper.
Jenny: Oh that’s a good idea
Leonie: A lot of ladies find it difficult to trace around a shape. So if they’re only having to do it once and then make a template it’s easy to trace around the template than the drawn design shape.
Jenny: That is awesome. Well thank you so much. This is really, really cool.
Leonie: I’m glad you like it.
Jenny: I have learned a lot. Thank you. Yes I do like it very much. I’m actually going to give wool a try.
Leonie: Good. Excellent.
Jenny: Well and these are just scrumptious colors. It’s really fun.
Leonie: Absolutely yummy aren’t they?
Jenny: Oh they’re so yummy.
Jenny: So, so this has been so fun. Thank you so much for coming.
Leonie: Thank you. It’s been great being here.
Jenny: Oh it’s wonderful to have you. So we hope you enjoyed this tutorial with Leonie Bateman and her Itty Bitties from the MSQC.


