
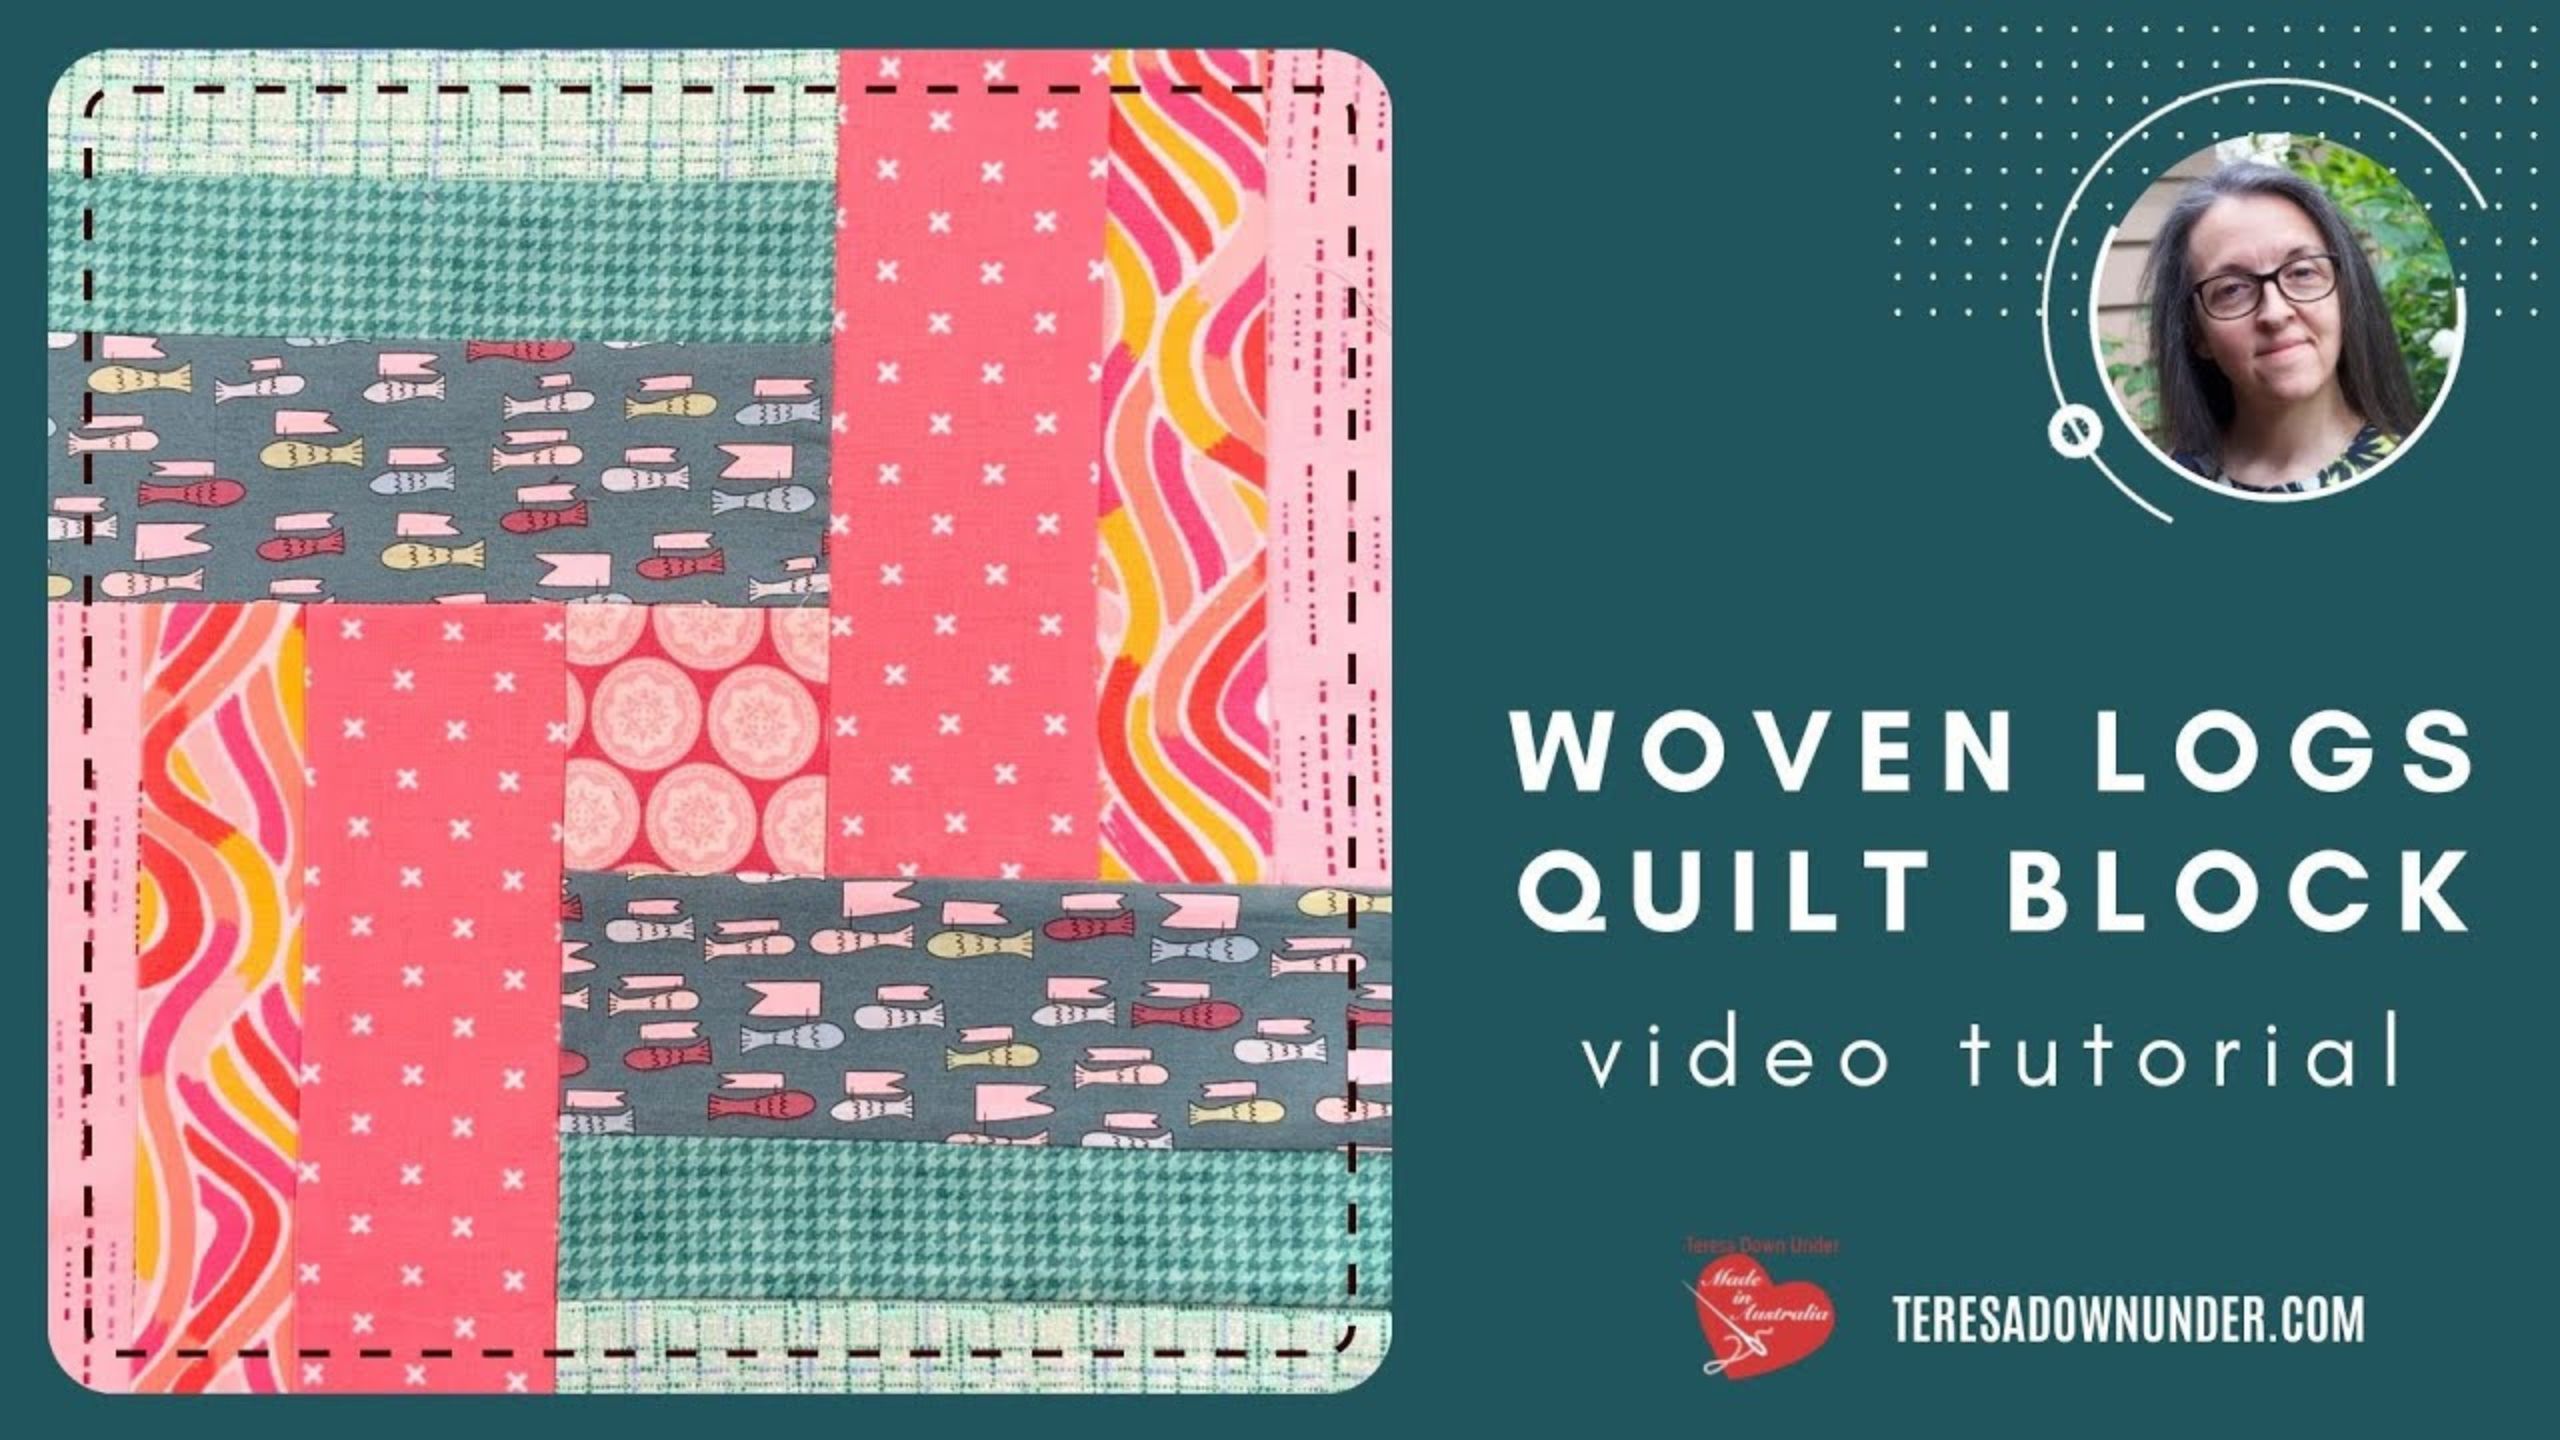
Woven logs block video tutorial with Teresa Down Under
 Teresa Mairal Barreu
- Traditional
- Beginner
- Quilt size 12" × 12"
Today join Teresa from Teresa Down Under as she shares a Woven Logs Quilt Block tutorial. The only tricky part about this block is the partial seams, but they look harder than they really are! Use scrappy leftovers, or choose coordinating fabrics - this block will look pretty either way.
Instructor
Teresa Mairal Barreu
Teresa loves spending her spare time sewing and designing. She is the author of “Turnabout Patchwork. Simple quilts with a twist,” a book all about playing with blocks – making a block, slicing it up, and turning or repositioning the pieces to make a completely different block. She shares several new quilt block tutorials each week on her YouTube channel and blog.
Shop this tutorial

Common Questions
What is covered in Woven logs block video tutorial with Teresa Down Under?
Today join Teresa from Teresa Down Under as she shares a Woven Logs Quilt Block tutorial. The only tricky part about this block is the partial seams, but they look harder than they really are! Use scrappy leftovers, or choose coordinating fabrics - this block will look pretty...
How long is the tutorial video?
The tutorial video is 00:02:53.
Are supplies listed for this tutorial?
Yes. The tutorial page includes the supplies and materials connected to this project.
Is a transcript available?
Yes. A written transcript is available on the tutorial page.
Video Transcript
1 square, 3″ x 3″ in colour A
2 strips, 3″ x 8″ in colour B1
2 strips, 3″ x 8″ in colour C1
2 strips, 2″ x 8″ in colour B2
2 strips, 2″ x 8″ in colour C2
2 strips, 1 1/2″ x 8″ in colour B3
2 strips, 1 1/2″ x 8″ in colour C3
Sew your B1, B2 and B3 strips together with a 1/4" seam allowance.
Sew your C1, C2, and C3 strips together with a 1/4" seam allowance.
Lay out your block and sew with partial seams.
Mark the middle point of your square, and join the right side, sewing only up to the middle point. Join the bottom section. Join the left side. Now join the top to the square. Finally, finish the seam between the right side and the top, including the second half of the square.


