Wreaths may make you think of Christmas, but seasonal wreaths are a beautiful way to decorate all year 'round. With the new MSQC Wreath & Repeat Template Builder Set, you can make beautiful appliquéd wreath projects for every season! Create decorative wall hangings, incorporate blocks into larger quilts or table runners, apply appliqué shapes to totes or garments, and so much more. The possibilities are endless! Just wreath and repeat!
Misty Doan grew up surrounded by sewing and quilting. She loves spending time sharing tutorials each week each week, and when she’s not stitching up one of her fun sewing projects for home decor, most likely you’ll find her hanging out with her husband and three awesome kids or working on a house project.
Wreaths may make you think of Christmas, but seasonal wreaths are a beautiful way to decorate all year 'round. With the new MSQC Wreath & Repeat Template Builder Set, you can make beautiful appliquéd wreath projects for every season! Create decorative wall hangings, incorporat...
How long is the tutorial video?
The tutorial video is 00:13:50.
Are supplies listed for this tutorial?
Yes. The tutorial page includes the supplies and materials connected to this project.
Video Transcript
Hey everyone, I have a super fun project to share with you today. It's featuring our newest template builder set we're calling wreath and repeat. So you can make all kinds of door or wall hangings for all the different seasons. So to make these adorable wreath and repeat projects, you are of course going to want to grab this template builder set. It features all of these adorable There's actually 30 different templates in this set. And they're made out of this adorable blue sparkly uh plastic, which is kind of fun and different for us. And so you'll see on the front here some of the different motifs that you can make. I'm going to focus on a little Christmas wreath today to help celebrate Christmas in July. And so to make that one, you are going to need one package of 5 in squares. And I use this adorable tilda creating memories. And this is the winter palette. In addition to that, you're also going to need a half yard of your background fabric. And then for your border, you need a/4 yard. And I use the same for my backing and binding. So 3/4 of a yard for a wall hanging, half yard for a pillow, and then another third of a yard for the binding. You're also going to need some Missouri Star So Light fusible adhesive. I really like to use this superior uh mono poly invisible thread to do all of my top stitching, but let me show you how to make it. So, the first thing we're going to do is we're going to cut our background piece to 14 and 1/2 in square. And so, I've gone ahead and done that. And then we're going to fold that in half both directions. And I'm going to take this over to the pressing mat. And I'm just going to go ahead and press a line so that I have that center guide to use as I'm laying this out later. And so then we'll fold it this way as well. Make sure my corners match up. Doesn't have to be perfect, but I find little things like this to be really helpful. And so now that part is ready to go. The other thing you can do is if you have like a plate or a embroidery hoop or something that you want to mark out a circle, you absolutely can do that. I'm just going to use my little ruler here and put a few little reference points so that it will help me later to keep this nice and round. So, I'm just going to measure over about 4 and 1/2 in and make a mark. And of course, this ink will disappear later. And so we'll do the same thing here and down here. And then finally, I'm just going to kind of eyeball in between those two. And this just gives me a guide for when I add my applique later. And one more. There we go. And you can kind of see that circle taking shape now. Okay. So, now we'll set that aside. I have cut some 5 in squares of my Soite fusible that I can now sew or press, excuse me, onto the back of my fabric. And so, let's go ahead and do that. Now, if you've never used this before, remember the bumpy side is that glue side. You want to put it to the wrong side of your fabric. So, I'm going to do that just like so. And then we'll hit it with a nice hot dry iron. Perfect. So, now I will grab a pen or a pencil. And these are the shapes that I picked out from the template set to use for this Christmas version of the wreath. One thing I want to point out, let me pull this down here to make sure you guys can see, is like for example on the bow, there's actually two sides. And so you get to decide how you want to use that. And it's designed to fold your fabric in half once you've fused it. And then we can lay this on here on the fold. You'll see that little dashed line. That's our center. And then I can just trace out half of this and come all the way around. There we go. Now, let me grab my scissors here and we can cut out that shape. And just like I've done with the bow, I'm going to go ahead and do this exact same step with all of the different shapes that we'll use for this. And so I'll talk you through those as soon as I get this one cut out. But I love to do fusible applique. It's a great project. You can sit and cut all of these out while you're watching TV or traveling and then stitch it down once you get to your sewing machine. But there's the little top part of our bow. And now I can open that up. And now I've got my little tail. And I think maybe I'll have to lay it this way. But I think I can get these two tail pieces out of the rest of this 5 in square. So same idea. So, we'll just trace and cut these out. And you can flip it around and get the other side. So, just try and fit all of the different pieces you need in there and use your fabric as economically as possible. So then in addition to the bow, I also am going to cut out these little round berries that will be for our holly berries that you see here. And then besides that, I just need the little holly leaf, which is this template here. And much like on the wreath, there are two different sides. So just use that fold line, trace one side, and cut it out. Now I have a bunch already cut out and ready to go. So, I'm going to clear this out of the way. We'll center up our background and you can watch me lay out the whole thing. So, you can see here I've got all of my different shapes cut out. I've got a couple of different fabrics of my holly leaves, some berries to go with it, and then of course all of the components for my bow. But I wanted to show you guys the next step is to go ahead and peel off that paper backing. And so, there's a couple of ways you can do it. Most of the time I just like to kind of press it and then it pops loose and then I can just peel it off in one piece. If for some reason that doesn't work for you, the other thing you can do is just take a little straight pin and score the edge and then that will give you a place to grab a hold and pull it all off. So, I'm going to go ahead and pull all of these so that the backing is off. And then we're just going to start laying this out. And so I thought you guys might like to watch this whole thing come together. So I'm just going to work on that and you can watch this adorable wreath take shape. All right. [music] So, we have now laid out our entire wreath. It is so much fun to just sit and play. And the possibilities really are endless with all of those shapes that are in the kit. And so, now all of the paper backing is uh taken off. These are ready to fuse. And so, before you hit this with an iron, of course, take a look at it. You might even take a photo of it to make sure there's no little tweaks or adjustments you want to make. And now, I'm going to move this back over here. Here, I'm going to go ahead and slide it off my cutting mat just in case the heat transfers through. And when you're pressing applique like this, you want to make sure you're pressing your iron straight down. Hit it for three or 4 seconds and then lift and press again. We don't want to slide that iron and risk flipping over any of these applique shapes and getting that fusible stuck to the bottom. So, I'm just going to lift and press until this is all secured. All right. Now, make sure I got everything. I think we are good. Look at how cute that turns out. Isn't that so much fun? And so now the next step is to just go ahead and do whatever version of top stitching you like. You can do a little zigzag blanket stitch, even a little straight stitch around that edge. Again, I really like to use that superior invisible thread. If you have not used this before, you only put it in the top part of your machine. Your bobin should just be normal white or gray, whatever you typically use that will blend in the background. And so here is one that I've gone ahead and stitched. You'll see these cute little blanket stitches. Or maybe you won't because they just blend right in because of that invisible thread. But I love that little trick because then you don't have to switch out your thread colors and it saves just a little bit of time. So once we have all of that stitched down, the next step is to add our little border. So I have these pieces cut here from my border fabric. And so my first two of course are 14 and 1/2 since that's what size our block is. And our next two should be 18 and 1/2. That's right. And so let's just go ahead and add these since I didn't get to do much sewing. I'll do one of each of these on the sides and then add our longer ones to the top and bottom. So I'll just lay this here and stitch it down. I always take a few stitches and then line up my ends and then I can just zoom. Now we'll flip that around and do the same thing on the other side. And now, if you wanted to press this in between, you absolutely could. I'm just going to fold this open. And as I get to these edges, I'm going to make sure my seams are pressing back towards that uh border so that it won't show through. my background fabric in the center there. So, let's just go ahead now and we'll add the top and bottom strips. So, then as I'm approaching this opposite side here, I'll just hopefully you can see here. I'm just going to make sure that seam is going to roll back towards the border so that when I press this after the fact that will be hidden in that seam. Now I'll just finish out this other side and we will be all done. Okay, there we go. We've got our borders added all the way around. And so now, let's just give this a press. Again, I want to make sure all of that border fabric is rolling away from the center so that center square stays nice and clean. So, I'm just kind of feeling with my fingers under there to make sure it's going the direction that I want. And come back in. So, so cute. I just love how quick and easy these come together. Now, the pattern includes two ways to finish this. Of course, you can just do a wall hanging like you see here. And so, here is my little Christmas one that's been all quilted. I quilted it with paisley. It turned out really cute. Here's a little spring one that we also made as well. This just uses the little uh flowers. We use that same dot from the berries for the center of these ones. And you'll notice this kind of different leaf shape and different bow. So, super fun to just mix it up. But you can also finish it as a pillow. And so if you want that option, you're just going to do the little envelope back. And that is all included in the pattern for you. So give it a try and you will be ready to decorate your house for every season. See you next time.

 Misty Doan
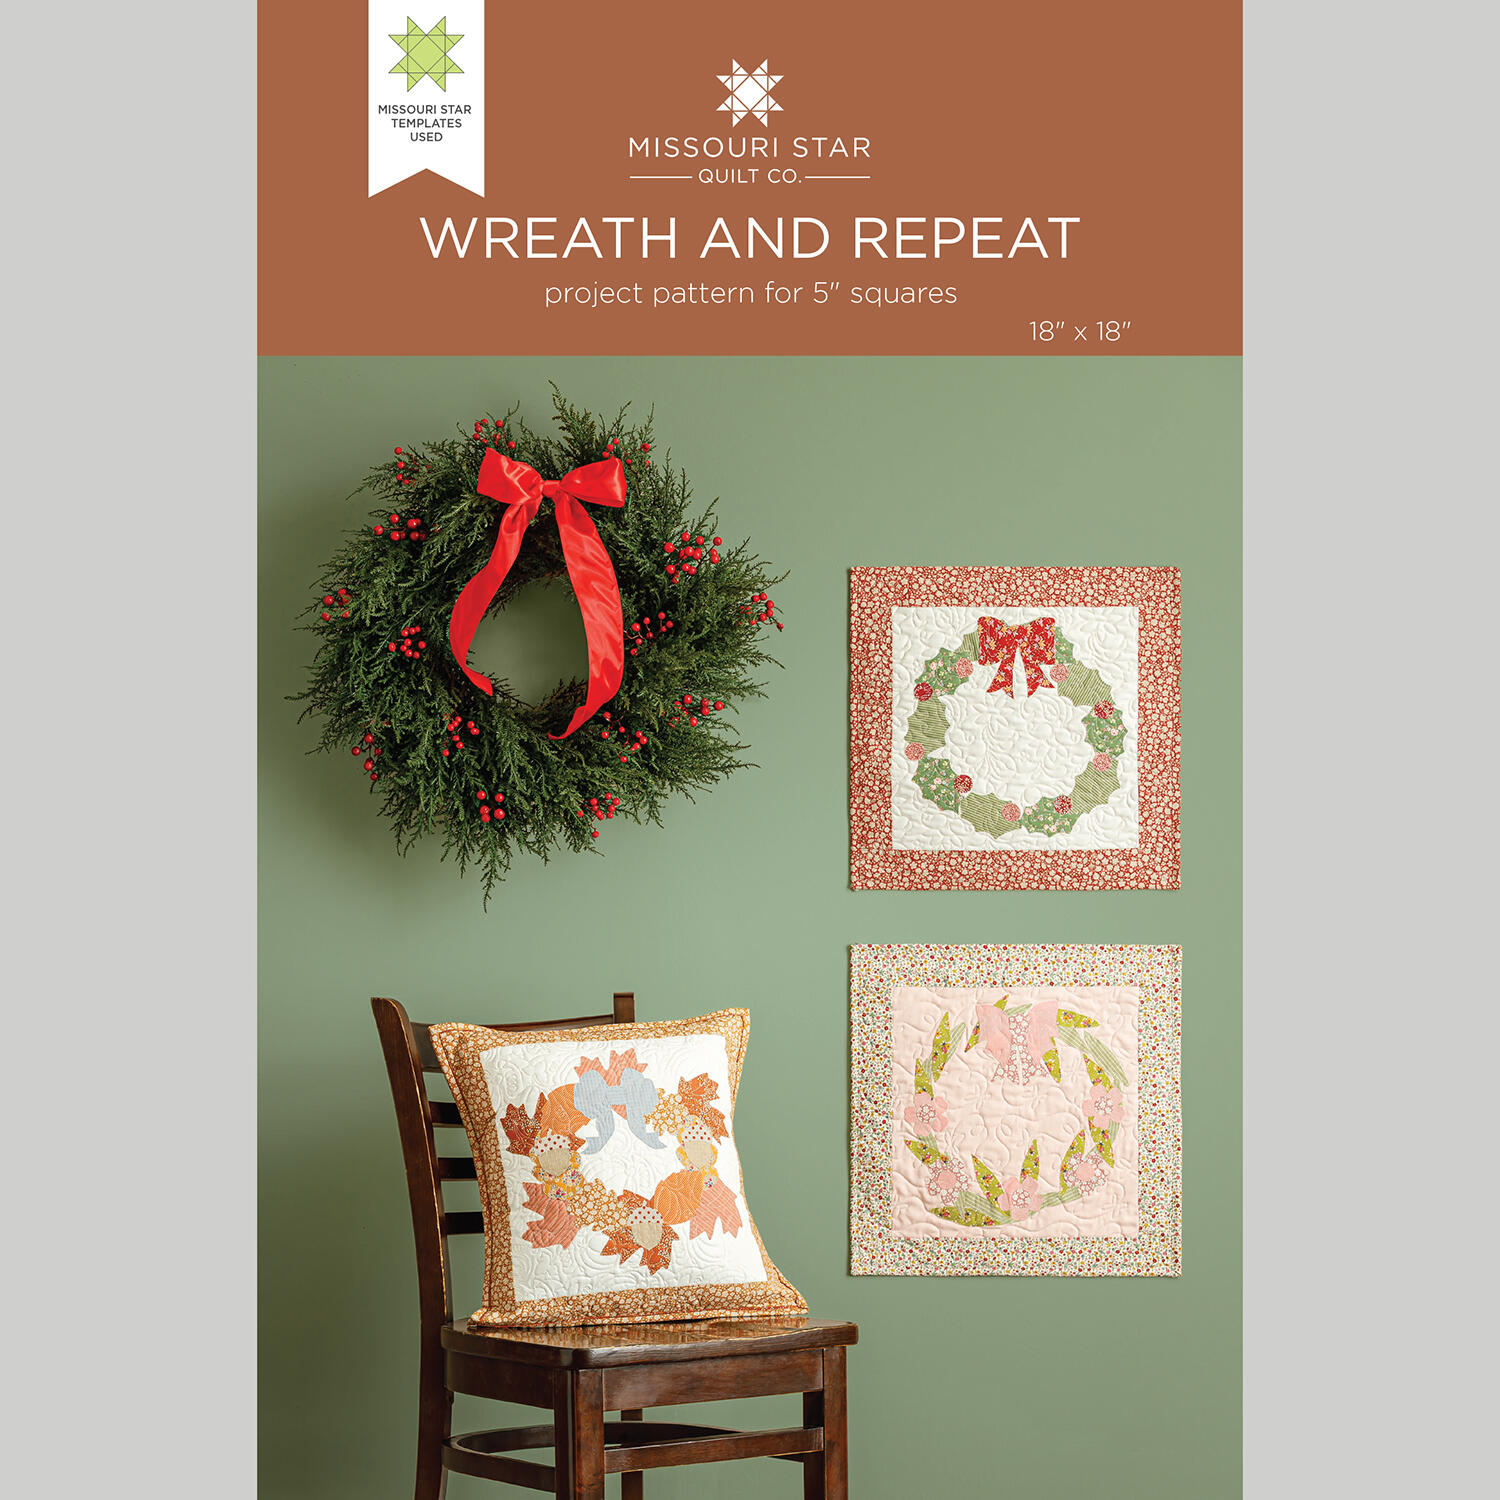 Wreath and Repeat Pattern by Missouri Star$8.50Shop →
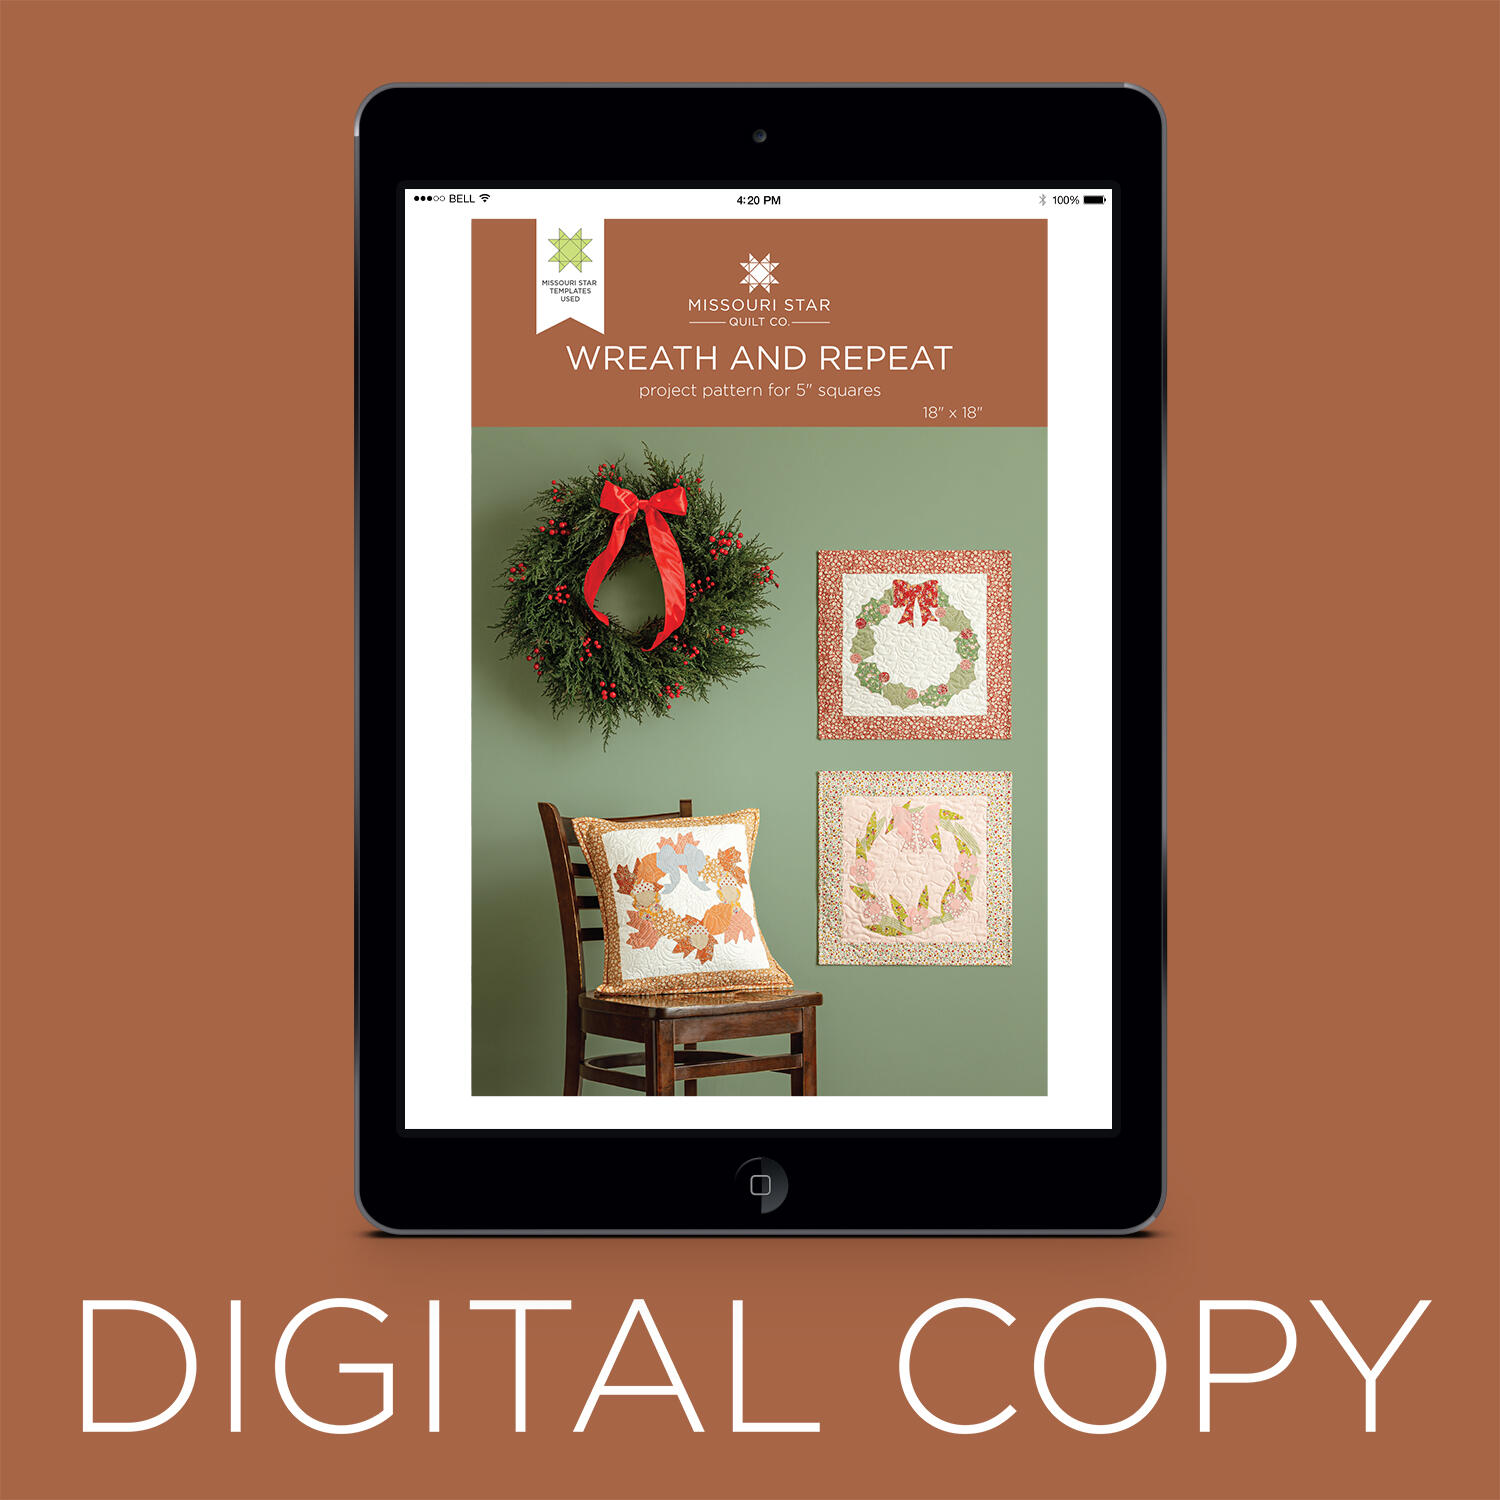 Digital Download - Wreath and Repeat Quilt Pattern by Missouri Star$6.95Shop →
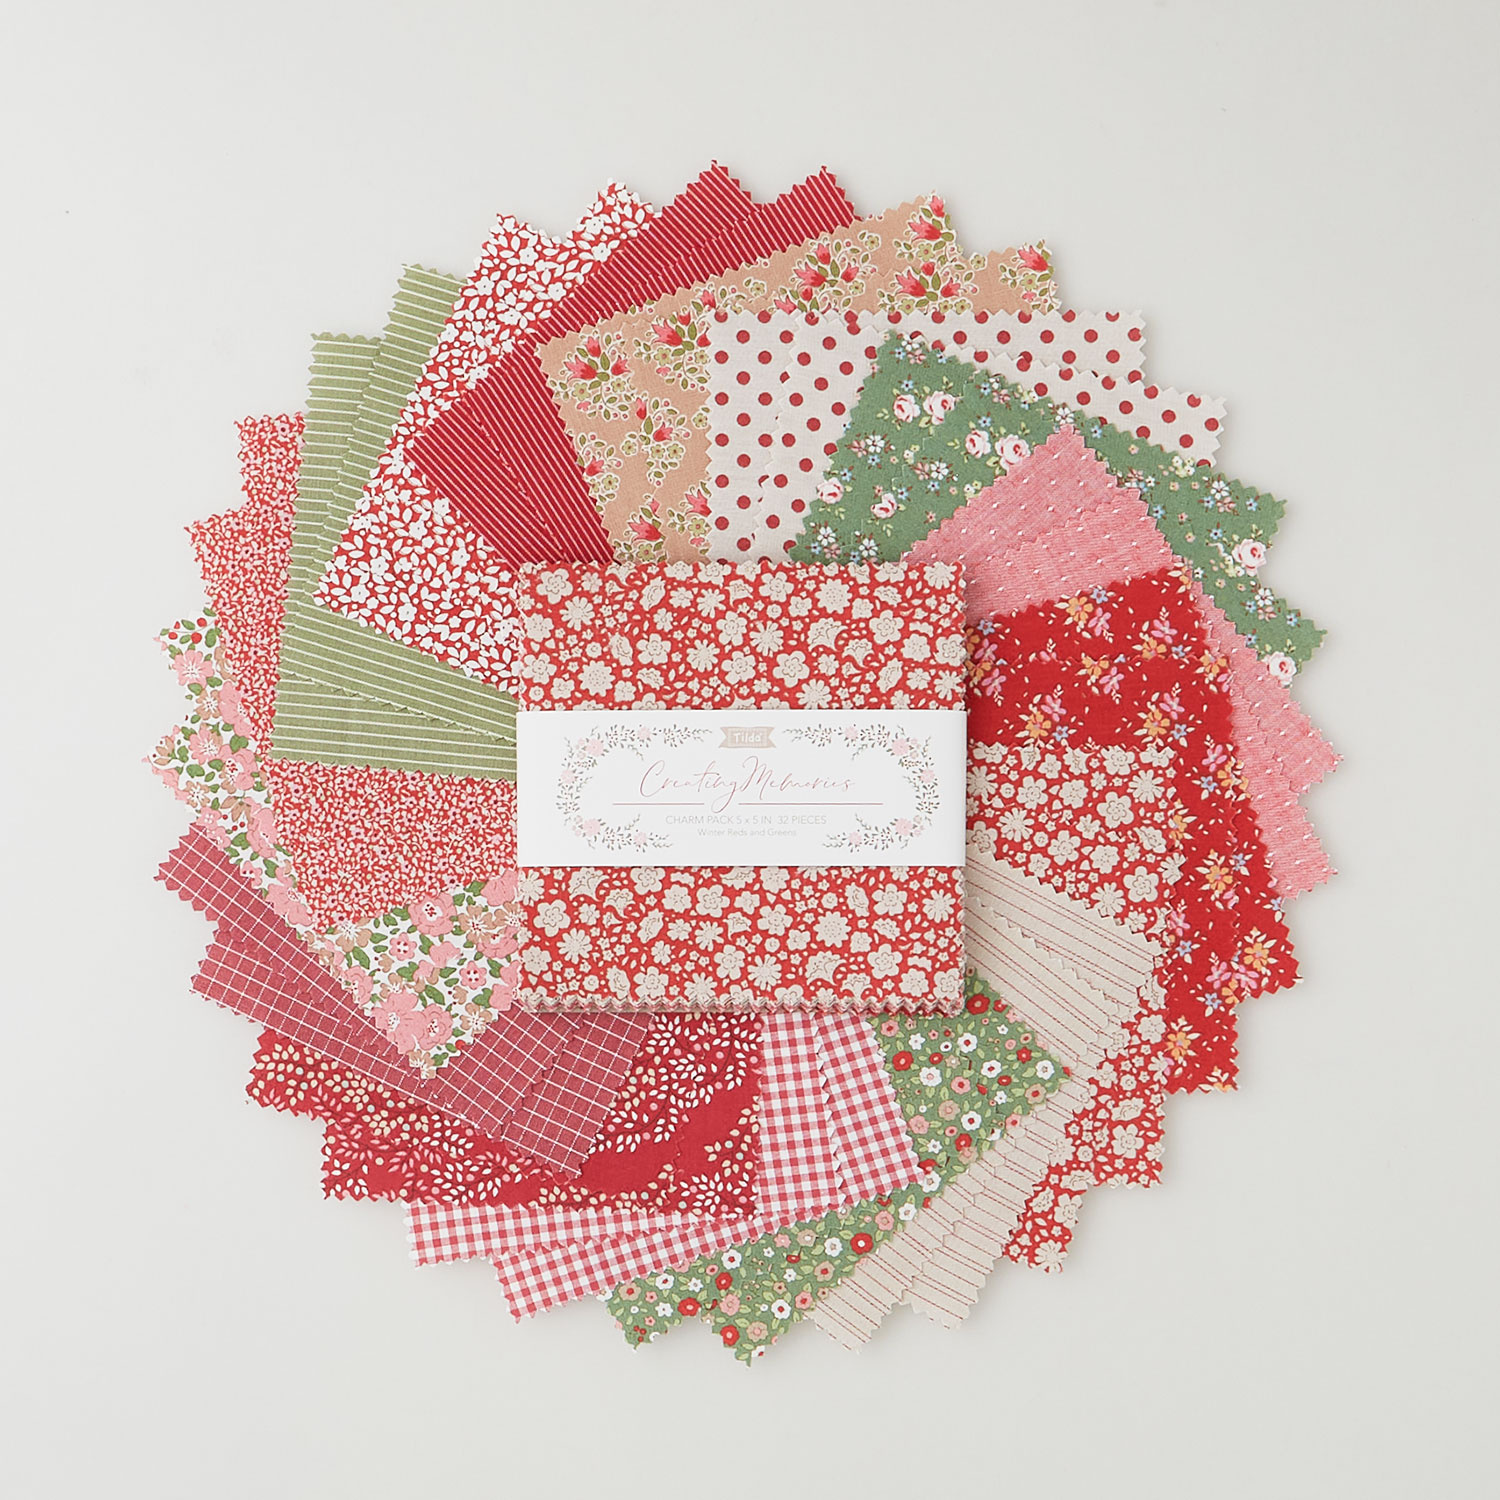 Creating Memories - Winter Charm Pack$18.90Shop →
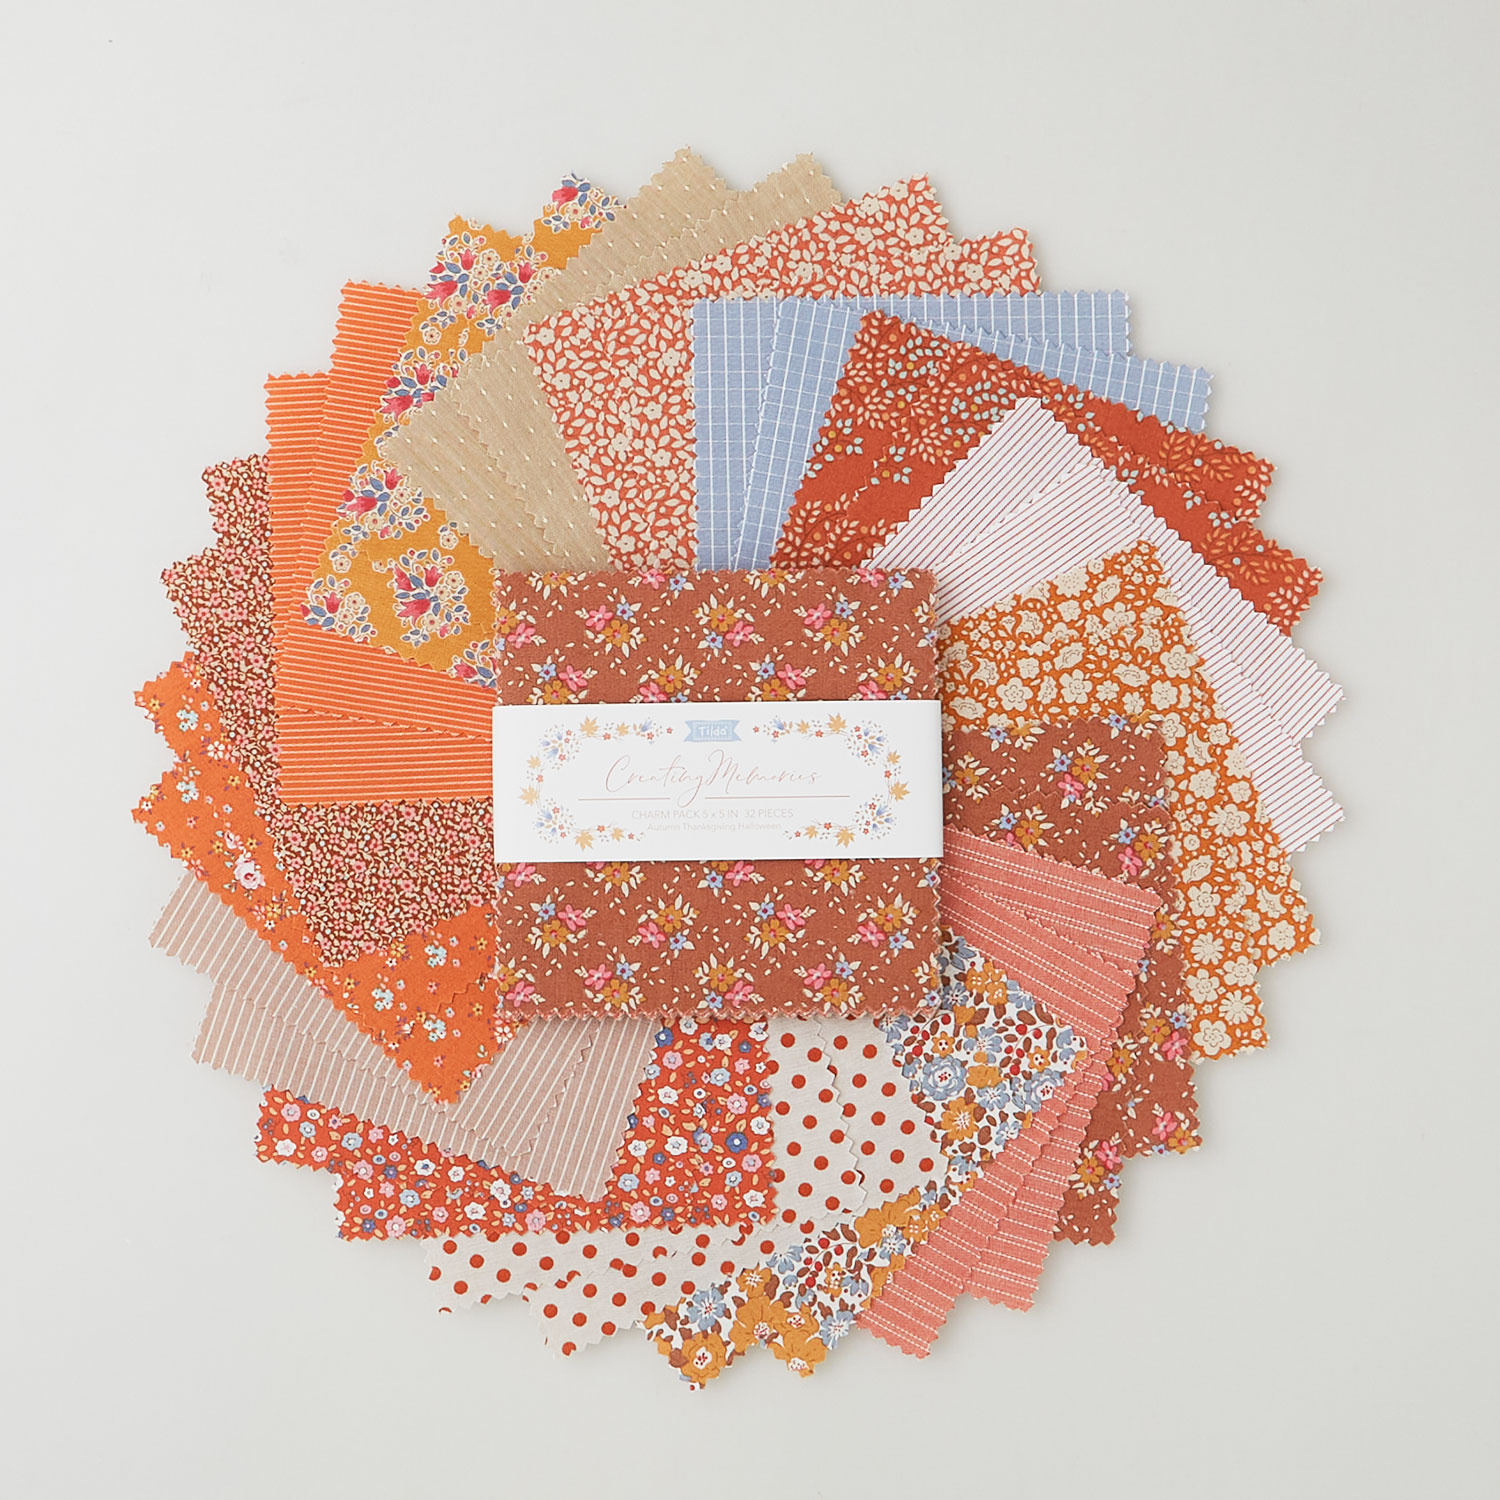 Creating Memories - Autumn Charm Pack$22.25Shop →
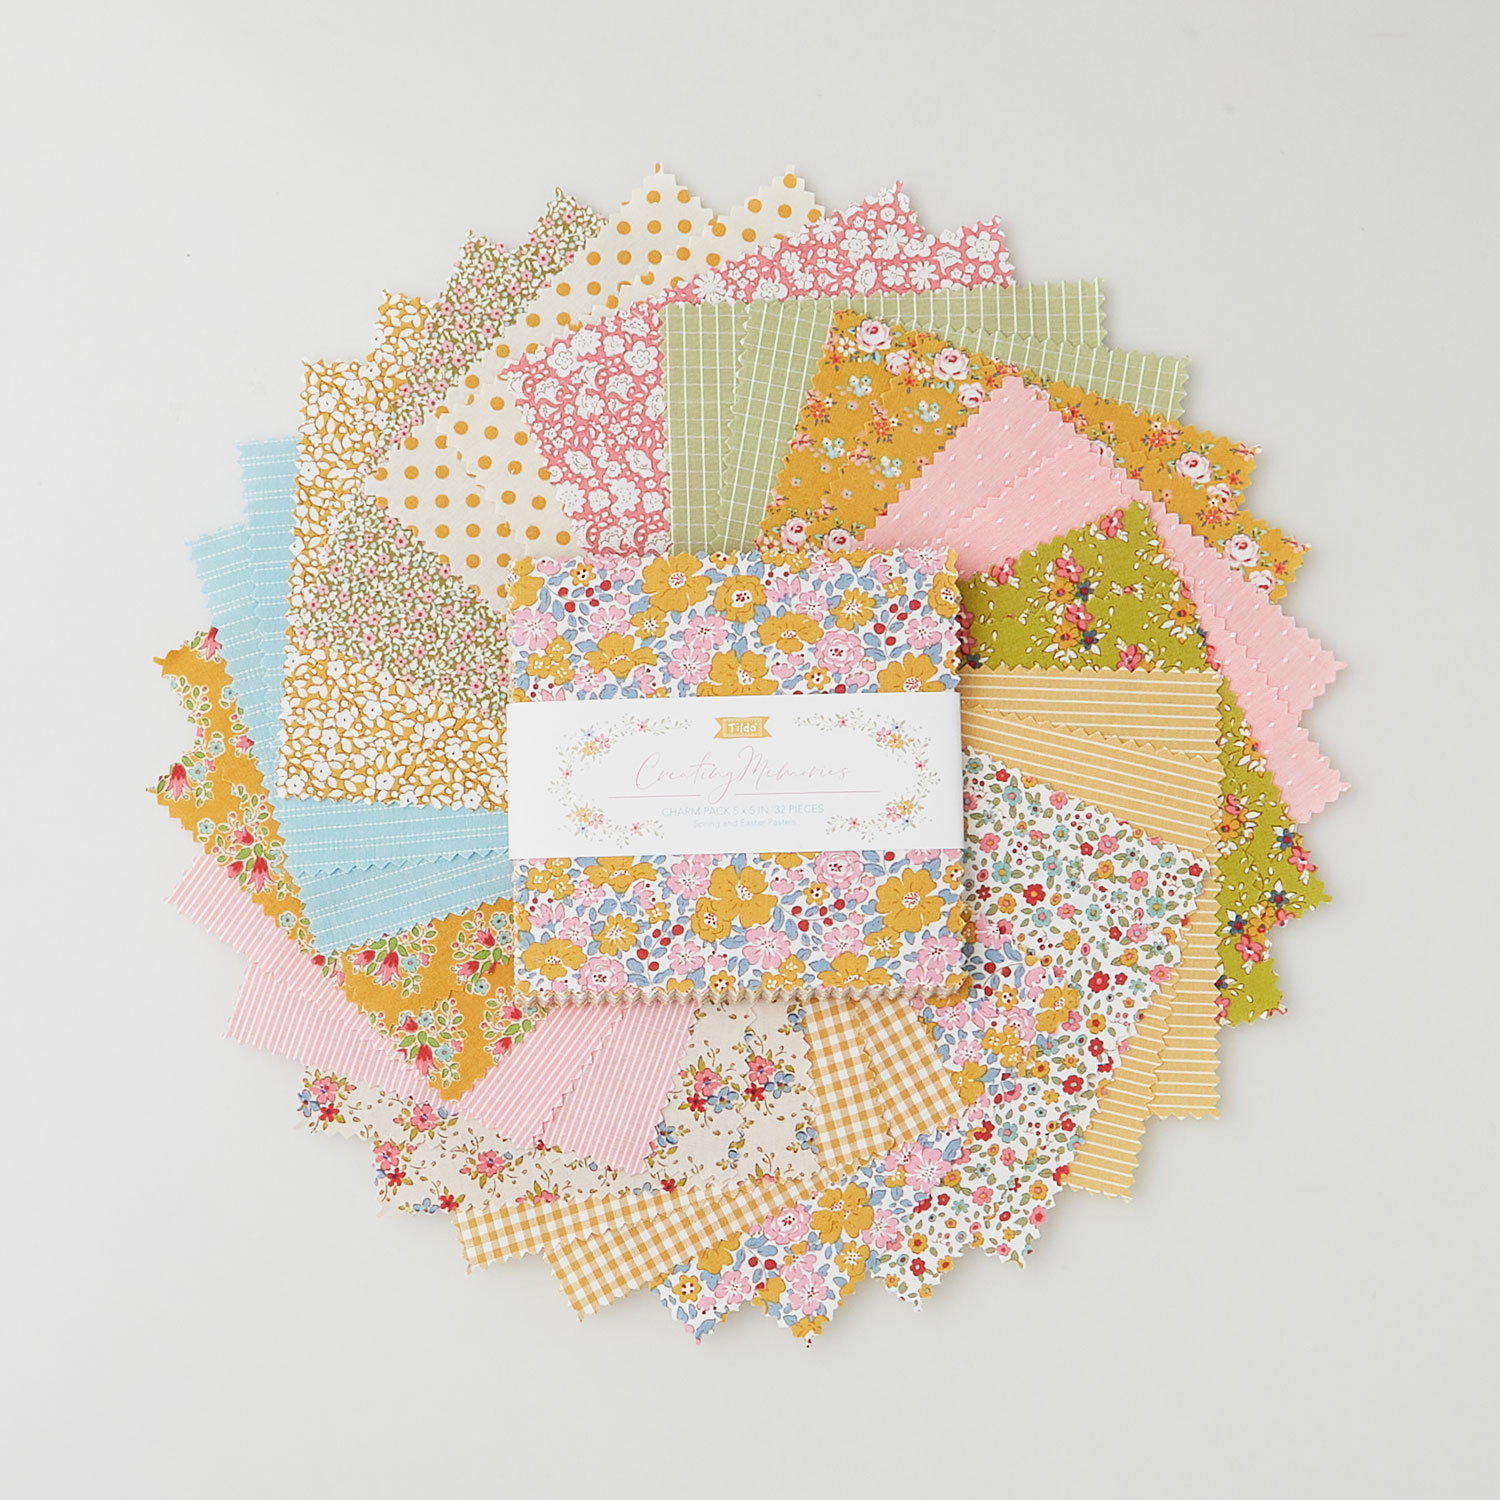 Creating Memories - Spring Charm Pack$22.25Shop →
 Colorworks Premium Solids - Oyster Yardage$8.96Shop →
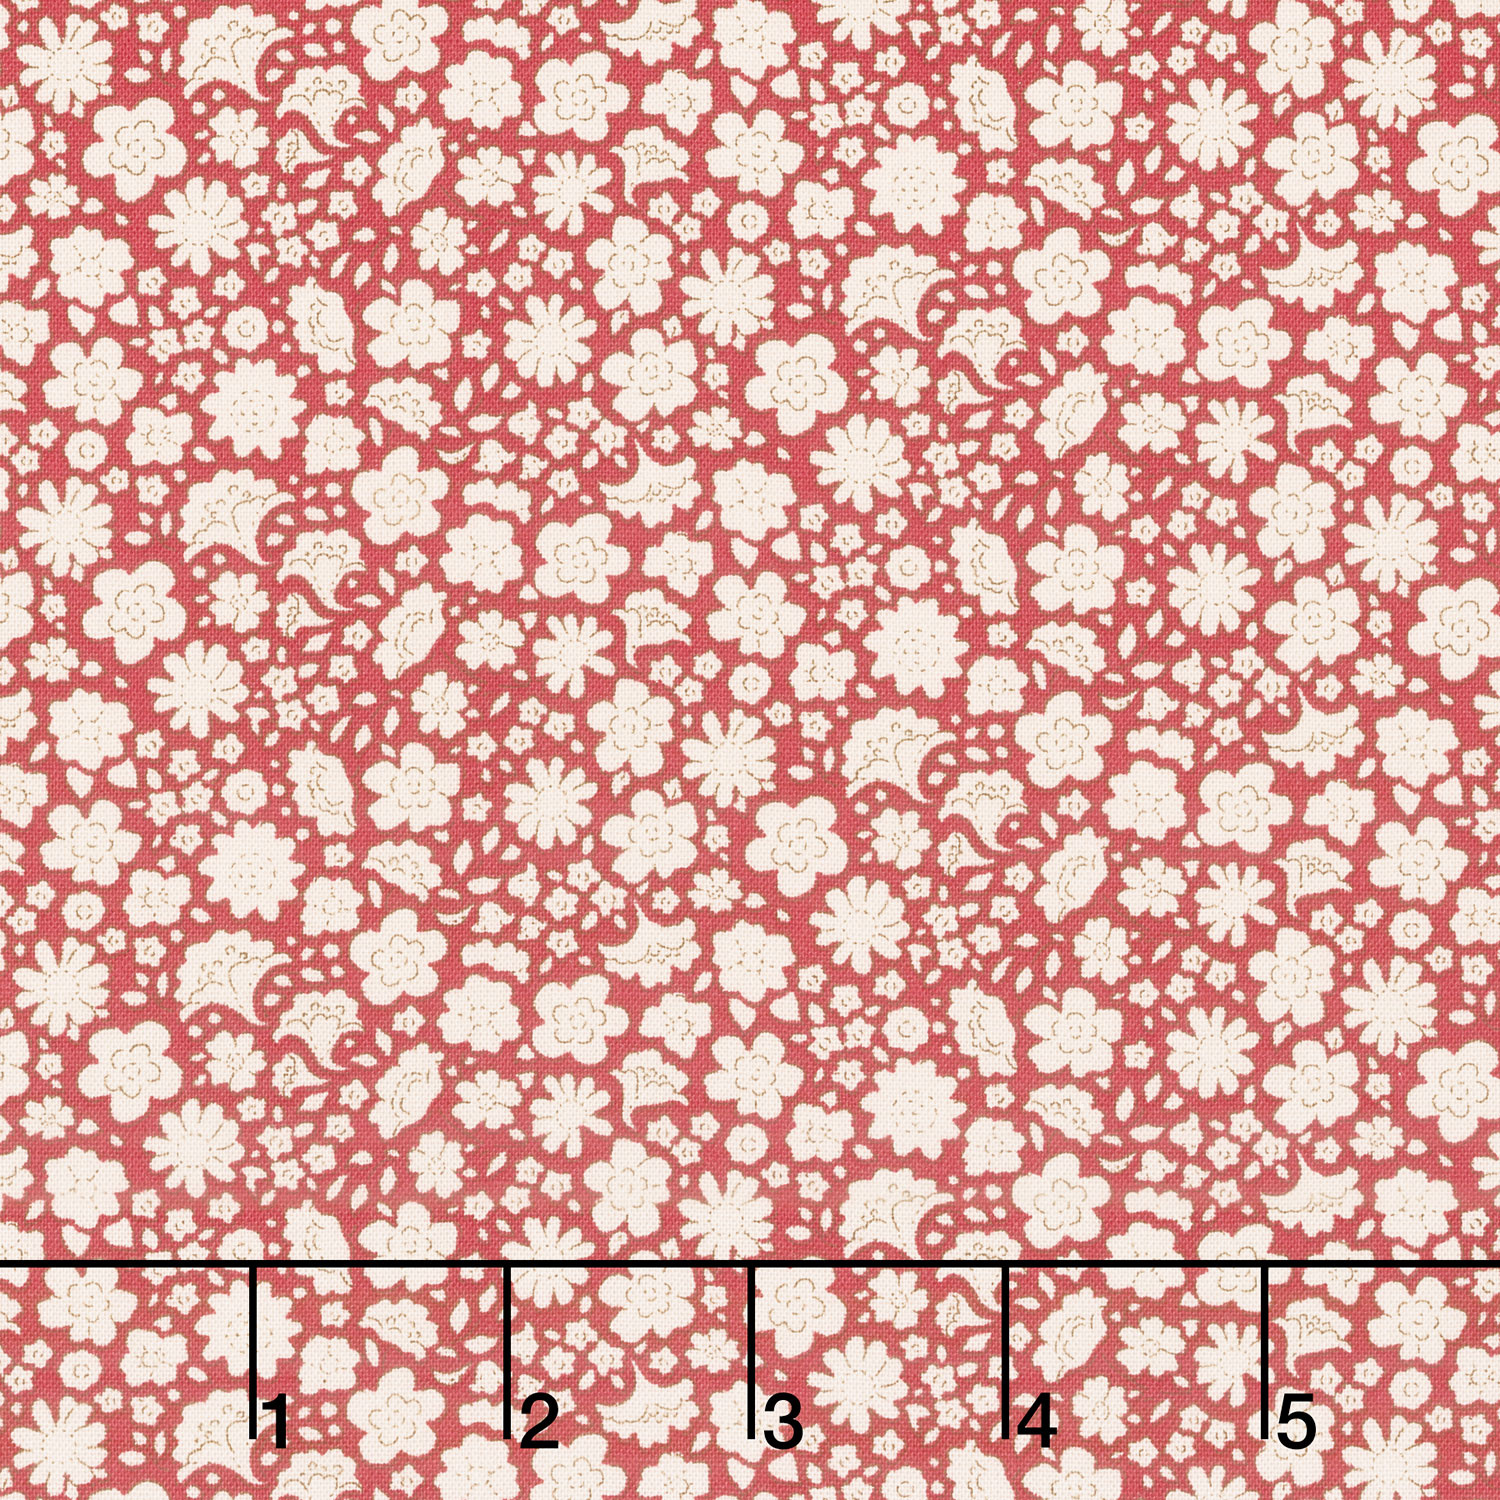 Creating Memories - Winter Carla Red Yardage$16.88Shop →
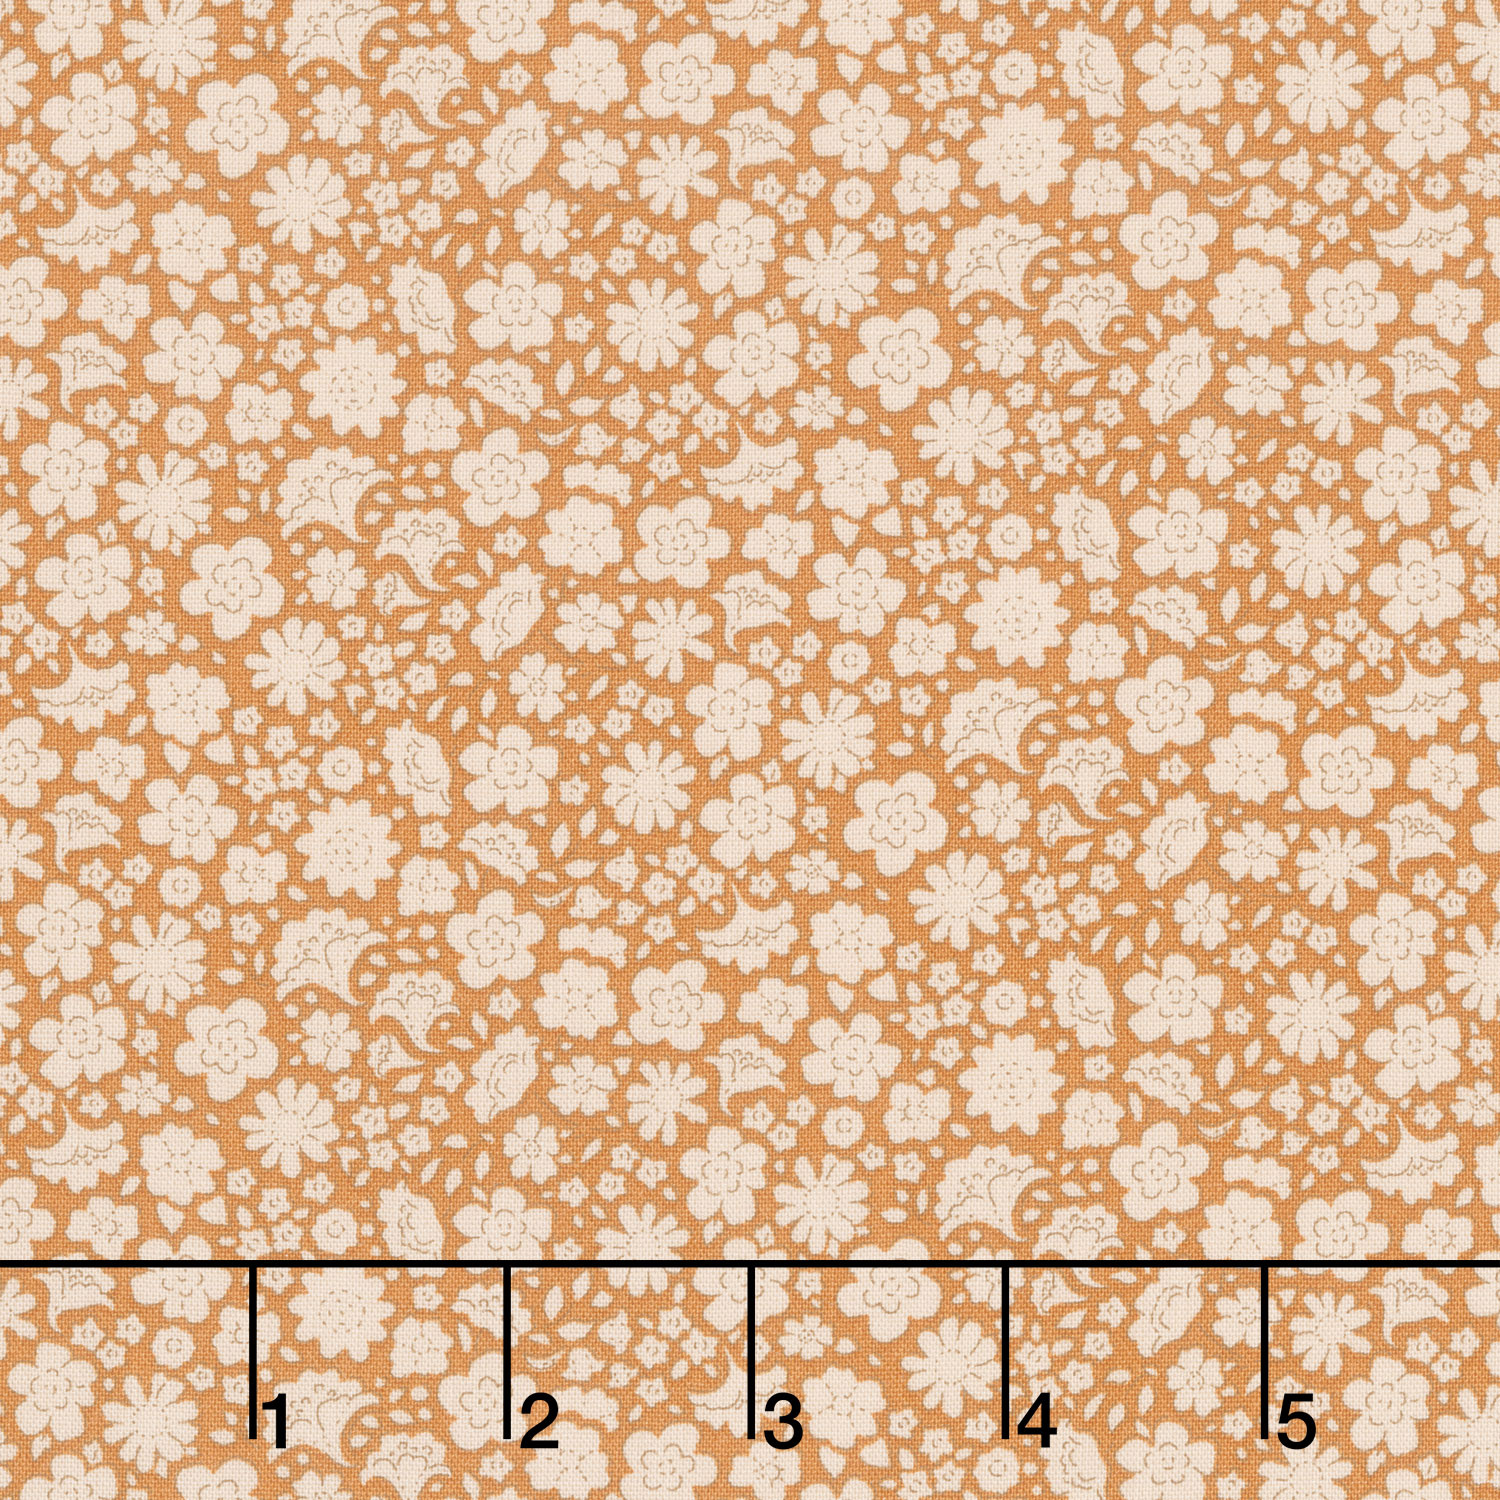 Creating Memories - Autumn Carla Saffron Yardage$16.88Shop →
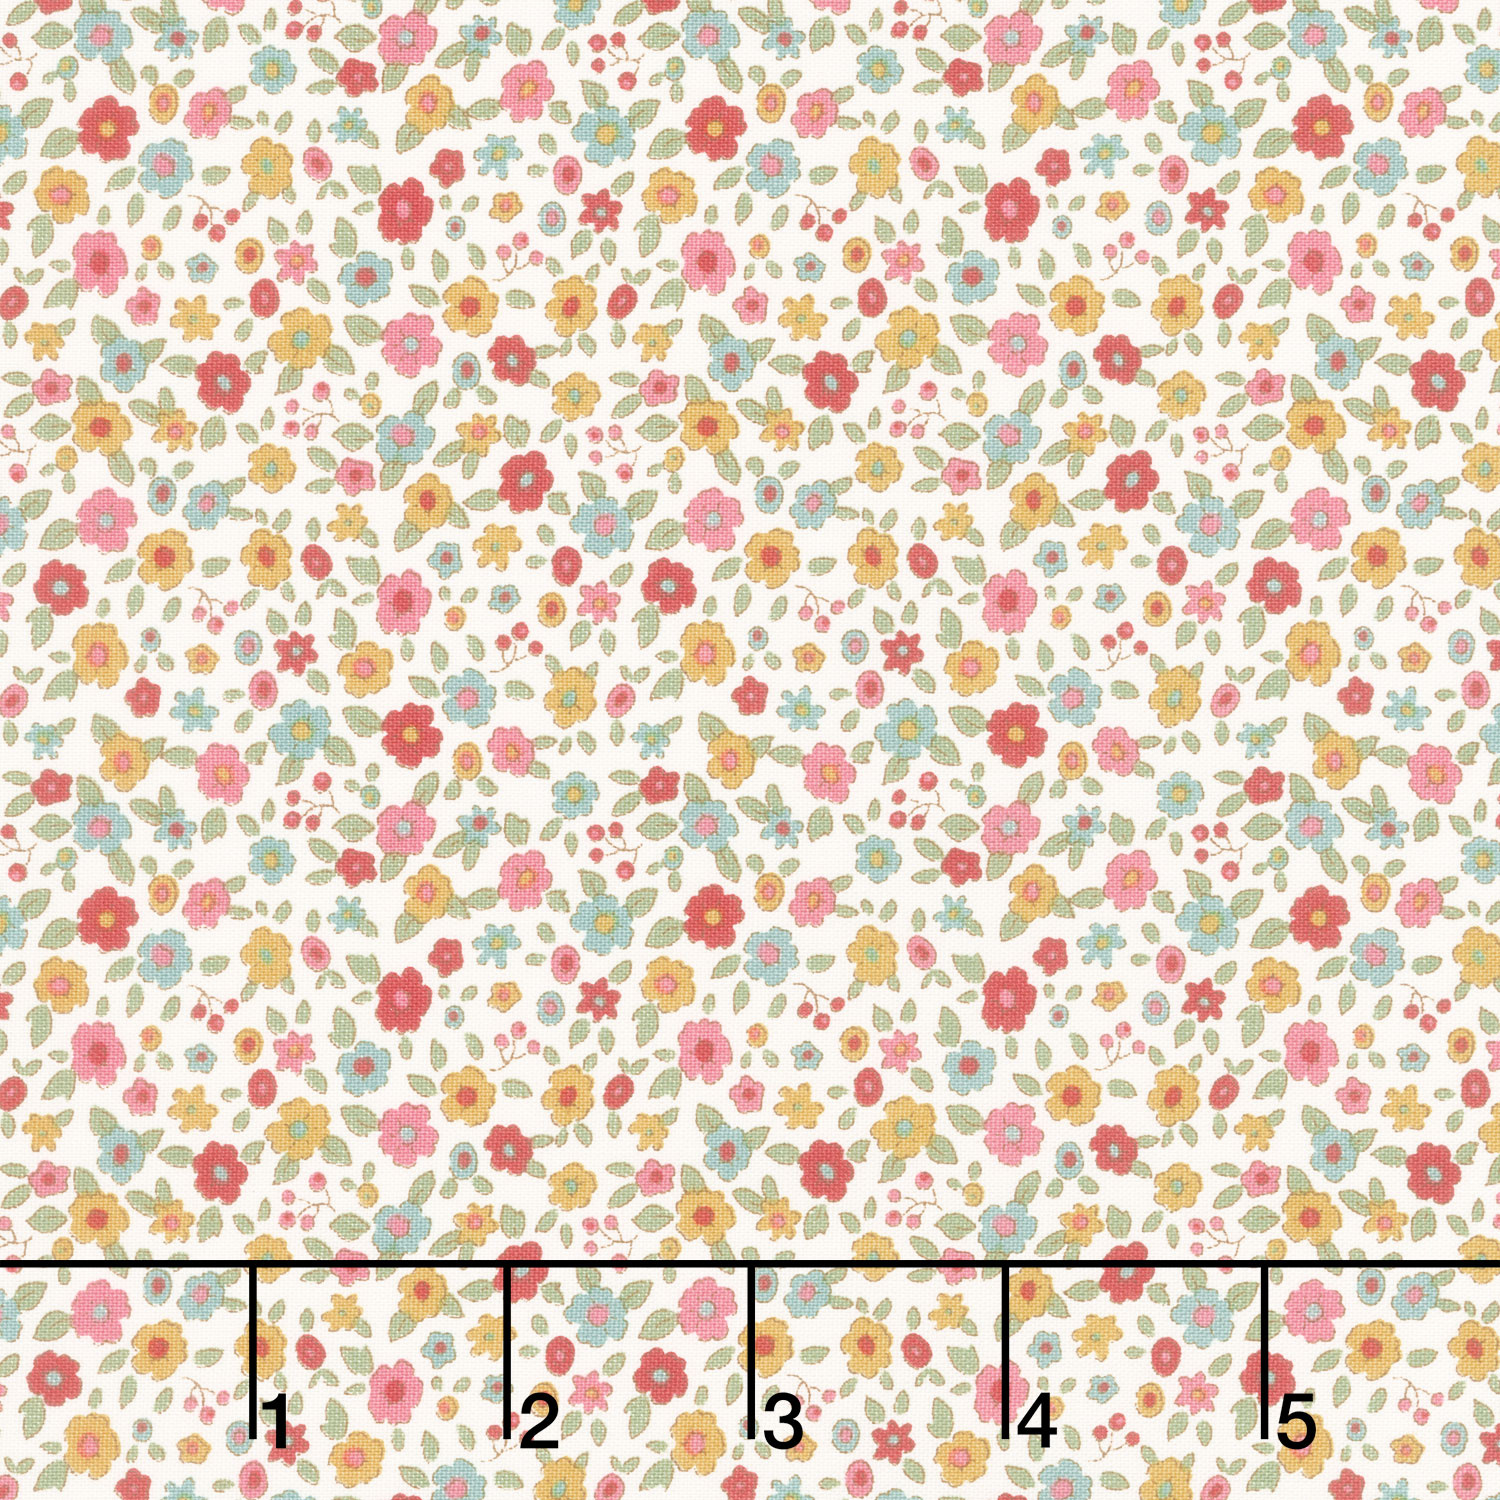 Creating Memories - Spring Evie Dove White Yardage$16.88Shop →
 Poly-fil® Premier™ Ultra Plush Pillow Insert - 18" x 18"$24.95Shop →
 Missouri Star Sew Light Fusible Adhesive - 17" x 2 yards$4.95Shop →
 Missouri Star 2.5" x 8" Ruler$11.95Shop →
 Missouri Star 45mm Rotary Cutter - Olga$19.95Shop →
 Missouri Star 8" Everyday Scissors - Amelia$19.95Shop →
 Missouri Star 50 WT Cotton Thread White$7.95Shop →
 Missouri Star + Oliso TG1600 ProPlus Iron$209.95Shop →
 Bernette 77 Sewing and Quilting Machine$1699.00Shop →
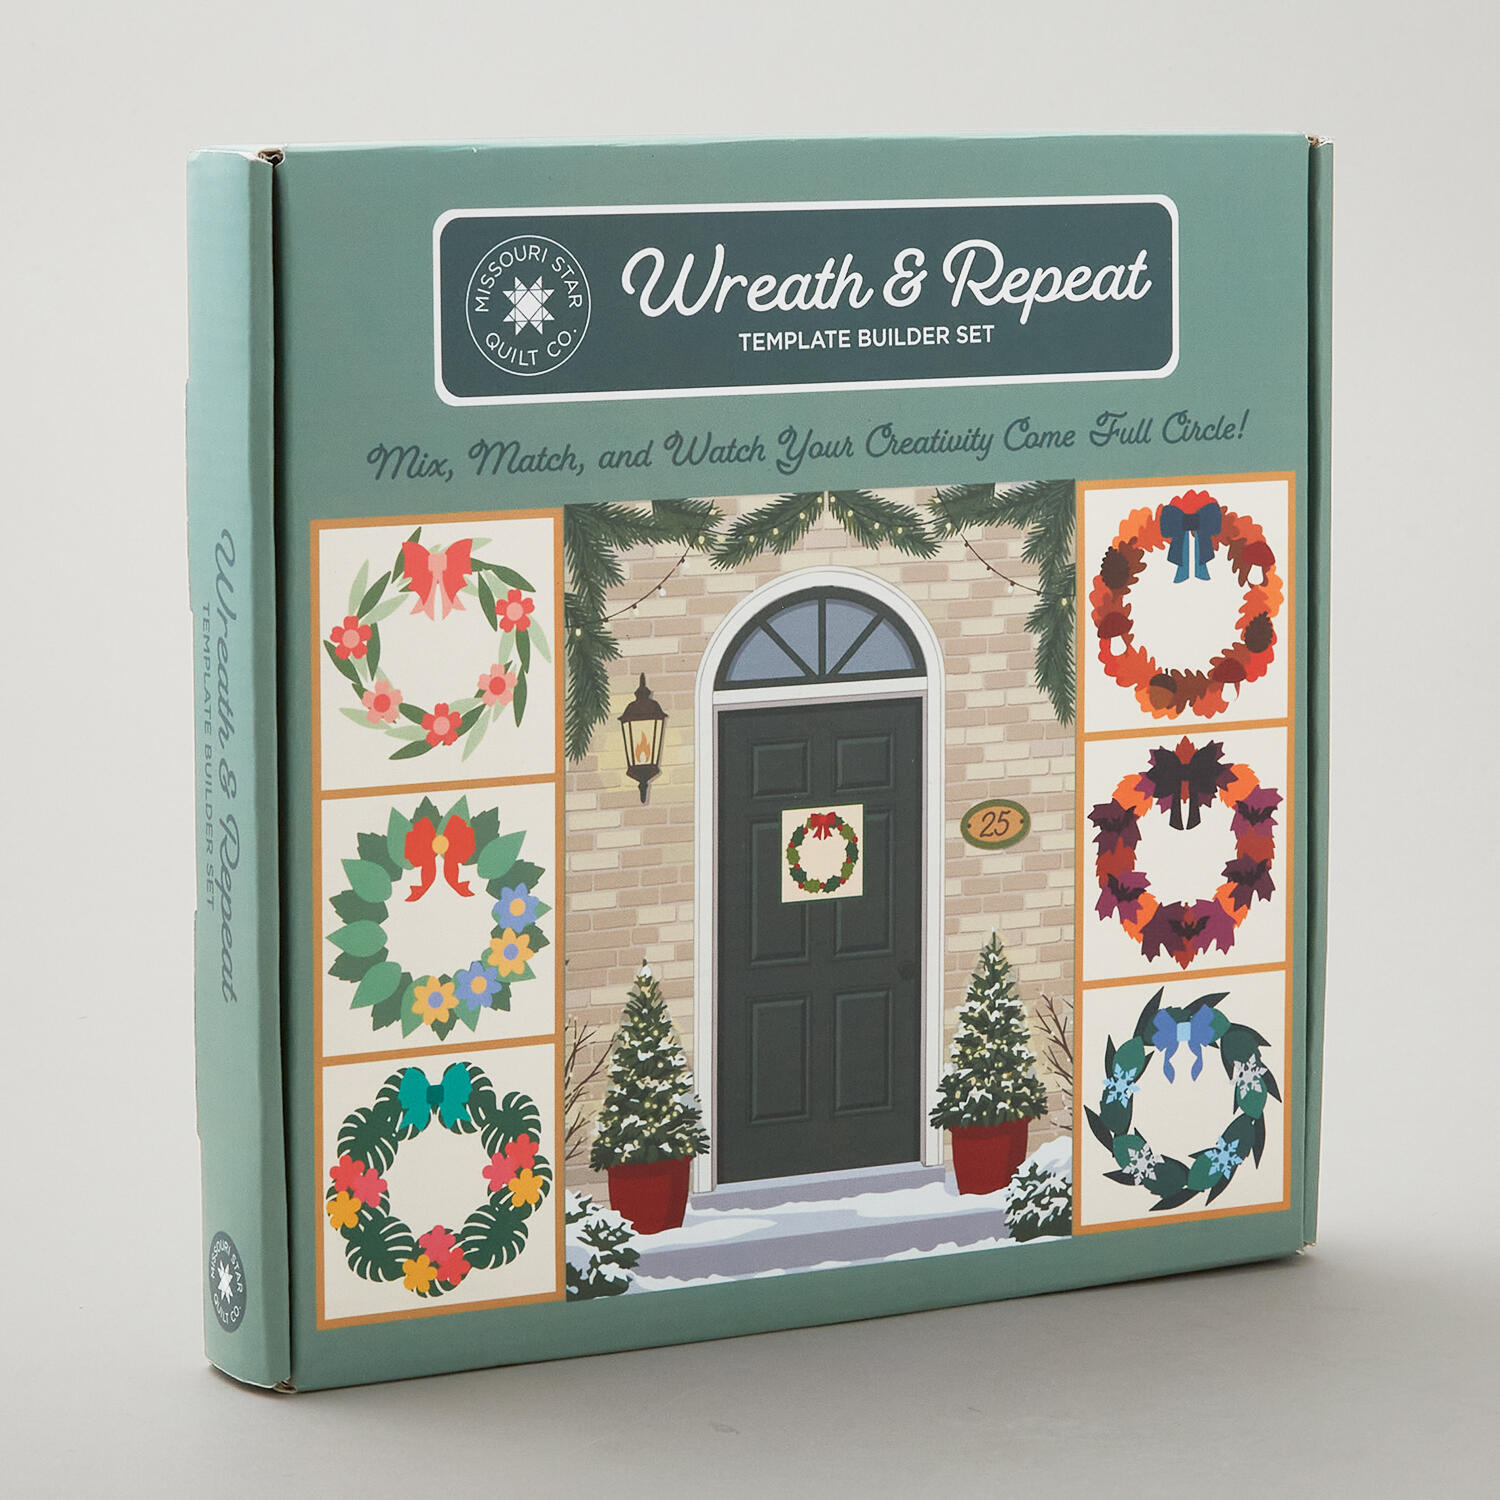 Missouri Star Wreath & Repeat Template Builder Set$32.95Shop →


