
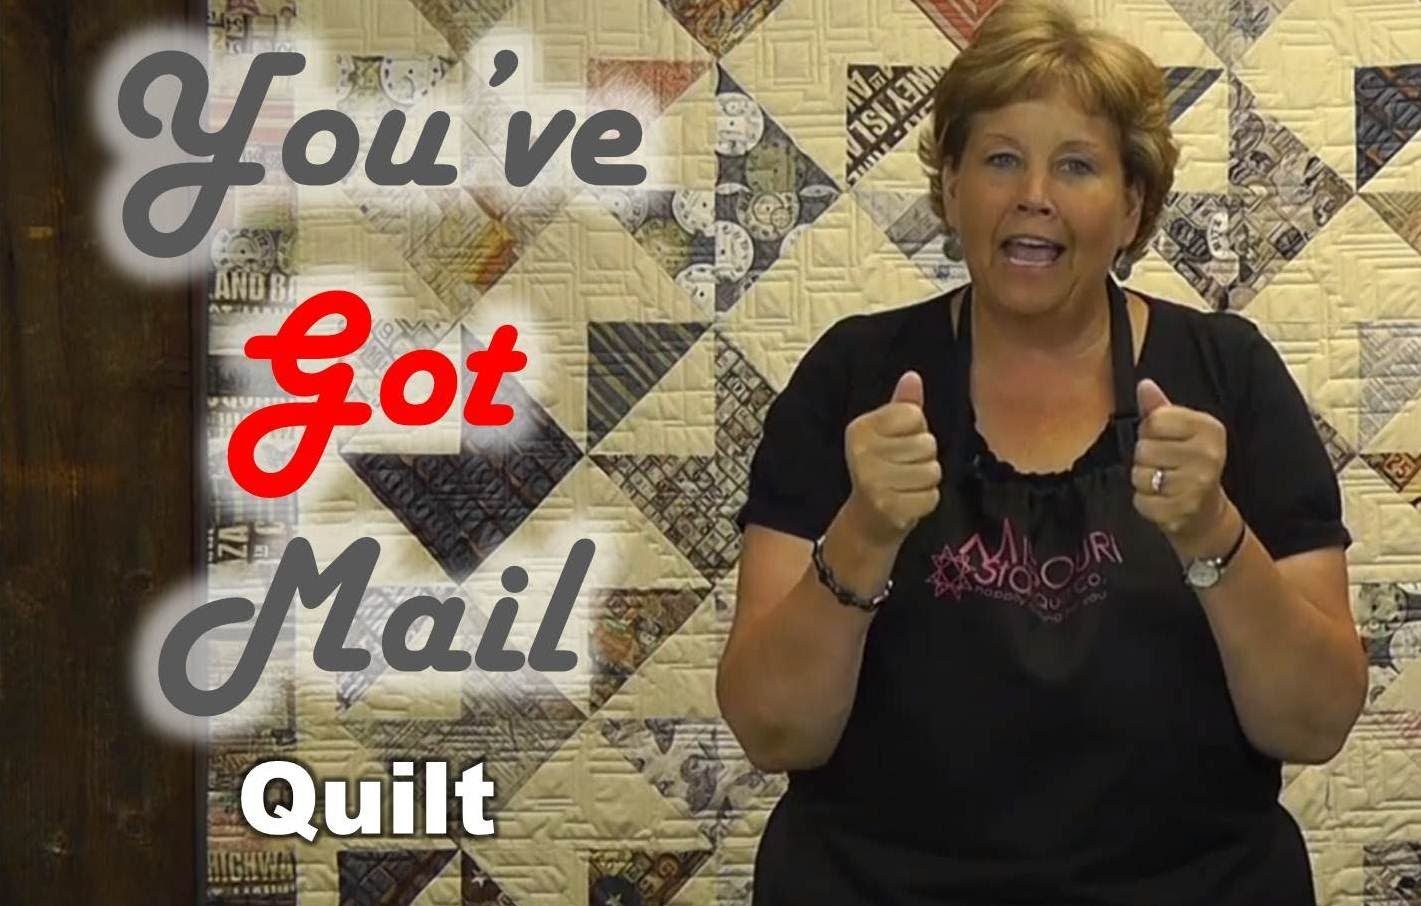
You've Got Mail Quilt
Jenny Doan shows us how to make a gorgeous quilt using Layer Cakes. The border is 5" wide, charm packs cut in half then sewn long sides together forming strips.. Layer Cakes - Best selection of 10" Squares on the web!. Eclectic Elements Fabrics by Tim Holtz of Coats Fabrics (featured in this video). Solids and Essentials Layer Cakes.

Instructor
Jenny Doan
Jenny Doan is an American quilter, author, and YouTube personality. Jenny started Missouri Star Quilt Company in 2008 and today it is the largest quilting supply vendor in the United States.
Shop this tutorial



Common Questions
What is covered in You've Got Mail Quilt?
Jenny Doan shows us how to make a gorgeous quilt using Layer Cakes. The border is 5" wide, charm packs cut in half then sewn long sides together forming strips.. Layer Cakes - Best selection of 10" Squares on the web!. Eclectic Elements Fabrics by Tim Holtz of Coats Fabrics (f...
How long is the tutorial video?
The tutorial video is 00:06:17.
Are supplies listed for this tutorial?
Yes. The tutorial page includes the supplies and materials connected to this project.
Is a transcript available?
Yes. A written transcript is available on the tutorial page.
Video Transcript
The fun thing about this quilt is that we’re calling it “you’ve got mail” because it’s all based on these envelopes and we all love to have that mail. As much as email and all that improves our lives and speeds things up, when you get that handwritten mail in your hand it just means something, it’s really special. When I was a little girl my mom would save all of the cards and letters she got, and she put them all in a basket and she called it her basket of love. And just love that idea, and periodically I get letters from you guys and I’ve done the same thing. I have my own basket of love and you know if you are having a rough day you just get some of those out and read them and it cheers you right up.
So to make this quilt I use two layer-cakes. One is a solid background and then the other one I used was Tim Holtz’s new fabric called Eclectic Elements and it’s by Coats, and I love this fabric. Look at the clocks and the tape measurers and the letters. I just love this kind of fabric it’s so cute. And then we also did a piano key border around it and I used two charm packs for that and basically you just cut them in half, mix them up and you sew long sides together and make a long strip for your borders. And I’m going to do a tutorial on some border ideas soon so keep a watch for that, but this quilt is going to be queen size when it’s done. When you put two layer-cakes together it makes a queen size quilt.
So the block we are using is called the envelope block, and it is made using half-square triangles, and how I make my half-square triangles is I sew all the way around the outside edge, just completely around and then I cut it diagonally both sides.
So lets take these two pieces, I have two layer-cakes here. I have my background and my printed one, and I’m putting them right sides together and I’m just going to sew all the way around this. So here we go. This is such a fast way to make half-square triangles, I love it. Now you can stop at a quarter of an inch or you can sew right off the edge. So now we have sewed this all around the outside edge and we just need to cut it diagonally both directions. So I lay my ruler on the opposite corners diagonally across the block, and we’re going to make a cut there. And then we are going to come here and do the same thing on the other side. This is going to give you four half-square triangles right off the bat.
So then we are going to iron these open, just like this. I keep my darker fabric to the top, and then you can just set your seam and roll it back. I can’t get those apart. There we go. And then I got one more over here. There we are. And for the envelope block what you are going to need is three of these and then you’re going to bring in one more for the other block. So what I have here is three of these blue ones right here and you can see the envelope. And then I am going to bring in this one. And I put it in what’s going to look backwards for the time being and so it’s going to stick up at the top like that like and open flap.
So what we are going to do is sew two of these together like this and get that right there together. And I’m going to stretch this down here and make this fit perfect. And then we’re going to iron this open. And then we are going to bring it over here, and you can see I’ve already sewn these two right here together. And this makes the base of the envelope block.
And then we’re going to join these two rows. And basically its just like putting a four-patch together there’s that one seam in the middle we have to match and I’m going to put a pin right in there so I can just whiz down that seam, I’ve made sure those seams are nested right nicely together. And then we are going to go over to the machine and sew this row. There we go. Here we go. Okay so now we just need to press this open.
And the trick really for this is in the layout. It makes a, it just is a quick and easy layout and I’ll show you how to do that. So just to recap when you make this block you are going to use three of these from one block, that’s going to make your envelope, right like this, and then you’re going to bring in a lid and set that in backwards. I just wanted to make sure you got that because it’s really important to the layout of the quilt so the block looks right.
And so now we are just going to lay them out, and we’re going to put them together. The only thing you need to make sure of when you’re laying these out is that they are all pointing the same direction. You don’t want the renegade letter going off to the side. So then what we have, we’re just going to put them together in rows like this and add our second row and just keep adding them on and putting them forward. So I hope you enjoyed this tutorial today on the envelope quilt from the Missouri Star Quilt Company.


