
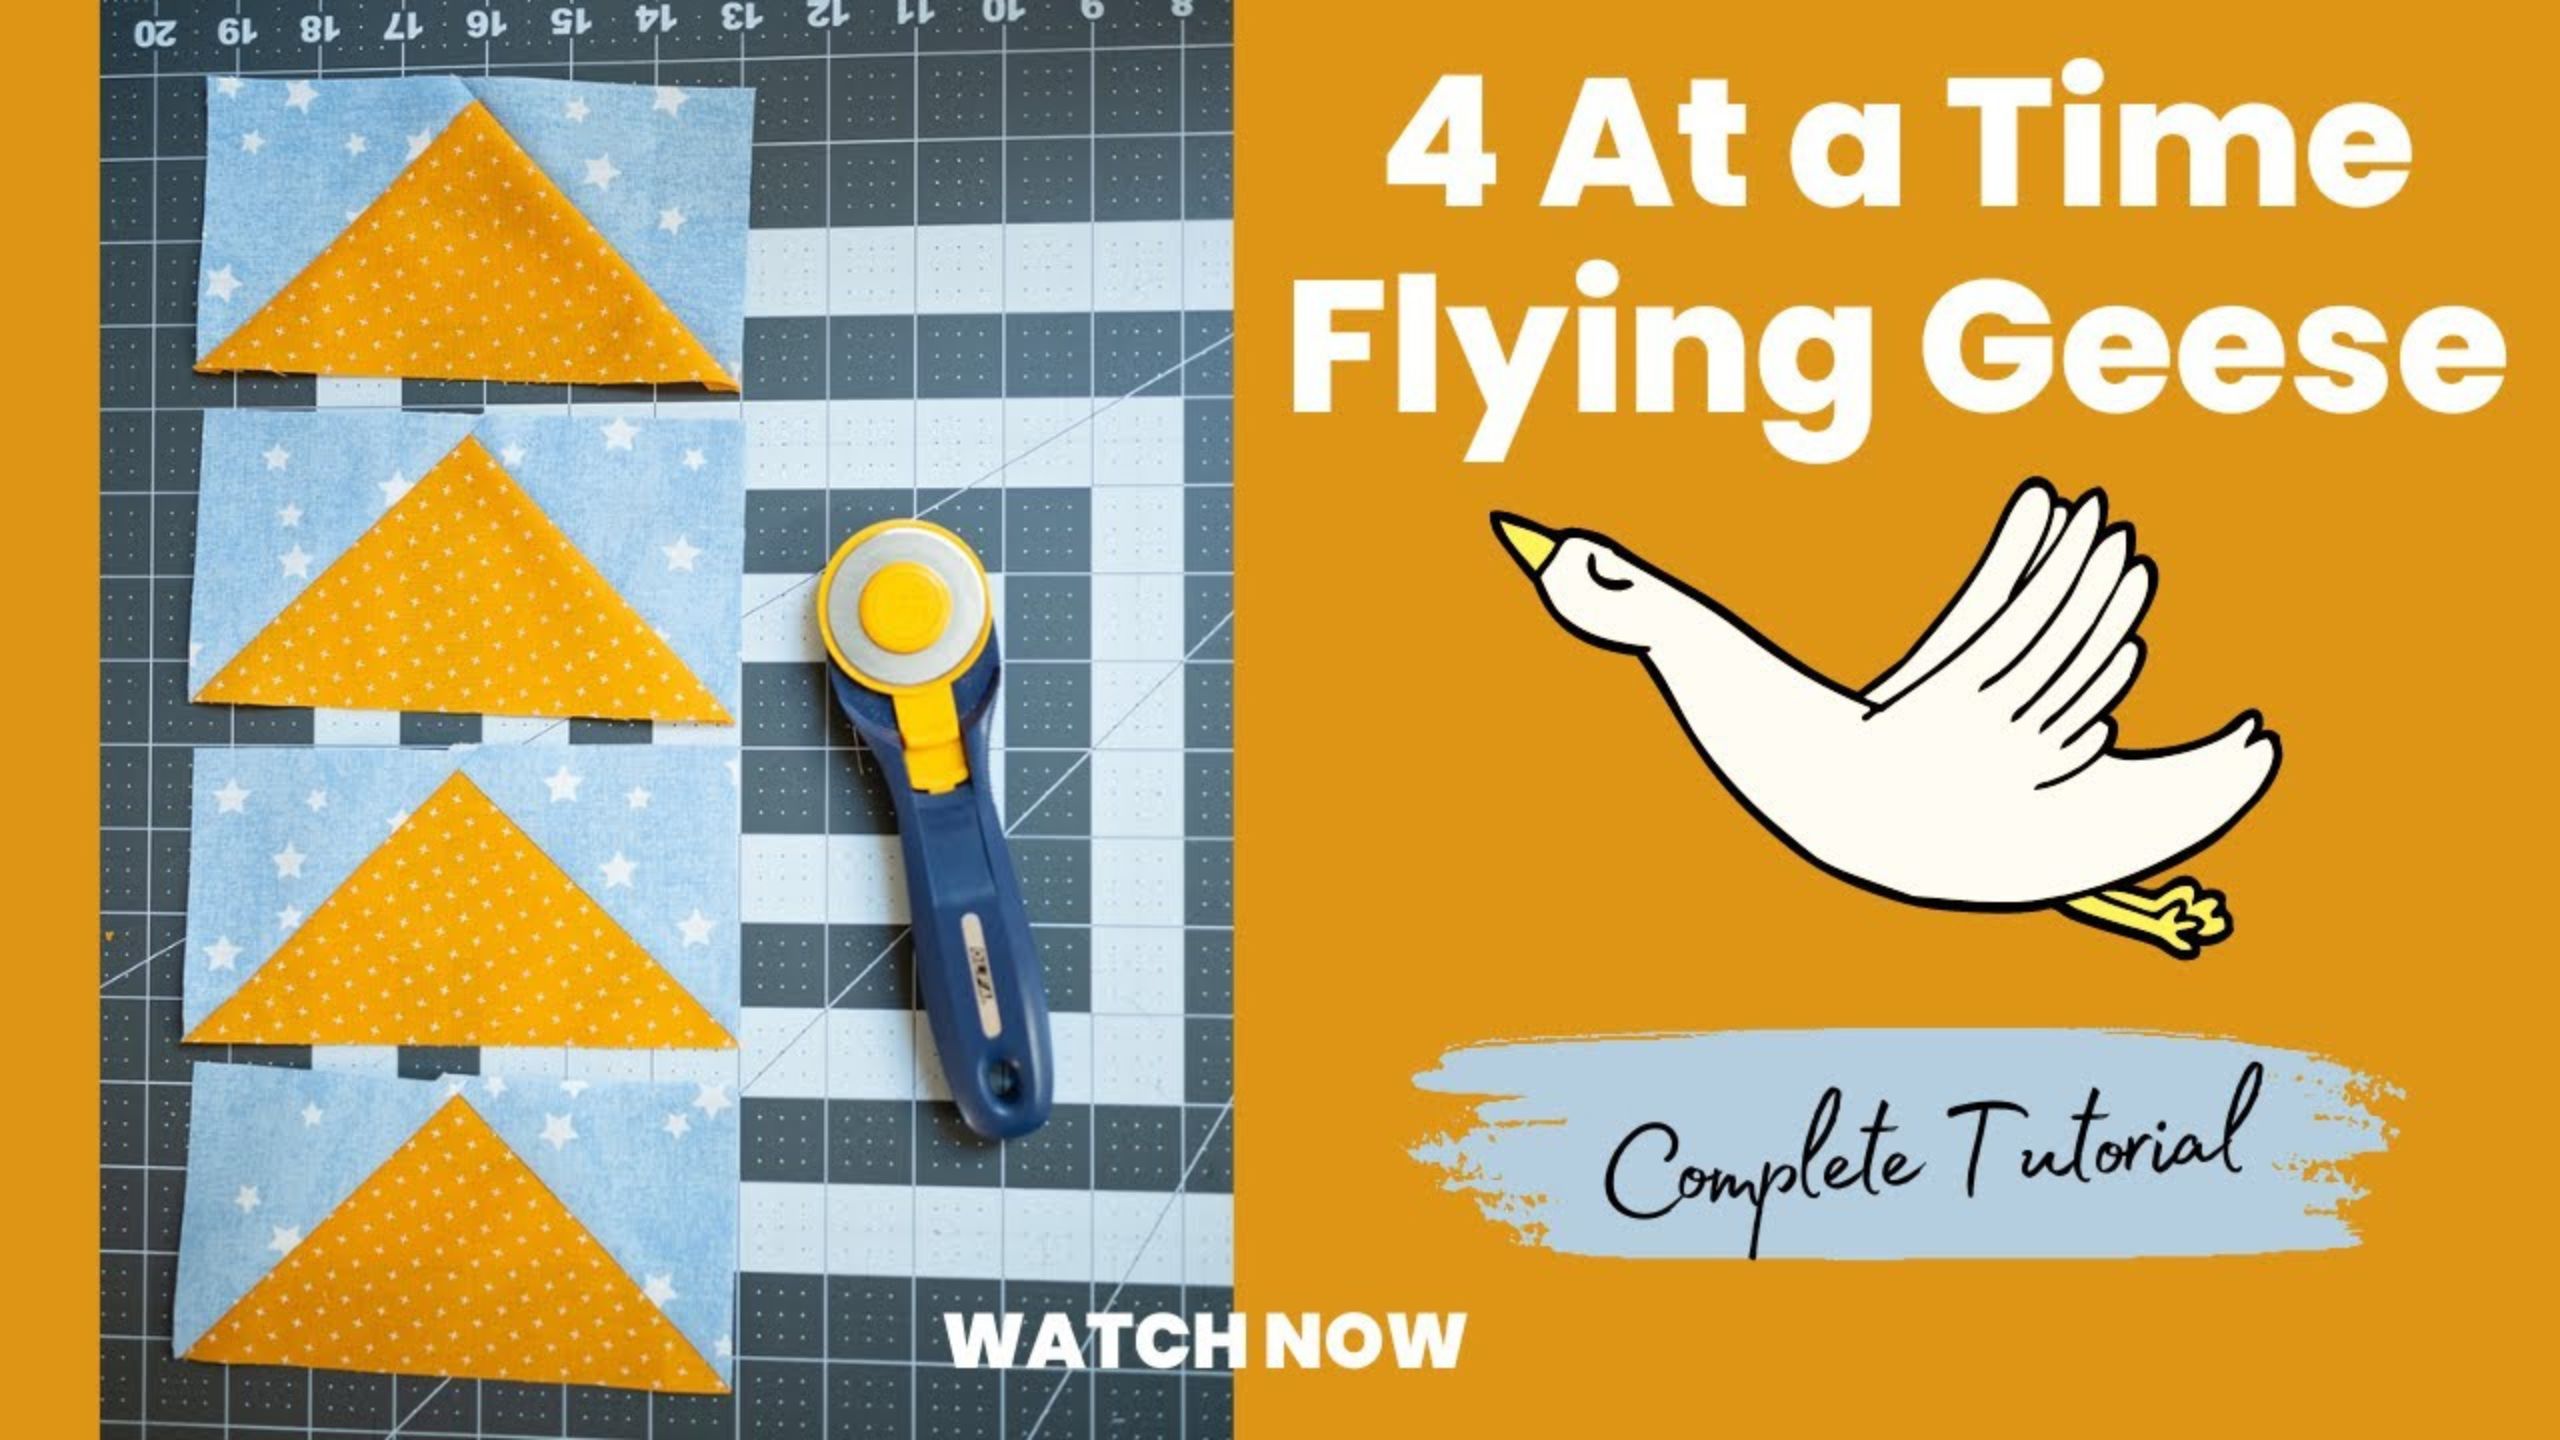
4 at a time FLYING GEESE using the Eleanor Burns method - a tutorial with Pattymac Makes
Learn the Eleanor Burns method for constructing 4 at a time Flying Geese units. In this video, Patty from Pattymac Makes shares a complete tutorial on an introductory method for making 6 x 3 flying geese units.
Instructor
Pattymac Makes
Patty is a creative lifestyle blogger living and working in Coastal Virginia. When she's not mixing or stitching or taking pictures, she is out exploring the cook book section of my favorite library or munching my own home baked cookies at a mid week movie matinee. Find out what she's up to by visiting her website!
Shop this tutorial



Chapters
- 0:0002:00 Introduction to & Anatomy of flying geese unit construction
- 2:4503:57 Why use the Eleanor Burns method of Flying Geese construction
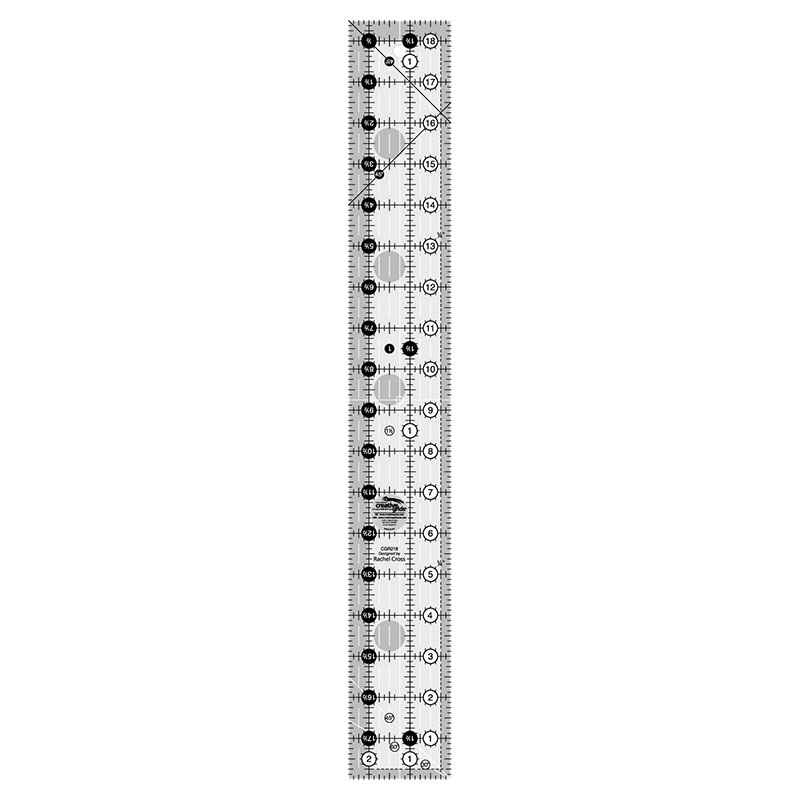
- 3:3804:30 Meet the Eleanor Burns Ruler
- 4:3108:15 Cutting instructions for a 6x3 Flying geese unit and initial set up
- 8:1609:52 Pressing the first cut AND setting up for part 2 of setting up the block
- 9:5310:55 Making sure the second part of initial unit construction is set up properly
- 10:5613:55 Marking, securing, sewing, cutting, pressing the next step of construction
- 13:3618:15 How to use the quilt in a day flying geese ruler to trim the block into 4 flying geese units
- 18:1618:49 Closing and thank you for watching!
Common Questions
What is covered in 4 at a time FLYING GEESE using the Eleanor Burns method - a tutorial with Pattymac Makes?
Learn the Eleanor Burns method for constructing 4 at a time Flying Geese units. In this video, Patty from Pattymac Makes shares a complete tutorial on an introductory method for making 6 x 3 flying geese units.
How long is the tutorial video?
The tutorial video is 00:18:50.
Are supplies listed for this tutorial?
Yes. The tutorial page includes the supplies and materials connected to this project.
Is a transcript available?
Yes. A written transcript is available on the tutorial page.
Video Transcript
You might try starting with non-directional prints to keep things easy.
Flying geese are tricky because you want to be mindful of the points at the corners and center point.
To start with, you'll need two squares of fabric.
- A 9" square of blue (the sky)
- A 7.5" square in yellow (the geese)
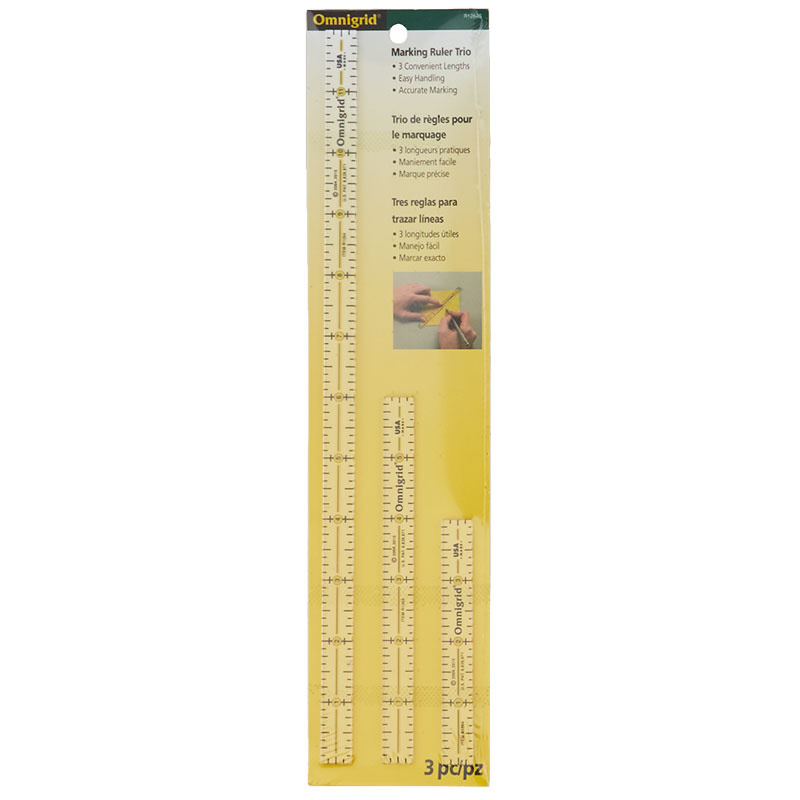
Mark the diagonals on the square by folding and finger pressing them, and then center the smaller square on top of the bigger one and pin in place. Use a marking ruler to mark the center or seam lines where you'll sew (like you would for half square triangles).
Now you will cut the squares apart with a rotary cutter. Press so the seams turn to the larger side (the sky).
Now place the squares right sides together with the blue and yellow fabric facing each other at the corners and pin well. You will see that in this case your seams will be offset and nothing lines up. That's correct!
Then add your marking lines, so you can sew on the diagonal, perpendicular to first seam. Sew and press the seams, and then cut apart on the diagonal.
Make a tiny snip on the sky side - don't cut the seam line! Now you're going to press the seams going the opposite directions.
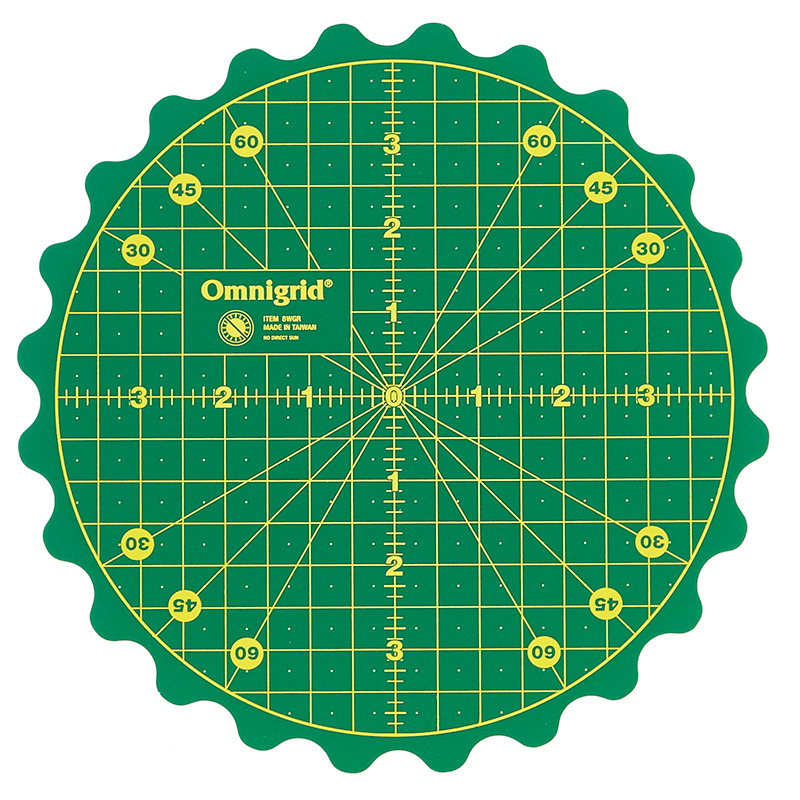
Now you're going to use the flying geese ruler and rotating mat for easy trimming and you're done!


