Equilateral triangles come together to create a stunning quilt! Misty uses the Missouri Star Equilateral 60 Degree Triangle Ruler to cut 204 triangles for this quilt. Precise piecing is the key to creating this work of art!
Misty Doan grew up surrounded by sewing and quilting. She loves spending time sharing tutorials each week each week, and when she’s not stitching up one of her fun sewing projects for home decor, most likely you’ll find her hanging out with her husband and three awesome kids or working on a house project.
Equilateral triangles come together to create a stunning quilt! Misty uses the Missouri Star Equilateral 60 Degree Triangle Ruler to cut 204 triangles for this quilt. Precise piecing is the key to creating this work of art!
How long is the tutorial video?
The tutorial video is 00:14:46.
Are supplies listed for this tutorial?
Yes. The tutorial page includes the supplies and materials connected to this project.
Video Transcript
Hey everyone, it is Misty and today we are going to be using this equilateral 60deree ruler to make this beautiful 60° starburst quilt. This quilt is such a fun one and I think you're going to be really surprised at how simple it truly is. I thought it was perfect for two colors, so I just went with black and white. And let me show you what you're going to need to make it up. First, you're going to need 4 and a3 yards of your black fabric and 7 yards of your white. But I have a little recommendation. If you have a couple of rolls of the skinny 1 and 1/2 in pre-cut strips, it's going to save you quite a bit of time because there's a lot of cutting. So, you could grab that instead. You're also going to need, of course, the 60° triangle ruler. And for your backing, you're going to need 5 and 1/2 yards with vertical seams or I use this great 108. And you're going to need 2 and 1/2 yards. So, let's go ahead and take a look at this quilt. I think it is so beautiful. And here is the backing. I love this news print. It's just something about it. All right, so let me show you how quick and easy this one is to make. So, believe it or not, this quilt is made up pretty much entirely of this 60° block right here. It is so simple to do, and I think the effect is quite stunning. So, we are going to begin by cutting 6in strips from our black fabric. And I have that ready to go. And we are going to cut out our equilateral triangle. And so I'm going to line up the 6 inch line across the bottom here. Make this first cut. There we go. I'm going to give this a press just to make things a little easier on myself. Here we go. And because these are solids and they're equilateral, it's okay to leave them folded. And so now we can just flip this over and cut the rest of the way down the strip. And you are going to need a whole lot of these, but it is worth it. So we are just going to cut all of our equilateral triangles and get them ready to go. There we go. And we might be able to get one more out of this end. So, I'll give that a press. And we can. Perfect. So, that's all the waste we have from our strip. Not bad at all. And so then now we are going to cut this in half right down the center. And so we can do that by laying the center line of the tool right against the edge of our cut triangle. And I just slide it all the way down to the point. So the point is lined up. And then we will cut this in half just like so. So now we're going to be using our 1 and 1/2 in strips. And this is where if you have them already cut at 1 and 1/2, it's going to save you so much time. And then to make this, we're going to subcut those into 7in rectangles, 10in rectangles, and 12in rectangles. So all of these are 1 and 1/2 wide by those various lengths. And so up first we are going to take our 7 in and I'm going to lay right in line with this bottom and sew a quarter inch seam down the side here. You do want to be careful when you're stitching this not to stretch your triangle at all. Just guide it gently under the presser foot. There we go. There is the first one. And so then now we can set this seam and gently roll it back. And now that we've done this side, we want to add the other. Just like so. Keeping that bottom all aligned. And now we'll sew a quarterinch seam here. Okay. Now, same thing. We're going to set the seam. Roll that back. Make sure you don't have any tucks or anything in there. Perfect. And now we're going to use this triangle again. And we're just going to make sure that our edges are lined up. I'm not really too worried about the measurement itself. I just need to make sure I get this point and that the center line Whoops. is running straight down the middle of that white strip that I added. So, that looks pretty good to me. And now we can trim this off. And like so. And so now we're going to move up a size. Remember, this was the 7in strip that we started with in the middle. And so now we're going to take the 10-in strip. We're going to add that to the left side. And I like to kind of float this in the middle. So you'll notice here that I've got some overhang at the top and the bottom. And we're going to need that in order to continue to square this up as we go. And so I'm just floating that in the center, making sure I have plenty at the top and the bottom. And then take a few stitches. Make sure we're straight all the way down this edge. All right. So, we'll press again here and roll that back. All right. So, you can see how this is going to get kind of repetitive. You're going to repeat the same process over and over again. So, this is a great quilt to do chain piecing on so that you can get one whole step done multiple times. That's by far the most efficient way to do it. So, this is one of those cases where doing the cutting ahead of time and be able being able to add all of your middles and then coming back and adding all of these is really going to save you time in the long run. And so now we can trim this. And so I like to turn it to make sure that one of my straight lines is lining up with this bottom edge. And so it matches up with the 7 and 1/2 inch line. now. And so we can just trim off this first point here even. And then rotate. Have it upside down actually. There we go. And trim this off here. There we go. And so now, same idea. But we're going to come back with that 12-in strip and we are going to float this in the center to attach the last side. So, let's go ahead and take this to the machine now and sew this one on. Okay, one more press and then we can trim our block. All right. And so now we just want to t uh trim the bottom edge up straight. So I'm just going to line this up along the edge here. Make sure actually got a little wonky. So I'm just going to trim it all the way across. There we go. Beautiful. And so then now I am going to use the 8 inch mark of my ruler and I'm going to make sure that the center is running right down the middle and right through this point here where the fabrics match. Those white fabrics are meeting at the tip. So we just want those to be completely centered. And you'll see I have a little bit of overhang on both sides. But this is how we're going to make sure everything is going to match up exactly how we want it to. And so now we can trim this away and trim this away. And now our block is complete. That is the majority of this quilt. I know it's hard to believe. So let's talk a little bit about the layout. Just like so. And so this is put together like any 60° quilt. And so you'll notice here is this block and then it turns here and then it turns here. And so it's just how you're spinning them to make this beautiful pattern. And so I like to start when I'm laying this out by making my star because I want this burst to take shape. And so that means all of the white points are going to come to the middle like you see here. I just think this is so fun. But then you can see how you're just going to sew these in rows. So this would just fold over and be sewn to this one. You're going to make sure you and nest those seams in the middle and line those up and then add the next. And you're just going to sew rows all the way across. Now, the only thing that I want to point out is right on these ends here, you'll notice that we have like a partial block. And so, for the sides, the tops are exactly the same as the block I've shown you, but we did a little bit something different for the sides. So, let me clean this up now and I will show you. So, for the side blocks, they actually look like this. And so to make these, you are actually going to cut a 7 in strip of your black fabric. Remember, our others were six. And so this one's at seven. And we're going to cut out those equilateral triangles. So just like so. And then you're going to take your 1 and 1/2 in by 10 in strip. And you're going to add that to one side. So the same process we did before, but it's just going to look like this once it's sewn and pressed back. And then as long as you have a consistent quarter inch, this should finish it at an 8 inch equilateral triangle, which means it matches up perfectly with those squared blocks that we did before. And so that is what you're looking for. So let's go ahead and lay this out one more time so you guys can see how these are going to fit in. And remember, we're going to start with our star and the whites are going to go to the middle. That's what we're looking for. And you are going to want to lay out this whole quilt before you sew it together in rows because the layout is very important. And so then we'll add these in and these in. Whoops. There we go. Beautiful. And one more. There we go. And so then for these side pieces, they are just going to set in here. And what that is is to continue the thickness, the same width that you have throughout the rest of this quilt. And so then, you know, of course, you're just going to sew these in rows. And so you'll begin by sewing this to this and adding the next and the next all the way across. And then once you have your rows sewn, you'll sew those together. And then we will trim off this edge and square it up. And this quilt is going to finish 76 by 86 when it's all quilted. And so that is actually 12 rows of 17 equilateral blocks. So when you're doing 60°, it's kind of a little different. So it's 17 across by 12 down. And I just think this quilt turns out so beautiful. I actually think it would be really pretty with kind of scrappy fabrics behind it and those solid bursts running through it. So, don't be afraid to play. I can't wait to see what you make, and I'll see you next time on At Home. Hey everyone, thank you so much for watching at home. We're so excited to be almost a million quilters strong here at Missouri Star. And so, if you haven't already joined our family, be sure to subscribe and hit that notification bell so you can be notified of all of our future tutorials. And we'll see you soon.

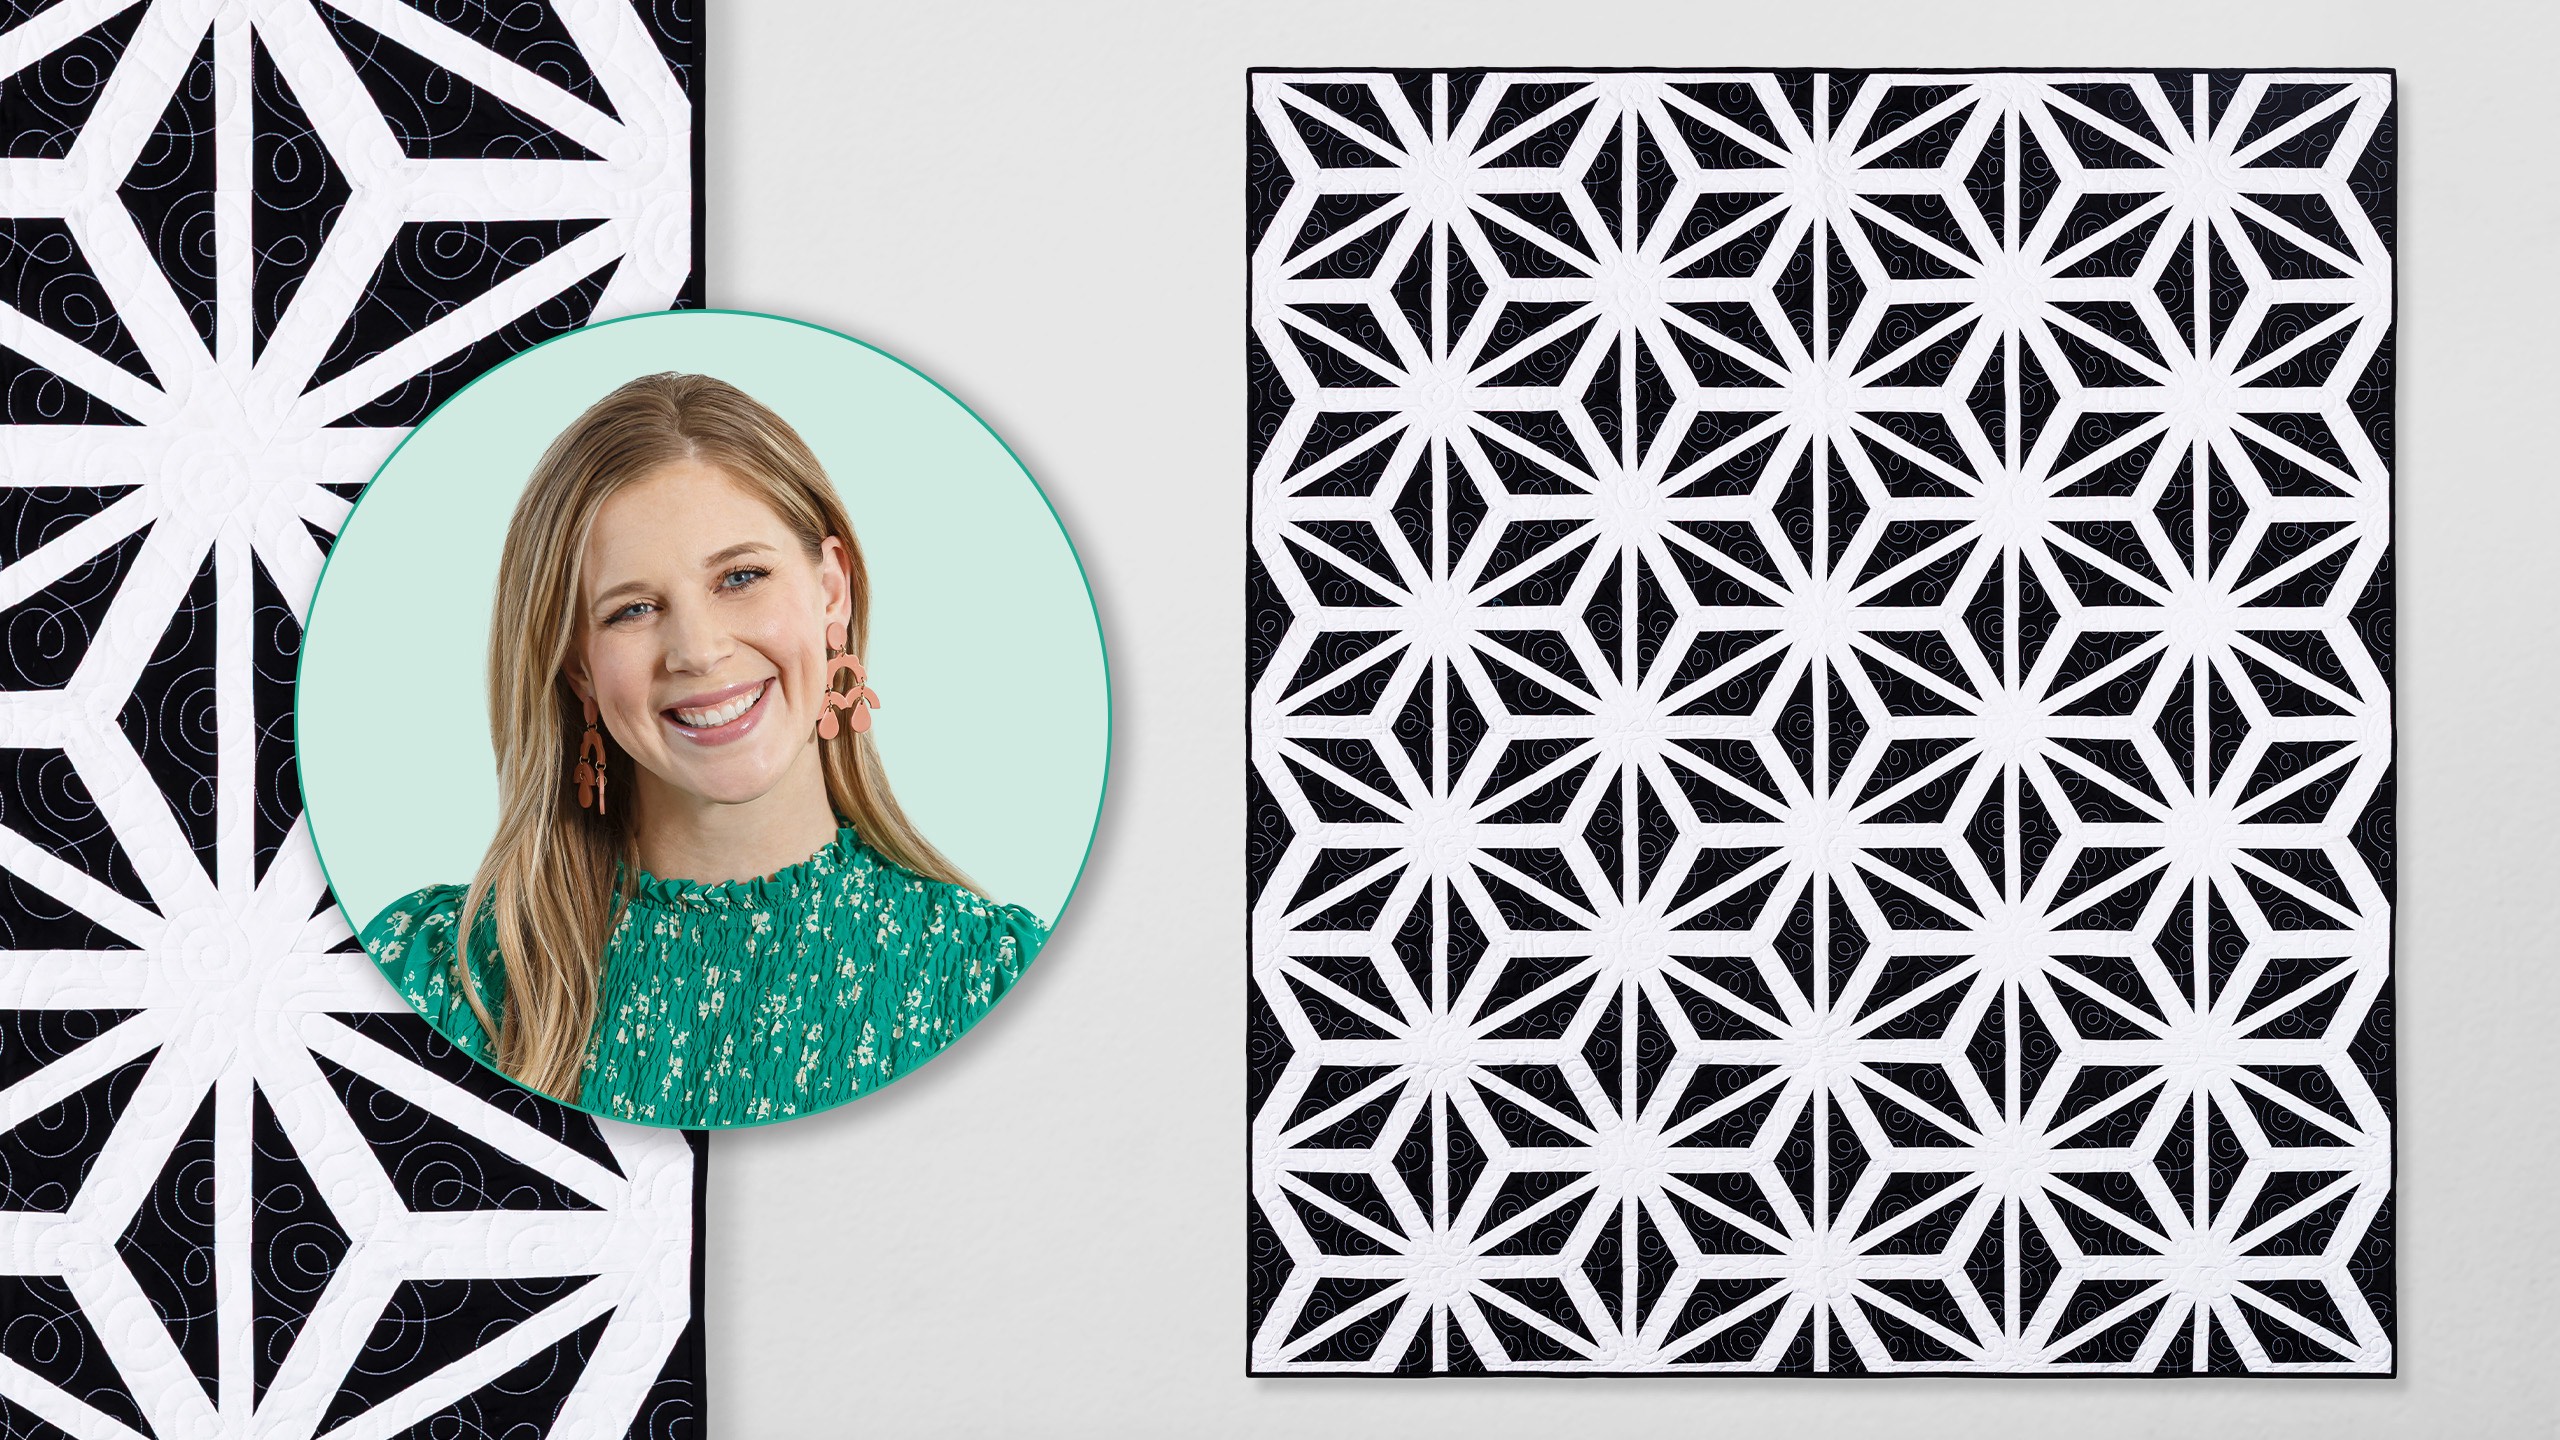
 Misty Doan
 Kona Cotton - White Yardage$7.48Shop →
 Kona Cotton - Black Yardage$7.48Shop →
 108" Quilt Back - Story Collection Newsprint Spackle 108" Wide Backing$19.20Shop →
 Missouri Star Quilter’s Best Blend Full Batting$32.95Shop →
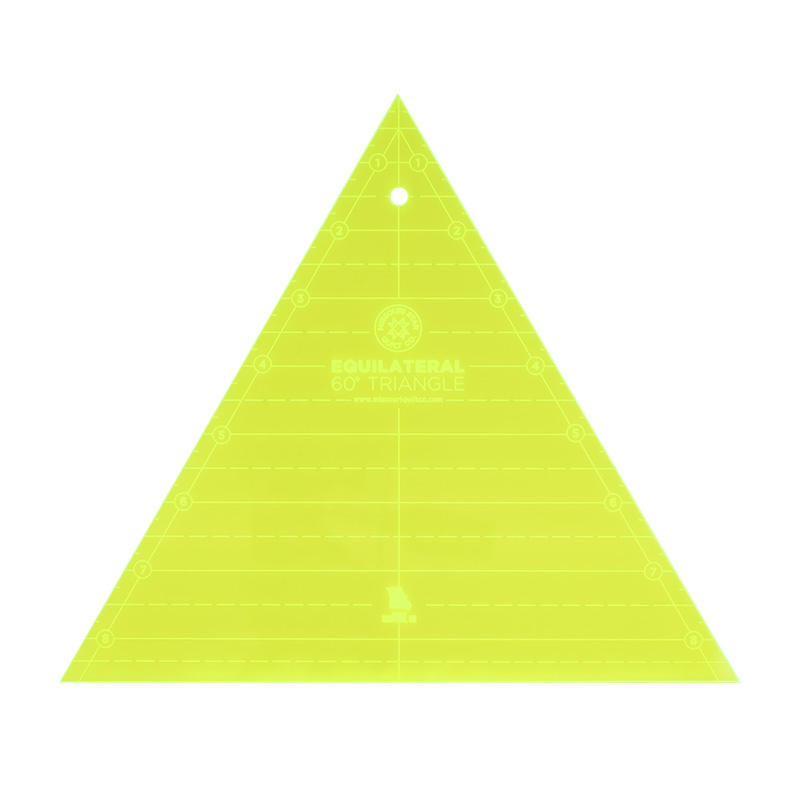 Missouri Star 8" Equilateral 60 Degree Triangle Ruler$17.95Shop →
 Missouri Star 5" x 15" Ruler$19.95Shop →
 Missouri Star 45mm Rotary Cutter - Olga$19.95Shop →
 Missouri Star 8" Everyday Scissors - Amelia$19.95Shop →
 Missouri Star 50 WT Cotton Thread White$7.95Shop →
 Missouri Star + Oliso TG1600 ProPlus Iron$209.95Shop →
 Missouri Star Wooly Betty Board - 17.25" x 25.5" Orange Border$99.95Shop →
 Bernette 77 Sewing and Quilting Machine$1699.00Shop →
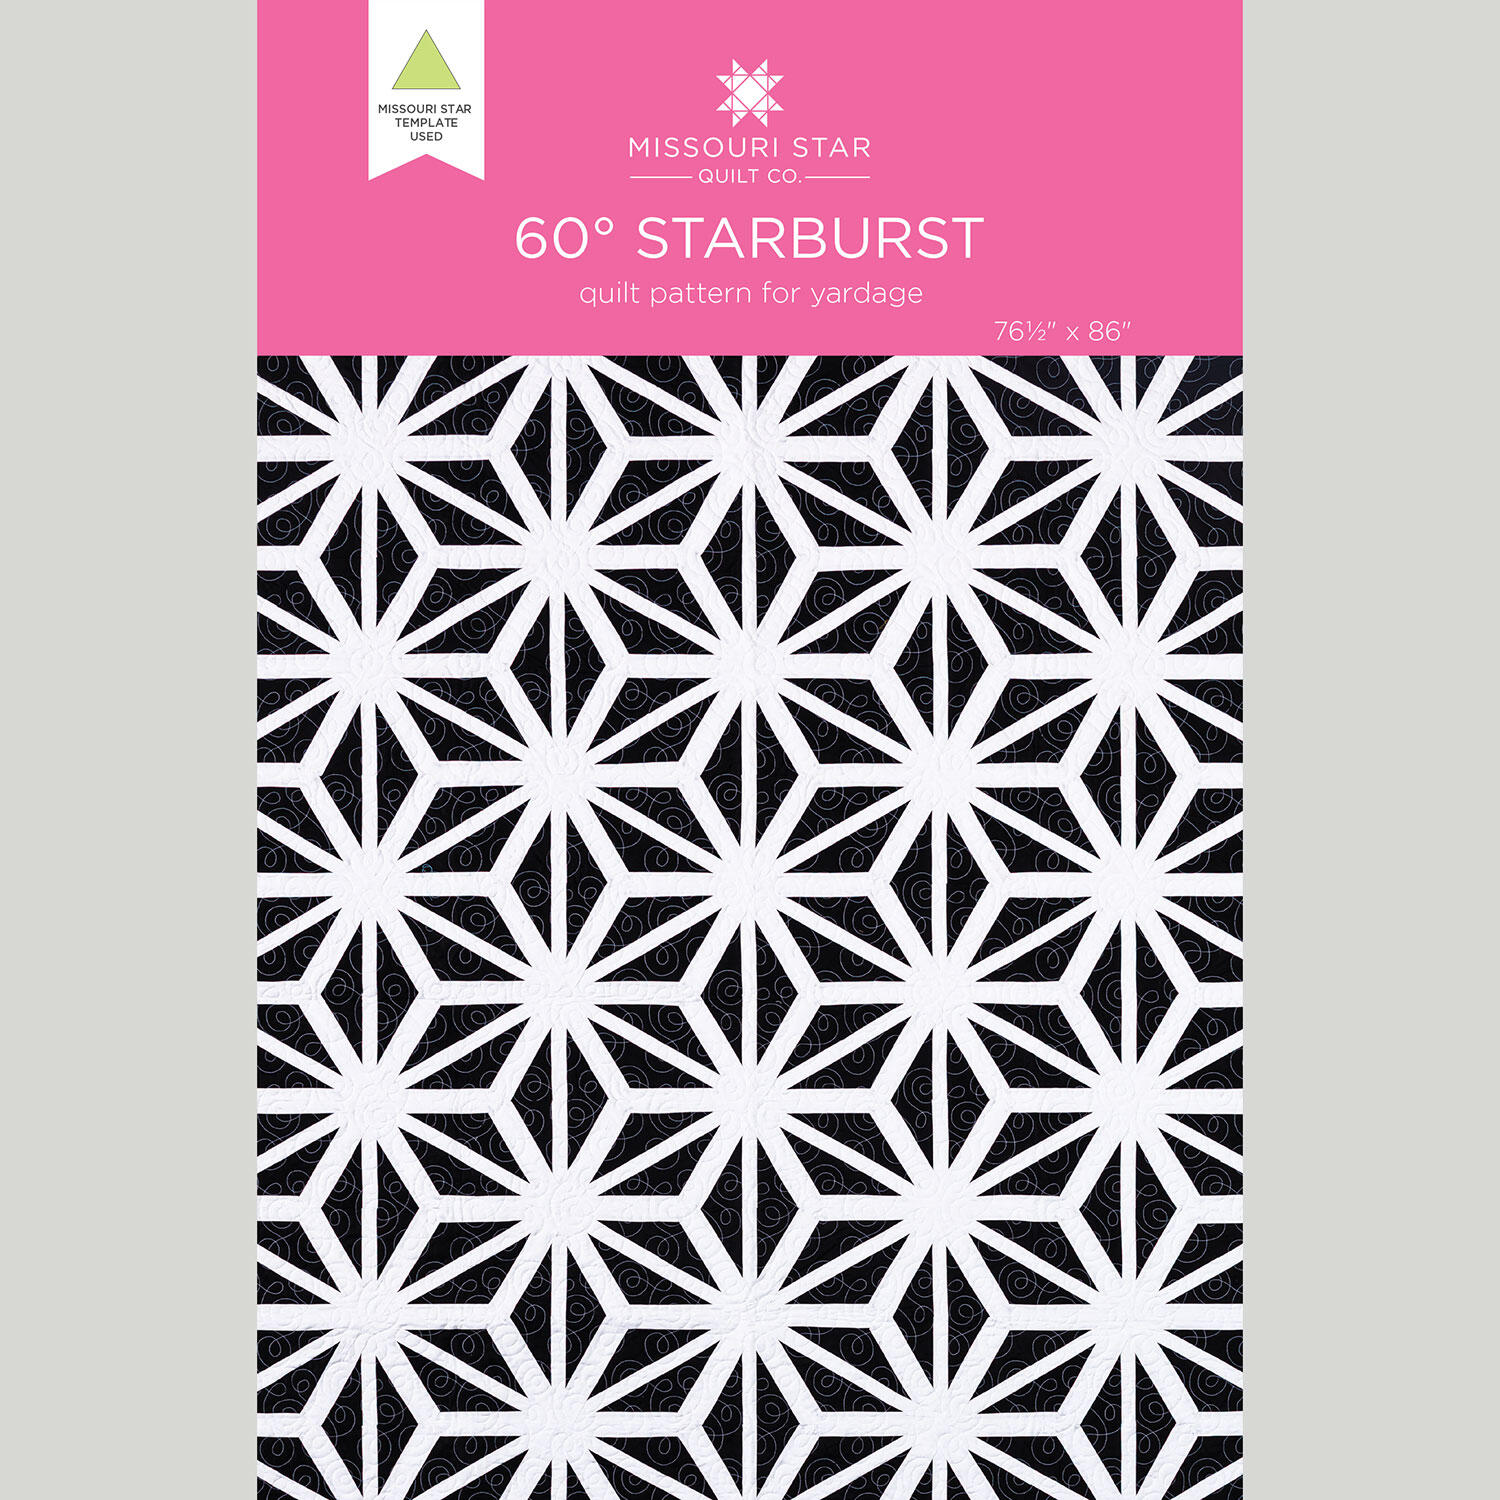 60º Starburst Quilt Pattern by Missouri Star$8.50Shop →
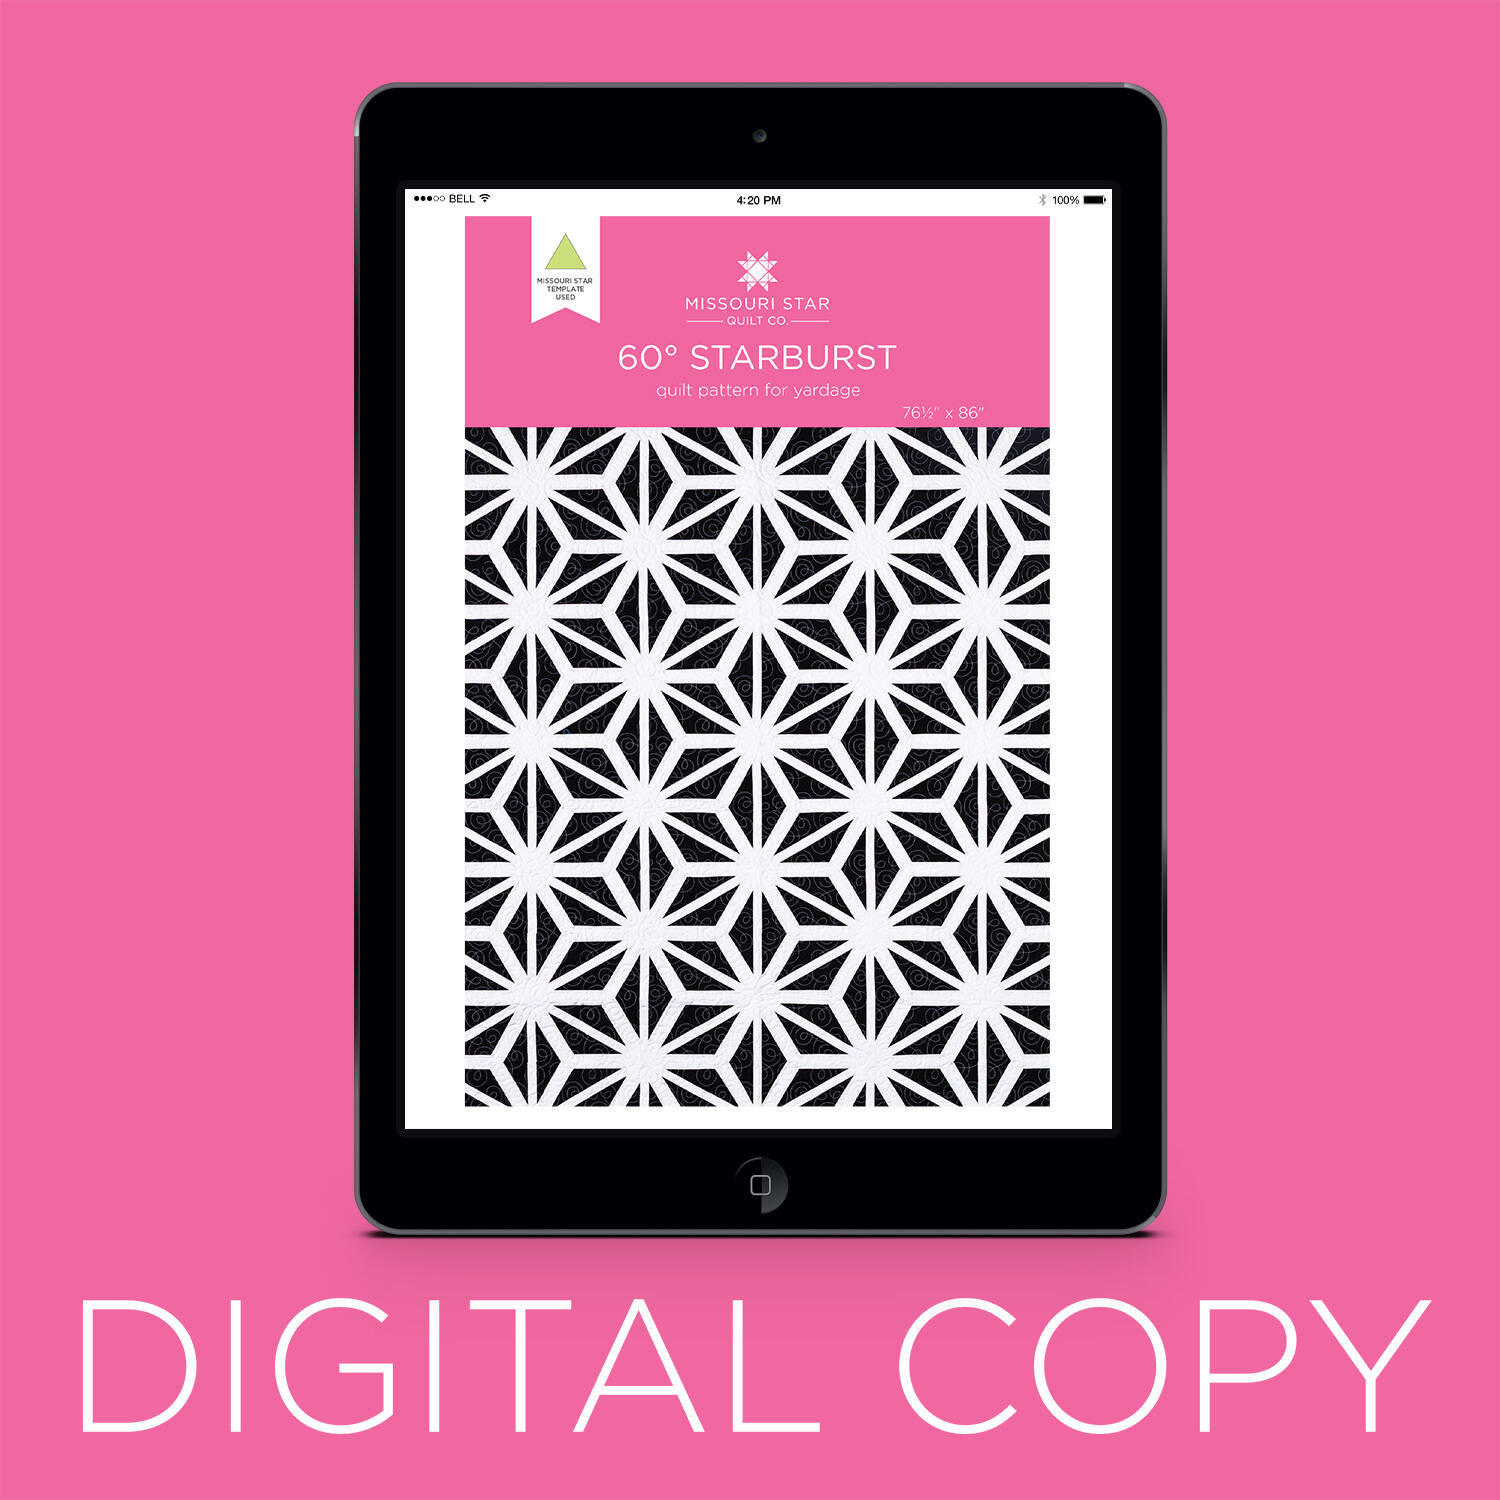 Digital Download - 60º Starburst Quilt Pattern by Missouri Star$6.95Shop →


