

Applique Mushroom Tote Bag
There's no limit to how mushroom a crafter has in their heart! Join Misty as she shows you how to create a stylish appliqué mushroom design on a canvas tote—a charming accessory you'll want to take everywhere. This beginner-friendly project is a perfect handmade gift for the nature lovers in your life. Use the Missouri Star Mushroom Nesting Template and you'll see how much this project grows on you!

Instructor
Misty Doan
Misty Doan grew up surrounded by sewing and quilting. She loves spending time sharing tutorials each week each week, and when she’s not stitching up one of her fun sewing projects for home decor, most likely you’ll find her hanging out with her husband and three awesome kids or working on a house project.
Shop this tutorial
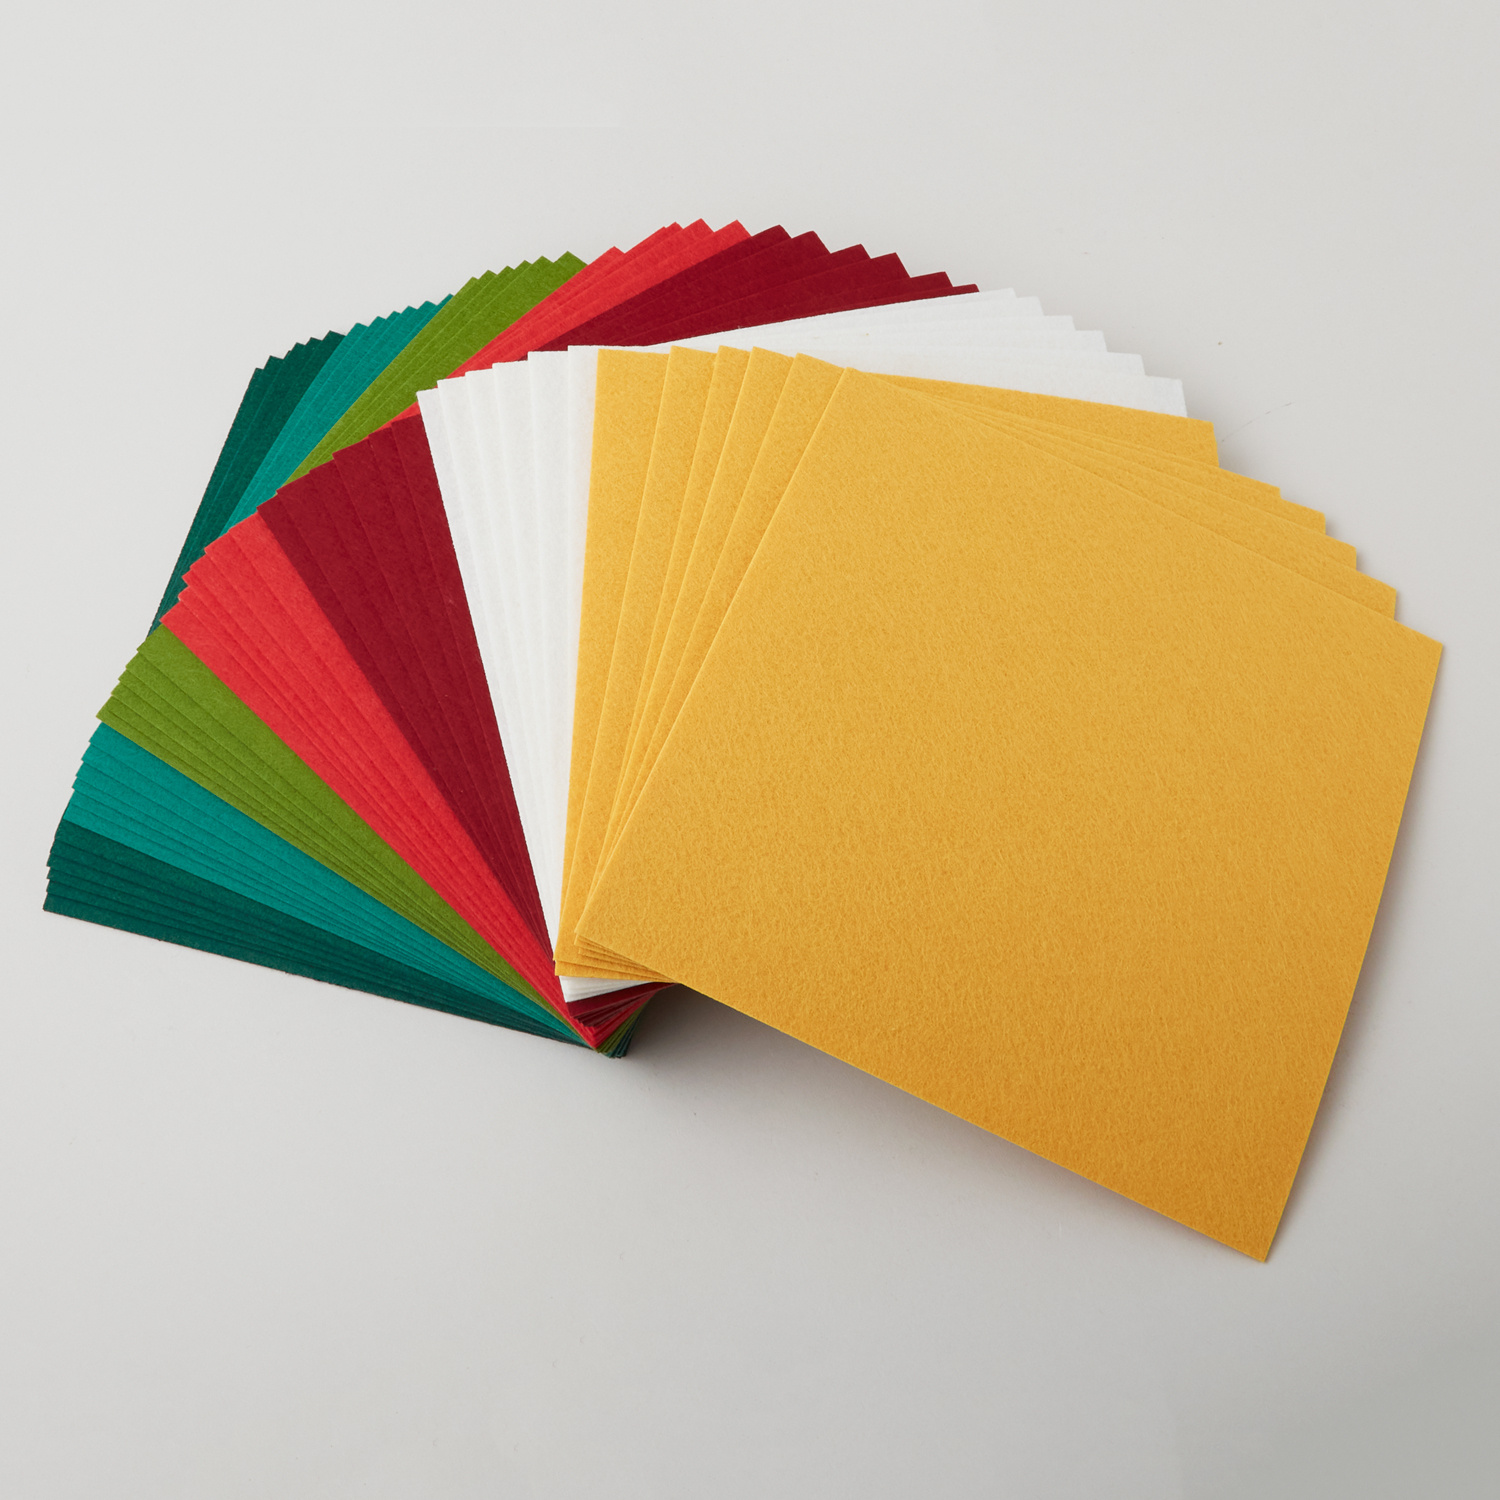 10" Felt Squares - Holiday Pack$29.95Shop →
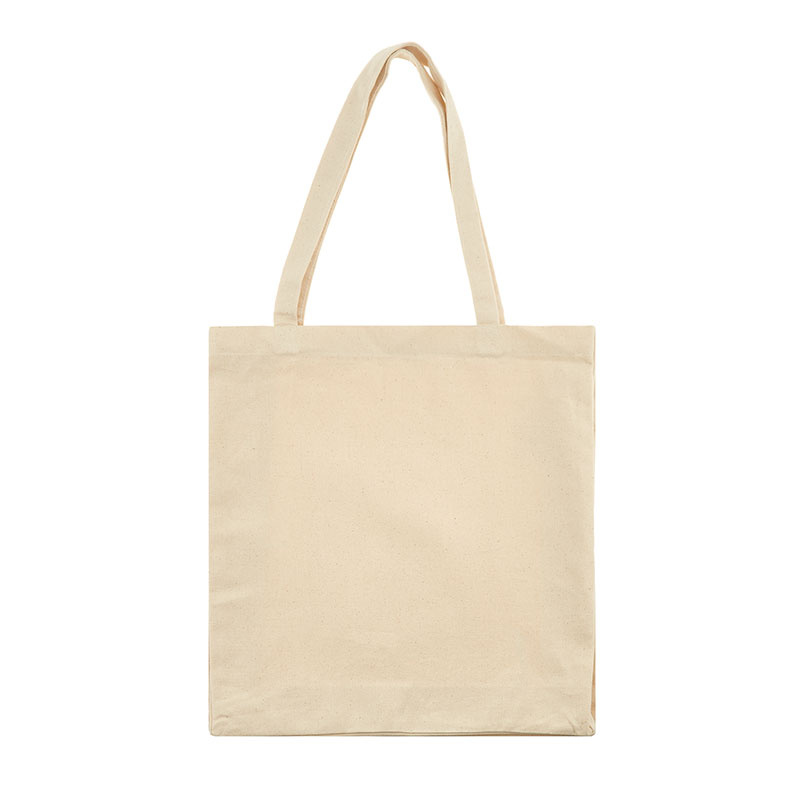 Tote Bag$7.45Shop →
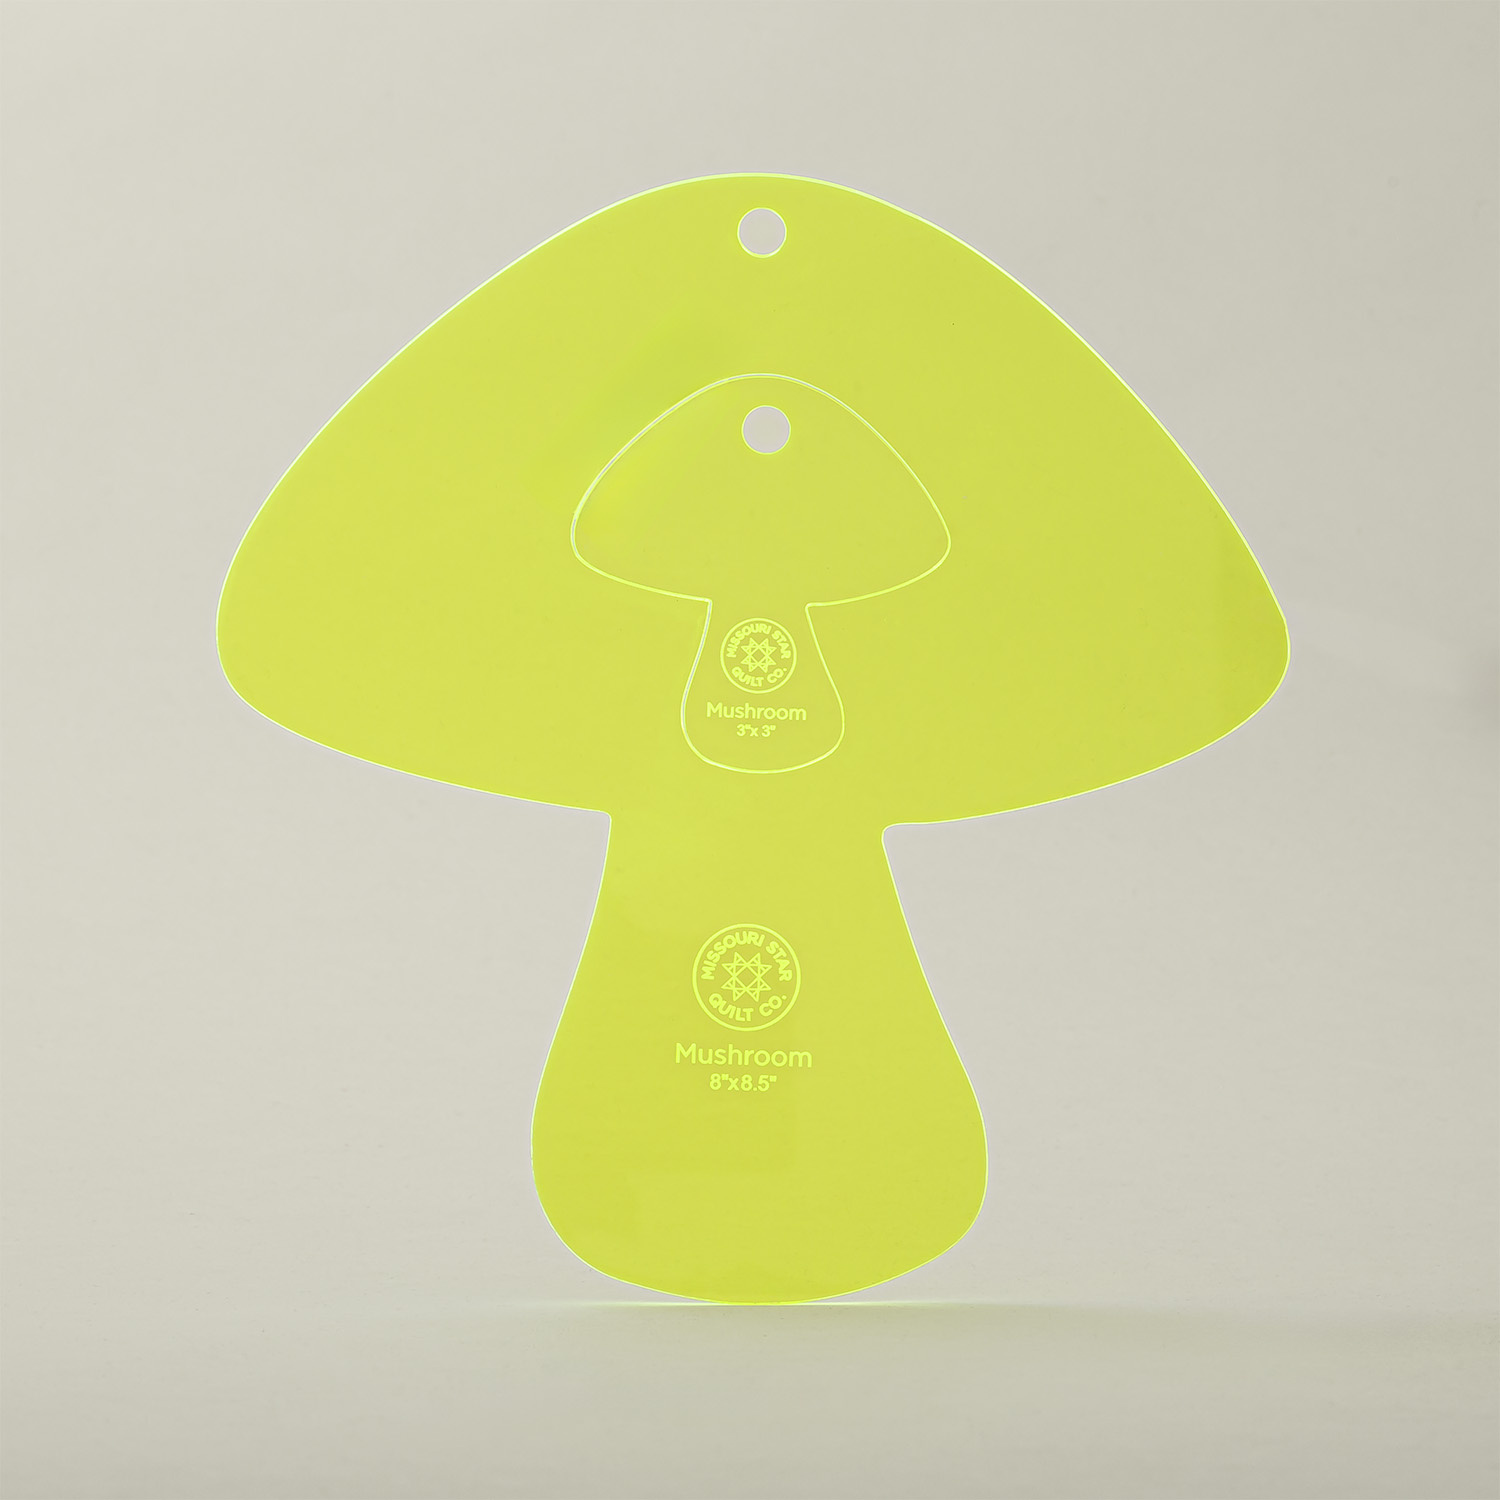 Missouri Star Mushroom Nesting Templates$12.95Shop →
 Quilter's Favorite Dispenser - Quilt Town$18.95Shop →
 Missouri Star Sew Light Fusible Adhesive - 17" x 2 yards$4.95Shop →
 CutterPillar & Missouri Star Glow Premium Light Board$169.99Shop →
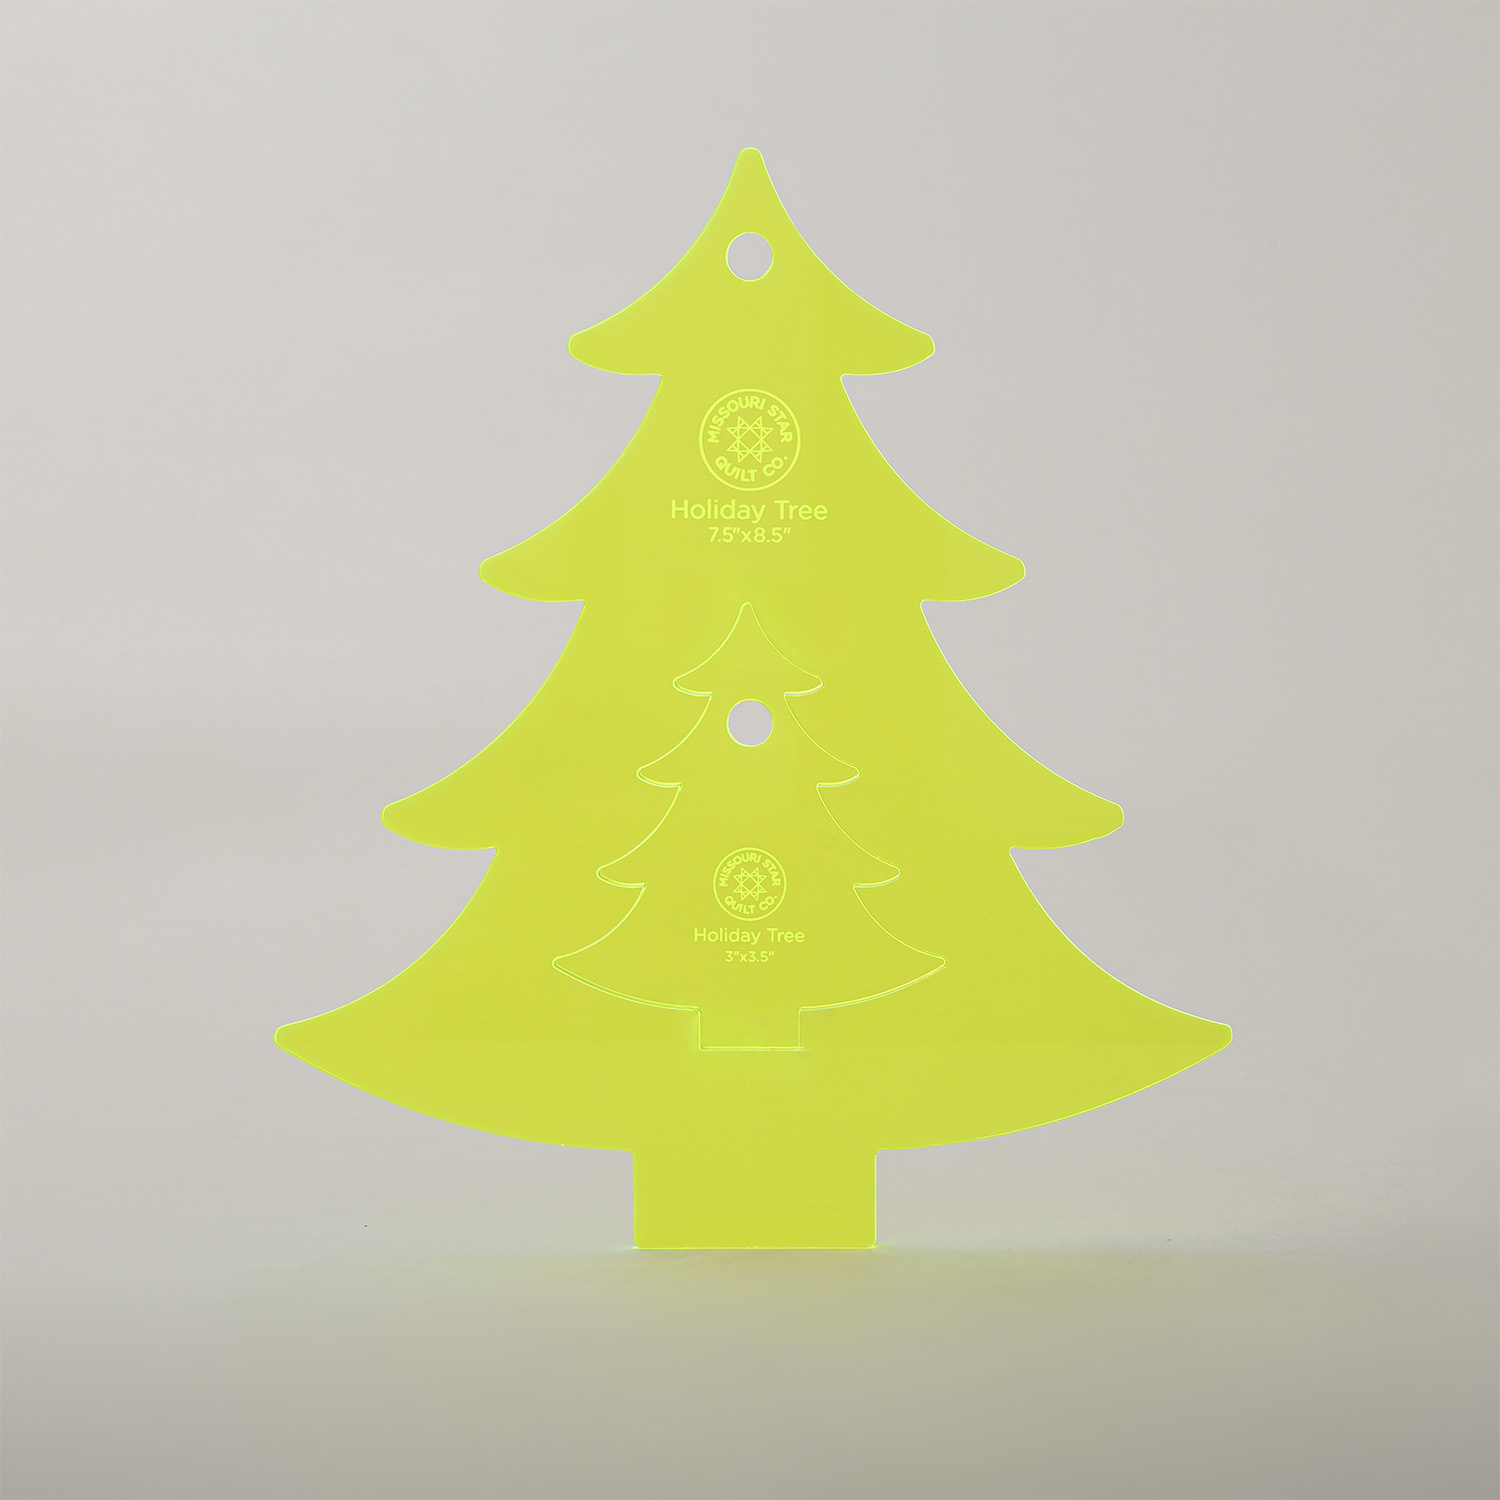 Missouri Star Christmas Tree Nesting Templates$12.95Shop →
 Missouri Star Holly Leaf Nesting Templates$12.95Shop →
 Missouri Star Maple Leaf Nesting Templates$12.95Shop →
 Missouri Star Oak Leaf Nesting Templates$12.95Shop →
 Missouri Star Pumpkin Nesting Templates$12.95Shop →
 Missouri Star Nesting Sn-UGLY Sweater Templates$12.95Shop →
 Missouri Star Squirrel Nesting Templates$12.95Shop →
 Missouri Star 2.5" x 8" Ruler$11.95Shop →
 Missouri Star 8" Everyday Scissors$19.95Shop →
 Marbled Glass Head Pins$7.75Shop →
 MonoPoly™ Invisible Thread - Clear$8.75Shop →
 Exclusive Missouri Star Jenny TG1600 ProPlus Oliso Smart Iron$199.99Shop →
 Missouri Star Wooly Betty Board - 17.25" x 25.5" Orange Border$99.95Shop →
 Bernette 77 Sewing and Quilting Machine$1499.00Shop →
Common Questions
What is covered in Applique Mushroom Tote Bag?
There's no limit to how mushroom a crafter has in their heart! Join Misty as she shows you how to create a stylish appliqué mushroom design on a canvas tote—a charming accessory you'll want to take everywhere. This beginner-friendly project is a perfect handmade gift for the n...
How long is the tutorial video?
The tutorial video is 00:14:56.
Are supplies listed for this tutorial?
Yes. The tutorial page includes the supplies and materials connected to this project.
Is a transcript available?
Yes. A written transcript is available on the tutorial page.
Video Transcript
So like I mentioned, sometimes we just need a really quick and easy project. Something to make for a gift or for a friend. and I think this really fits the bill. We have all kinds of wonderful holiday templates here at Missouri Star, whether you want these cute mushrooms, some trees, something more Christmas-y - there's just really options for all kinds of different styles!
So up first you're going to want to grab one of those that you like, or maybe a couple. I'm going to use mushrooms today! Then you're going to want to pick up this pack of our craft felt. And if you haven't used our felt before it is super heavy duty. It's made so well and it just is a really nice addition and texture to a project. So you're going to grab that, some Invisible Thread, some fusible, and one of these ready to go canvas totes. So let's go ahead and get started.
Okay, so I have my templates ready to go. I've peeled off that paper backing. For this particular project you don't really need to see through it, so you can leave it on if you want - it's no big deal. I'm going to begin by grabbing a piece of my fusible, So I'm just going to pull off a good size piece here and trim that. Then I am going to trace my shape using a pen onto the paper side of my fusible.
All right, I'm just going to trace all the way around, there we go. I'm just going to do one of the large mushrooms and then we're going to add in
some of these little guys to go along with it. You don't need a ton of space in between - we're just going to kind of roughly cut these out. There we
go and maybe one more. This part is really quite forgiving. We're just going to, you know, trace around there and it's good to go.
So then I'm just going to use a straight edge here to kind of connect the tops of my mushrooms, there we go. Because we are going to make these
separate colors. So just just like so. Now I'm going to use my scissors and I'm just going to rough cut these out. We don't want to cut right on the line now, we'll do that later. You'll just take your time and cut out however many you want to add to your bag and one more perfect.
So then now I am going to just cut right along that line that I drew just to separate my tops and bottoms, just like so. And I'll just kind of keep them in little separate piles, all right there we go. Now I'm going to pull the colors that I want to use from my pack of felt. I'm going to use one piece of this white, go ahead and break this open here. So I'll use some of the white and some of the red for the tops of my mushroom. There we go.
Now we're going to take our pieces and we're going to go over to the ironing board. And we will fuse all of these onto the felt, so let's go ahead and take these over here. So we'll start with our red which is going to be all of the mushroom tops here. So I am just going to set this on the felt and press it in place. Beautiful. Then we can add these little guys as well. I was kind of curious how this felt would handle the heat of the iron and it just does beautifully with no issue at all.
All right now I'm moving on. We'll do the same thing with our little stems of our mushroom. And one more, there we go. All right once you have all of those fused in place, we're just going to take a minute and now we're going to cut right on those lines that we drew. So I'm going to go ahead and do that and I'll meet you back here.
All right I have cut out all of my shapes. So here are the tops of my mushrooms and my cute little stems. And I have my tote bag. I went
ahead and brought my pressing mat and my iron over here. Just a reminder this has a protective layer, so I can use it safely on my mat. But you always want to be really careful when you are using a pressing mat on top of a cutting mat. You just maybe don't want to risk it, but I know it's safe with this one.
So then we're just going to take our tote bag and we are going to figure out where we would like these to go. So I'm just going to start by peeling off the back of my fusible and setting these into place. So of course this large mushroom cap matches up with that stem. And they're not overlapping or anything like that because of the thickness of the felt. That's not something we want to mess with. We're just butting them right up next to one another. Here's one of these little guys, and one more. I think I'm going to move this up just a little bit on this one and then put this guy down here. I like that they can just kind of have some whimsy and some movement to them. There's really no rhyme or reason - you just kind of eyeball it and decide where you like it to go.
So now I'm going to go ahead and put a few little pins in here because we're dealing with some thick layers of the felt and then also the canvas. I'm just going to pin these in place and then we're going to turn this inside out and we're going to press it from inside and that will just make sure that this really adheres. So just take your time, make sure you have everything where you want it. There we go. See I'm pinning through both the stem and the mushroom just to make sure that they stay really close together there. Whatever works for you. There we go, all right. I think those look great.
So now I'm just going to flip this inside out. I am going to just kind of peek in here and make sure that everything is still laying nicely. Double check to see if I need to add any other pins, but everything looks great from what I can tell. So now we'll just finish making sure this lays as flat as we can get it and then I can flip this over and give it a good press. So again double checking, there we go. And you're just going to want to hold it on there long enough for that adhesive to really set. It might be a little longer than you're used to with standard quilting cotton just because of the thickness, but it will work just fine. Here we go and this guy down here and then now I always like to just kind of reach in here and make sure that things are fused. It looks like I need a little bit more on this large mushroom right
here, and everything else has stuck just perfectly.
All right, so now we can carefully turn it right sides out, of course watching for those pins. There we go, lovely! All right, those look really cute. So now we'll pull out our pins and the next step is I took what was left of my little white section here and I just cut some freehand circles. So you can either fold it and cut, but I figure these are you know mushrooms that are found in nature, they're probably not going to be perfectly round so I just cut a few out. In fact, I liked them better when they were more kind of oval and wonky, rather than perfectly round. And you'll notice these do not have fusible on the back. That was kind of done on purpose. I just tested it out with the fusible and it was just too hard to get through all the layers. I found a great way to add these without having any issues. So here we go, we've got a few ready to go.
So now what you're going to want to do is you're going to put some Invisible Thread into the top of your machine and some standard white thread or gray, whatever you are comfortable with, into your bobbin. I really love this Superior Invisible Thread - it just does a beautiful job. To start with I am just going to place my little dots on top of my mushroom and then we're going to go ahead and move my pressing mat out of the way. I'm going to go ahead and take the table off of my machine just to make it easier for me to work, there we go. I'll set that out of the way as well.
So then now, for these little circles, that's the first thing we're going to stitch down. We are going to lift our presser foot and I can just slide this right in. I'm just going to stitch an X across those circles to start with and that is how I tacked them in place. It is super easy because the felt kind of just holds itself together, so I don't even have to pin those in place. Back stitch a little bit, and then you'll just do that same thing until you've added all of your circles to both your large and your small mushrooms. Then I'm going to come back around the outside edge with a blanket stitch or a zigzag, whatever style you like.
So let's take a look here on the finished ones. You can see all these little…like some of these I just did one straight line, some x's, a few little lines of stitching here and then finished it off around with that blanket
stitch. The Invisible Thread just blends right into that felt, which I think is so nice. I think it would be super cute to take some embroidery floss and maybe add some little grass or flowers, kind of mixed in here with these
mushrooms. I just ran out of time, but I think I'll do that. And then I thought I'd show you this Christmas one as well. I just used from the same pack of felt three of the different colors of green and then before I fused them in place I added a bunch of little just French knots to add some ornaments to the tree. I just think it turned out so cute!
So use your creativity. I can't wait to see all the different versions of these tote bags that you make using these templates and I'll see you next time on At Home!



