Show your love of America with a patriotic picnic quilt! This quilt is just right for spreading out on the grass for summertime picnics and to watch Independence Day fireworks or parades. But it works just as well as a throw quilt inside your home all year long! Three cheers for the red, white, and blue!
Misty Doan grew up surrounded by sewing and quilting. She loves spending time sharing tutorials each week each week, and when she’s not stitching up one of her fun sewing projects for home decor, most likely you’ll find her hanging out with her husband and three awesome kids or working on a house project.
Show your love of America with a patriotic picnic quilt! This quilt is just right for spreading out on the grass for summertime picnics and to watch Independence Day fireworks or parades. But it works just as well as a throw quilt inside your home all year long! Three cheers f...
How long is the tutorial video?
The tutorial video is 00:17:04.
Are supplies listed for this tutorial?
Yes. The tutorial page includes the supplies and materials connected to this project.
Video Transcript
Hey everyone, welcome to At Home. I am your host Misty Don and I have a super fun quilt to share with you. It's called Armored Star. Let me show you how to make it. [Music] [Music] This quilt is so fun. It's made up of two simple blocks, and I really love the magic that happens when you set them together. I think it turned out so fun. So, to make this quilt, you're going to need one package of 10in squares. And I used Patchwork Blue by Maywood Studio. You're also going to need 1 and 1/8 yard of accent fabric. I chose red. I loved that it kind of made this a patriotic project. You'll need 2/3 of a yard of light background fabric, and that includes that first little 2 and 1/2 in border. And then for your outer border, you'll need one yard. For your backing, I use this really fun cheater print. You need three and 5/8 yards. And it's also handy to have a squaring tool of your choice. I'm using Clearly Perfect Trimmer A. So, like I said, this is made up of two simple blocks. First, we have this star block and then this adorable little square in a square. Both really easy. So, let me show you how we're going to make these. First, we're going to grab two contrasting 10-in squares. So, I have a gray and a blue here. And I'm just going to straighten these up. And I am going to cut them together because this will give us enough to make one of each block. So to begin with, we are going to cut a 4 and 1/2 in strip. And actually, I'm going to swap these to make it easier to see. There we go. Make it easier for everyone. Make sure we're nice and straight. There we go. So, back to this a 4 and 1/2 inch strip. off of one side. I'll move this aside for now. And then we're going to cut this into 2 and 1/2 by 4 and 1/2 in rectangles. And one more cut here. There we go. And so then now from this other piece we are going to cut two two and a half inch strips. There's one and two. And this is our little bit of waste. So I'm just going to toss that in the trash. And then I'm going to go ahead and stack these up just to make it easier for me. If you don't like stacking, you can cut these separately, but I'm all about efficiency. So, now we will cut these into 2 and 1/2 in squares. And one more here. There we go. All right. So then now once I have all of my cuts done, we're going to sort these a little bit. So I'm going to make piles of my lights and darks. And you should have eight of these squares of each. Feel like I need some background music. There we go. And then we're going to do the same with our rectangles, but I'm going to pair my light rectangles with my dark squares and vice versa. There we go. Perfect. Now we are all set. This set here with the light rectangles and the dark squares is going to be for our stars. And this one here is going to be for our square and a square. We're going to start with our star block. So, let's go ahead and take one of our rectangles and our 2 and 1/2 in squares. And we're going to place this right sides together. And we're just going to make some flying geese units. So, we're going to sew point to point here. Hopefully, you can see that line that I've drawn. So, let's take this to the machine. We're going to sew right on that line. Okay, there. Our first seam is done. And so we can trim off our excess here, leaving our quarter inch seam allowance. And then I'm just going to press this back. Set the seam. Roll it away. And then now we'll take our other square and we will place this here and we're going to do the exact same thing. We want to make sure that we have that quarter inch overlap so we can keep our points. So let's take this here. So we're just going to stitch right on that drawn or pressed line. Uh or you can use the diagonal seam tape, whatever you prefer. We're just sewing point to point. Okay, there we go. So, same thing. We're going to trim away that excess, leaving just our quarter inch seam allowance. Then we will press this back. Lovely. And you're going to repeat that until you have four of these little flying geese units. And I have those ready to go. So then up next to finish our star block, you are going to cut a 4 and 1/2 in strip from your accent fabric and subcut that to 4 and 1/2 in squares. That's going to be the middle of your block. And then we're also going to cut a 6in square of that accent. And then from our background fabric, we're going to cut sixinch squares as well. And we're going to pair those right sides together. And then we are going to get a pen or a pencil and we are going to use the easy eight method to make some half square triangles here. So I'm just going to mark an X in both directions. All right. So, if you don't know what the Easy8 method is, we've drawn this X and we are going to sew on both sides a quarter inch away of both sides of the drawn line. And so, I'm going to take that to the machine and we'll do that first. All right, I've gone down one side. I'm going to pull this around and I'm going to go down the other side of that first line a quarter inch away. Beautiful. Now I'll trim my threads. And I'm going to do that exact same thing on the other line that we drew on both sides. Okay, there we go. You can see now I've stitched on both sides of those lines that we drew. And so now we're going to take our ruler and since this is a 6 in square that we started with, we are going to come over 3 in and we're going to cut it in half like so. And then also this way. And I always like to do these first. And then we can come back and we're going to cut on that line that we drew. And this method gives us eight half square triangles. So this is actually enough for the corners of two of your star blocks. So we'll cut those apart. There we go. And so up next, we're going to square these to 2 and 1/2 in. And so I have trimmer A from the Clearly uh perfect slotted trimmers. And you can see we don't have a lot of waste here. We're going to line our stitch line the up with the dashed line of the ruler. And then we'll trim off the excess. There we go. And I do love to get rid of these little notches, especially on these smaller half square triangles. It just reduces the bulk. I have some of these already squared. But now we can go ahead and take this over to the ironing board, set our seam, and then gently press that open. So now we're ready to assemble our first block. So we have our 4 and 1/2 in accent square in the middle. And then we are going to put all of the uh little star legs pointing towards the middle there just like so. And then we'll grab those 2 and 1/2 in half square triangles. And we want the red to be on the outside corners. Just like that. And so then I'll just sew these together in rows and then sew the block together. And it looks just like that when it's all done. And so let's move on to the square and a square. So for our square and a square block, we are going to grab those opposite colorways that we had in our piles. Right? So, we have the darker rectangles with our lighter 2 and 1/2 in squares. And we are going to make the flying geese units just like we did for our star blocks. So, we're going to place these right sides together. We're going to sew corner to corner, trim, flip. Everything that I just showed you before is exactly the same. And so, I have those done here. Those are ready to go. And then the middles of these blocks, I kind of chose the darker grays from the pack and I used those for the center. And so you cut those down to 4 and 12 in. So I have one ready here to go. And then to assemble this, we're going to put the navy side towards the middle. So this is the opposite way from block one, just like so. And then the outside corners come from that red accent fabric. And those are just 2 and 1/2 in squares just like that. So, let's go ahead and sew this one together. I like to just kind of assembly line sew my blocks. So, I'm going to bring this over and we'll start with this first one here. Make sure I'm all lined up. Then I can grab my next row. Line this up again. And I love to use this method because it kind of acts as pins when we just feed these one after the other into the machine. There we go. And then finally this section here. Line those up again. Beautiful. And now I can flip this around and I'll add these to the other side. When you're coming to the middle, make sure you have that navy side going in towards the center. Line those up. And then finally that last 2 and 1/2 in square on the bottom. All right. So now I do want to open this up so I can show you what I meant. So you'll notice how these are all attached. And then when I open these, my block is still exactly how I want it to go. And so then I can just fold this over. You could press it at this point if you want. I'm just going to make the seams go where I want them to go. So we'll take this to the machine and we'll sew this block together. So, I take a few stitches there and then I'm going to nest these seams [Music] and then line up the next one and cruise down. And then we'll do the exact same thing on the other side here. So, we'll line up, take a few stitches to anchor here, and I'll make these seams go the directions I want them to, and we'll keep on cruising. Okay, there we go. Our block is all done. Let's go ahead and give this a press. Just going to roll that back. Make sure our block is nice and flat. There we go. Beautiful. It turned out great. And so for the layout, I just started my top row with a star and just alternated in between these two blocks. And I think it is so fun to see that secondary pattern that appears when you put these together. So, let's go ahead and take a look at the quilt behind me. So, I have five blocks across by five down. And this little like burst that appears is so fun and was totally unexpected. I really love it. Then once I had my block sewn together, I added my first 2 and 1/2 in border using my red accent. Then another 2 and 1/2 in border with that background fabric and finished it off with this 5 in outer border. Let's take a look at this backing. Such a fun kind of cheater print there. I love it. I quilted it with the star spangled quilting pattern, which I really like. It has those little stars and kind of those wavy stripes, so you still get a lot of movement from that. And it finishes at 57 in square. It's a great throw size. So, I hope you guys enjoyed this tutorial on the Armored Star Quilt. I'll see you next time. Hey everyone, thank you so much for watching at home. We're so excited to be almost a million quilters strong here at Missouri Star. And so, if you haven't already joined our family, be sure to subscribe and hit that notification bell so you can be notified of all of our future tutorials. And we'll see you soon. [Music]


 Misty Doan
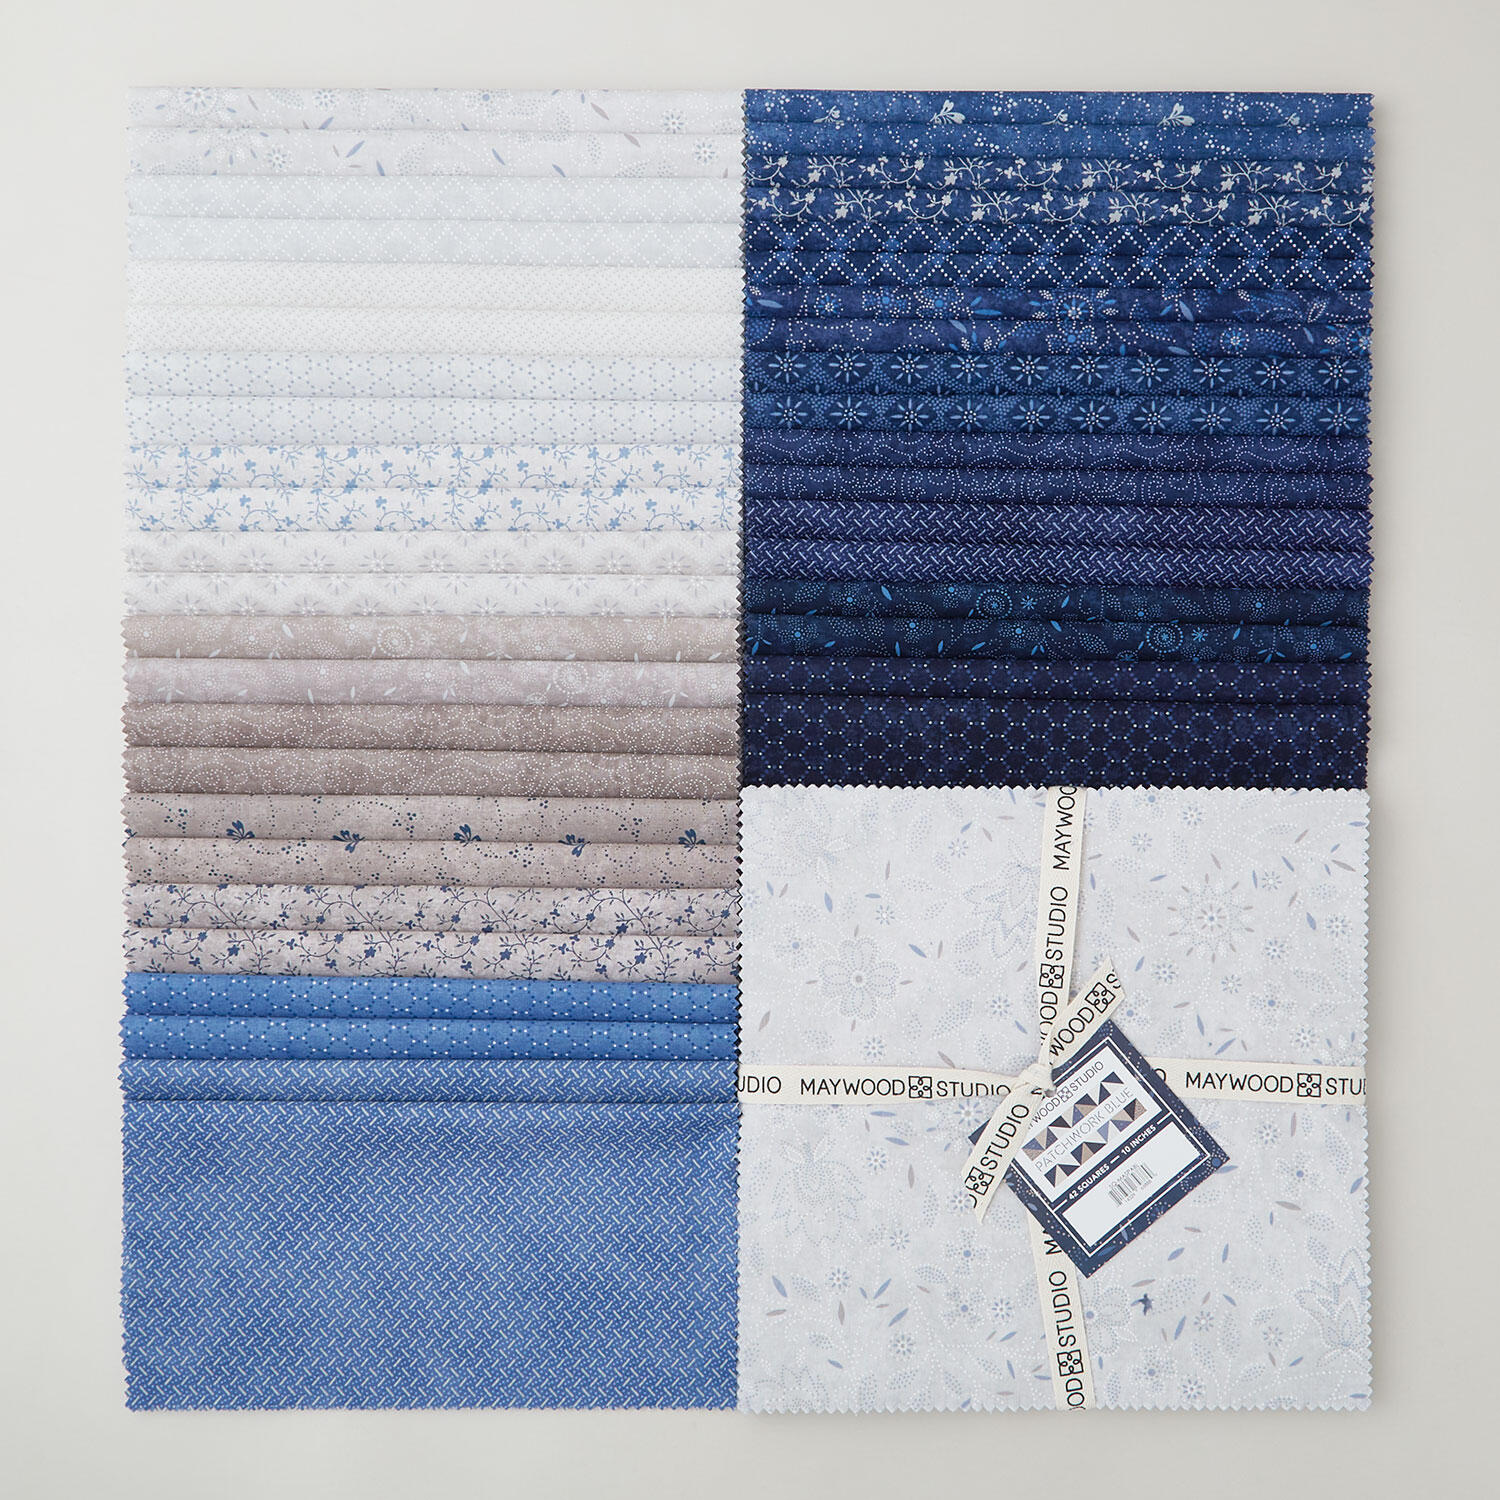 Patchwork Blue 10" Squares$43.65Shop →
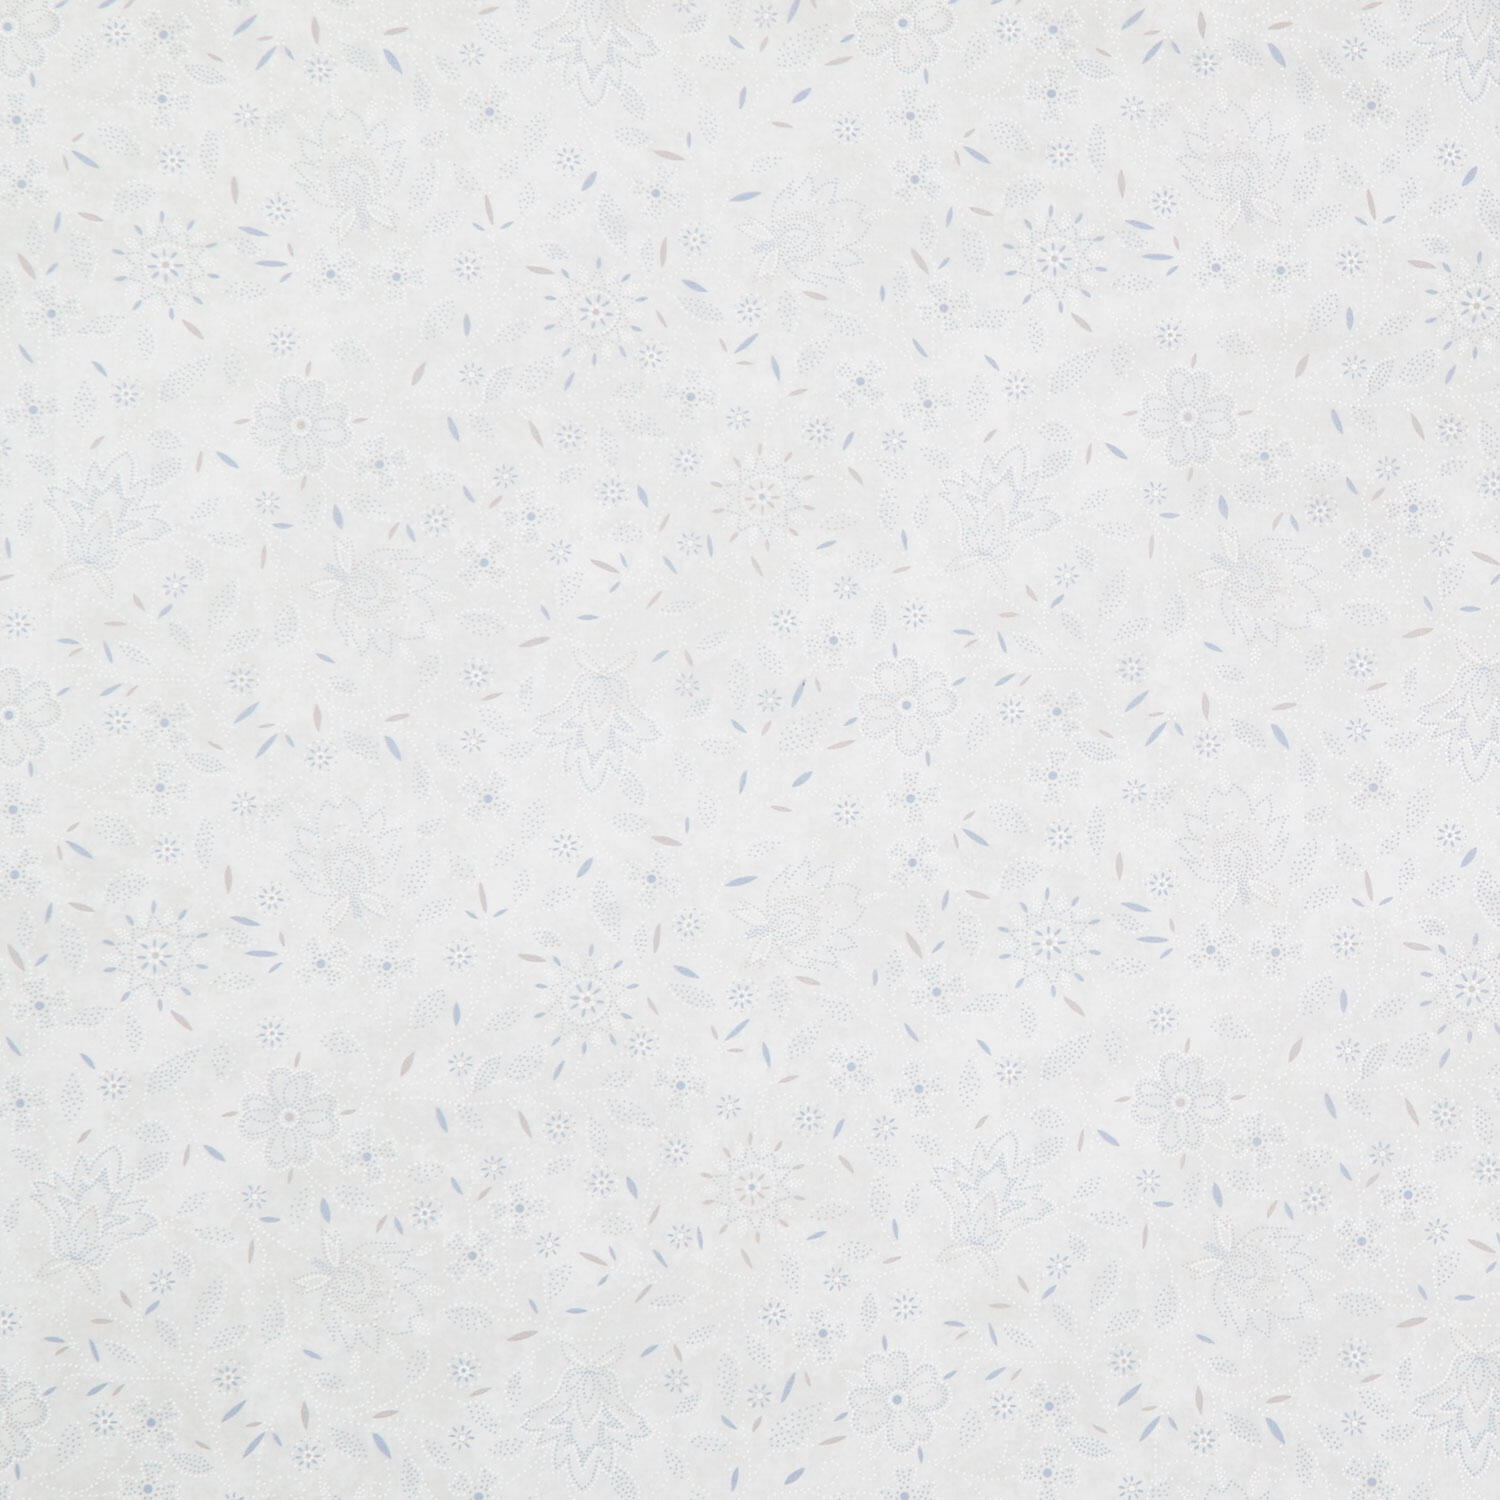 Patchwork Blue - Floral Cream Yardage$11.96Shop →
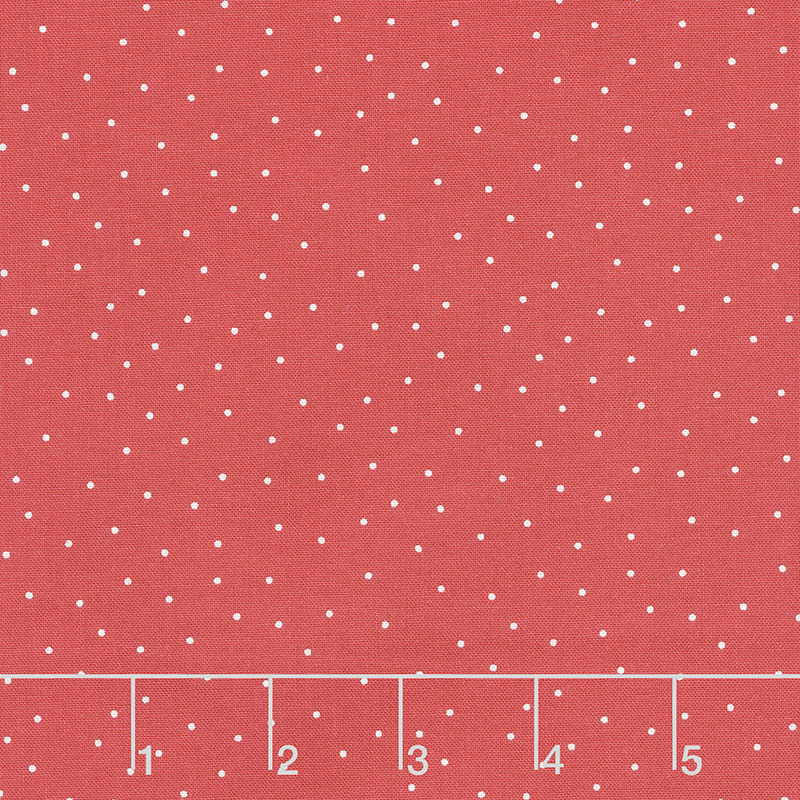 Kimberbell Basics - Tiny Dots Red White Yardage$11.72Shop →
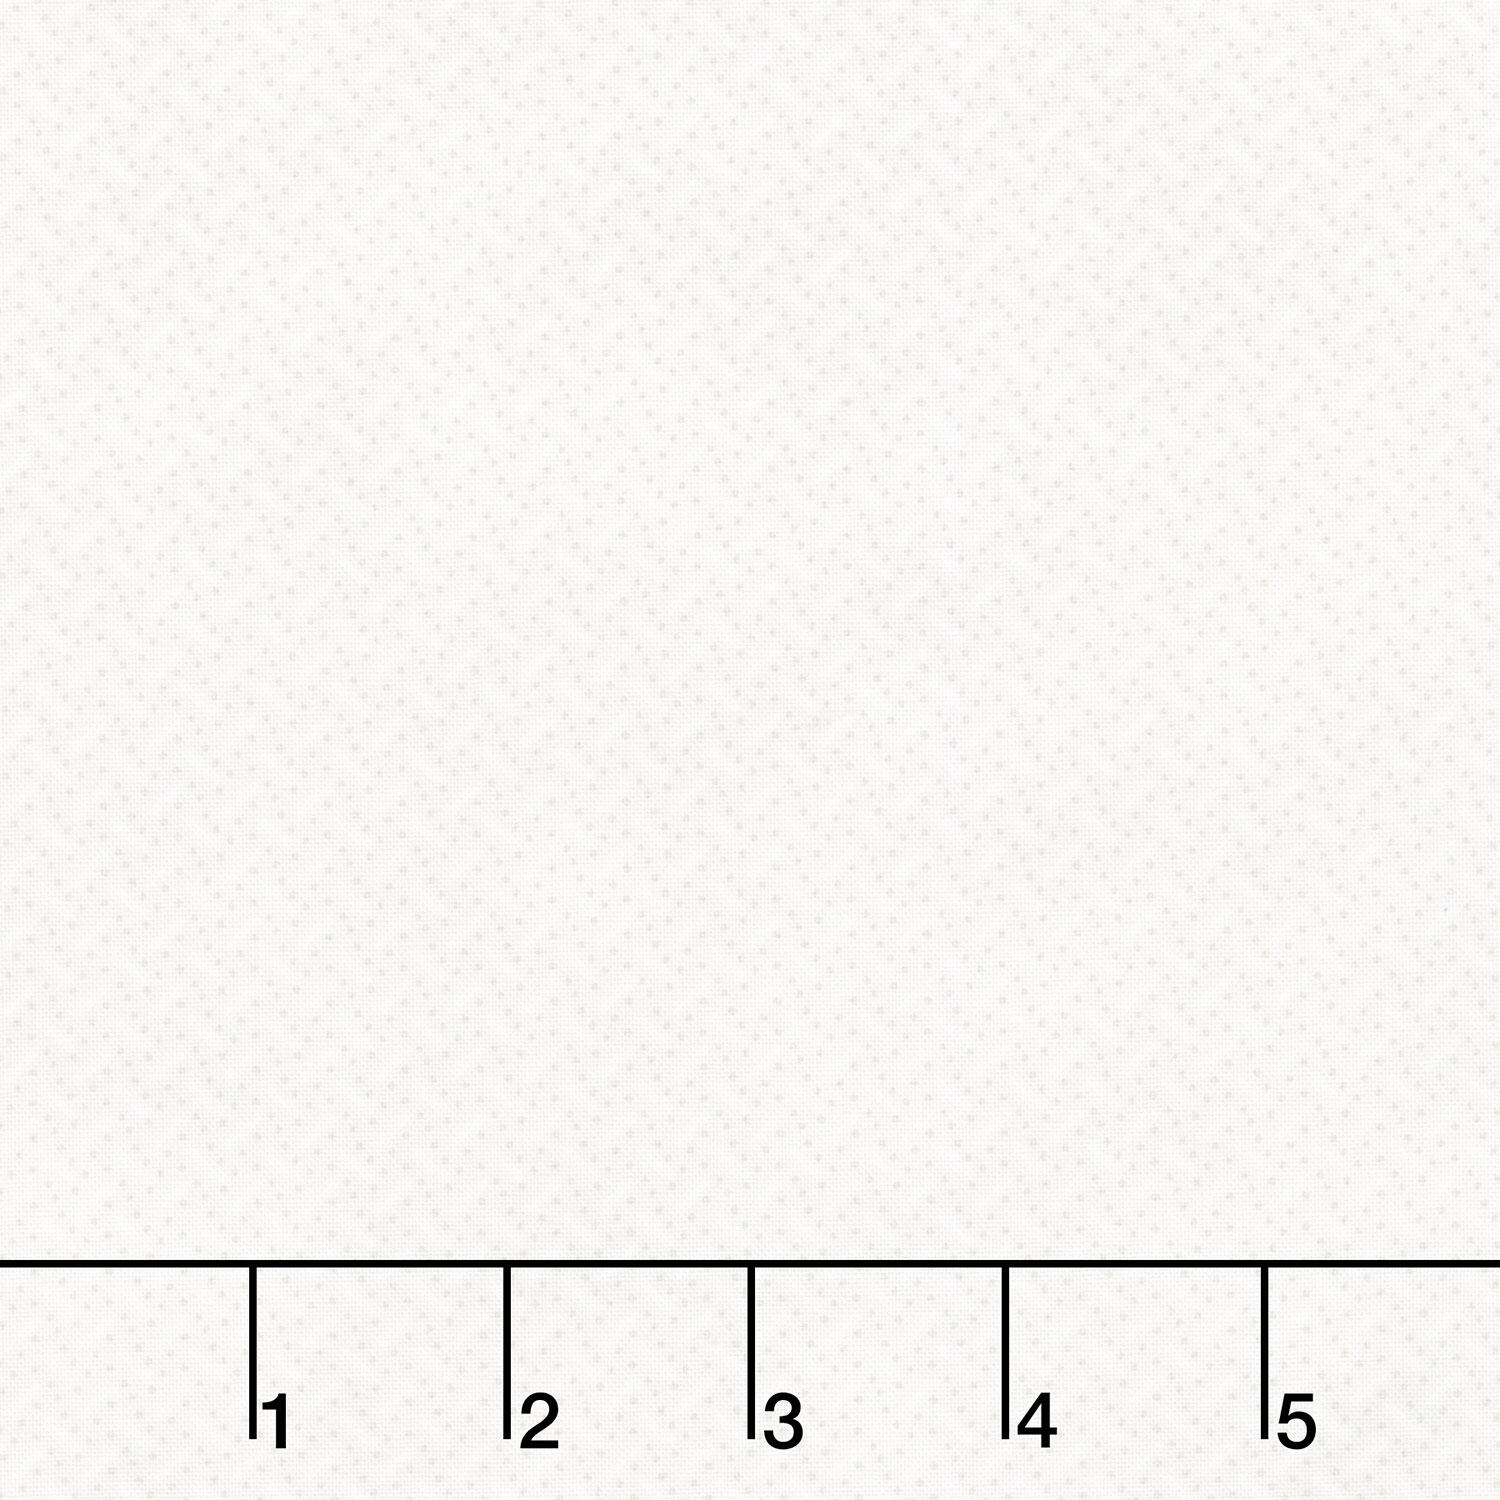 Patchwork Blue - Dashed Texture Cream Yardage$11.96Shop →
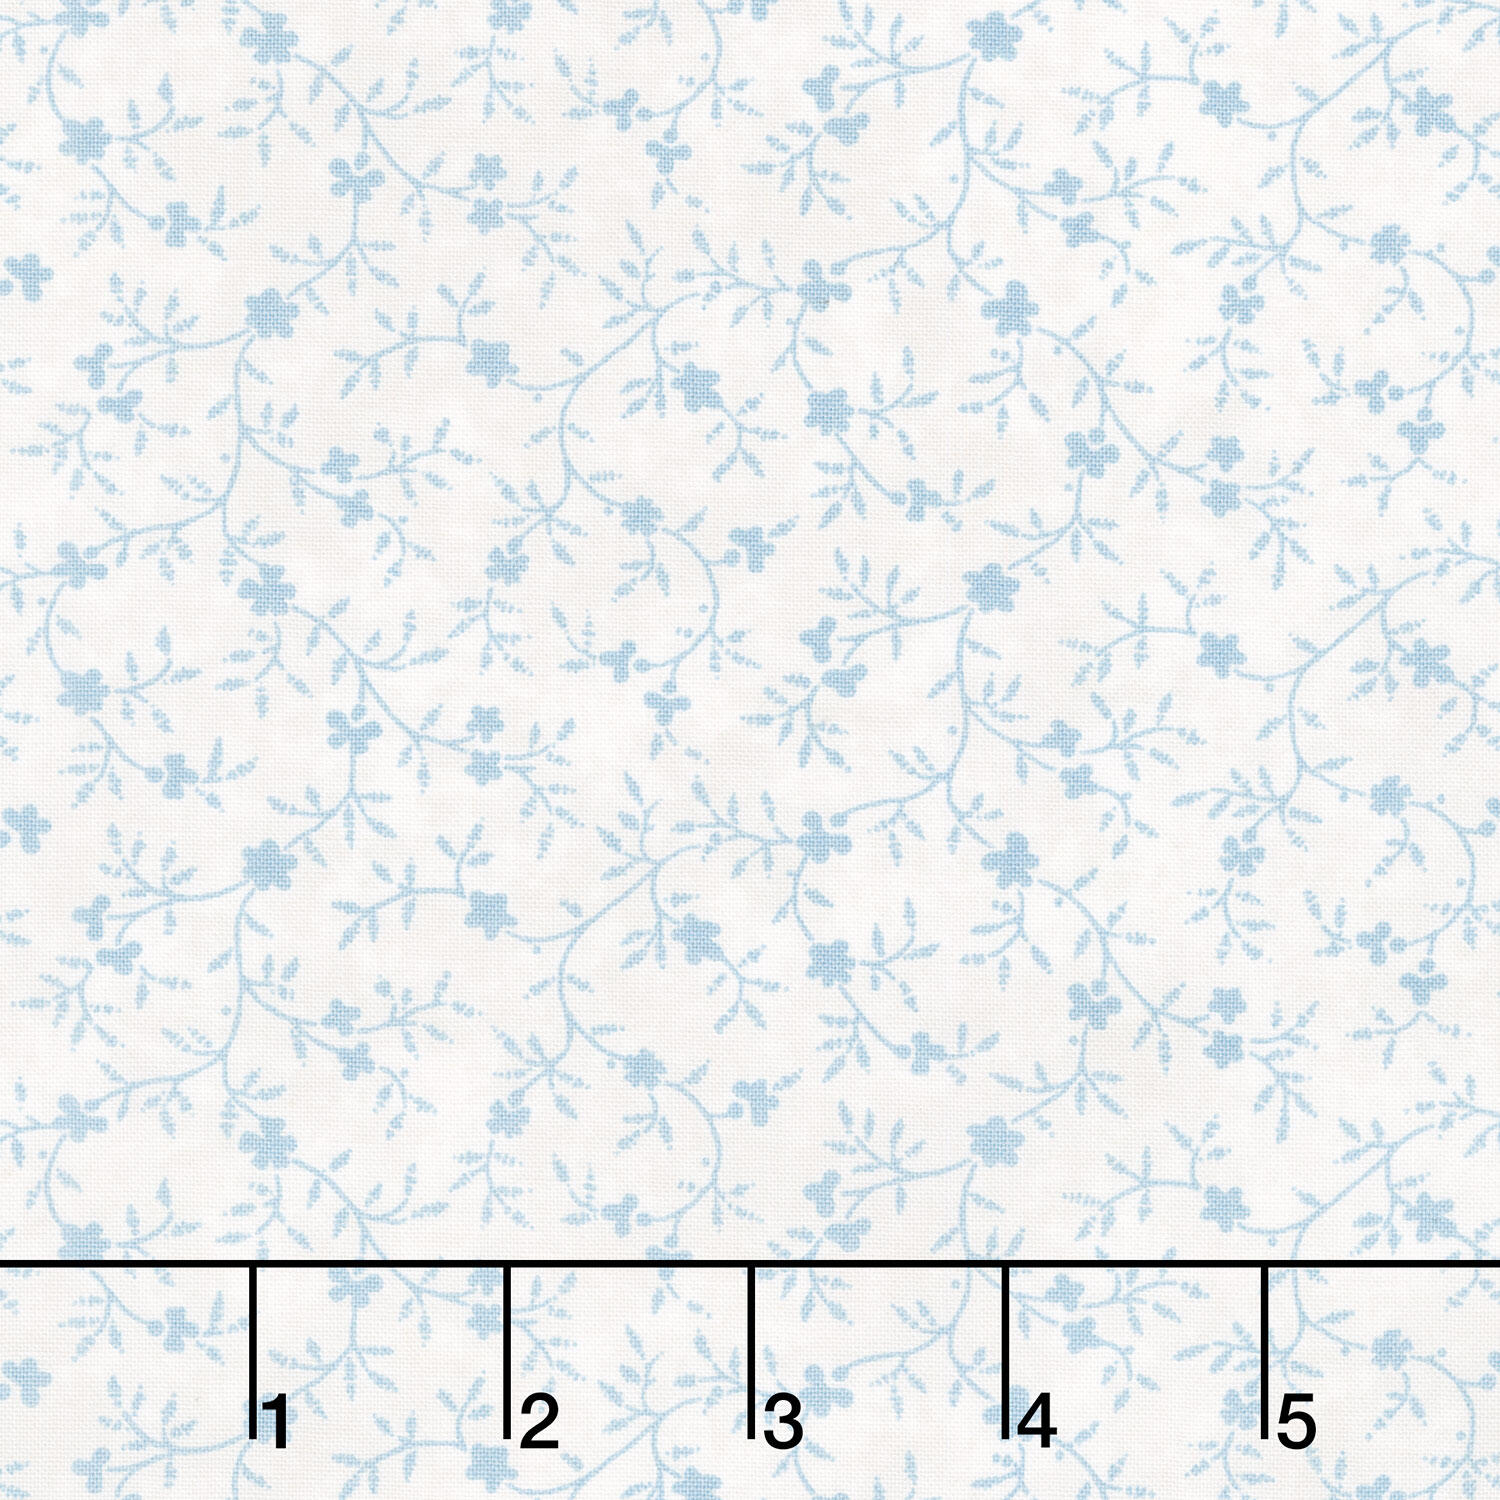 Patchwork Blue - Vines Cream Yardage$11.96Shop →
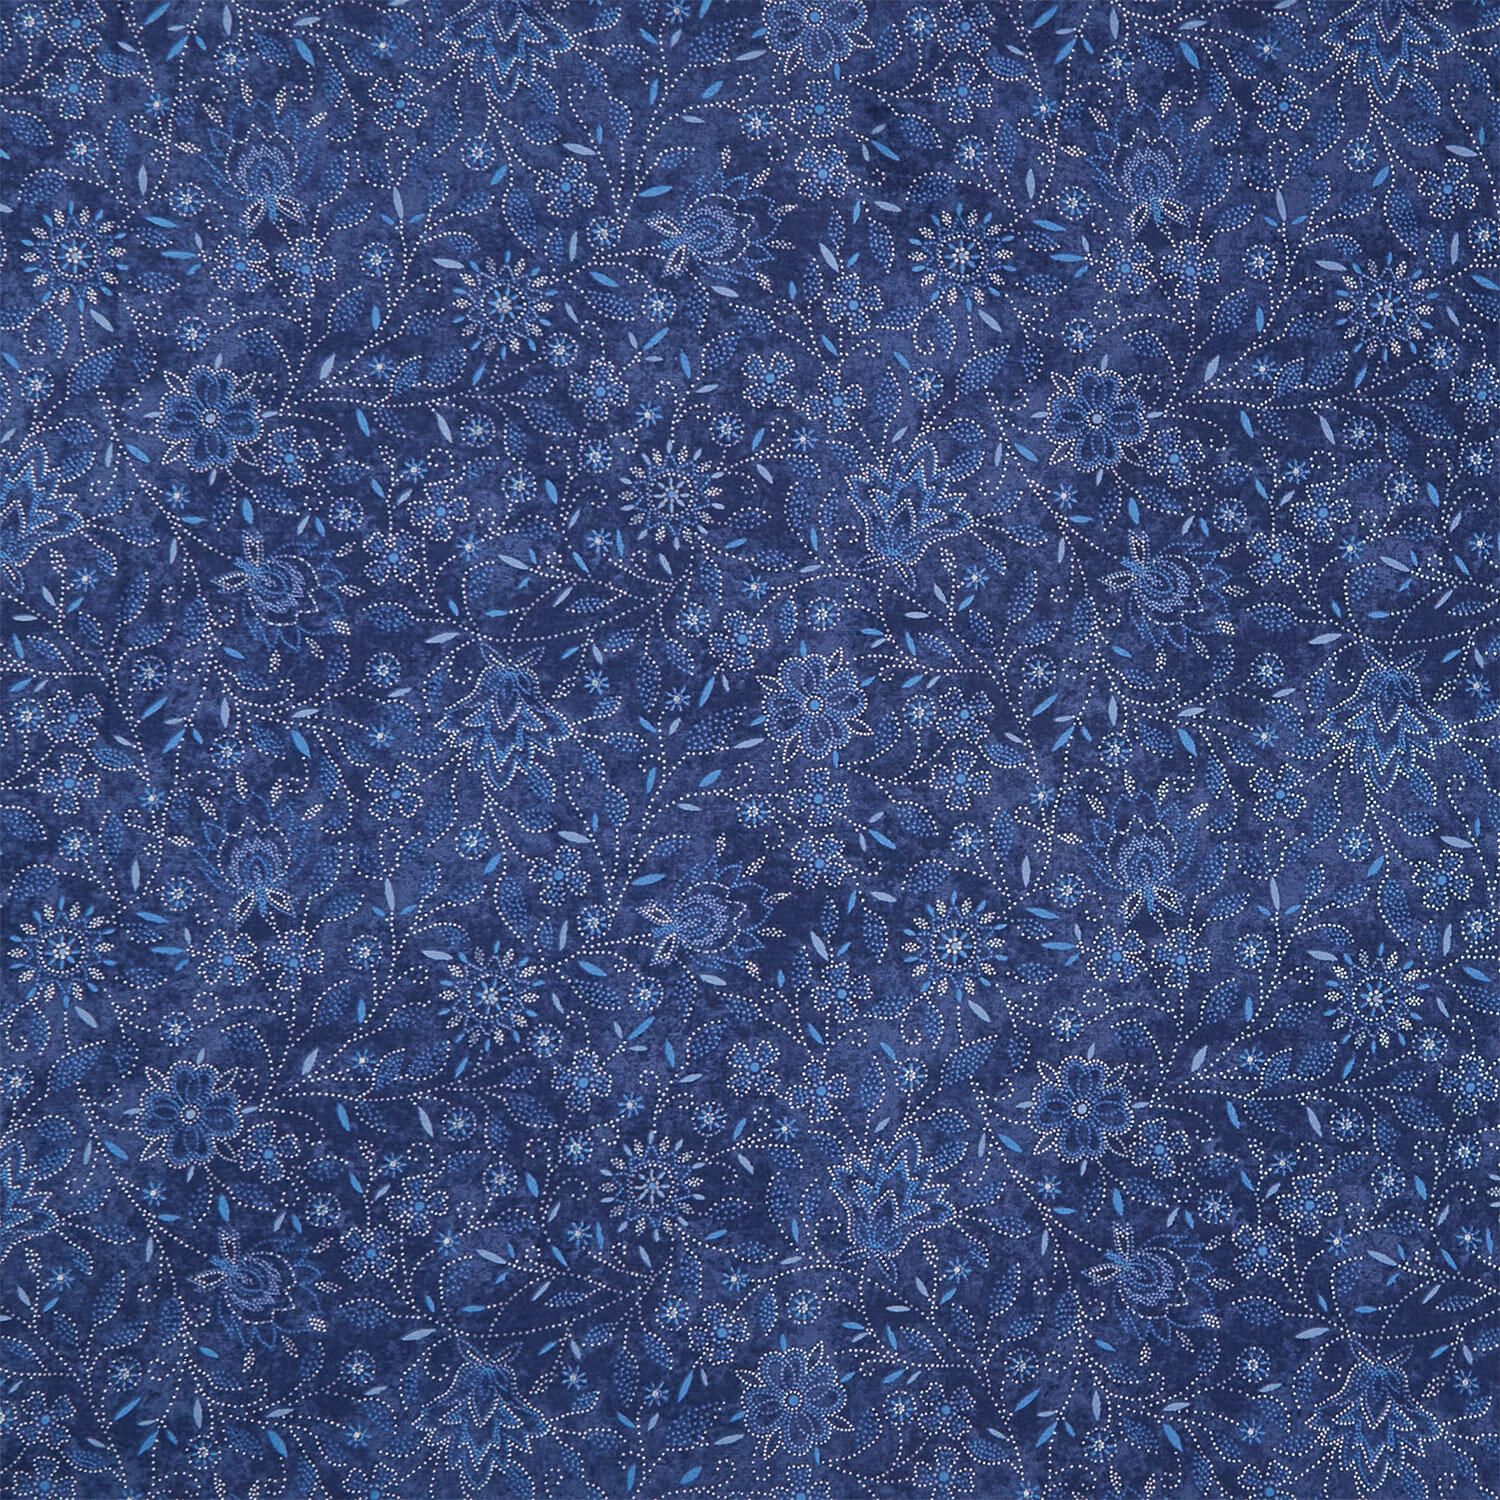 Patchwork Blue - Floral Blue Yardage$11.96Shop →
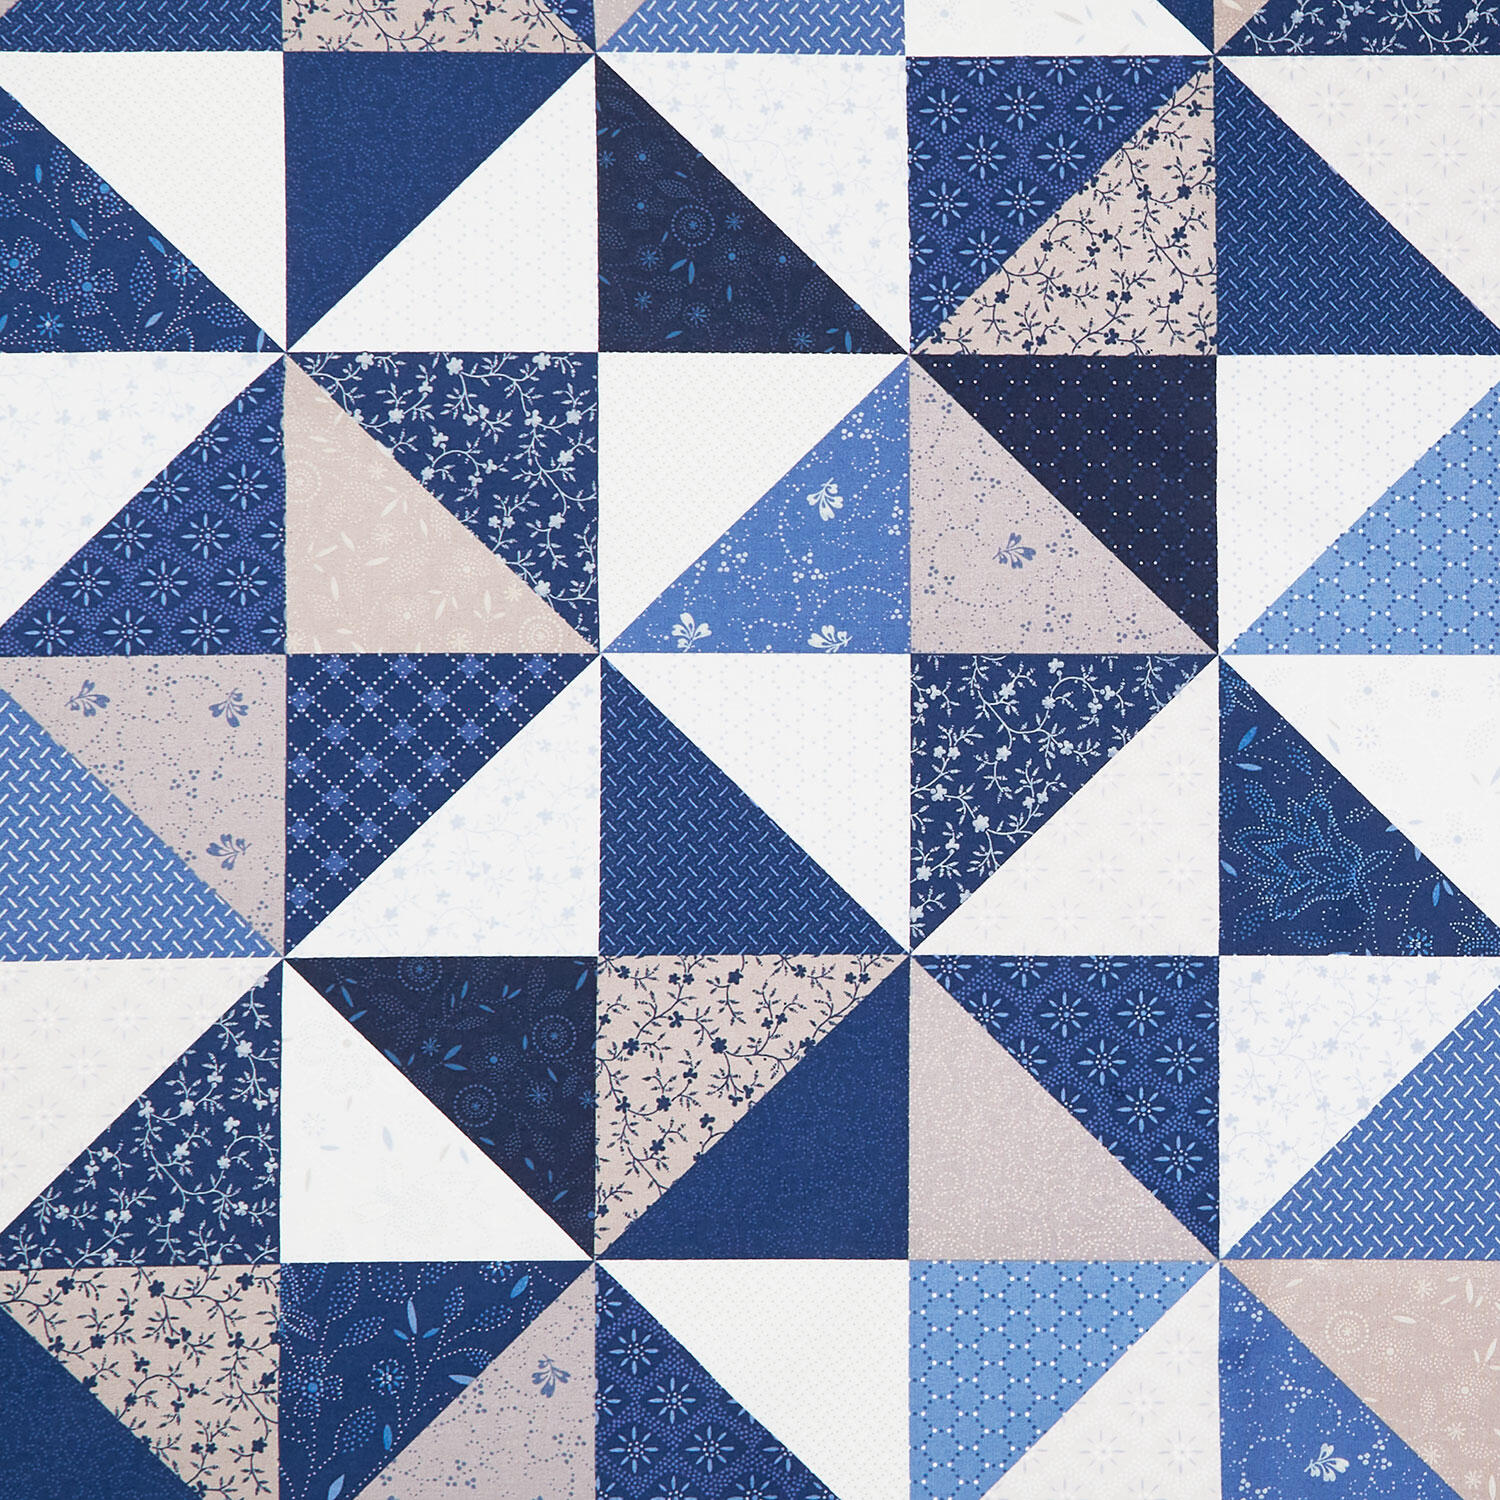 Patchwork Blue - Patchwork Running Blocks Multi Yardage$11.96Shop →
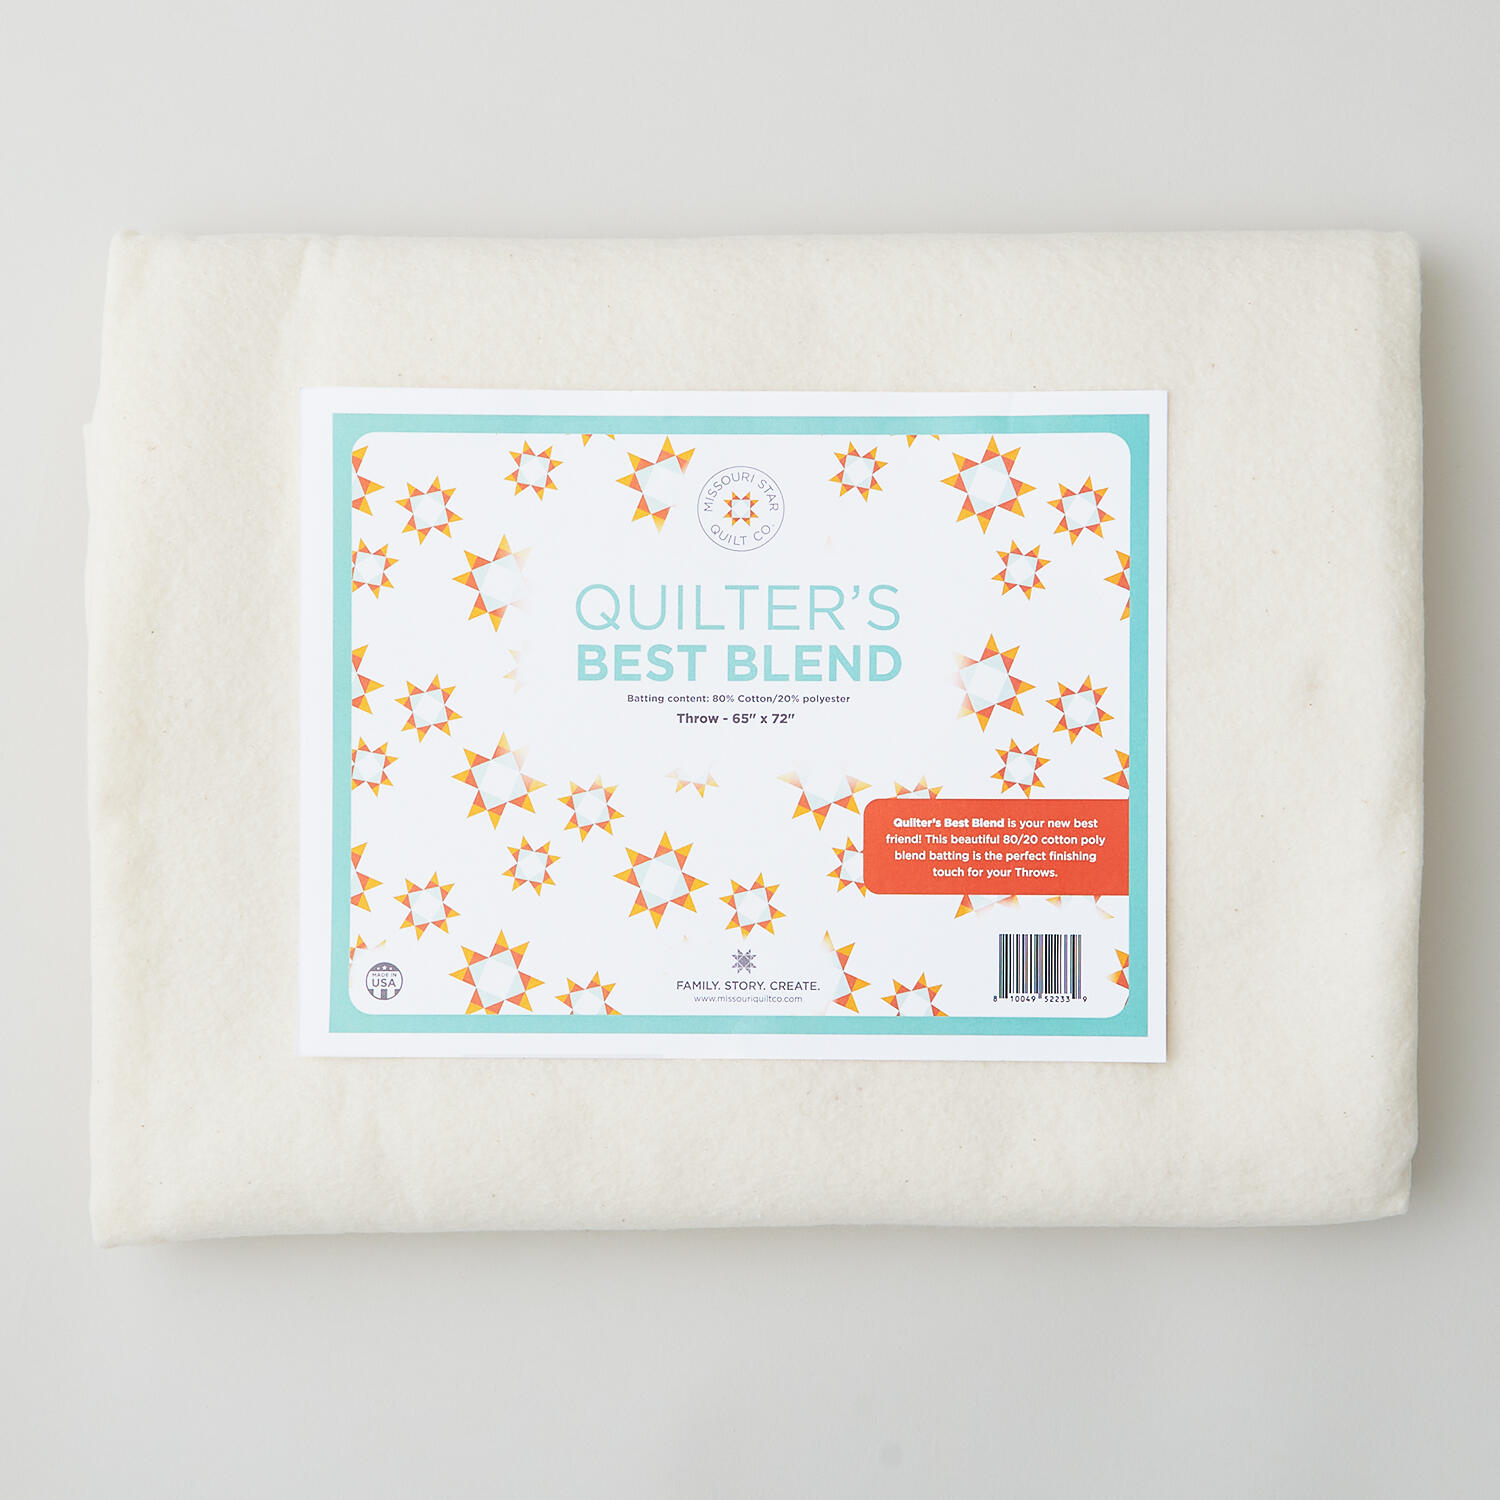 Missouri Star Quilter's Best Blend Throw Batting$21.95Shop →
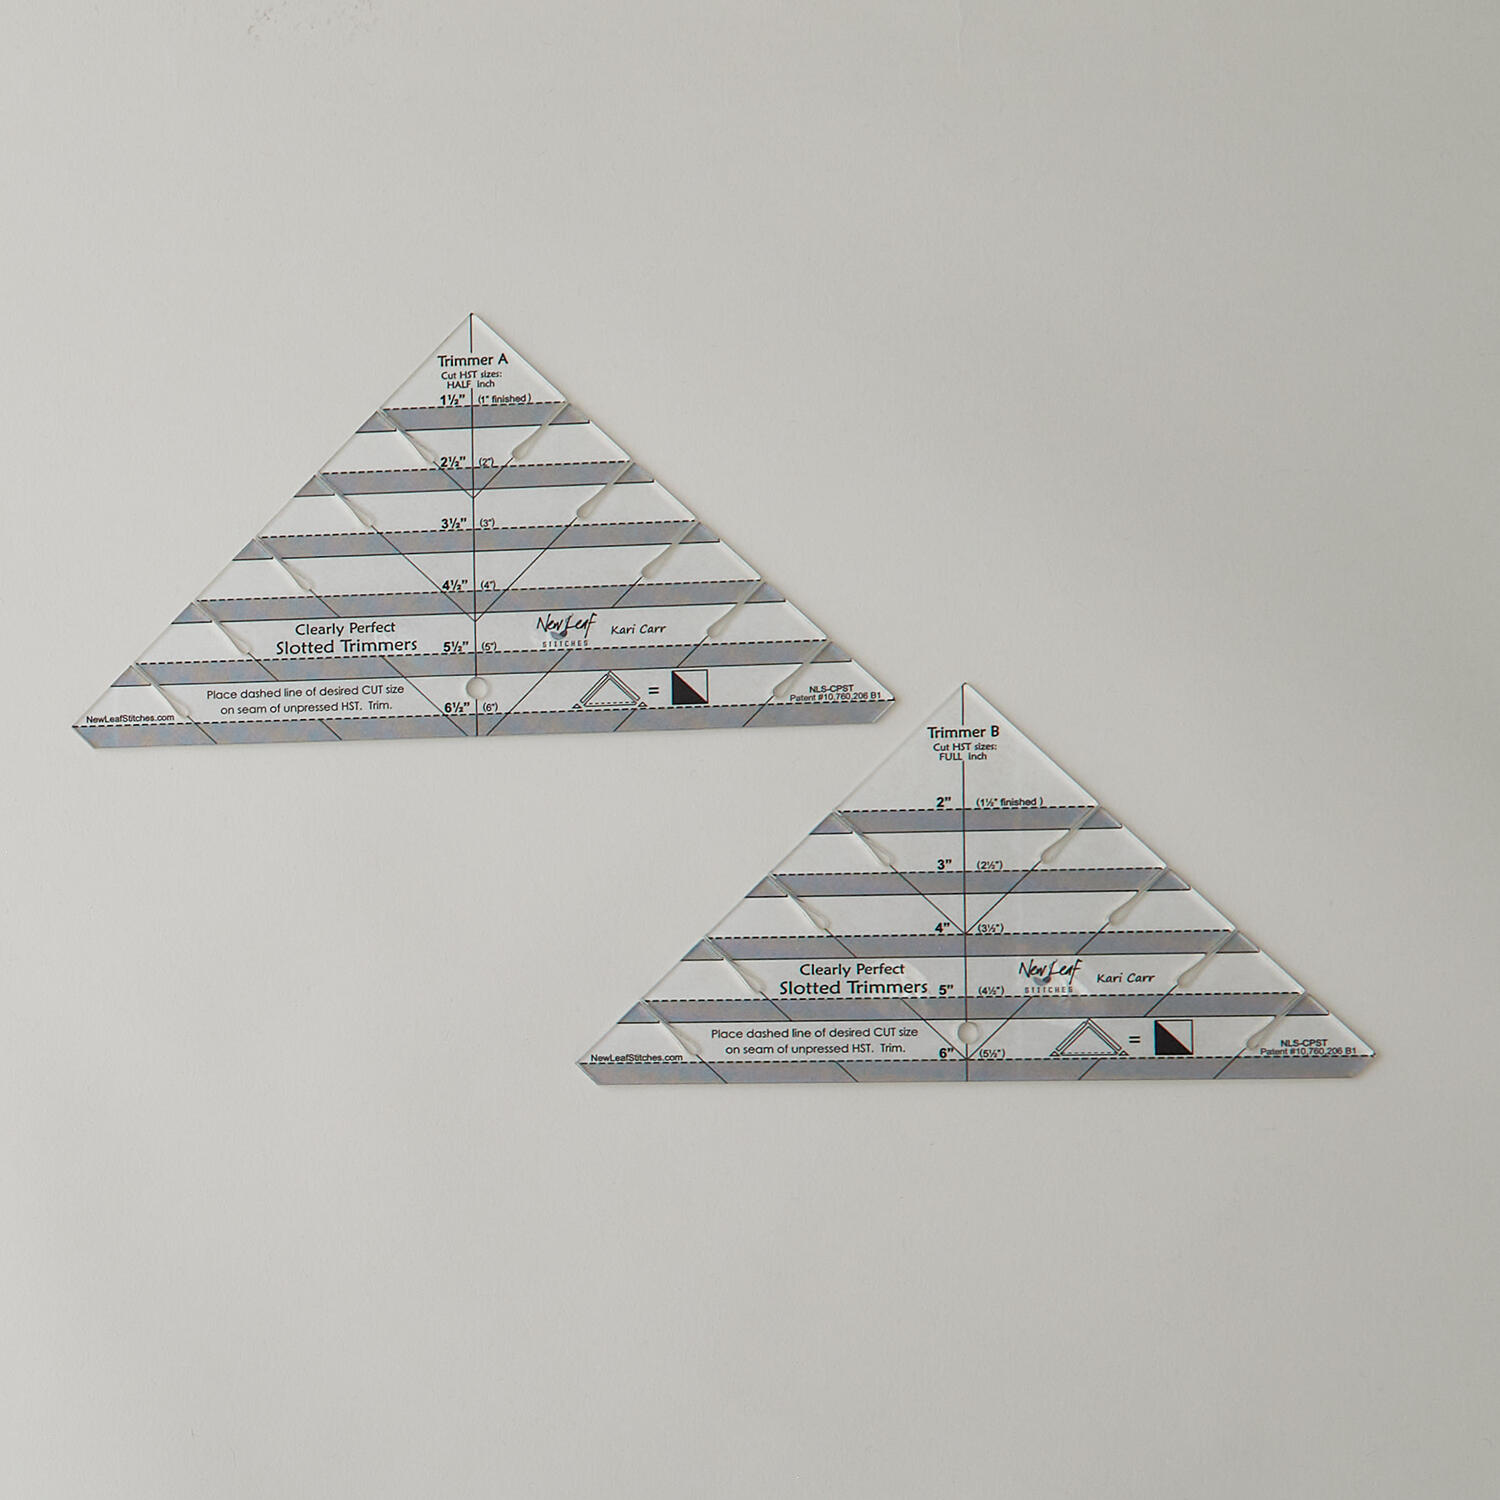 Clearly Perfect Slotted Trimmers$33.95Shop →
 Missouri Star 45mm Rotary Cutter - Olga$19.95Shop →
 Missouri Star Seam Ripper - Frida$9.95Shop →
 Missouri Star 8" Everyday Scissors - Amelia$19.95Shop →
 Missouri Star 50 WT Cotton Thread White$7.95Shop →
 Missouri Star + Oliso TG1600 ProPlus Iron$209.95Shop →
 Missouri Star Wooly Betty Board - 17.25" x 25.5" Orange Border$99.95Shop →
 Bernette 77 Sewing and Quilting Machine$1699.00Shop →
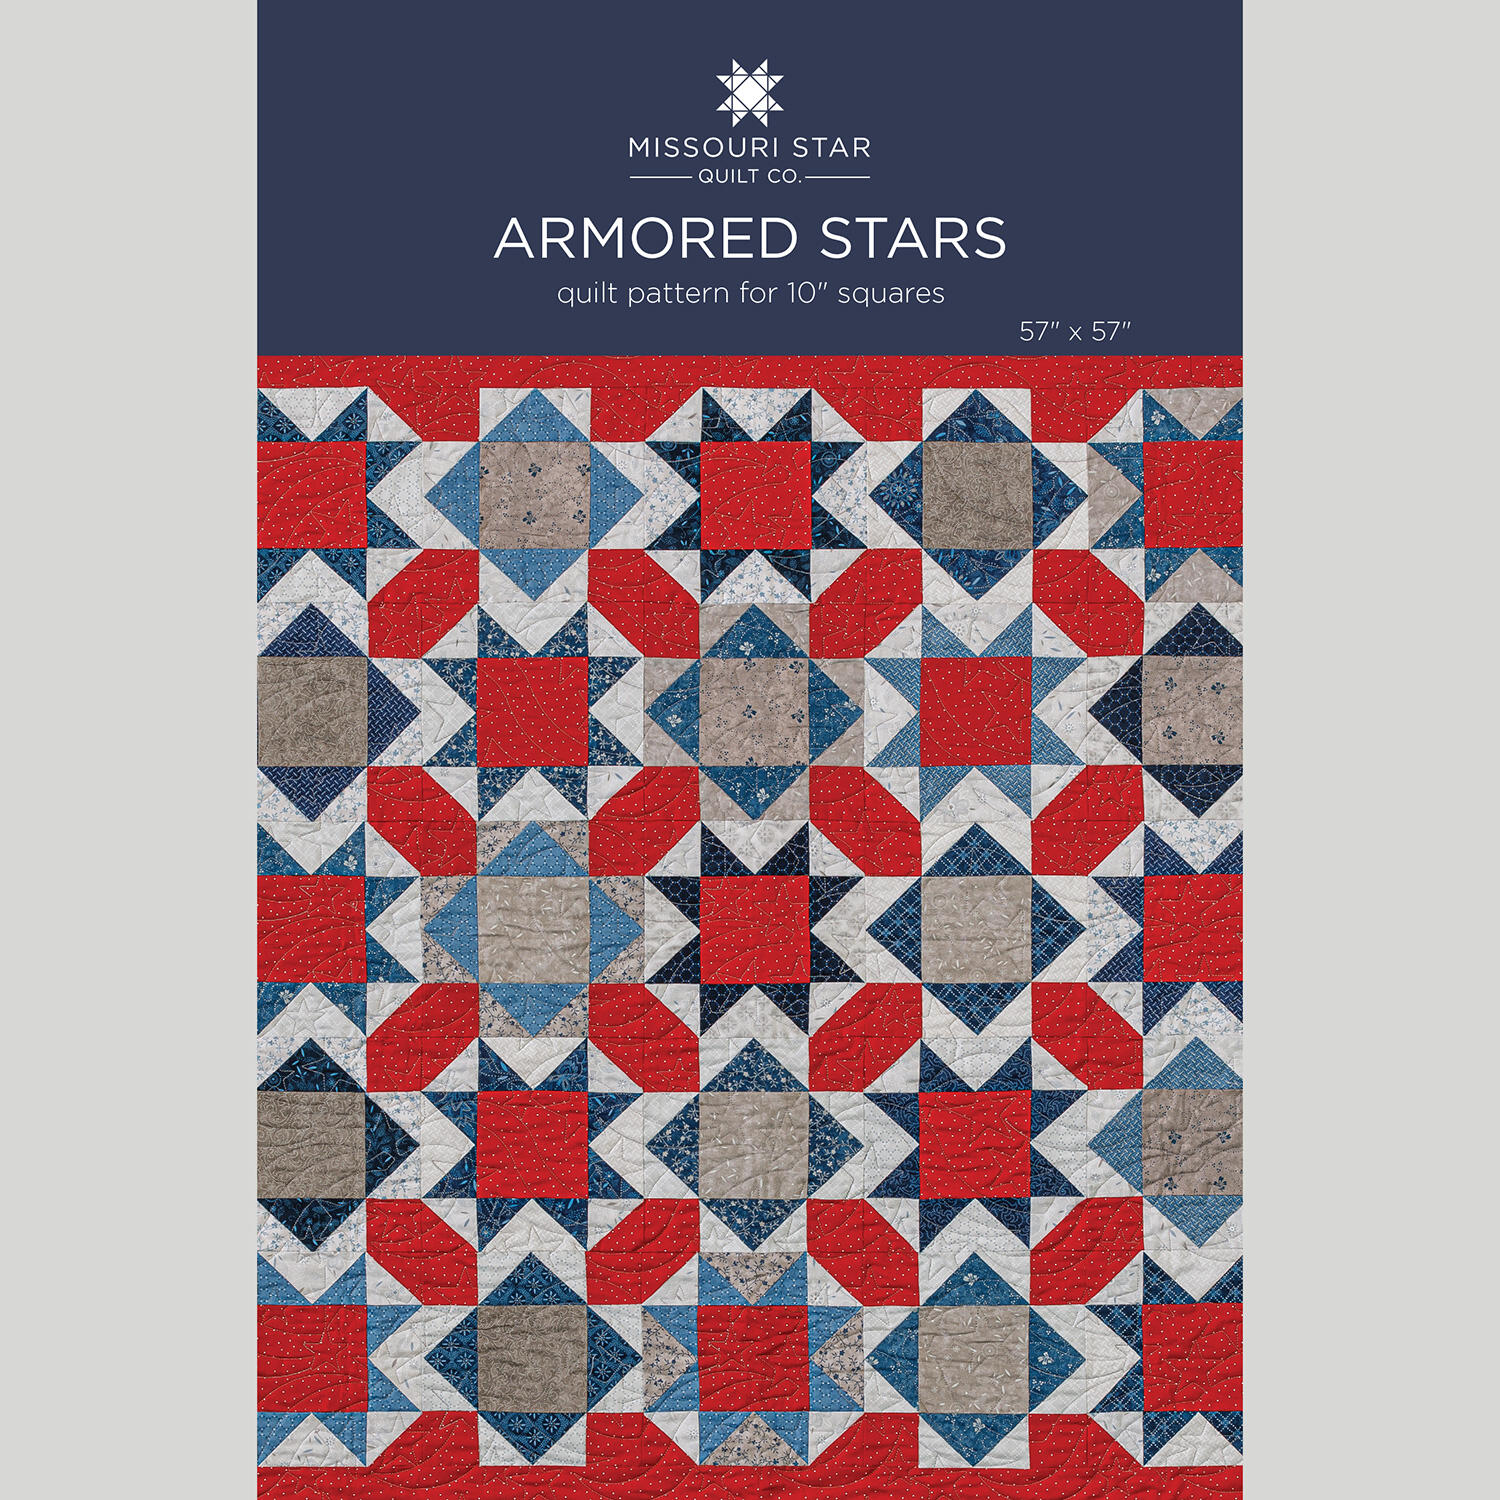 Armored Stars Quilt Pattern by Missouri Star$8.50Shop →
 Digital Download - Armored Stars Quilt Pattern by Missouri Star$6.95Shop →



