

Backsplash Quilt with Cherry
 Cherry Hill
- Layer Cake
- Modern
- Quilt size 69" × 91"
This quilt with an asymmetrical design is sure to make a splash with modern quilters! Cherry Hill demonstrates Backsplash, a geometric quilt with a clean, minimalistic appearance. Colorworks Premium Solids are used to create long hexagons and lots of negative space that contribute to the quilt's striking look.
Instructor
Cherry Hill
Shop this tutorial
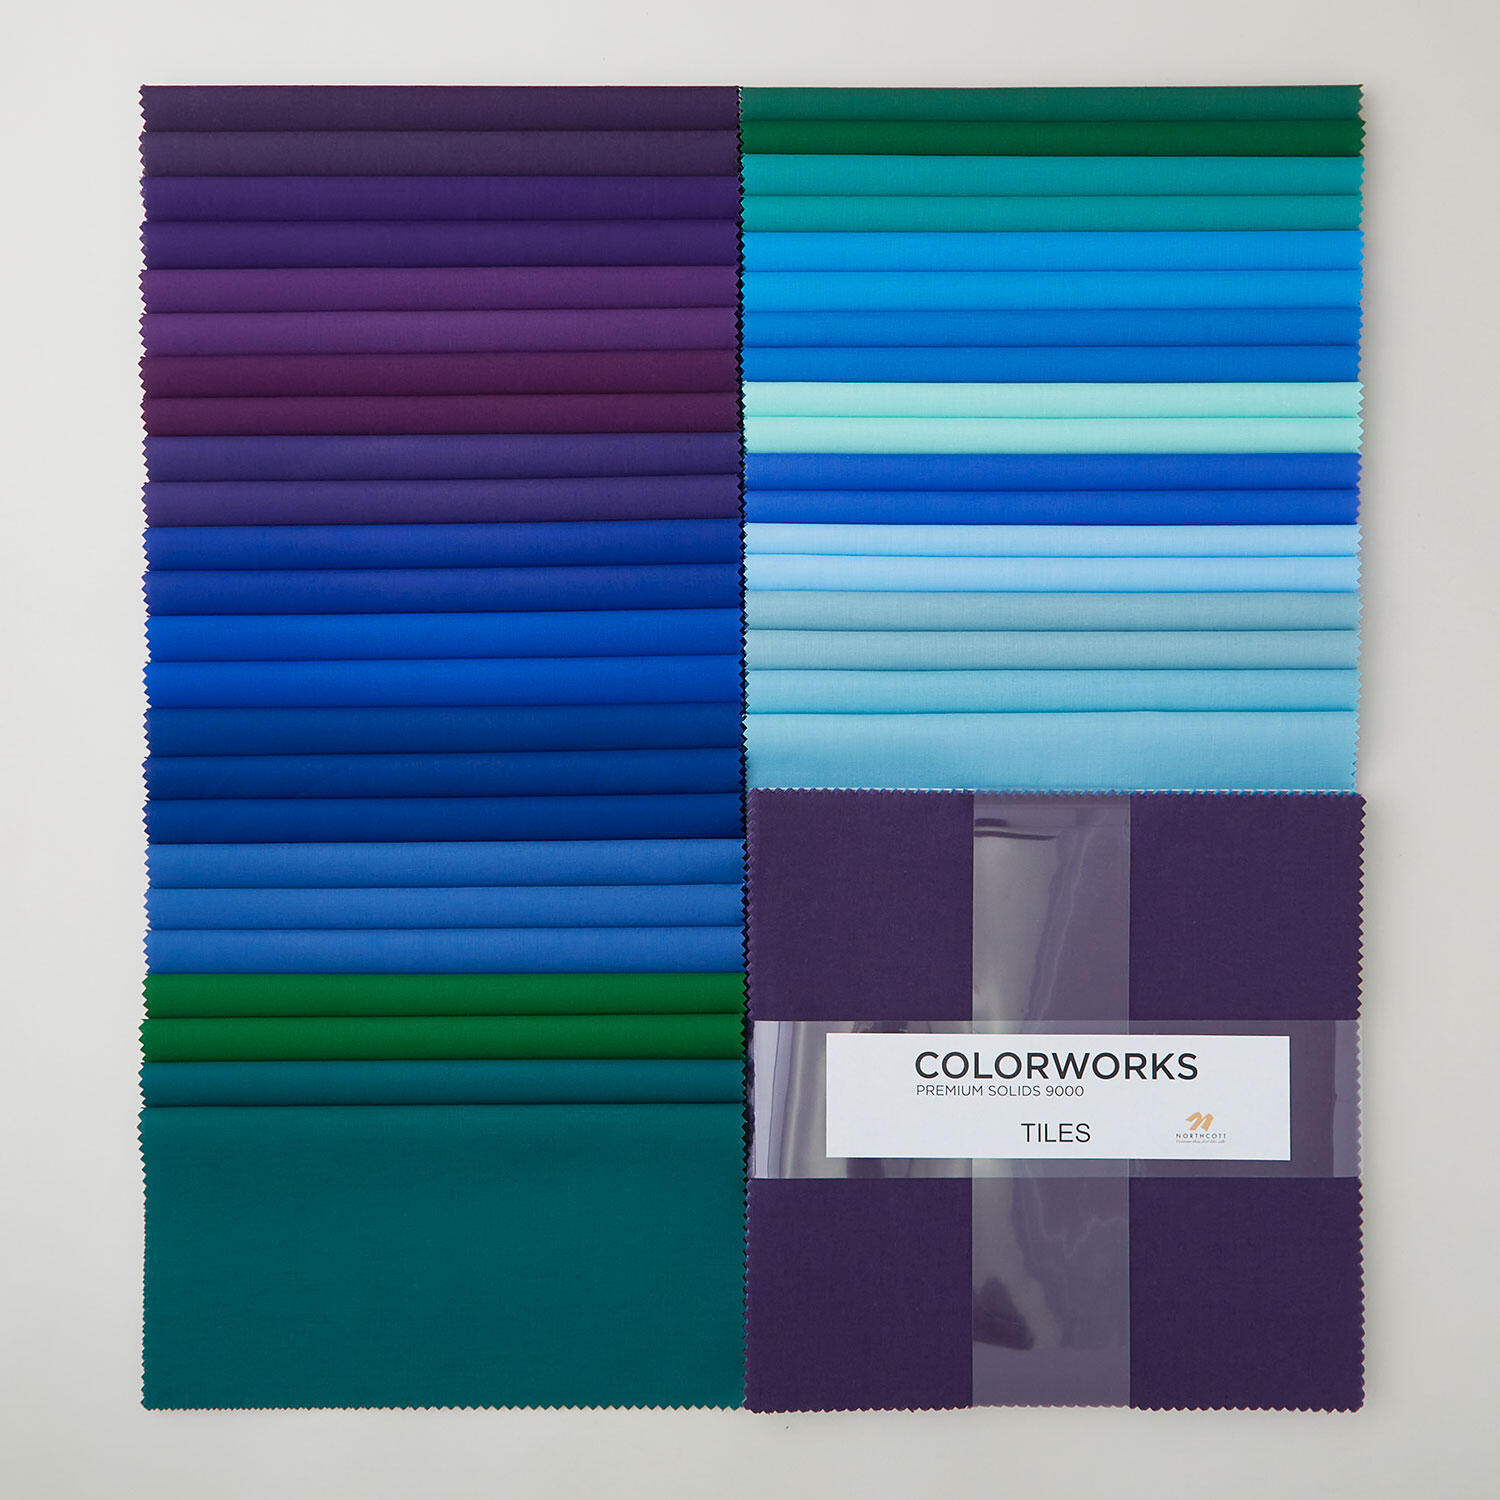 Colorworks Premium Solids Vibrant Jewels Tiles$37.10Shop →
 Colorworks Premium Solids - Superwhite Yardage$8.12Shop →
 Colorworks Premium Solids - Cool Wave Yardage$8.12Shop →
 Colorworks Premium Solids - Morning Hours Yardage$8.12Shop →
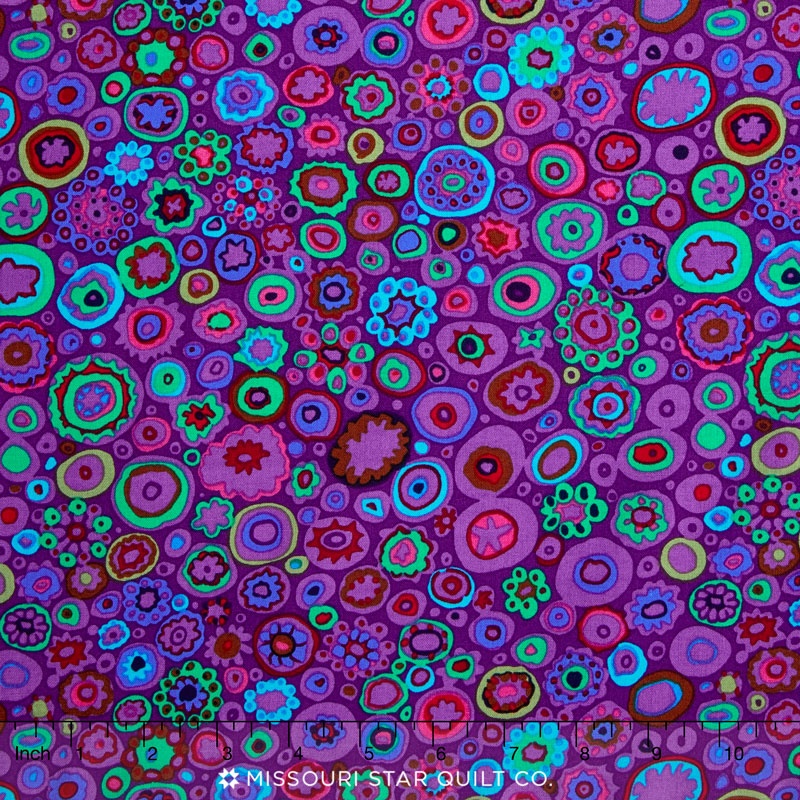 Kaffe Caribbean - Paperweight Purple Yardage$13.00Shop →
 Missouri Star Quilter’s Best Blend Full Batting$32.95Shop →
 Missouri Star 5" x 15" Ruler$19.95Shop →
 Baby Lock Accomplish - 1500 SPM Straight Stitch Machine$1199.00Shop →
 Missouri Star 45mm Rotary Cutter - Olga$19.95Shop →
 Missouri Star + Oliso TG1600 ProPlus Iron$209.95Shop →
 Missouri Star Wooly Betty Board - 17.25" x 25.5" Orange Border$99.95Shop →
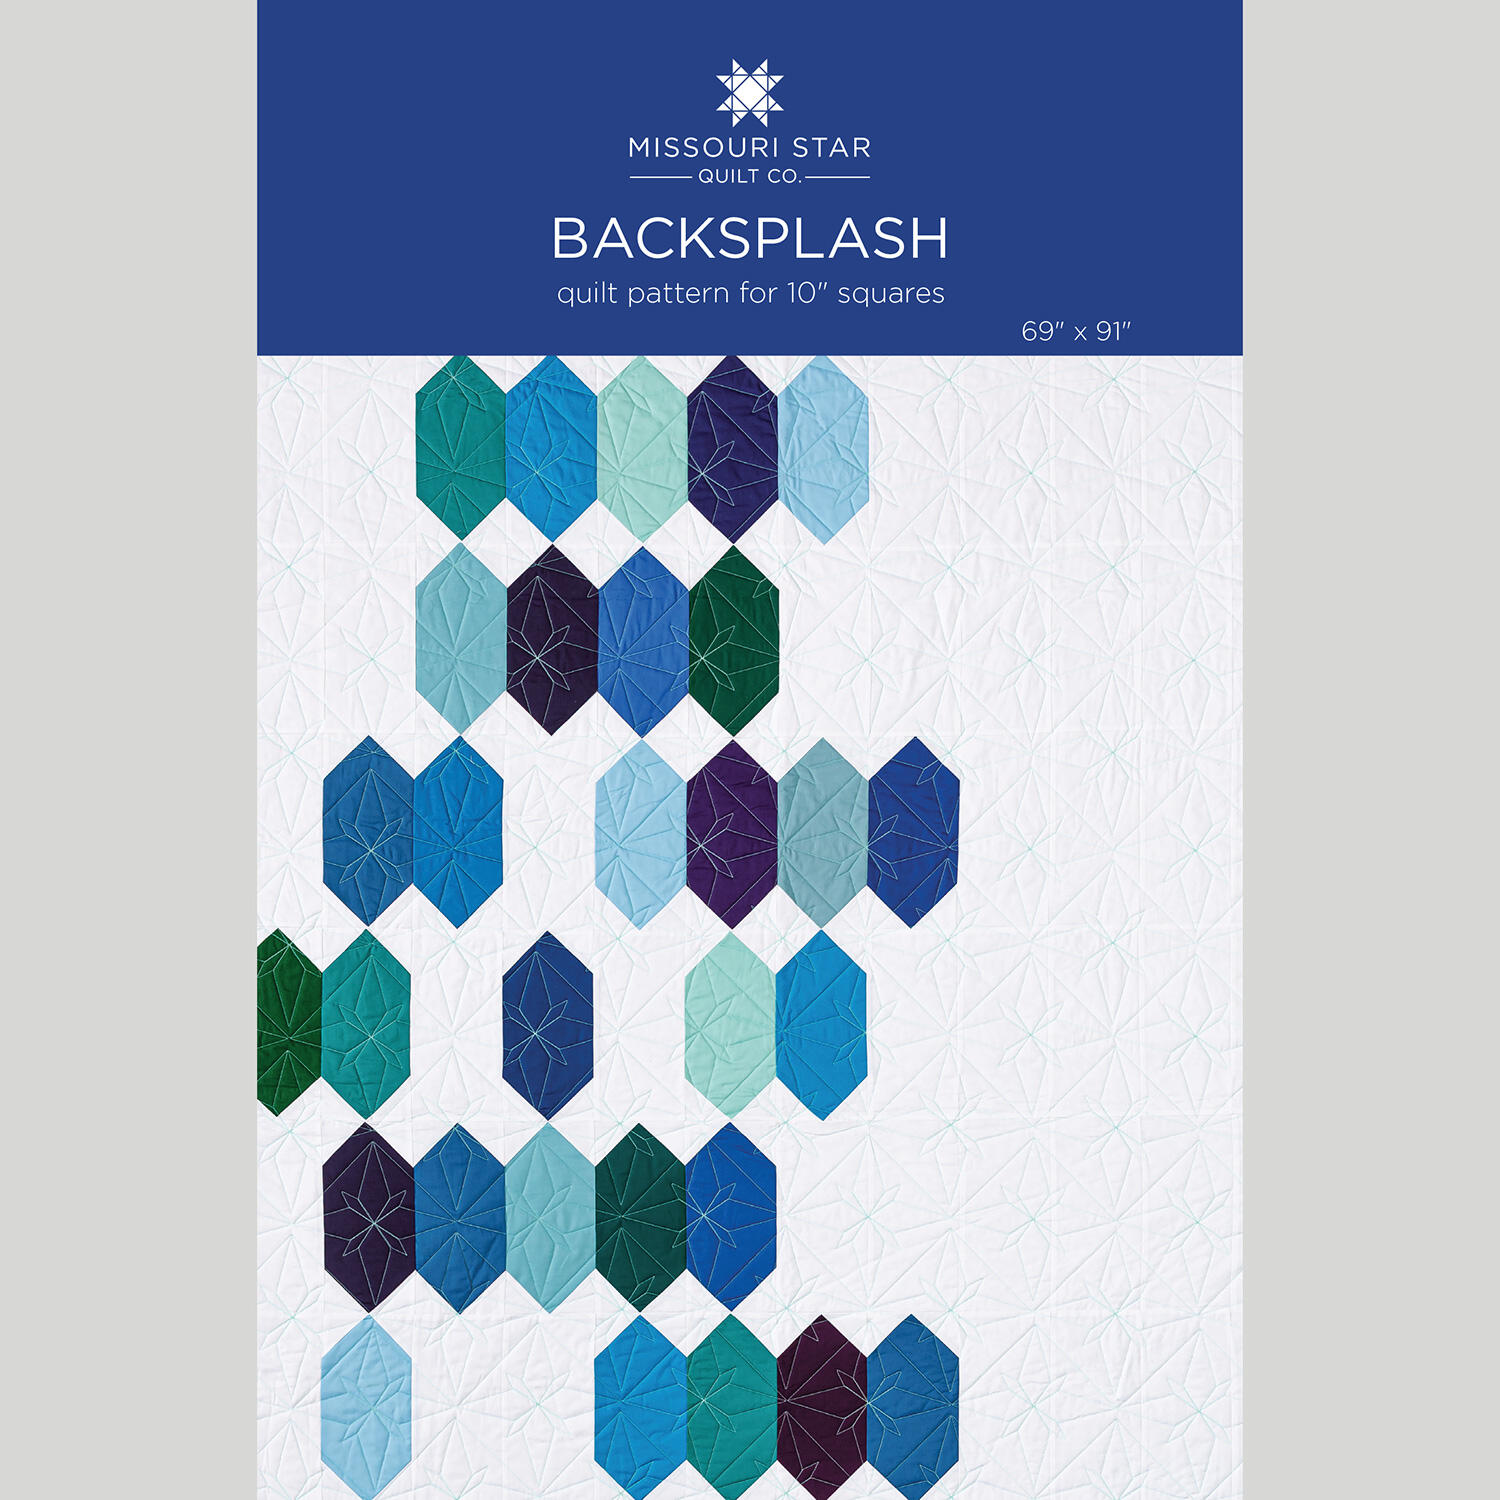 Backsplash Quilt Pattern by Missouri Star$8.50Shop →
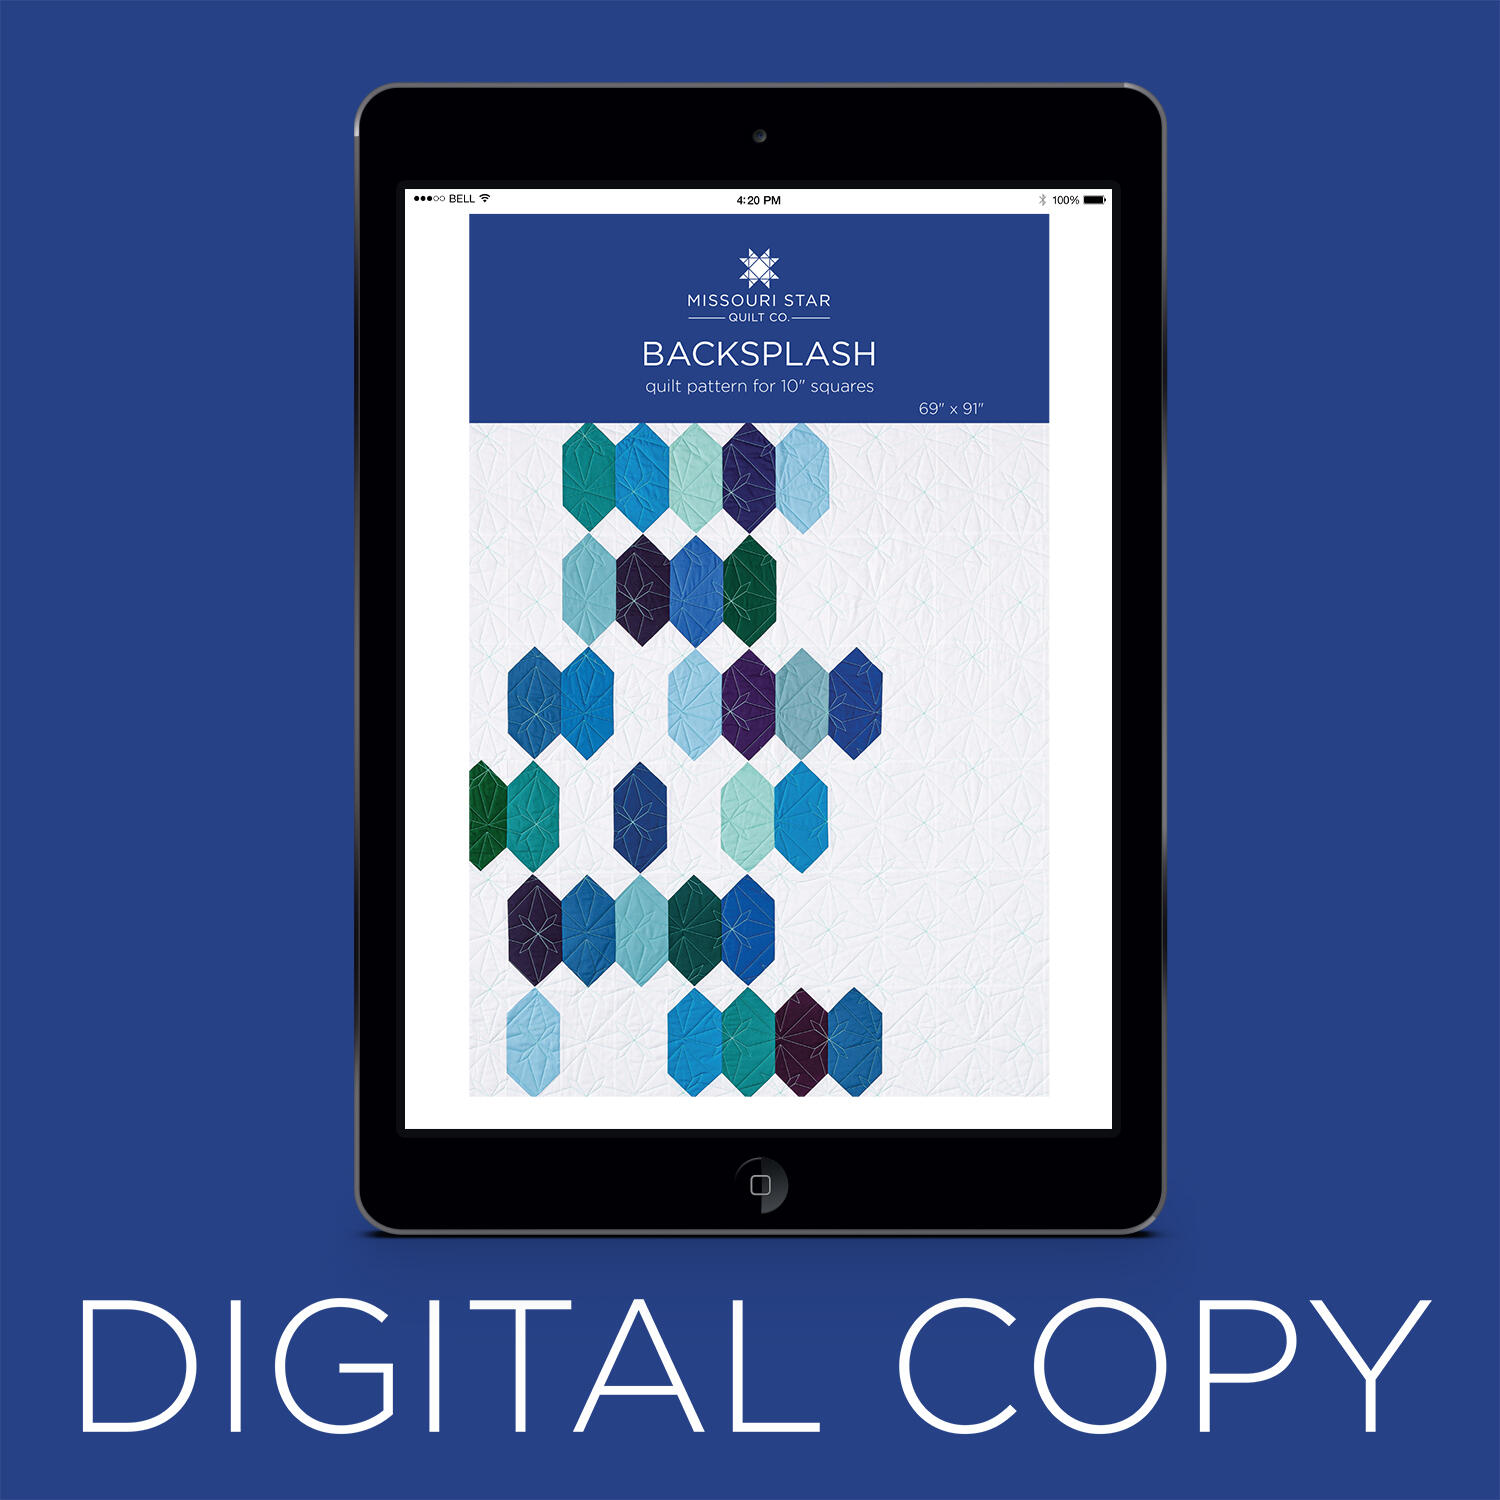 Digital Download - Backsplash Quilt Pattern by Missouri Star$6.95Shop →
Chapters
Common Questions
What is covered in Backsplash Quilt with Cherry?
This quilt with an asymmetrical design is sure to make a splash with modern quilters! Cherry Hill demonstrates Backsplash, a geometric quilt with a clean, minimalistic appearance. Colorworks Premium Solids are used to create long hexagons and lots of negative space that contri...
How long is the tutorial video?
The tutorial video is 00:07:25.
Are supplies listed for this tutorial?
Yes. The tutorial page includes the supplies and materials connected to this project.
Video Transcript
Hi everyone. I'm Cherry with Missouri Star Quilt Company and I am so excited that you have joined me today because I've got a fun quilt project for you. Take a look at this. This is called Backsplash and it's actually a remake of one of our previous patterns called Under Construction. And we thought it would be fun to use a different line of fabric to to see the transformation. And I think it just turned out beautiful. All of these jewel tones and so forth. And we have used such a fun quilting pattern. It's called Mexican tile. And it just pops because we used a thread that matches the inner border. Now for the backing, we used a cafe paper w paper weight in the purple. And I just I just think it pops with the the front of the quilt. I think it's beautiful. So I'm excited to show you how to make this. So let's get started. [Music] Let me show you what you're going to need to make this quilt. You'll need one package of 10in squares. And we used ColorWorks premium solids in the jewel tones. You'll need 3 and 1 eigh yards of background fabric. We used the color works white. You'll need 5/8 of a yard for the inner border, and that's a 2 and 1/2 inch border. And you'll need for the outer border one and 5/8 yards. And that's for a six inch border. And for the backing, you'll need either five and a half yards of 45 in with a vertical seam or 2 and 1/4 yards of the 108. You will also need a rotary cutter and a ruler. And this is going to make a quilt that's approximately 69 by 91. So, let's get started. Now, this is the block that we're looking for. So, we're going to start by cutting our background fabric. And you need you'll need to cut a 10 inch strip and subcut into 5 inch rectangles. And that's going to fill all of this negative white space right here. And then you're going to need some 2 and 34 in squares cut from a 2 and 34 in strip. And you're going to need 168 of those. Next, you're going to want to pick 21 of your fabrics from your layer cake and save the rest for another project. And you're going to take the 21 and cut them in half just like this. And it's going to give you a total of 42. Now that I have this cut, we're going to work on snowballing the corners. And you're going to take four of these 2 and 3/4 inch squares. And if you'd like to mark a line on the back to sew to sew along, you can. Or you can use vertical tape if you have that. So let's go to the sewing machine. Okay. And I'm going to flip it around and put one on the other corner. And I find it easier to go ahead and cut off these corners because it makes it easier to finger press those back to put on your other two squares. All right, I'm going to finger press that and finger. Press the other. Okay, we're going to cut the other two off and then let's iron this. Okay. And that's our block right there. And that is it. What we are going to do now is we're going to build out some strips. And I'll show you how that works. I went ahead and made the first row. And then we're going to work on this second row just like this. We're actually going to put the one that we just made right in there. So, I'm going to go ahead and sew this together. Always using a quarter inch seam. All right, I'm going to actually finish out this row with the remainder of our negative space rectangles. All right, I'm going to give this a quick press. And we have completed our second row. Okay, we've finished this second row. And guys, I laid mine out before I even started sewing because it literally is just rowby row. And we've included this guide so that if you want to lay yours out like my quilt, you can. But feel free to do any design that you would like. And once all of your rows are sewn together, then you're going to sew on your 2 and 1/2 inch inner border and then your 6 inch outer border and you're done. Simple simple. So, this is a great beginner friendly quilt. And if you have anybody that's wanting to learn, this would be a great project for them. So, I hope that you enjoyed this tutorial for Missouri Star Quilt Company.



