

Basic Pillowcase Set
 Misty Doan
- Fabric by Yard
- Modern
- Pillows
- Beginner
- Quilt size 20" × 26"
Make the case for pretty bedding! Whip up pillowcase sets that have a high-end, tailored look featuring contrasting cuffs and piping. Only you (and Misty) need to know how easy it is! Then go one step further and embellish the pillowcases with beautiful embroidery. Fantastic for your own bedding or as an extra-special add on with a gifted quilt.
Instructor
Misty Doan
Misty Doan grew up surrounded by sewing and quilting. She loves spending time sharing tutorials each week each week, and when she’s not stitching up one of her fun sewing projects for home decor, most likely you’ll find her hanging out with her husband and three awesome kids or working on a house project.
Shop this tutorial
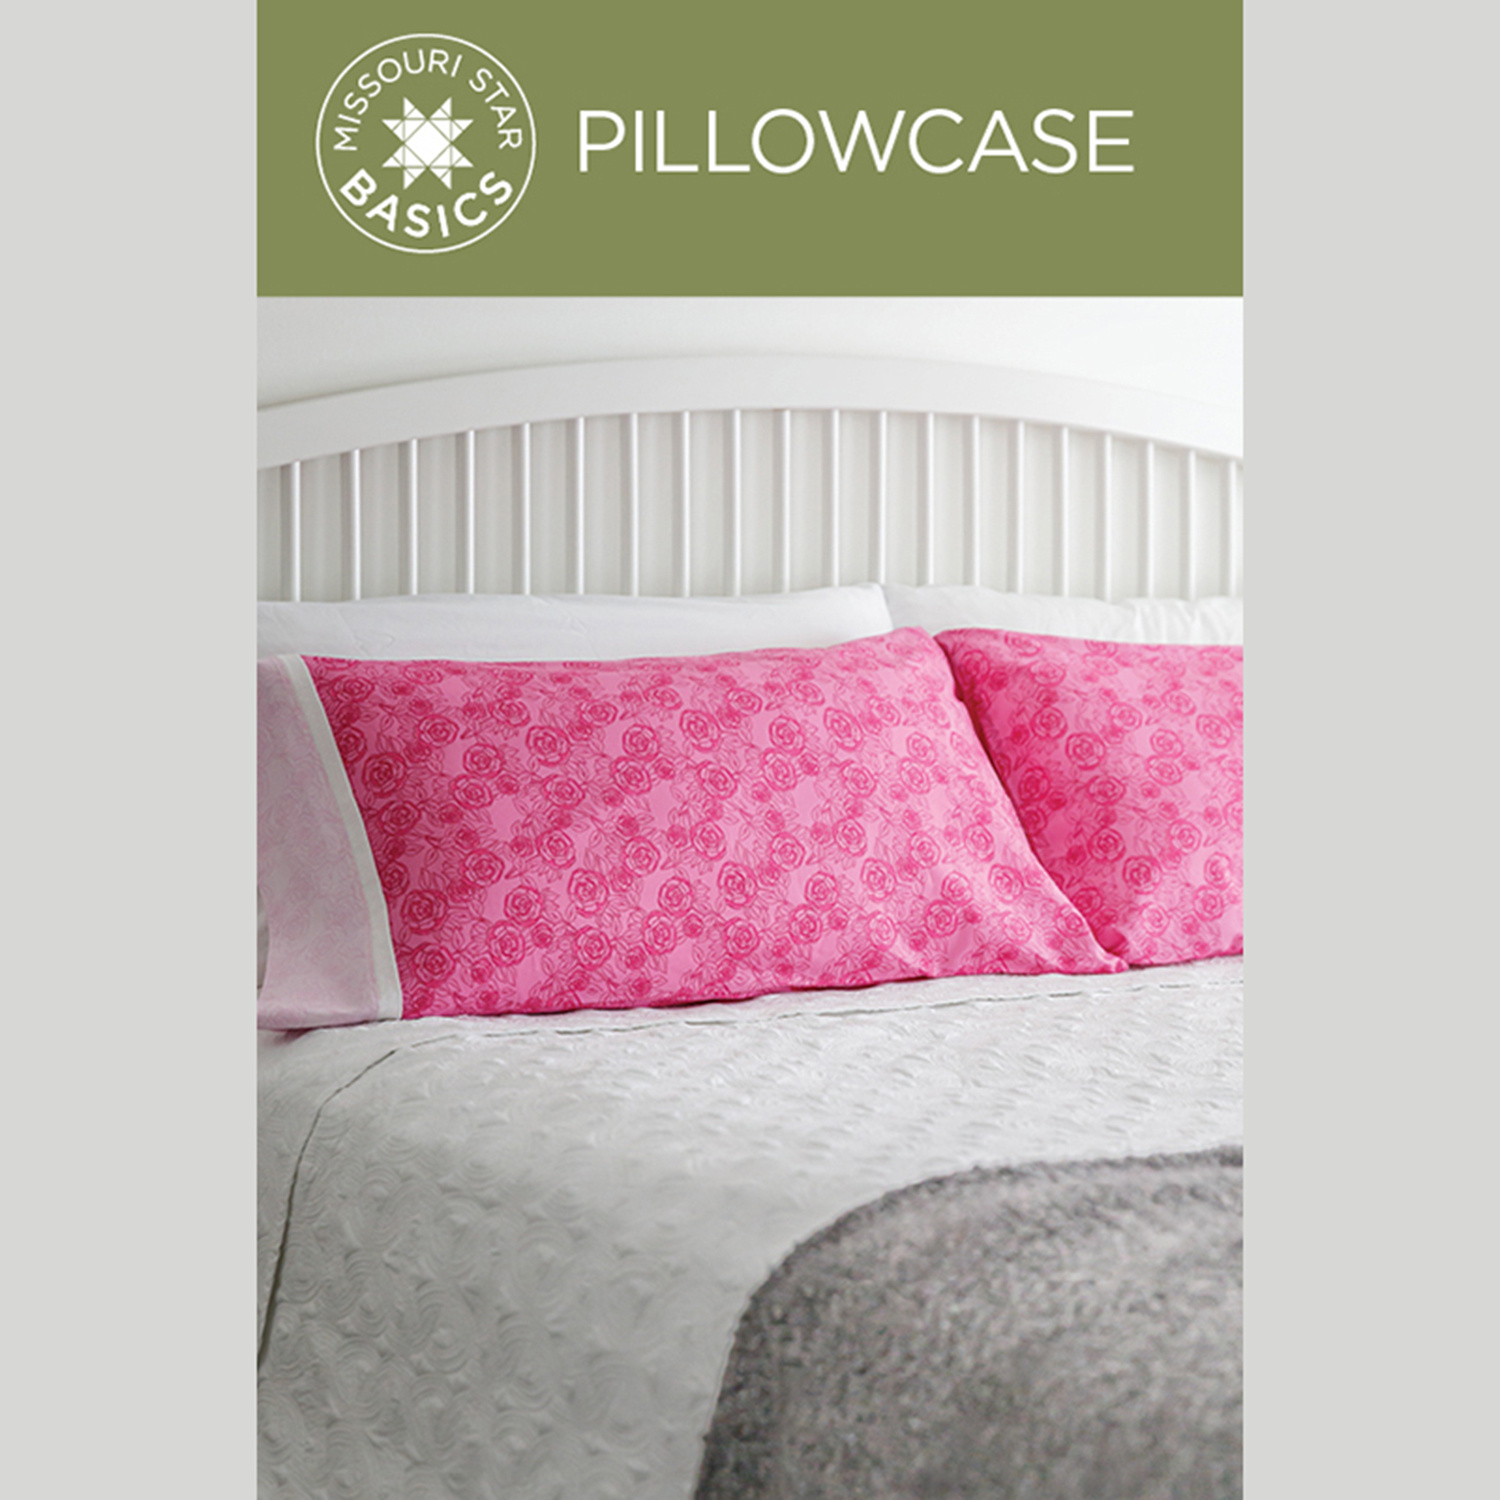 Missouri Star Basics Pillowcase Pattern$8.50Shop →
 Digital Download - Missouri Star Basics Pillowcase Pattern$6.95Shop →
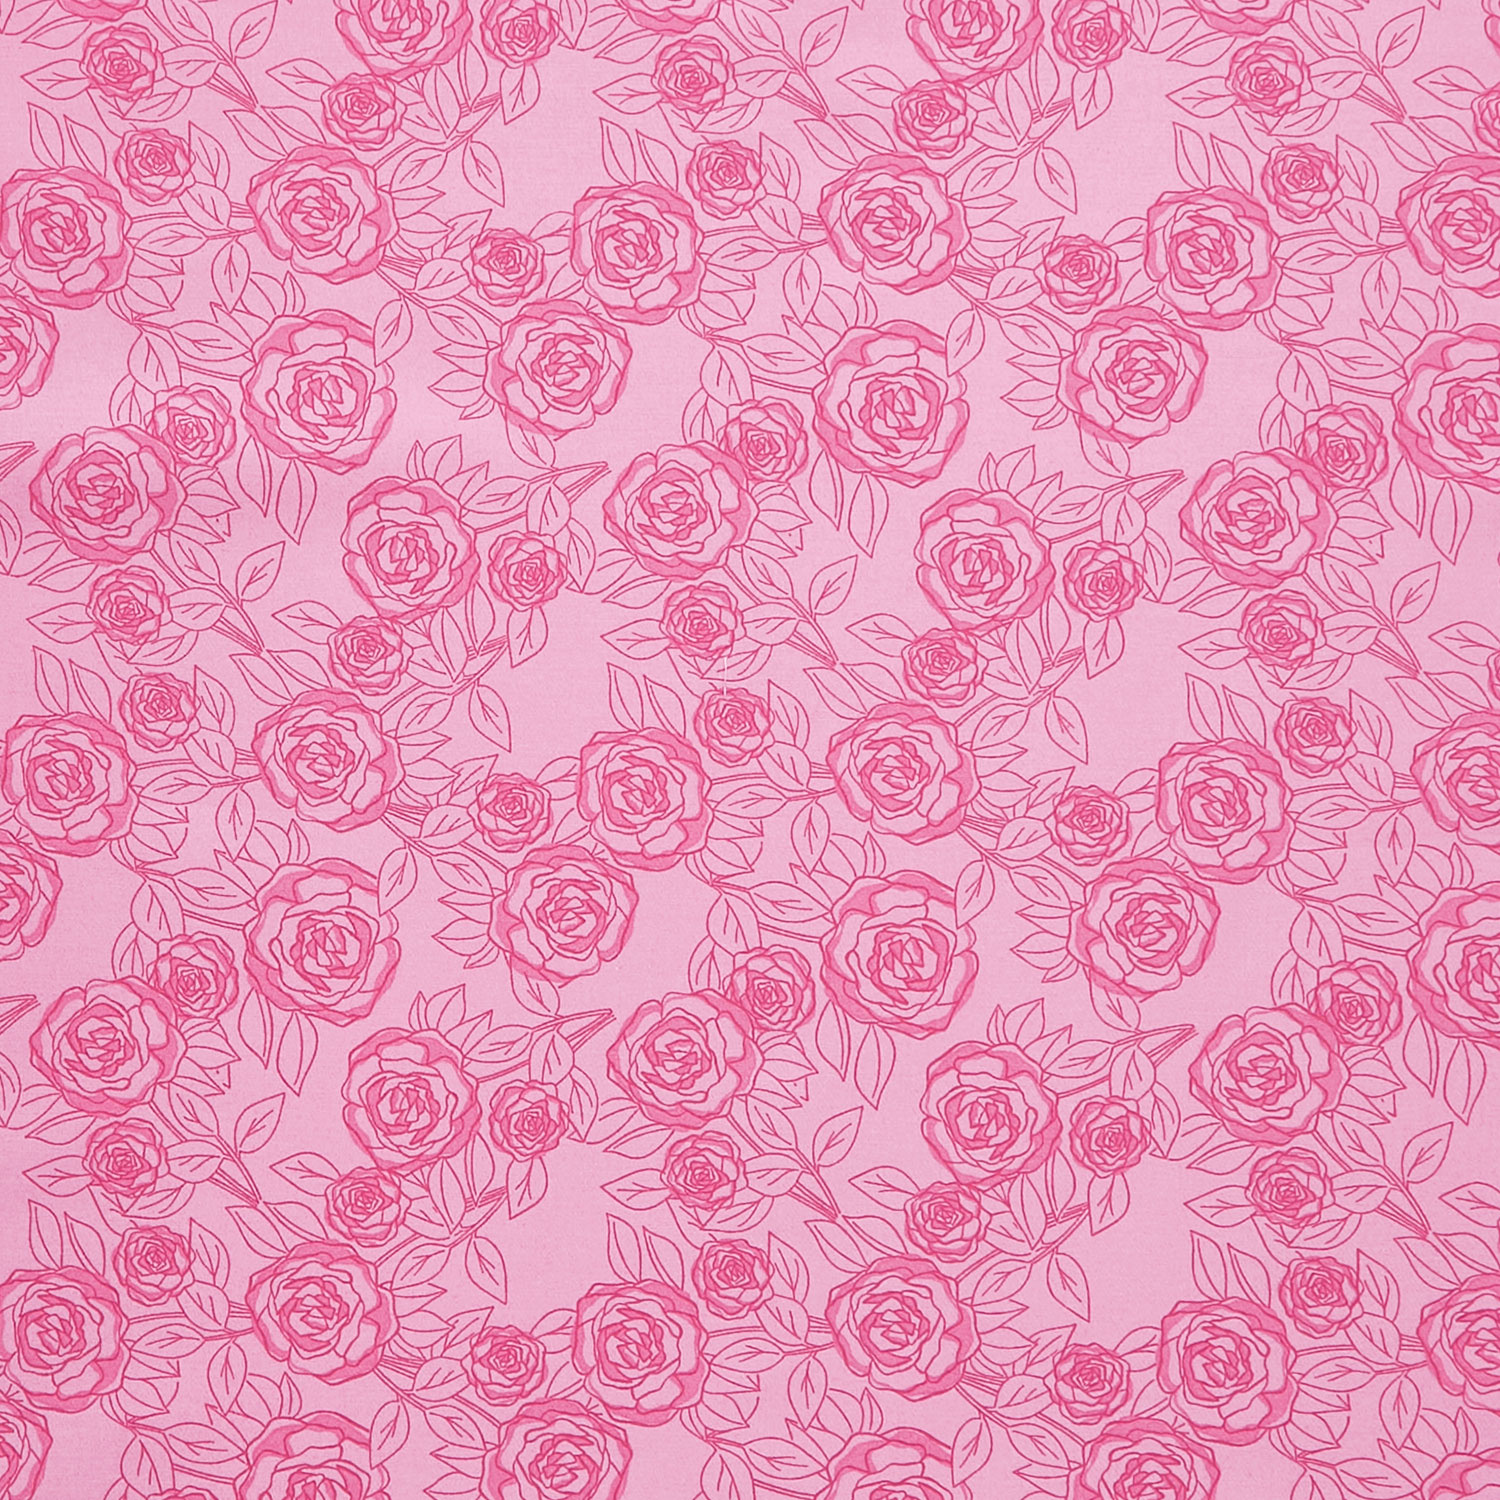 Color Me Pretty - Rose Bloom Rose Yardage$12.44Shop →
 Color Me Pretty - Rose Bloom Pink Purple Yardage$12.44Shop →
 Tone on Tone - Swiss Dot White on White Yardage$10.76Shop →
 Missouri Star 2.5" X 15" Ruler$14.95Shop →
 Missouri Star 5" x 15" Ruler$19.95Shop →
 Missouri Star 45mm Rotary Cutter$19.95Shop →
 Missouri Star Seam Ripper$9.95Shop →
 Missouri Star 8" Everyday Scissors$19.95Shop →
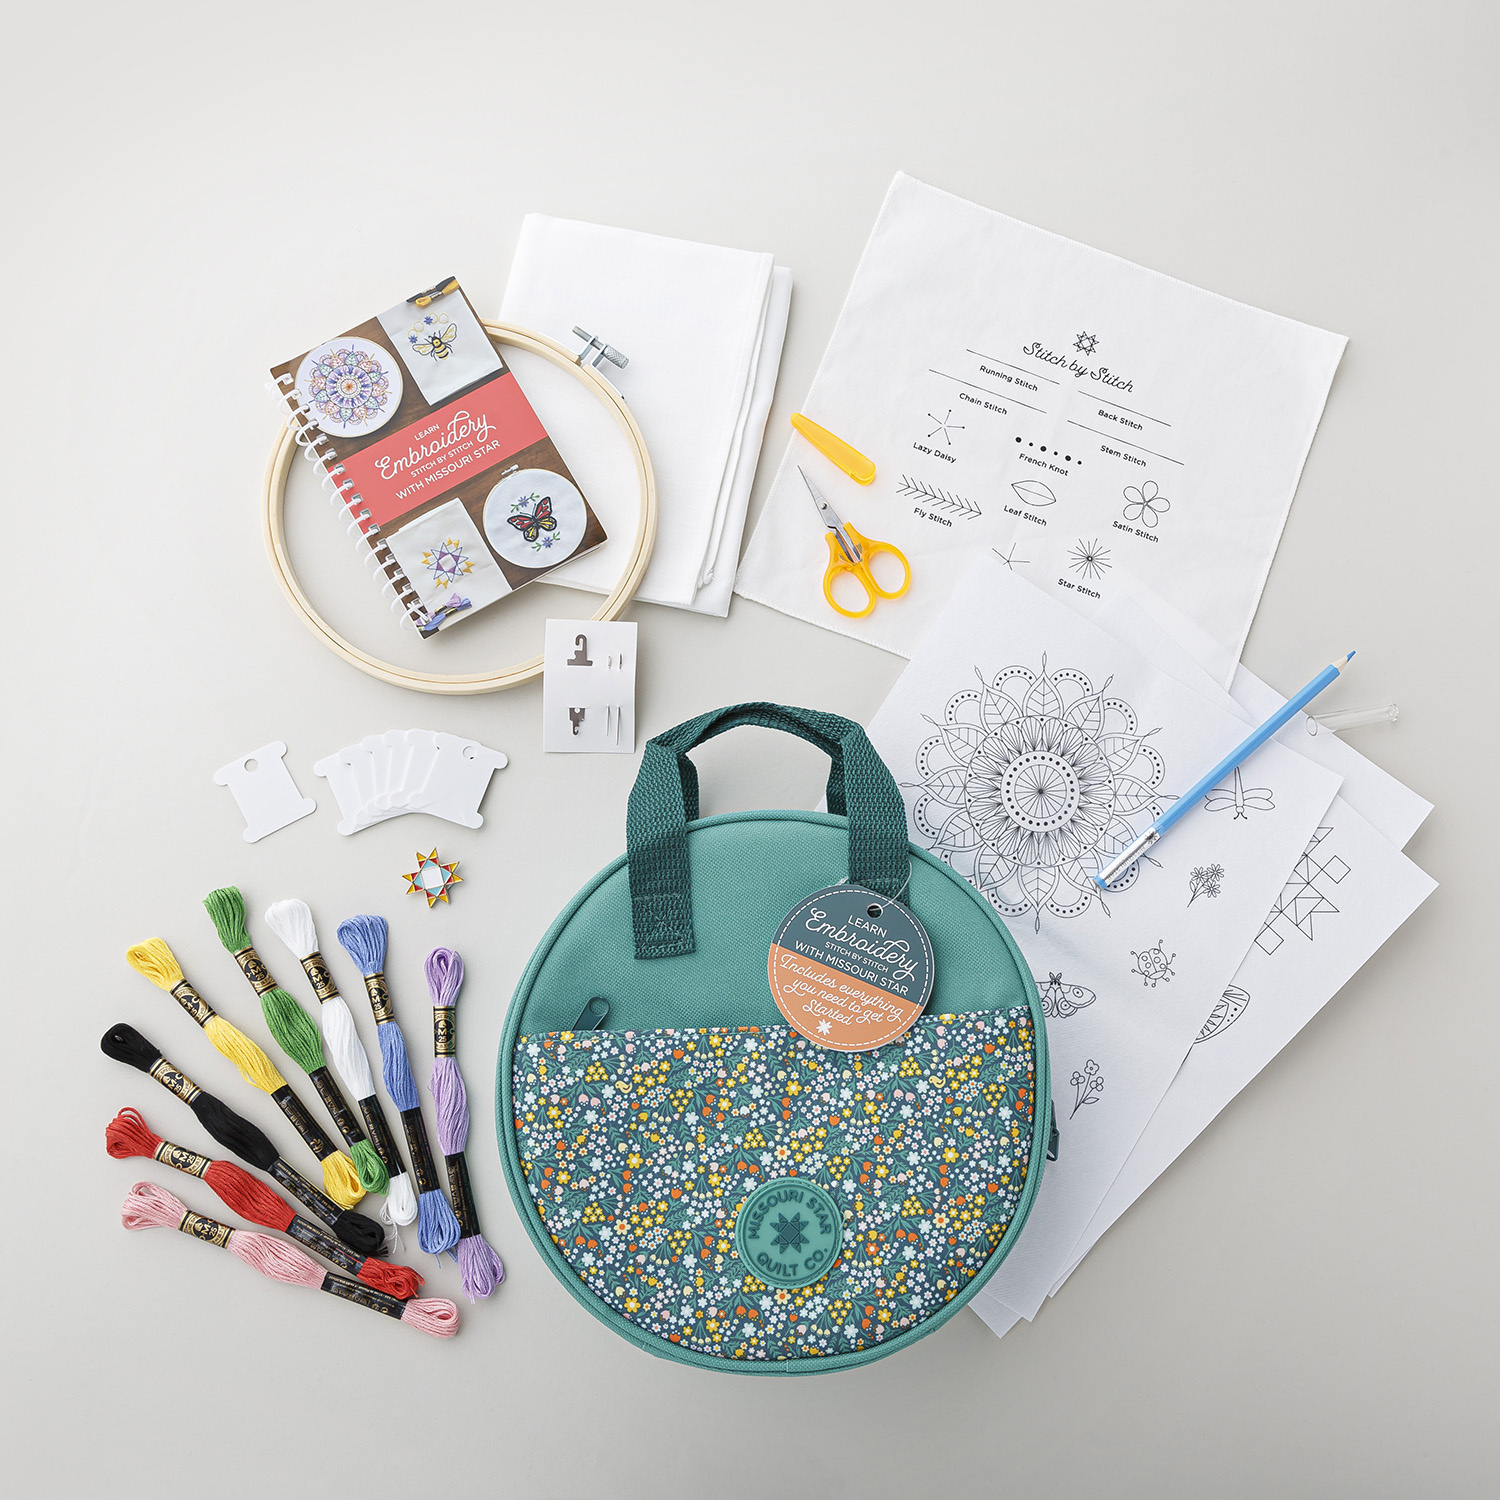 Learn Embroidery Stitch by Stitch with Missouri Star$34.95Shop →
 Missouri Star 50 WT Cotton Thread White$7.95Shop →
 Exclusive Missouri Star Jenny TG1600 ProPlus Oliso Smart Iron$199.99Shop →
 Missouri Star Wooly Betty Board - 17.25" x 25.5" Orange Border$99.95Shop →
 Bernette 77 Sewing and Quilting Machine$1499.00Shop →
Common Questions
What is covered in Basic Pillowcase Set?
Make the case for pretty bedding! Whip up pillowcase sets that have a high-end, tailored look featuring contrasting cuffs and piping. Only you (and Misty) need to know how easy it is! Then go one step further and embellish the pillowcases with beautiful embroidery. Fantastic f...
How long is the tutorial video?
The tutorial video is 00:16:17.
Are supplies listed for this tutorial?
Yes. The tutorial page includes the supplies and materials connected to this project.
Is a transcript available?
Yes. A written transcript is available on the tutorial page.
Video Transcript
So one of the things I love the most about this Pillowcase Basics pattern is it's going to give you all of the supply lists for a standard, queen or king-sized pillow whether you want to make one, two or four. So let's go ahead and pop up that supply card so you can see what you need. I'm going to teach you how to make one king-size pillow today. So in order to do that,
you're going to need one yard of your main pillow fabric - I've used this beautiful floral from the Color Me Pretty collection by Stephanie Organes for Andover. Then you'll need a third of a yard for your cuff and an eighth of a yard if you decide to do this optional accent strip.
So I went ahead and I have trimmed all of these to the sizes that I need. So to start with for the accent little flange you're going to cut a 2 inch by 42 inch strip. And I went ahead and pressed in half long ways so it's ready to go. So we can go ahead and set this aside.
So then for the cuff the size you are going to need is 9 inches by 42 inches. So I have my fabric trimmed here 9 inches tall by 42 inches long. And then for the main pillow fabric, the size is 33 inches x 42 inches.
So I'm going to move these sample pillows out of the way so I can show you how we're going to get started. With this we're going to begin by opening up our cuff. That is step number one. I'm going to go ahead and
give this a little press, just to make sure everything's going to lay nice and
flat. All right, here we go. Going to set these over here just so I have plenty of working room. And we can lay this out across here. Then next we're going to take our little flange piece. We're going to line that up across and then we're going to open up the body of our pillow and we're going to put the right side down. So this is right sides up. We're going to put this one right side down. And of course it should be the same width, so if it's not lining up you probably just need to spin it just like I did.
Now we're going to put some pins in here to help everything stay in place. Just a couple to get us started, make sure our ends are staying matched up as well. There we go, and one more on this side. Then I'll add a few more here. In just a second, there we go. Okay so now that we've done that, we're going to go ahead and roll up this part of our pillow. I like to give it a little fold to get started and then we're just going to roll, roll, roll. And now we're going to take and we're going to match up this bottom piece of our cuff across the top. And so same thing, we're going to pin this in place. You can even add a few more pins, because we want to make sure all of this all…of these raw edges are going to stay lined up nicely. So I'm going to take my time and get this all pinned and then I'll meet you back here.
Okay, so you can see I have pinned all along the edge where my raw edges line up and so now we can take this to the sewing machine and we're going to sew all the way down this straight edge with a quarter inch seam allowance. So let's go ahead and do that. Of course be careful, watch out for those pins. I am going to go ahead and move my pin cushion back here. So I can get started and then we will just zoom down and pull those pins out as we go. I am going to back stitch there at the start, just because we're going to have a little tension on that later on for…okay almost to the end here. And I am just going to back stitch again at the end. Okay, all done. We have sewn all the way down that long seam.
So now we're going to reach in here and we're going to pull out our pillowcase. And it will turn this right sides out. That's why it's important to back stitch a little bit there, just to really secure it so as we tug on it, it's not going to pop those seams. Tada! Look at that!
All right so now we're going to take this over to the ironing board. We're going to give this a good press and then I'm going to just do a little line of
top stitching to make this lay really nicely. So let's press it first. First I want the flange to be going back towards the body of the pillowcase. And of course the cuff fabric to be up here on the top. So I'm just going to press between those two and get everything to lay nice and smooth. We're just going to keep pressing, making sure that that flange is pointed towards the body of our pillowcase, not towards the cuff, and that we have a nice crisp edge along the cuff. And so here's how that looks once we've finished pressing. It turns out really nice!
And now I just like to add a line of top stitching here along the cuff just to help the flange stay laying down. I just think it gives it a really nice professional finish. So if you want to use a decorative stitch or change your thread color you absolutely could. Just for ease I'm just going to use the white, but I am going to lengthen my stitch length just a bit because I like to do that when I top stitch. So I am just following about an eighth of an inch away from that seam between the flange and the cuff. We'll just do that all the way down. Okay I'm going to go ahead and shorten my stitch length back to normal so I don't make a mistake later. And there we go, our top stitching is complete.
So if you have a serger or you don't want to mess with French seams, at this point you could just fold this right sides together, make sure it's all lined up across the bottom. And I would always start up here, because I want my cuffs to match up. And so you would use a half inch seam allowance if you have a serger, and you would just make sure that these are matching, and you'd come all the way down the long side, and across the bottom.
But let's talk about how to do a French seam so you have no raw edges. So to do that, we're actually going to put these wrong sides together, just like so. And I have a little piece here that's kind of hanging over and the rest
of it is matching up nicely. So I'm just going to use my ruler to trim off that overhang, make sure I have a nice clean edge up here, perfect. And so now we are going to start by sewing a quarter inch seam down this long side and across the bottom. So let's do that first. If you want to pin, you totally can. I don't really find it necessary on these big long seams,
So I'm just going to do a scant quarter inch here, again making sure that my cuff and my flange are all lining up nicely. And then we can just sail down this side. Just continue to line up as you go. All right, I just went ahead and sewed off the end. And now I can come back, make sure my bottom edge is lined up, and do the exact same thing across that short side. All right, so we have those first stitches all done. You can see we went a quarter inch around both sides.
And so now all we're going to do is turn this inside out. And so then we're going to take this over to the iron. And you just want to be really careful
here to make sure your corner is really sharp and that all of your seams are pressed as evenly as possible. So you can kind of roll those like I'm showing you here. But I'm going to do this at the ironing board and then I'll meet you back here once I have it all pressed.
All right, so we have this all pressed. You can see how crisp our edges are. We rolled all those seams and turned our corners so they're really sharp. And so now we are ready to do our final row of stitching. This is all that makes a French seam. And so we are going to take a half inch seam allowance now so that that first seam is completely enclosed. And so let's go ahead and do that over at the machine. So I have moved my needle over so that I have a wider seam allowance. So we're going to back stitch a few stitches as well just to really anchor that, and then we can just zoom all the way down this side and I will meet you back here when I have all of this sewing done.
All right, we have finished our French seam. It is as easy as that! Hopefully this took some of that fear away for you, because it really is not hard. It's just, you know, a little bit different than what we typically do. So we can turn this right sides out and we have a beautiful finished pillowcase with no raw edges at all. Just push these corners in. If you have any little threads that pop through, you can just trim those off, it's nothing to worry about.
So let's talk about the three different sizes that are in the pattern. Of course this is the king size and I have one more king size done here, as well as a queen size which is just the next size down, and a standard. So let me lay these out so that you can see the difference in the sizes. Kind of stack them on top of each other. Here's that king size that we made at the beginning, and then here is the queen and here is the standard. So the pattern includes all the sizes, all of the yardage requirements, and the instructions. So you can make whatever you need, whether you need one. two. or four of these pillows.
I hope you found this really helpful and I will see you next time on At Home!


