Some things are just better together–peanut butter and jelly, hugs and kisses, and quilts and flannel! This extra-cozy quilt is made with Kimberbell Basics Flannel for the quilt top and the backing. It's beginner friendly, consisting of only squares and rectangles. Simply warm and cozy!
Misty Doan grew up surrounded by sewing and quilting. She loves spending time sharing tutorials each week each week, and when she’s not stitching up one of her fun sewing projects for home decor, most likely you’ll find her hanging out with her husband and three awesome kids or working on a house project.
Some things are just better together–peanut butter and jelly, hugs and kisses, and quilts and flannel! This extra-cozy quilt is made with Kimberbell Basics Flannel for the quilt top and the backing. It's beginner friendly, consisting of only squares and rectangles. Simply warm...
How long is the tutorial video?
The tutorial video is 00:09:05.
Are supplies listed for this tutorial?
Yes. The tutorial page includes the supplies and materials connected to this project.
Video Transcript
Hey everyone, welcome to At Home. I have a really fun quilt to share with you. I'm calling it better together and I made it with these beautiful soft flannels. It's super easy. Let me show you how to make it. So, to make this quilt, you are going to need one package of 10inch squares. Because I've used flannel, this looks nice and thick, but this beautiful collection is called Kimberbell Rainbow Wishes for Kim Kristofferson for Maywood. You're also going to need 1 and a/4 yards of your border fabric. I used this cute little blue kind of check. And then for your backing, you need four yards with a horizontal seam. And that is it. So, let me show you how easy this is to make. All right. So, let me show you the block that we'll be making today. This is what it looks like. Super quick and easy. And let me show you how we're going to do that. So, we're going to cut all of our 10in squares in the exact same way. I have a few stacked up here. You just want to make sure they're nice and straight. And then the first thing we're going to do is we're going to cut a 4 in strip off of one side here. There we go. And then I'm going to trim this down so that it measures 4 by 9 and a half. So I'm just going to cut a half inch off of there. I actually think I'm going to straighten up both ends just because it looks a little wonky down there on the bottom. So I'll flip that around just to make sure everything is nice and clean. There we go. So, four by nine and a half for that piece. And you're going to do that to your whole stack. You can see I've already got some of them cut over here. So, I'm going to add that to the pile. So, then from this one, I'm just going to turn it now and I'm going to cut a 4 in piece off of the top. And that's going to leave me a 6 in square. And so, that's all of your cutting. You're going to continue with your whole pack in the same way. I'm just going to mix these up a little bit. And so now, the thing that I love about this quilt is it's so easy to chain piece. And so I'm just going to start with my 4x6 in rectangle and my 6 in squares. And I'm going to take this over to the machine. And we'll do a few of these just so you can see how quick it goes. But now we're just going to mix up our prints and sew these by placing them right sides together. And this will be step number one. And so I'll just go through a few of these and we can just spend some time chain piecing together. All right. So, I've gone ahead and just chain piece four of those. You're going to do your entire stack in that exact same way. And so, let's go ahead and snip these apart now. There we go. Perfect. And now we can take these over to the ironing board and we're just going to roll these back. There's one. I feel like there's just something about a simple cozy flannel quilt that you can just take on all your adventures with you. Throw it in the back of the car. This is a perfect one for that. Great for picnics. Okay, there we go. And so now, just like before, since we've taken that seam, this is going to match up exactly with our 4 by9 and 1/2 in rectangles that we cut. And so we're just going to now keep chain piecing by adding [snorts] one of these along the side. And I'll just do that really quick here. Flip this around. So, I have the smaller piece on top. There we go. I also think this quilt would just be adorable in virtually any fabric. The pieces stay nice and big. So, if you have a print that you love that you don't want to cut up super small, it would be perfect for that. Let me find some prints I haven't used yet. Maybe this guy. Every once in a while, we have that fabric that we just really love and we want to be able to see it. We go. Maybe this one. You can see I'm just pulling from my stack and just kind of mixing it up as I go. And one more here. Okay. Easy peasy. Four blocks done. Just like that. So, let's go ahead and trim these apart. Beautiful. I'll add these back to my stacks for later. Now, we can press these. And this quilt is really that simple. That is pretty much the the whole gist of it. I will show you how I laid it out just so I had a little bit of movement. Let's just finish pressing these real quick. and one more. All right. So, there is our cute little finished block. Let's talk a little bit about the layout. Let me move some of this out of the way here. So you'll notice in the quilt behind me, it is just a six blocks across by seven down. So we're using every single one of our blocks. And we're going to begin with our long piece going across the side here. And then on the next one, we're going to put it upright and then across the bottom. And I just liked how it didn't really put any of the same size together. And so then when I come in on the next row, I'm going to put this on the other side. And it kind of does this little pin wheel effect. This one will go in there [snorts] and this one will go in there. Just back and forth. And so that just continues. And so you'll notice here how that pin wheel kind of comes together like I was talking about. And I just liked the movement that that gave it. I quilted this in a pattern that's called Daisy Days, which I just think is so cute. I don't know if you can see this nice big daisy right there. And then this quilt measures 63 by 72. So, like I mentioned, a great throw size, a great one to throw in the back of your car and take on all your adventures. So, I use this adorable polka dot on the backing, which I love. And you can really see that daisy. It pops so nicely on the back there. I just think it turned out so great. And so, this is a great quilt to take along with you. I love how simple and easy it is. And so I hope you guys enjoyed this tutorial on the Better Together Quilt and I'll see you next time on At Home. Hey everyone, thank you so much for watching at home. We're so excited to be almost a million quilters strong here at Missouri Star. [music] And so if you haven't already joined our family, be sure to subscribe and hit that notification bell so you can be notified of all of our future tutorials. And we'll see you [music] soon.

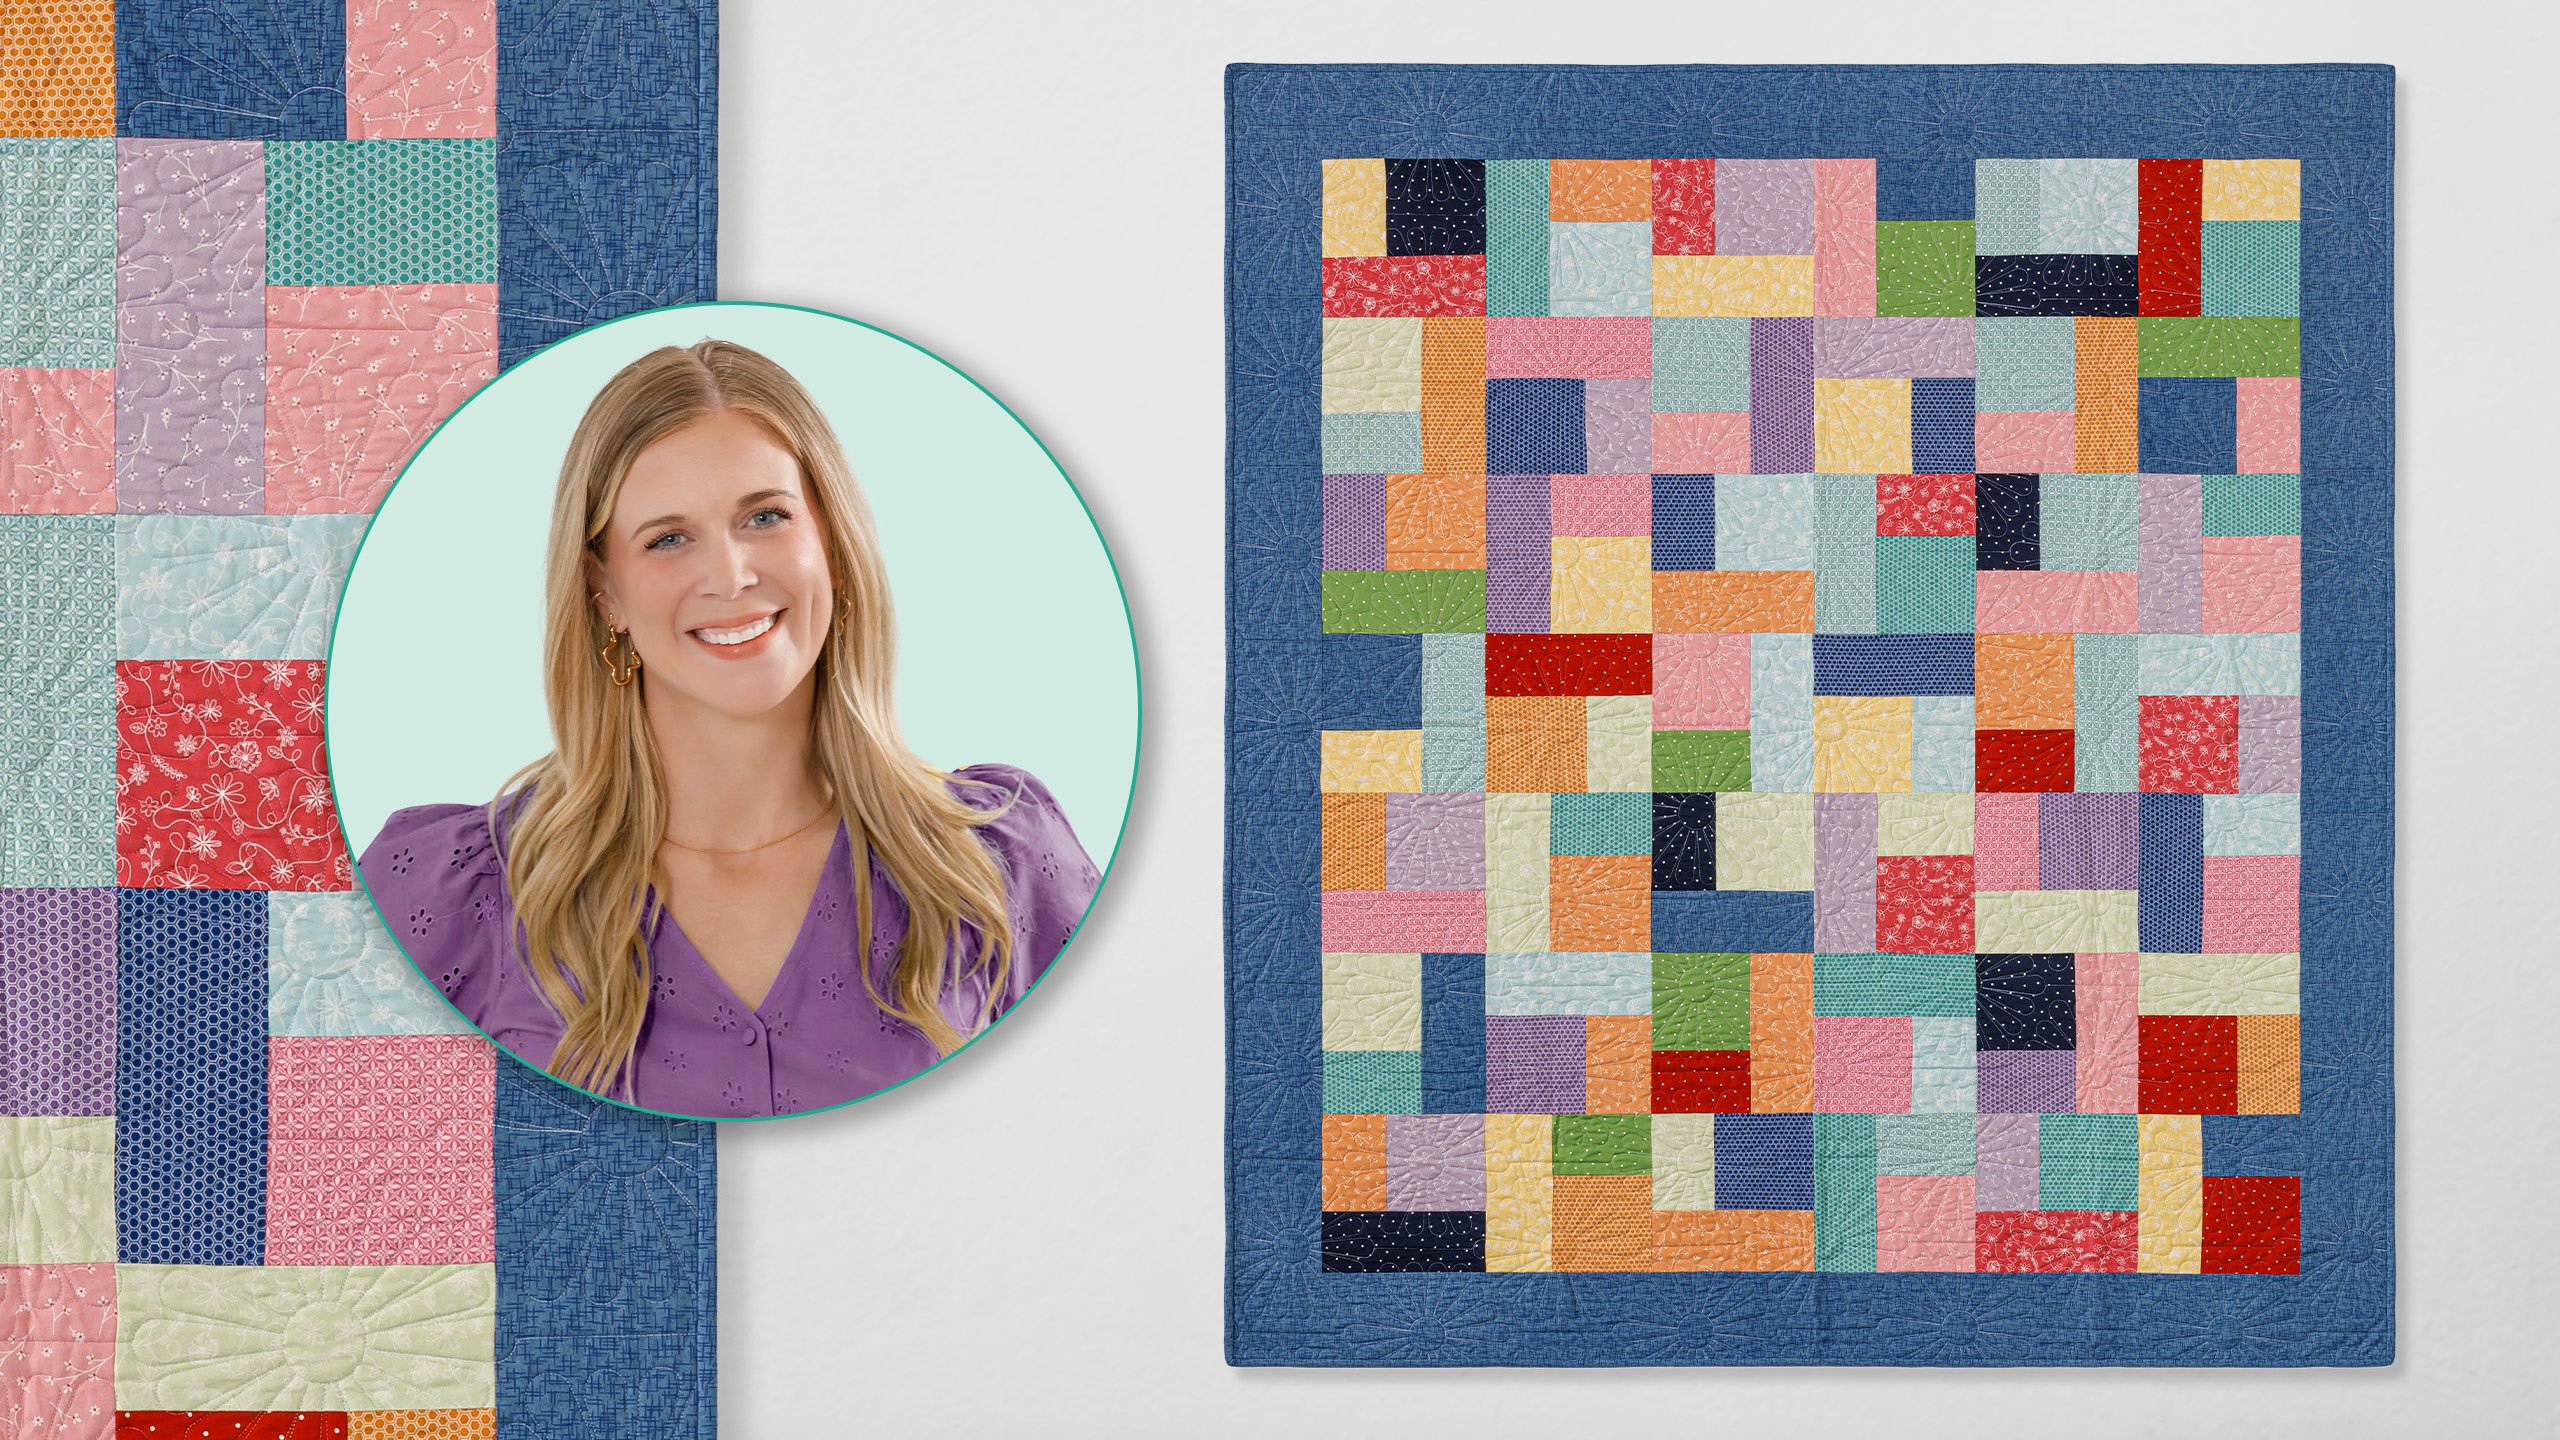
 Misty Doan
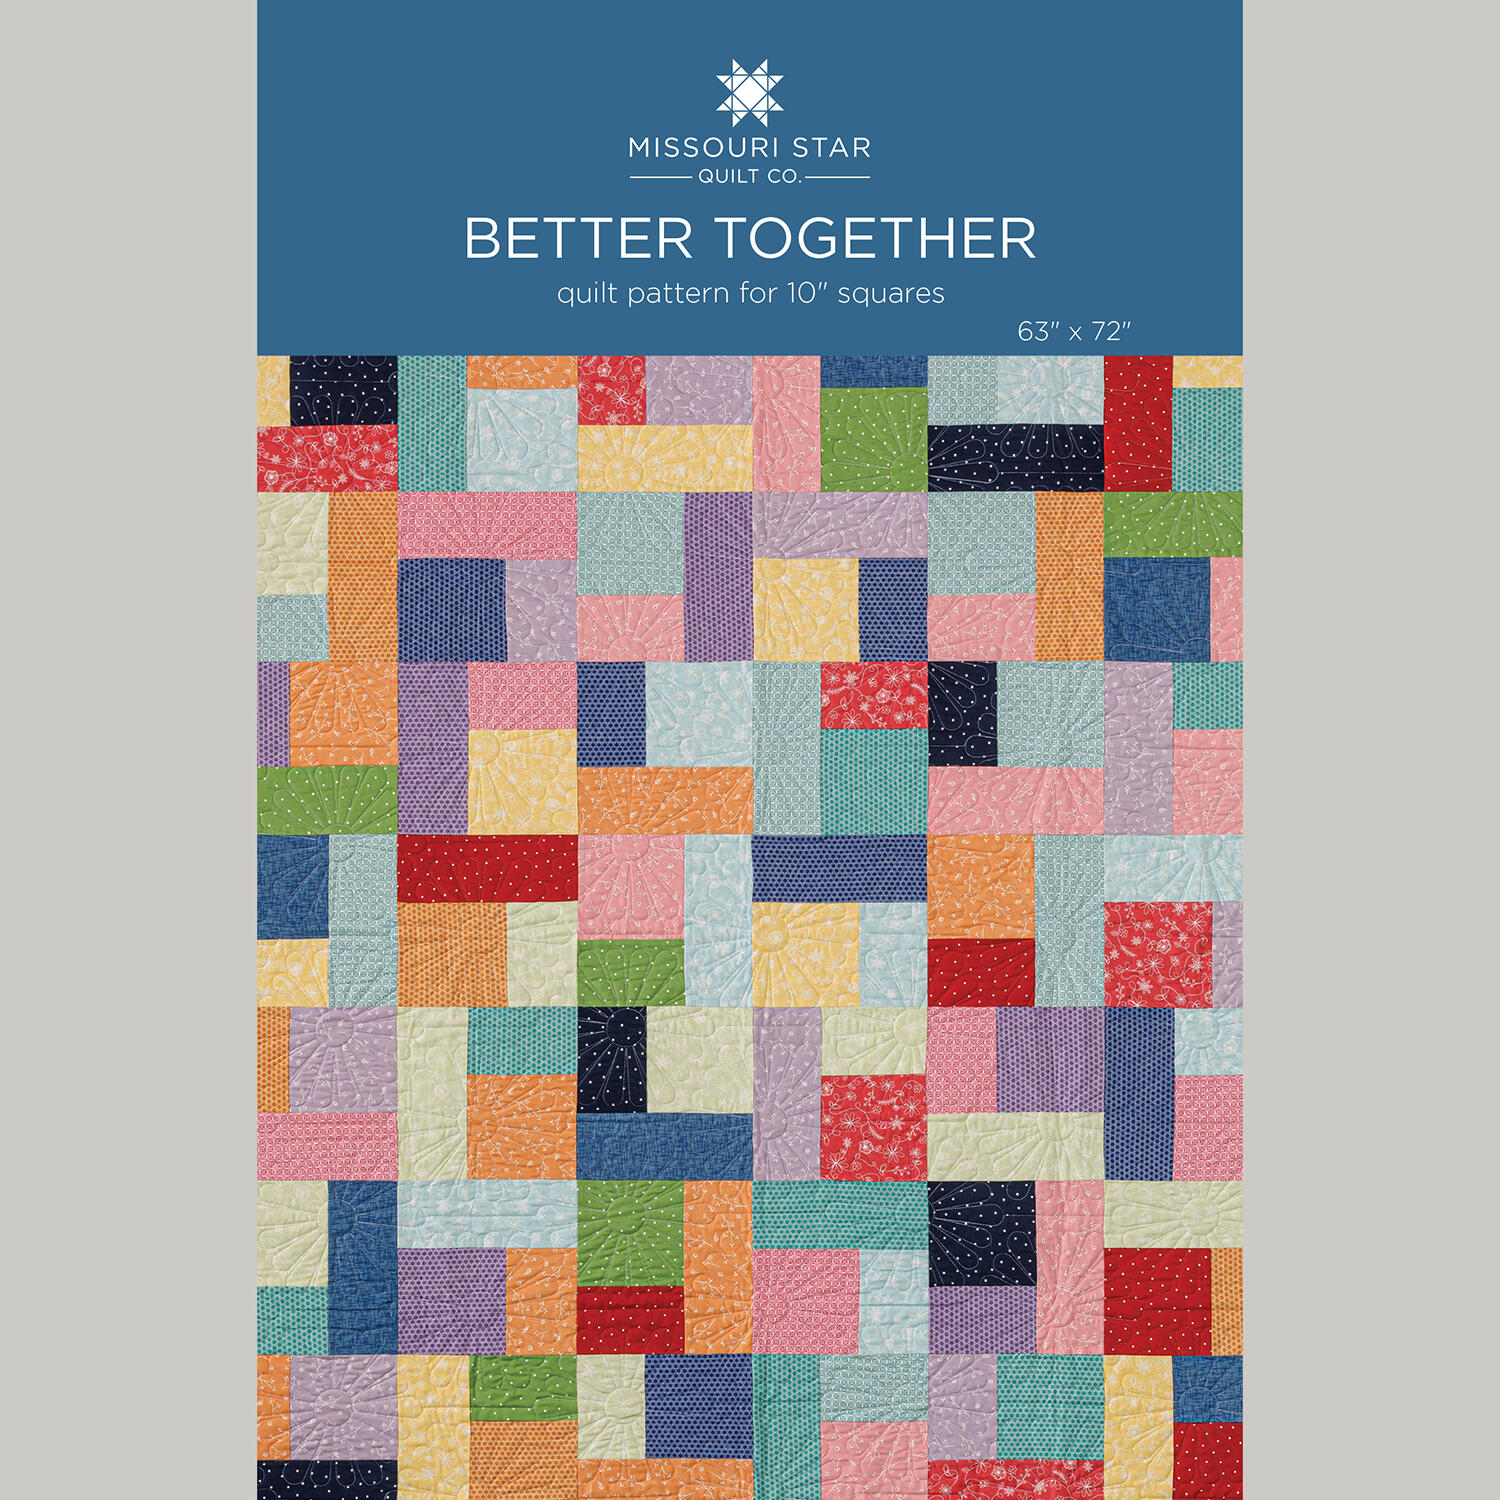 Better Together Quilt Pattern by Missouri Star$8.50Shop →
 Digital Download - Better Together Quilt Pattern by Missouri Star$6.95Shop →
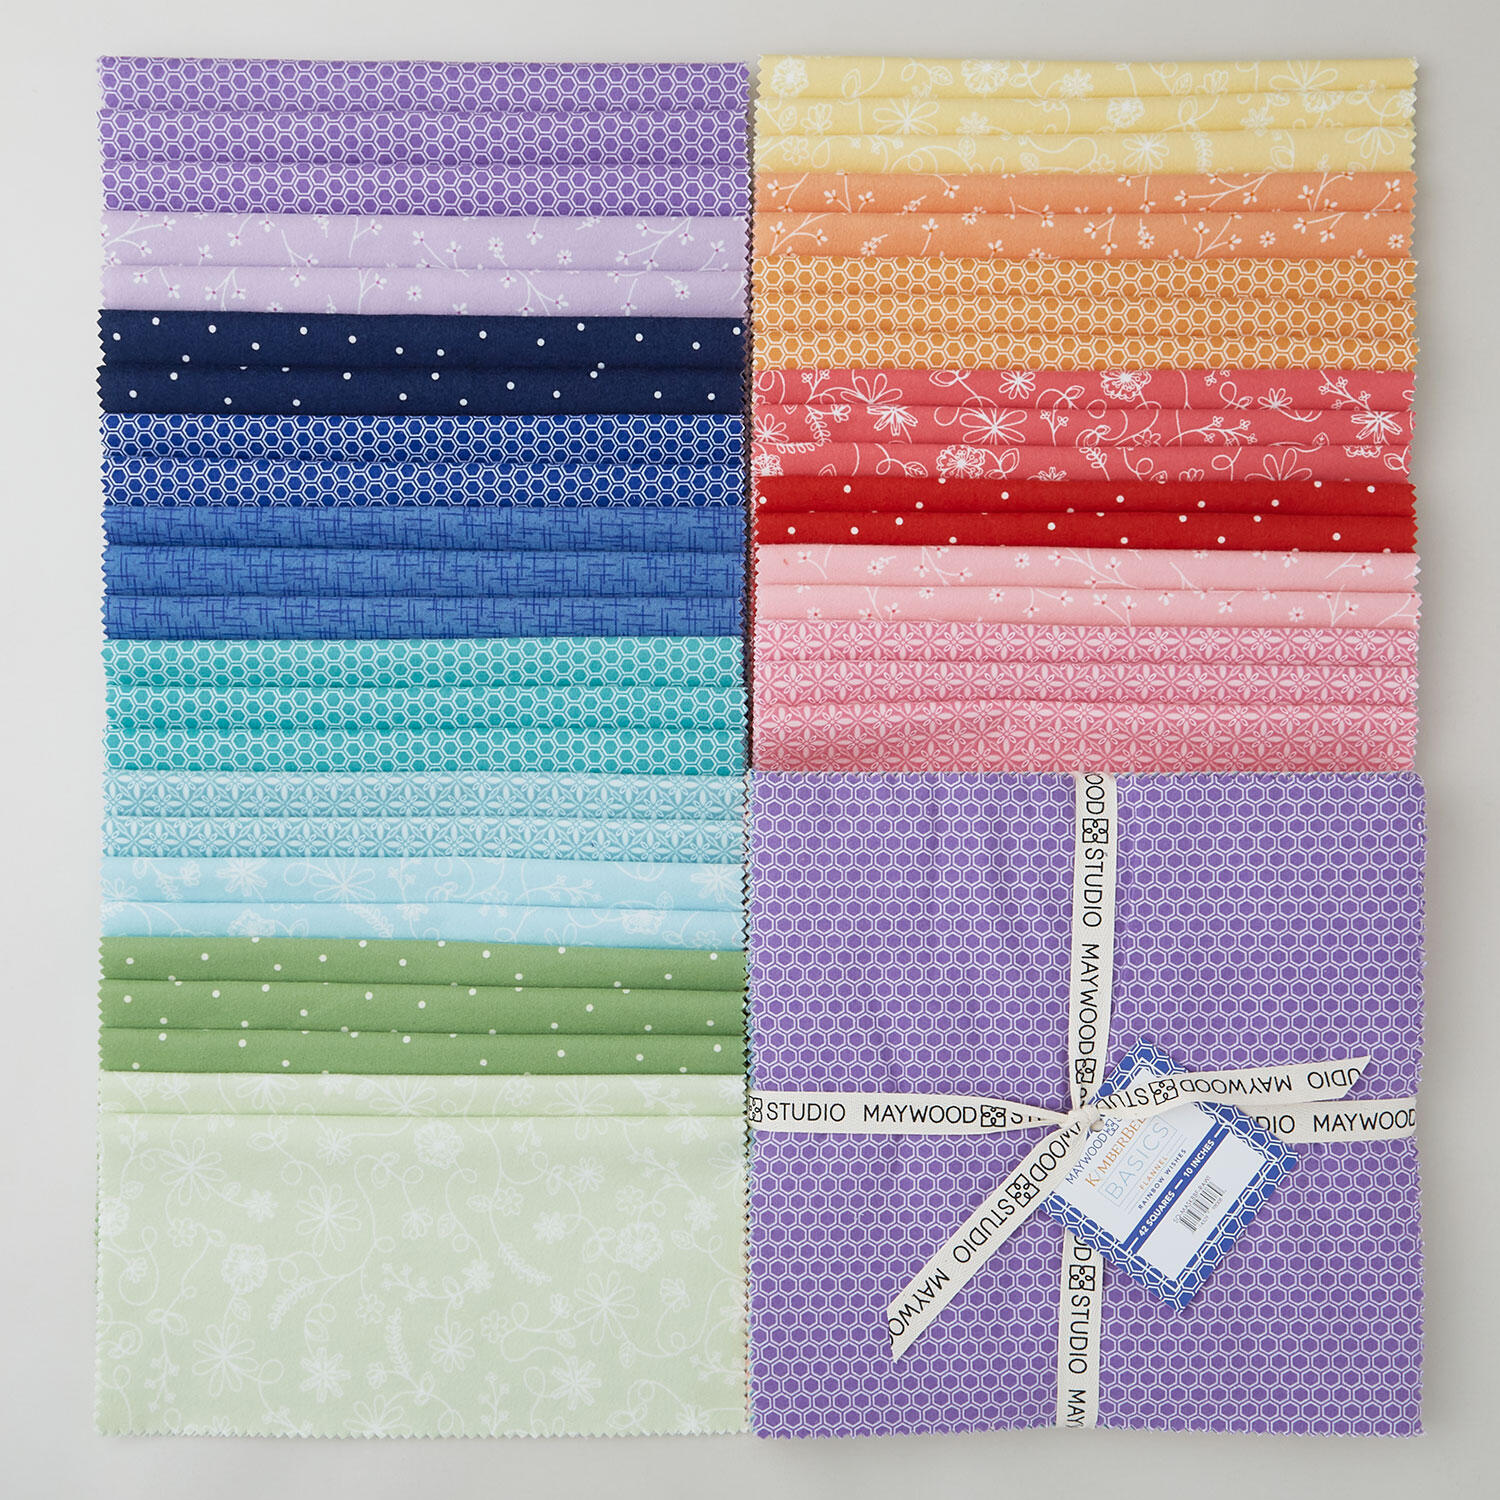 Kimberbell Basics Flannel - Rainbow Wishes 10" Squares$50.10Shop →
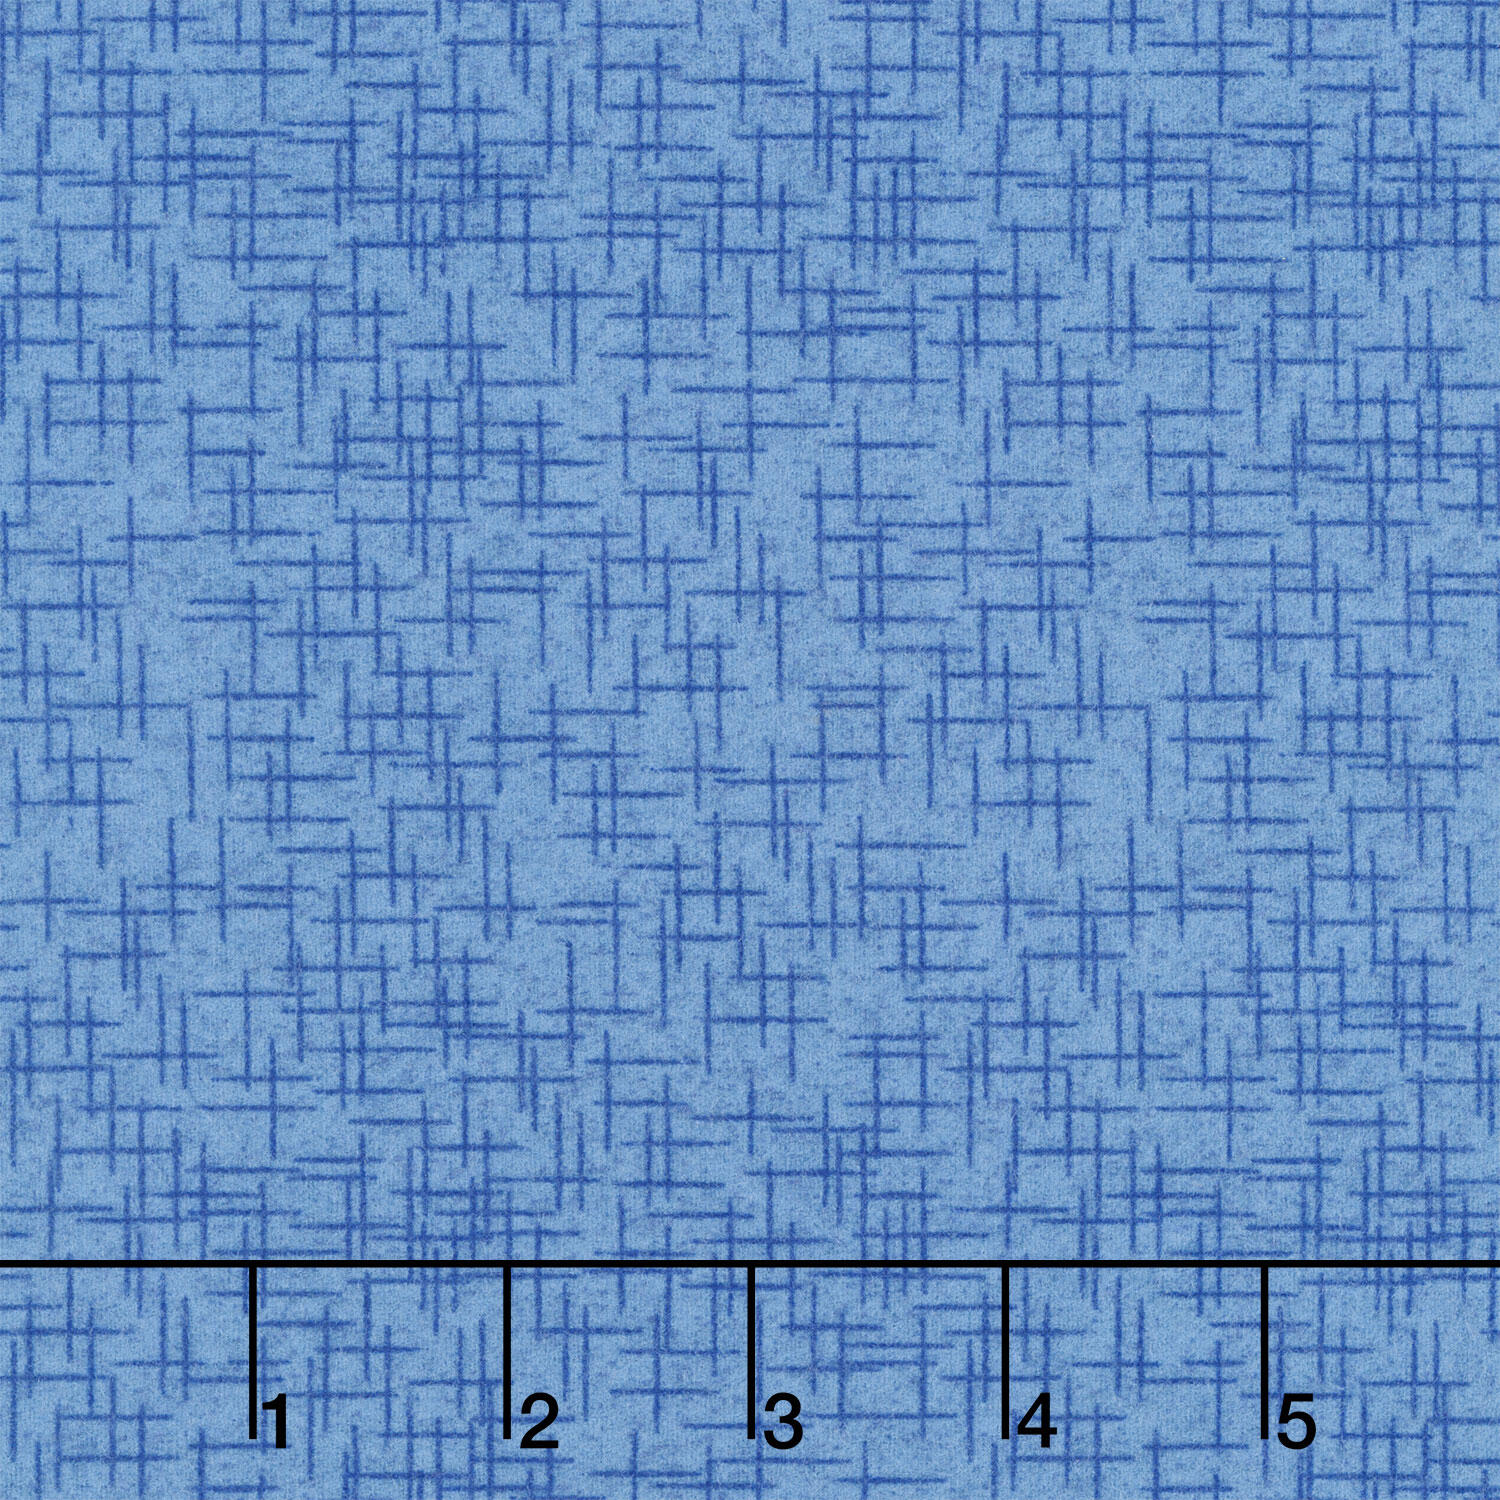 Kimberbell Basics Flannel - Linen Texture Denim Blue Yardage$13.08Shop →
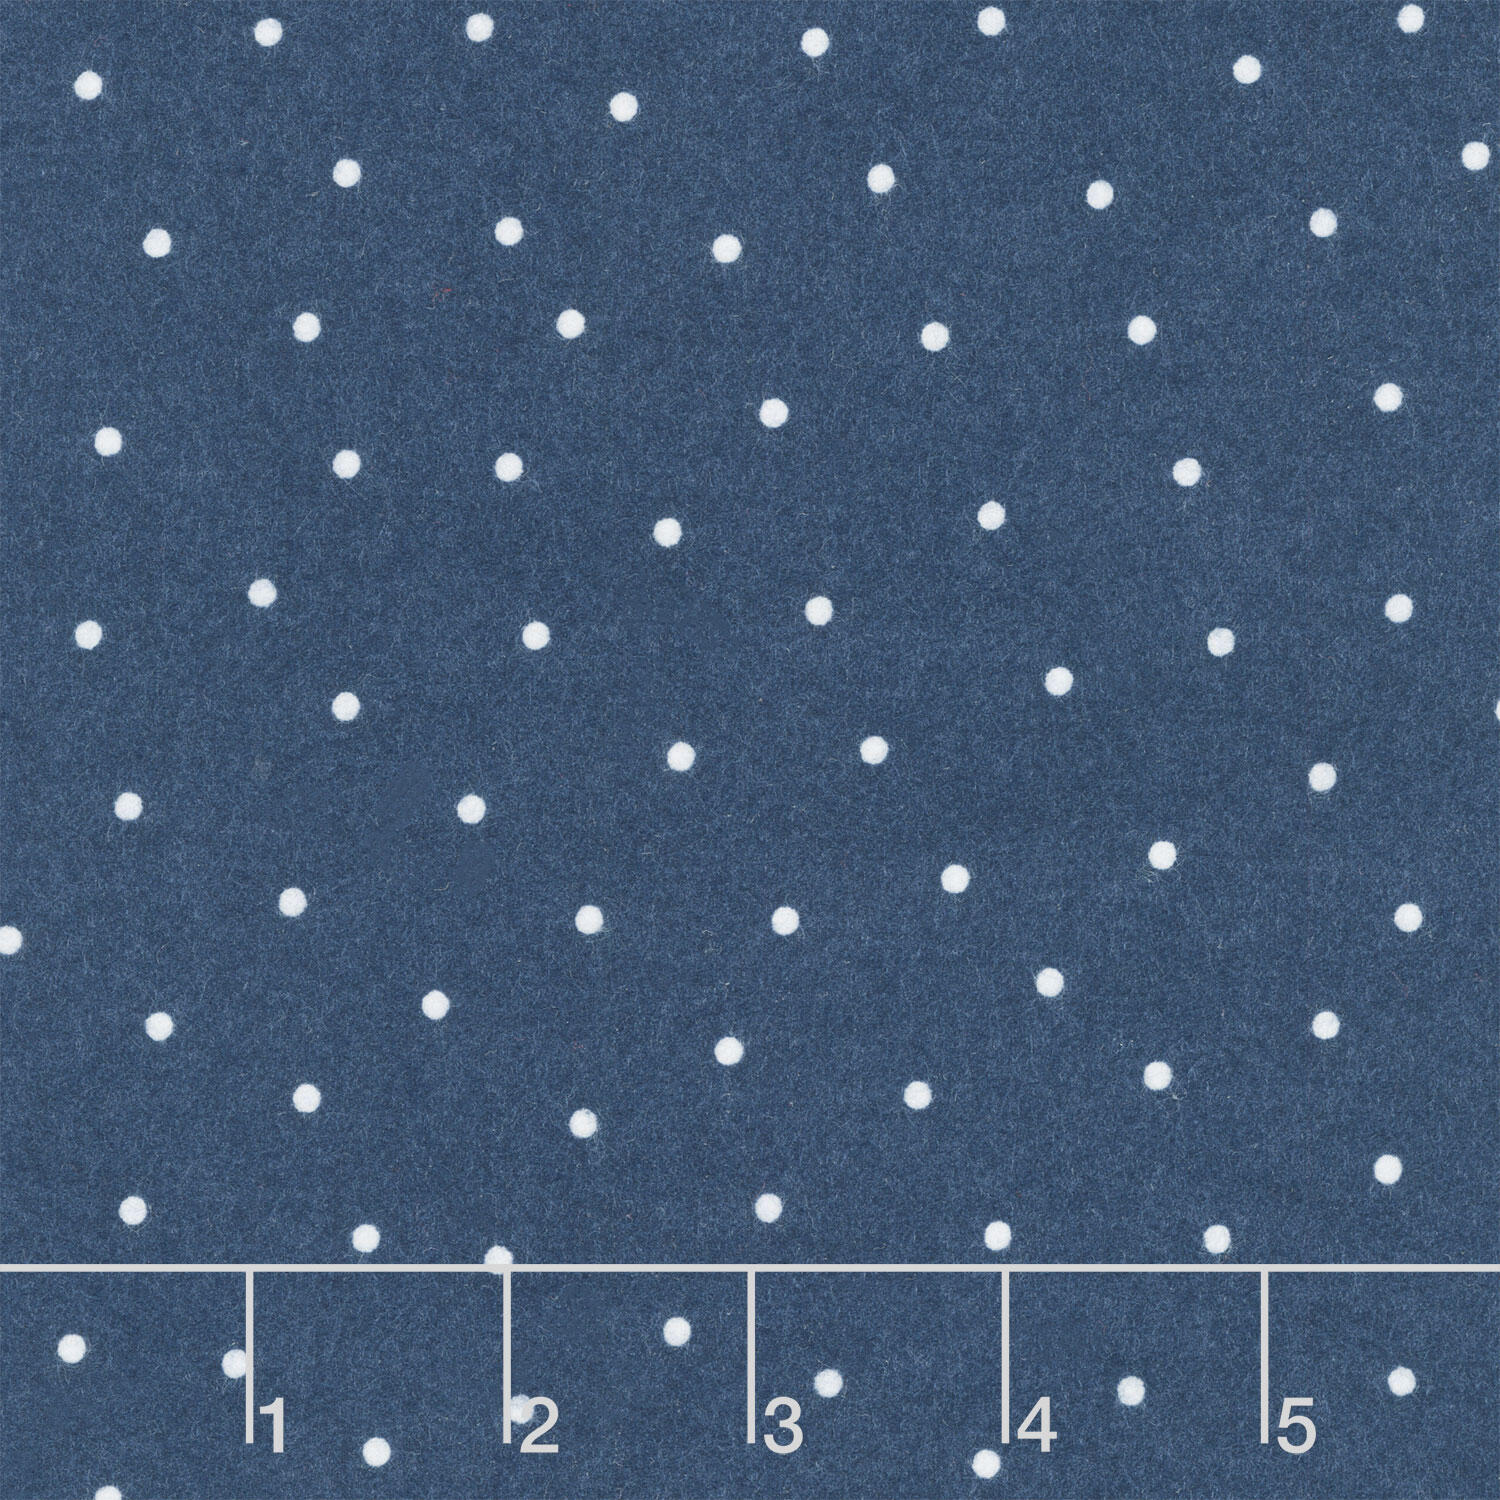 Kimberbell Basics Flannel - Small Dot Navy/White Yardage$13.08Shop →
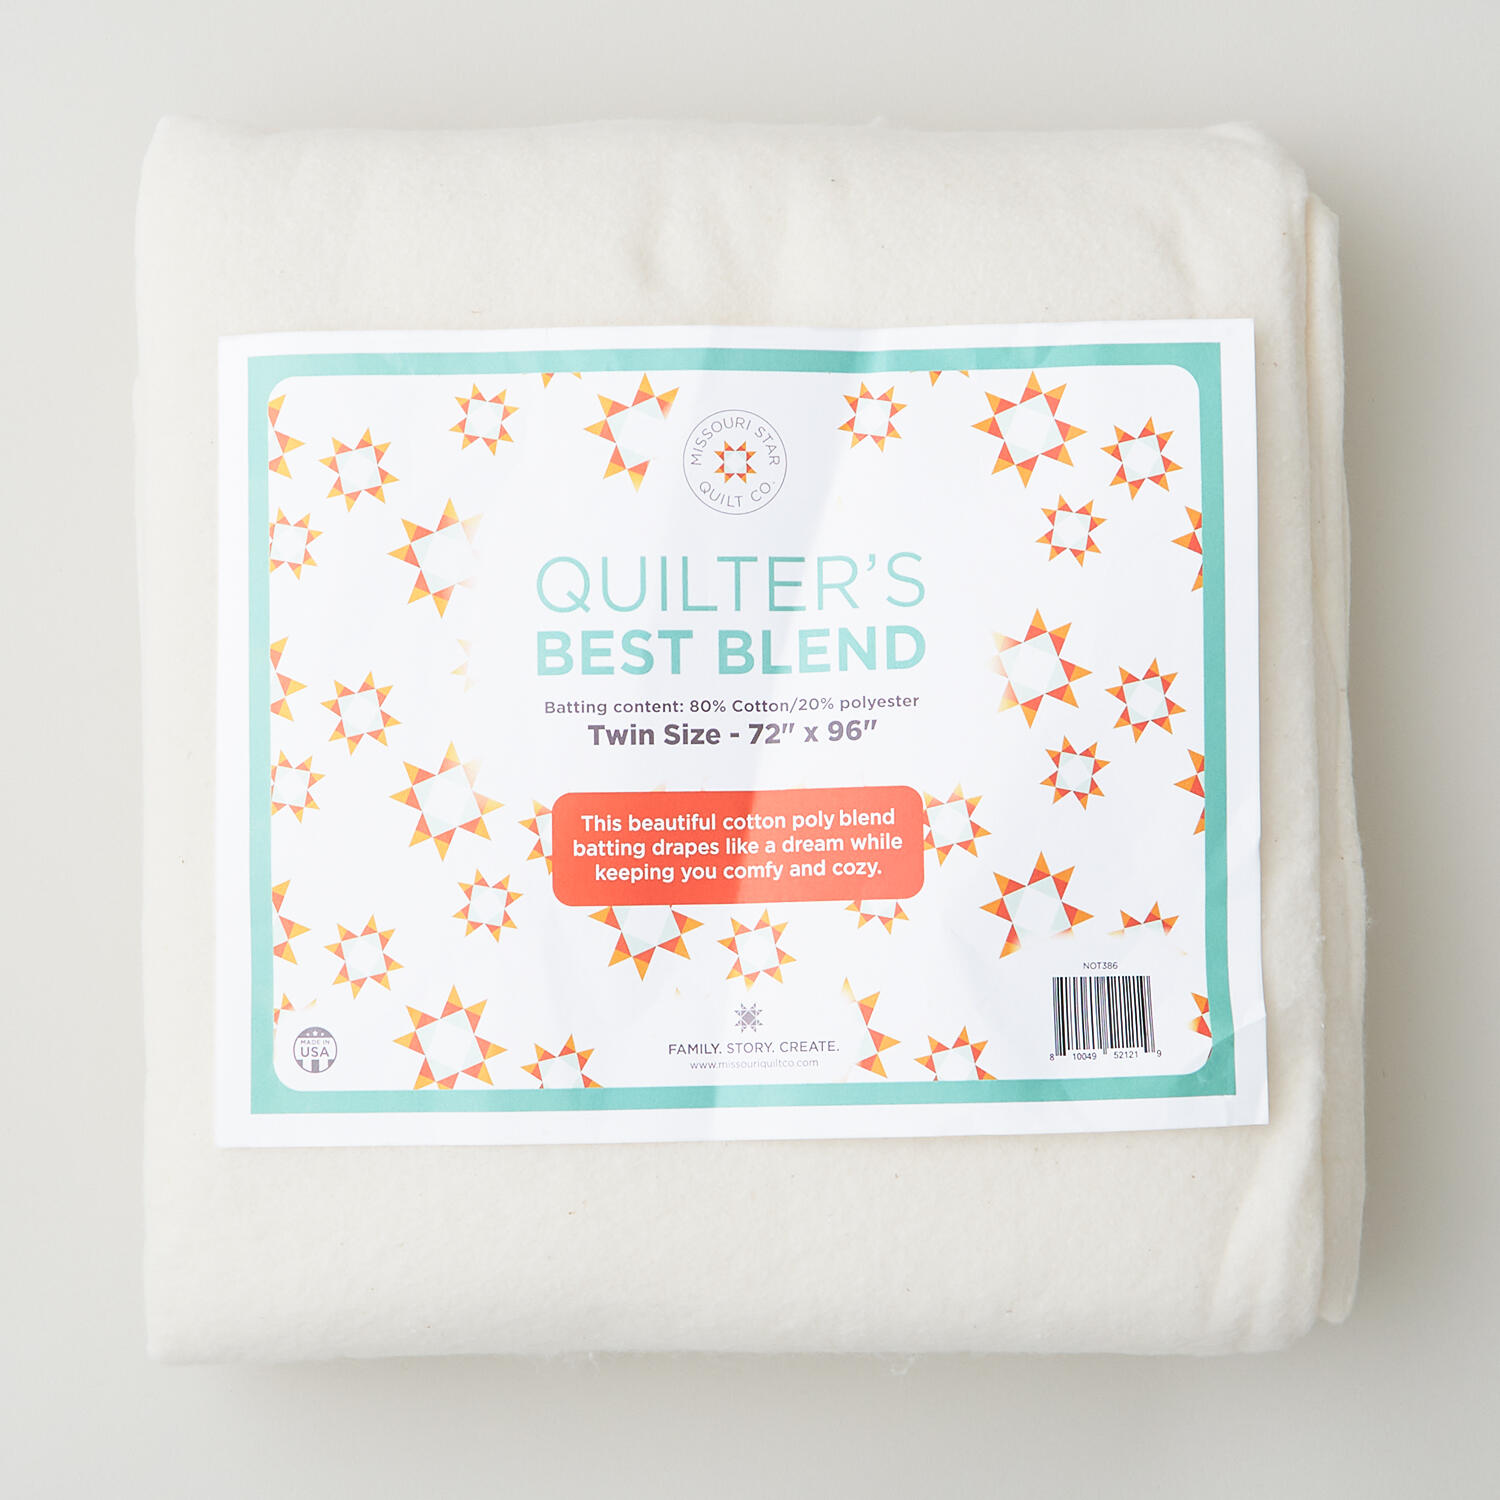 Missouri Star Quilter’s Best Blend Twin Batting$26.95Shop →
 Missouri Star 45mm Rotary Cutter - Olga$19.95Shop →
 Missouri Star 8" Everyday Scissors - Amelia$19.95Shop →
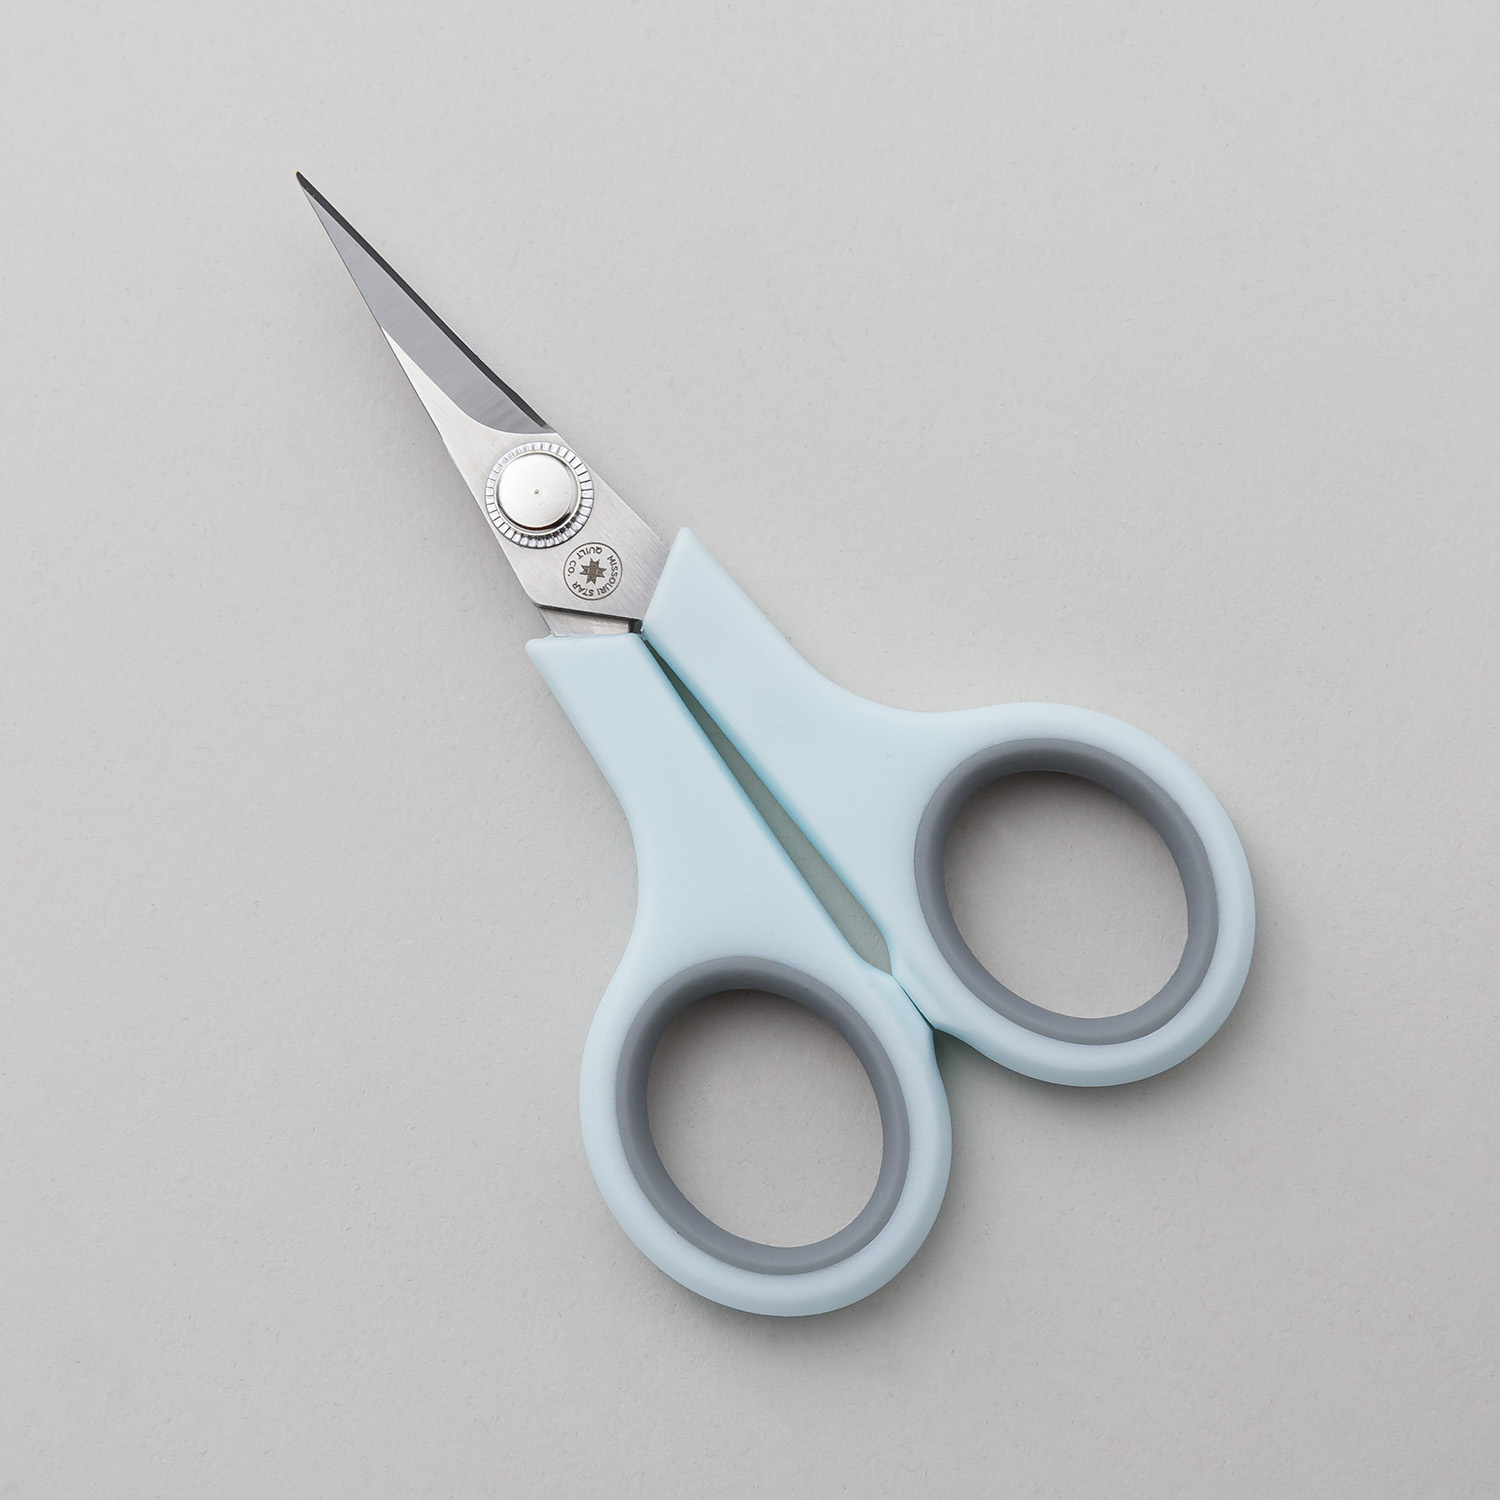 Missouri Star 4.5" Everyday Scissors - Elna$9.95Shop →
 Missouri Star 50 WT Cotton Thread White$7.95Shop →
 Missouri Star + Oliso TG1600 ProPlus Iron$209.95Shop →
 Bernette 77 Sewing and Quilting Machine$1699.00Shop →



