
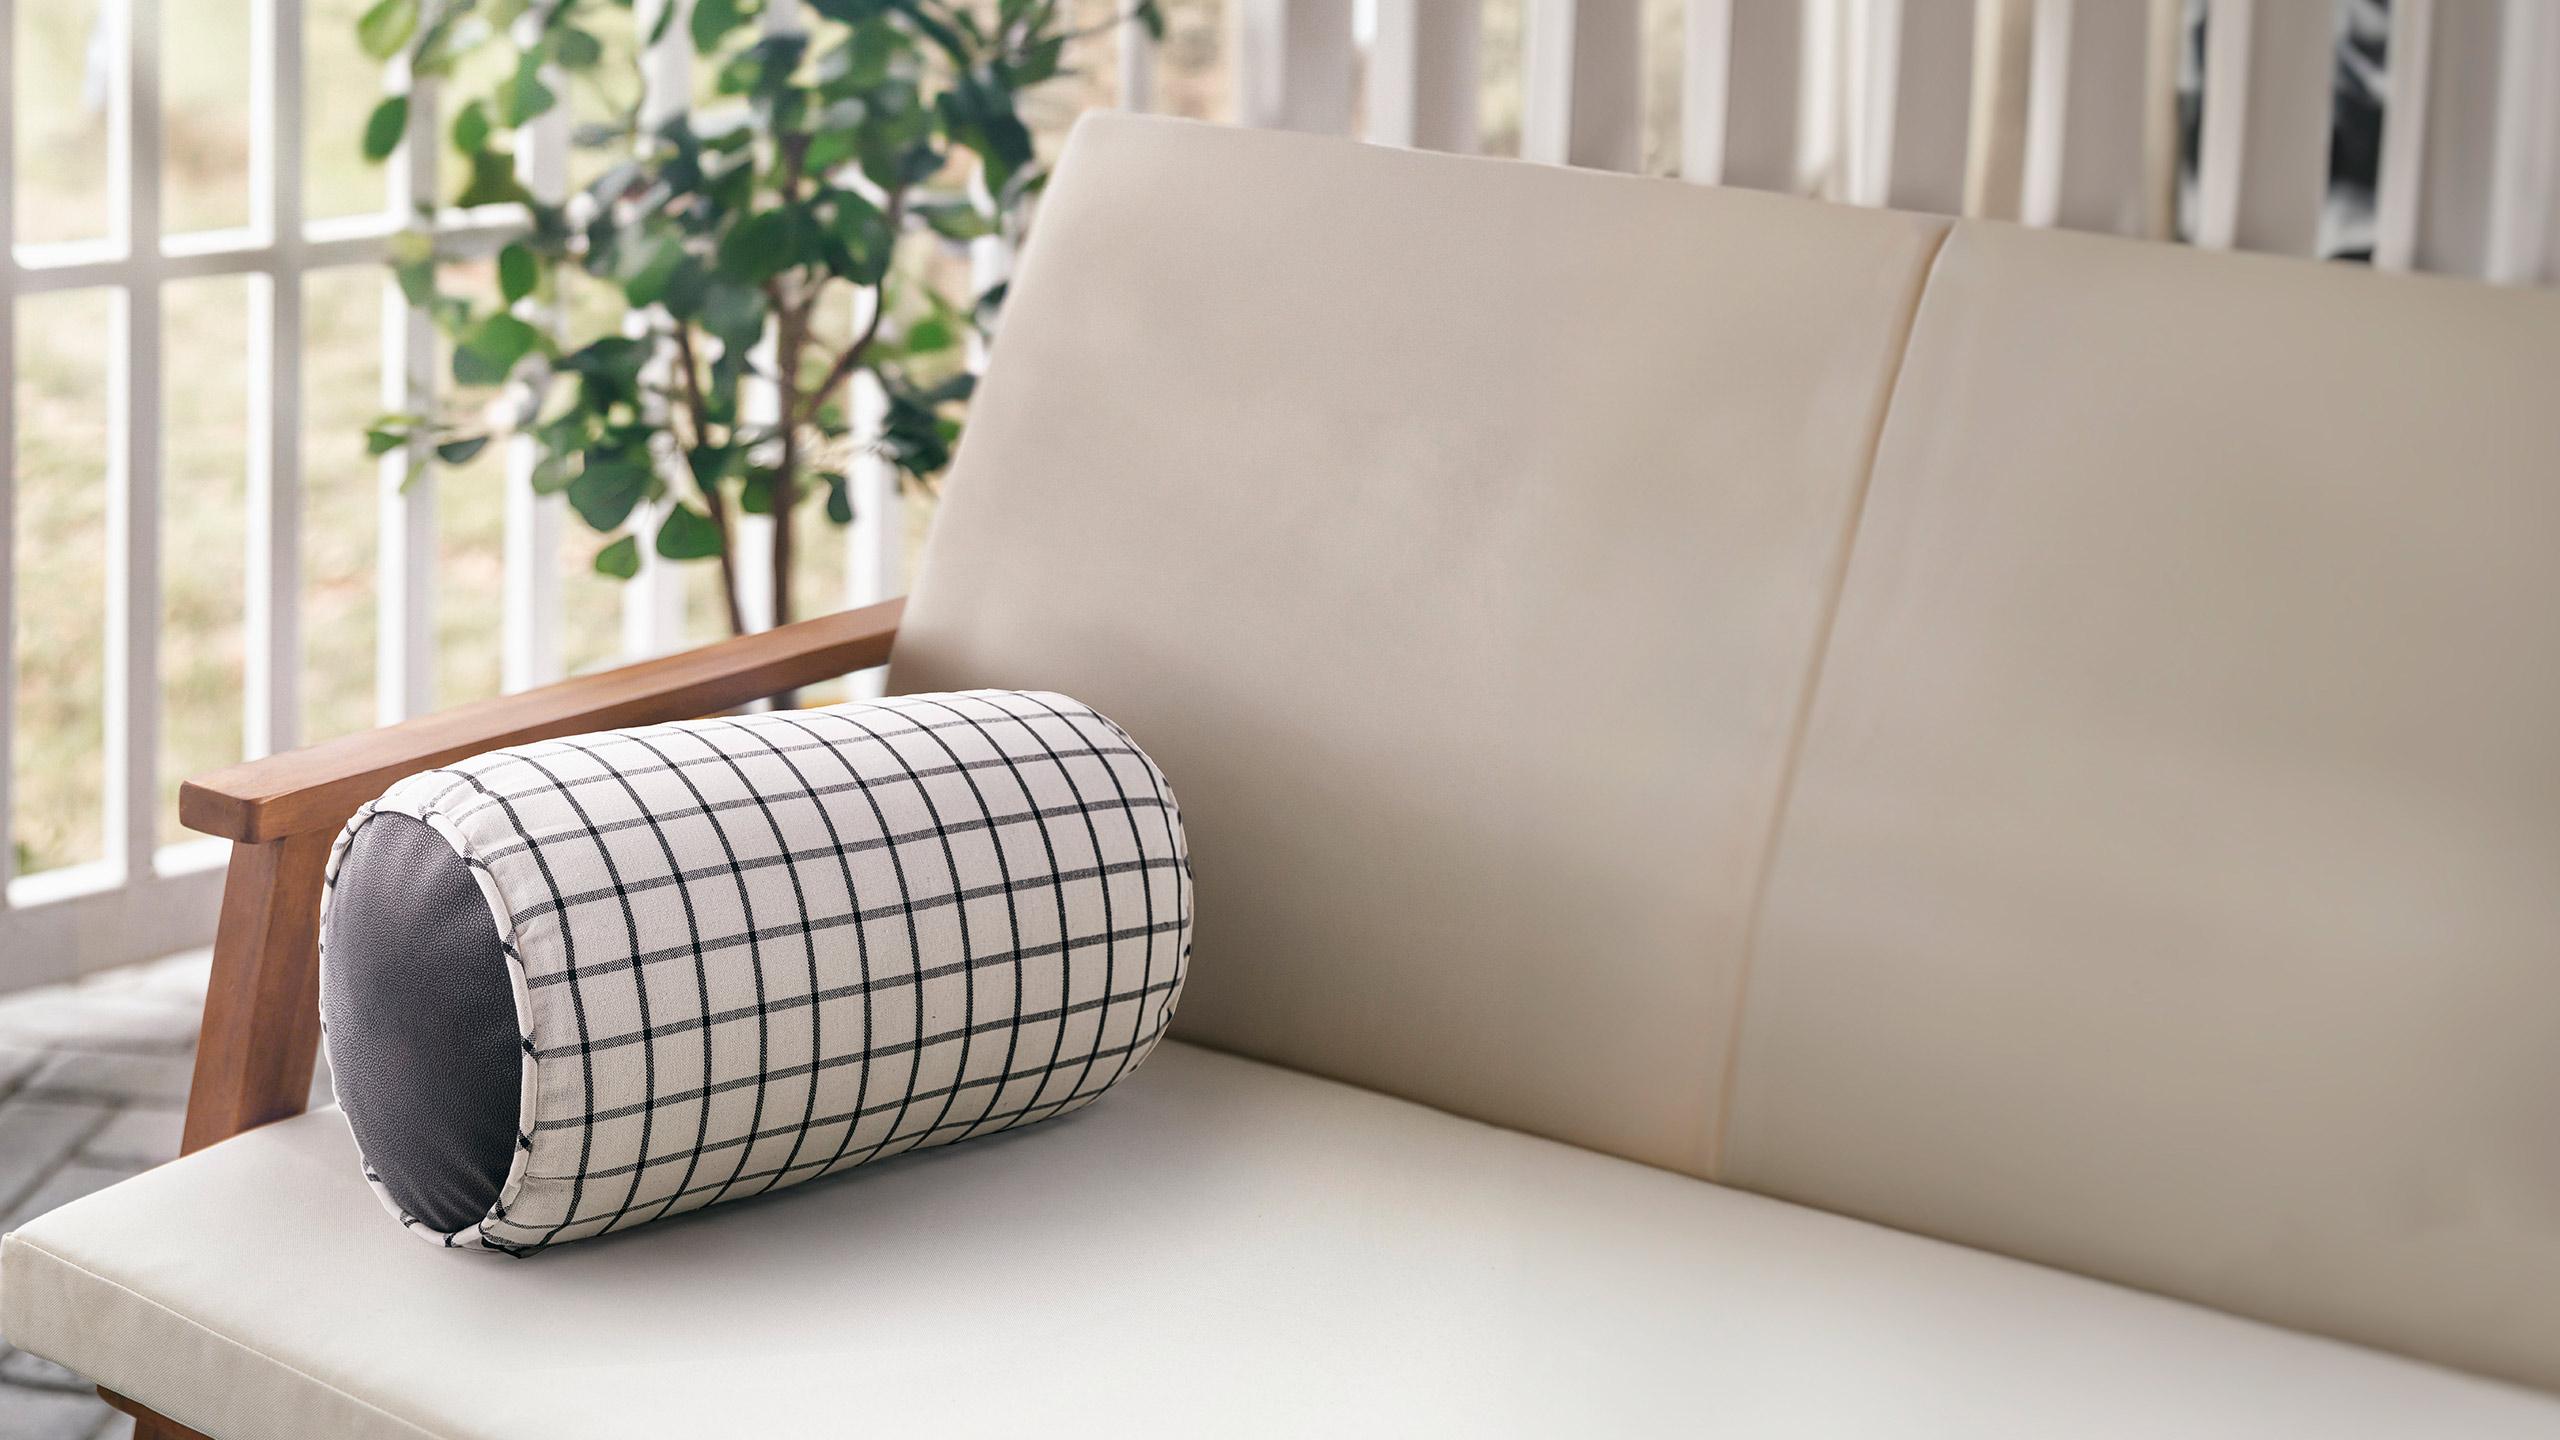
Bolster Pillows
Does your home décor need a pick-me-up? Bolster it with pillows! This week Misty is making fabulous bolster pillows. Bolster pillows not only look great, they also provide great support for your neck and other parts of your body! Look good and feel good? Yes, please!

Instructor
Misty Doan
Misty Doan grew up surrounded by sewing and quilting. She loves spending time sharing tutorials each week each week, and when she’s not stitching up one of her fun sewing projects for home decor, most likely you’ll find her hanging out with her husband and three awesome kids or working on a house project.
Shop this tutorial
 Bolster Pillow Pattern by Missouri Star$8.50Shop →
 Digital Download - Bolster Pillow Pattern by Missouri Star$6.95Shop →
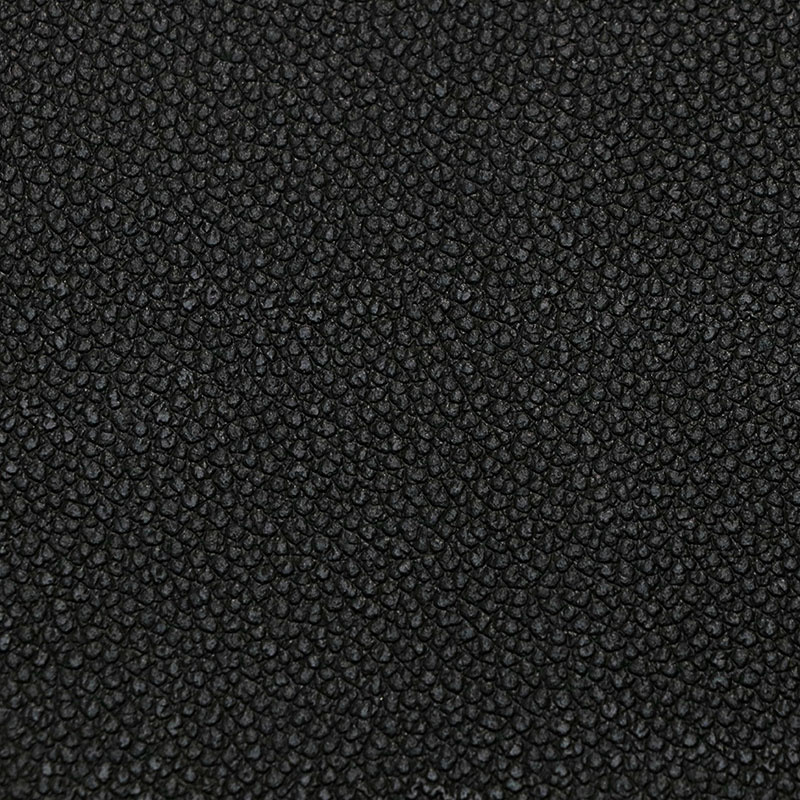 Black Pebble Faux Leather - 1/2 Yard Cut$11.45Shop →
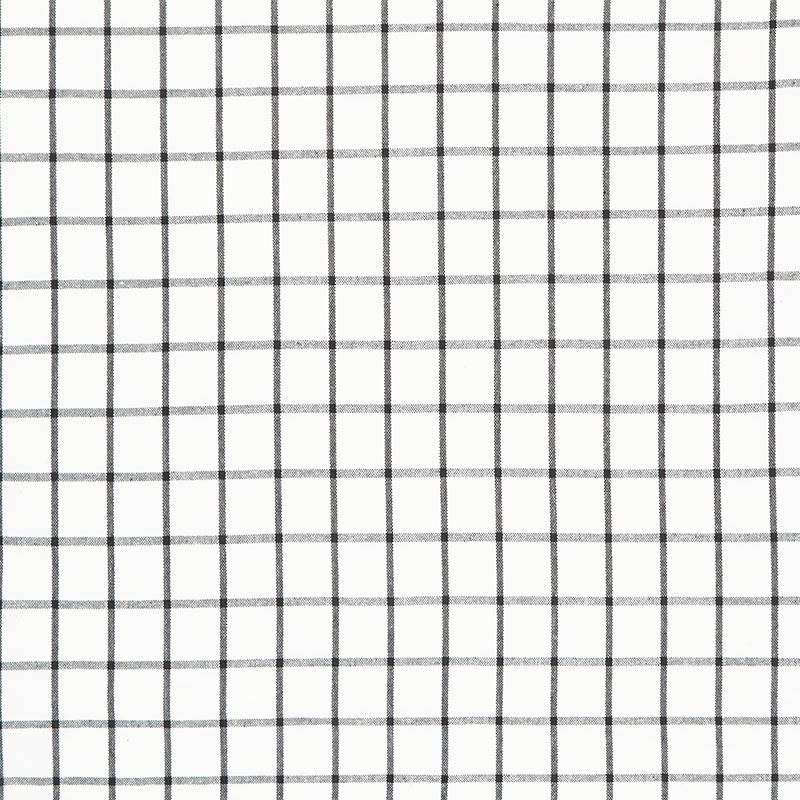 Easy Living Toweling - Small Check White Black 18" Wide Toweling Yardage$7.45Shop →
 Zipper 18" - Black$2.25Shop →
 Roxanne Chalk Pencils White 4 Pack$8.95Shop →
 Soft Touch Neck Roll Pillow - 9" x 14"$22.75Shop →
 Soft Touch Neck Roll Pillow - 9" x 20"$25.75Shop →
 Cotton Braid Rope - 3/16" - 15 yards$14.95Shop →
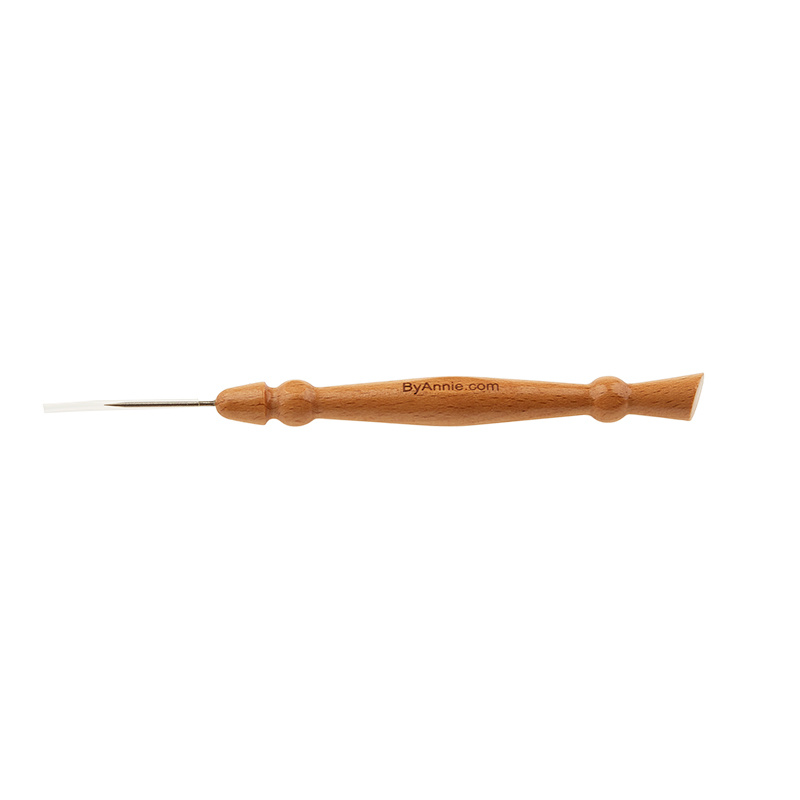 ByAnnie Stiletto & Pressing Tool$19.45Shop →
 Missouri Star Colorful Quilting Clips - Pack of 12$7.95Shop →
 Missouri Star 5" x 15" Ruler$19.95Shop →
 Missouri Star 45mm Rotary Cutter$19.95Shop →
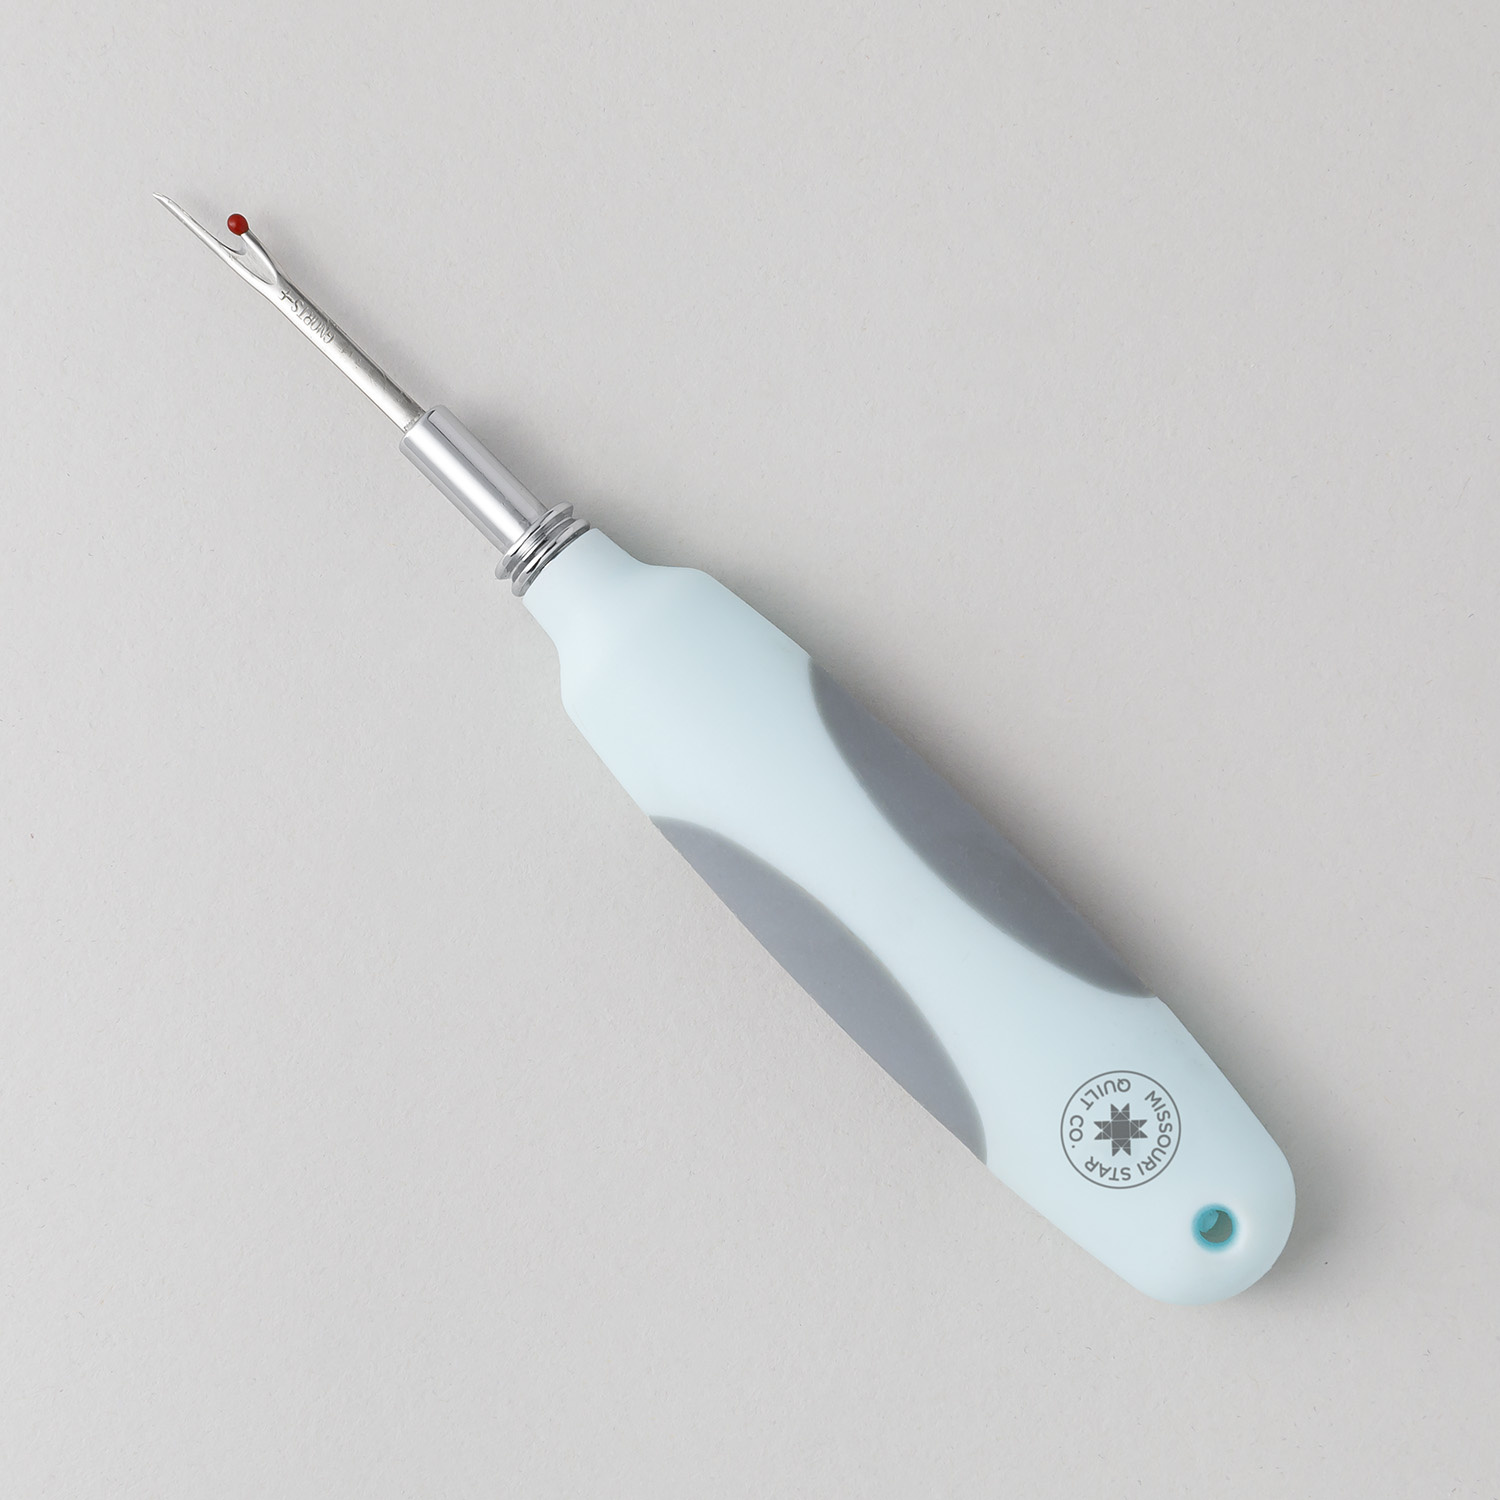 Missouri Star Seam Ripper$9.95Shop →
 Missouri Star 8" Everyday Scissors$19.95Shop →
 Missouri Star 50 WT Cotton Thread White$7.95Shop →
 Exclusive Missouri Star Jenny TG1600 ProPlus Oliso Smart Iron$199.99Shop →
 Missouri Star Wooly Betty Board - 17.25" x 25.5" Orange Border$99.95Shop →
 Bernette 77 Sewing and Quilting Machine$1499.00Shop →
Common Questions
What is covered in Bolster Pillows?
Does your home décor need a pick-me-up? Bolster it with pillows! This week Misty is making fabulous bolster pillows. Bolster pillows not only look great, they also provide great support for your neck and other parts of your body! Look good and feel good? Yes, please!
How long is the tutorial video?
The tutorial video is 00:12:24.
Are supplies listed for this tutorial?
Yes. The tutorial page includes the supplies and materials connected to this project.
Is a transcript available?
Yes. A written transcript is available on the tutorial page.
Video Transcript
A bolster pillow is a great way to add some extra interest to your space. It
can be a little bit tricky with these round ends, but I'm going to walk you through all of it. Like I said, the pattern has multiple sizes. We're going to make this one that is 9 by 16 today.
And to make this you are going to need either one yard of fabric, if you're
going to do the same for the body of your pillow and the ends, or a half yard of your fabric and a half yard of faux leather. I love that Sally Tomato faux leather. I think it adds a fun texture, so I opted for that! For this pillow you're going to use the 18 inch zipper, so that you can get to that pillow form, of course. And then you'll also need some of the rope to add this piping detail.
So let me show you how to make it! First things first, there are some very basic cuts that you're going to need to make. First you need to decide are you going to use the same fabric for your ends or an accent. I, of course, use the leather and I cut 10 inch squares of the faux leather. Then I used this little circle guide that comes with it, folded it in fourths and then laid this on here to cut it out. So super simple, and that takes care of both of
our ends.
Then we need to cut the rectangle for the body of the pillow. For the size that we're making, which is the 9 by 16, it needs to measure 17 inches wide by 29 ¼ inches. So I've gone ahead and cut that and I have it ready to go here. Then we need to cut some bias 2 inch strips to use for the piping. And so I have a little bit of that here.
Let's talk about making piping. I just have a little chunk here ready to go and then here is our rope. And so all we're going to do is fold this over and we're going to use the zipper foot on the machine to stitch as close to that rope as we possibly can. So let's go ahead and take this to the machine.
All right, so I already have the zipper foot on my machine and I am just going to make sure that I nestle this up right against the piping on this
side. And I keep this folded in half - you can put a few pins in here if you want. I like to just take my time and go nice and slow. There we go. So I'm going to take a few stitches and then just keep this all lined up and cruise
down. All right, so of course you would continue all the way down the length of your rope.
Then you're going to take your scissors and we're going to snip about every inch just to be able to really make this curve around the round ends just like so. And you'll bring your circle and this will just start to fit so beautifully right in line with the outside edge. You're going to come back and you're going to stitch this with a half inch seam allowance, just right along that edge. So keeping the zipper foot in place just like we did before. And so this is how that's going to look as you've stitched all the way around. It turns out really nice!
Now let's talk about how we're going to finish this off. So I've left a little bit of an overlap here and now I'm actually going to grab my seam ripper and I'm going to come back and just open up these stitches just a little bit. Just about an inch or an inch and a half so I can get in there and expose this rope. I want to be sure I can take it back far enough that I can overlap this and meet it. So I'm going to trim my rope now, hopefully you guys can see: here's the end of this side. I want these to just meet. I don't want it to have any overlap at all, so it looks nice and seamless.
So I'm just going to slide in here with my scissors and I folded my fabric back out of the way because I don't want to snip through that. And we're just going to snip the rope and make sure that it's going to line up exactly. That's beautiful! So now we can come back, trim this so I have just about a half inch of overhang. Actually it's probably closer to an inch and then I'm going to fold this back under and we're going to tuck it so that those meet up and I just overlap the other side of the rope. All right and so now I can come back and I'm going to stitch just this little bit to secure the rest of it and then our ends will be done.
So let's take this over to the machine. Remember we're using that half inch seam allowance. So this is a great time to use a stiletto to keep everything in place and smooth as you're stitching along. You don't want to get your fingers too close. All right, now that we have that all secure, you're going to repeat the same thing with your other end so you have both of those ready to go.
Now we can set those aside for now and we can start on adding the zipper to our middle section. So remember we already cut our rectangle, it's ready to go. Let's grab our zipper and so we want to make sure that our zipper head is in the middle and we are going to start by lining this up on one end we're going to use that zipper foot and stitch as close as we can. I just kind of like to float it so that the metal part of my zipper is overhanging my rectangle and I don't have to worry about that part hitting the needle. So we can put some pins or clips in place here if you'd like, and we will just stitch right down that edge. So let's go ahead and do that.
Just going to keep moving this out of the way for now. Now I can keep my needle down, lift my presser foot and I'm going to slide this zipper head up past my foot now and then I can continue down the rest of this side. All right we'll back stitch a little bit there as we come to the end. All right, there we go. So now you can fold this back and top stitch if you want. WSe actually did not but I do always like to check and make sure it's caught and I'm happy with how that's looking. I think that looks really nice.
So then now we're just going to fold up the other end of our rectangle and we want this to line up exactly with the other side. So I'm going to start at this end here and stitch down. So as long as you're lining up the edges of your fabric, your zipper should be lined up. And just make sure it's all staying nice and straight as you go take a few stitches. As I'm getting closer here, I'm going to go ahead and do the same thing as I did before I'm going to reach inside and move this zipper head up past the foot. So now we'll just finish off this side and back stitch a little bit here at the end. Perfect!
All right, so we want to keep that zipper head in the middle because we do not want to risk trimming that off. So I like that to stay in the center and then whoops we're going to come in with our ruler and we are going to trim this off, even with the edge of our rectangle. So I'll just make sure this is nice and straight, here we go. And do the same thing on the other side.
All right, there we go.
So we're just going to line this all up and pin pin pin until we make our way all the way around. I actually have one end already sewn to this one so I'm going to turn it wrong sides out and I'm going to pin my end this one, so I can have a completed pillow. And so when I get all those pins done I'll meet you back at the sewing machine.
So as you can see I have clipped all the way around. I like to clip a bunch when we're dealing with curves like this just because it keeps everything nice and it makes it way easier. We're not dealing with all of the shifting. And so now I'm just going to put this under the needle. I'm still using my zipper foot because remember that piping is under here and we want to
be really close to that. And I'm just going to stitch all the way around,
taking my time, going nice and slow. So I'm going to get started and I'll meet you back here when I'm done.
All right, we did it! So it might be a little bit of a battle, especially if you're working with this leather to get through some of those thicker seams, but
just take your time and stick with it. Use that stiletto as a guide. We can turn this right sides out now and look at that! It looks great! So you'll just put your pillow form inside and zip it up and it's all ready to go.
Here is our finished pillow again. I think it turned out so great - it adds a great detail to your space! So be sure to try it out out and I'll see you
next time on At Home!


