

Breast Cancer Ribbon Quilt
Jenny Doan shows how to make a Breast Cancer Awareness Ribbon quilt block. Breast Cancer Awareness Yardage (while quantities last). Pink and Purple Fabric Yardage . White Yardage.

Instructor
Jenny Doan
Jenny Doan is an American quilter, author, and YouTube personality. Jenny started Missouri Star Quilt Company in 2008 and today it is the largest quilting supply vendor in the United States.
Shop this tutorial
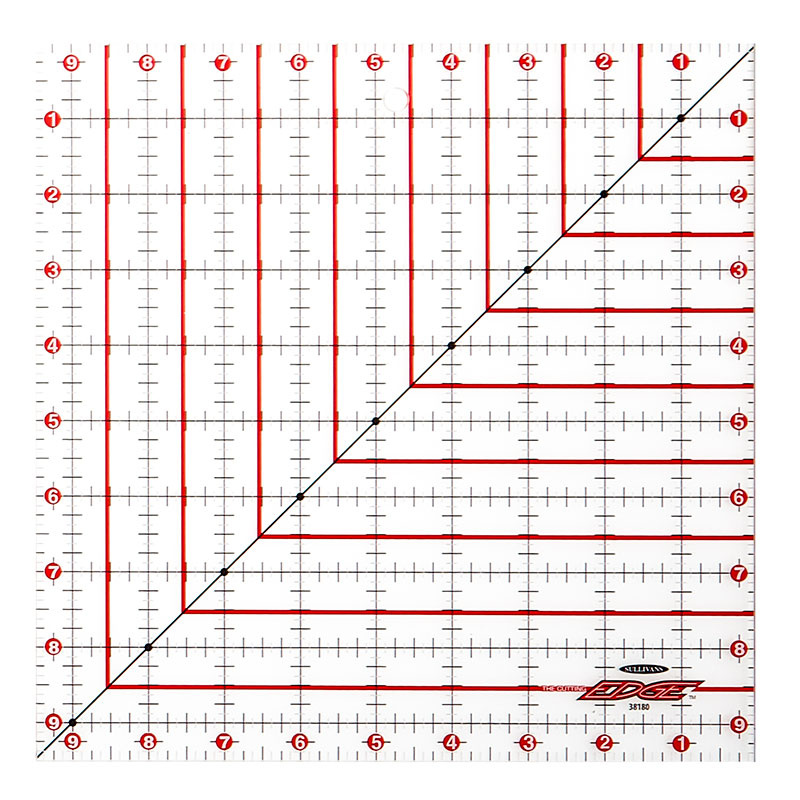 Cutting Edge Sharpening Edge Ruler 9.5"x 9.5"$17.95Shop →
 Olfa Splash Aqua 45mm Rotary Cutter$18.75Shop →
 Olfa Splash 24" x 36" Cutting Mat Navy$68.95Shop →
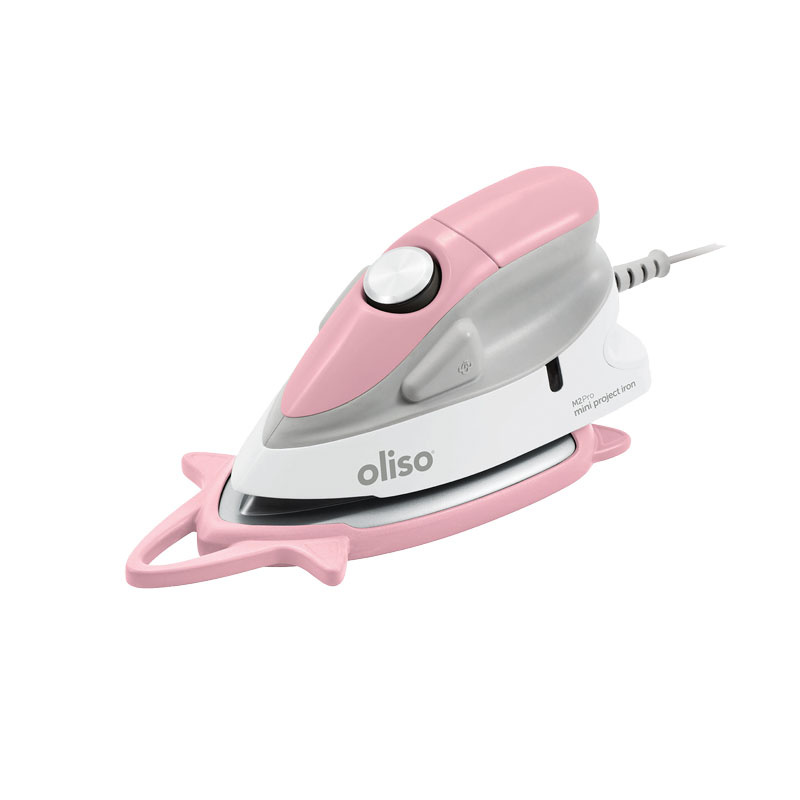 Oliso® Mini Project Iron™ with Solemate™ - Pink$59.99Shop →
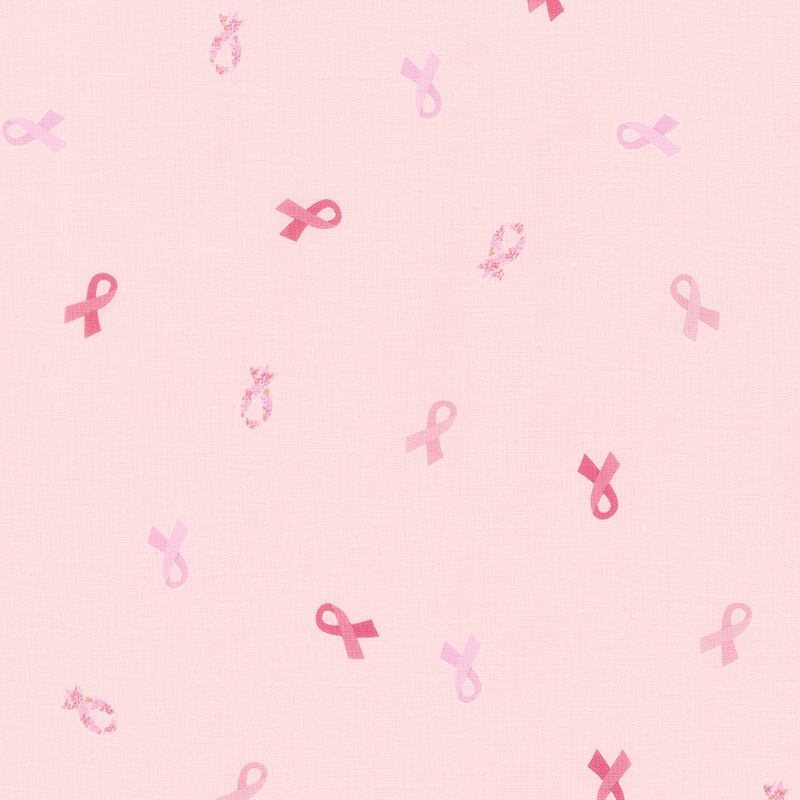 Strength in Pink - Ribbons Blush Yardage$11.96Shop →
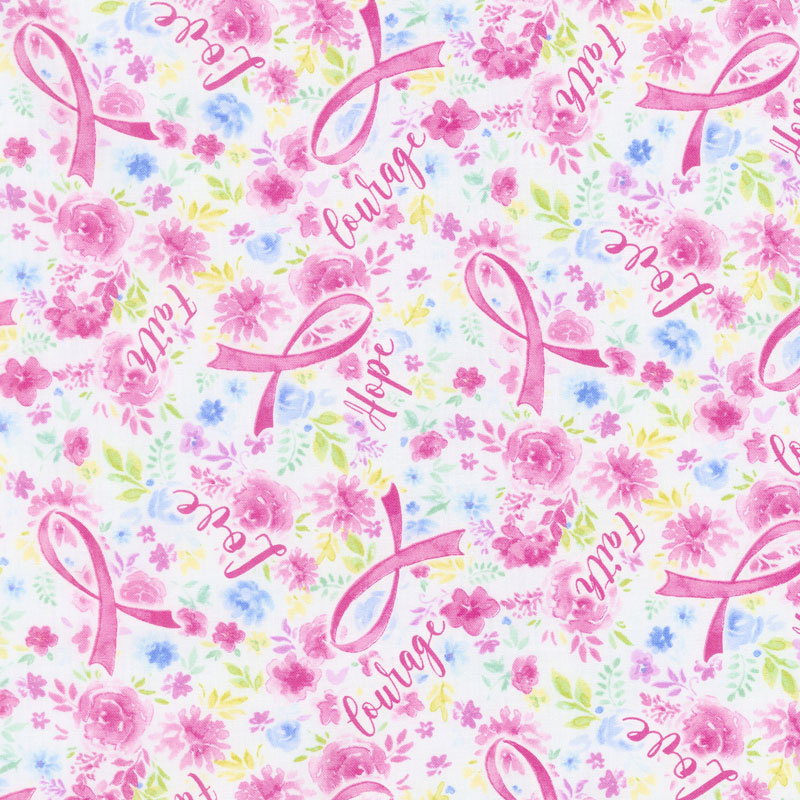 Novelty - Pink Ribbon Yardage$11.96Shop →
Common Questions
What is covered in Breast Cancer Ribbon Quilt?
Jenny Doan shows how to make a Breast Cancer Awareness Ribbon quilt block. Breast Cancer Awareness Yardage (while quantities last). Pink and Purple Fabric Yardage . White Yardage.
How long is the tutorial video?
The tutorial video is 00:09:59.
Are supplies listed for this tutorial?
Yes. The tutorial page includes the supplies and materials connected to this project.
Video Transcript
[Music] hi it's Jenny from the Missouri Star Quilt Company October is generally known as breast cancer awareness month and so we thought in honor of that that we would try to recreate the ribbon block for you in a way that is easy and doable we got some great Fabrics in the shop here and they just they're just really pretty and as I put together this little wall hanging right here one one nice ribbon but I made it out of 2 and 1/2 in strips and it just got really big and so it made a cute wall hanging but I didn't think it made a great Quilt Block so I thought what I would do is I would shrink it down a little bit and make a quot block so I started searching blocks and I discovered that most of them have just a ton of little pieces and I thought there's got to be an easier way and then we got some emails from some people who really wanted the block they wanted to be able to see the um have us show them how to make the block but how to do it easily and so I thought well I really going to have to really look at this because this is this is not necessarily the easiest thing so I started looking at it and the more I looked at it seriously the easier it became and you're going to love this one of those emails was from a man named Bill who lost his daughter to breast cancer and so Bill we hope this helps you in your um journey to honor your daughter so what we're going to do here is we're going to use two Fabrics we're going to use white and pink and we're going to get all of our components ready because when you put a block together it's like assembling a puzzle it's a little bit different than all the pre-cuts and other things I do so it's just it's just like a puzzle so I'm going to read you off a list of measurements that you you you need and these will also appear on your screen so that you'll be able to um write them down and get them right and it and there won't be any mistakes so out of your pink fabric you're going to need four 3 and 1/2 in blocks and 1 2 by 3 and 1/2 in strip one one 3 and 1/2 in square and then we go to the white out of the white you're going to need two 2x 12 in strips 2 2x 9 in strips two uh 2x s and 3/4 in strips one white 3 and 1/2 in square one white two and uh 2 by 3 and 1/2 in strip and eight small uh 2in squares for the corners because we're going to put make this block an excess O block and it's just going to be so simple so when you put a block together you usually start from the top and work down in this particular block we're going to do this middle part right here and so um we have to come up with some half Square triangles well you know me I always make half Square triangles the easy way so I'll show you how to do that you're going to take your two squares we have a white square and a pink Square we're going to going to put them right sides together and we're going to run them through the sewing machine and we're going to sew all the way around the outside edges and make this a sandwich may not make sense to you but that's what we're going to do and I'll show you how this work it's a great little tip especially if you like to make half Square triangles you know you need a bunch of them for a project this will give you four half Square triangles instead of two so here's what we're going to do we're just sewing around the outside of an inch as with most quilting um seam you always sew in at at 1/4 of an inch and we're just going to run along the outside of this and it's okay if you run right off the end it's either way it's okay all right so here we're rounding our last corner I'm going to trim our threads off a little bit and now here comes the magic so we're going to take this little square that we've gotten we're going to take a rotary cutter in our ruler and we are going to cut it corner to corner so let me make sure I get this on there really nice all right so here we go corner to corner straight across okay then we're going to turn our little square and we're going to run it corner to corner again so here we go corner to corner so there you have it now instead of two half Square triangles we're going to have four so here we go we're going to come over here and we're going to tap tap these to set these seams on here strengthens the stitch for us and then we're going to just roll these back see that perfect little half square triangle there we go lots of them you'll probably want to cut those little bunny ears off that's what I call these little things in the end those little bunny ears and um and you'll want to make sure that these are squared down to 2 in all the squares and strips that we're using in this block are 2 in um squares and strips so when you square a block it helps to have a a ruler like this with great uh great squaring lines on it and you can see right here these blocks are very very close to what we need so you may not even need to square them and I'm just trimming this one up just a tiny little bit let me get over that little one right there there we go so I'll take that off of there see it's just I mean it's just this much waste I mean just a teeny little waste so they're probably okay so now we have those the next component we have to work on is the X's and O's section of the block and I have three of them done here and I'll show you how we made those we took one 3 and 1/2 in square and the 2in corner squares and we're going to attach them on the corners like this now we're going to sew from corner to corner and to make that easier we're just going to press them so we have a little line you can draw a little line if you want to pressing is a little bit quicker to me and um but you have to make sure you get it corner to corner that one didn't go just exactly right so I'm going to re repress that a little there we go when you're having a line to follow and you want it be straight it helps that it is straight so here we go all right so we've got two of these now we'll take these over to the sewing machine and it might help you to pin them if you like I'm just going to hold them on there and when I get to the sewing machine I'll line it up with the corner of my square so it's nice and straight set my presser foot down on the line that I've ironed and I'm just going to stitch from corner to corner we're going to make four of these all right here comes the other side there we go all right now let's trim these sides off and I'll show you how this goes together so we're just going to lay our ruler along the edge I um I'm left-handed so the roller is always on the wrong side for me so I'm just going to guesstimate my little quarter of an inch along there and it really doesn't matter that you don't have to be exact on that because that's on the inside of the quilt no one will see it and then I'm going to take this back over here to the ironing board and I'm going to press these Corners out this is a this is a really fun block makes a beautiful quilt just in of its own but for uh we're going to use it for the x's and O part of this now when you put X's and O's together remember that you're going to put the whites together and the pinks together so here's our X's a nose right here there's our X block right there now you can see that that is the beginning of the bottom of the ribbon where it comes across and I'm going to set these up a quar of an inch because if I se them together that's exactly what they would do they'd go up a qu of an inch and we're just going to start assembling this puzzle so the top so right next to that row we're going to have one 3 and 1/2 by 2in strip and then we're going to have our two um square corners two 2in uh squares of pink on the other side like that and then the top row is going to be one uh two and 2 by 3 and 1/2 in rectangle and it will make the top of our ribbon look at that can you see how that puzzle goes together so on your side borders you're going to put your um your 7 and 3/4 in strips on there and a half square triangle at the end that will give it the curve of the ribbon that goes out like that and we'll put the other one on this side and with its little half square triangle let's see got to get that angle right so it has going in the right direction and then what you're going to do is you're going to put your um your strips will fit right along you'll put your 2x9 in strips across the top here it looks like them and then your 2 by 12s on the side and it will give you a full beautiful little ribbon now remember this ribbon is a great block and it can be used if you put it in yellow it will be for the welcome home ribbon if you put it in the um in as a you know the red white and blues it could be used for the quilts of Valor so this is really a great little block I hope this enables you to make a wonderful quilt here again is a quick shot of that great little ribbon that hope you'll be able to use in lots of different projects and I hope you enjoyed this tutorial from the Missouri Star Quilt Company [Music]


