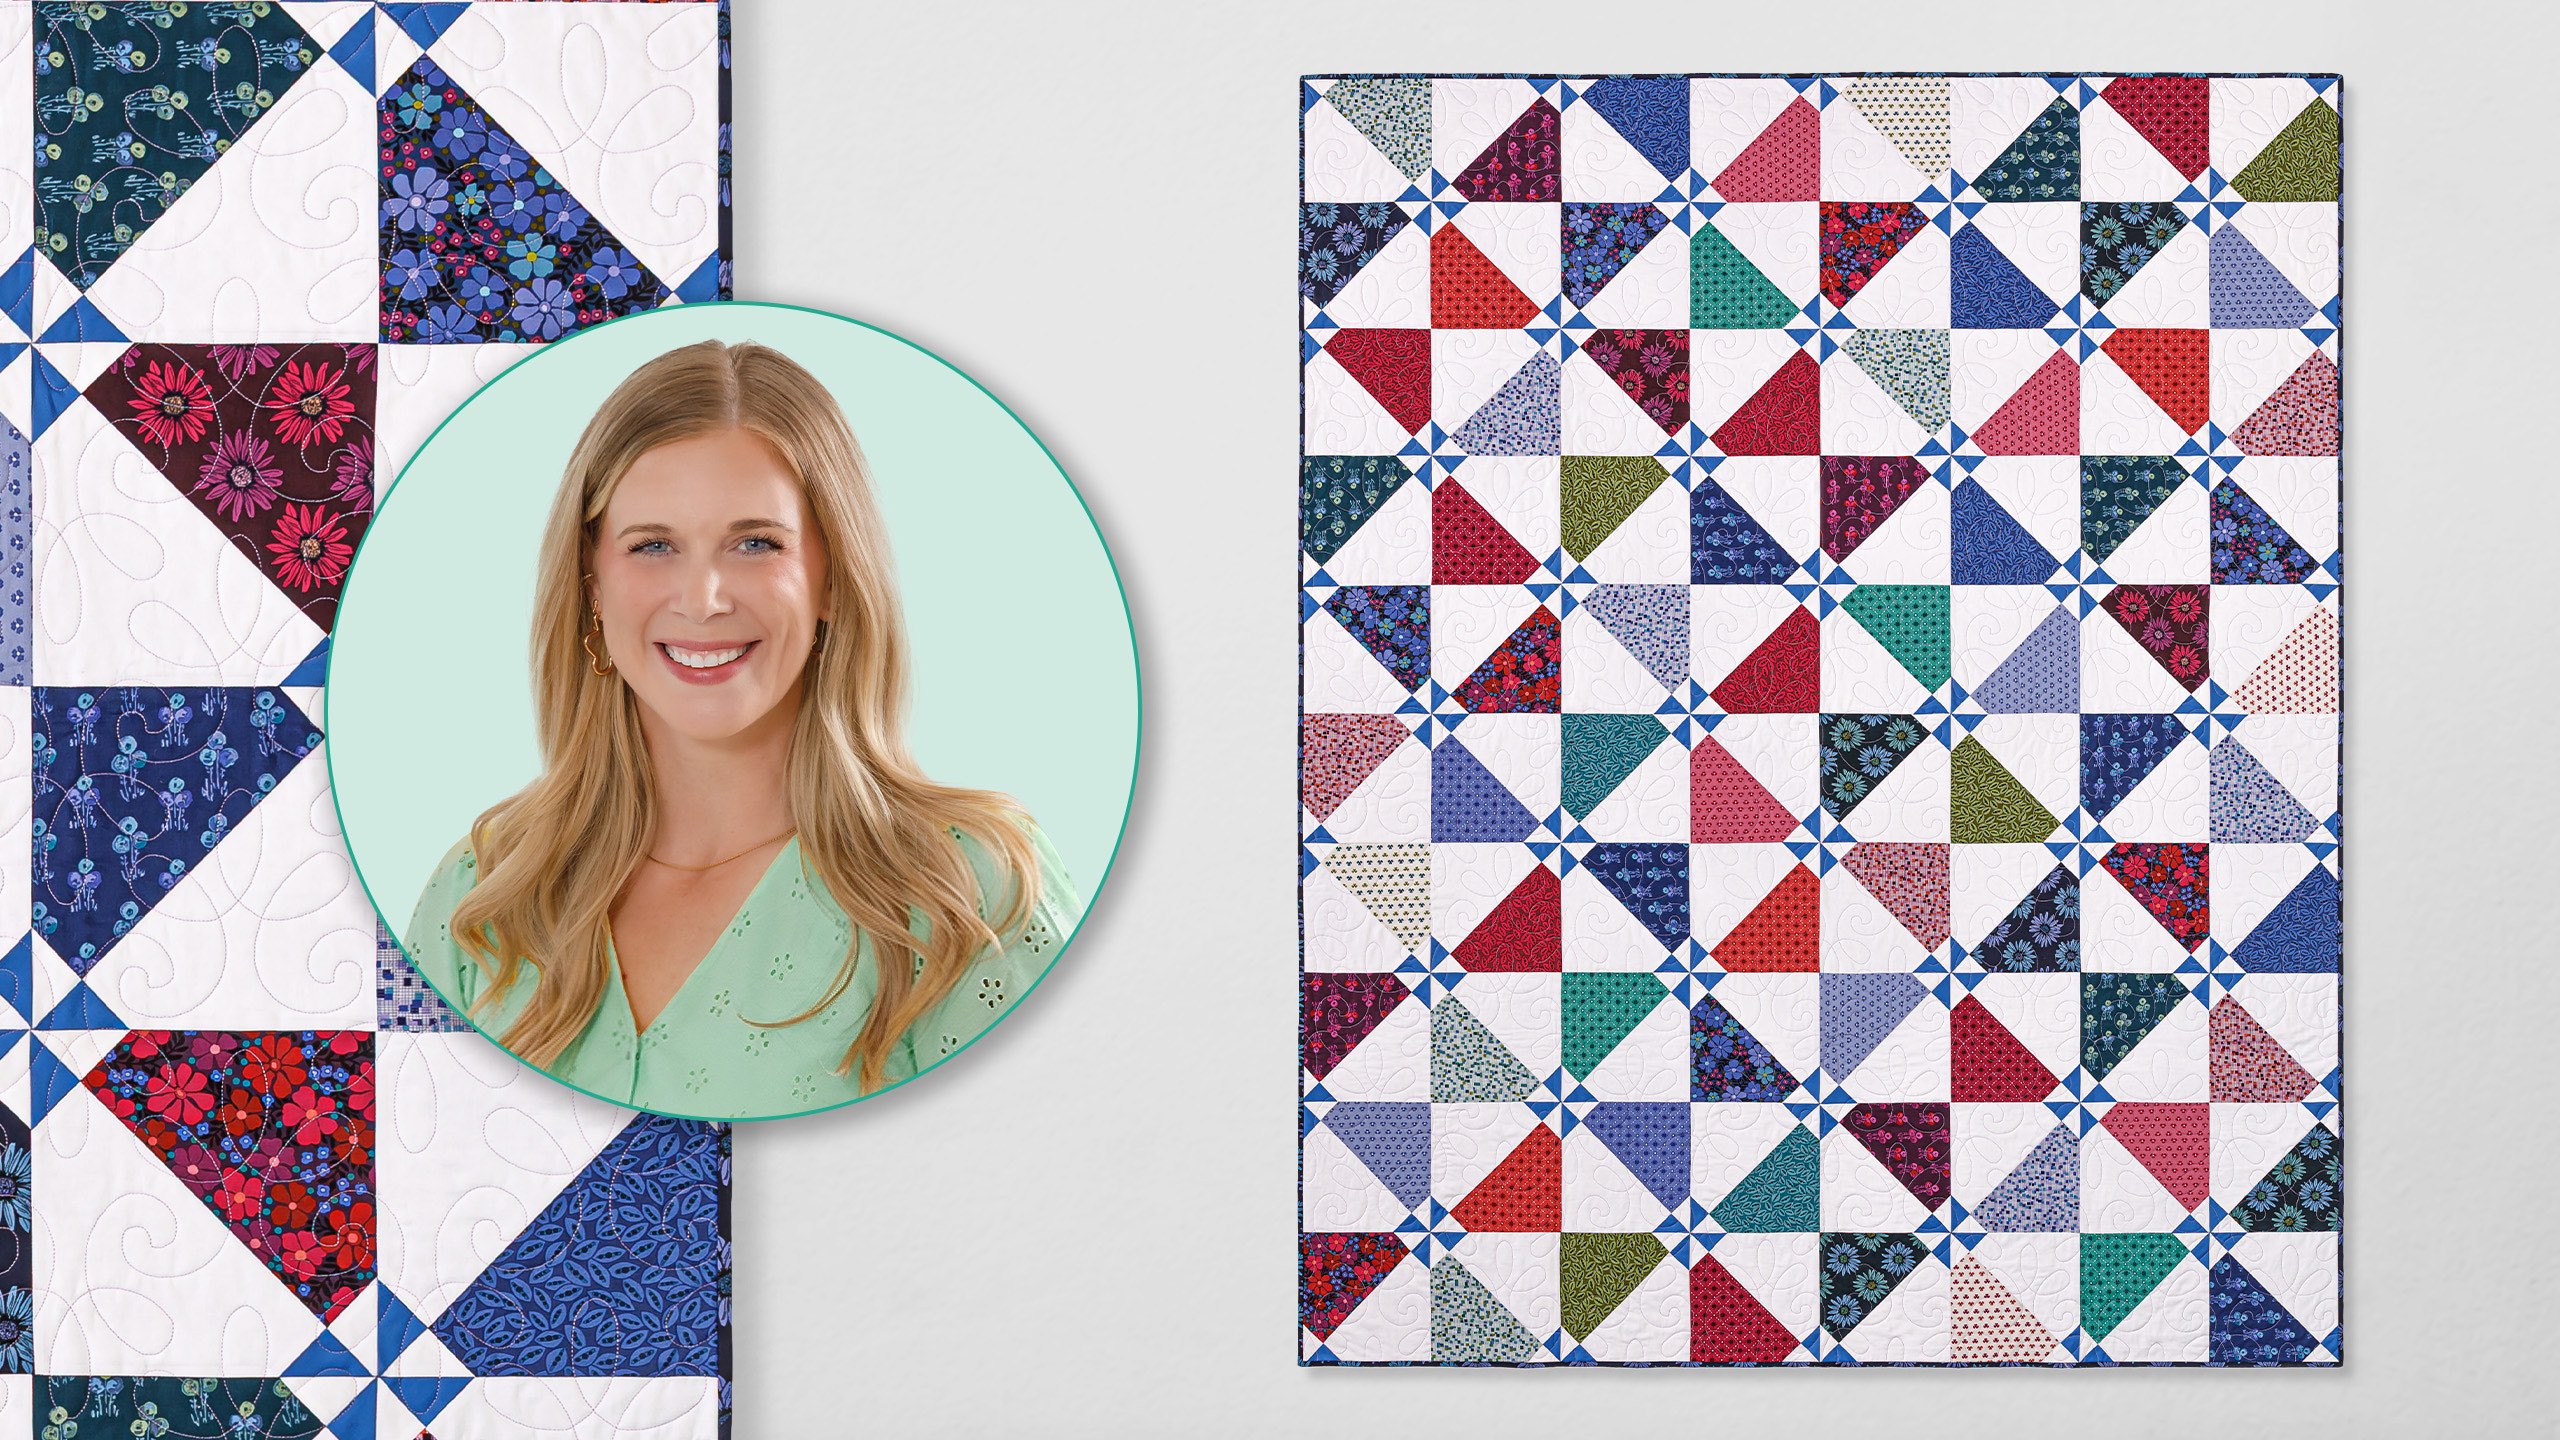
Breezy pinwheels spin across the surface of this playful quilt! The pinwheels are a breeze to make, too, with layer cakes from Andover's Mystic Meadow and Northcott's Colorworks Premium Solids. But that's not all! Small pinwheels dot the intersections of the larger pinwheels, creating an eye-catching secondary design. Misty shows you how to put everything together. It's easy, breezy, lemon squeezy!
Misty Doan grew up surrounded by sewing and quilting. She loves spending time sharing tutorials each week each week, and when she’s not stitching up one of her fun sewing projects for home decor, most likely you’ll find her hanging out with her husband and three awesome kids or working on a house project.
Breezy pinwheels spin across the surface of this playful quilt! The pinwheels are a breeze to make, too, with layer cakes from Andover's Mystic Meadow and Northcott's Colorworks Premium Solids. But that's not all! Small pinwheels dot the intersections of the larger pinwheels,...
How long is the tutorial video?
The tutorial video is 00:11:28.
Are supplies listed for this tutorial?
Yes. The tutorial page includes the supplies and materials connected to this project.
Video Transcript
Hey everyone, I am Misty and welcome to At Home. Today we're going to make this beautiful breezeway quilt. It comes together so quick. Let me show you how to make it. This breezeway quilt is so much fun to make. This is your block right here. And so it's actually made up of two different methods of making half square triangles. We have these larger and of course the smaller ones that make our little secondary pin wheels. I think it's super fun. It comes together really quick. And to make it, you are just going to need one package of 10-in print squares. I use this beautiful collection called Mystic Meadow by Nancy Rink for Andover. You're also going to need a package of your background 10-in squares. In addition to that, you're going to need an accent fabric. You'll need one yard. I use this beautiful blue. You'll also need 2/3 of a yard of that same color of background. You just need a little bit of extra. For your backing, you either need 5 and 1/4 yards with vertical seams or I use this beautiful floral that is a 108. And you'll need 2 and 1 eigh. You'll also need a squaring tool. I'm using the Clearly Perfect trimmer B2. And then a marking tool and of course your rotary cutter and ruler. So, let's get started. All right. So, up first, we are going to pair our print 10in squares with our background 10in squares. And you're going to use I think it's all but two of the pack. You're going to go ahead and pair these up. And then I'm going to just draw a line. And we're using the two at a time method for these large half square triangles. And so I will just draw the line. And then we'll take this to the machine and sew a quarter inch away on both sides. So let's go ahead and do that. All right, there's that first side. So, we're just going to flip this around and do the exact same thing down the other side. Now, a quarter inch away from our drawn line. There we go. All right. So, then we can just take our ruler now and we're going to li lay this right back on the line that we drew in between our stitches to trim this apart. So, now we have two half square triangles. We're going to go ahead and use this trimmer B2 to trim these to 9 in. And so if you've never used these before, you can see here there is a dashed line. I'm going to line that dashed line up with my stitch line. And then I will trim off the excess. Make sure that's straight there. There we go. [snorts] And then I just need to shave a little bit off here. And we can go ahead and get rid of these little notches. like so. And so you'll go ahead and square up all of your half square triangles like this from your pack. And then once you have squared it, we're going to press these towards the print side or the dark side. So we'll just roll that back after we set our seam. Beautiful. And let's go ahead and trim this one. Just to reiterate how to use that clearly perfect trimmer. Maybe you can see the stitch line a little better on this side. So again, we're lining up that dashed line with our stitch line and trim. And then that just helps get rid of that bulk. And once again, we're gonna set that seam and then roll it back. Easy peasy. Okay, that is our large half square triangles. So now we're going to move on to making the small. And so in order to do that, I have also cut 10in squares of my accent fabric. And of course, some of these are going to come from that extra background yardage as well, since we used the package of 10in squares to match up with our prints. And so, we're going to pair these two right sides together. So, if you're using a print, you want to make sure that they are right sides facing. And so, now I'm going to use my 5x15 ruler and I'm going to lay this right along the edge. And I'm going to draw a line vertical and horizontal. There we go. Perfect. And so now what I'm going to do is I'm going to sew all the way around the outside. And then I'm also going to sew a quarterinch seam on both sides of these drawn lines. And this is going to give us 16 half square triangles. So let's go ahead and go all the way around the four outer edges first. [snorts] Okay, you can see now we've gone all the way around the outside edge. And now I'm going to use those lines that I drew and sew a/ quarter inch away on both sides. Beautiful. All right. So, you can see this is how that's going to look once we have it all stitched up. We've sewn all the way around the outside edge and on both sides of these drawn lines. And that's going to give us essentially four uh 5 in squares that we've sewn all the way around the edge of. So if you have a bunch of extra 5 in squares, you could use those as well. But this is just a great timesaver when we are working with our 10in squares. And so now I'm going to cut on those drawn lines to give myself these individual 5 in squares that we've sewn all the way around. And so once those are separate, then I can use my ruler and I can lay this corner to corner and cut it in both directions. And so each one of these little units will give us four half square triangles for a total of 16 when we do this method. So here we go. So cute. And so I have a bunch of these already squared. We want to square them up to 3 in. And so you can use this same trimmer tool again lining up our dashed line with the stitch line and [snorts] trimming off our excess. the notch doesn't actually go all the way up to that measurement. So, here's another little trick. You just want to cut these at an angle and make sure that you're not cutting through your stitches. And that's just going to get rid of that bulk. So, if you don't want to use the notches, you can always just do that. You can also trim it with scissors. So, let's go ahead and give this a press. Now, we're going to need two of these for each of our larger half square triangles. Let me find my extras I have here that are already squared. And so now we can take these and we can take one of our large half square triangles and we are going to place this on the corner so that these seams intersect. We want the accent to be pointing towards the background of the larger half square triangle. And then we can lay our ruler or if you have diagonal seam tape on your machine, you could just use that. But I'm going to draw this line. And this time we're going to stitch right on that line. And I'm going to go ahead and prep one for the other side as well. This just makes it go really fast. So that drawn line, your stitch line is always going to intersect those smaller half square triangles. So let's now take this over to the machine and we'll stitch right on those lines that we drew. I like to just feel it, make sure my seams are nesting. And if you press towards the dark side both times, they're automatically going to be doing that for you. And then now we can just stitch straight across here. There's side number one. We can just flip it around again. Double check. Make sure everything is lined up. Beautiful. And we will just stitch point to point. All right. So now all that is left is to trim off leaving our quarter inch seam allowance here. If you wanted to save some tiny little quarter square triangles, you absolutely could for another project by stitching a half inch away, but they're going to be real small if you do that. I'm just going to add them to my scrap bin for now. And so now we can go ahead and just set these seams again. Roll them back. And our block is that easy. It's so quick. And it looks just like that. And that is this entire quilt. So let's go ahead and look at the quilt behind me. We have 1 2 3 four five six seven eight across by 10 down. So then I just kind of laid it out so that we get this larger pin wheel effect that takes shape. And then we also get the secondary pin wheel and those just appear throughout the whole quilt which gives us lots of interest and lots of movement. It measures 68 across by 85 down. And I quilted it with this really fun pattern called Chantelli Lace. And I used this kind of soft purple thread to tie in with these vibrant colors but not leave, you know, too much contrast on the background. And I really love how it turned out. It's such a fun one and I hope you guys give it a try. I'll see you next time on At Home. Hey everyone, thank you so much for watching at home. We're so excited to be almost a million quilters strong here at Missouri Star. [music] And so if you haven't already joined our family, be sure to subscribe and hit that notification bell so you can be notified of all of our future tutorials. And we'll see [music] you soon.

 Misty Doan
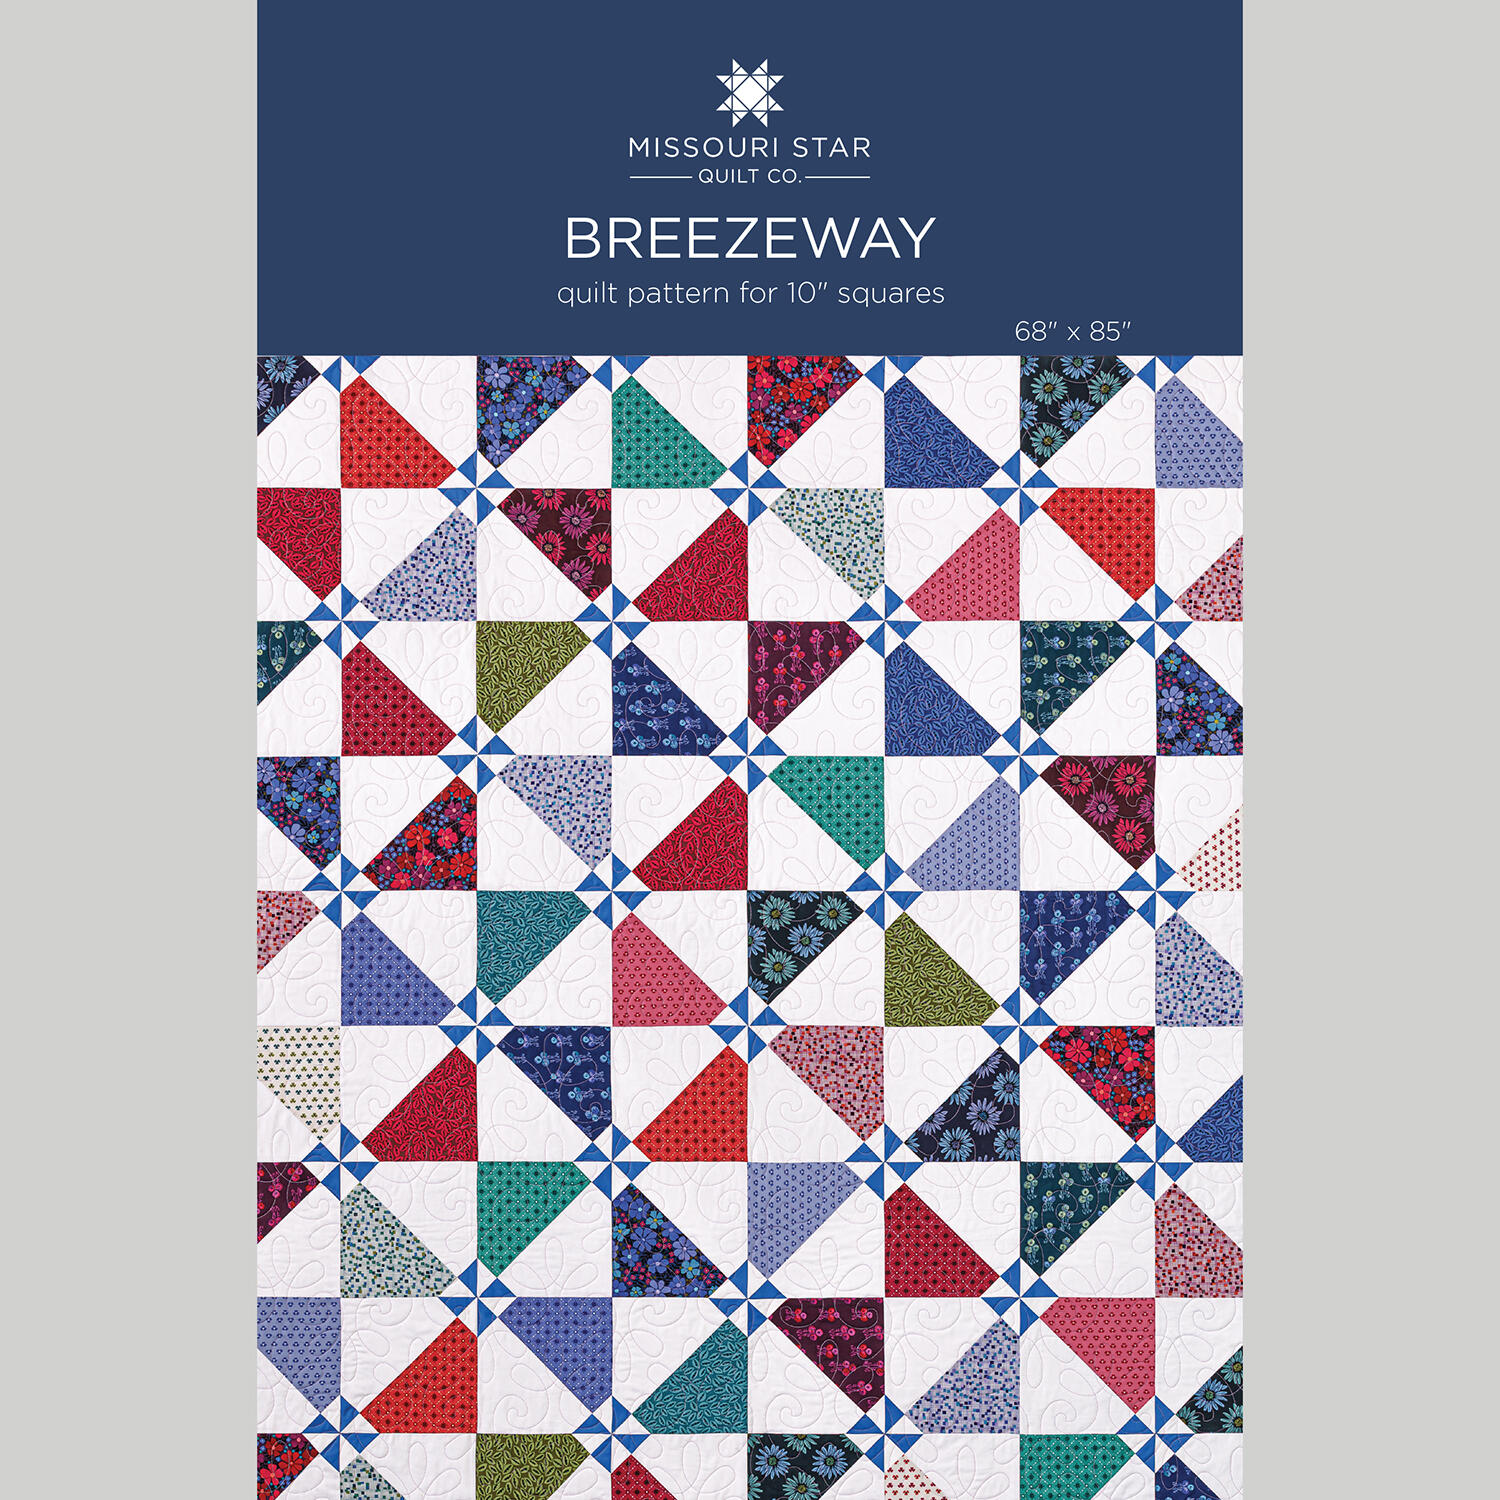 Breezeway Quilt Pattern by Missouri Star$8.50Shop →
 Digital Download - Breezeway Quilt Pattern by Missouri Star$6.95Shop →
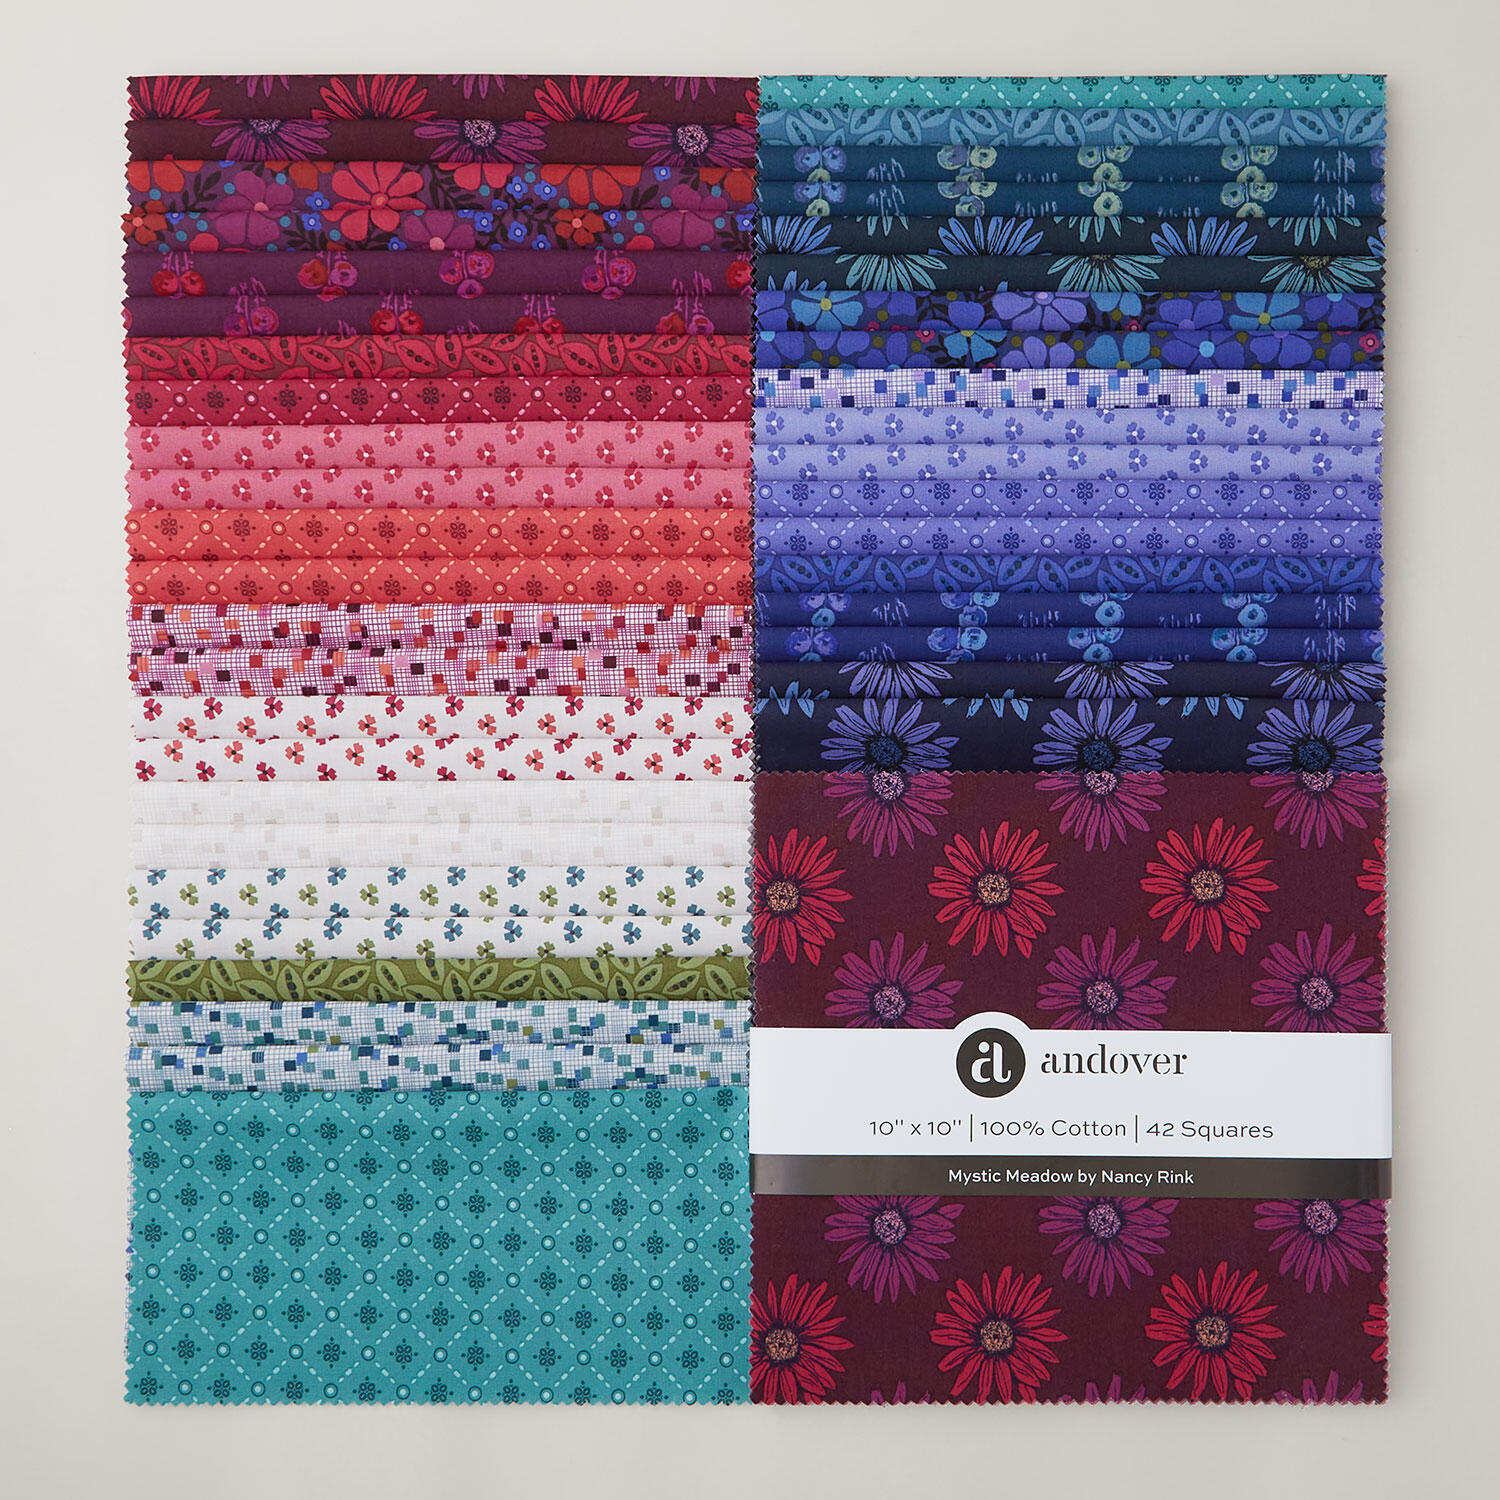 Mystic Meadow Sundaes$47.95Shop →
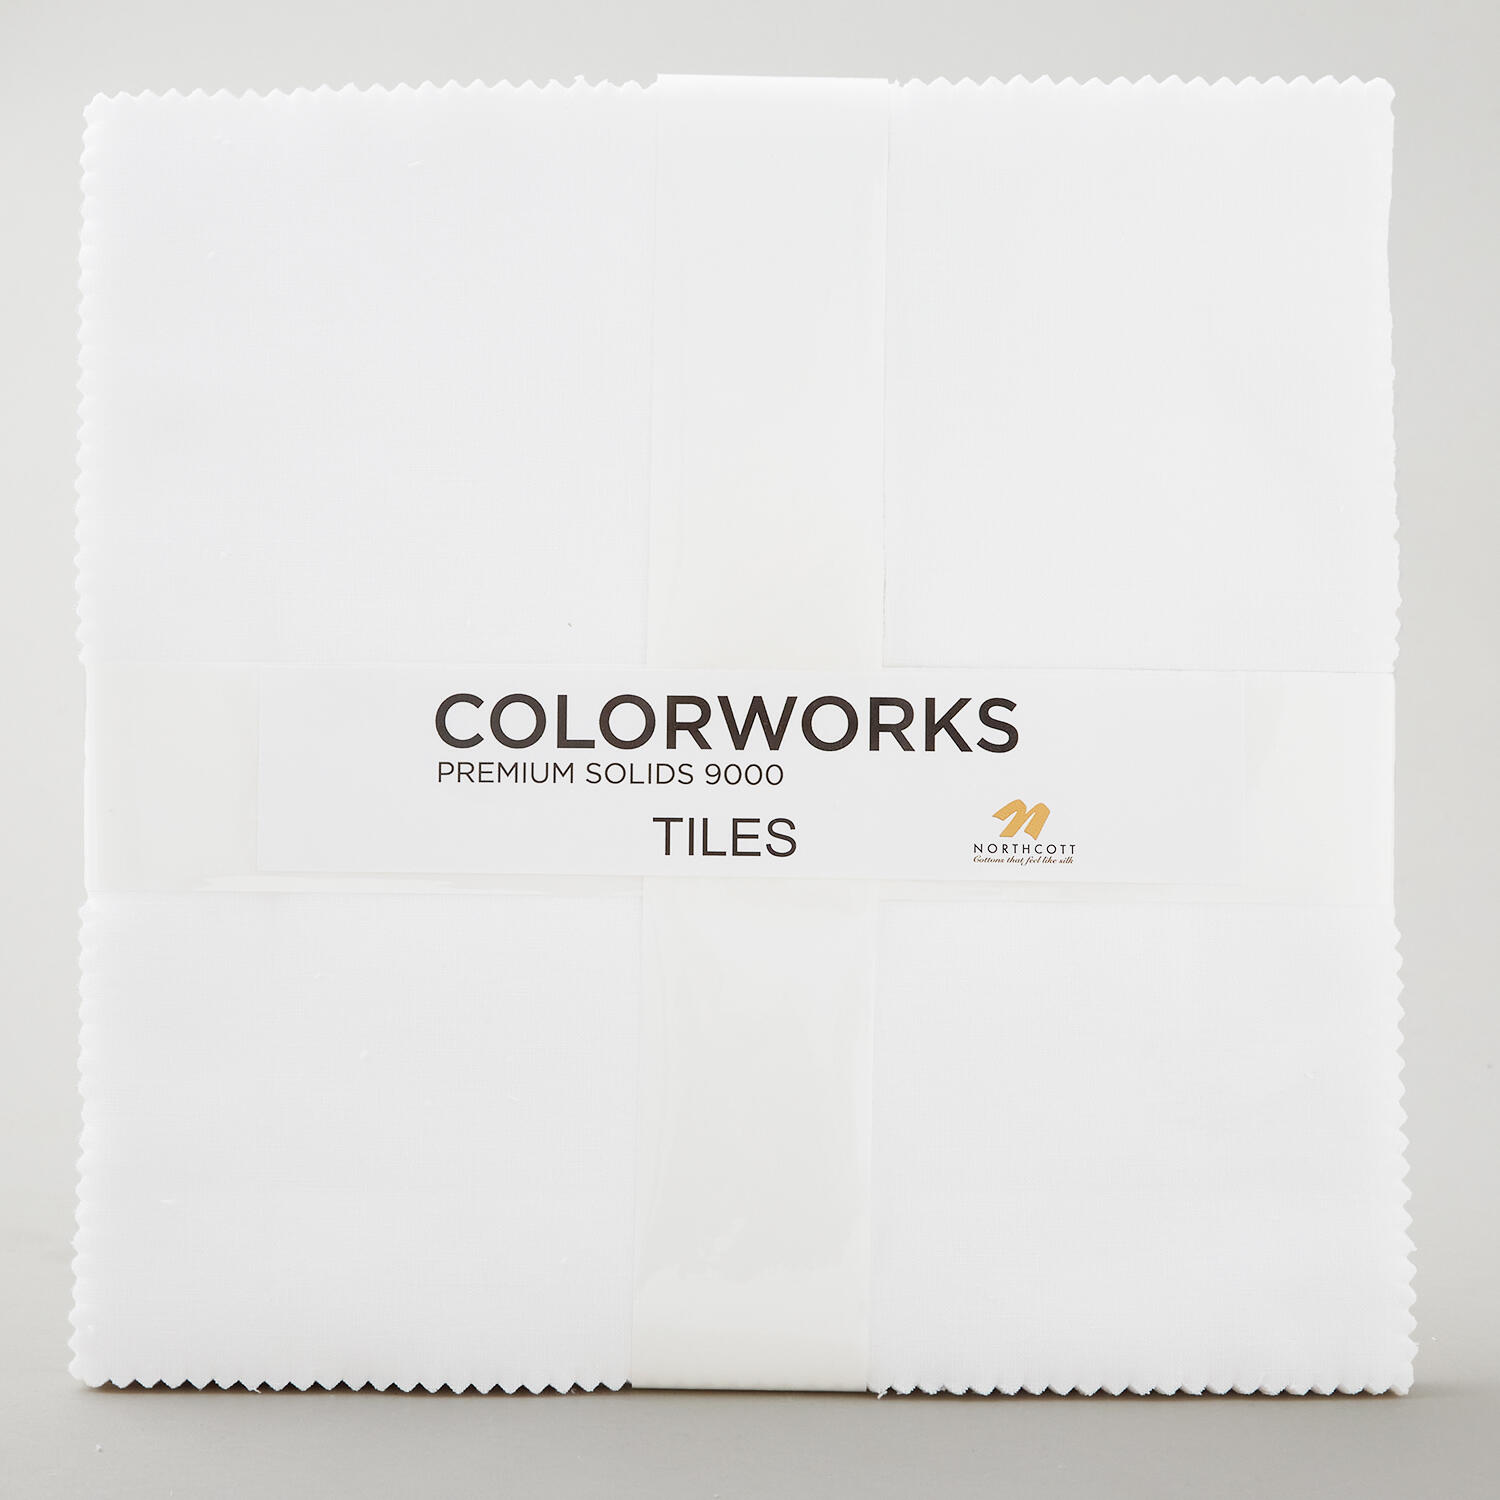 Colorworks Premium Solids White Tiles$37.10Shop →
 Colorworks Premium Solids - Superwhite Yardage$8.96Shop →
 Colorworks Premium Solids - Lapis Yardage$8.96Shop →
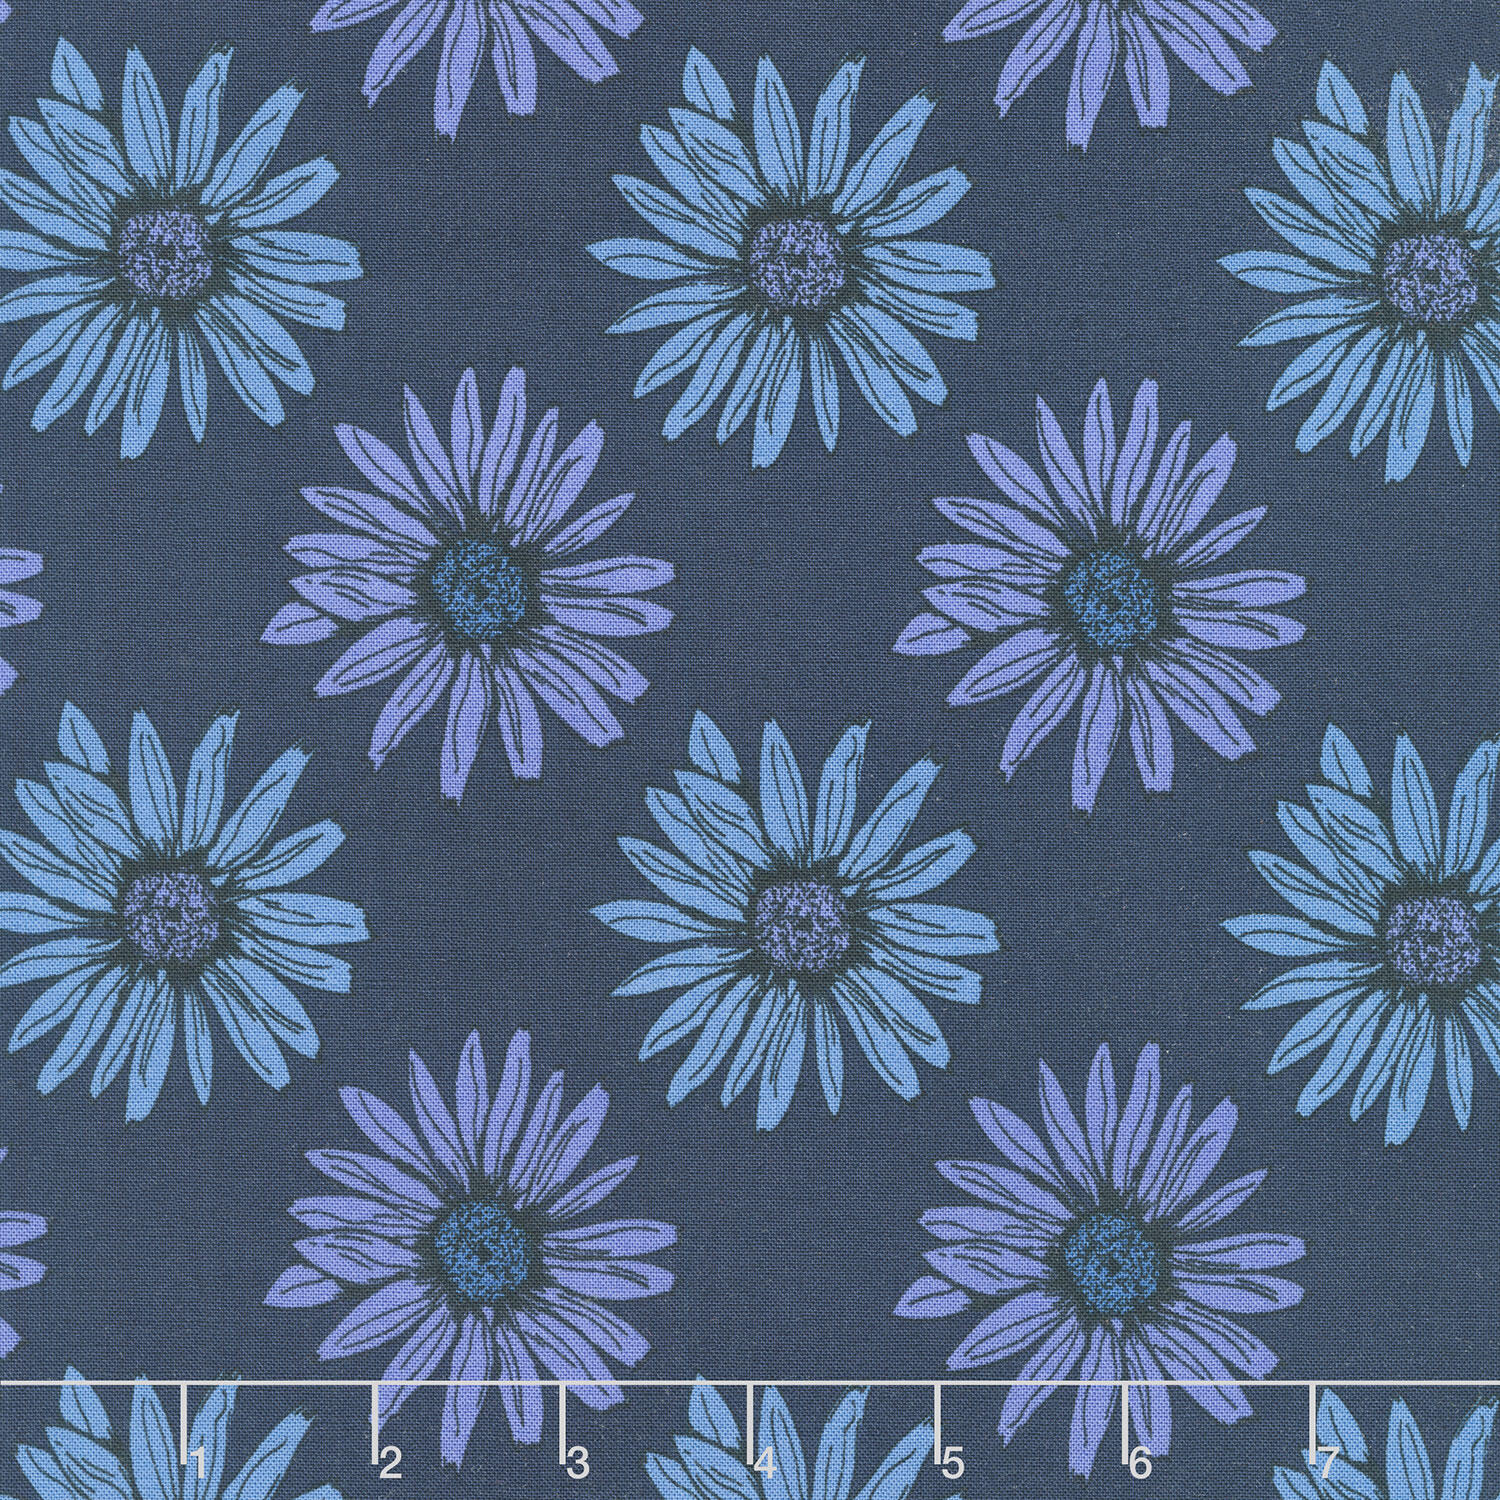 Mystic Meadow - Big Daisy Blue Yardage$11.96Shop →
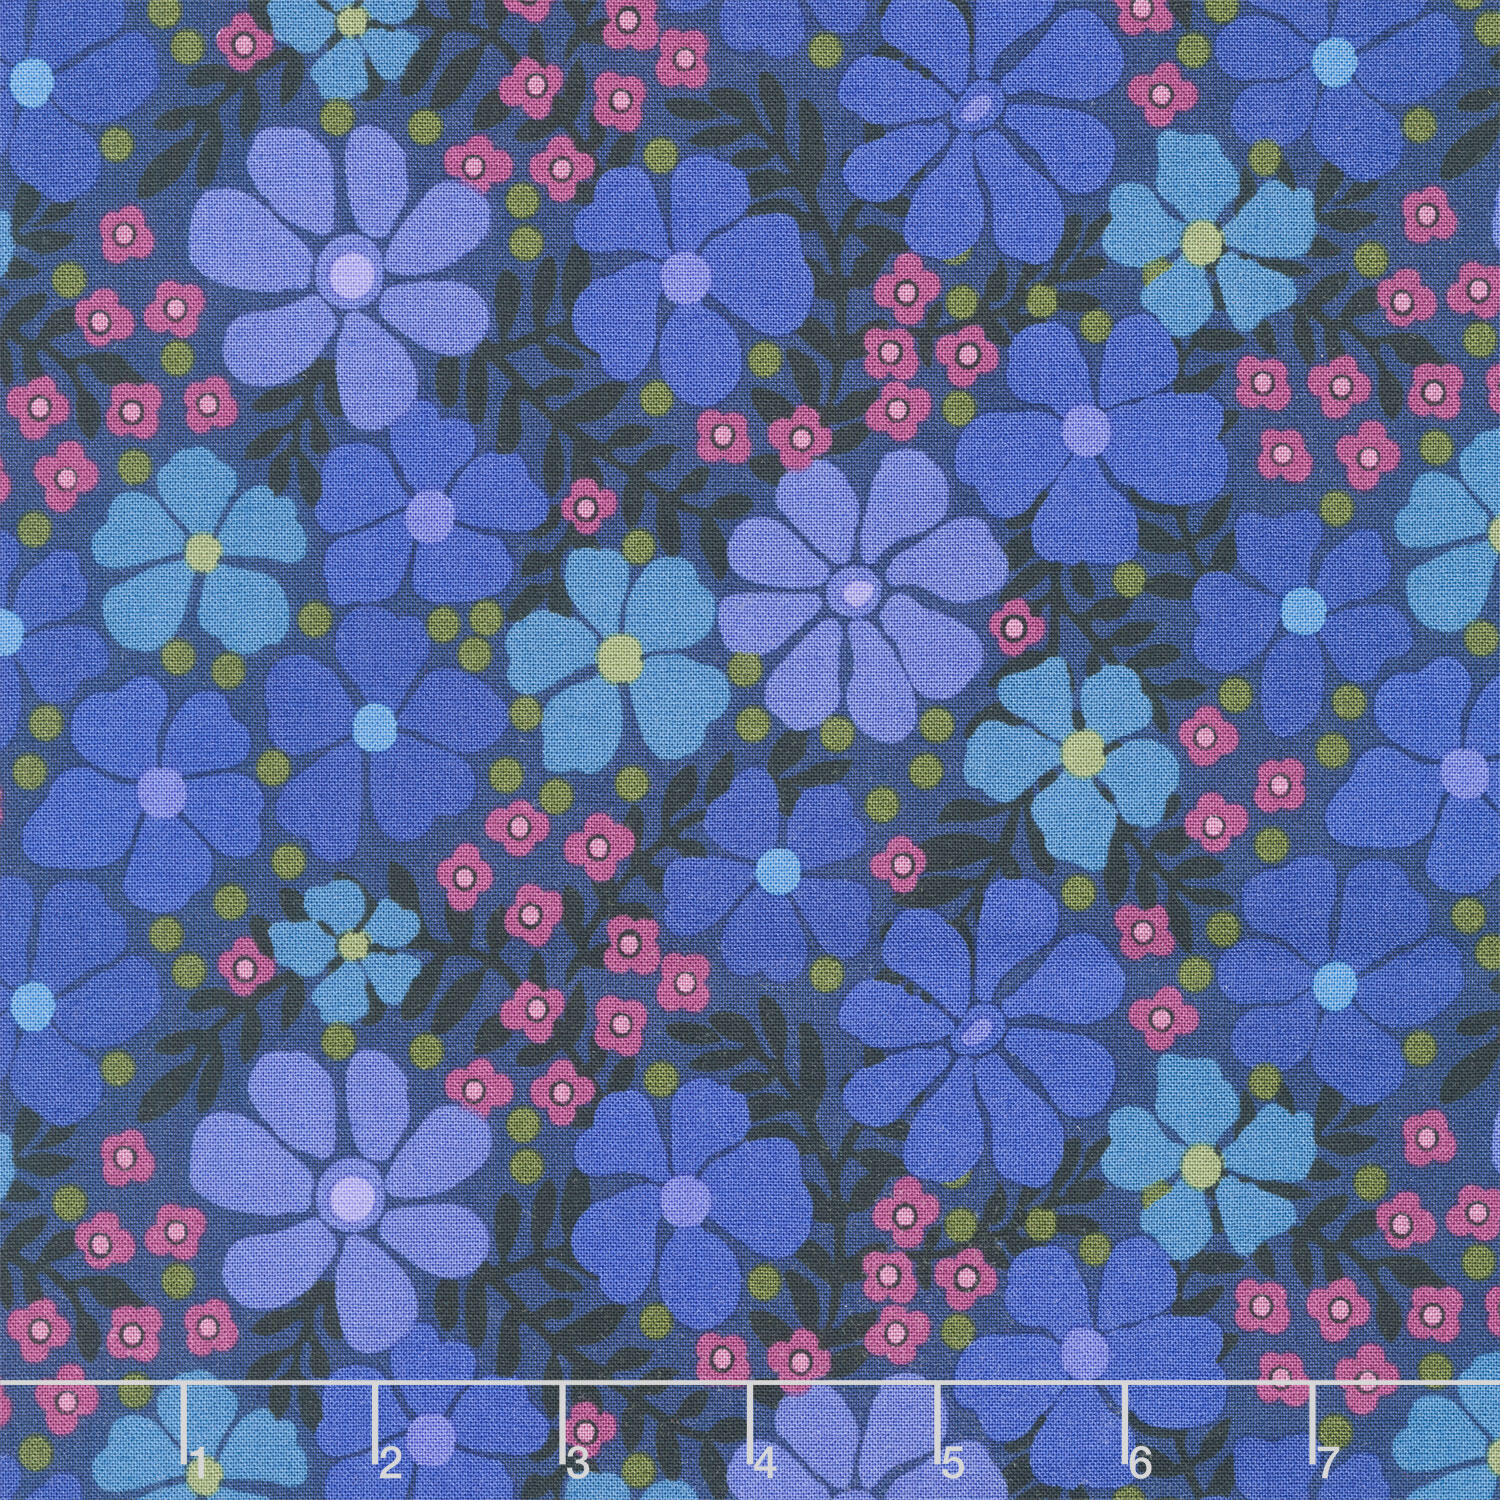 Mystic Meadow - Packed Floral Blue 108" Wide Backing$20.36Shop →
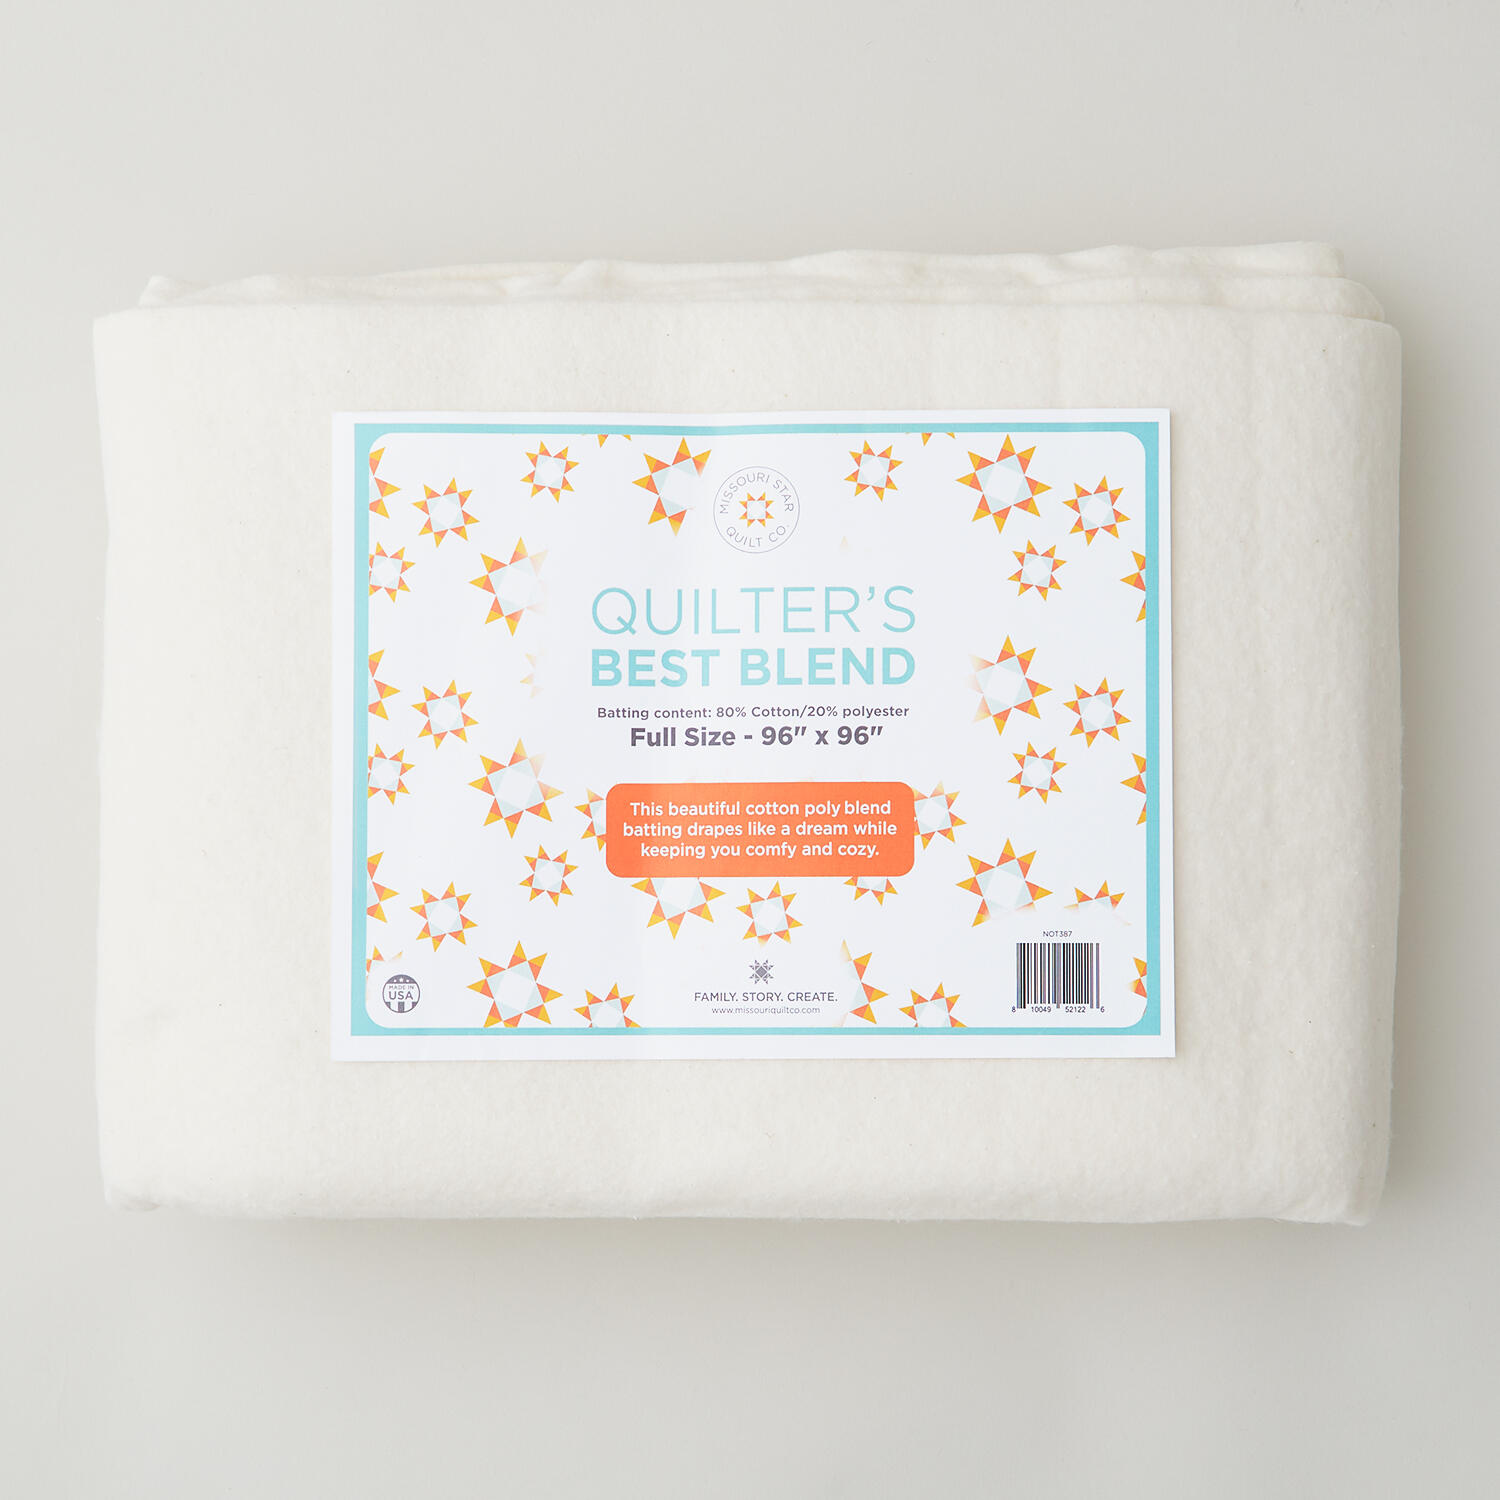 Missouri Star Quilter’s Best Blend Full Batting$32.95Shop →
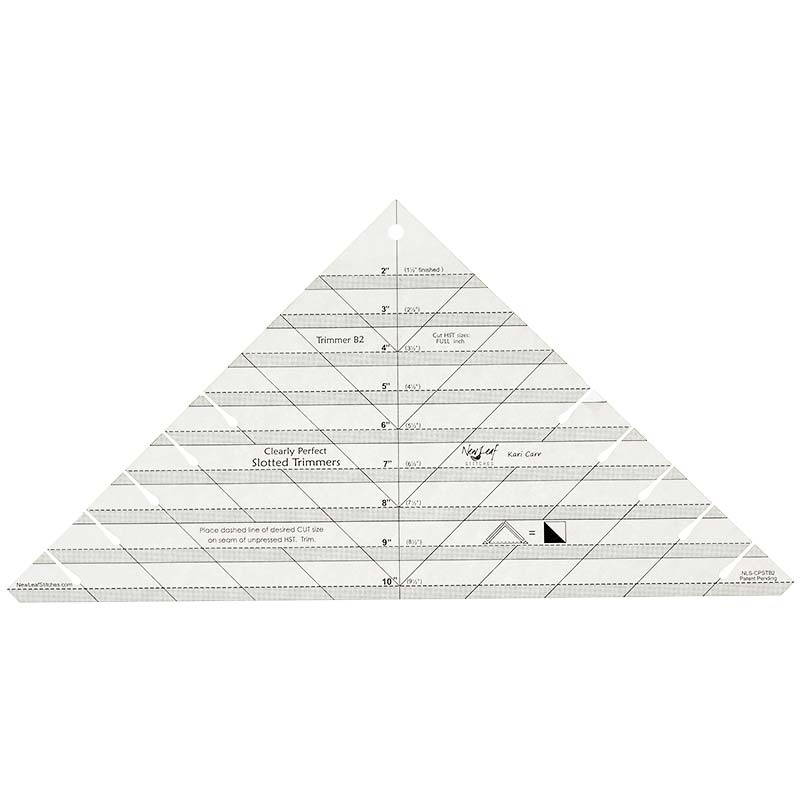 Clearly Perfect Slotted Trimmer B2$27.95Shop →
 Missouri Star 5" x 15" Ruler$19.95Shop →
 Missouri Star 2.5" x 8" Ruler$11.95Shop →
 Missouri Star 45mm Rotary Cutter - Olga$19.95Shop →
 The Gypsy Quilter Felted Wool Pressing Mat - 14 1/3"x 18 7/8"$35.99Shop →
 Missouri Star 8" Everyday Scissors - Amelia$19.95Shop →
 Missouri Star 50 WT Cotton Thread White$7.95Shop →
 Missouri Star + Oliso TG1600 ProPlus Iron$209.95Shop →
 Missouri Star Labels of Love: Sending Love, One Tag at a Time$9.95Shop →



