
Cabin Fever Quilt
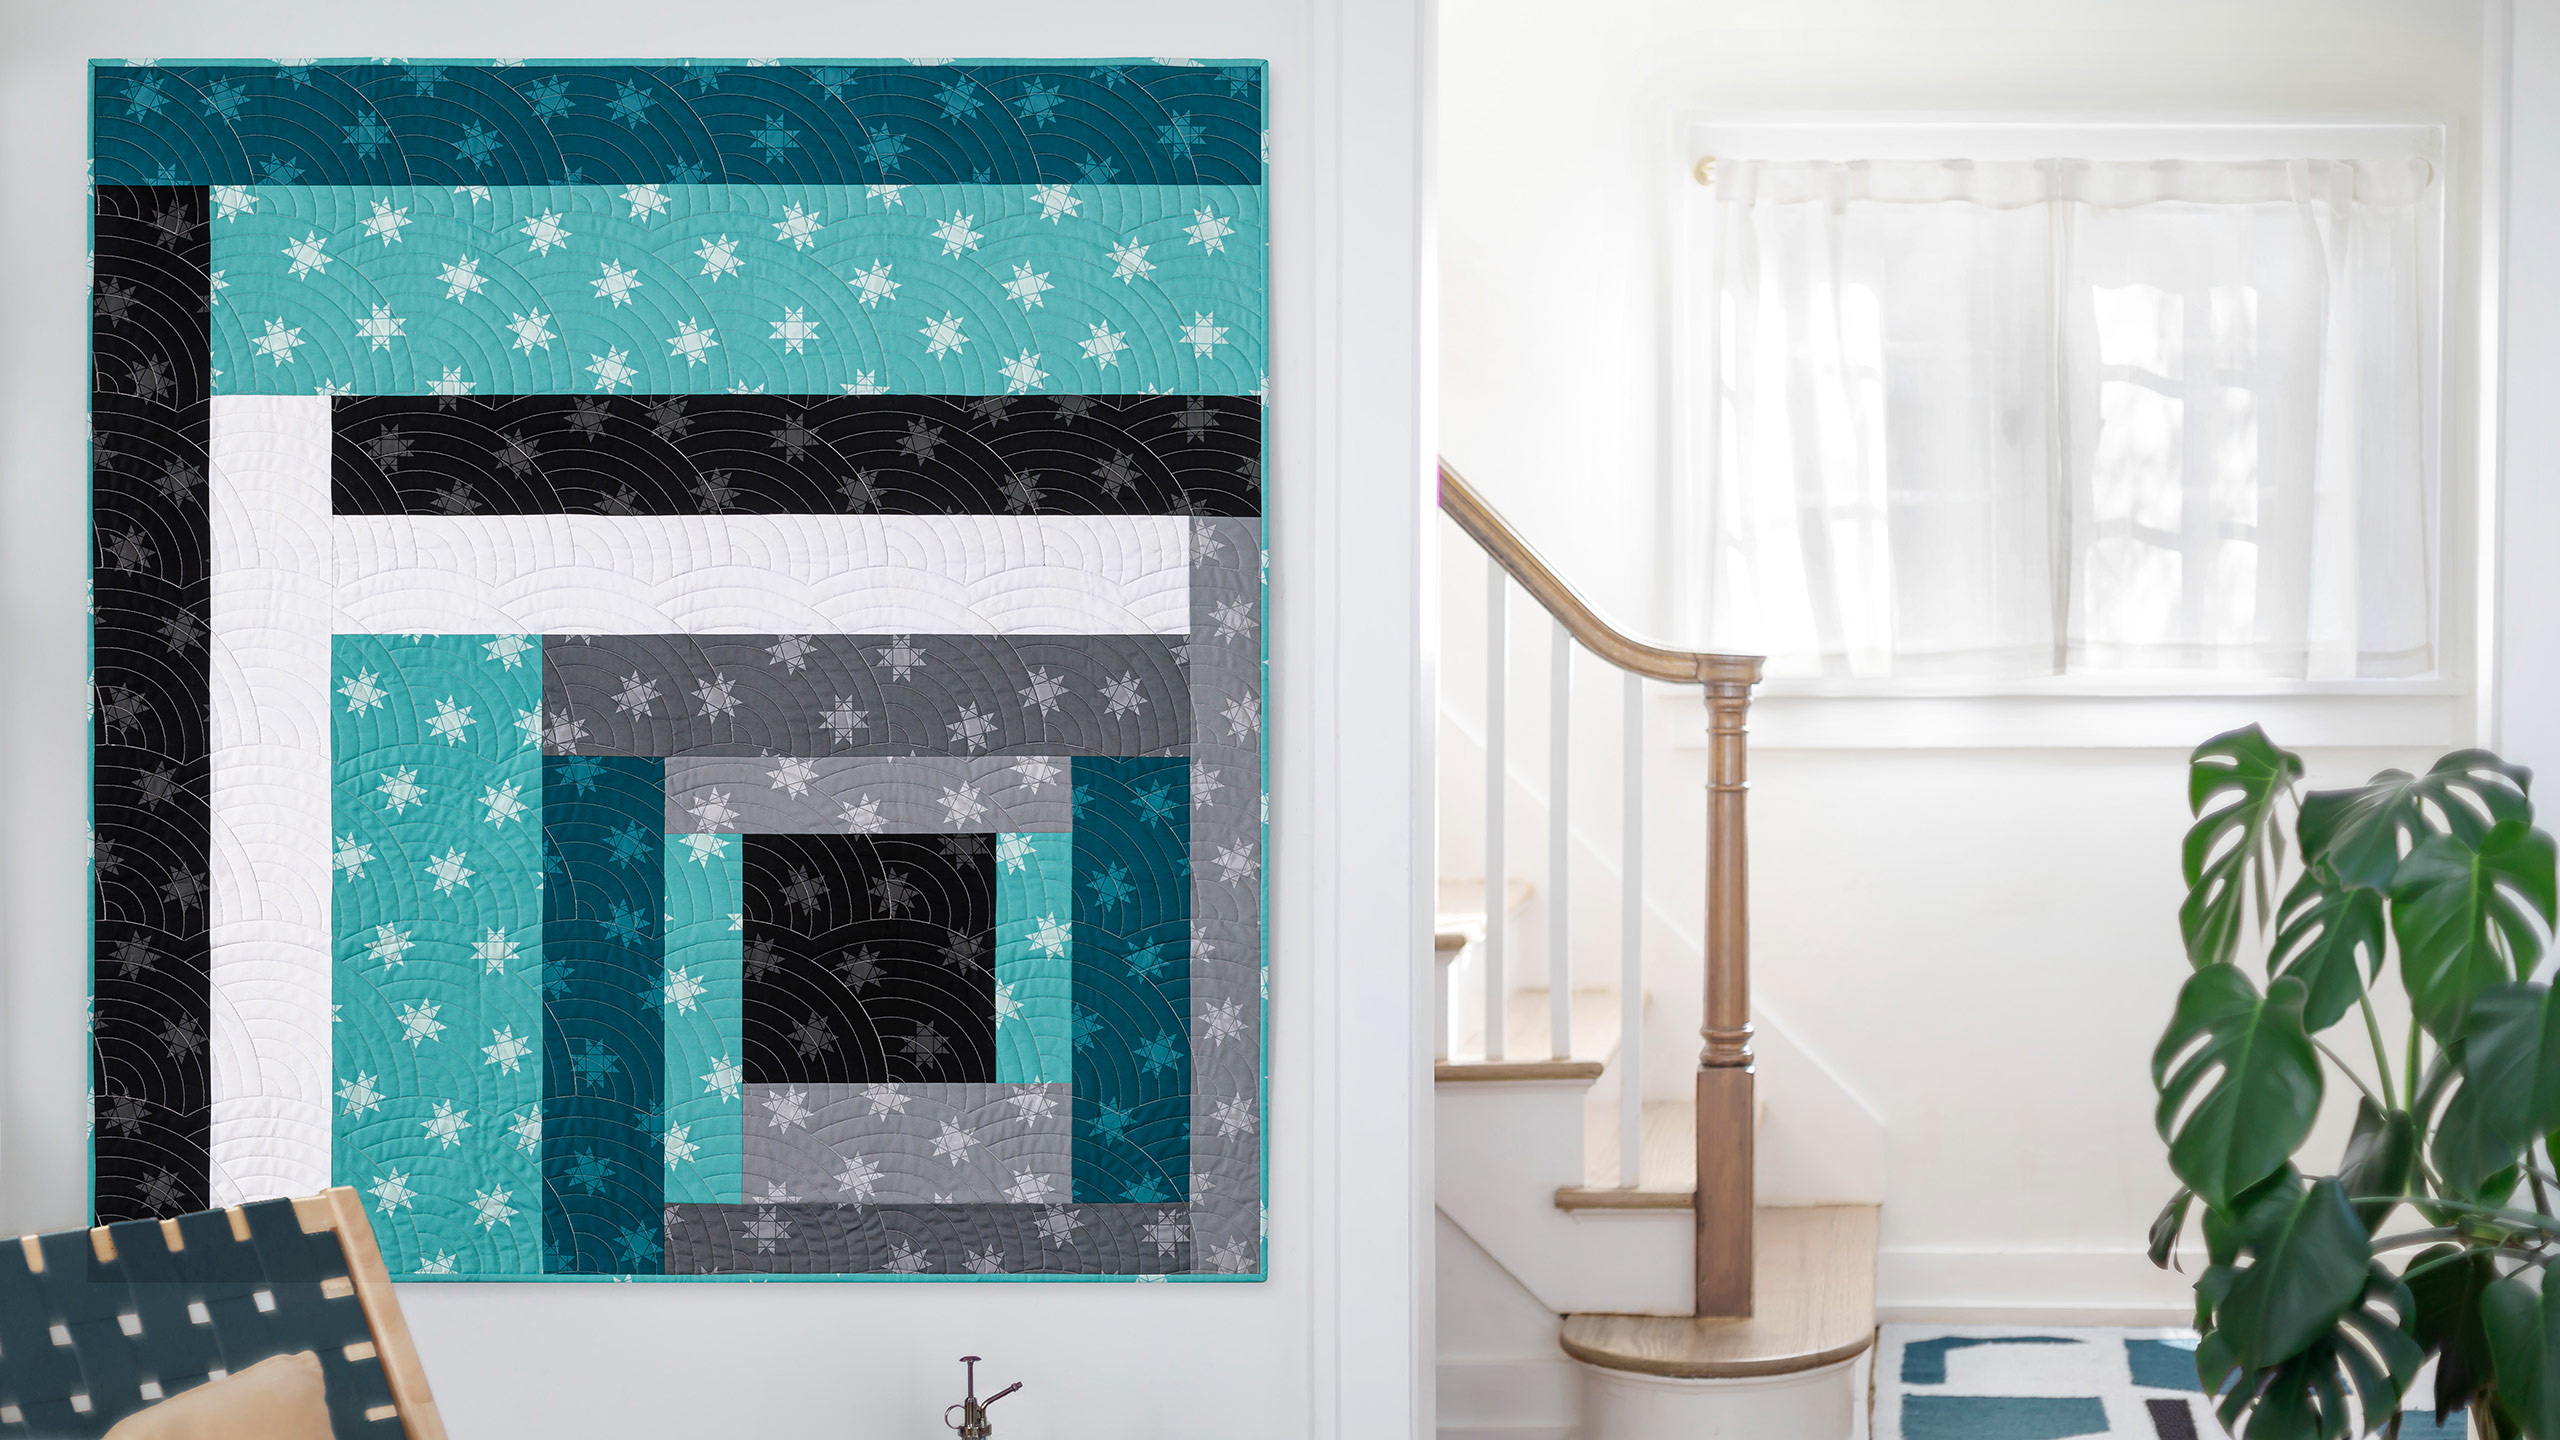
You won’t mind having cabin fever when it means ending up with a fabulous quilt! In this At Home With Misty, watch as Misty puts a modern twist on the tried-and-true log cabin pattern to create a great reversible quilt. Be sure to check out the exclusive Missouri Star Quilt Town fabric she uses, too!

Instructor
Misty Doan
Misty Doan grew up surrounded by sewing and quilting. She loves spending time sharing tutorials each week each week, and when she’s not stitching up one of her fun sewing projects for home decor, most likely you’ll find her hanging out with her husband and three awesome kids or working on a house project.
Shop this tutorial
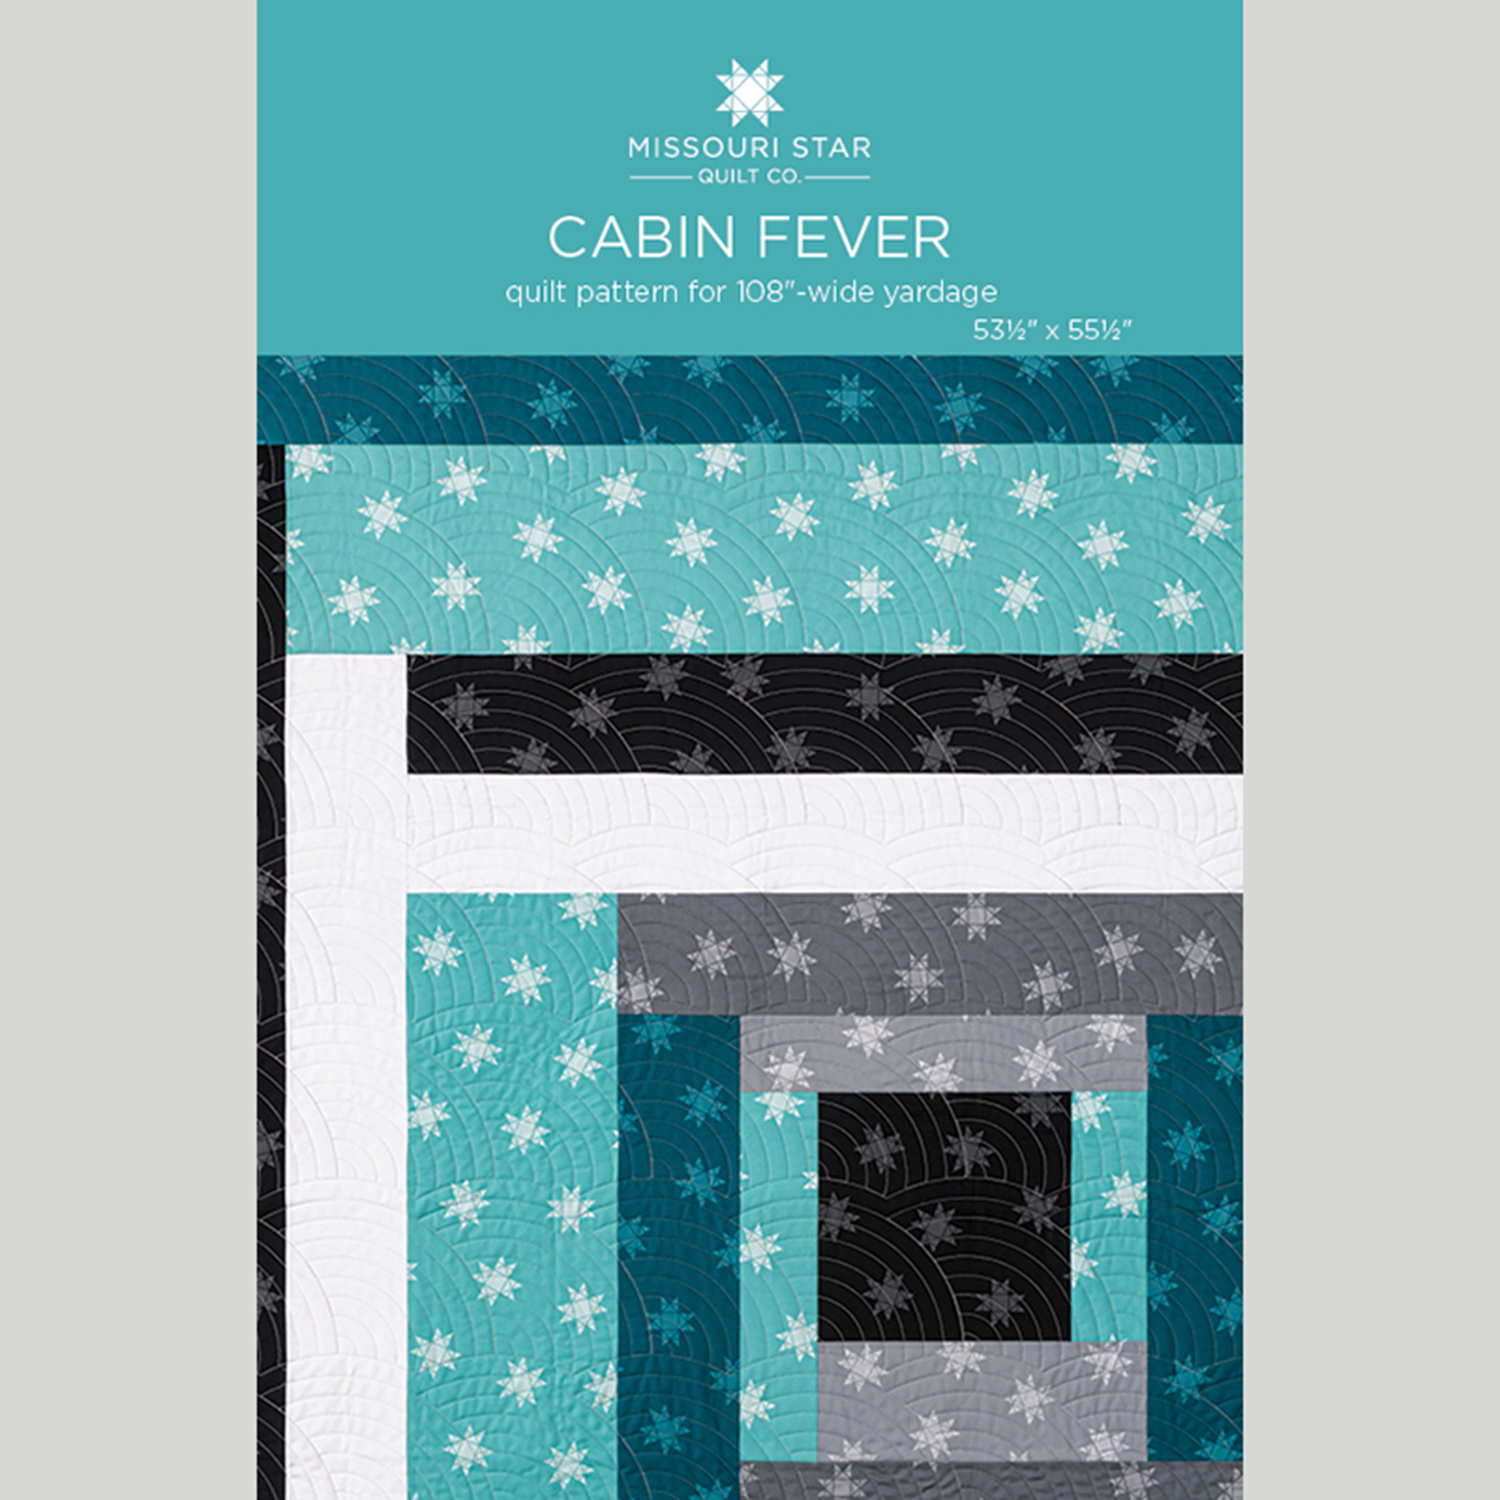 Cabin Fever Quilt Pattern by Missouri Star$8.50Shop →
 Digital Download - Cabin Fever Quilt Pattern by Missouri Star$6.95Shop →
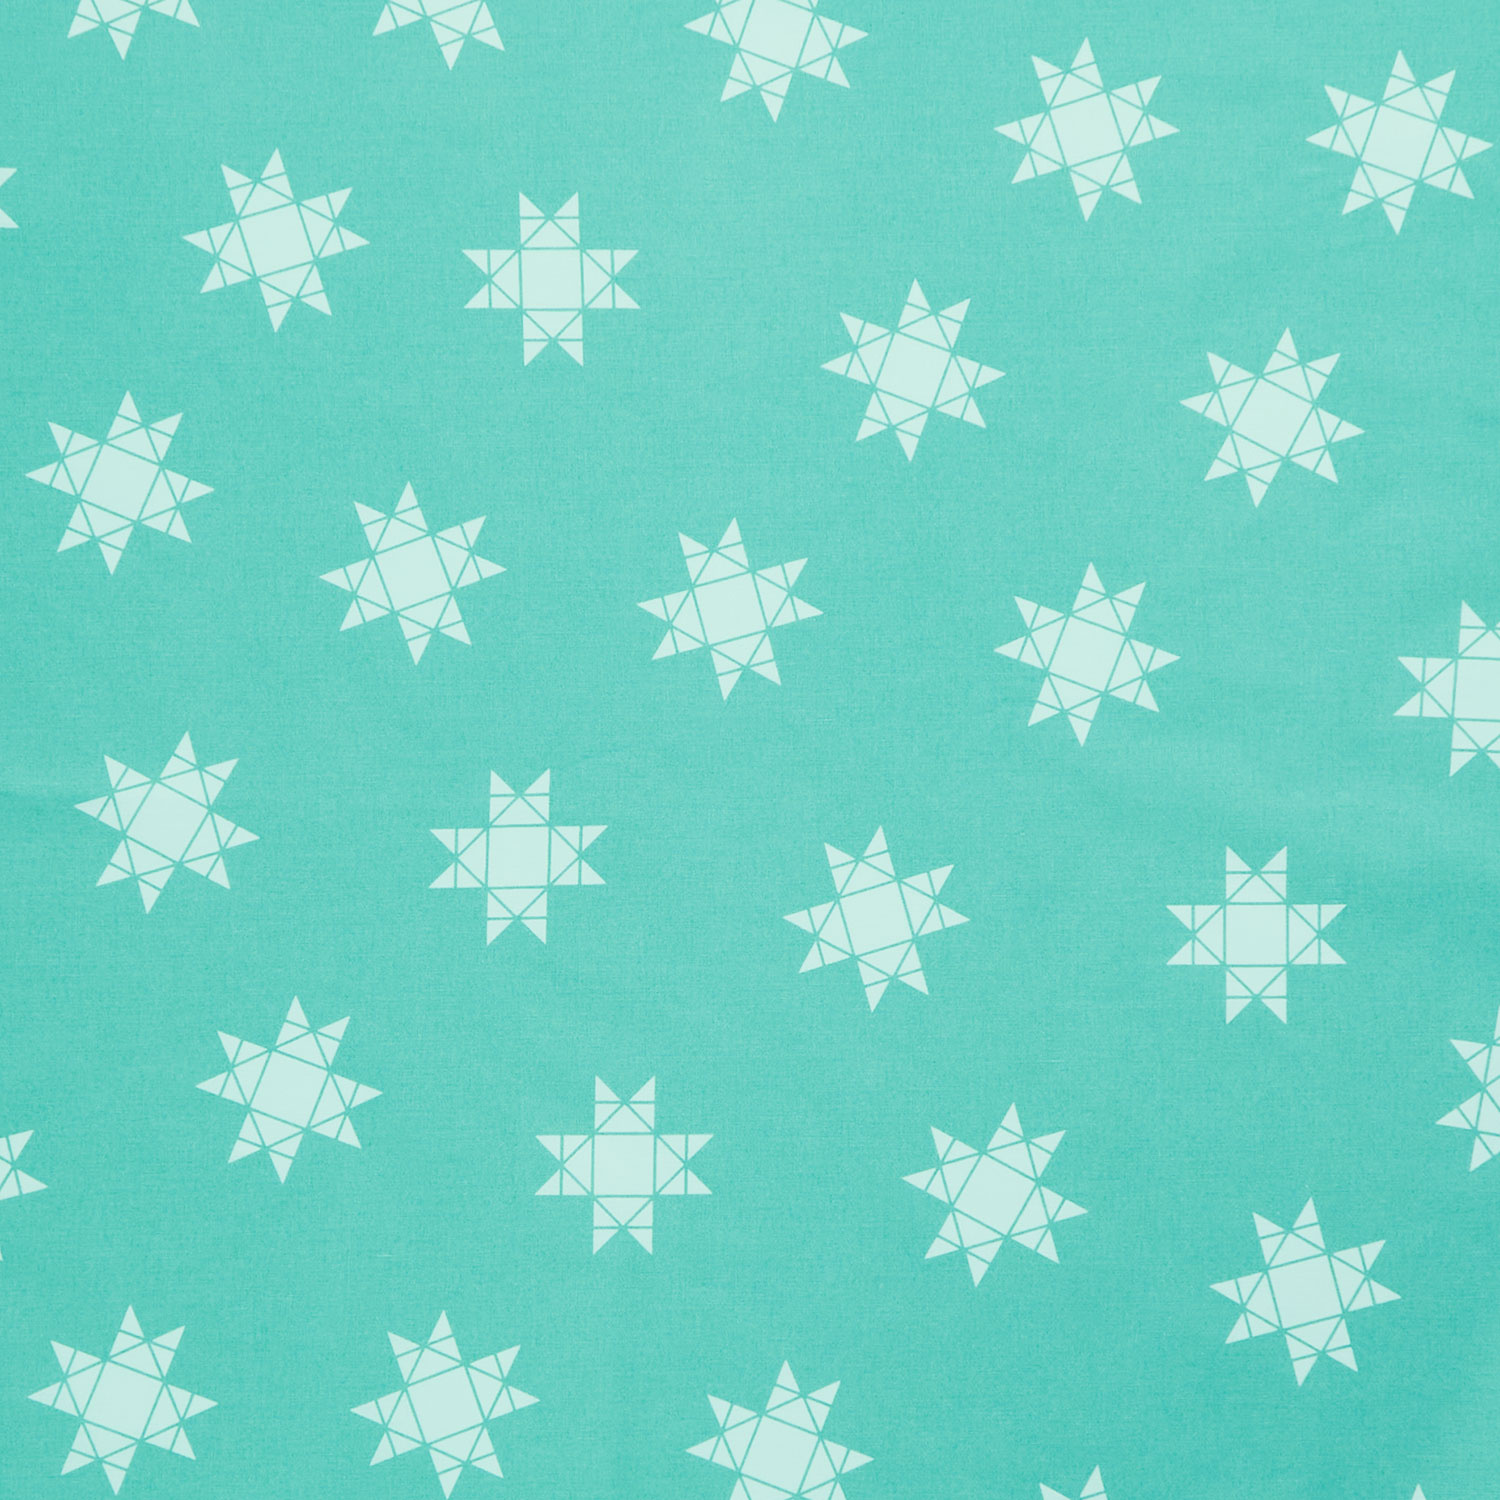 Missouri Star Quilt Backs - Quilt Town Tossed Missouri Star Aqua 110" Wide Backing$18.76Shop →
 Missouri Star Quilt Backs - Quilt Town Tossed Missouri Star Dark Teal 110" Wide Backing$18.76Shop →
 Missouri Star Quilt Backs - Tossed Missouri Star Medium Gray 110" Wide Backing$18.76Shop →
 Missouri Star Quilt Backs - Tossed Missouri Star Graphite 110" Wide Backing$18.76Shop →
 Missouri Star Quilt Backs - Tossed Missouri Star Black 110" Wide Backing$18.76Shop →
 Missouri Star Quilt Backs - Quilt Town Tossed Missouri Star White on White 110" Wide Backing$18.76Shop →
 Missouri Star Quilter's Best Blend Throw Batting$21.95Shop →
 Missouri Star 45mm Rotary Cutter$19.95Shop →
 Missouri Star 50 WT Cotton Thread White$7.95Shop →
 Exclusive Missouri Star Jenny TG1600 ProPlus Oliso Smart Iron$199.99Shop →
 Missouri Star Wooly Betty Board - 17.25" x 25.5" Orange Border$99.95Shop →
 Baby Lock Accomplish - 1500 SPM Straight Stitch Machine$1199.00Shop →
Common Questions
What is covered in Cabin Fever Quilt?
You won’t mind having cabin fever when it means ending up with a fabulous quilt! In this At Home With Misty, watch as Misty puts a modern twist on the tried-and-true log cabin pattern to create a great reversible quilt. Be sure to check out the exclusive Missouri Star Quilt To...
How long is the tutorial video?
The tutorial video is 00:08:49.
Are supplies listed for this tutorial?
Yes. The tutorial page includes the supplies and materials connected to this project.
Is a transcript available?
Yes. A written transcript is available on the tutorial page.
Video Transcript
backing to give a front and a back to this great baby quilt. I can't wait to show you how to make it.
So we have these great new 108 inch backs here at Missouri Star that we designed this fun tossed star pattern and I thought it'd be really fun to use
these for just a regular quilt top and back because you get more. It's 108 inch wide obviously. So to make this project you are going to need one yard of the white 108”, 3/4 yards of black, a half yard of the light teal. You're also going to need a quarter yard each of your dark teal, and light and dark gray. And remember every single one of these cuts is 108 inch wide, not the standard 45 inch fabric!
And so now I'm going to put a diagram up on the screen. I want you guys to pause because this is really all about the cutting and it's going to have the measurements of each of these sections. You're going to want to take the time and go ahead and get your cutting out of the way. Then once you're done with that, I will meet you at the sewing machine and we'll get started.
So I have all of my cutting done and stacked up here at the machine for me. It's going to make it go really fast. You might notice I also switched back to my Baby Lock Accomplish. This is a really fast straight stitch machine and since I'm just doing straight seams, the faster the machine, the better. So I'm using this today. Keep that in mind if you have a couple options at home.
Let's go ahead and get started! So our first piece that is the center is our 12 inch square. Now we're going to begin by adding this teal rectangle along one side. So I'll line those up and zoom down. Now if you have your iron close at hand you can press in between. I actually think that makes it easier on a top like this, especially as it gets bigger, to just do one seam at a time.
So I'm going to take the time to press in between. So now this is going to rotate and I'm going to pull in this gray. I have my sizes pinned just in case they get out of order. So I'll add the gray to this side, press it again. All right, so now that I've added a few, let's bring this over to the table here because I want you guys to see.
Here is our next piece and there's really only one place that this will fit, see? It's too long to go up here, I don't want to have it right next to this teal, so I know it's going to come on the other side. So initially you're just kind of rotating this block and adding it to the other side. But again follow along with that diagram and just work your way through the pile. I'm going to go ahead and add this and I'm just going to sit here and we'll speed up the video and we'll add one after the other until we get this whole top done.
Look at this, it comes together so fast! It just might be the fastest quilt top
you'll ever make! Let's be honest, it's pretty quick. And so what is so great here is the front, and all of the leftover strips that you have from these cuts you turn into your backing. And so that is this right here. Isn't that so cool? I just love it. I think it's so fun so from that yardage you get your quilt top and back.
I quilted the whole thing with Baptist fan, and it measures 53” by 55”. Here's that backing. It turns out so good, so quick and easy! I hope you enjoyed this and it made you think of your 108” wide backs a little bit differently. I'll see you next time on At Home!


