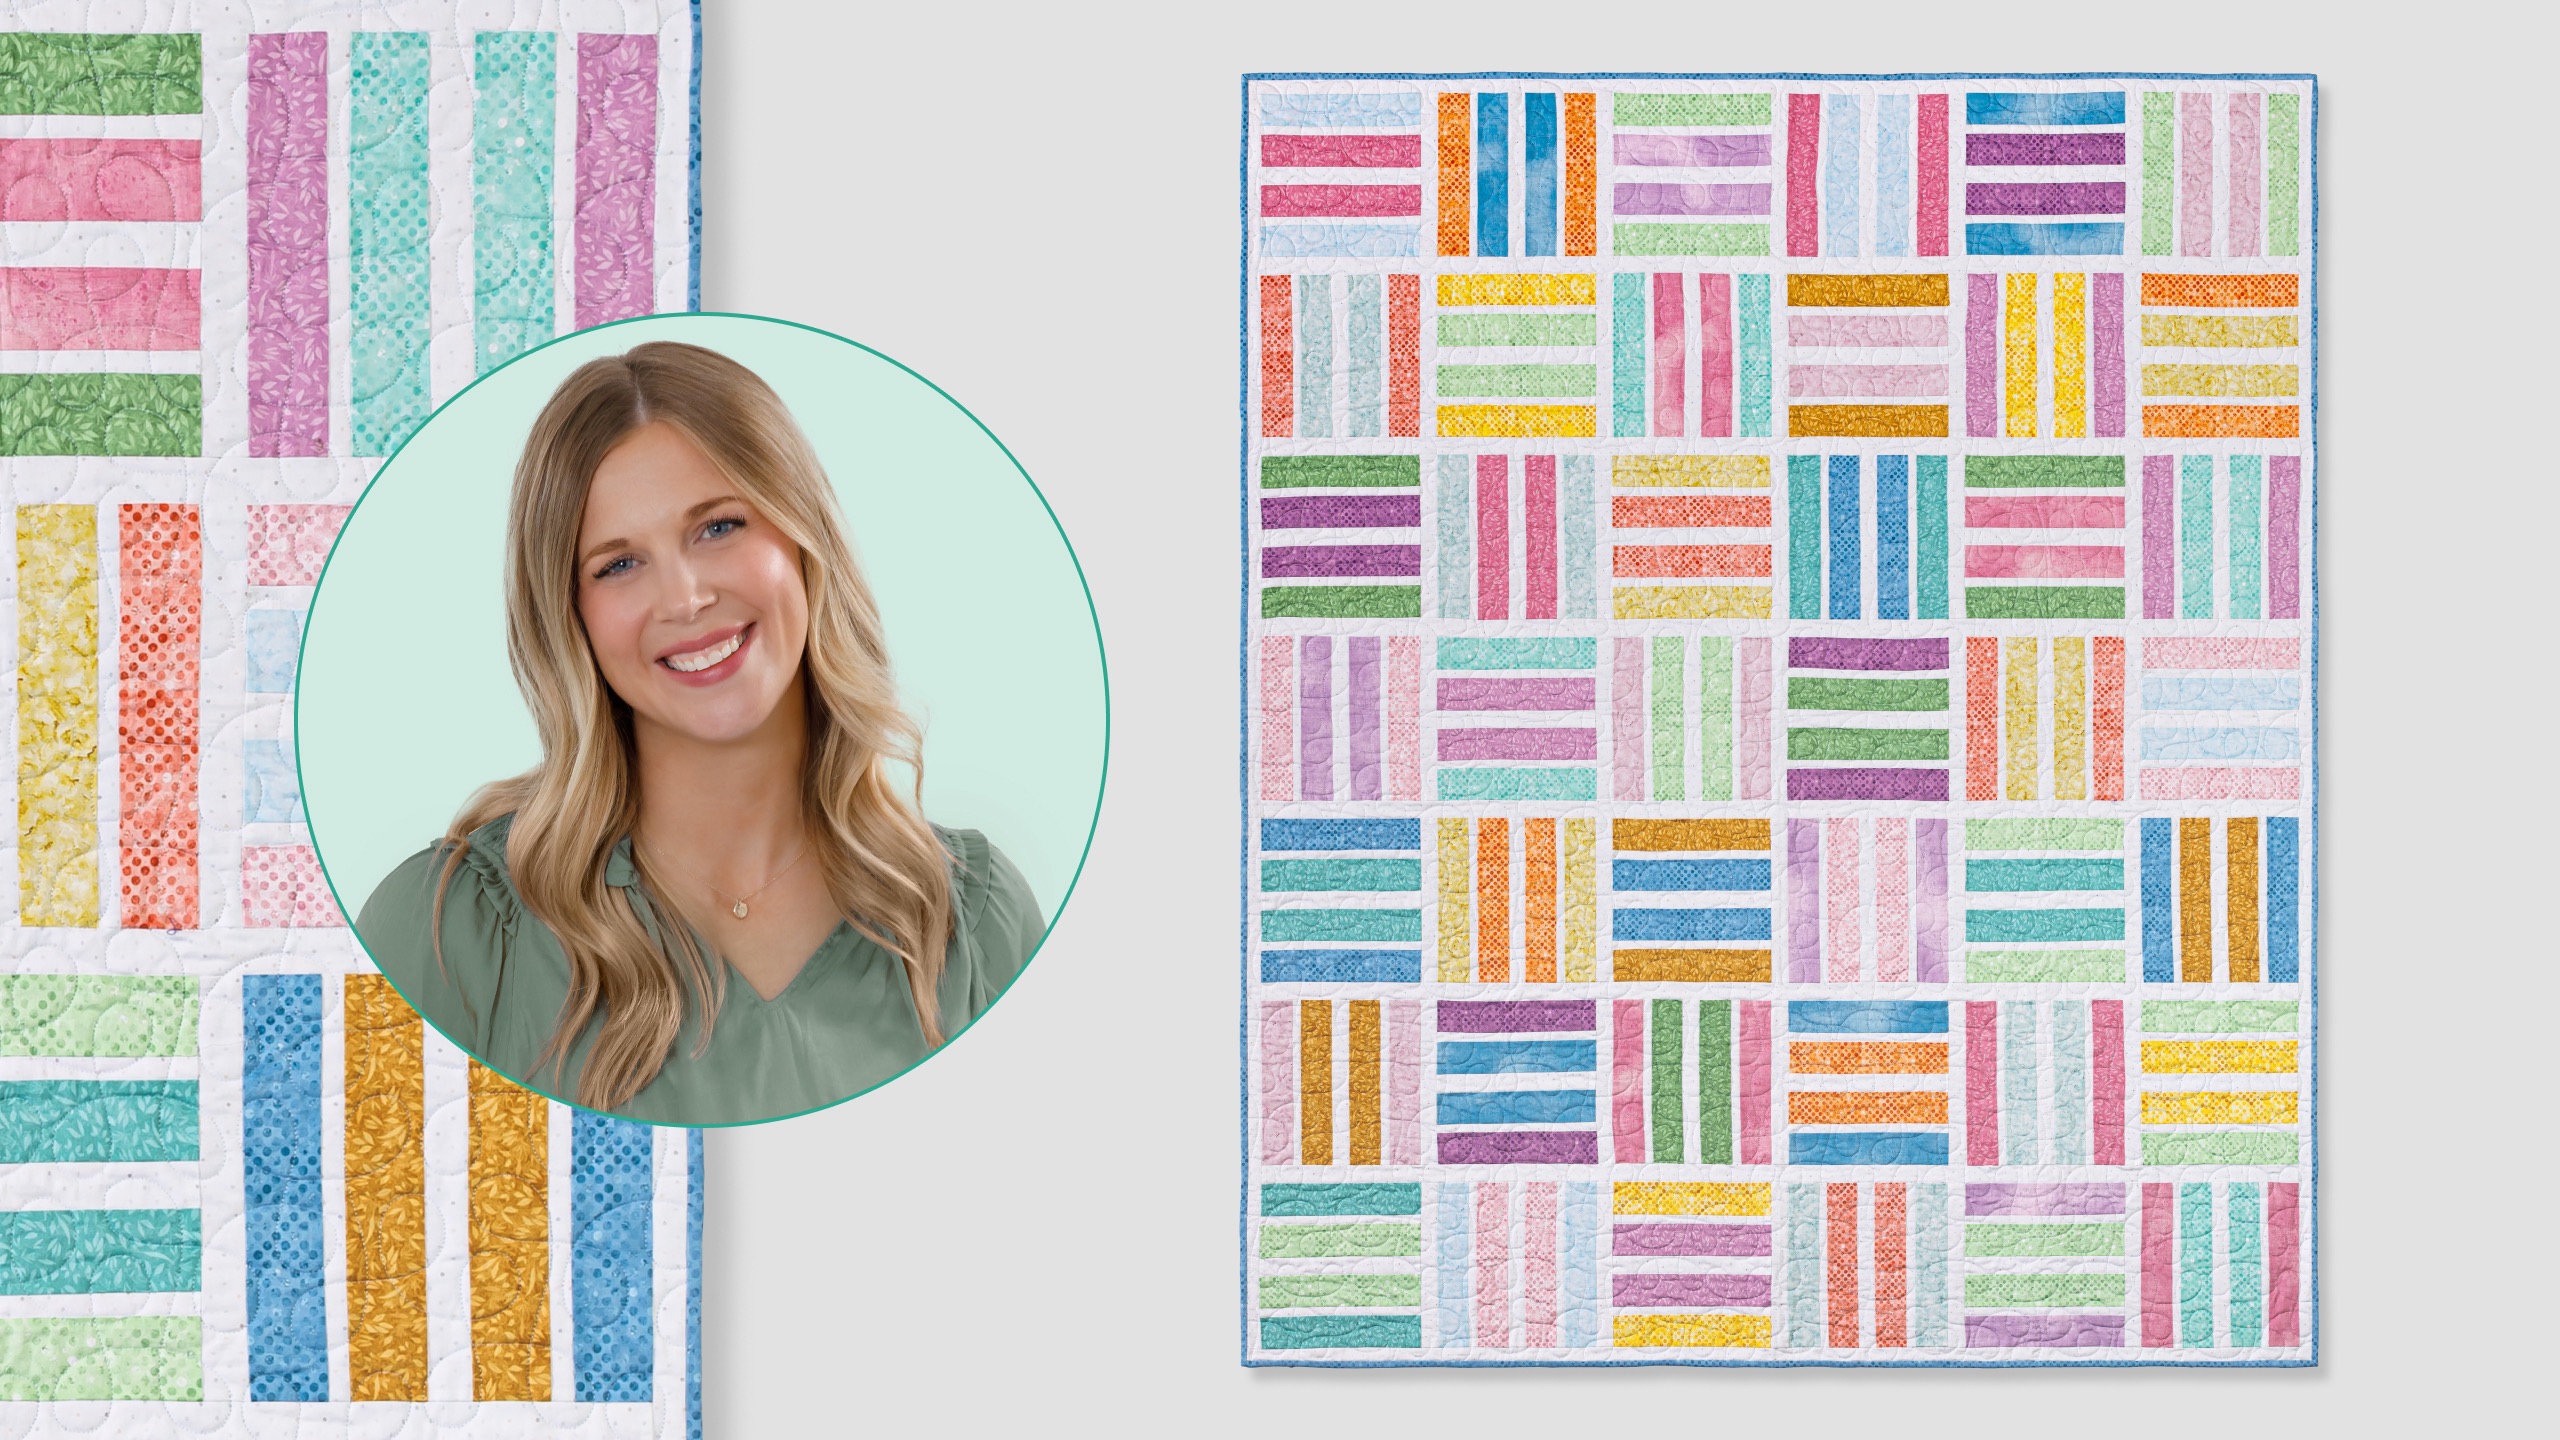
How sweet is this? The Candy Bars quilt arranges bars of color rail-fence style to create a luscious delight! This easy-to-make quilt, designed by Elise Lea for White Owl Textiles, uses cute prints from the Fundamentals collection. Misty demonstrates the quilt made in pastels, but Fundamentals blenders come in a huge variety of colorways, so you could easily switch up the colors to match any décor or personal taste!
Misty Doan grew up surrounded by sewing and quilting. She loves spending time sharing tutorials each week each week, and when she’s not stitching up one of her fun sewing projects for home decor, most likely you’ll find her hanging out with her husband and three awesome kids or working on a house project.
How sweet is this? The Candy Bars quilt arranges bars of color rail-fence style to create a luscious delight! This easy-to-make quilt, designed by Elise Lea for White Owl Textiles, uses cute prints from the Fundamentals collection. Misty demonstrates the quilt made in pastels,...
How long is the tutorial video?
The tutorial video is 00:07:40.
Are supplies listed for this tutorial?
Yes. The tutorial page includes the supplies and materials connected to this project.
Video Transcript
Hey everyone, I have a really fun guest pattern to share with you. This one is called the Candy Bars Quilt by Alise Lee for White Al Fabrics and it's super fun to make and I can't wait to show you how. I thought this quilt was just so cute. It's such a great way to use a package of 10in squares. And if you have a fabric that you don't necessarily want to cut up real small, this is a great option for that. But I just love all of these beautiful brights, and I am super grateful to our friends at White Al Textiles for letting me share this pattern with you. So, to make this quilt, you just need one package of 10in squares. I am using the White Alowl Fundamentals Sheer Bliss. All of these beautiful kind of pastels with a punch, I like to think of it. Then for your background, I'm also using a print from their fundamentals collection. This one is called Peppercorn Hush. And you're going to need 2 and 1 eigh yard. For your binding, you are going to need a half yard. And for your backing, you need 3 and 7/8 yards. So, let me show you how easy this is to make. All right. So, this is the block we're working on today. Just super simple. And so, the first thing you're going to want to do is pick two contrasting 10in squares, which I've done here. I've got this kind of fun mint green and pink. You just want to have lots of contrast like you see on the quilt behind me. And then for your background strips, you're going to cut those by the width of fabric. And you'll need some that are cut at 1 in and some that are cut at 1 and 1/2 in. And as a reminder, this pattern is free from our friends at Whiteall. So you can go ahead and download that and follow along. And so then now we're going to stack up our two 10in squares so that they are all aligned. And then the first thing I'm going to do is just trim off a half inch from one side. Here we go. And then I'm going to rotate this so that the 10-in side is running, you know, horizontally in front of me. And so now we're going to cut this at 2 and 1/4 in. So we're just going to come in a quarter inch since this ruler is 2 and 1/2 and we want it to be two and a quarter. So there's my first cut. And then follow along here. And whoops, started to shift on me there. One final cut. So each of these strips should measure 2 and 1/4 by 9 and 1/2. So that's what you're looking for. And so now these are actually going to give us enough pieces to make two opposite blocks. So, I can set these ones aside and we can put the little mint green in the middle here and we'll put it on the outside of that opposite block. And so, that's how it's intended. So, I'll just make one because the construction is exactly the same. So, the first thing we're going to do is we're going to take one of those inch and a half by 9 and 1/2 inch background strips. And that's going to go in the center of our two middle points. And then between each of those on each side, I should say, we'll place one of those onein strips and then finish it up with our print. And you can sew this together however you want. Start from the middle and work out or we can just work left to right. Um, and so we're just going to sew all of these together, one after the other, and then I will meet you back here when our whole block is done. So, just take your time, use a consistent quarter inch, and this block will be together in no time. All right, our block is now sewn together. We can just give this a press. So, I'm just gonna kind of roll this and let the seams go where they may for now. I can always adjust that from the back. Just want to make sure it's laying nice and flat from the top. And then I think I'll just go ahead and make these press towards the dark. Now that my top is laying nice and flat, the beauty of this though is none of these seams are going to intersect. So if you're not worried about which way these seams are going, it's not going to matter. You don't have to nest anything later. All right. So now we have a nice flat block. This should end up uh nine and a half inches square. But let's just talk about a couple things because there are a lot of seams across here. And so sometimes when you're sewing those straight seams, I know this happens to me, things can get wonky. So just make sure you're doing a scant quarter inch seam so that once you press it, you still keep that full quarter inch in your measurement. And the other thing that's also something you should keep in mind, so if I measure mine, since this is the way I stitched it, mine's actually only coming out to like 9 and a4, but I can come back and square this up. And so if I want to come over here, I can just shave off a tiny bit and I'll just square my blocks to 9 and a quarter. And that's probably just because I took a little bit too wide of seams. So, just keep in mind that all you're looking for at the end is a square block and we can get there from A to B. So, just, you know, watch that. Check that quarter inch and make sure you're keeping it nice and scant. And then, as far as the layout goes, you are just going to alternate these blocks back and forth. We have 1 2 3 4 five six across by 1 2 3 4 5 6 7 down. This finishes at 61 by 71. Here's that pretty purple backing. And I quilted it with a really soft purple thread as well. And this panto is called cakewalk. And one thing I did forget to mention is in between all of our blocks there is an inch and a half sashing strip. And then of course that runs between each of the rows as well. And then that actually is the only border on the outside of the quilt as well. So it just frames it up nicely and lets all of those fun blocks kind of have some space and movement. And I just think it turns out so cute. So, I hope you will give this candy bars quilt a try and I'll see you next time on At Home.

 Misty Doan
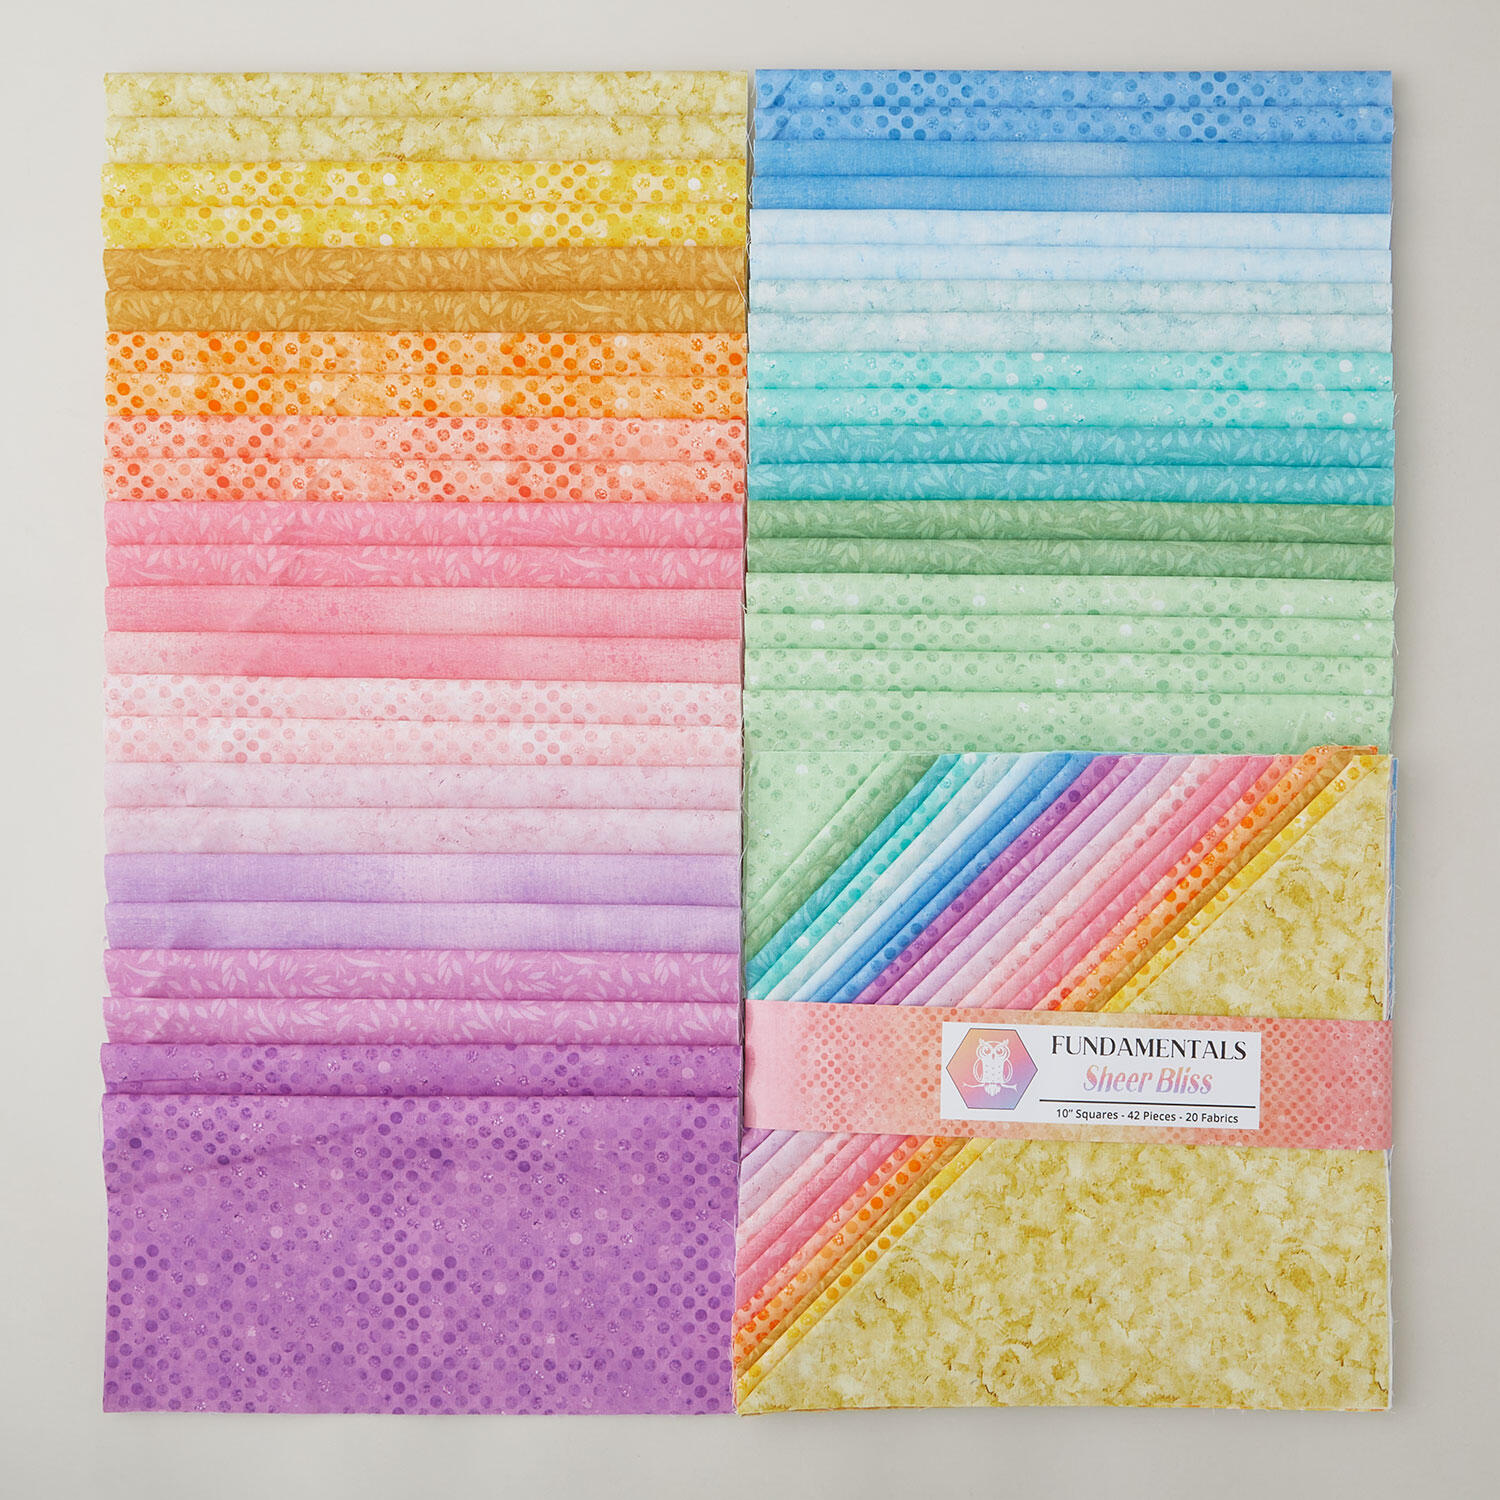 Fundamentals Sheer Bliss 10" Squares$47.65Shop →
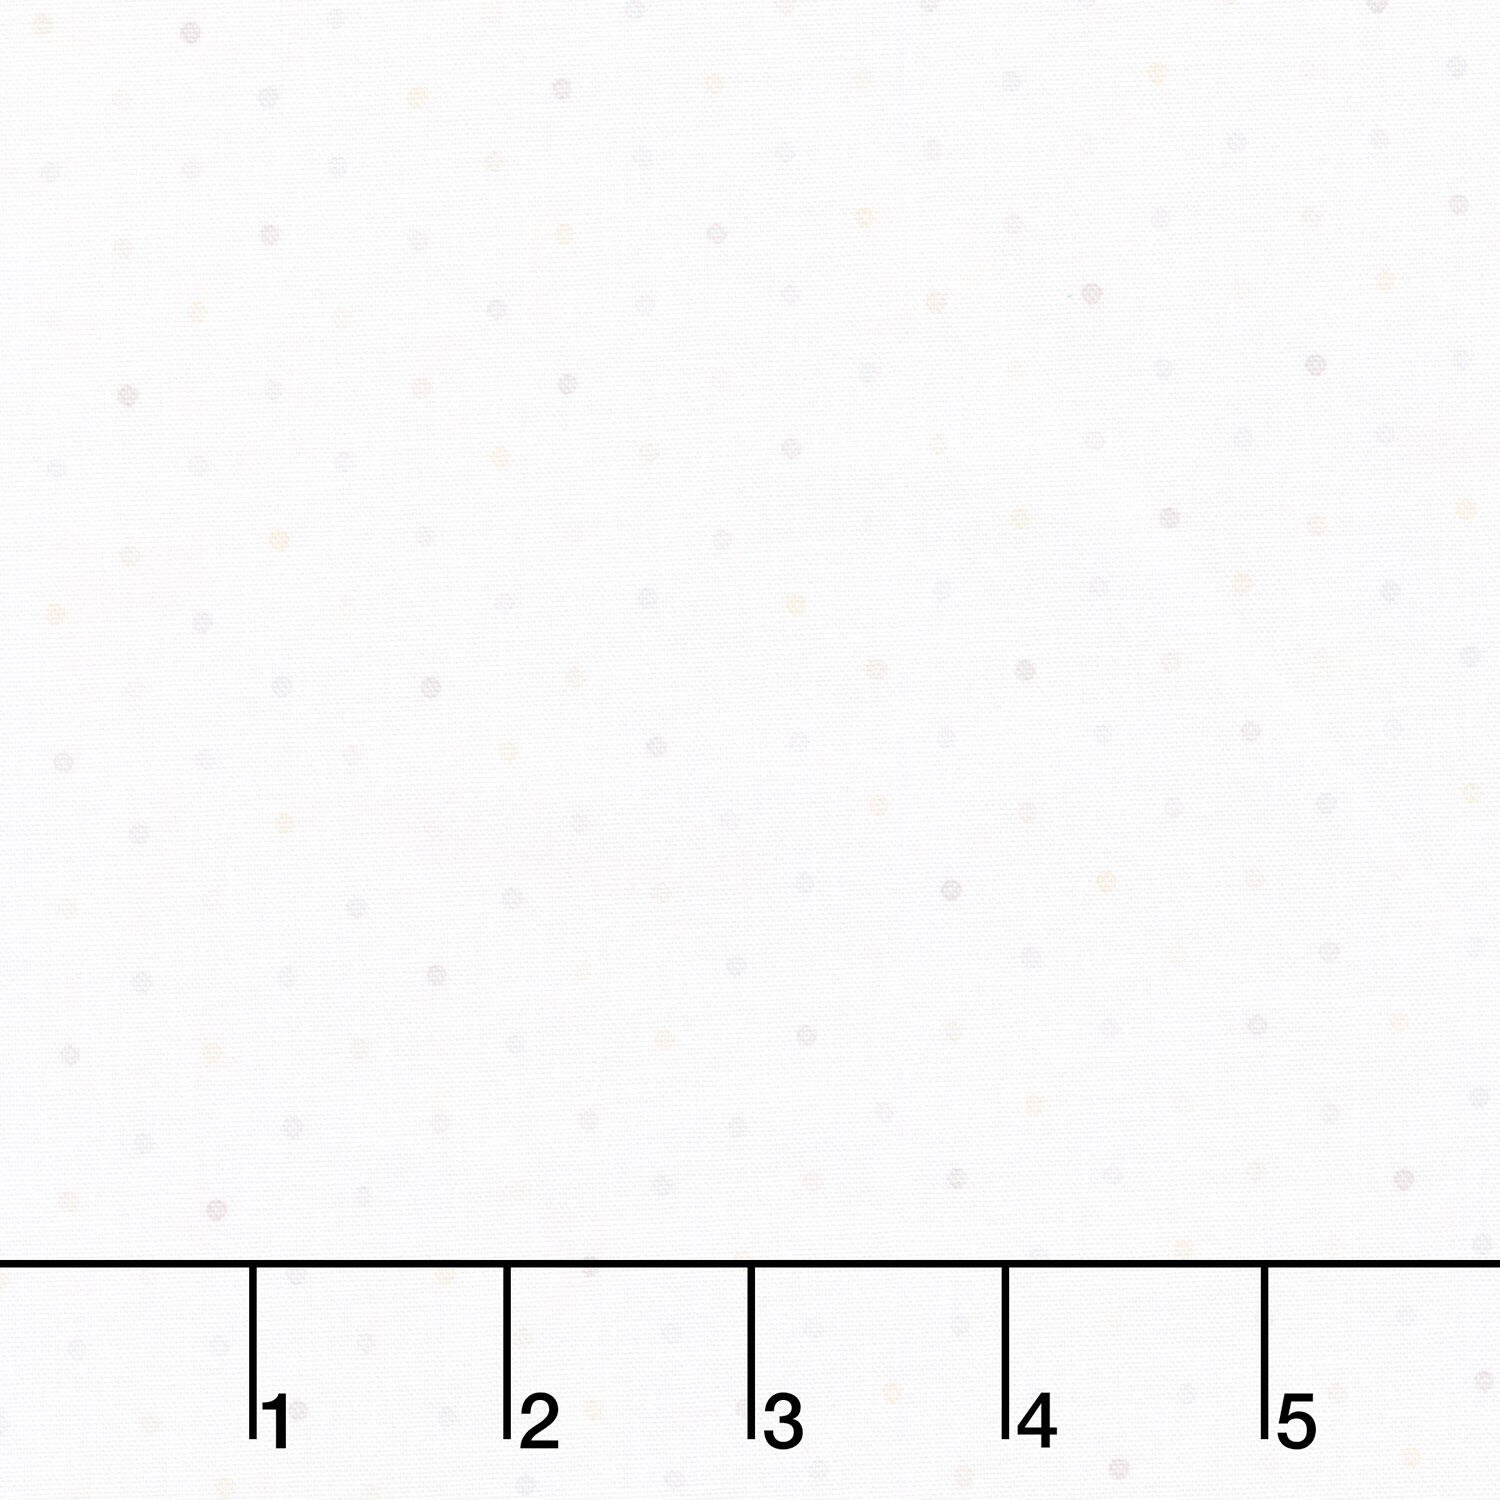 Fundamentals - Peppercorn Hush Yardage$11.52Shop →
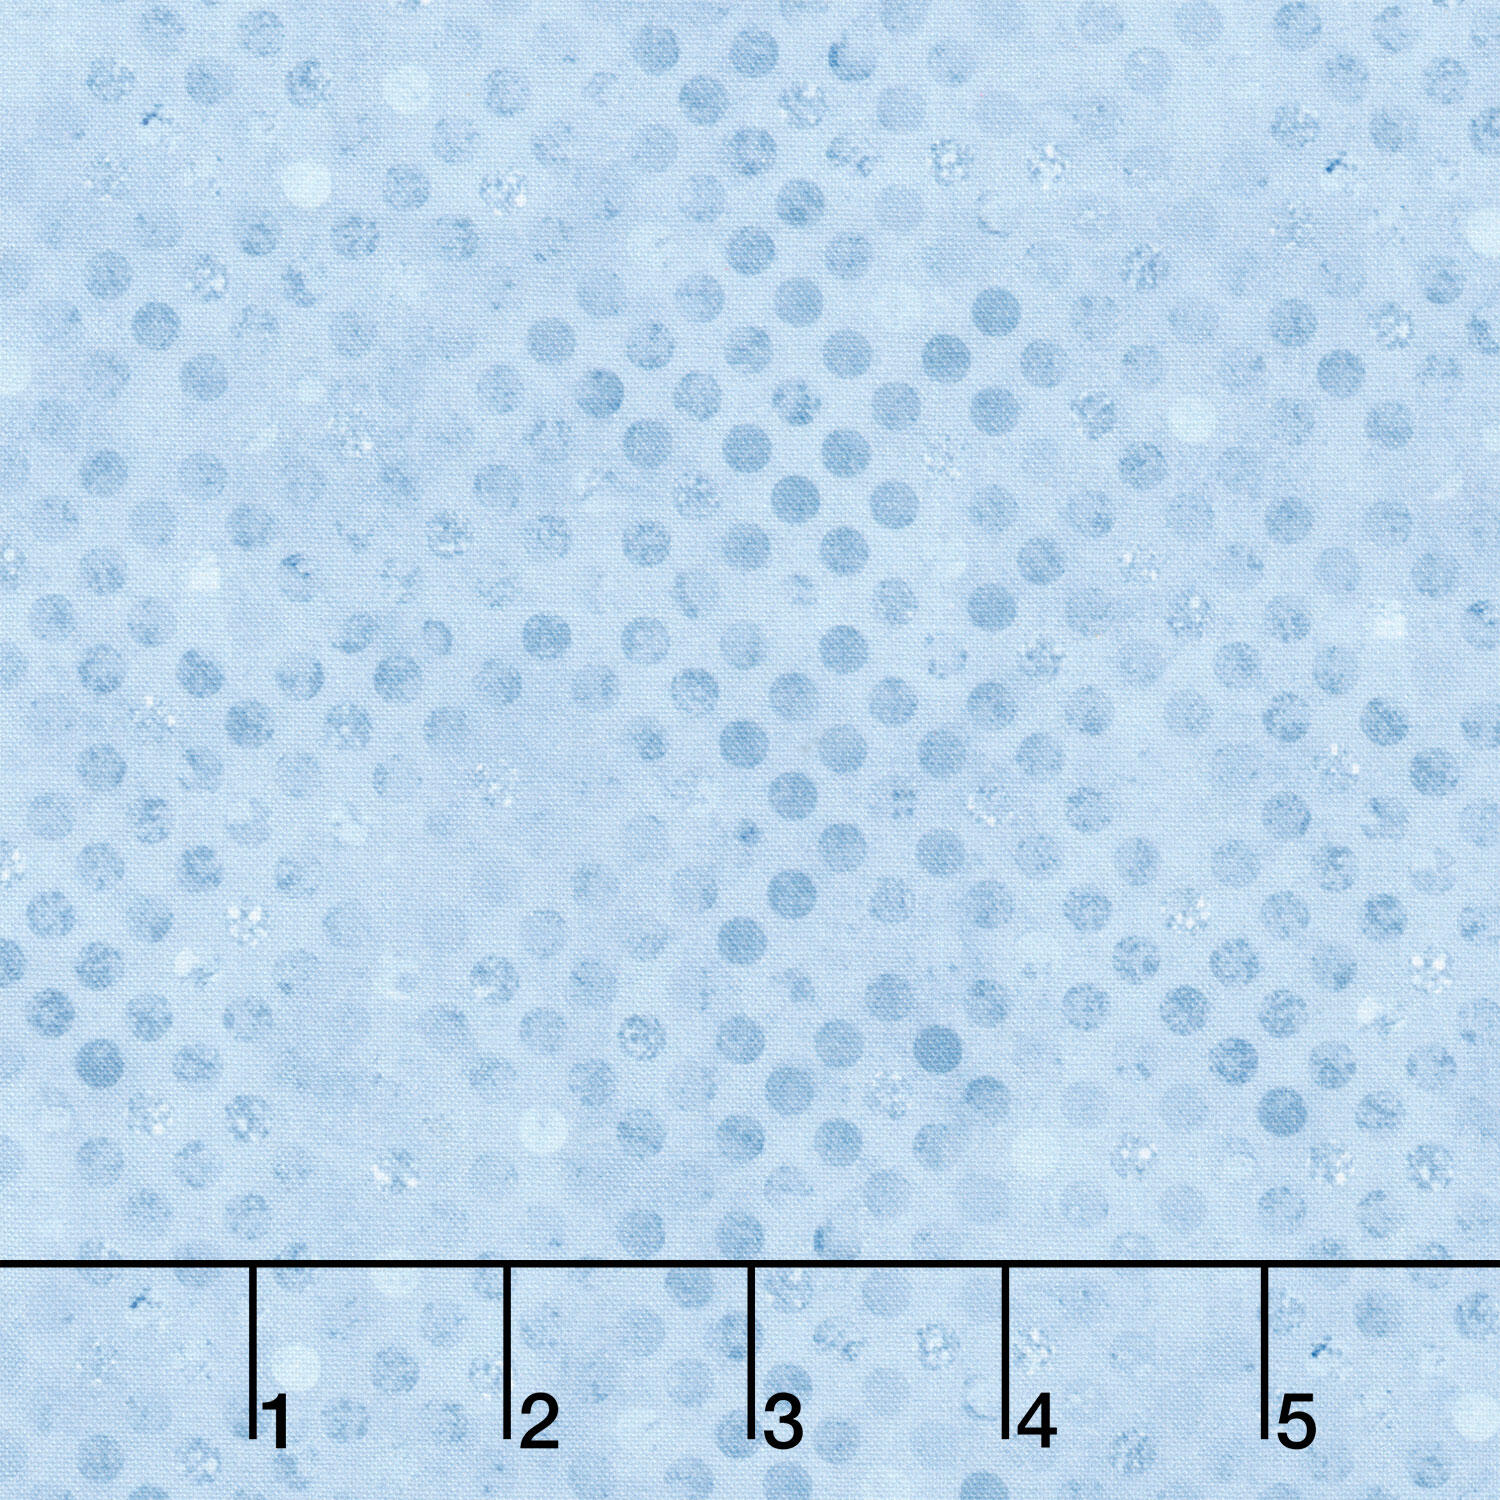 Fundamentals - Codici Chambray Yardage$11.48Shop →
 Fundamentals - Foliage Lavender Yardage$11.48Shop →
 Missouri Star Nature's Best 100% Cotton Twin Batting - Natural$29.95Shop →
 Missouri Star 2.5" x 8" Ruler$11.95Shop →
 Missouri Star 45mm Rotary Cutter - Olga$19.95Shop →
 Missouri Star 8" Everyday Scissors - Amelia$19.95Shop →
 Missouri Star 50 WT Cotton Thread White$7.95Shop →
 Missouri Star + Oliso TG1600 ProPlus Iron$209.95Shop →
 Bernette 77 Sewing and Quilting Machine$1699.00Shop →



