Skip to content

Free quilting video tutorials from Missouri Star

Quilting Tutorials
Checkers Baby Blanket with Sara Delaney

Checkers Baby Blanket with Sara Delaney

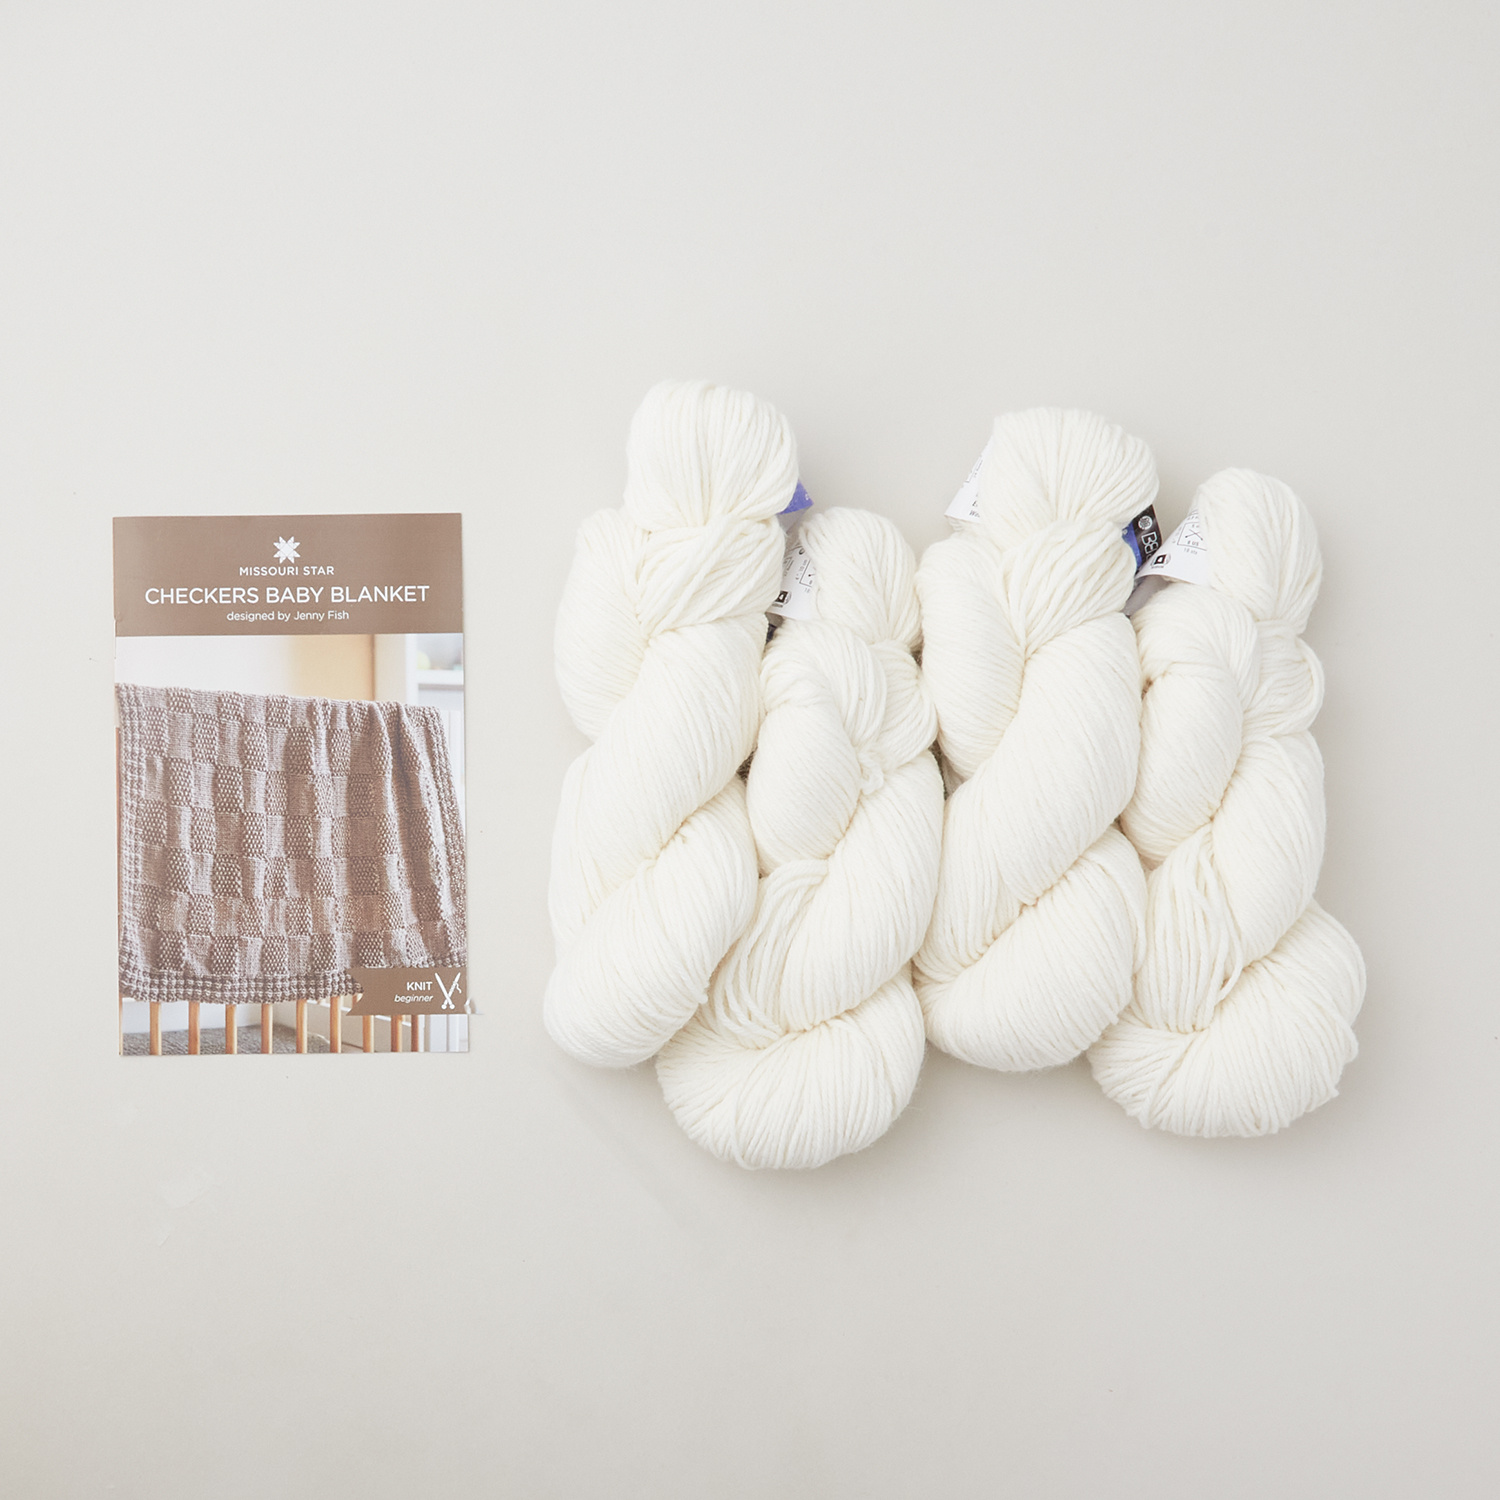
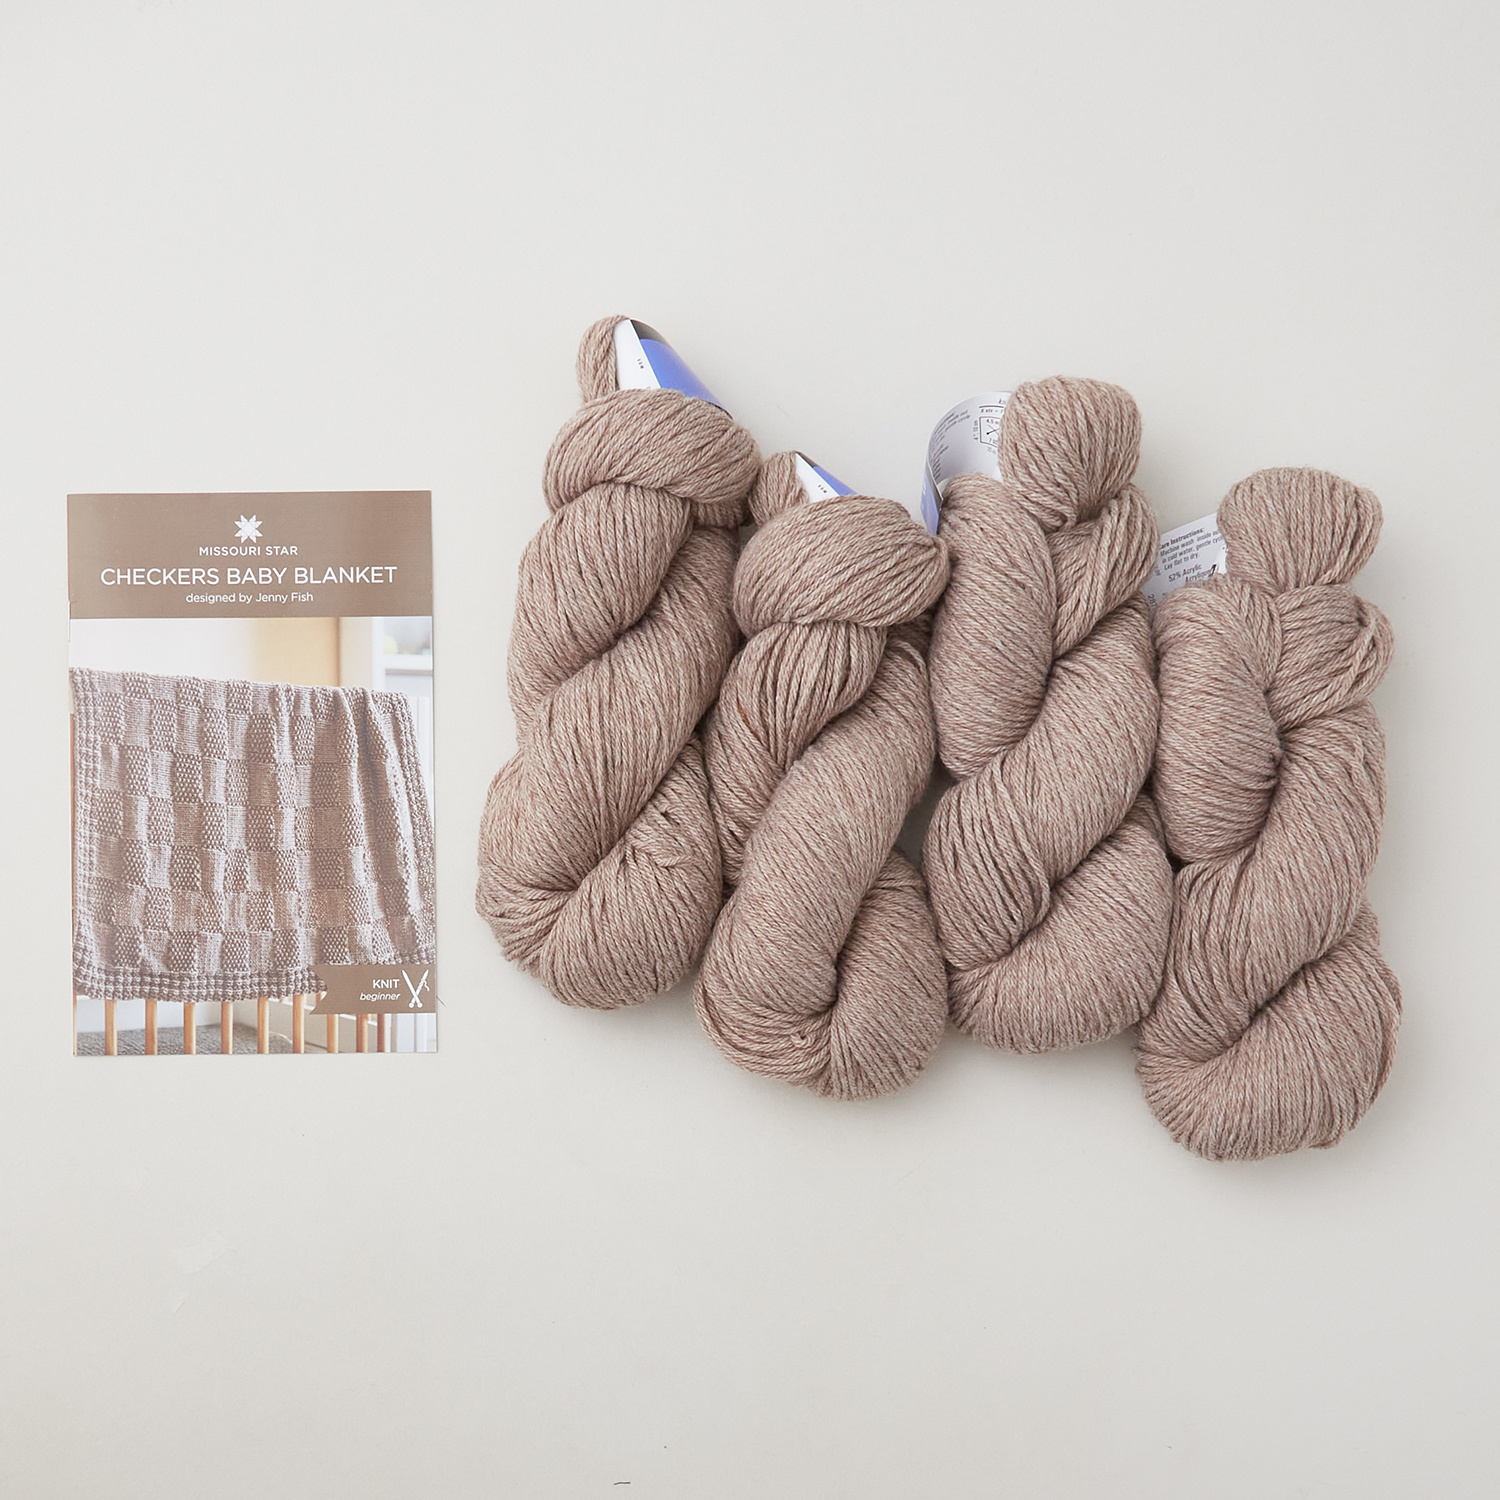
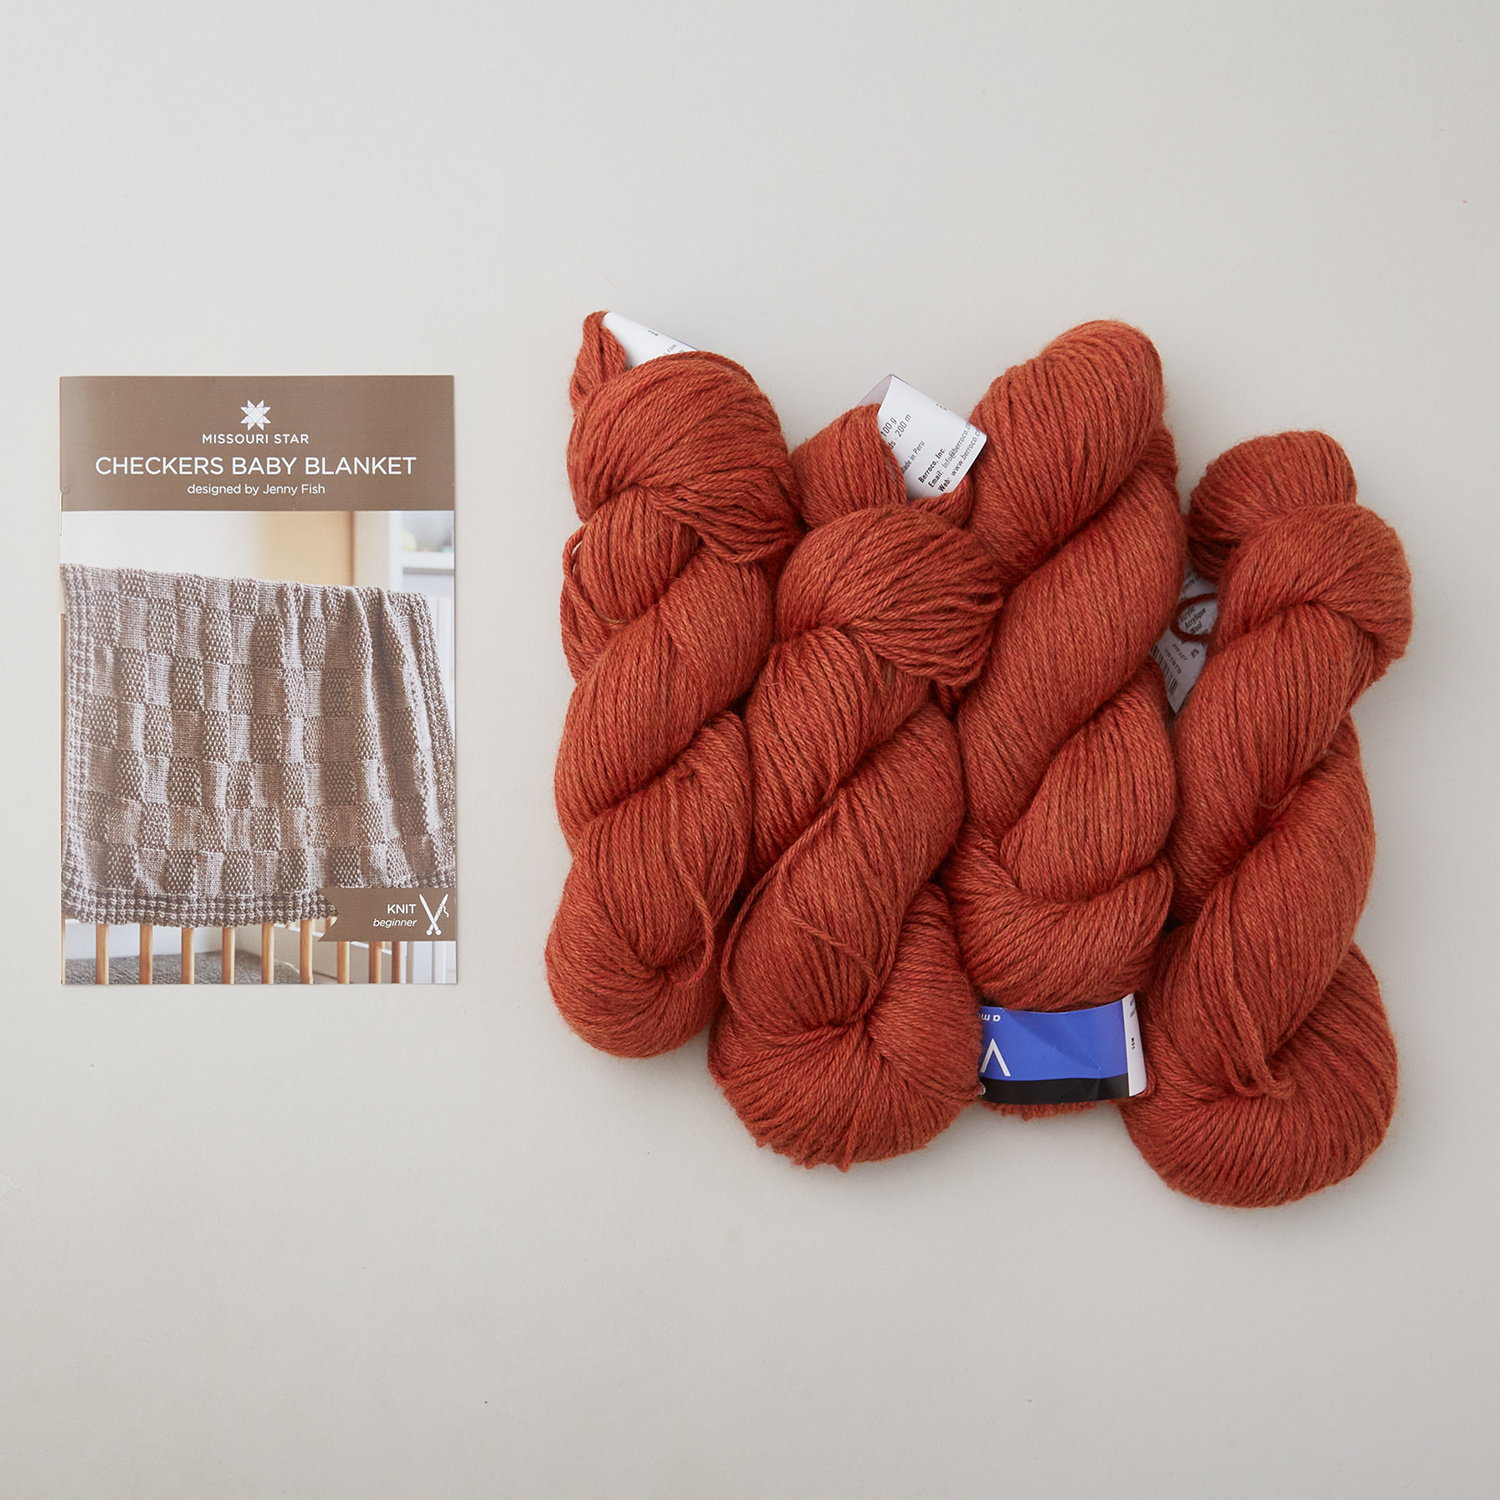
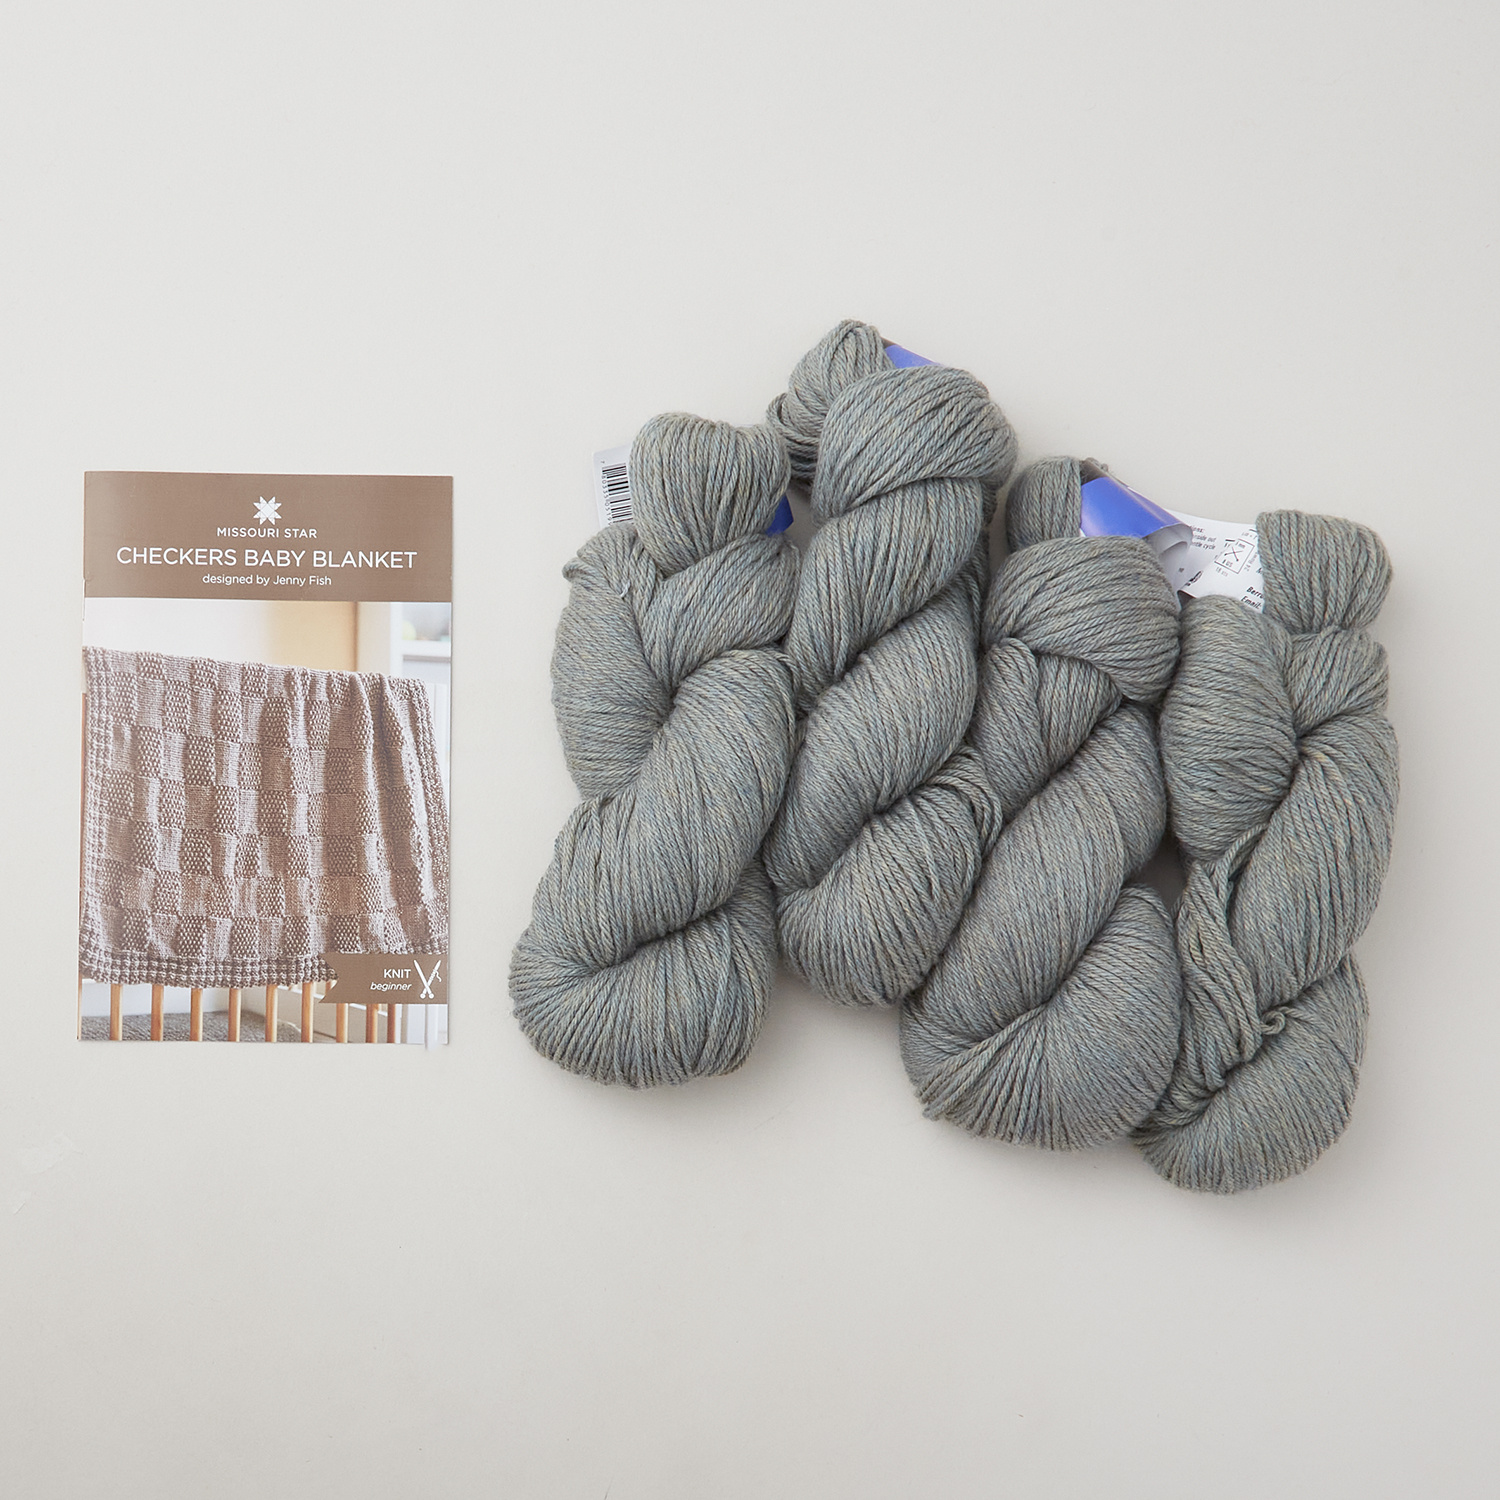
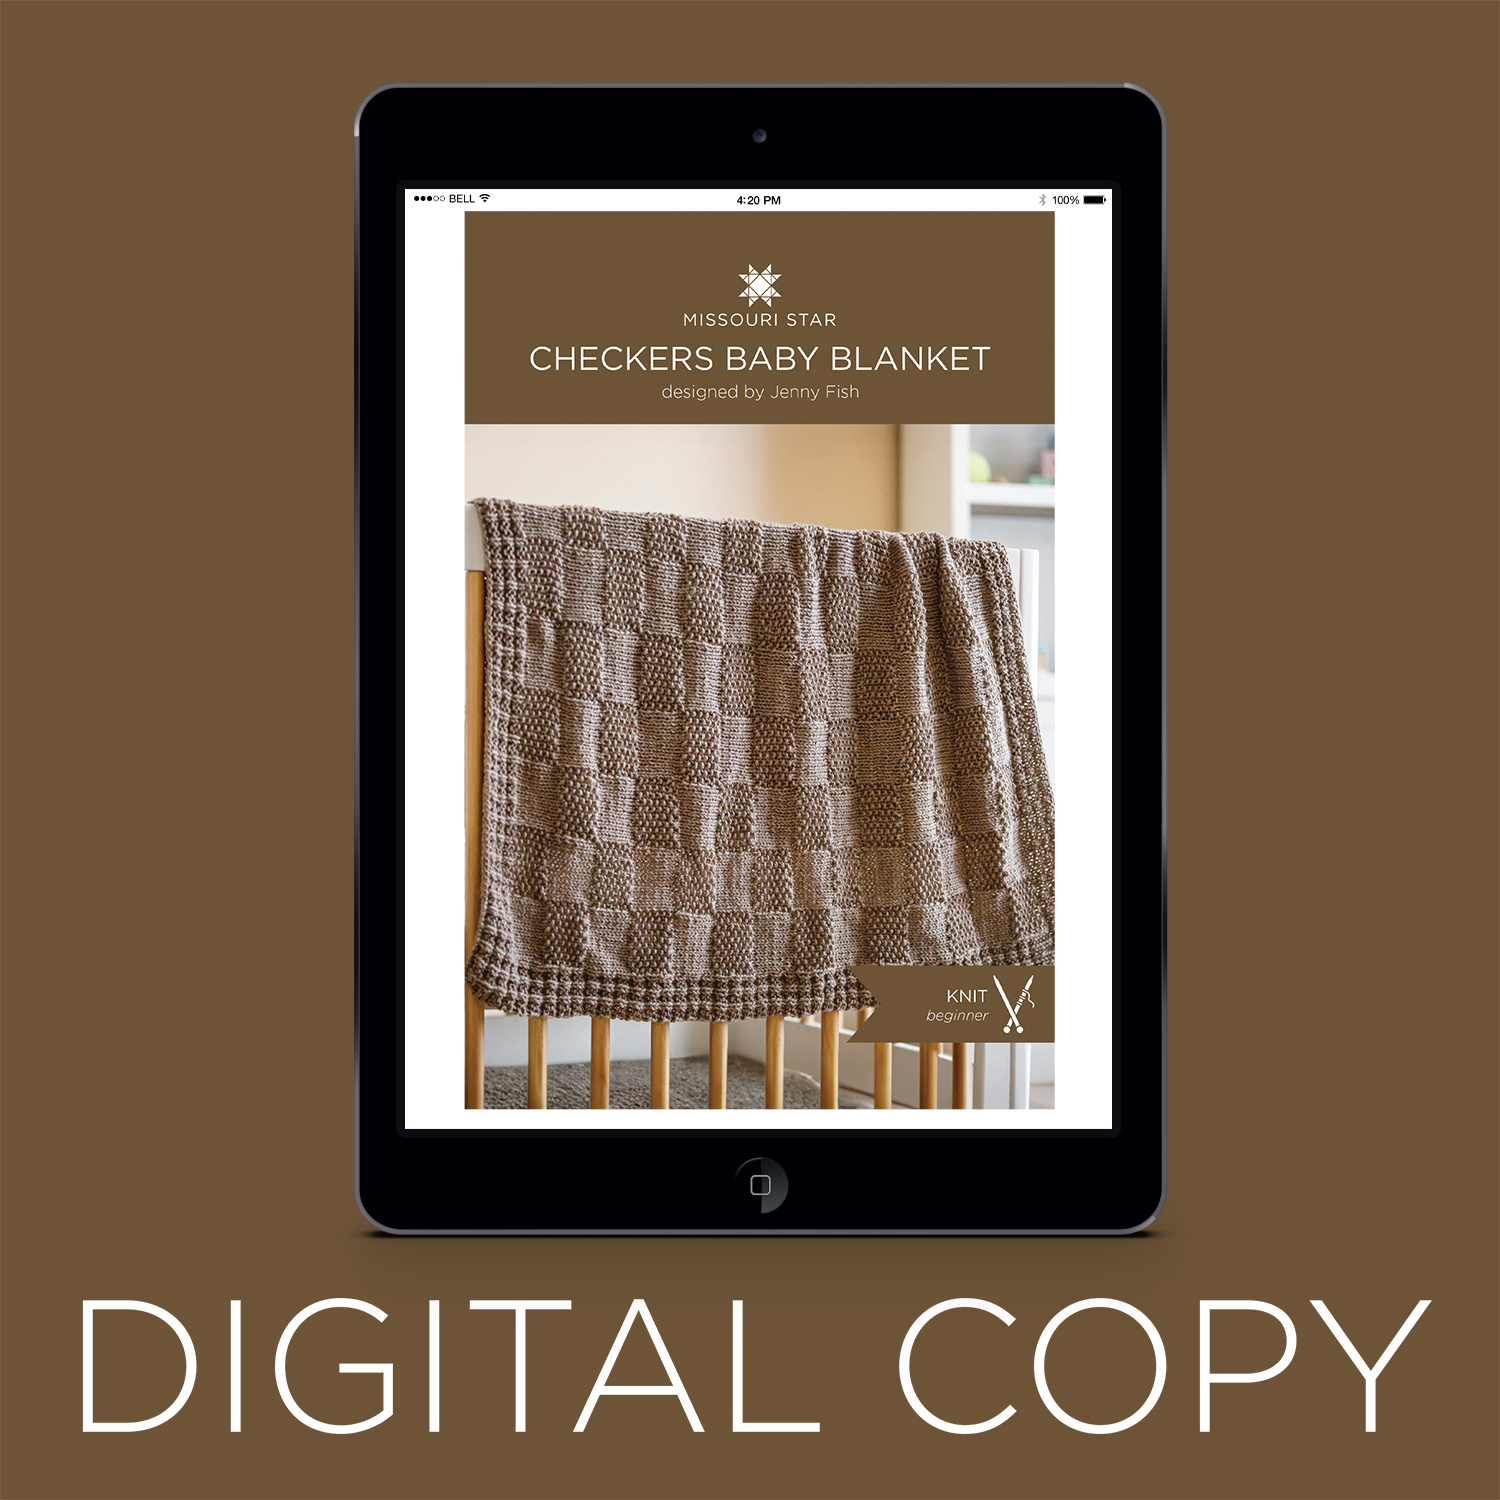
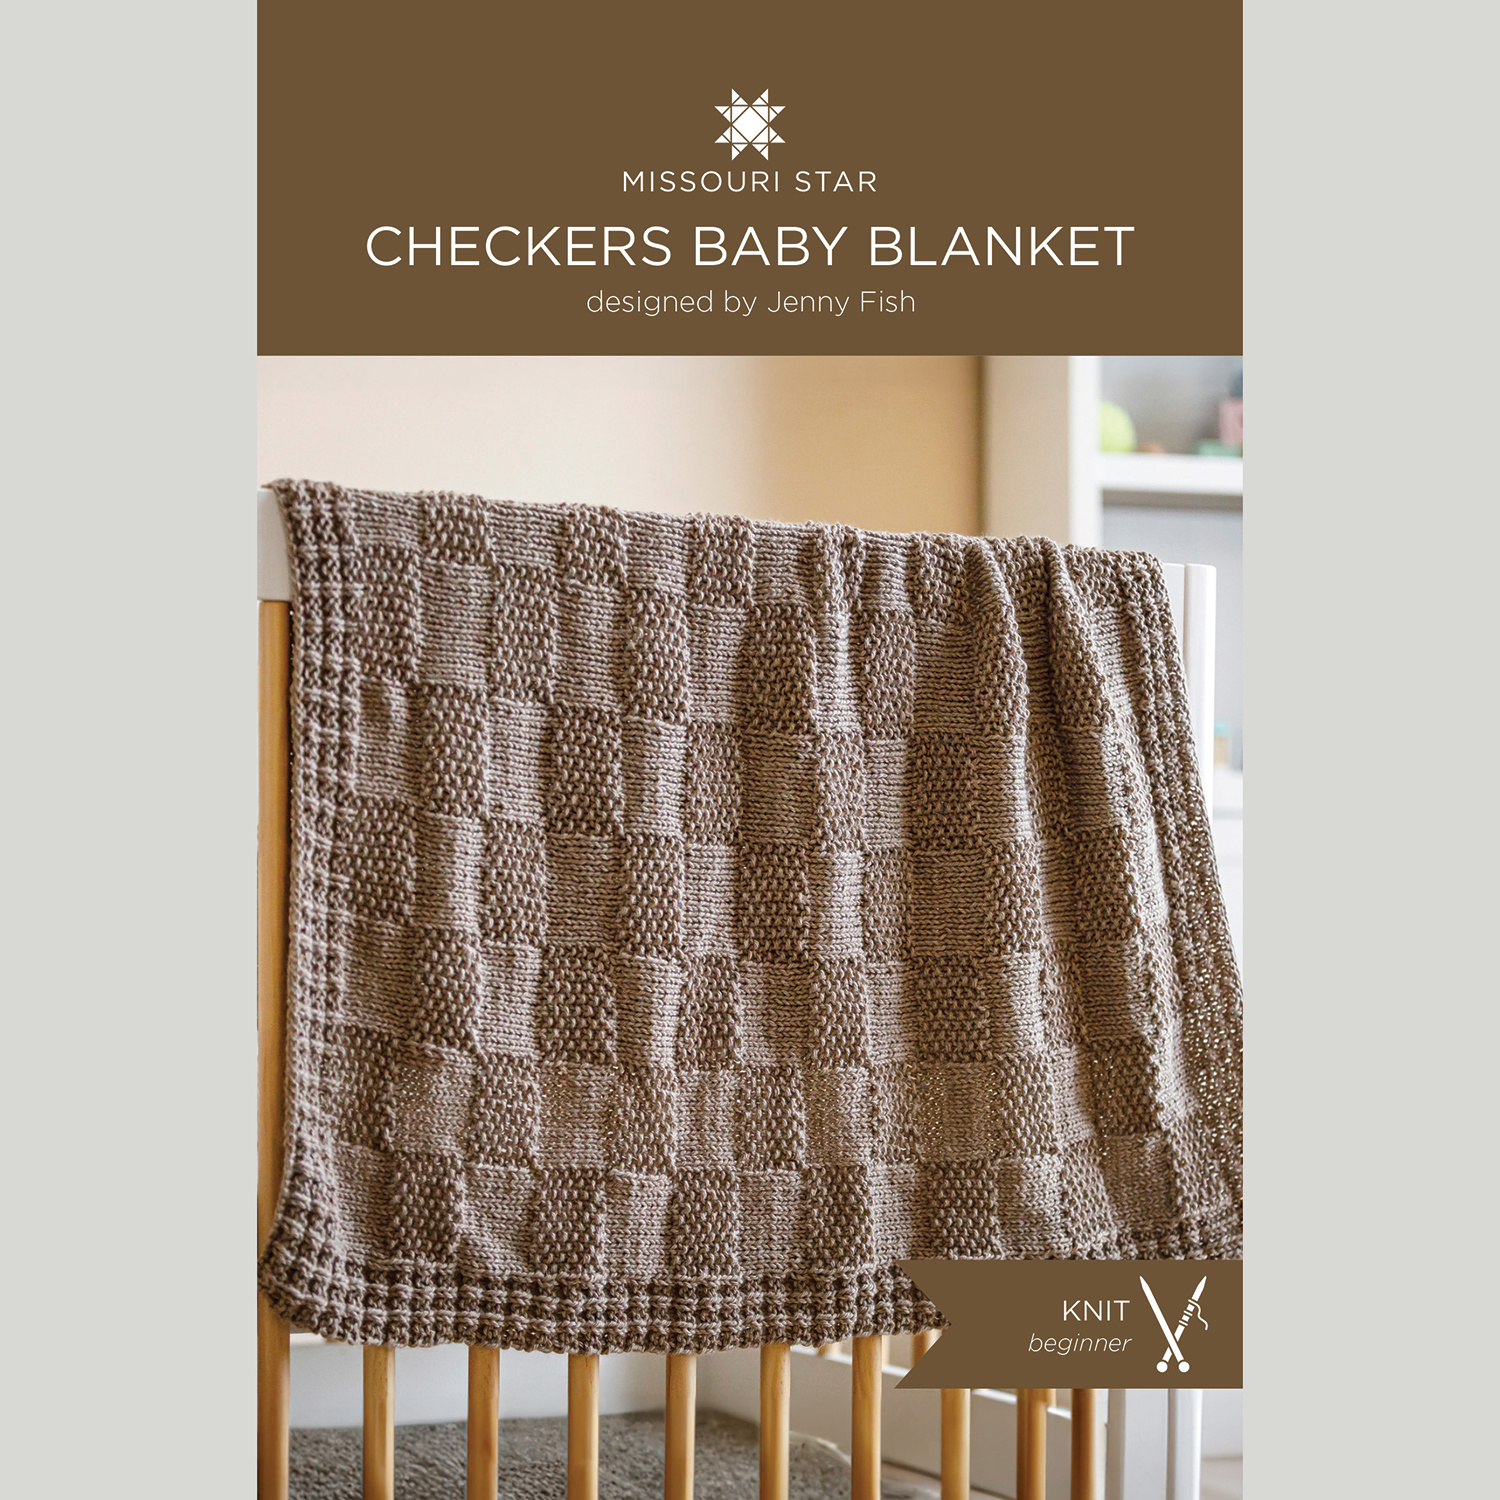
Check out this baby blanket! The knitted Checkers Baby Blanket is sophisticated enough for any classic nursery theme, and it’s easy enough for a beginner! Sara Delaney shows you how to knit this snuggly blanket that can migrate into a lap blanket as your little one grows!

Instructor

Sara Delaney

Driven by a constant urge to craft, Sara Delaney spent her early years inundating her family and friends with whatever she could twist up with yarn, slap paint on, or put together with brads, school glue, and embroidery floss. Sara has been teaching crochet to the unhooked masses since 2006. After a decade at WEBS – America’s Yarn store she released 2 books, How to Crochet – a Storey Basics title and Design Your Own Crochet Projects. She is now running the show at One Big Happy Yarn Co where you will occasionally find her in front of the camera teaching technique-themed tutorials and Make-Alongs.

Common Questions

What is covered in Checkers Baby Blanket with Sara Delaney?

Check out this baby blanket! The knitted Checkers Baby Blanket is sophisticated enough for any classic nursery theme, and it’s easy enough for a beginner! Sara Delaney shows you how to knit this snuggly blanket that can migrate into a lap blanket as your little one grows!

How long is the tutorial video?

The tutorial video is 00:26:04.

Video Transcript

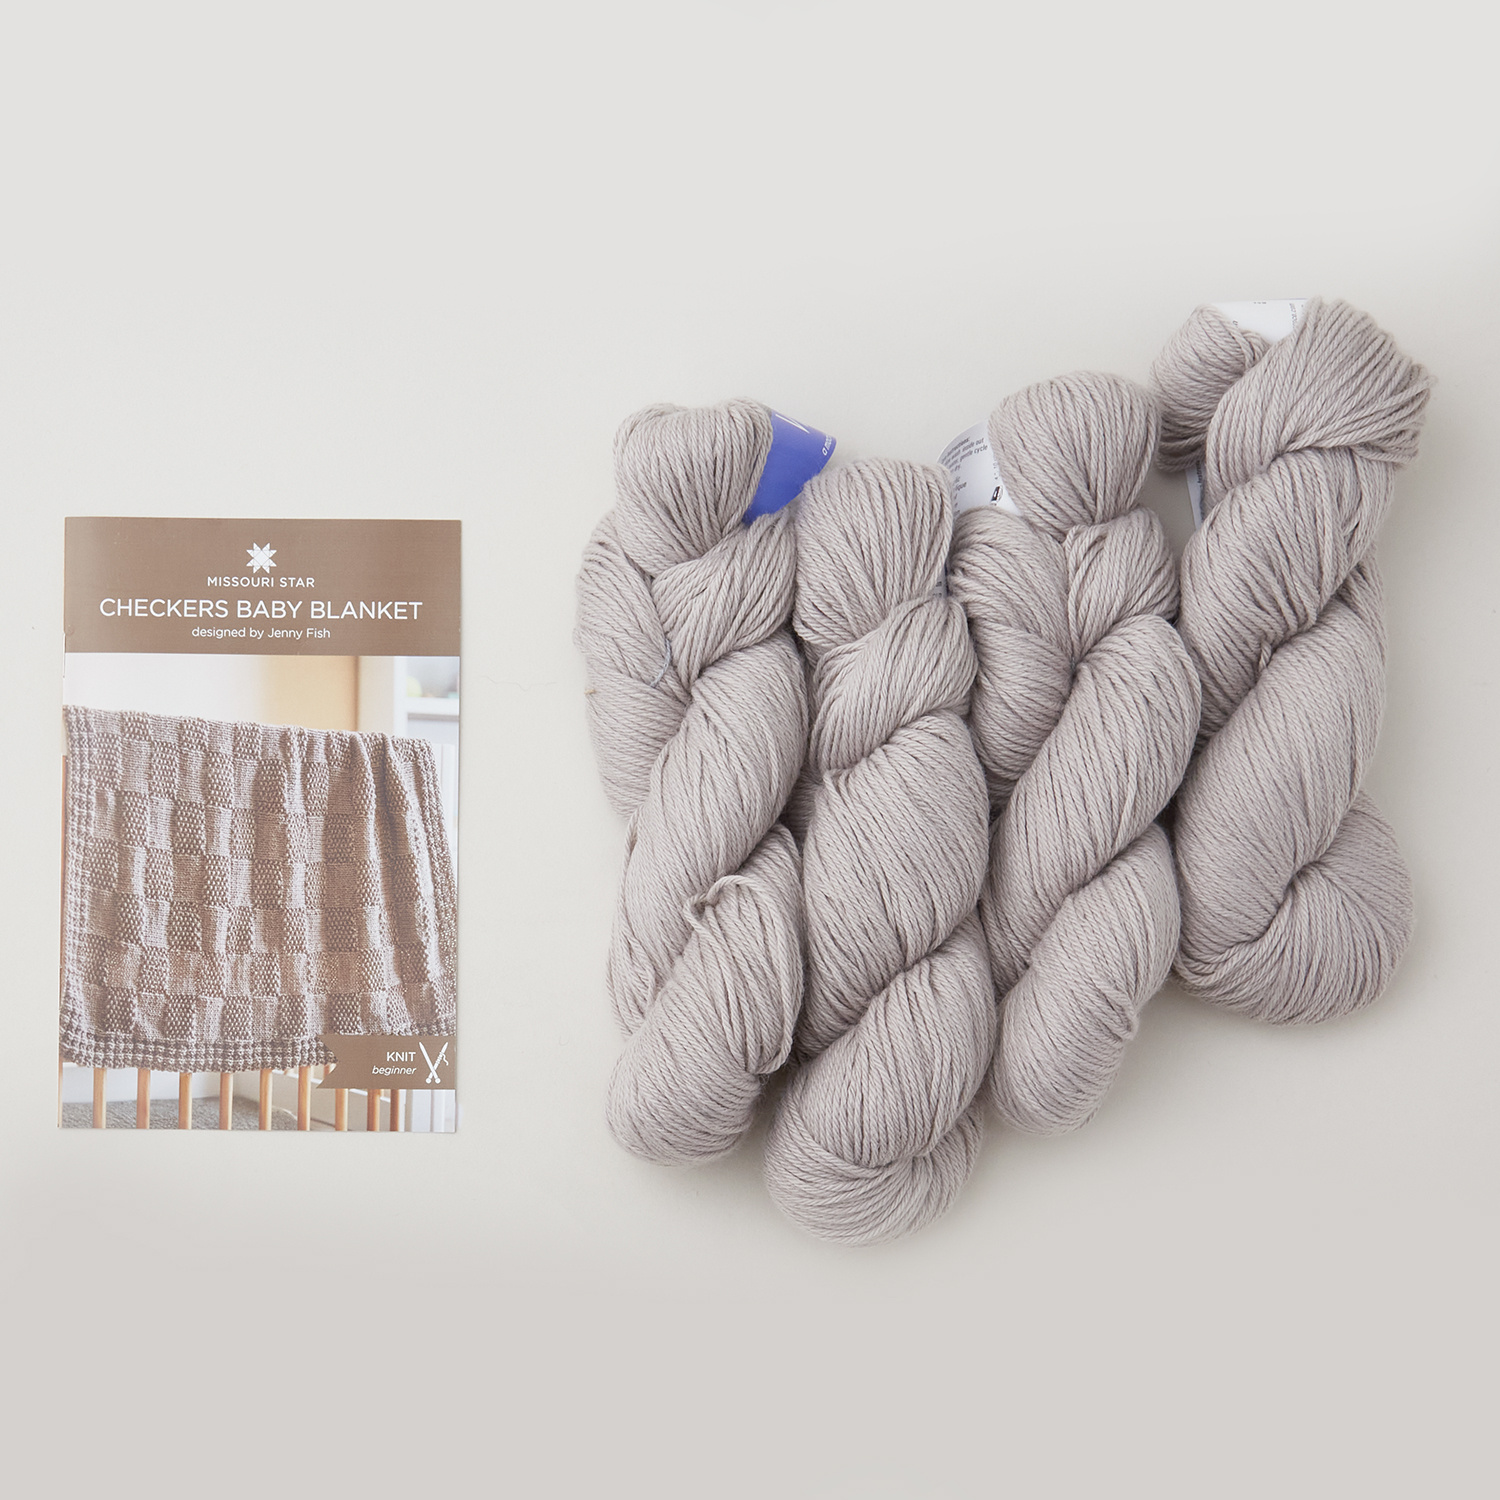
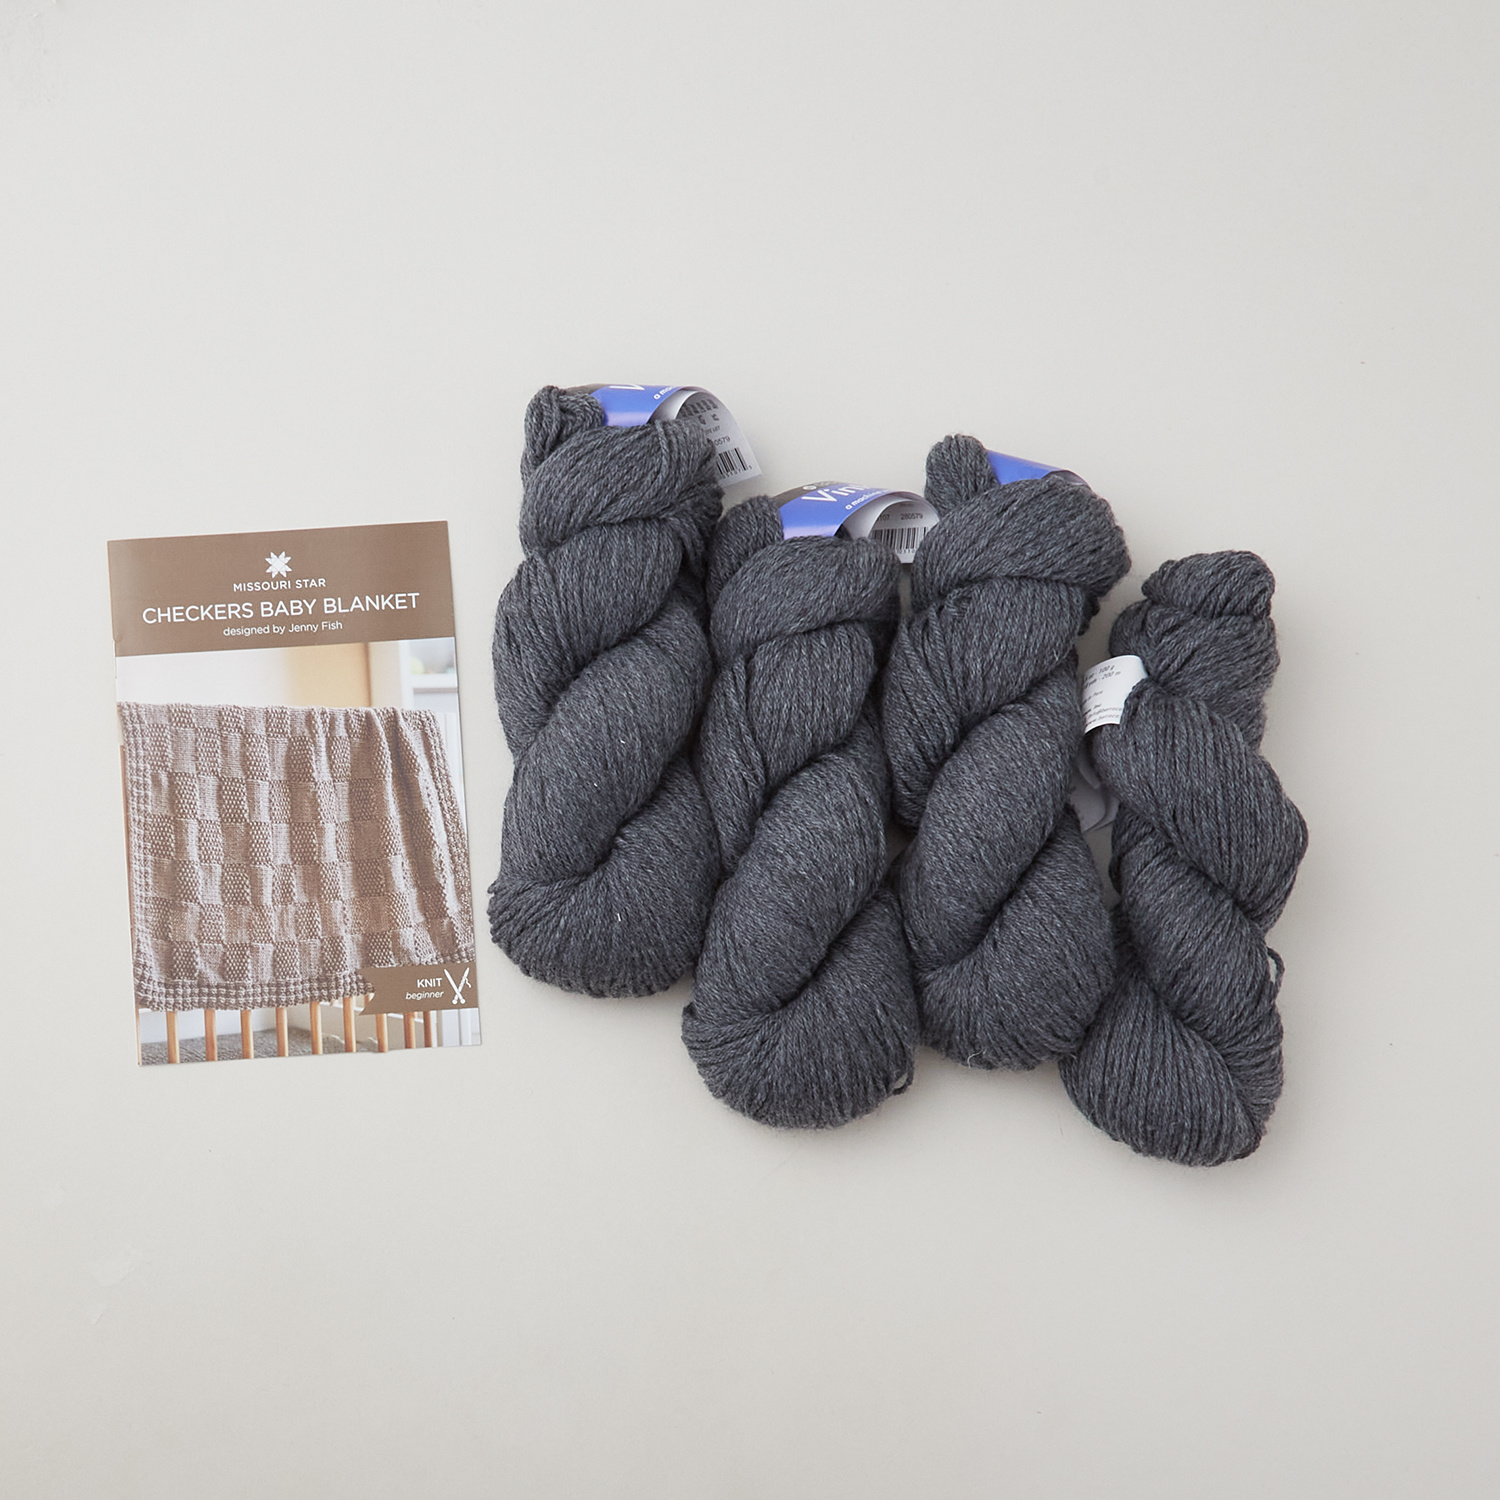
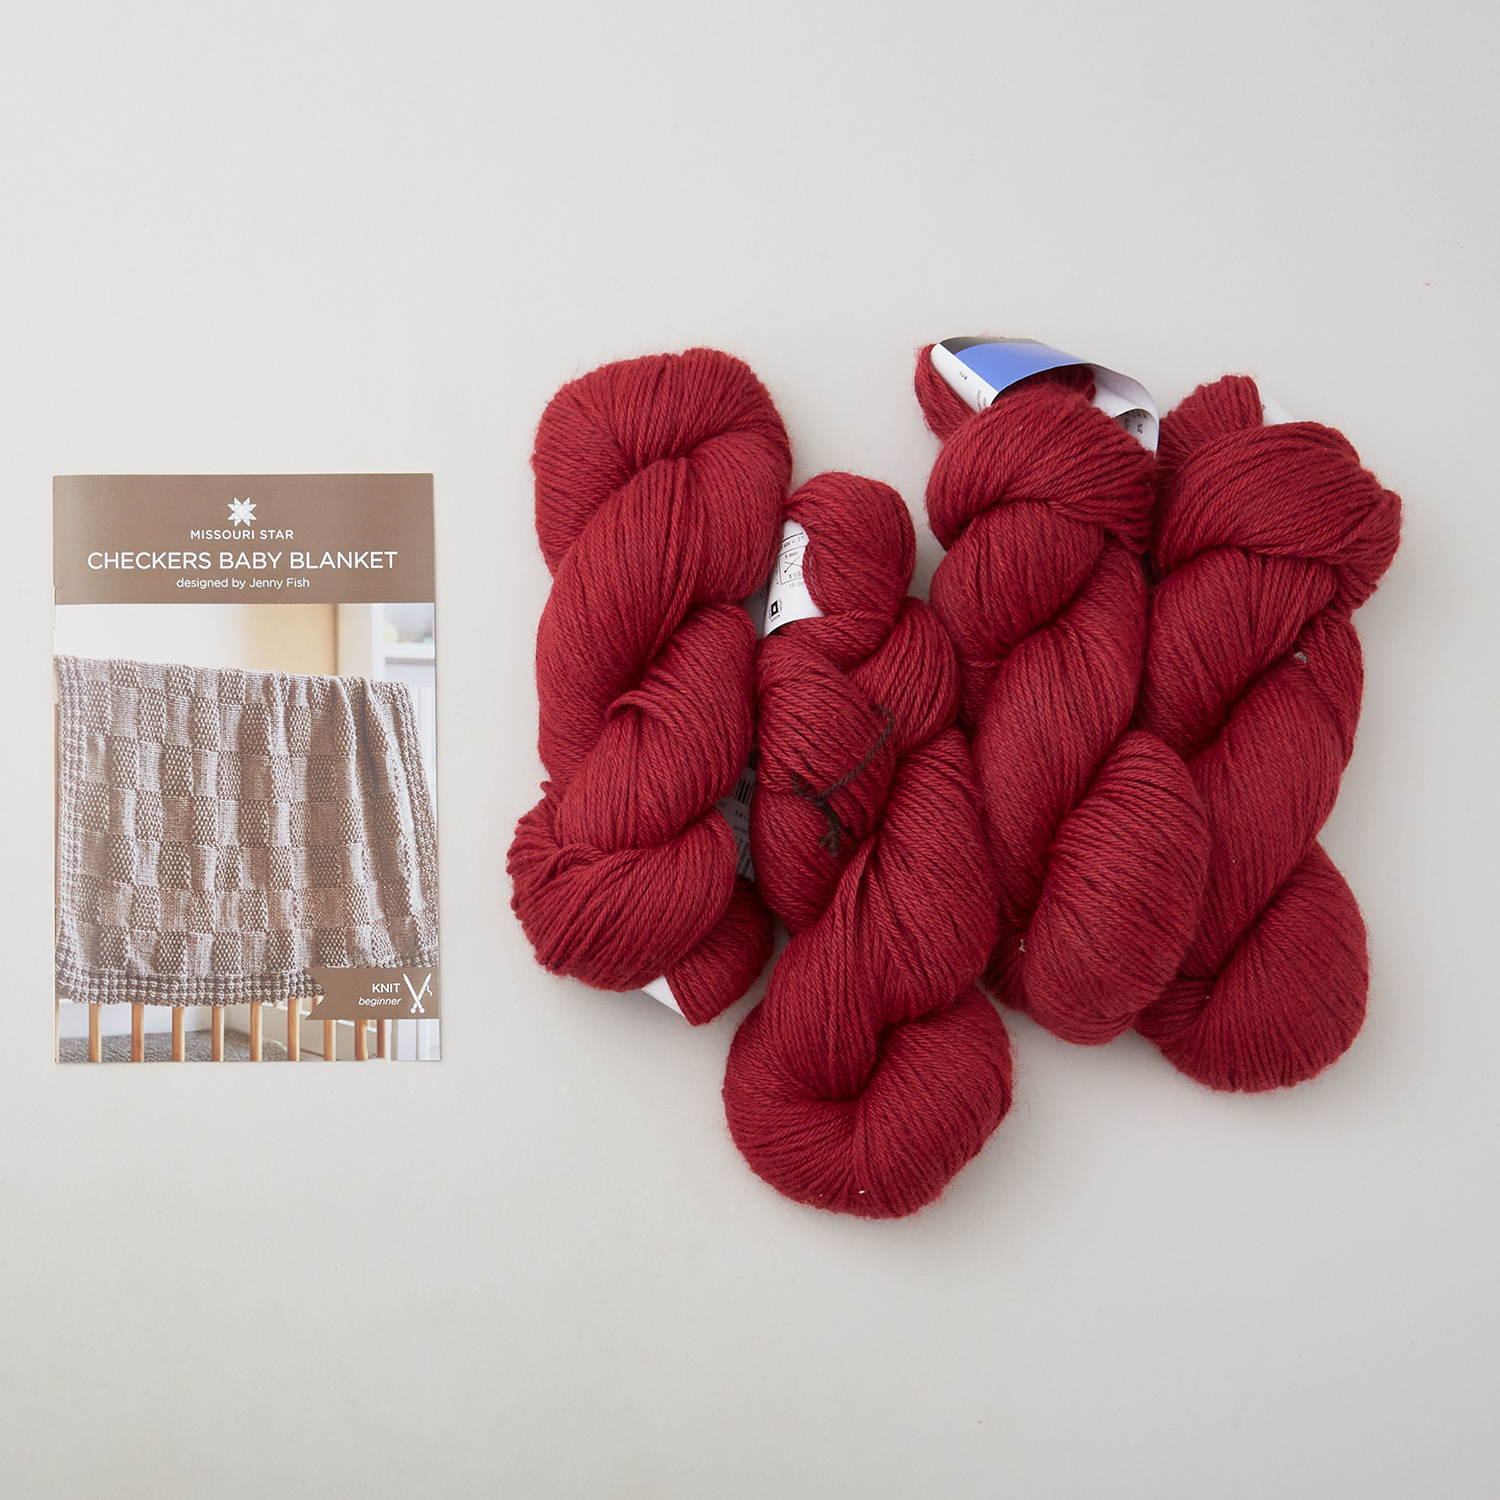
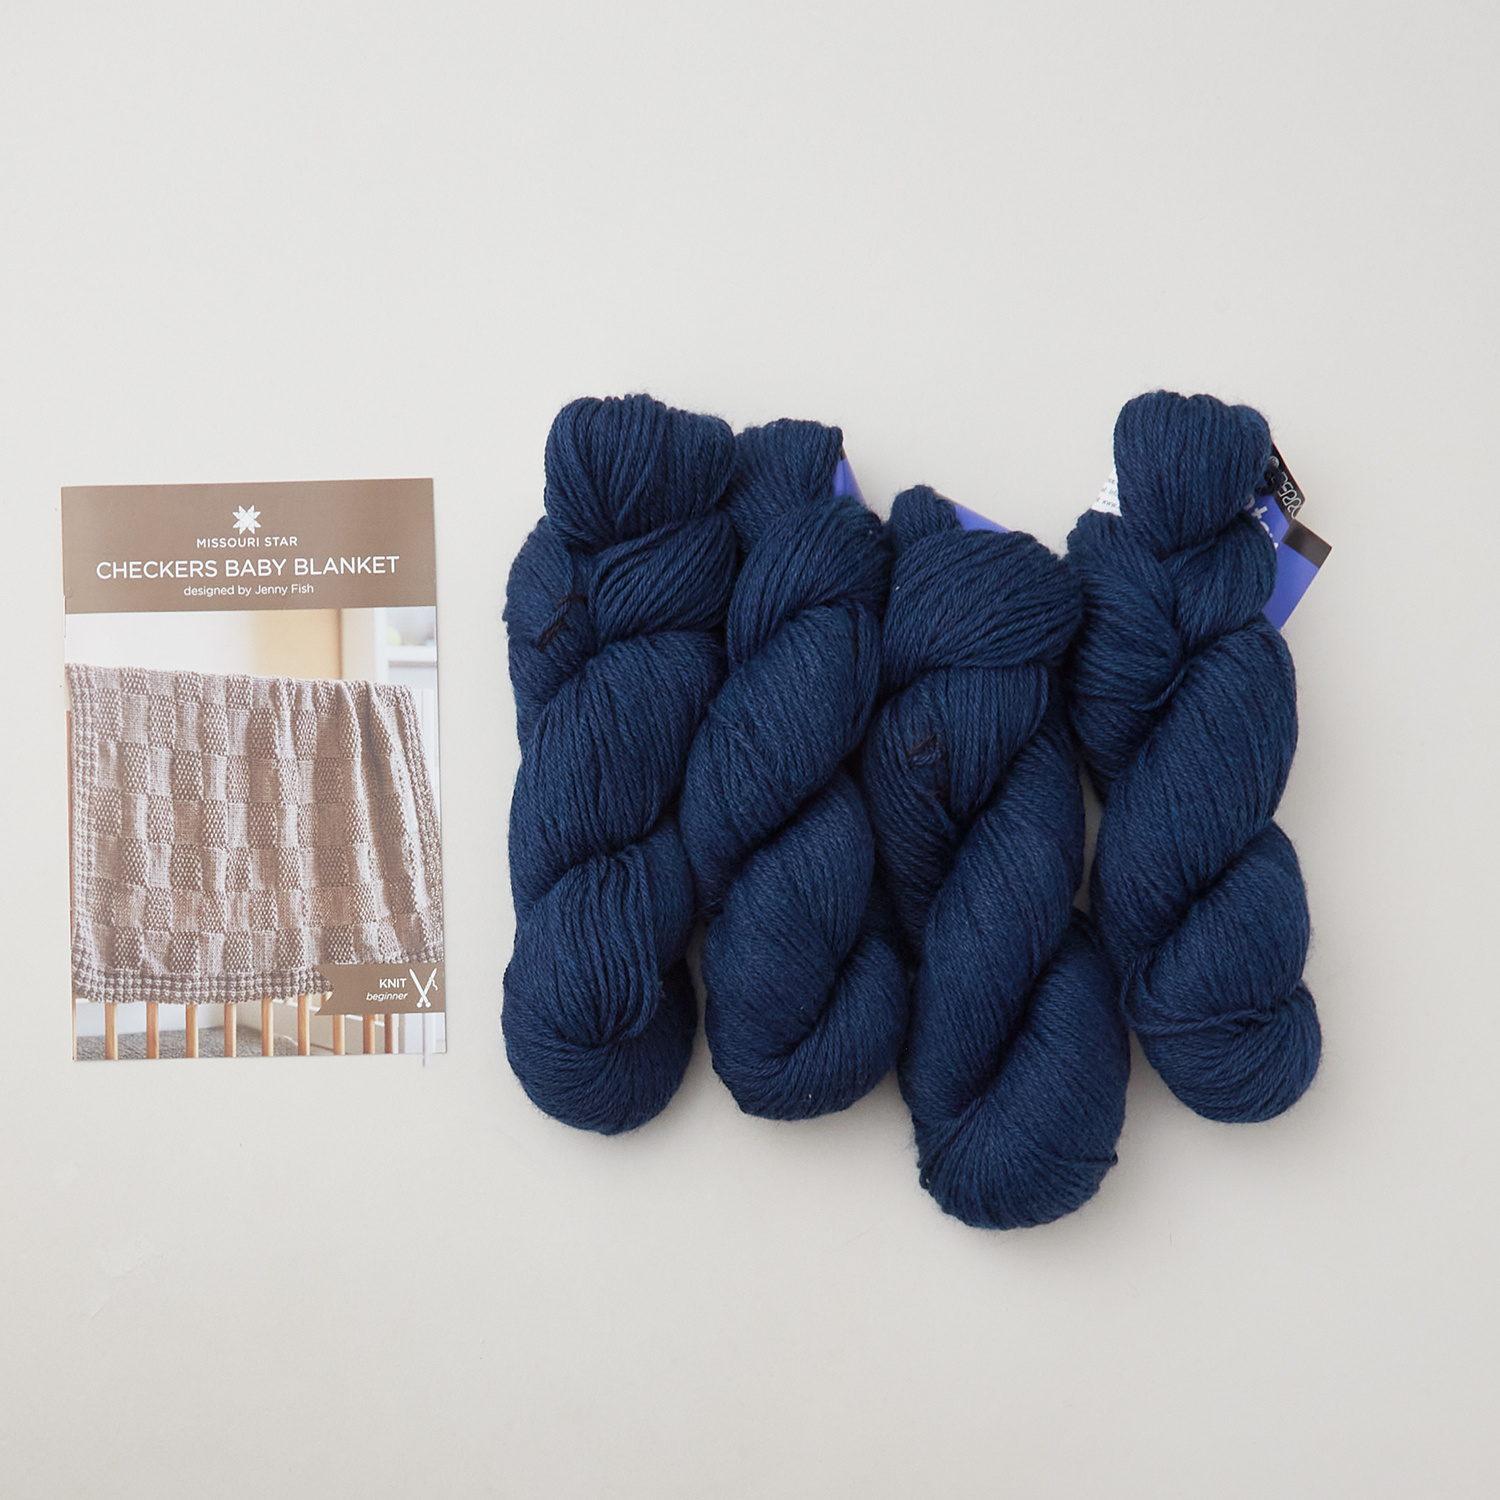
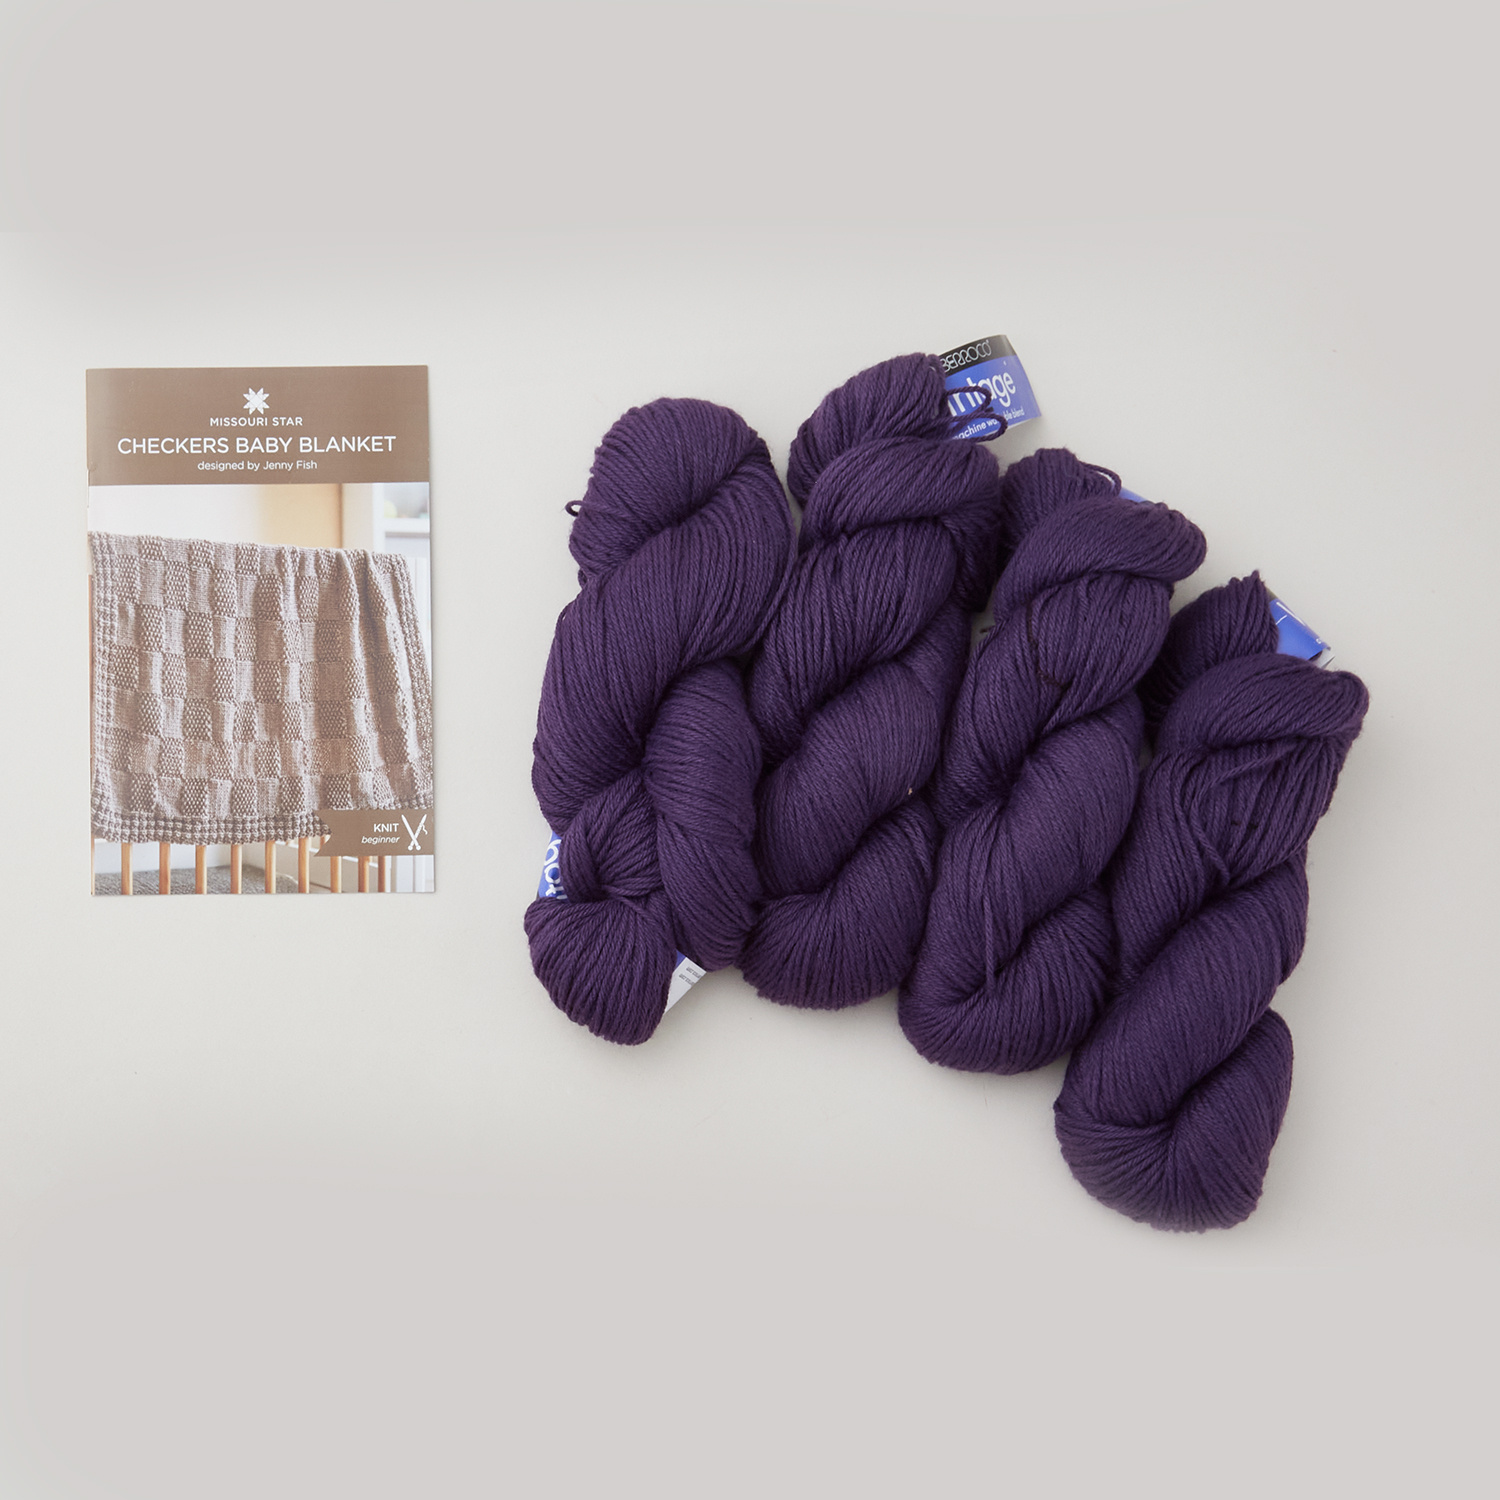
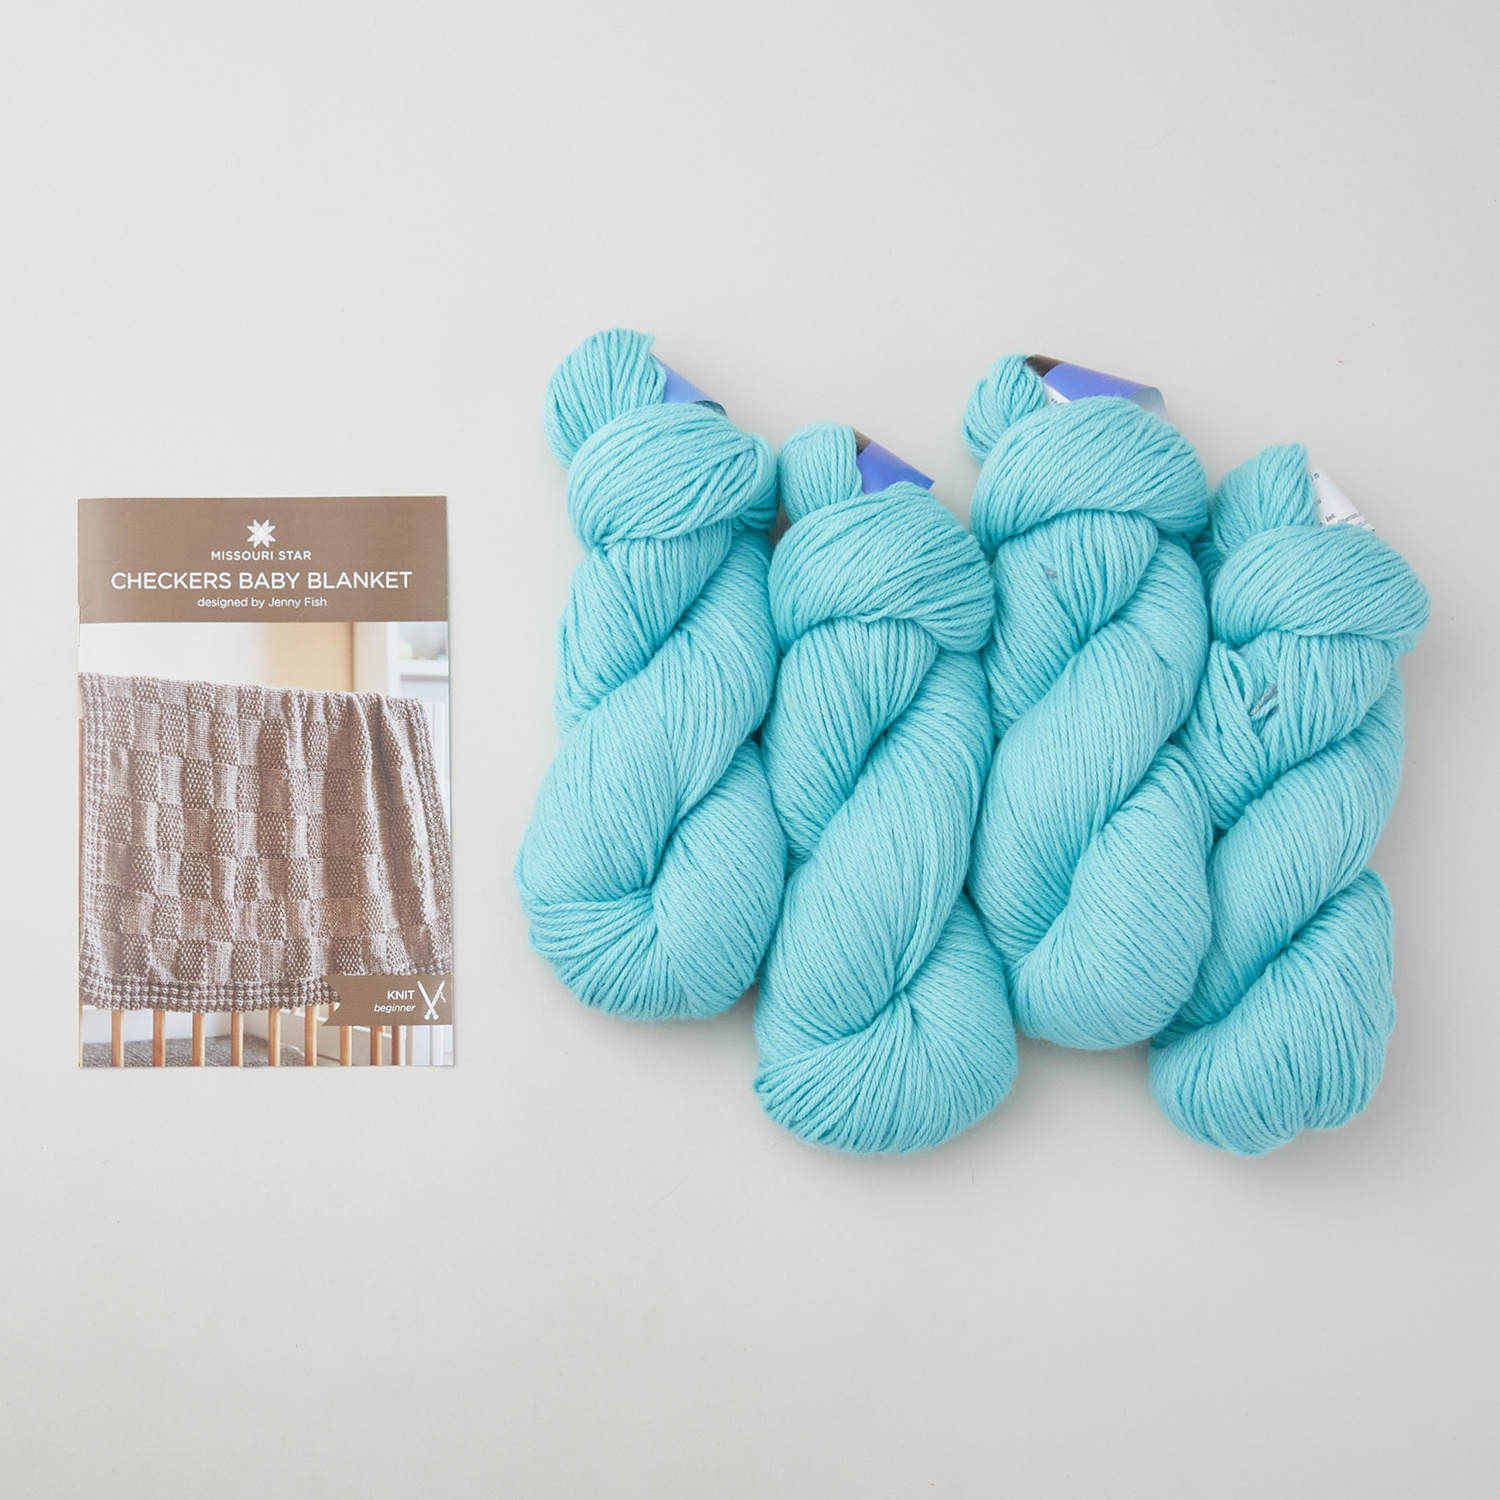
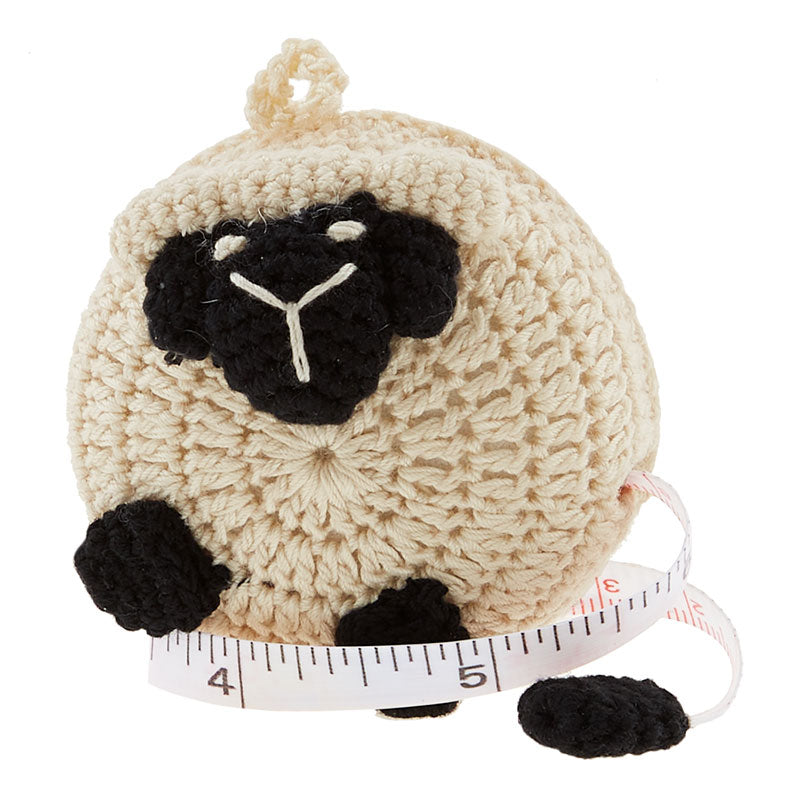
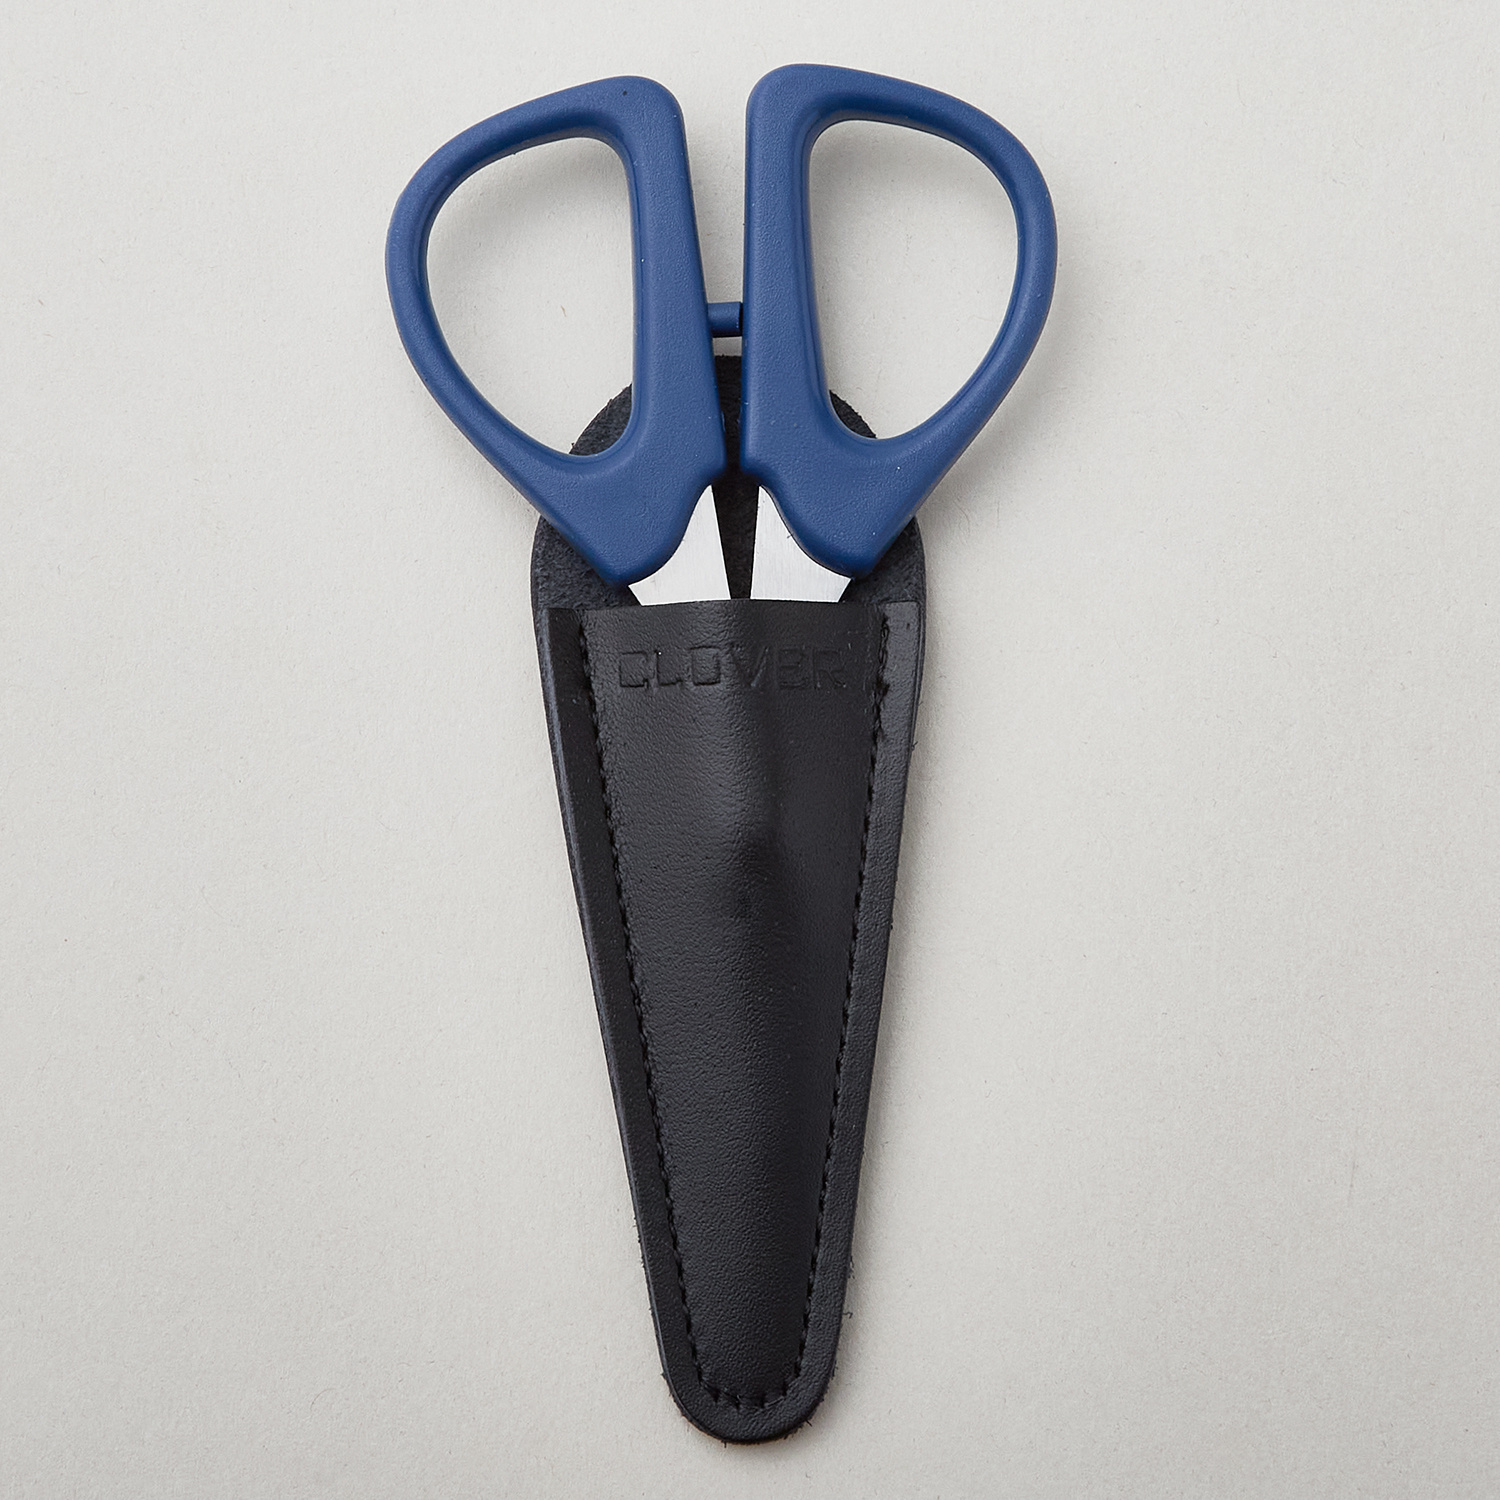
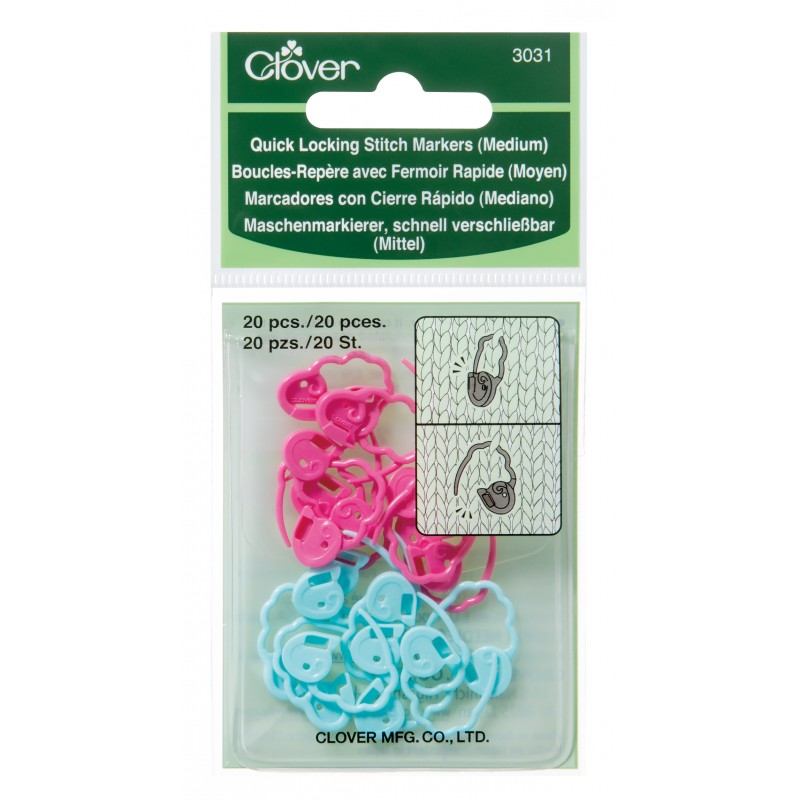
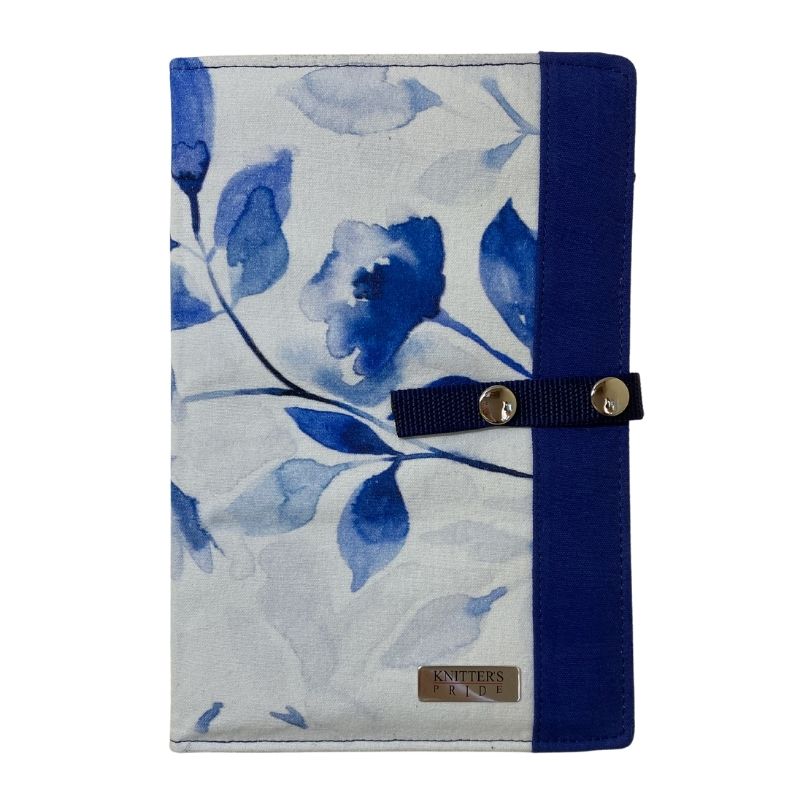
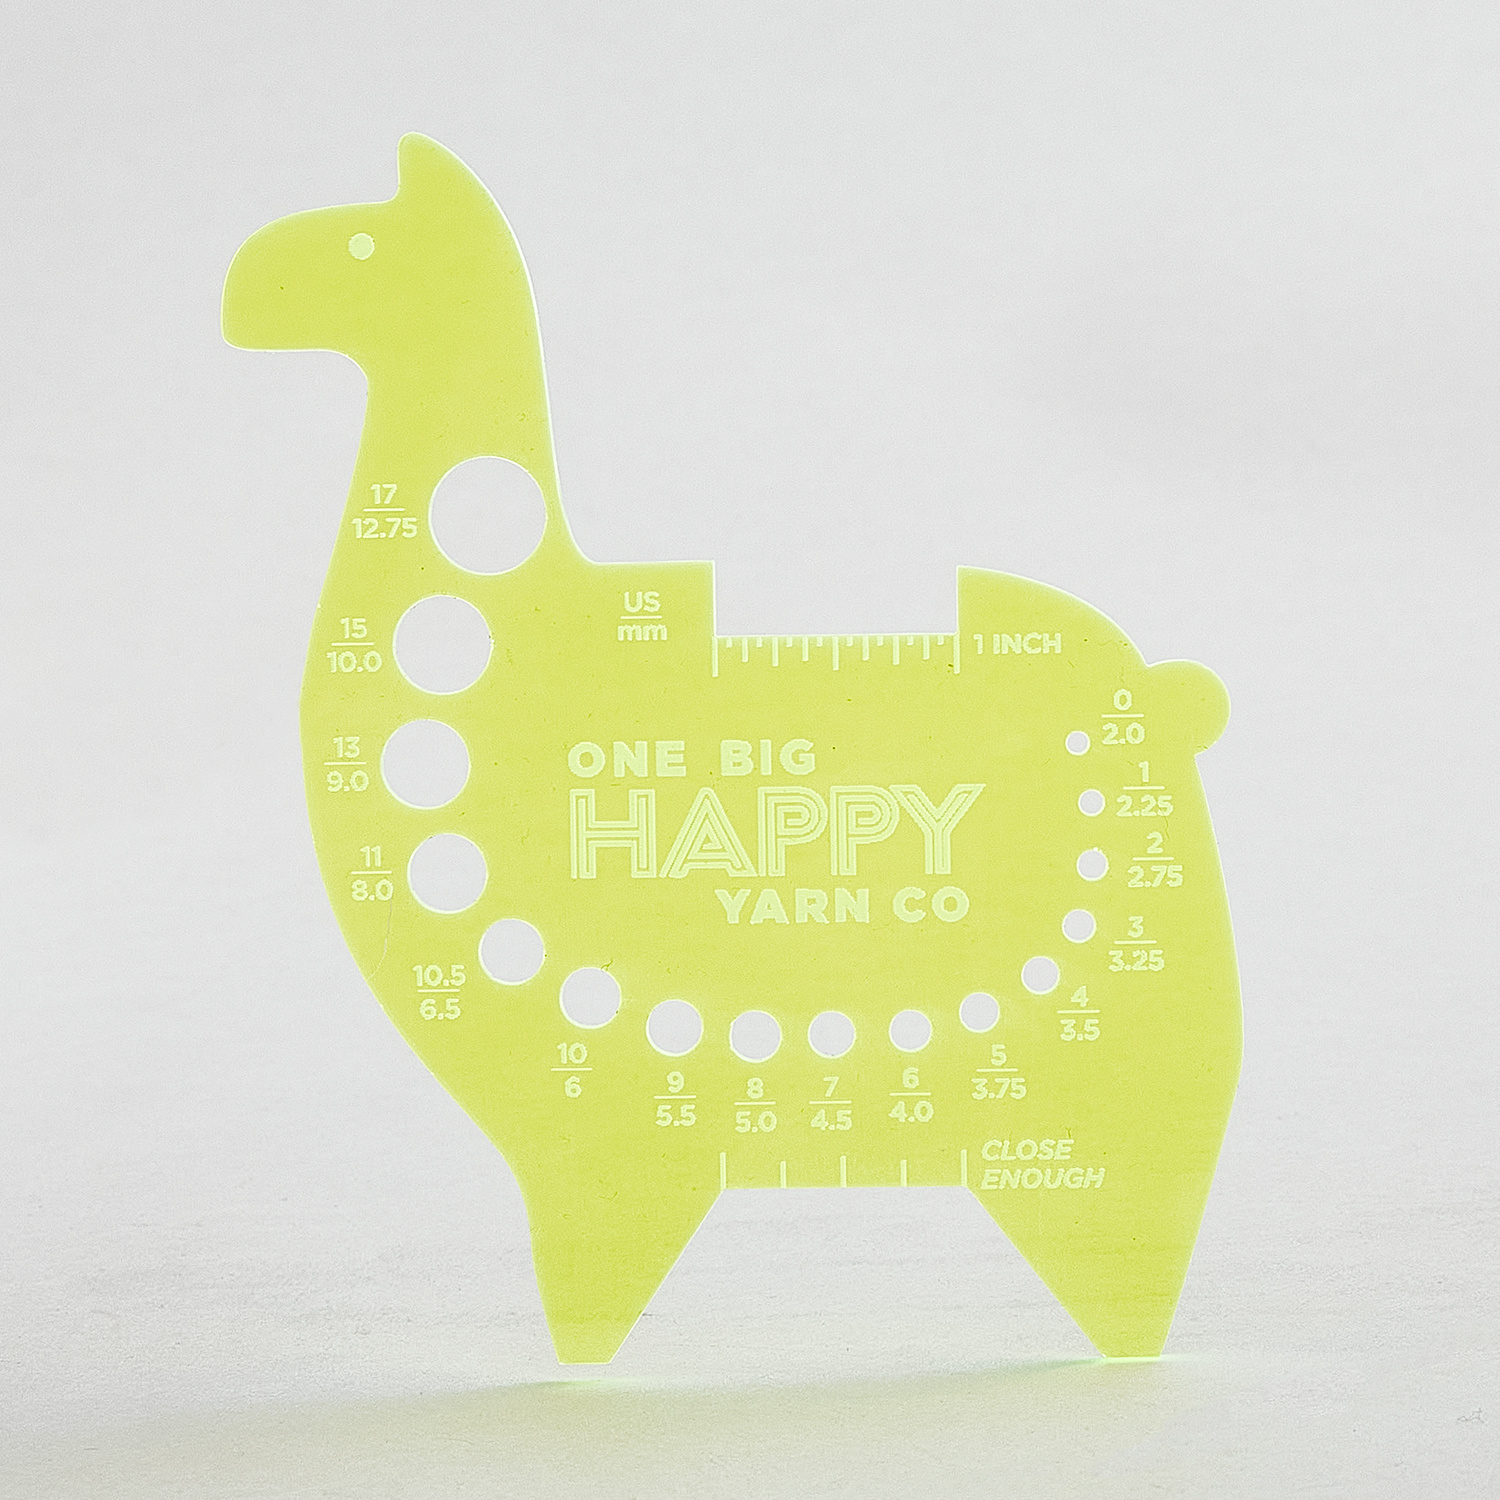
[Music] hi I'm Sarah Delaney with Missouri Star and in this episode we are going to make a beautiful baby blanket with a very simple check pattern Checkers pattern um just made with knit and pearl stitches so if you are a beginner Knitter or an adventurous beginner Knitter this is a great pattern for you to sort of explore how putting together those two fundamental knit stitches can create really great texture let's talk about this blanket um it has a ridge rib border which again is just made with knit and pearl stitches combined in different ways and then this overall checkerboard pattern which is again just a combination of knit and pearl stitches it is really amazing how much pattern and texture you can create just by combining those two stitches um so I'm going to walk you through this bottom border splitting it off with Stitch markers to Mark out the side borders and the center panel the Checker's panel and the middle and then going back to this ribbed Ridge pattern at the other end so that we have a nice frame all the way around we will be using um vintage yarn from baroko it comes in a Twist tank like this and vintage is uh Super Wash Marino and um acrylic and nylon so it's a good blend of manmade fibers and natural fibers and it's washable um so you can gently wash this in a machine and then you can gently dry it I wouldn't put it on high temp fast dry um or you can also lay it out to dry but it is it's a it's a great Workhorse yarn it's heirloom quality it'll last a really long time it doesn't peill very easily um and it just it feels wonderful um one thing to know about this yarn because it comes in a Twist tank you are going to have to wind it into a ball or a cake let me just talk to you about that for a moment because this may be a new way of seeing yarn for some of you so this yarn is looped over itself and twisted and when it comes apart it comes apart into a big loop you can't knit directly from this because it'll hold on to itself just enough that it'll get all tangled and it'll get all knotted and you will be one very sad very frustrated Knitter or crocheter because this YN is great for crocheters too so you are going to need a couple of things you are either going to need somebody to hold your yarn like this for you while you wind or the back of a chair you can put it over the back of a chair like a dining room chair or there's this fantastic piece of equipment called an umbrella Swift that opens and closes like an umbrella and opens up to hold on onto your twist tank so that you can wind it into a ball of yarn by hand or you can use a ball Winder to wind it into what's called a cake um we do have a stitch support video that shows you how to do those things if you open up a Twist tank and then you have second thoughts or you have to walk away from it before you can actually wind it um you can put it down you can just put it down because there are cross ties on it I'm not sure if you can see that different color there but there are cross ties that hold it in place so if you put it down and it's a mess and you think oh no how am I ever going to get it into that nice clean Loop so that I can wind it back up you just sort of pick it up until you find where that cross color is that's holding and just pick the whole thing up by that crossed thread and then find where that cross thread comes across everything it looks like that one strand that I had there was getting tangled but but it isn't it was just moving back to where it belong and then you're back to a nice Loop that you can use if you need to walk away from this again before you've had a chance to wind it just give it a couple twists and then tuck one end inside the loop at the other end and that'll hold it together enough so that it won't get tangled until you can come back to it and then you're going to want to wind it again either by hand into a ball or using the wool Winder into a cake now I really like yarn cakes because they sit still they don't roll around like a hand wound ball and you can pull them from the center so the yarn just comes right out of the center and it just sits nice and still either on your work surface or in your project bag so that is my favorite way to wind my yarn from a Twist tank let's talk about the other supplies that you're going to need oh you'll need four skes of the baroo Vintage for this pattern so four four of those twist tanks will make this um this beautiful baby blanket it's 36x 36 um you'll need a tape measure this is just so that you can double check your work as you go make sure that you are at 36 in when you think you're at 36 in and it's it's an adorable little sheep so who wouldn't want to use a little tape measure like that you'll need a couple Stitch markers I like these little Stitch markers from Clover they're bright they're cute they're fun um sharp scissors tapestry needles so that you can weave in the ends at the end of your project and the needles you'll need um size 10 and 1/2 US 10 and 1/2 6.5 mm needles for this now because this is a um a 36 in wide blanket you're not going to want to use straight needles you're probably going to want to use a circular needle and that's just a needle that has two needle ends but then the cord that connects it through the middle and I'm using a 24 in which if that's new to you and you're like wait you just said the blanket is 36 in yeah but it crunches up pretty well and you can fit it comfortably on a 24inch needle so that needle is 24 in from tip to tip um here it is here I've already cast on so that's our 24 in circular needle but we're going to knit in rows so we're just going to treat these two needle ends as if they are two separate needles that cord in between just helps to hold the weight of the blanket so that the blanket is weighed down on that cord and not on your wrists when you're knitting um to start you're going to cast on 130 stitches you can cast on using whatever Caston method you prefer long tail um cable Caston knitted Caston whatever is most comfortable for you and that you enjoy there's no particular cast on that you have to use for this blanket whatever works for you you're going to cast on 130 stitches and then you're going to work the first two rows of the pattern the first row is knit and then the second row is pearled so go ahead and cast on your stitches work those first two rows and then come back to me here and we will get into the slightly more complicated stitch pattern for this border once you've got those two rows worked we're ready to work Row three of the ridge rib pattern and that begins with one knit and two Pearl stitches one two and it's that simple you're going to repeat that across that entire run knit one Pearl two all the way across until you get to the end knit one Pearl two and then there'll be one more knit at the end of this row go ahead and work Row three knit one Pearl two knit one Pearl two all the way across and meet me back here when you're ready for row four so now you're ready for row four um let me show you actually the chart really quick because we do have a chart in the pattern your pattern has both the written pattern where everything is written out for you to do in every row but it also has a chart some knitts prefer the visual help of the chart some knitts prefer the text help of the written pattern some people like to go back and forth so we have both of those in the pattern for you you can see the written pattern here the chart here the thing to remember with the chart look for where your row numbers are because that's the side of the chart that you start reading from so Row one right to left row two left to right Row three right to left row four left to right and those rows that start here on the left those are worked on the wrong side and so you you have to remember to do the Stitch symbol in Reverse so if an open Bo block is a knit on the right side it's a pearl on the wrong side but again that is all detailed out in the written lines of the pattern so if you're unsure what that chart looks like you can always double check the written pattern to make sure that you know what you're doing so row four we're going to Pearl one knit two pearl one knit two pearl one knit two pearl one knit two all the way across and then there'll be one stitch left at the end and you will Pearl that Stitch and that will be the end of row four you are going to work this pattern over 12 rows so you're going to repeat this four row pattern a knit row a pearl one two rows of that Ridge rib that's four rows you're going to repeat it three times until you have worked 12 rows of that border pattern then you're going to meet me back here and we'll get into our checker board pattern once you've got those 12 rows of your bottom border worked you're going to need to place a couple of Stitch markers the first one you're going to place after the first 10 stitches and the second one you're going to place before the last 10 stitches now I like to throw a third stitch marker in there and I just place it in the body of my knitting so that I remember which side is the right side of my work and the wrong side of my work so if I can't see that third stitch marker I know I'm on the wrong side but if I can I'm on the right side and while this stitch pattern is mostly entirely reversible it's good to have that there to help center you within the pattern when you've put your work down and you have to come back to it and you're not quite sure what row you're on your yarn is to the right if you're seeing the stitch marker you're on the right side of the work that helps you to find where you are a little bit easier so with those Stitch markers in place and with your 12 rows of Border done you're ready to move into the checkerboard pattern um and there is a whole other chart and a written section in your pattern specifically for that now I love this little magnetic pattern keeper because I can use the little magnets up up top to sort of hold everything in place and then this big magnetic bar at the bottom I can move up along the chart as I go so that I always know what the next row I'm going to work is it'll always be just above that medic magnetic bar now you could use the magnetic bar to isolate the row you want to work below it's whatever works for you um I happen to like it so that it's just above that magnetic bar and again if the chart doesn't work for you there are written instructions for every row that you have to work so you can use whichever part of the pattern Works easiest for you and makes the most sense for your brain because every brain is different every Knitter Works a little bit differently do what works best for you so we're going to get into the first row of that checkerboard pattern but you're going to continue to work your um Ridge ribbing border over the first 10 stitches so those first 10 stitches continue to repeat the four rows of the ridge ribbing until you get to that stitch marker and then we get into our checker board so with our checker board we are going to knit one pearl one over 10 stitches knit one pearl one that's four knit one pearl one that's six knit one pearl one that's eight get one pearl one that's 10 and then you're going to knit 10 stitches easy enough now I'm just working a little sample here and so once I knit those 10 stitches I'm already back to my border but you are going to have another 100 stitches to go so you're going to repeat those 20 stitches over and over and over again across your your work knit one pearl one knit one pearl one for 10 stitches then knit 10 stitches then repeat that over again until you get to that second stitch marker and then over those last 10 stitches you will repeat your Ridge rib border go ahead and work this first row of your checkerboard pattern meet you back here when you're ready for row two so we're ready for the second row of that checkerboard pattern which starts with 10 Pearl stitches easy enough three four five six 9 10 then we move into the second half of that checkerboard pattern and it's knit one pearl one for 10 stitches knit one p one that's two KN one pearl one that's four get one pearl one that's six 8 10 you'll still have 100 stitches to go so you'll go back to Pearl 10 stitches then knit one pearl one for 10 stitches Pearl 10 stitches knit one pearl one for 10 stitches if it helps you can use additional Stitch markers to Mark out each one of those repeats of your checkerboard pattern so every 20 stitches put a different stitch marker but if you're going to do that I recommend that you use a different color stitch marker than you use to Mark out your borders just so that when you see that color at the edges you remember this is where I switched to that Ridge rib pattern on the border if it's just a mix of Stitch markers across you might get to these last 10 stitches for the second border and just keep going in your checkerboard pattern and then you'll have to take those stitches out and Rit them so keep the Stitch markers that note your borders a different color than any Stitch markers that you use to Mark out the checkerboard pattern in the middle of your work when you get to these last 10 stitches continue in that Ridge rib pattern and meet me back here when you are ready for Row three so now we're ready for Row three of your checkerboard pattern you're going to keep working your Ridge rib again this is Row three on that um you will have to keep track of two different sets of numbers as you work this pattern because your your border stitches are in a four row repeat and your checkerboard pattern is in a 24 repeat so um just be aware that you'll have to keep track of that as you go to keep everything in pattern um here's that side border done those first 10 stitches and now we're ready to work Row three of our checker board pattern which is exactly the same as Row one so you're just going to repeat Row one knit one pearl one get that stitch marker out of the way knit one pearl one for 10 stitches and then knit 10 stitches work that all the way across work your border on the last 10 stitches then work row four which is the same as row two and you just keep repeating that pattern until you've worked 12 rows and then the checkerboard swaps so this is where we've been working that knit one pearl one section and then the knit 10 Stitches the Pearl 10 Stitches the knit one pearl one on the way back those sections switch so when you get to row 13 you'll knit the first 10 stitches then you'll go into a knit one pearl one knit one pearl one for 10 stitches so that it switches those textures let me bring the blanket in here and show you that so here let me get right in the corner so you can see that's there's our Ridge ribbing at the bottom and along the side and then you can see this first Square that's the 10 knit stitches then we get into the knit one pearl one knit stitches knit one pearl one and and then here's row 13 where those texture sections switch and it's just those 24 rows and then you repeat them and you repeat them and you repeat them when you've worked those 24 rows as many times as is detailed in your pattern then you're going to go back to your Ridge rib and you'll work that all the way across for 12 rows and then you will bind off and your blanket will be almost finished you'll be done with all the knitting at that point um we can talk about Binding off it's really simple um nothing nothing fancy unless you have a fancy bindoff that you want to do or you have a bindoff that is your favorite to do um Binding off is pretty simple I'll demonstrate here for you Binding off you knit two stitches and then you take the second one back up and over and off knit the next Stitch second one back up and over and off and you just do that all the way across to bind off your stitches until you're down to the last Stitch when there's only one stitch left on your needle you go ahead and cut your yarn give yourself 6 to 8 inches and then you pull that tail through the loop and cinch it up and nothing will unravel then you're going to want to weave in your ends um which is pretty simple I'll demonstrate that here for you I'm going to pop my needles out and this will give some knits a heart attack because I just have live open stitches but we're just going to wind this yarn up and reuse it but here I'll go back to the tail from the beginning and demonstrate weaving in for you get my tapestry needle thread my tapestry needle I like to put my yarn over the edge of the eye of my needle so I can't see the eye of my needle this is the edge of my needle and I'm folding the yarn over nice and tight and then I slip the needle out and then that little Ridge that I created is enough to slip through the eye of the needle it makes threading that needle pretty easy so then I'm just going to take the yarn and try to follow one strand of yarn through the fabric of my knitting it won't catch up on that top Edge on you because you won't have life stitches you won't just have dropped yours off of the needles the way that I did you will have bound off and you're just going to weave in your end until you've worked about an inch to an inch and a half of yarn back into the fabric that you're knitting created once you've got about an inch to an inch and a half woven in that's enough you don't have to keep going you just snip it give it a little tug so it settles into the fabric and that's it for weaving in the ends and then you're going to want to block this blanket this yarn is a combination of man-made and uh animal fiber so animal fiber needs a little bit of encouragement to settle into its new shape um if you've used a 100% acrylic yarn you're you're good to go you're good to gift you weave in your ends you snip those Tails you're good to go but any yarn that has a wool or a cotton component or any other animal fiber or plant fiber you're going to want to block the finished blanket because that yarn thinks that this is its shape it thinks it's big loopy loops and you've just crinkled it all into lots of tiny stitches so you want to teach it its new shape so that it can relax into that shape and it really does change how this fabric that you've created feels when you block it so you can wet block or you can steam block um if you wet block you will need a wool wash like ukan that we carry um where you dissolve a little bit of that into some nice warm water you take the blanket you soak it in that warm water for 15 to 30 minutes and then when you lift it out of the water lift it from underneath you don't want to pick it up like this because it's going to be really heavy in picking it up like that will distort your stitches you want to pick it up from underneath and gently squeeze as much water out as you can as you gently pull it out of the water just squeezing as much water out as you can as you go and then I Like to Lay the piece out on a towel so for a blanket like this you probably need a beach towel if you don't have a beach towel you can always fold the blanket over this way on itself before you lay it on the towel and then within the towel roll the blanket up so roll this up in the blanket like a burrito and then step on it I know it seems silly but put it right on the floor and step on it and that will squeeze so much water out of this blanket that it will feel just damp when you unroll it then when you unroll it you can lay it out on any nice flat surface you can lay it out on your bed on a guest bed you could lay out um our nice blocking board puzzle pieces so that build yourself a nice Square out of those puzzle pieces so it's a little bit bigger than the blanket and then lay the blanket out to dry you can especially if you're wet blocking you don't always have to use pins to hold it in place sometimes just the weight of the project itself will hold it in place but you can always set a couple of pins just to sort of hold it while it dries and then 12 to 24 hours later you should be all set and dry if you wanted to steam block it again you just lay out your puzzle piece blocking board or you can do this on a guest bed or your bed anywhere where you can pin something and let it sit for a little while pin it out to the shape that you want get yourself a nice clothing steamer you can pick one up at the um you can pick one up at the link below um and then you just hit the whole thing with a little bit of steam it should be cool and dry to the touch in about a half an hour and now all of this yarn thinks that this is its shape and it's nice and settled and it's beautiful and it's ready to gift so that is the checkerboard baby blanket now this is a worsted weight yarn that's a number four medium weight so you could use almost any worsted weight yarn to make this project here I have it in um our Hayfield baby Blossom which has got a nice ombre um here I use the same vintage but I also used a pom pom yarn to add like a confetti look to it for nice bright colors and you can still see that checkerboard pattern in each of these so whatever worsted weight yarn happens to be in the color or the materials that you like you can certainly make this blanket in that I hope you have enjoyed making the checkerboard baby blanket with me I hope that you will join us for future knitting and crochet tutorials here at Missouri Star remember that you can pick up a kit and all of the materials below and I will see you in our next tutorial happy knitting thanks so much for stitching along with us on this Missouri Star yarn loving tutorial if you haven't yet you want to click that Bell And subscribe and become part of the Missouri Star Family and make sure that you never miss another tutorial you never know you might make your next favorite project [Music]

More Baby tutorials

See all