

Chenille It Freeform Flowers
Let your artistic side bloom! Misty stitches down Chenille-It Blooming Bias to create a garden of fun, freeform flowers. When Chenille-It is washed and dried, it fluffs up to create plush chenille lines. Get the look of vintage chenille with a modern twist!

Instructor
Misty Doan
Misty Doan grew up surrounded by sewing and quilting. She loves spending time sharing tutorials each week each week, and when she’s not stitching up one of her fun sewing projects for home decor, most likely you’ll find her hanging out with her husband and three awesome kids or working on a house project.
Shop this tutorial
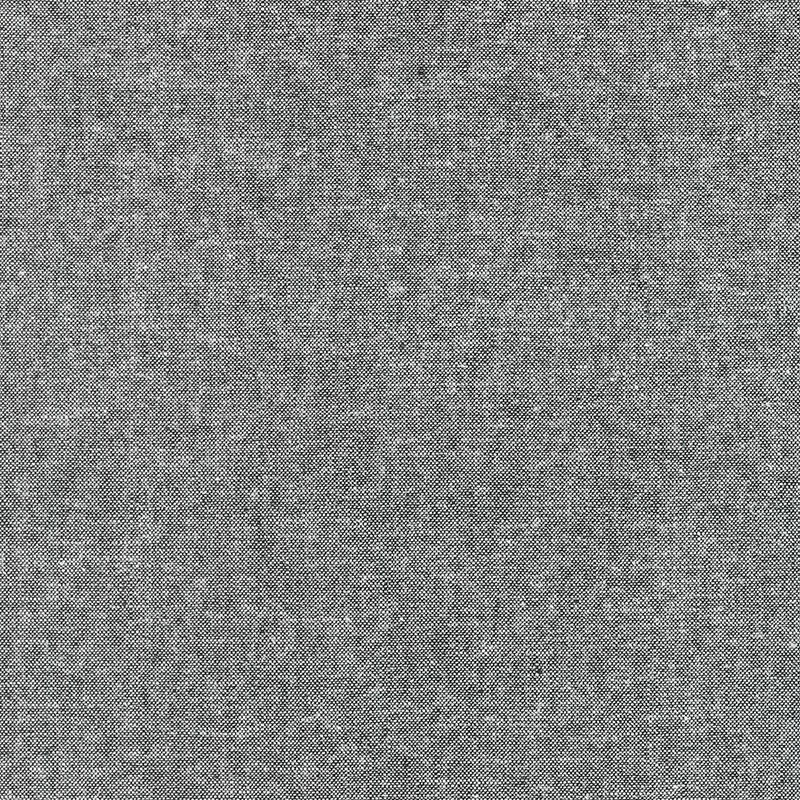 Essex Yarn Dyed Linen - Charcoal Yardage$10.96Shop →
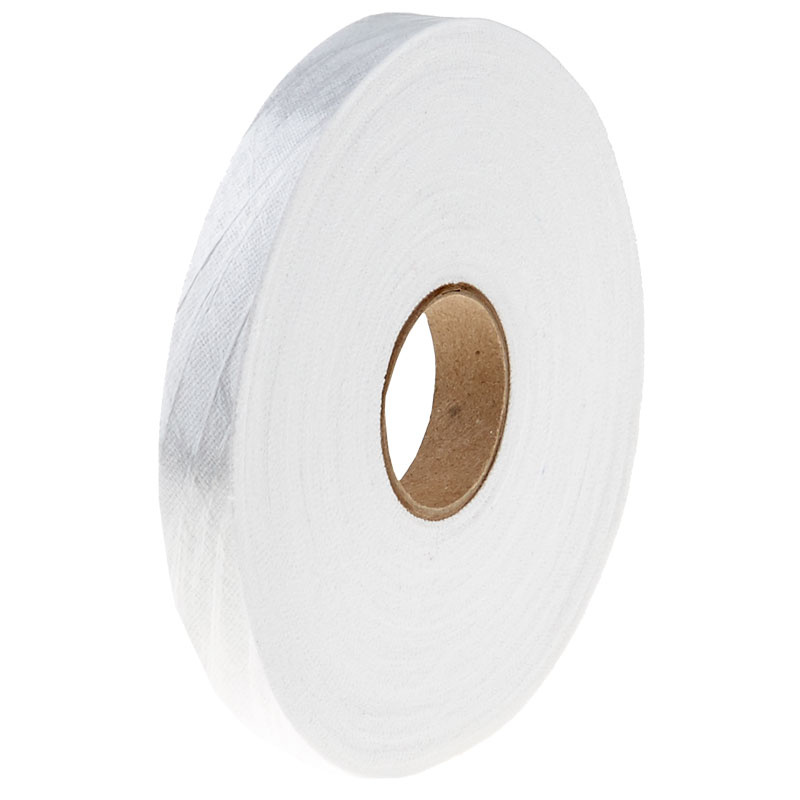 Chenille-It Blooming Bias Sew & Wash Trim - 5/8" White$18.95Shop →
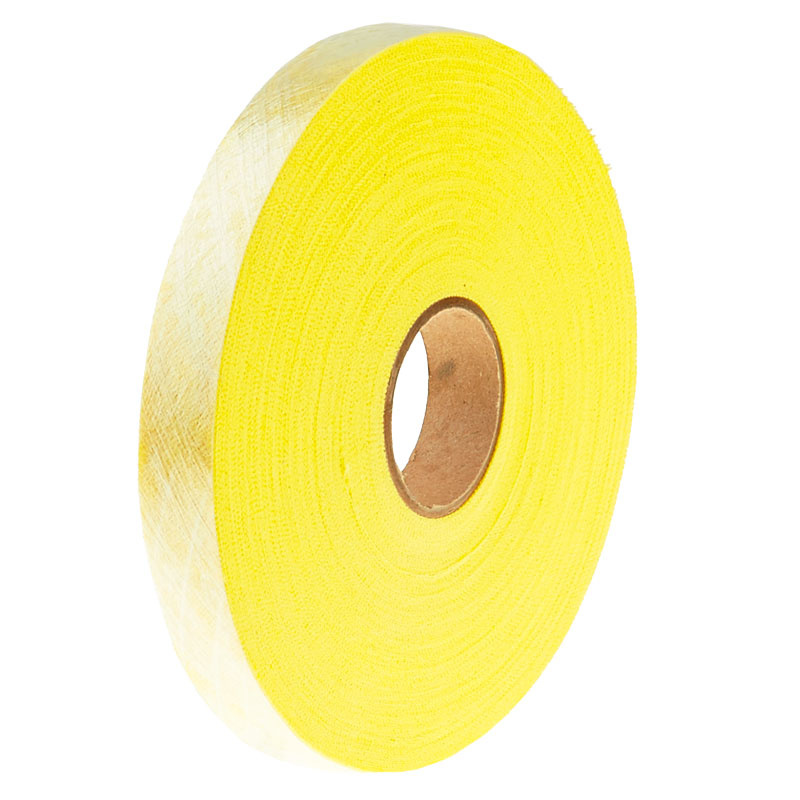 Chenille-It Blooming Bias Sew & Wash Trim - 5/8" Lemon$18.95Shop →
 Missouri Star Quilter's Best Blend Bed/Table Runner Batting$14.95Shop →
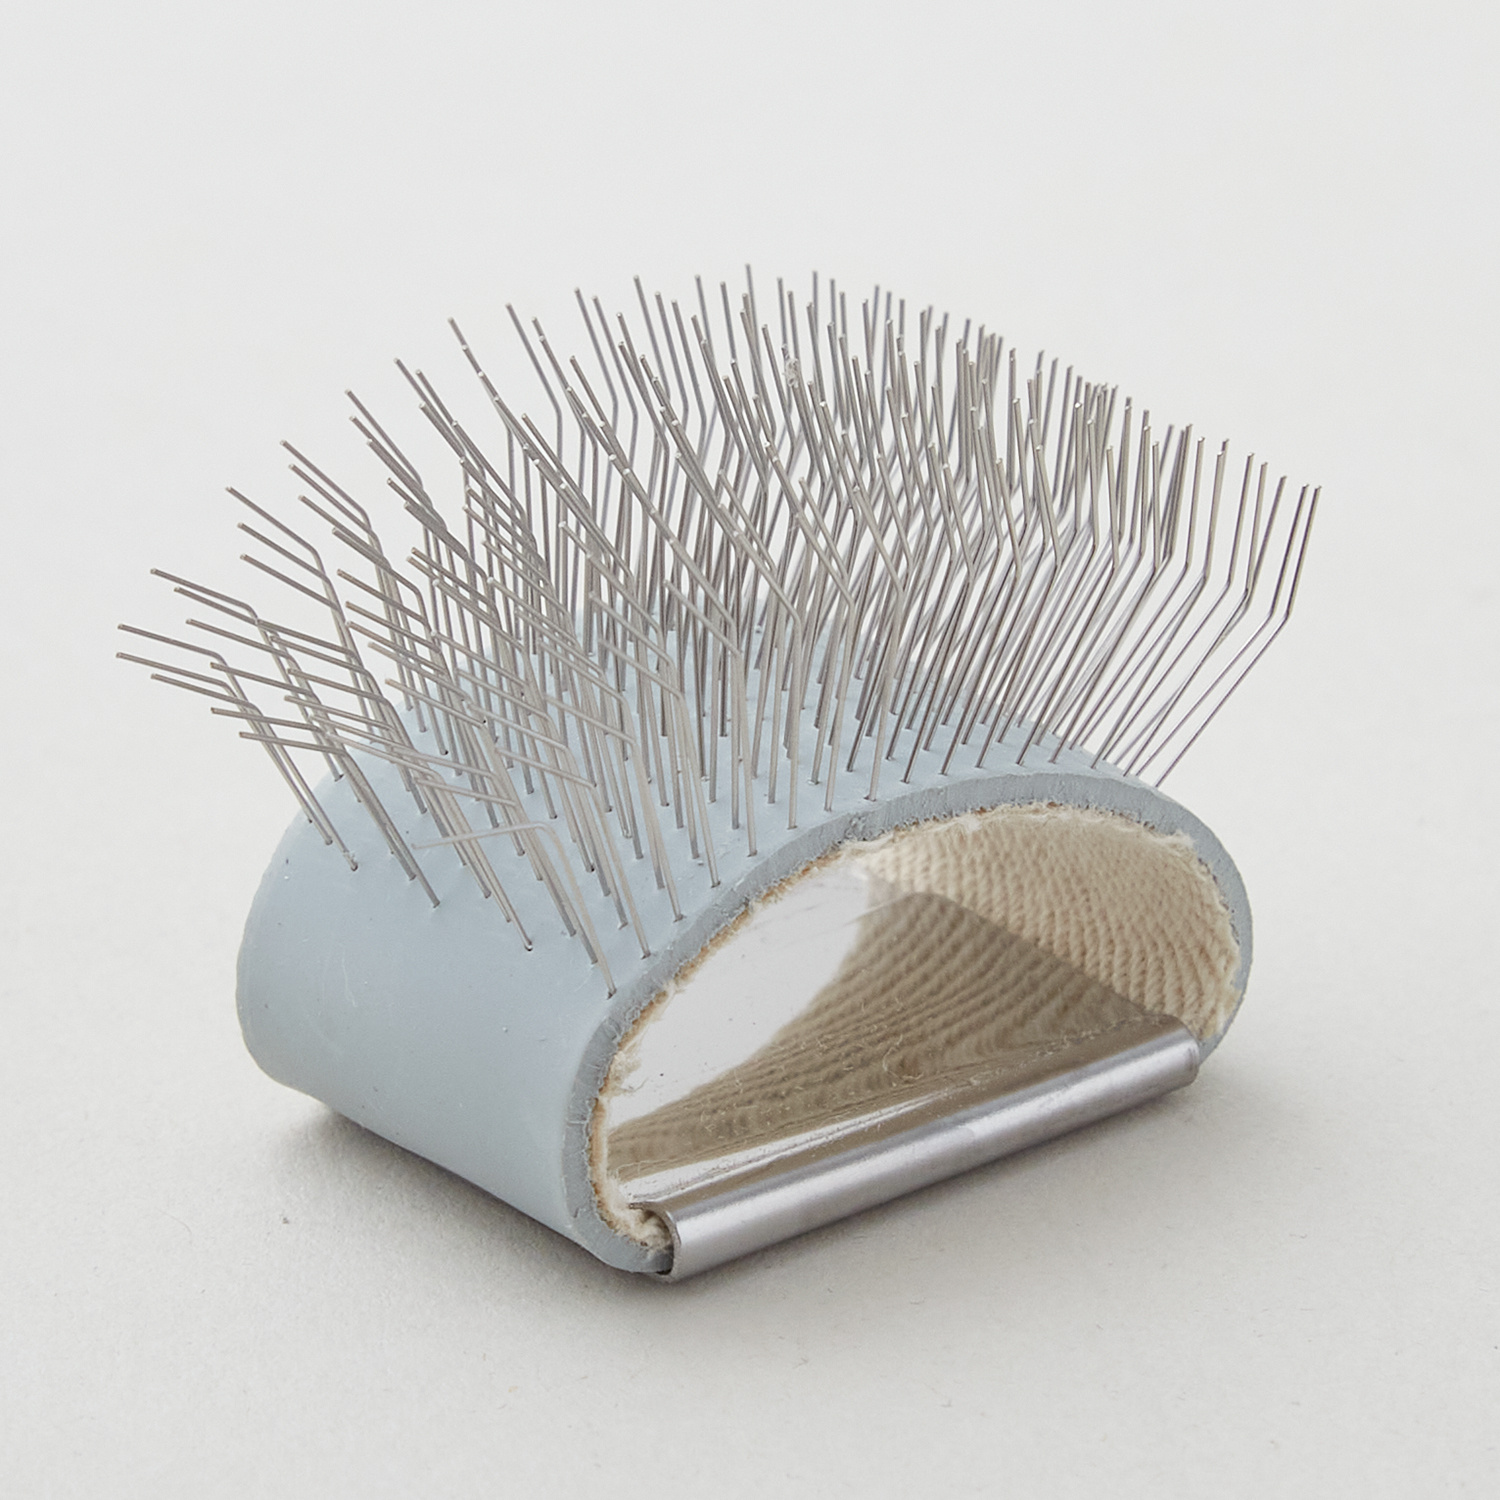 Chenille Fluff Brush$12.50Shop →
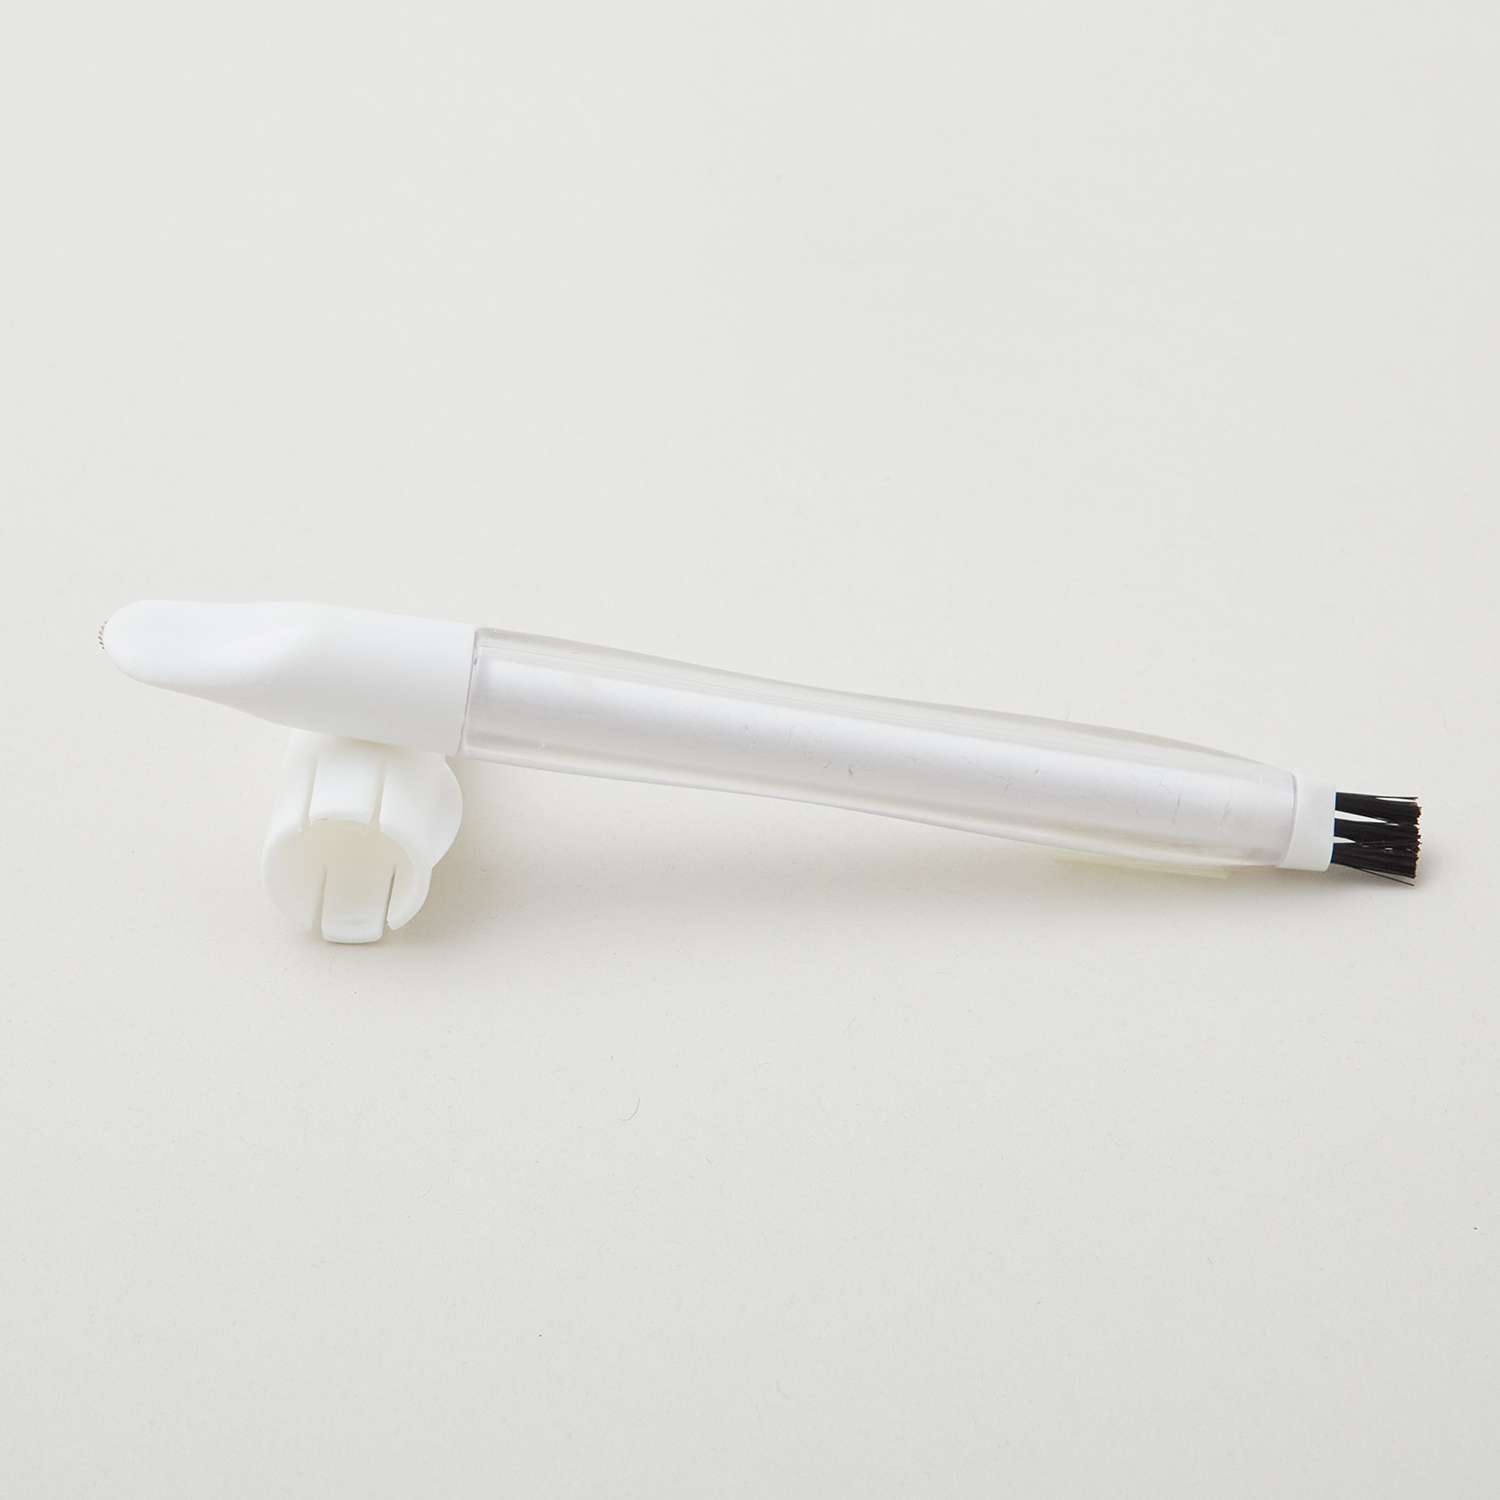 Magic Chalk Liner™ with Brush Eraser - White$14.75Shop →
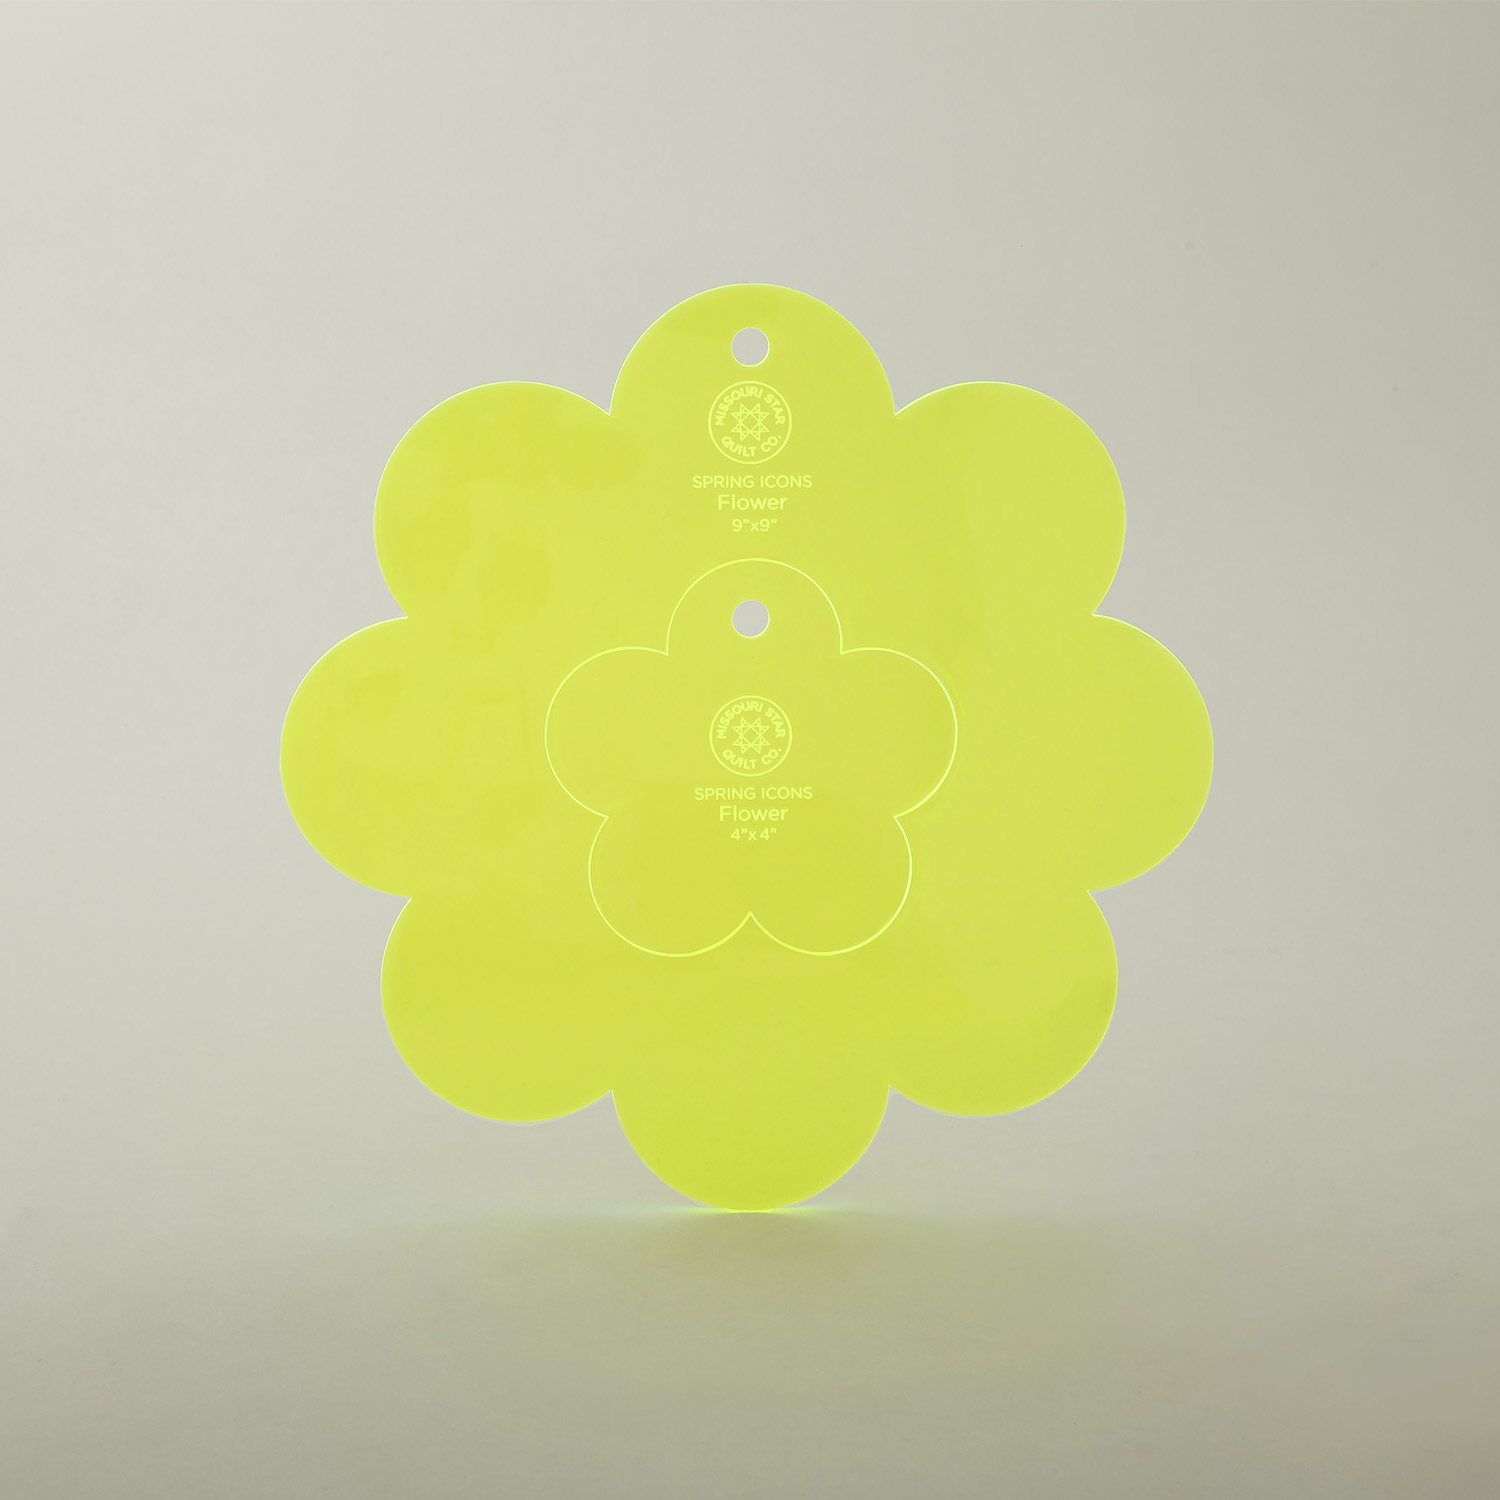 Missouri Star Nesting Flower Templates$12.95Shop →
 Missouri Star 45mm Rotary Cutter$19.95Shop →
 Missouri Star 4.5" Everyday Scissors$9.95Shop →
 Missouri Star 8" Everyday Scissors$19.95Shop →
 Missouri Star #8 Perle Cotton 10 Gram Ball - White$3.49Shop →
 Missouri Star 50 WT Cotton Thread White$7.95Shop →
 Missouri Star + Oliso TG1600 ProPlus Iron$209.95Shop →
 Missouri Star Wooly Betty Board - 17.25" x 25.5" Orange Border$99.95Shop →
 Bernette 77 Sewing and Quilting Machine$1499.00Shop →
Common Questions
What is covered in Chenille It Freeform Flowers?
Let your artistic side bloom! Misty stitches down Chenille-It Blooming Bias to create a garden of fun, freeform flowers. When Chenille-It is washed and dried, it fluffs up to create plush chenille lines. Get the look of vintage chenille with a modern twist!
How long is the tutorial video?
The tutorial video is 00:13:10.
Are supplies listed for this tutorial?
Yes. The tutorial page includes the supplies and materials connected to this project.
Is a transcript available?
Yes. A written transcript is available on the tutorial page.
Video Transcript
Okay, so first up, let's talk about supplies. I just used this great Essex
linen as the base for this project and if you grab two yards that's going to
give you enough to make a runner that is this size - so it's 18 in wide by the width of fabric. And then I backed it with the same thing, and then also use that for the binding. In addition to that, you're going to need two colors of Chenille-It - I used white and yellow. You'll need some sort of fabric marker - I use this rolling chalk marker. And then if you have this Chenille-It brush, it can be handy to get a little extra fluff at the end. And if you're not about freehanding, then you can use our Cherry Blossom template. So let me show you how we did this.
So the first thing I did, is I cut my runner to the size that I wanted. Remember that was 18 by the width of fabric. I went ahead and put
a bigger piece behind it and quilted it so that I had a quilt sandwich ready
to go if you will. And so that's what I have here and I just used this champagne bubbles pattern for my quilting all over. And I wanted it to
blend in with that background and so then I've trimmed off my excess and now we're ready ready to add our Chenille-It.
So the reason that there's not really a pattern for this, is because I just used my chalk pencil and started freehanding these flowers, and I think it's super fun. At first I was a little nervous but with the chalk you can just brush it away and start again if you make a mistake. So one thing you want to keep in mind is of course you're going to be adding binding to this later so you don't want to get too close to your edge. I would say at least an inch if not an inch and a half away from the edge. You just don't want to fight with that Chenille-It later.
So I'm going to begin by making one flower here. And you can see sometimes you just have to roll over it a couple times and there's really no… oh, that's too close to the edge. I just use my finger and dust it off. There's really no right or wrong. I'm just going to freehand this and fill in this corner first. And then I went ahead and added a little circle in the middle. There we go. There is flower number one.
And so then I'm just going to keep drawing and add oops too small add
another one here. And honestly the farther I got in this, the more I felt like the wonkier, the better. I just kind of really embraced how they could look different and fun. So I'm just going to continue in that exact same way until I have filled in all of my negative space with some of these freehanded flowers. If you're worried about this, you can grab a piece of paper like this and you can see I just started with a marker, you know, getting used to making those petal shapes and it just helped a lot. And like I said, at the beginning, if you're just not comfortable with freehand at all, we also have these templates that you can just sit on here and you can trace in the exact same way. The reason that I opted to not use the template is I actually in the end found it to be a little bit more difficult. One, we've got this extra little bump there, and two, I couldn't necessarily maneuver it to fit. You'll see here I can't get too wide without you know sliding it around I just couldn't quite get the shapes that I wanted in the spaces that I was looking for. And so I really came to embrace and enjoy the freehand part but both options are available to you if you need them.
So then, up next, I am just going to grab my white Chenille-It. And so this is the wider width; this is the 5/8 inch. And so I just like to hold this in my lap at the sewing machine and we are just going to follow along with all of our chalk lines. I also tried a couple of different things here. First, I would kind of pre-measure and just do a petal at a time and I actually didn't find that
was any easier than just holding on to this and making my way around the whole project. So that's the way that I'm going to do it, but either way is a great option. And once you watch it, you cannot tell one way from the other.
So let's go ahead and get started. So I'm going to start here on this corner. It's helpful if you can keep some of the weight of the runner up on the table so it's not fighting against you as you're adding the Chenille-It. Okay, so first up, we are just going to start in this inside point here and I'm going to position my needle so that it's running kind of right in between the middle of our Chenille-It. I am going to back stitch here at the beginning. So let's take a few stitches and then back stitch, and because this Chenille-It is cut on the bias, it makes it really easy to naturally follow these curves that we drew with our petal. And so we're just going to take our time here and stitch all the way around. And the other thing is, if you don't get exactly in the middle or you don't follow your drawn line exactly you really just don't have to worry about it. This project is som so forgiving and once you wash it and this Chenille-It ruffles up, I don't think you can get it wrong.
So now I need to turn this so I'm going to put the weight of this in my lap so I'm not fighting with it and we're just going to continue to ease our way around this curve. All right, so I'm going to put my needle down. I've made it to the inside point of this flower petal, so now I can lift up my presser foot and I'm just going to spin this and make my way back. And I can just pull the Chenille-It under the needle, and just come back the opposite direction. If you end up with a tuck or a pleat there, because we're going to wash this and have it fray at the end, you can just use your scissors and make a little snip to relax that and let it go. But this is what I did all the way around the flower. So I'm just going to continue in this same way until I have this petal done and I'll meet you back here at the end.
All right, I have made my way back to where I started and so I'm just going to back stitch again here to lock in my stitches and then clip my threads. We can pull this back over here - you can see I used some clips that I had
to roll this up to help maneuver this under the machine as I was working so I didn't have to fight with it so much while I was turning. And now I can just clip this even with the other line and there is my first flower. You can see it's wonky, it's fun. I love how it turned out! And it's going to be even cuter once I wash it.
And so now all that we need to do is add our little yellow center. So let's go ahead and take our Chenille-It. There's these little places where it joins. I just kind of cut them out if I'm using this in the middle. I decided I didn't want the seam in there. It still ruffles up just like normal, but I just think it's a little easier if I don't have to fight with it. And so for these I did cut a size, just because I found it to be easier. So I'll just kind of eyeball this around here. Again, what we drew is a guide. We don't have to follow it. This project is all about creativity and play. And so I've got this little piece of yellow now and I'm just going to make a wonky circle here in the middle.
So let's go ahead and do that. Again, the same concept where we want to back stitch at the beginning of the end to lock in those stitches. So I'll do
that and then we're just going to continue around keeping our Chenille-It in the middle of our presser foot and our needle running down the center of that. You might find it's helpful to have a stiletto handy while you make your way around, but especially on these tight little circles you just want to take your time. Okay all right. So here is a great little learning example. I cut my piece and then once I was stitching I decided I wanted this circle to be bigger than what I marked and now I don't have quite enough to make up the difference. But because Chenille-It is so forgiving, I can just cut another little piece and I can just set this in between and overlap exactly where I started. And this is all going to wash out and I don't have to worry about it at all. So I can just fit this right in and we will finish off our circle. And then that last little back stitch and tada, there we go! There is our cute little Chenille flower.
I just continued in that exact same way all the way across this runner. So let's take a look at this finished one that I've now washed and bound. I just think it turns out so cute - I absolutely love it! I love the texture of this and I wanted to show you. They sell this great little brush, so if it comes out of the wash and you think you'd like it to have a little bit more fray, you can just come in with this brush and it just really adds to the fluff and texture that you can get out of this. And so that's a great way to finish up that kind of shredded look that we're getting with the Chenille-It. So then we can just continue all the way around until it's all fluffed and we're happy with the final outcome.
I thoroughly enjoyed this project! I think sometimes as quilters we kind of put ourselves in a box where we're making one block at a time and this was just so much fun to just sit and play. I think it would be great with so many shapes. You know, now that I've made this I think it would be a darling baby quilt! You know, maybe hearts or stars or really whatever - the possibilities are endless. We have all those great acrylic applique templates that you could use as the base for so many ideas. One more thing I did want to point out - I opted to use a thread color that matched my background because I really didn't want my stitching to show on the back. Not that it really matters, but you can see I just use the exact same color thread that I used for the quilting and it blends right in. If you look closely here on the yellow, you can see my gray thread which I think is a good tip if you don't want to have to worry about that.
So anyway I hope you enjoyed this project. I hope you'll take some time
and have a little creative play. Until next time, have a good week and I'll see you on At Home.


