Chriss Cross Quilt
 Natalie Doan
- Layer Cake
- Modern
- Twin
- Beginner
- Quilt size 66" × 80"
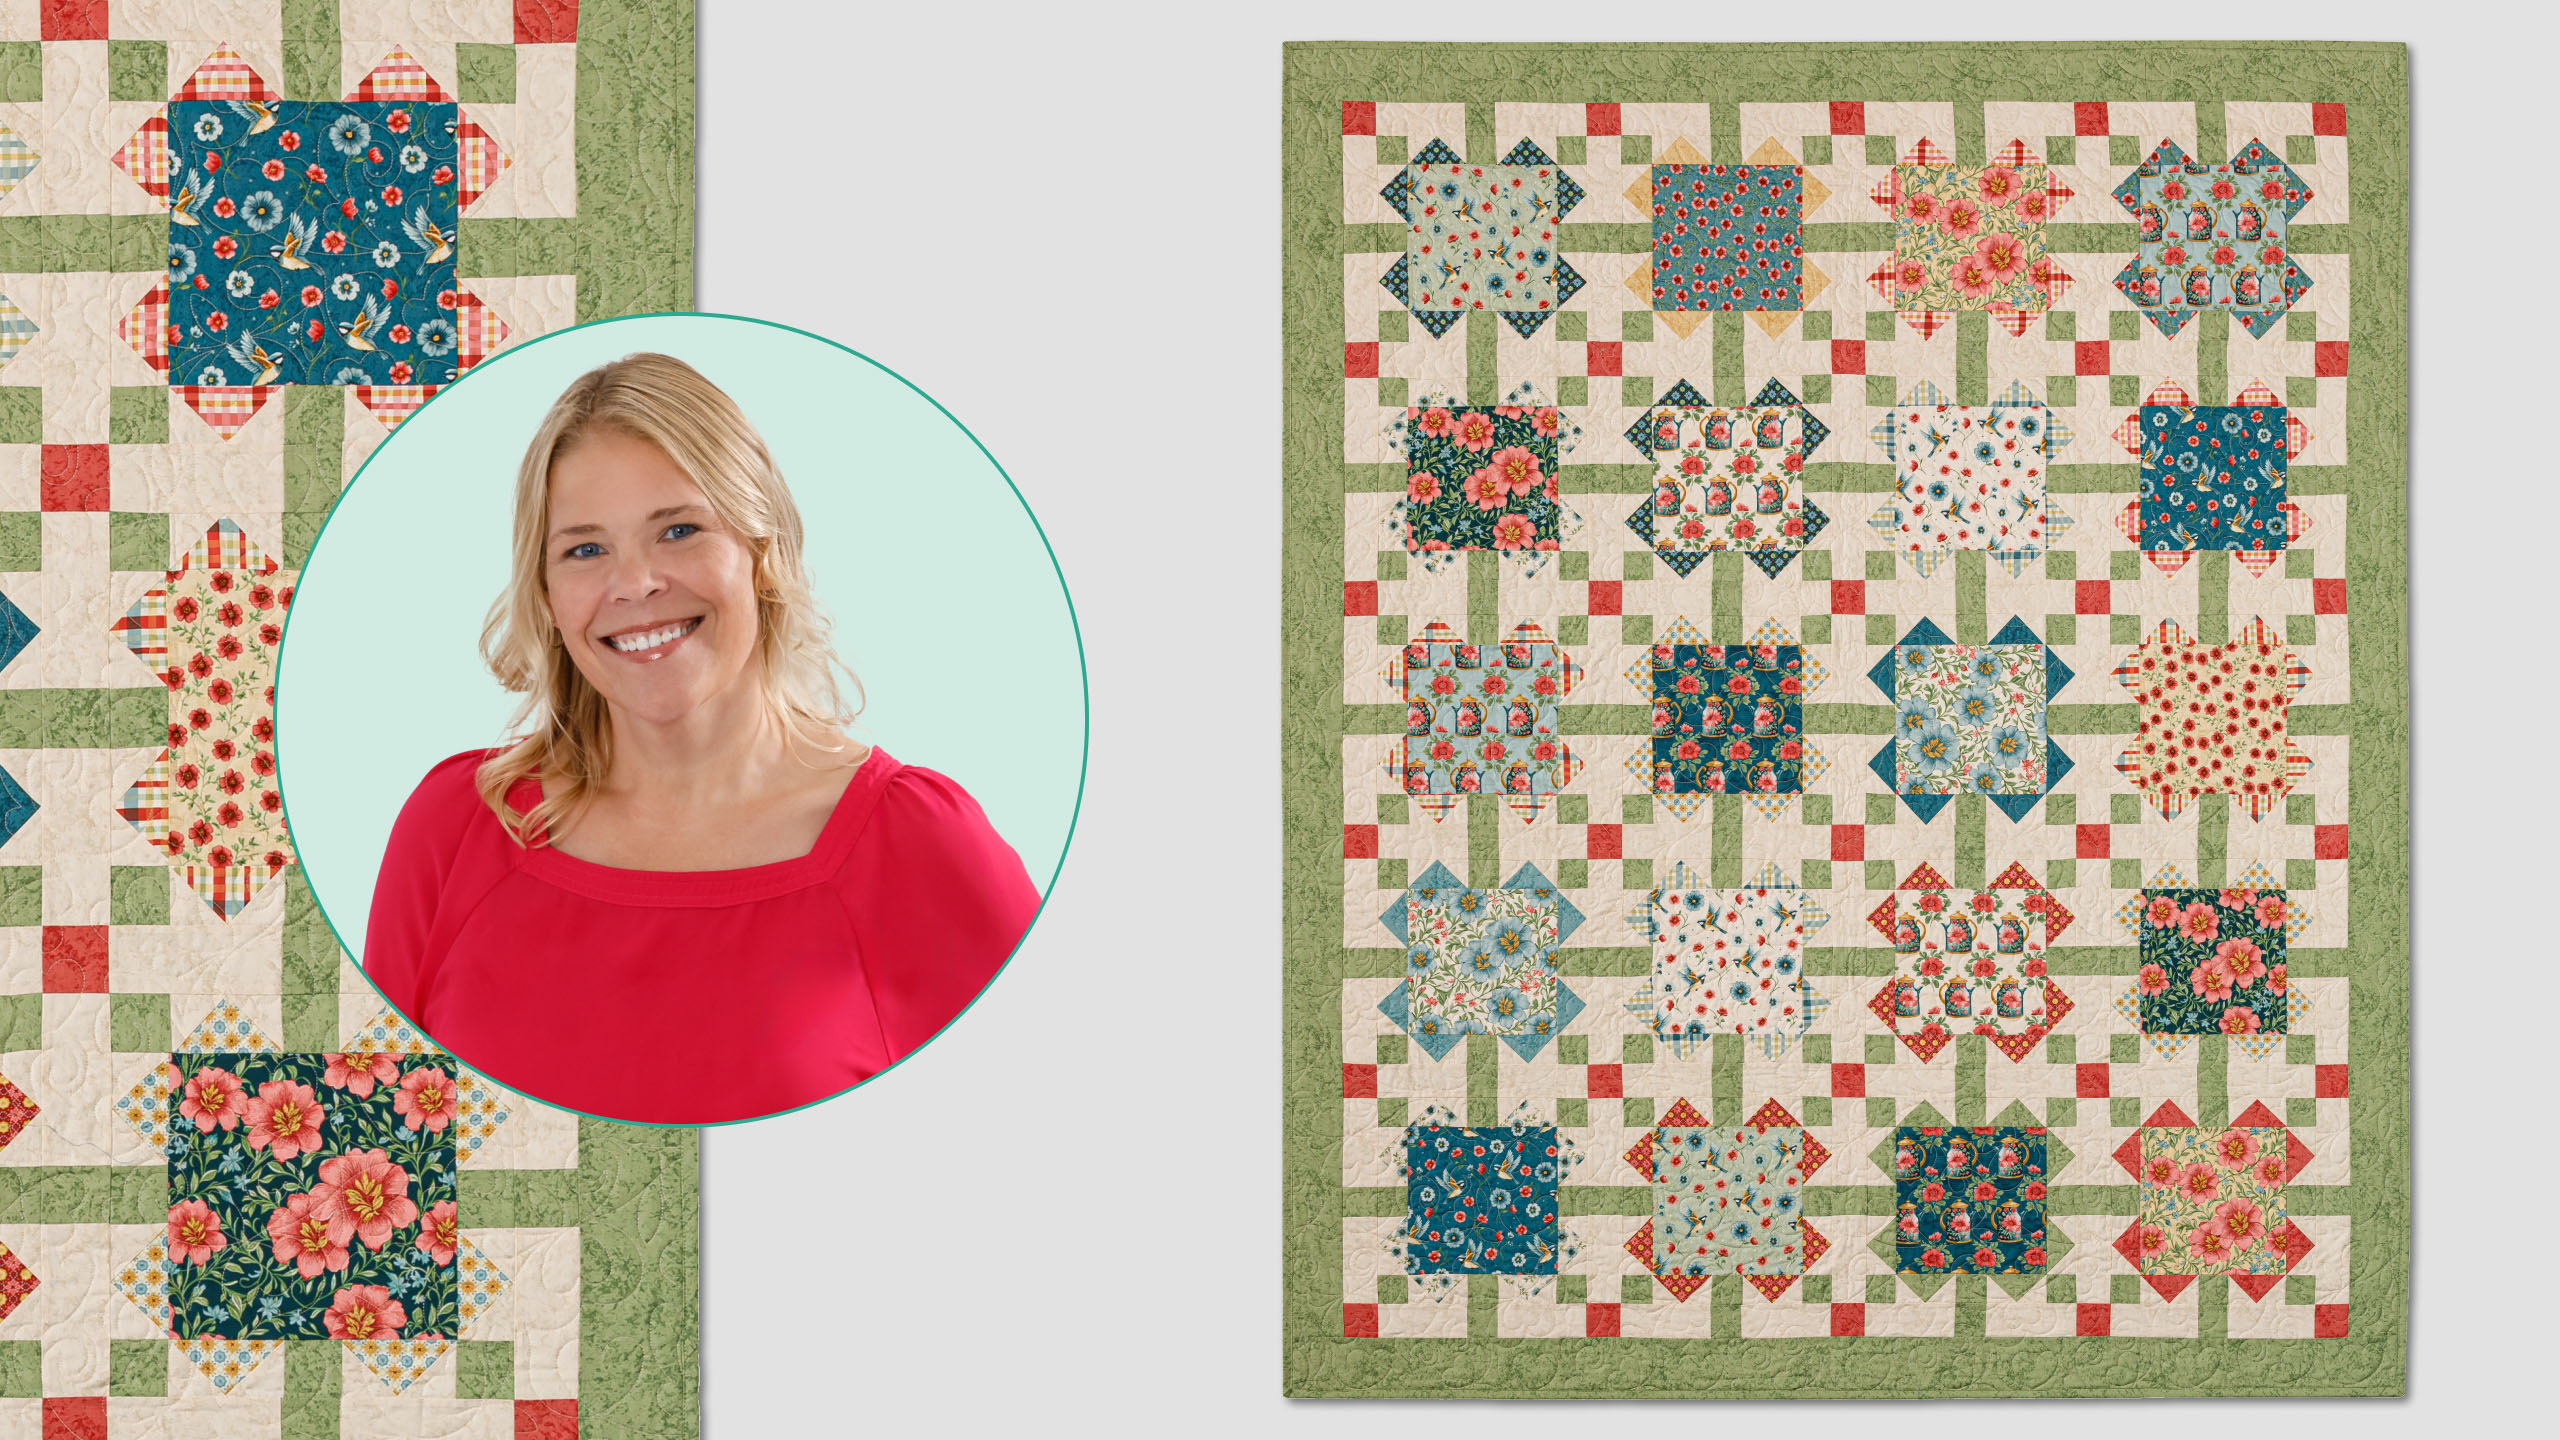
Natalie shows you how to stitch up the Chriss Cross quilt, designed by Michael Nardi of Bryn Mawr Quilts. Big feature squares act like little windows into your fabric stash, and a graceful crisscross lattice ties it all together. Natalie sews it up in Michael’s first fabric line, Sparrow Falls, with Andover Fabrics, a collection inspired by happy memories of his Nonna’s garden. With simple piecing and easy-to-follow instructions, this quilt is a great choice for a confident beginner.
Instructor
Natalie Doan
Natalie is the host of Quilting 101, Embroidery 101 and the Creative Strategist and Editor of Block Magazine at Missouri Star Quilt Company. She was taught how to sew by her mom, of course, and began quilting when she grew up.
Shop this tutorial
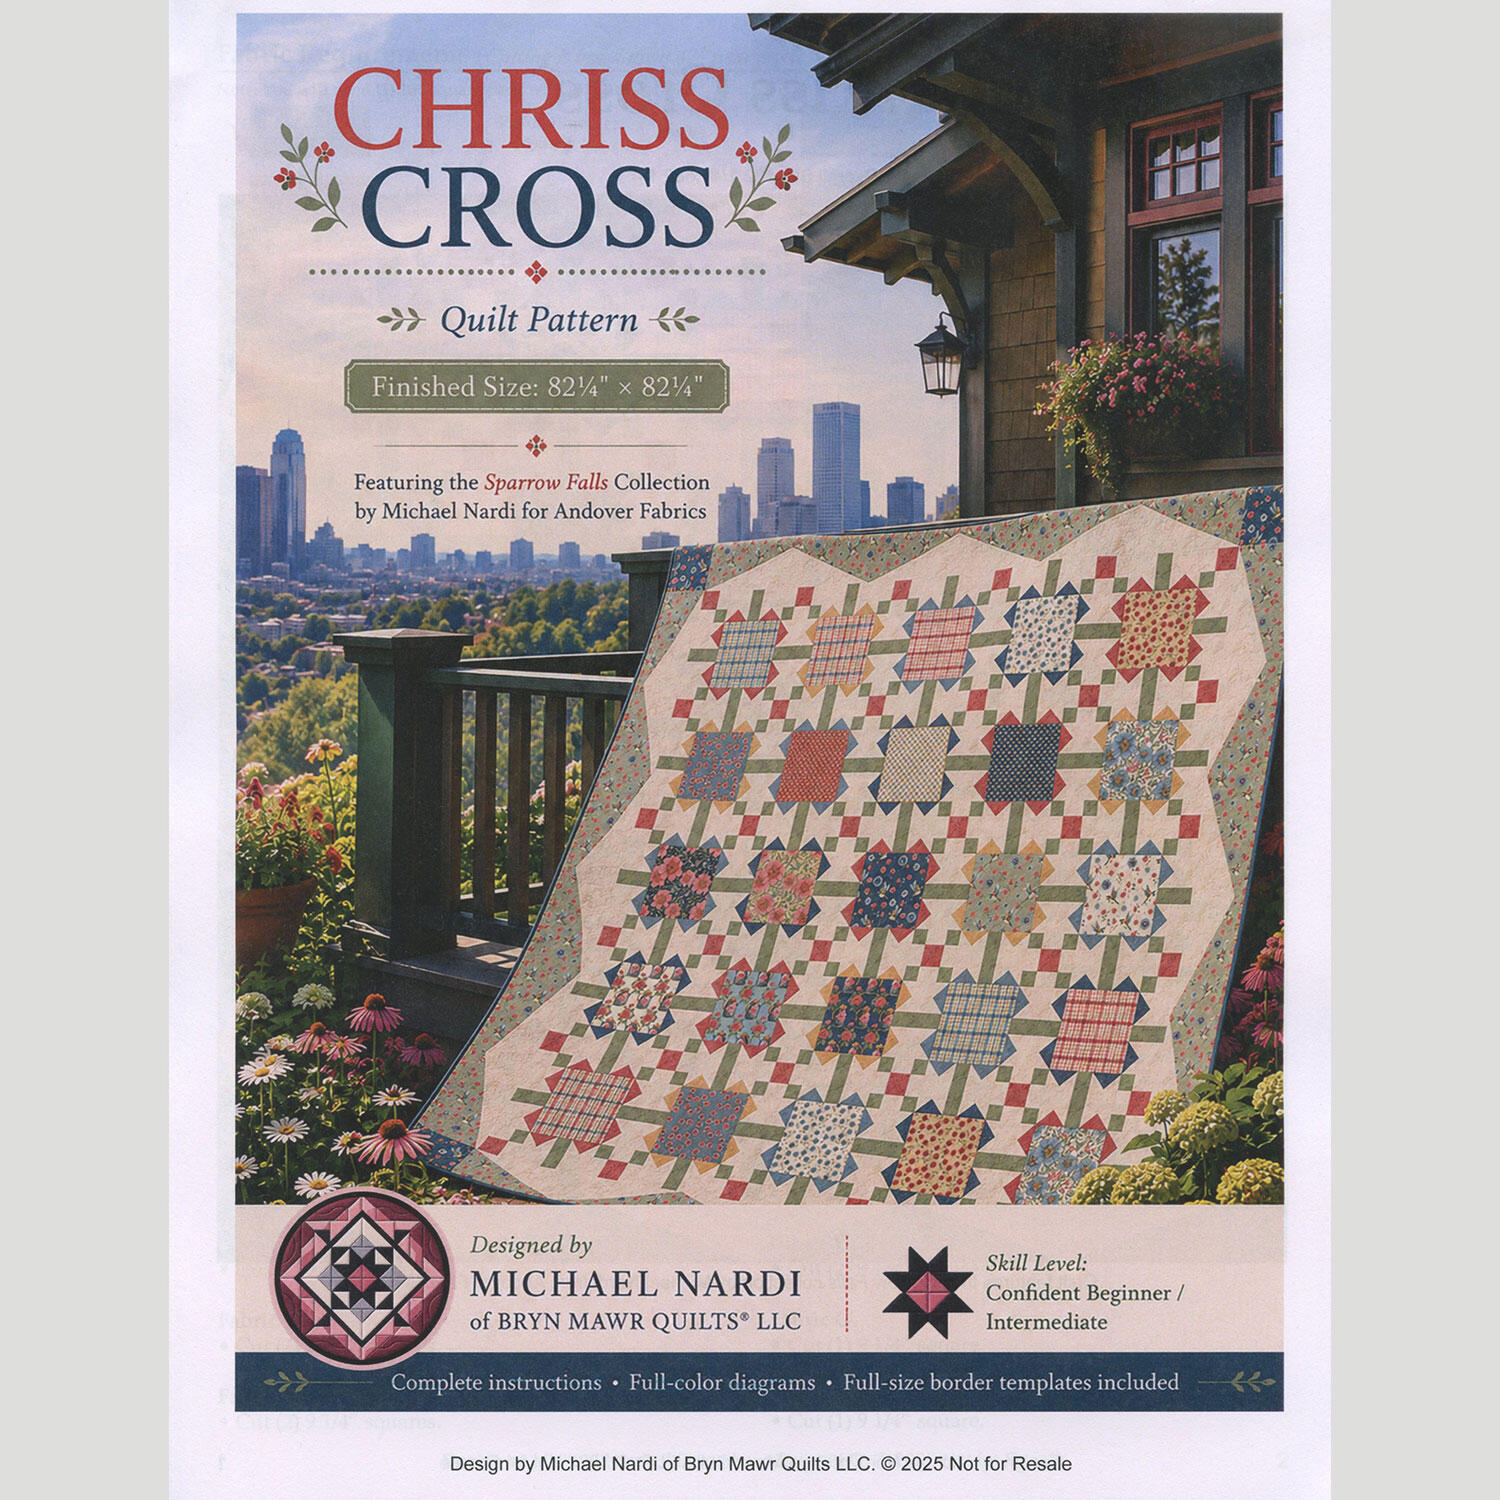 Chriss Cross Quilt Pattern$14.95Shop →
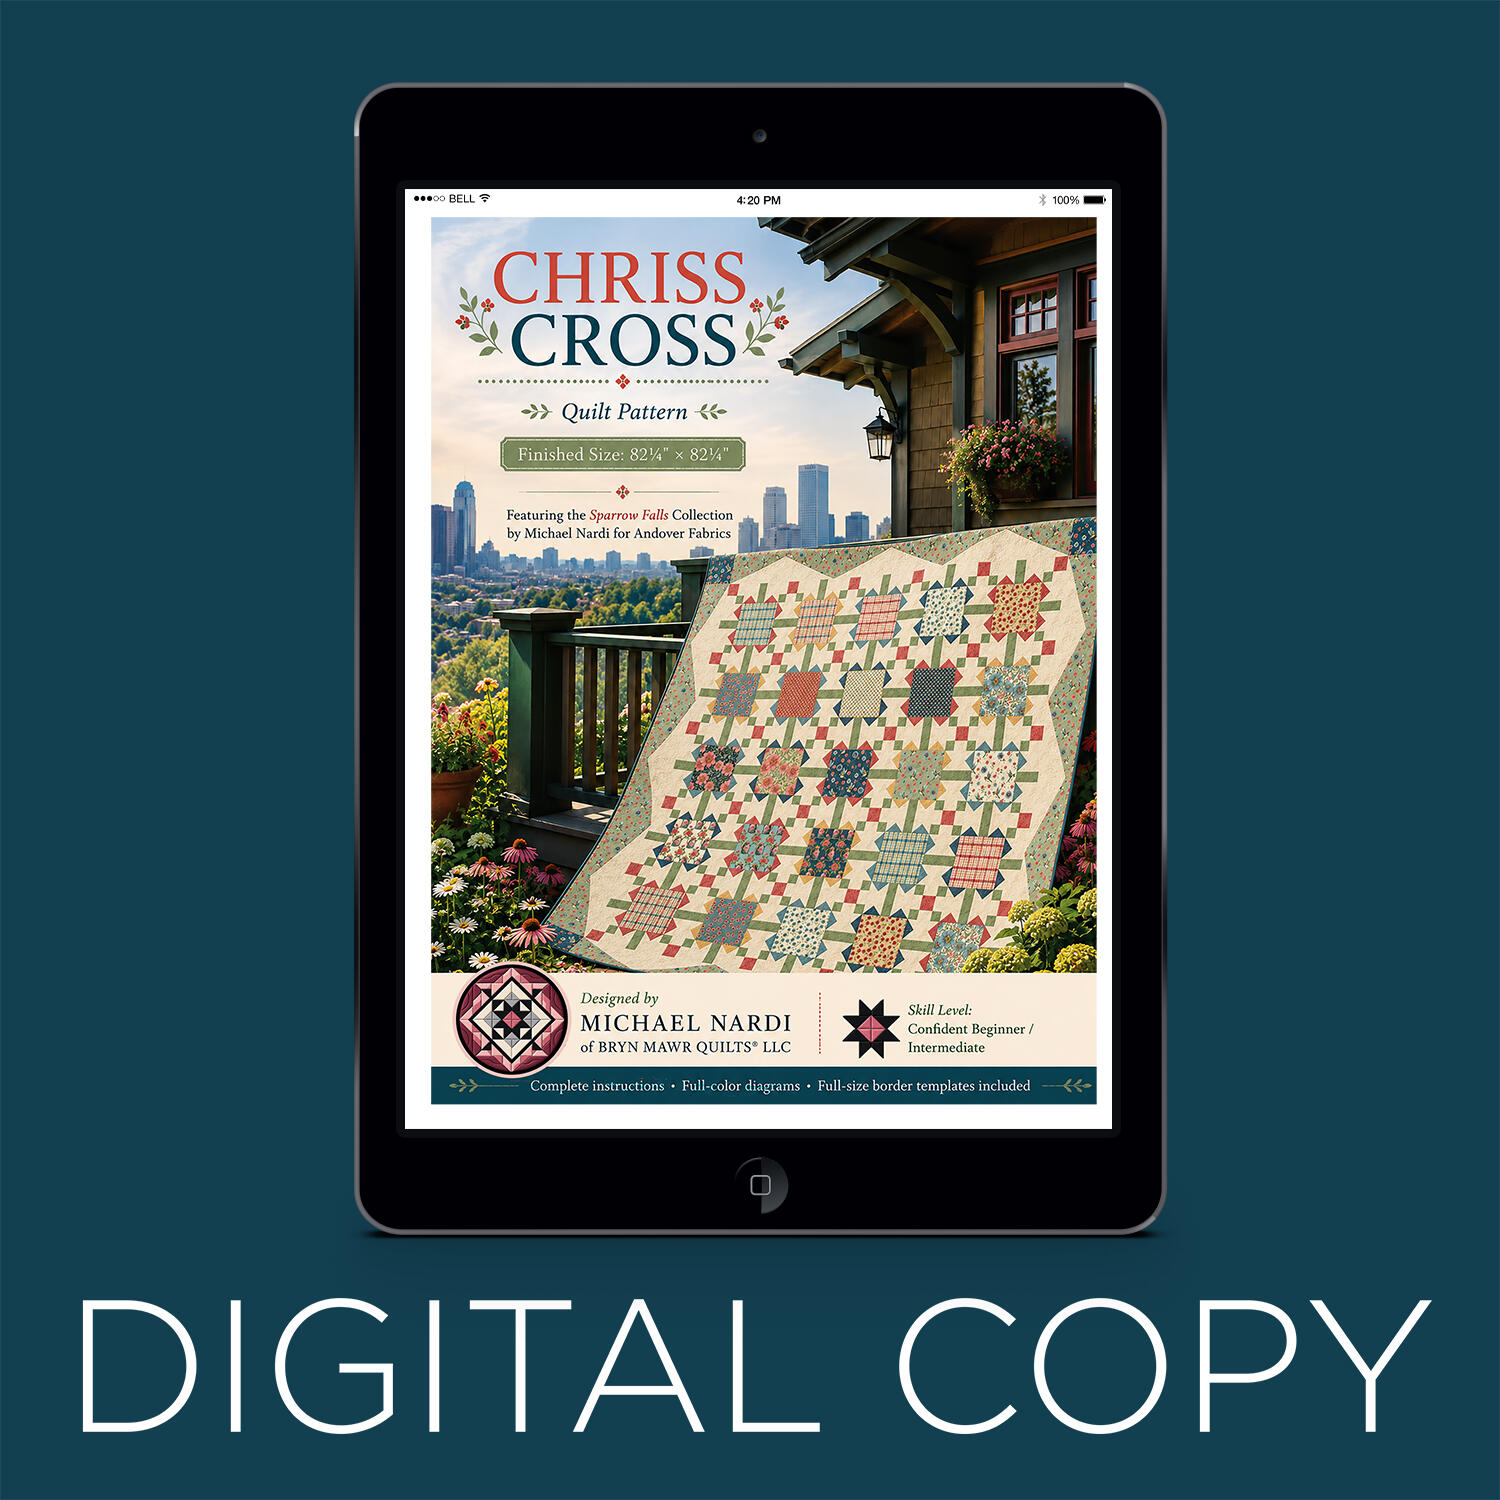 Digital Download - Chriss Cross Quilt Pattern$10.00Shop →
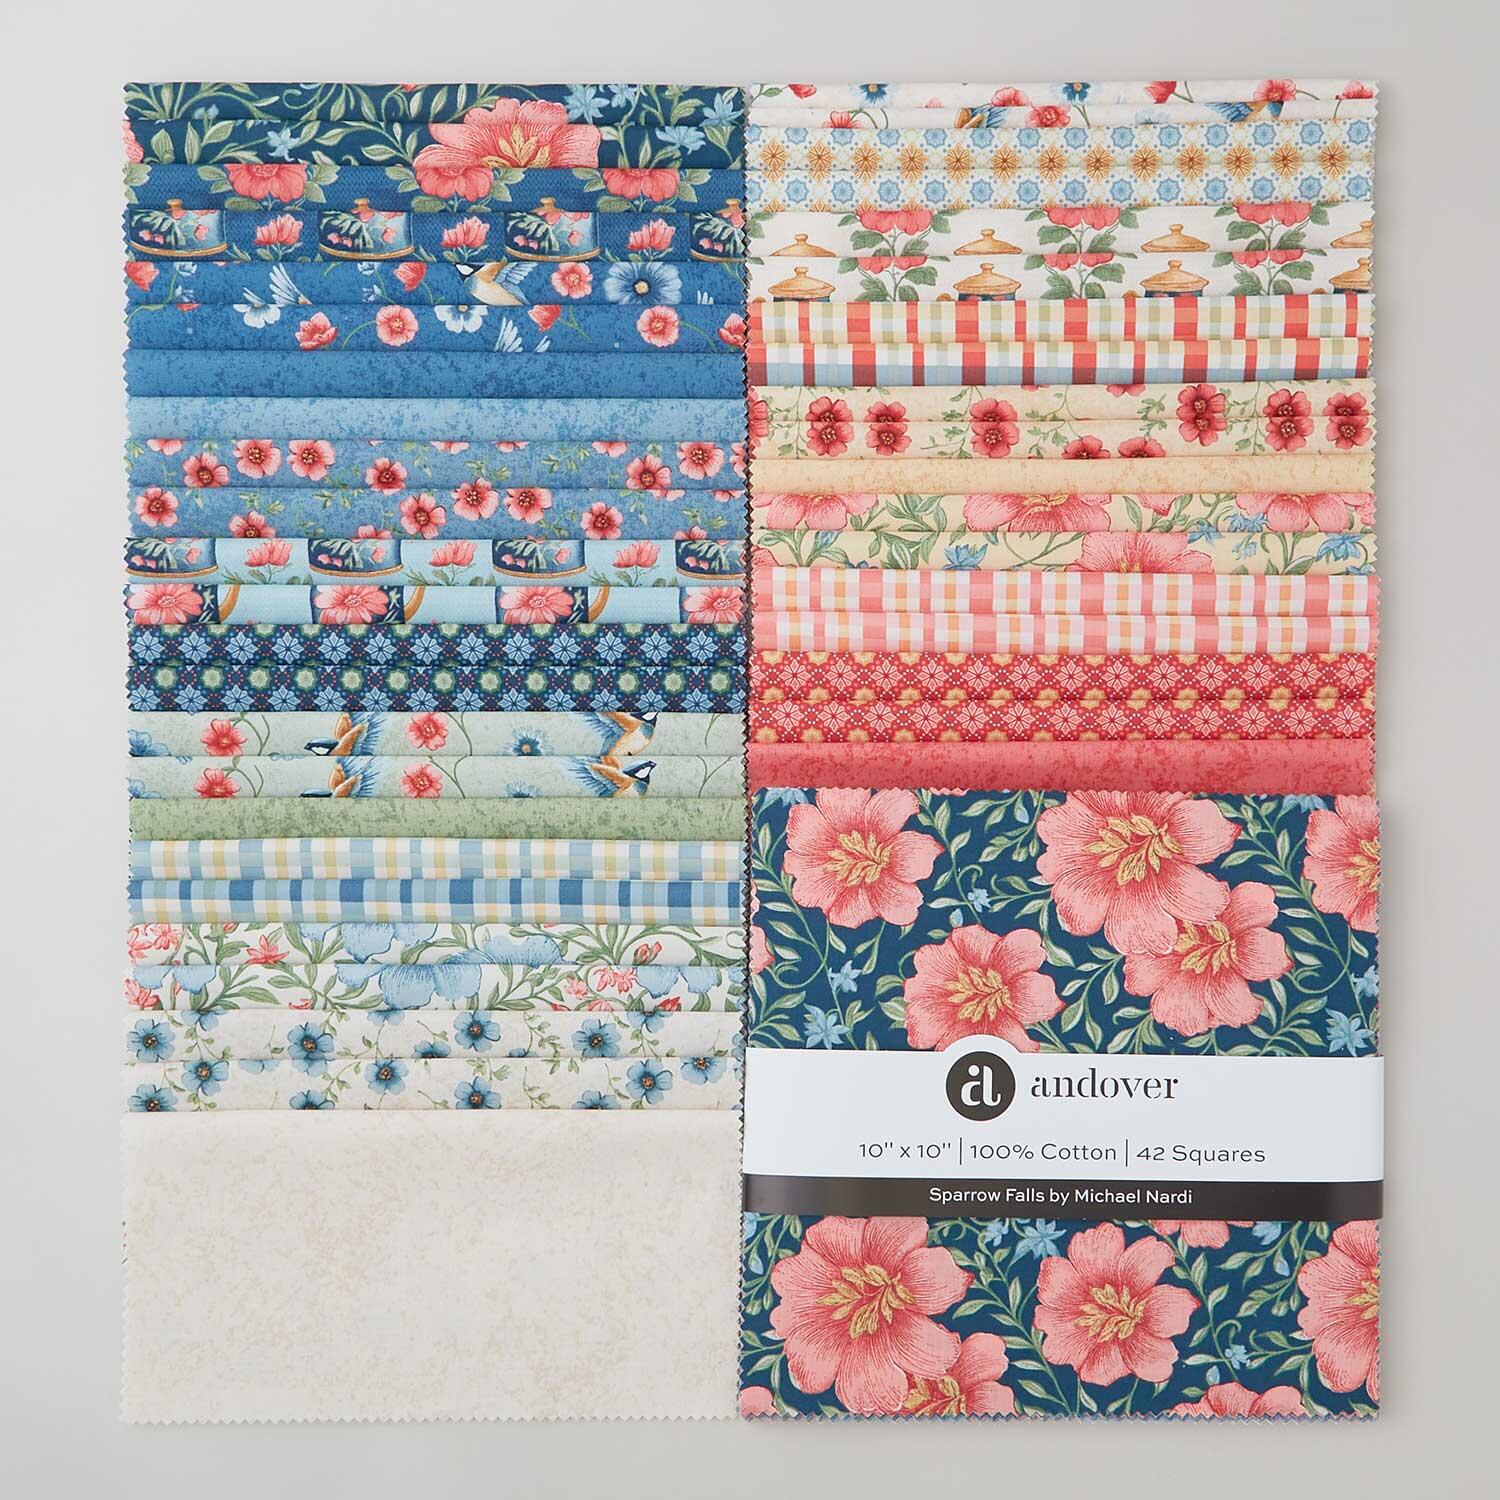 Sparrow Falls Sundaes$47.95Shop →
 Sparrow Falls - Moss Ivory Yardage$12.08Shop →
 Sparrow Falls - Moss Cinnamon Red Yardage$12.08Shop →
 Sparrow Falls - Moss Moss Yardage$12.08Shop →
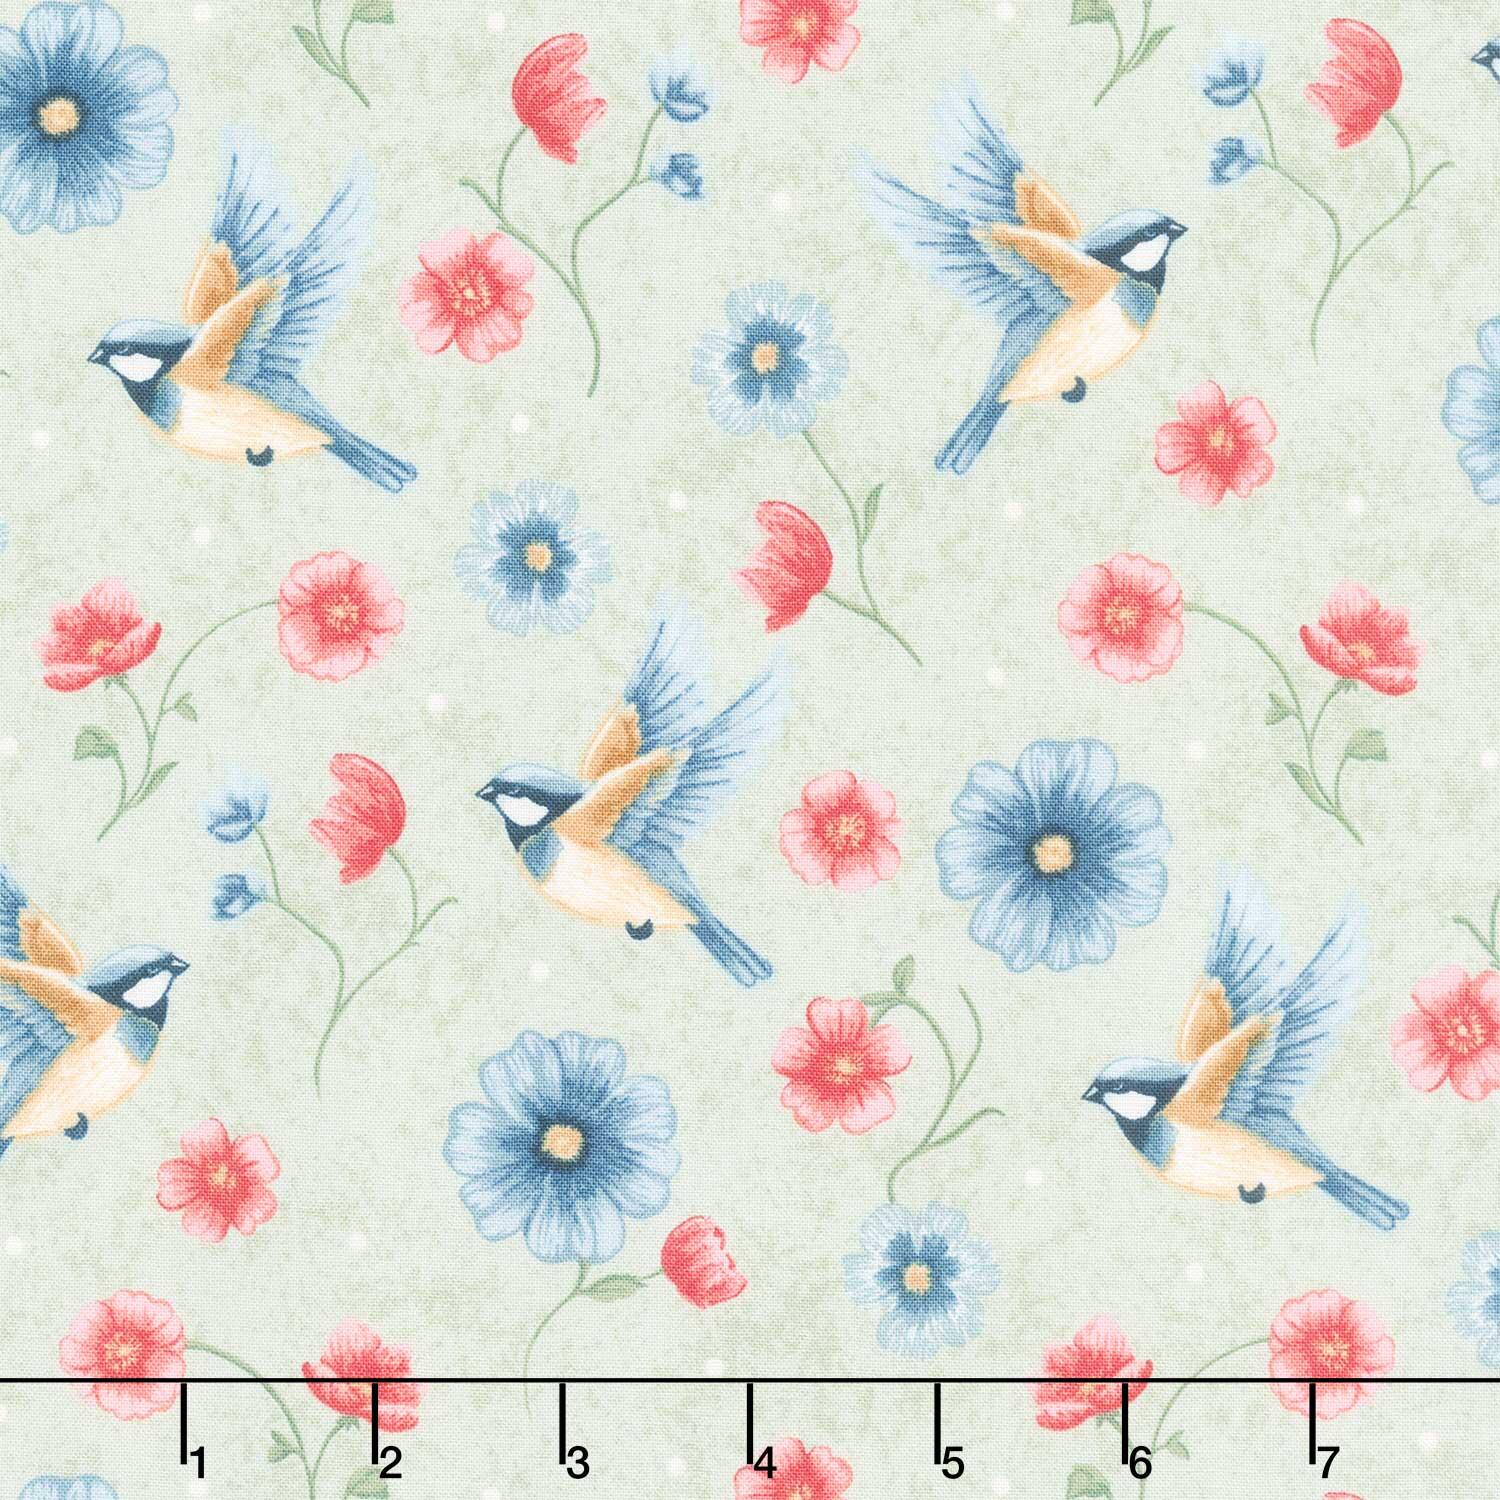 Sparrow Falls - Sparrow Falls Moss Yardage$12.08Shop →
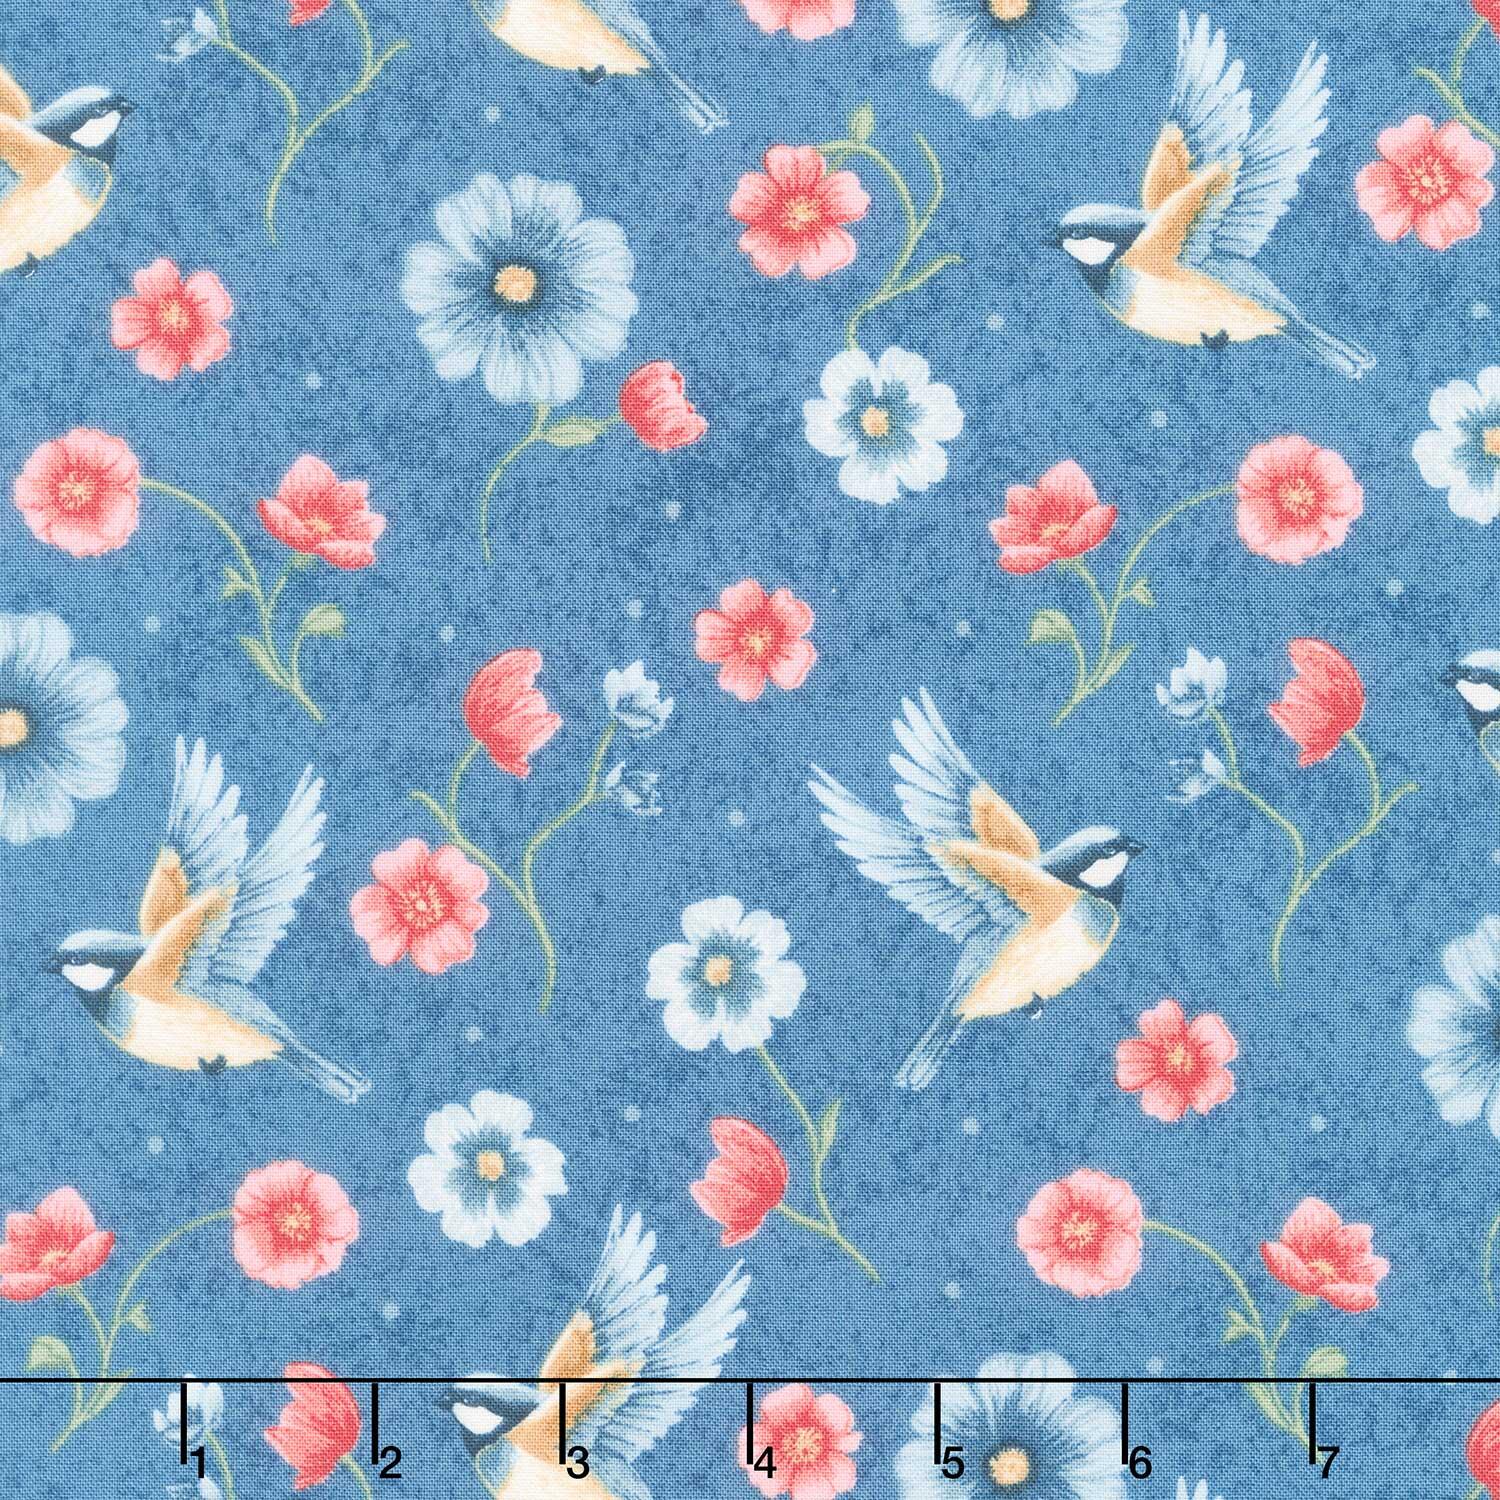 Sparrow Falls - Sparrow Falls Deep Prussian Yardage$12.08Shop →
 Missouri Star Quilter’s Best Blend Twin Batting$26.95Shop →
 Missouri Star 5" x 15" Ruler$19.95Shop →
 Missouri Star 10" x 10" Square Ruler$19.95Shop →
 Missouri Star 50 WT Cotton Thread White$7.95Shop →
 Missouri Star 45mm Rotary Cutter - Olga$19.95Shop →
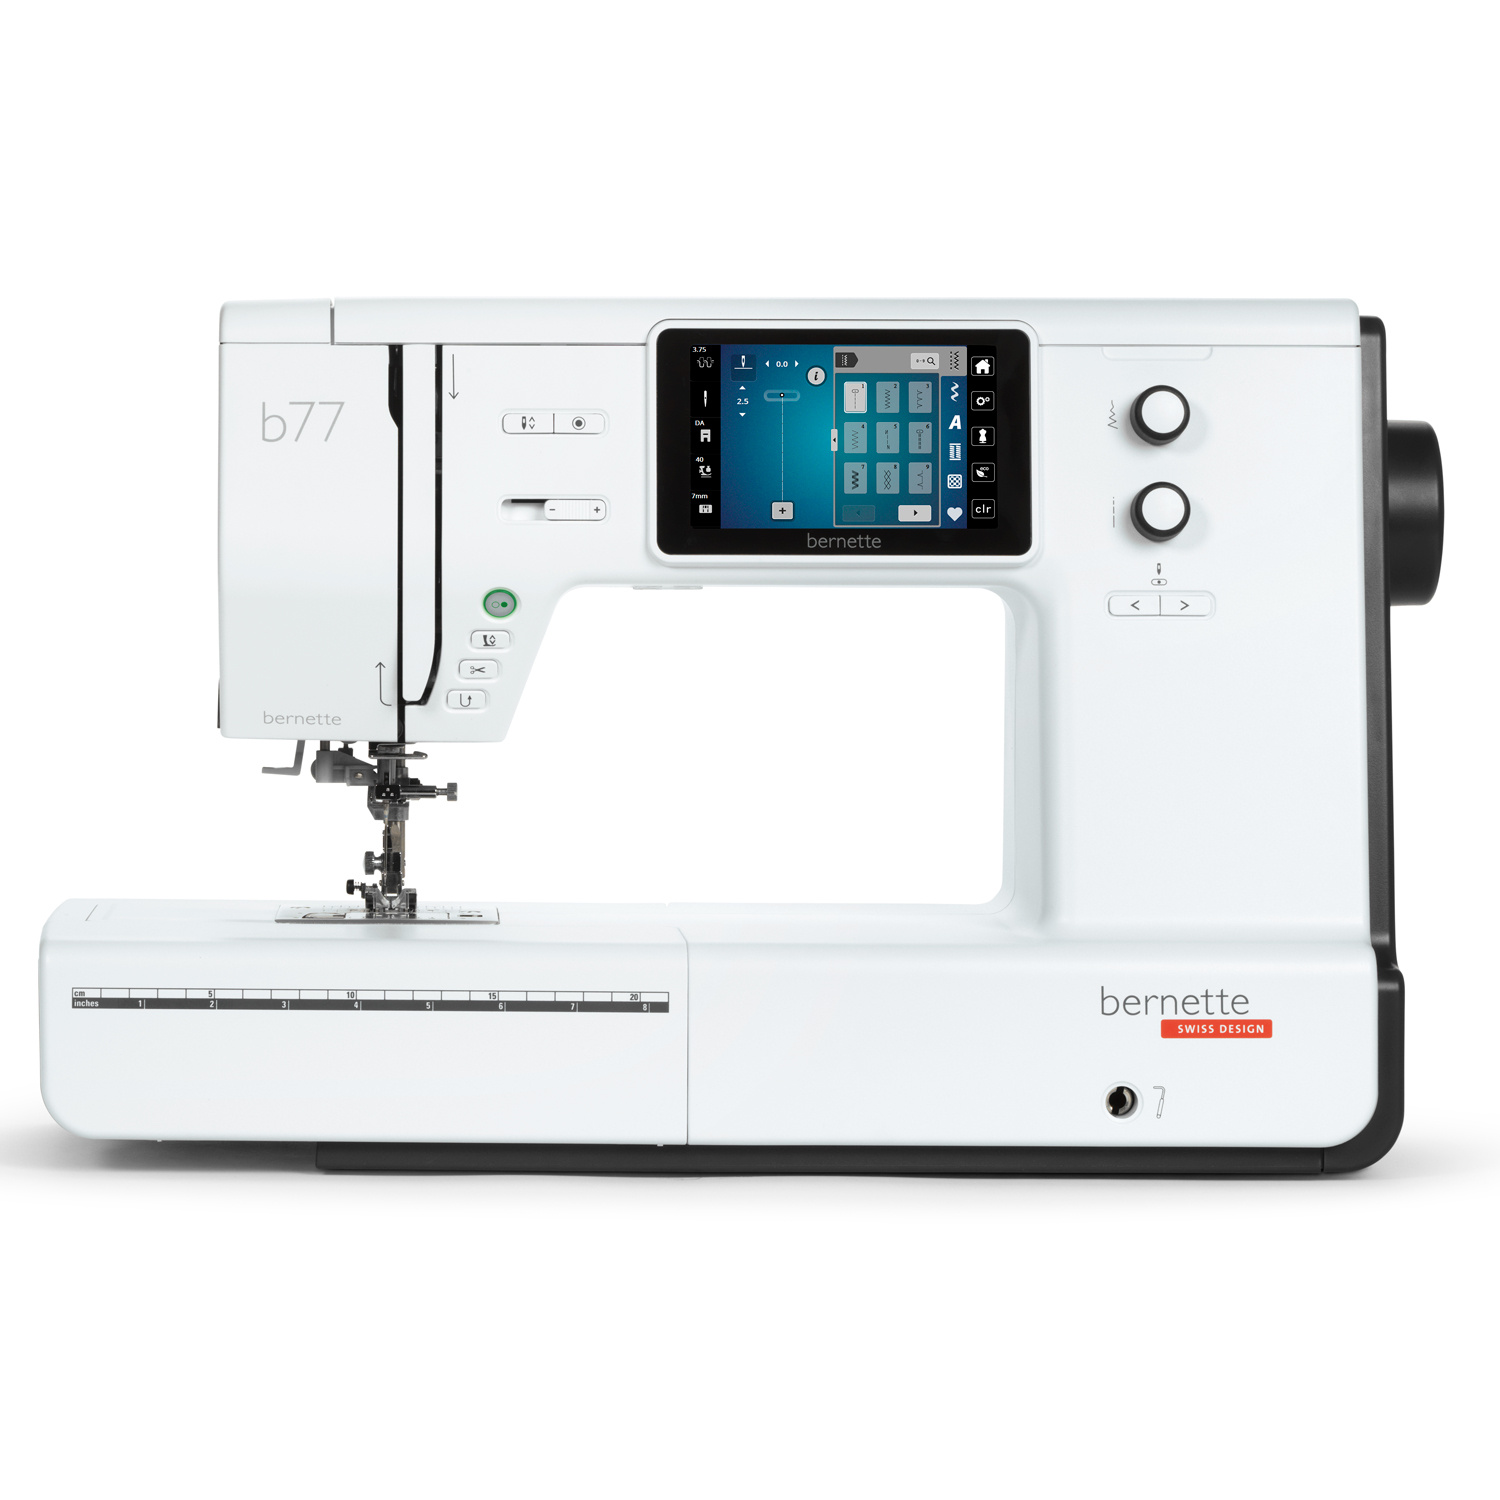 Bernette 77 Sewing and Quilting Machine$1699.00Shop →
Video Transcript
Hi everybody. I'm Natalie with Missouri Star Quilt Company and I have a fun project for you today. I've adapted one of Michael Nardy's patterns from Binmar Quilts. It's called Crisscross and I think you're going to love how it comes together. [music] All right, so take a look at this beautiful quilt. This is an adaptation of Michael Nardy's pattern called Crisscross. And he has this design. It's available in print or as a download on his website. It has this really fun zigzag border and he built this whole um pattern based on yardage. So, it uses lots of different pieces from his line. It's absolutely gorgeous. But we were having a conversation one day and I said, you know, wouldn't it be fun if I took your pattern and then adapted it for a layer cake? And he agreed. Thought that was a great idea. So, I've made a little adaptation. My quilt is one row narrower, so it's four across instead of five. And um we kept all of the sizes the same. So either pattern will make the same exact block, but I am going to show you how I did my quilt that's adapted for pre-cuts. And we have a little uh front and back page that you can download on our site that gives you those instructions and um and yardage amounts as well. So it's kind of cool. A good little two for one today in collaboration with Michael Nardy from Binmar Quilts. And I'm excited to teach it to you. So, let's talk about what you're going to need to get started. Okay, so you're going to need one package of 10in squares, and I've used Sparrow Falls by Michael Nardy for Andover. Uh, you're going to need some background fabric, 2 and 5/8 of a yard. You'll need some accent, a yard and an eighth. A little bit of cornerstone fabric, just a quarter of a yard will do. A yard for your border, and you'll notice we've used this same green, but you can use any print you want for your border. You're going to need um five yards for backing unless you have a 108 and in that case two and an eighth yards will do it. All right, let's get started making these blocks. All right, so this quilt is made up of this block. And this is a great block if you have fabric that has a large print that you want to keep big so you can see how beautiful it is. Or maybe you want to do some embroidery. it would also be great for that. So, let's walk through what you do to get started. So, our cuts from our background, we're going to cut some 5 and 3/4 in strips. We're also going to cut some 2 and 1/4 in squares. From our accent, you're going to need a few 2 and 1/4 in strips and then another stack of 2 and 1/4 in squares. And then all of our cornerstones are 2 and 1/2 in square. So, those are the cuts we need from our fabrics. And then we're going to grab our prints. So, what you're going to do is put your prints together in sets of two. That way, you have one for the middle. And I tried to go with the ones that had big, beautiful prints, but also the ones that had a light background because our background is this cream color. If you put your cream colored prints inside, then it's separated with this little extra print on the outside and it won't blend into the background as much. So, that's something to consider when you're trying to decide what colors to use. All right. So, we're going to select two prints. One of these is going to get squared down to 9 and 1/4 in. So, we'll do that really quickly. This is a 10 in square. So, we're going to pull that down to 9 and 1/4 in. And you could actually take off all of the little PKD edges if you wanted to. So, let's do that. We have plenty of room to work with and I can get a nice straight edge. So, I'm going to flip that around and get this perfectly lined up at nine and a quarter. There we go. Almost. Sometimes you think you've got it right and it's just a little off down at that bottom corner. Okay, so that's it for trimming up the center. Got a 9 and 1/4 in square. Then we're going to take our uh our second piece and I'm going to cut this into 4 in rectangles. And we're going to get all of the pieces that we need to make those little flying geese blocks that surround our beautiful middle print. All right. So, this piece can go in our crumb bin. And then I'm going to stack these and subcut them into two and a/4 inch by 4 inch rectangles. I'm going to flip that around just so it's easier for me to read. I like to see that the two and a quarter instead of reverse mathing. I can't do that very well. Okay, so we have two, four, we need eight total. There's six and eight. All right. So, very little waste. We're using We're doing a good job using up our pre-cut. So, we're going to set these aside. And the next thing we're going to do is start building our little our little flying geese. And we're going to use our background squares. We'll draw the line across the back of our little two and a/4 inch squares. Or, you know, you can press it, you can eyeball it, you can use your seam tape, whatever works for you. I'm going to draw the line on a couple of these so we can just make one to illustrate it. Not going to draw with my um rotary cutter, though. That won't work. [snorts] Okay. Just want to make sure that's writing really well. There we go. And we're going to sew right on the line from corner to corner. And I do I like to do all of one side first and then I go through and chain piece the whole other side after pressing back. So I'll show you how that's done. We'll do a couple of them. Okay. Doesn't really matter which side you start on. Just whatever makes more sense to you. I like I do like to start here in the middle as opposed to starting from the point. Sometimes that'll get caught underneath my presser foot. Just makes it a little bit easier for me. Okay. Again, sewing right on the drawn line. And then I'll line up the next one and continue chain piecing all eight on one side. Okay. So, [sighs] I know I only did two, but you're going to do all of the all eight for the block. Then, we're going to trim this off. Just leaving a little bit of seam allowance there. And trim that next one. Then we'll take our little stack over to the ironing mat, set our seam, and fold this little corner back. It's the first side of our little half or half square triangles. What am I saying? These are flying geese. All right. So, now we're going to do our next set, our next side. Same thing. We'll place that on the corner there and sew from corner to corner diagonally. You can draw the line if you would like. I'll do one and then I'll eyeball the other one. Okay. And you just want to make sure that you have a good little quarter inch crisscross at the top and that will keep your point. And also I am going to continue to start from the middle. I just don't like to put that little tiny point underneath the the front end of this presser foot. I like to start with a little bit more fabric under there. Okay. And these are small enough that I can see both points on my um using my seam tape. It's very easy to push those through with your seam tape. Okay. All right. I know this looks a little bit complicated, but this is it. This is the hardest part of the whole thing. So, we've got these. We're trimming them off. We're going to set our seams and press them back. And then it's time to build that block. That one got a little bit stretchy looking. That's okay. All right. So, these should measure 2 and 1/4 by 4 in still. And we're going to lay it out using our center. Whoops. This one. We're going to do two little flying geese. They're going to print faces the middle and then we're going to put a little green block in between, a little separator. And this block is cute because it connects with your sashing strips and um creates that really cool like sort of woven look throughout the quilt. All righty. So, we'll add the rest of that row on the top. So you've got an accent block, a flying geese, accent block, flying geese, accent block. And then on our sides, same thing. Two flying geese and an accent. We just continue building all the way around. Okay. One in the middle. And two more here. and one on the end. So, I would go ahead and stitch together my tops and bottoms and then my sides. We can go ahead and do one of these. We'll stitch this together so you can see how that goes. In fact, I cannot I can actually do both of these. So, we'll do a top and a and a side just to show it laid out and and walk through how pretty it's really simple to put these together. So, I will just keep these together and continue. I'm going to add my second flying geese. And then one of these strips gets um blocks on the end and the other one does not. Okay. All right. I'm going to flip that around and add this other corner to the first end. All righty. So, Michael does really accurate and exact math. So, you want to be a little bit careful that your 1/4in seams are as precise as they can be. Um, just, you know, take your time, slow down, and, you know, try to be consistent. That's what's most important. All right, we're going to go ahead and just press this. I like for my fabric to go towards the the side that has fewer seams, but really, wherever your fabric wants to lay is fine. Just just so long as it's flat. And if you get a wrinkle pressed in like I did there, just spray it with some water or spray starch, ease it out, it'll be fine. It's all good. Quilting is about joy, relaxation, meditation, whatever it is for you. Therapy should be fun. Okay. So, this is how your top and bottom uh strips are going to look and your side strips. So, what we're going to do is we're going to add our side strips first and then our top and bottom. And our blocks will all look like this when they're done. They come together so quick and easy. So now the next thing we need to talk about is our sashing because Michael has built in this really beautiful sashing that sort of separates everything and also makes it look a little woven which honestly I think if you switched up some of these colors you really could get a really beautiful basket weave and I think that would be kind of fun. So just a little thought for you know future quilts. So, what you're going to do is take your 5 and 3/4 in strip and your 2 and 1/4 in strip of your background and your accent fabric. And we're going to sew them together with the green strip in the middle and a background strip on both sides. And this ends up being exactly the width of your block. So, you can see how that lines up just like that. I don't know, do I need to clear the table a little bit or is that does that show up pretty well? Um, okay. So then what you're going to do here after this is all pieced. Whoops. I'm right-handed. [laughter] Left or right, depends on which end you uh which end you cut from. So I'm going to line this up nice and straight. If my my front end is a little bit off, I'm going to clean that up after I make my first cut. So, I'm going over a little more than 2 and 1/2 in. I'm going to flip this around. And because there's cornerstones built in, all of your sashing strips are going to be 2 and 1/2 in wide by the width of this, which I believe is 12 and 1/2 in. Yes, it's 12 and 1/2 in. Sometimes I forget what size blocks I'm working with. That's okay. So, yeah, you're going to just continue cutting 2 and 1/2 in strips for your sashing. And those get joined together with your two and a half inch corner stones just like so. I'll show you how it goes in the quilt. So, this is where our sashing strips line up just like this. And you've got your cornerstones and then you've got your your uh vertical sashing as well. So, you'll notice I've got four blocks across. One, two, three, four by five down. One, two, three, four, five. And that uses 40 of your precut um prints. So, you have some to work with. If you know, if there's a couple that you want to pull out, that's totally fine. The quilt itself has a really cute little 4-in border with which obviously you could make that bigger if you wanted to. It's completely up to you. I think it looks really cute and frames up the quilt. Um, we use this beautiful backing fabric for the back and Michael, he does beautiful artwork. He painted all of these and then had them digitized. And he's got some great stories about where his inspiration comes from for his fabric lines if you ever wanted to go check that out. It's on his site. Um, and we machine quilted it with this heart blossoms pattern, which I just think is so pretty. It turned out great. I always love collaborating with Michael. So, I hope you enjoyed this tutorial on the crisscross quilt from Michael Nardy with Binmar Quilts and the Missouri Star Quilt Company. We'll see you guys next time.