Capture the breezy, fresh feeling of the coast with the Clear Skies quilt! Misty's quilt features Craig Conover of Sewing Down South Coastal Collection fabrics. With the beautiful colors of water, sea glass, and coral, this quilt is as refreshing as a dip in the ocean!
Misty Doan grew up surrounded by sewing and quilting. She loves spending time sharing tutorials each week each week, and when she’s not stitching up one of her fun sewing projects for home decor, most likely you’ll find her hanging out with her husband and three awesome kids or working on a house project.
Capture the breezy, fresh feeling of the coast with the Clear Skies quilt! Misty's quilt features Craig Conover of Sewing Down South Coastal Collection fabrics. With the beautiful colors of water, sea glass, and coral, this quilt is as refreshing as a dip in the ocean!
How long is the tutorial video?
The tutorial video is 00:14:11.
Are supplies listed for this tutorial?
Yes. The tutorial page includes the supplies and materials connected to this project.
Video Transcript
Hey everyone, it is Misty and as most of you know, I had a fun series with Sewing Down South co-founder Craig Conover where we taught him how to quilt. And I'm super excited because today I get to use his very first fabric collection. So, this beautiful quilt that you see behind me, I'm calling Clear Skies. And I absolutely love how it turned out. It's super fun to make. So, up first, you're going to need a package of 10-in squares. And I used the Coastal collection by Craig Conover and Sewing Down South Textiles for Robert Kaufman. You're also going to need some background fabric. I just used this white. You'll need 2 and 7/8 yards of your accent. You need 1 and 1/4 yards. For your border, you need 1 and a3 yards. 3/4 of a yard for your binding. And for your backing, you need 5 1/2 yards with vertical seams. So to begin, you're going to split your package of 10in squares in half. 21 you're going to use to make these four patch blocks, and the other half we'll use to make our star blocks. And so I went ahead and did that already. And then the ones that we're going to use for our four patch, you're going to cut into 5 in squares. So I've gone ahead and done that. And then I mixed them all up so that they'd be nice and scrappy. So I have four different 5 in squares here. And we are just going to sew those together into a four patch. Here's one that I've already sewn. And then we're actually going to add some sashing strips. And so our sashing is from our background fabric. And we're going to cut that at 1 and 3/4 in wide. And the first two strips that are going to go on either side here are 9 and 1/2 in. So let's go ahead and take this to the machine and we'll add one to either side. Make sure I'm all lined up. Take a few stitches and then line up my other side. And then we can just zoom down. Turn this around and add our strip to the other side. Beautiful. All right, let's go ahead and take this over to the ironing board and move some of this out of the way and then we can set these seams and press them back. Beautiful. And then we will add our other sashing pieces. And these are 12 in by an inch and 3/4. So we'll do the exact same thing. Sew these on both sides. And we'll turn this around. Add our last strip here. And our first block of this quilt will be done. So quick and easy. All right. Okay. All right. Now, I'm going to go ahead and give this a good press. Beautiful. Tada. There is block number one. So, let's go ahead and move on to block number two. So, this is the second block we're going to be making today. It's a simple sawtooth star set on point. So, in order to do this, you're going to need some 7in squares of your background fabric, and we are actually going to cut those in half diagonally so we can use those for our setting triangles. So, I have those ready to go. Then from your accent fabric, you're going to need some 2 and 1/2 by 4 and 1/2 in rectangles and some 2 and 1/2 in squares. Now for your 10in squares that are left over, the other 21 from your pack, we're going to cut them all the exact same way. And then we're just going to mix them up to make these blocks. So I have a couple stacked here. Let me put this lighter one on top so it's easier for you guys to see. Make sure I'm all straight. And we're going to cut all of these in the exact same way. So to begin with, I'm going to cut a 5 in strip off of one side. And then I'll slide this over here. Now I'm going to turn it and I need to cut a 4 and 1/2 in strip here. And this little piece here is going to be extra that we can set aside in our stash for another project. And then we'll turn this and cut this into 4 and 1/2 in squares. And these are going to be the centers of our stars. So now I have that ready to go. From this extra half, we are going to subcut this into eight 2 and 1/2 in squares. So I'll start by cutting this in half. And then we can turn this and subcut it into our squares. And one more cut. Make sure I'm still lined up. There we go. And I like to take a minute and just organize these because I do want to keep my sets of eight together because that's how many we're going to need to make our star legs. So, we'll just put these in separate piles just like so. So, for this block, I'm going to use this for the center and these for my star legs. So, I'll just set these aside for now. And so, we are going to use our accent fabrics to make some flying geese to begin with. So, we're going to use those 2 and 1/2x 4 and 1/2 in rectangles. And I do have some already done. But in order to make those flying geese, we are going to begin by putting right sides together, placing one of our 2 and 1/2 in squares, and we're going to sew corner to corner like so. So, let's go ahead and do that. And this is a great opportunity to chain piece because you're going to do four of these for every single block. So you would just feed one right after the other in there. Once we have sewn that, we do need to trim in between. So we'll go ahead and trim off the excess, leaving our quarter inch seam allowance. And then I will press this, roll it back, and now we can come in and we'll add our 2 and 1/2 in square to the other side. They're going to overlap here in the middle and we're going to sew point to point like so to finish off these flying geese. Now remember, when you're sewing corner to corner like this, you can draw a line, press a line. I'm just using my diagonal seam tape, which is my favorite little timesaver. So once again, just trimming off that excess and we'll press this back. Okay. And so then we need, like I said, four that are made exactly the same. So we have four of those flying geese units. Let's go ahead and slide this extra stuff out of the way. And now we can start assembling our star. So we are going to use our 4 and 1/2 in square for the center. And then those star legs are going to be pointing in towards that print. And we can finish this off by placing our 2 and 1/2 in accent squares in the corners just like so. So then to assemble this star block, you're just going to sew it together in rows. And then I sewed my rows together until you have your completed little star block that looks just like this. So let's go ahead and move these out of the way. There we go. And so now it's time for us to add our setting triangles. So in order to do that, remember that just came from our 7in background square that we cut in half on the diagonal. So I have these ready to go. And so we are going to need four of these triangles for each block. And so to begin with, I'm just going to take these to the ironing board and I am going to press these in half so I can find my little center point here. So I've done a couple of them. I'm going to go ahead and do these other two as well. Just making sure I'm lined up and just finding that center crease mark. There we go. And then I'm going to do the same thing and fold the block in half both directions just so I have an easier time lining these up. So I've got that center crease and I'll do the same thing here. And you could finger press this too if you'd rather. just as long as you have a reference to look at. Okay. So, now that we have all those little middle points marked, we can take our setting triangles and line those up. And you'll notice you're going to have a little bit of overlap on both sides. That's okay. We can do opposite sides at the same time. So, I'm going to go ahead and sew a quarter inch seam here and here. And I'll meet you back here. So that first side is sewn. Now we can flip this around and add the other. When you are doing this, keep in mind you do have a little bit of bias on that edge. So you want to be careful not to stretch those triangles. Just let the machine do the work. All right. So, now let's go ahead and take this back to the ironing board. We'll give this a good press. Roll those back and do the same on this side. Beautiful. Now, I do like to go ahead and just trim these off straight. It's just easier for my brain. So, I'll line my ruler up and trim straight off to just get rid of those little notches. Beautiful. And now, in that exact same way, we're going to add our next two setting triangles to these two sides. So, let's go ahead and do it. All right. There we go. Let's go ahead and press this back. All right. Beautiful. So the final step here is you are going to square up both of your blocks to 12 in. You want to make sure that they're all uniform. And when you add these setting triangles, sometimes they can get a little wonky. So go ahead and square them up to 12. And then let's go ahead and take a look at the quilt. So I just alternated between the two blocks starting with that four patch and then the star. And we have six across by seven down. There is no inner border. I just added a 5 in outer border. And let's take a look at this beautiful backing. Those fun crabs which are so iconic to Charleston and this collection. I think this quilt turns out absolutely beautiful. It measures 78 by 89, so it's a great lap or twin size. I hope you guys enjoyed this tutorial and I'll see you next time. Hey everyone, thank you so much for watching at home. We're so excited to be almost a million quilters strong here at Missouri Star. And so if you haven't already joined our family, be sure to subscribe and hit that notification bell so you can be notified of all of our future tutorials. And we'll see you soon.

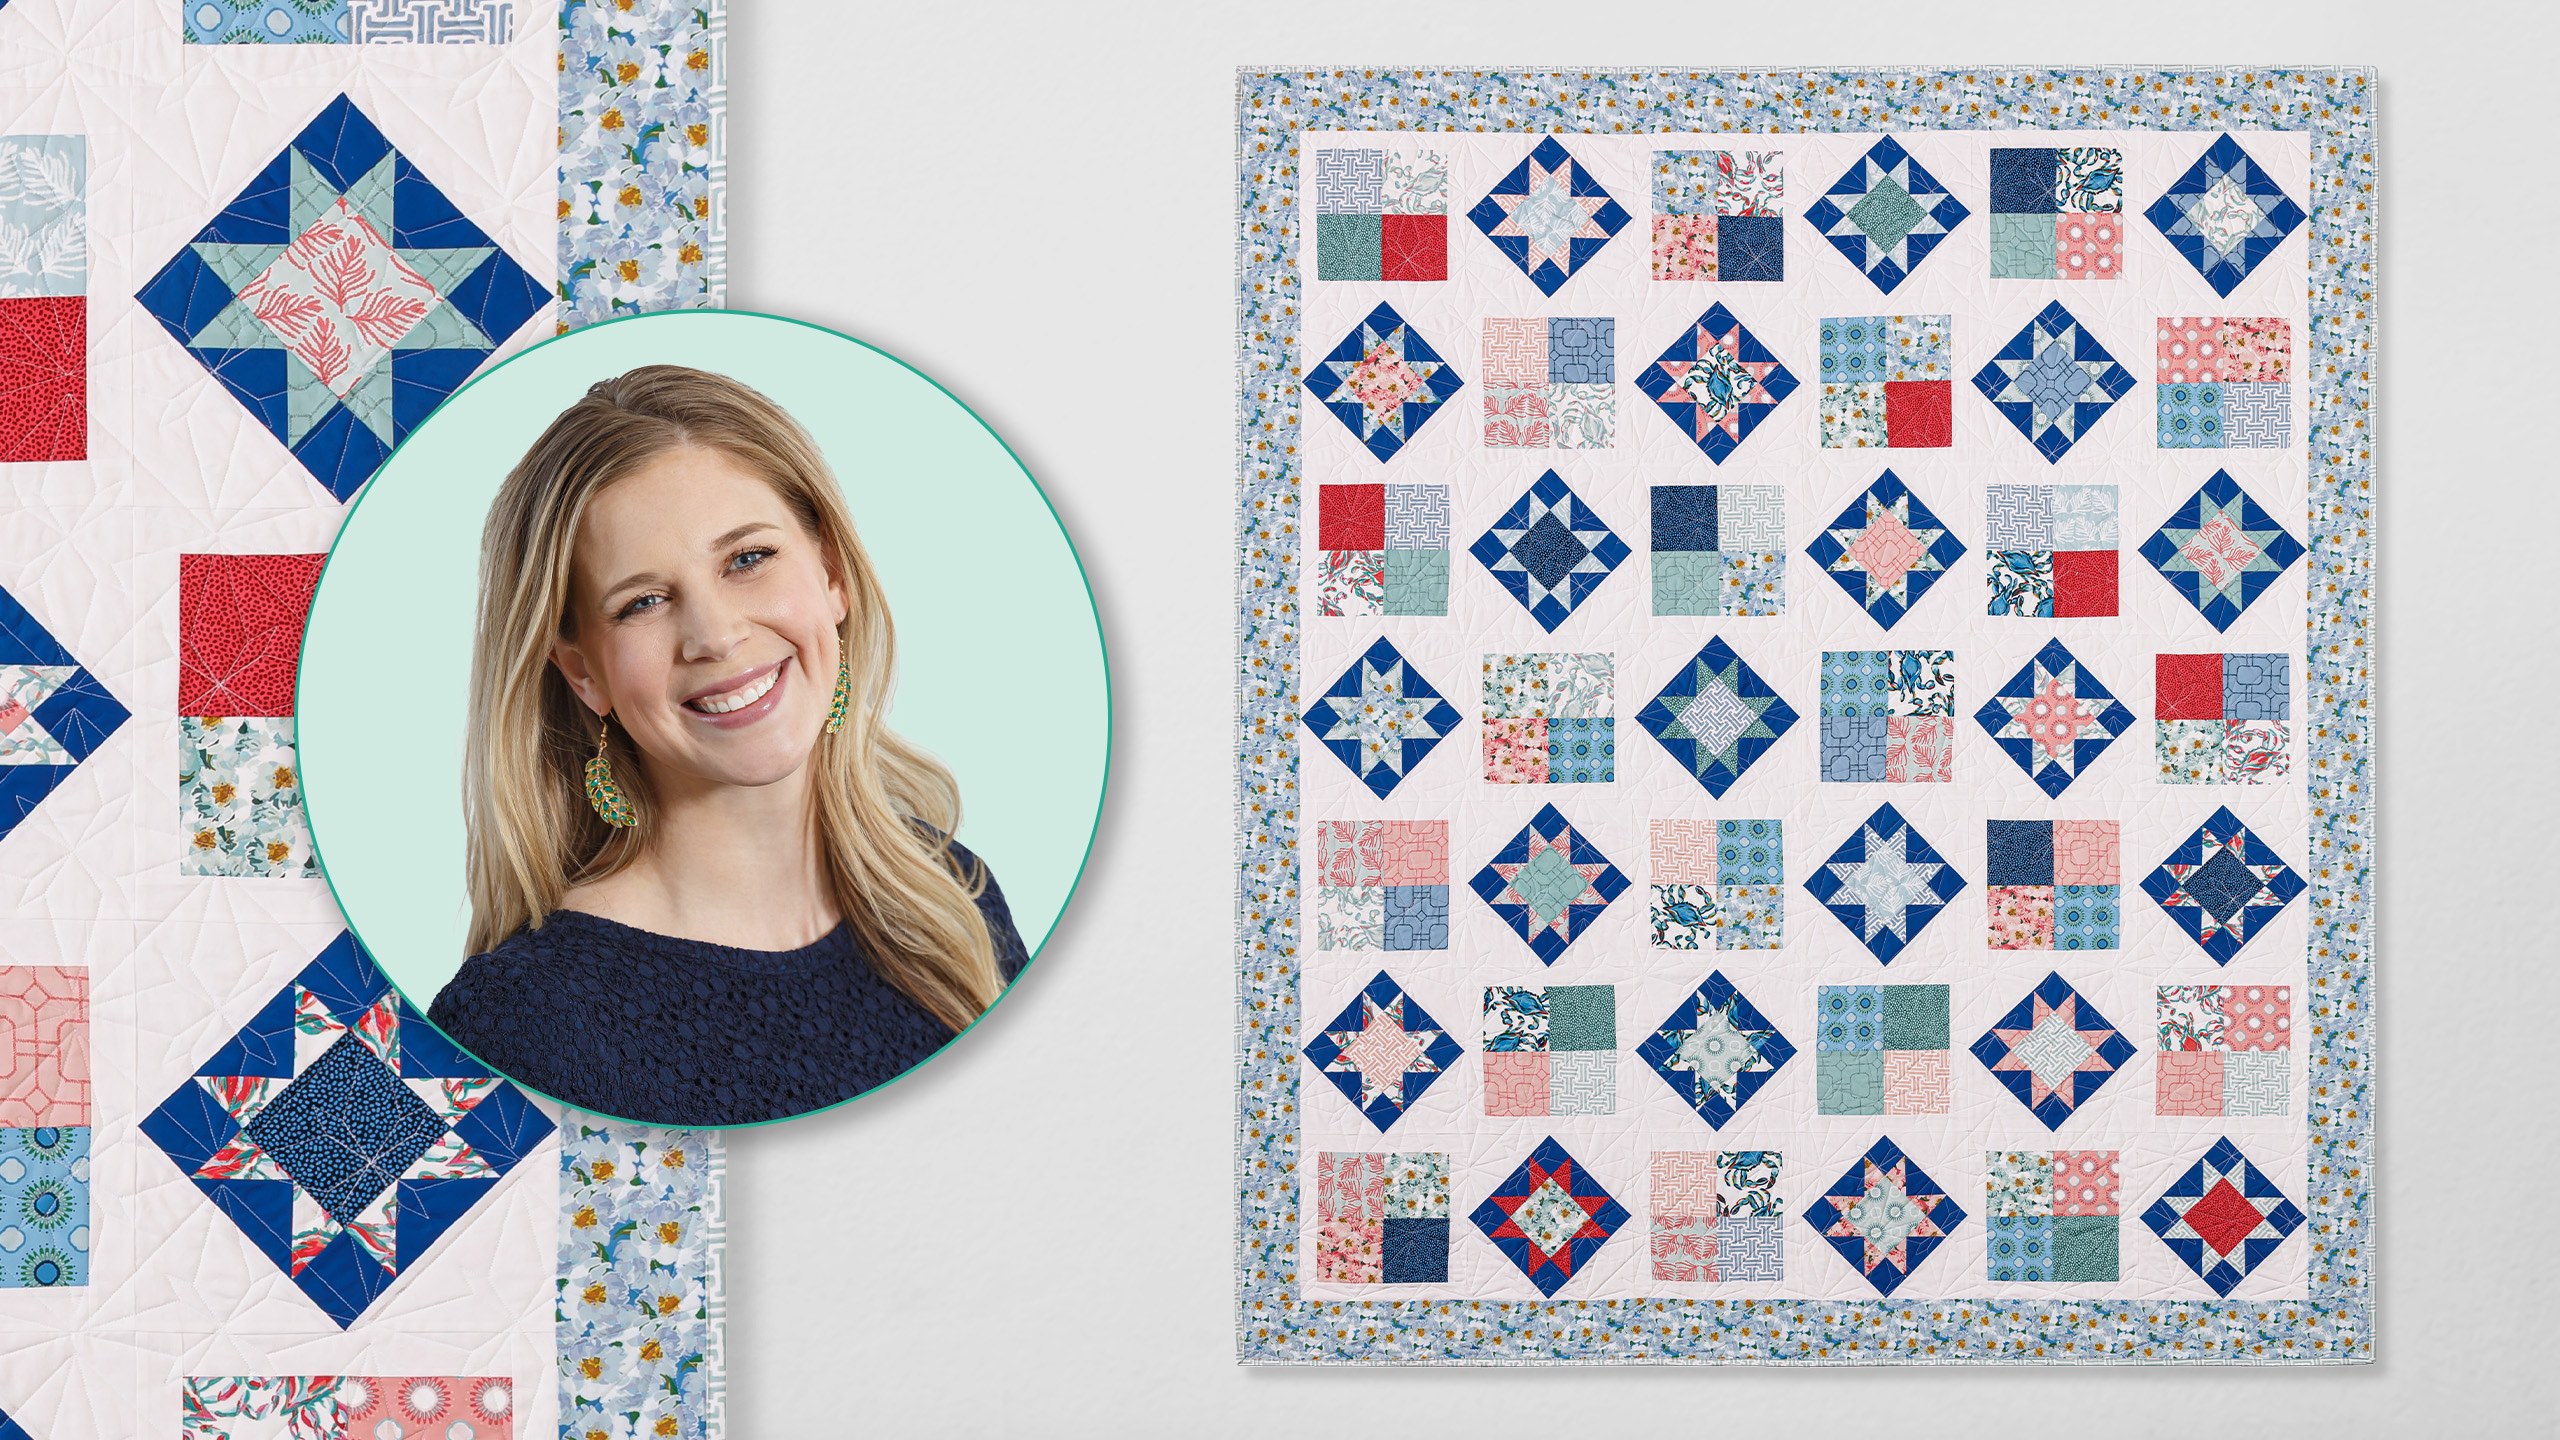
 Misty Doan
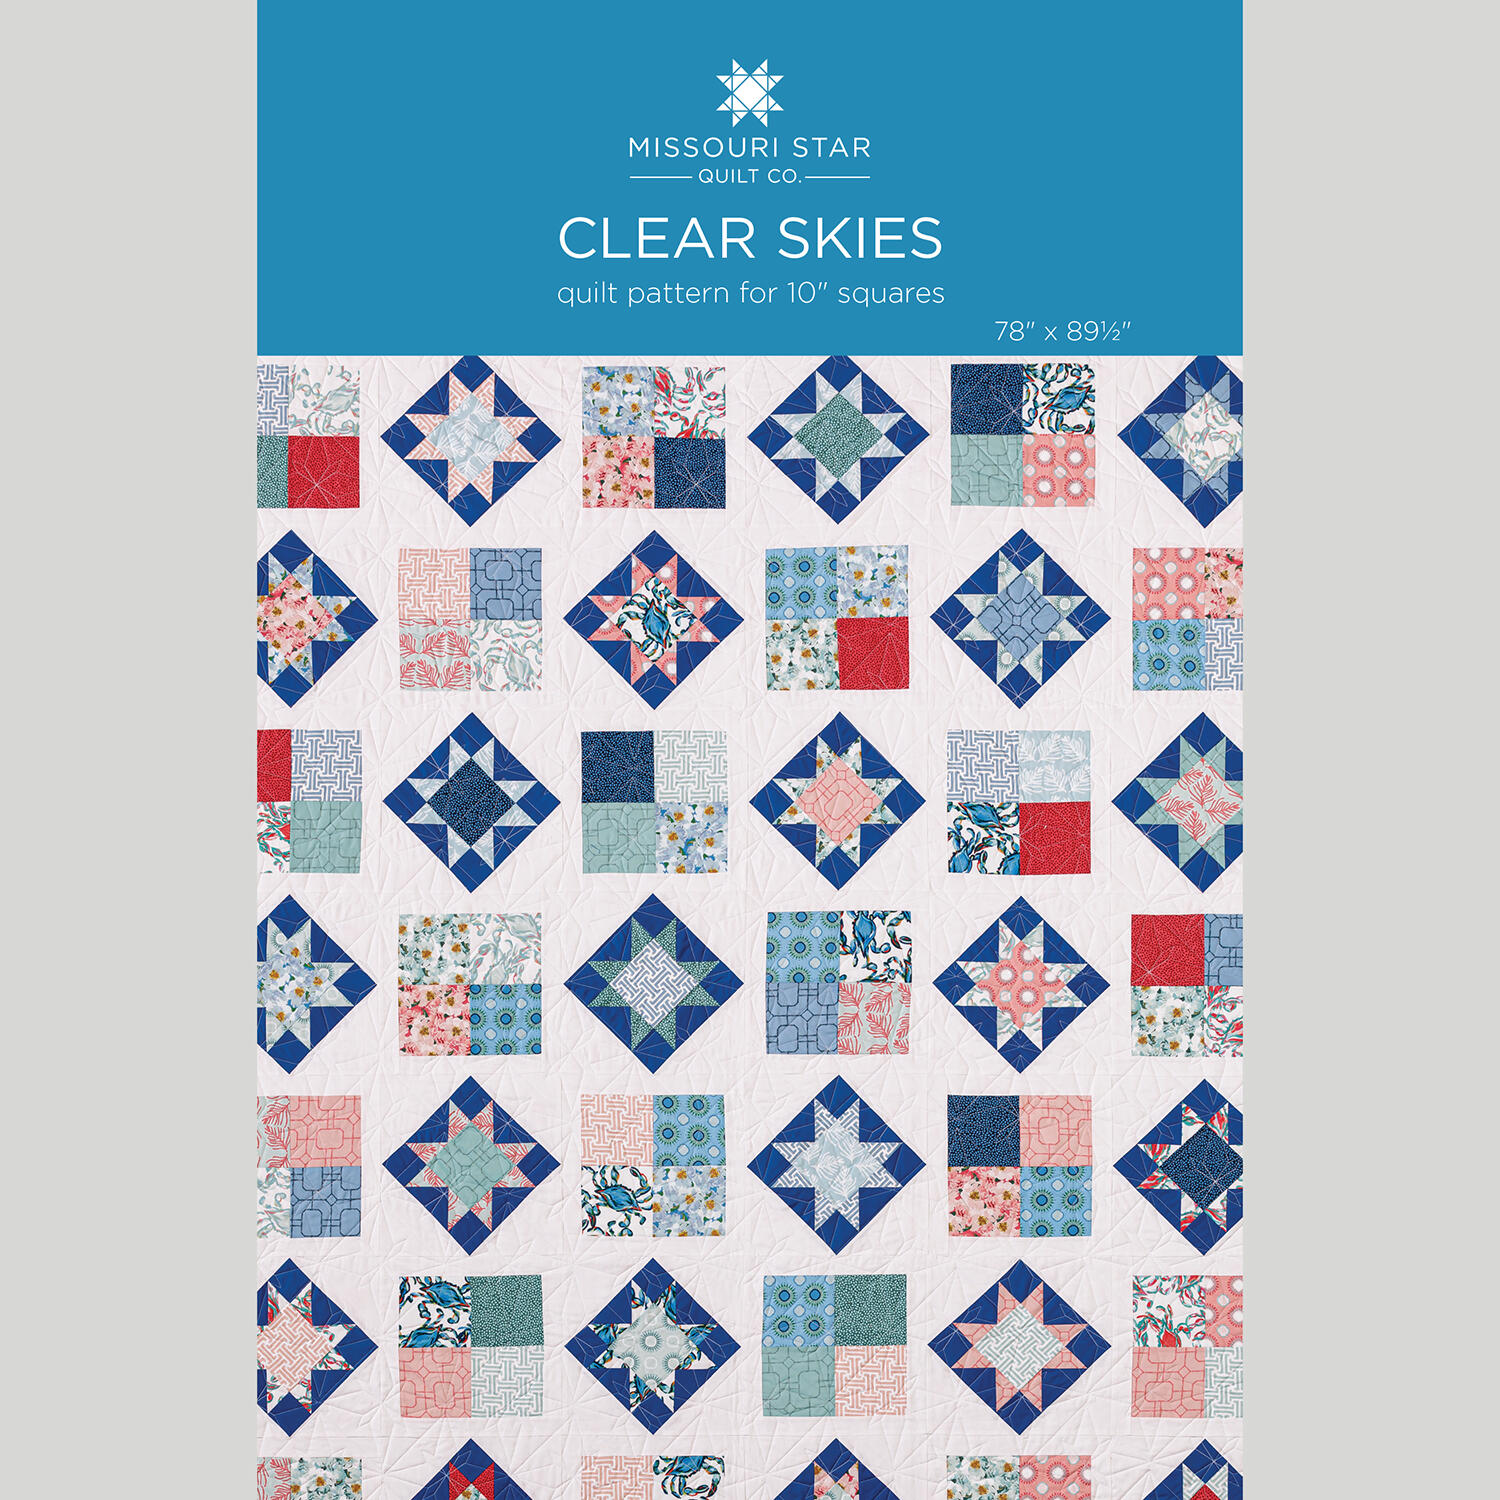 Clear Skies Quilt Pattern by Missouri Star$8.50Shop →
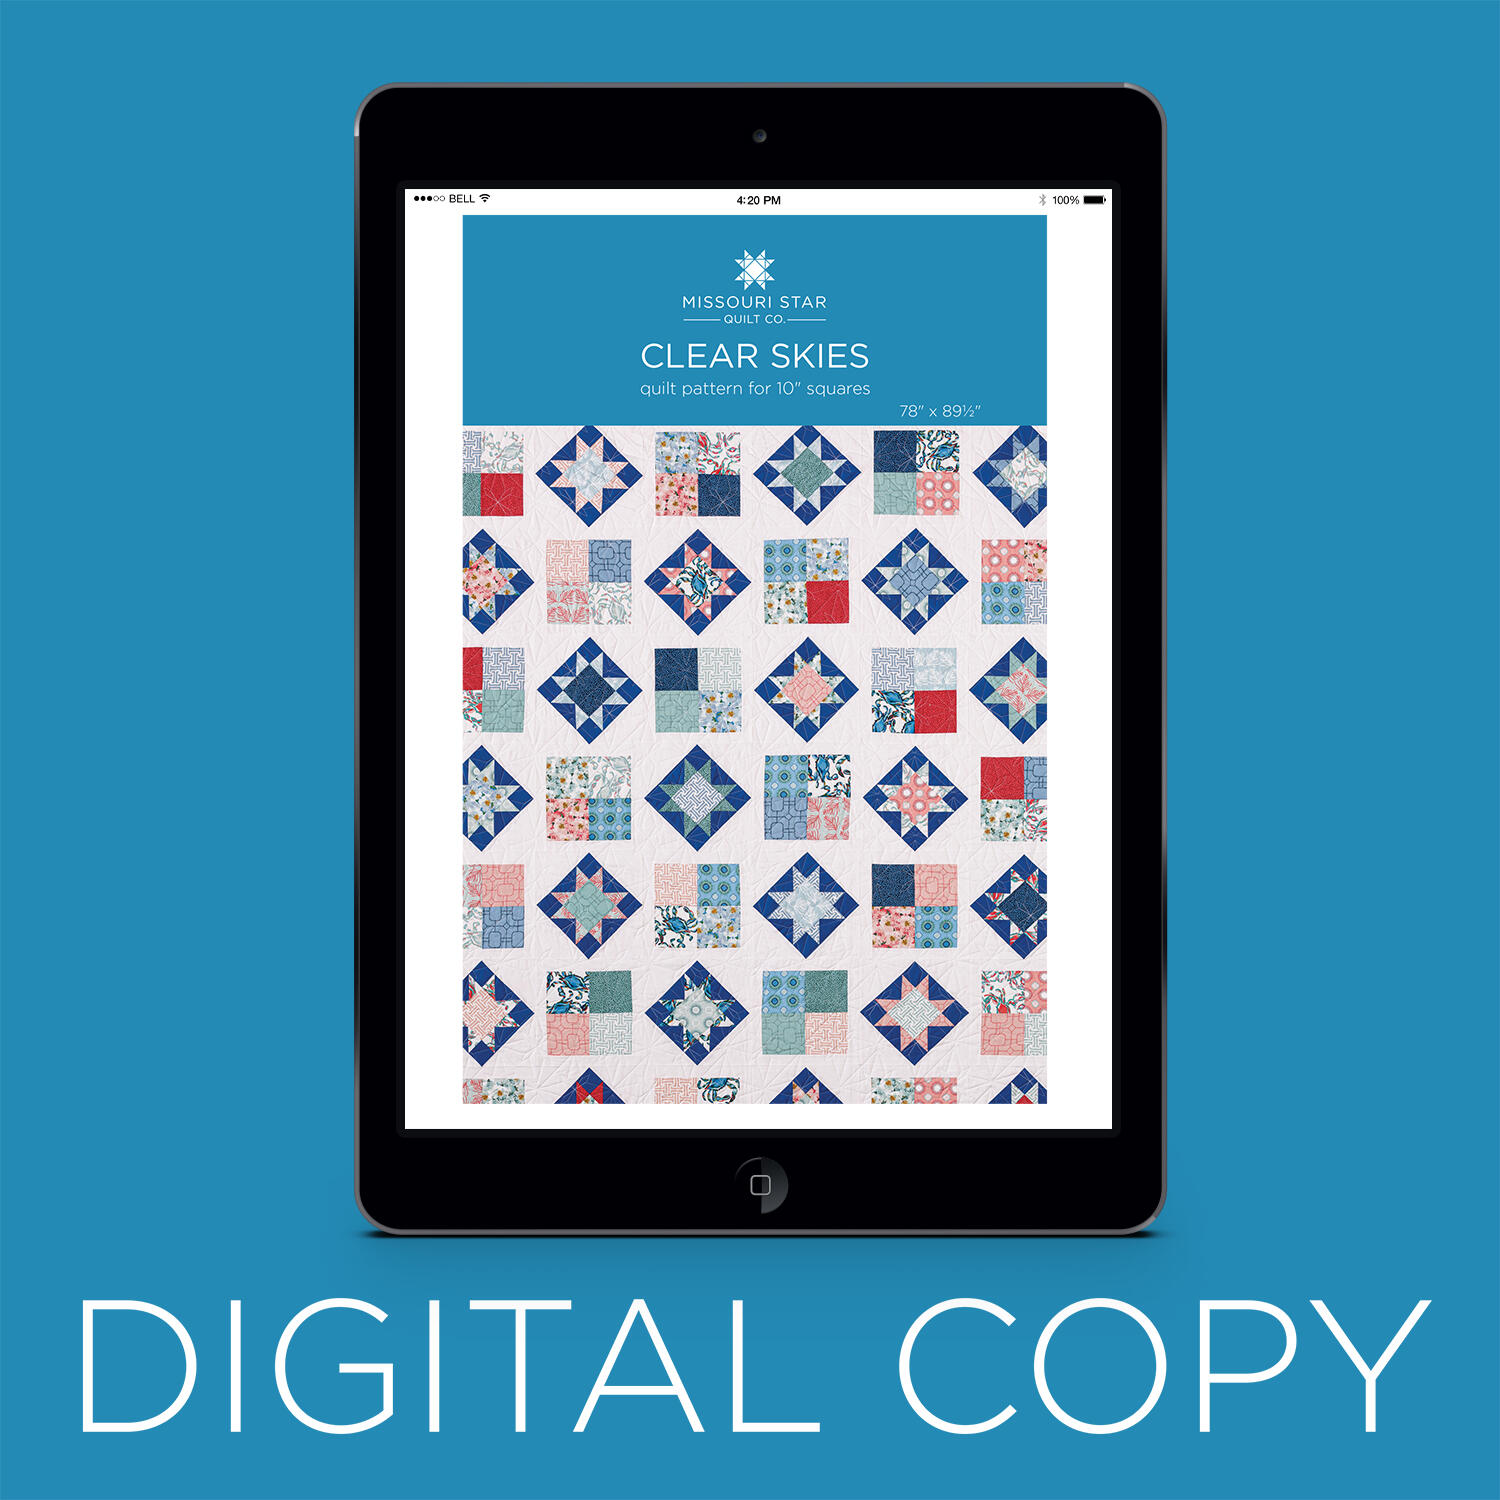 Digital Download - Clear Skies Quilt Pattern by Missouri Star$6.95Shop →
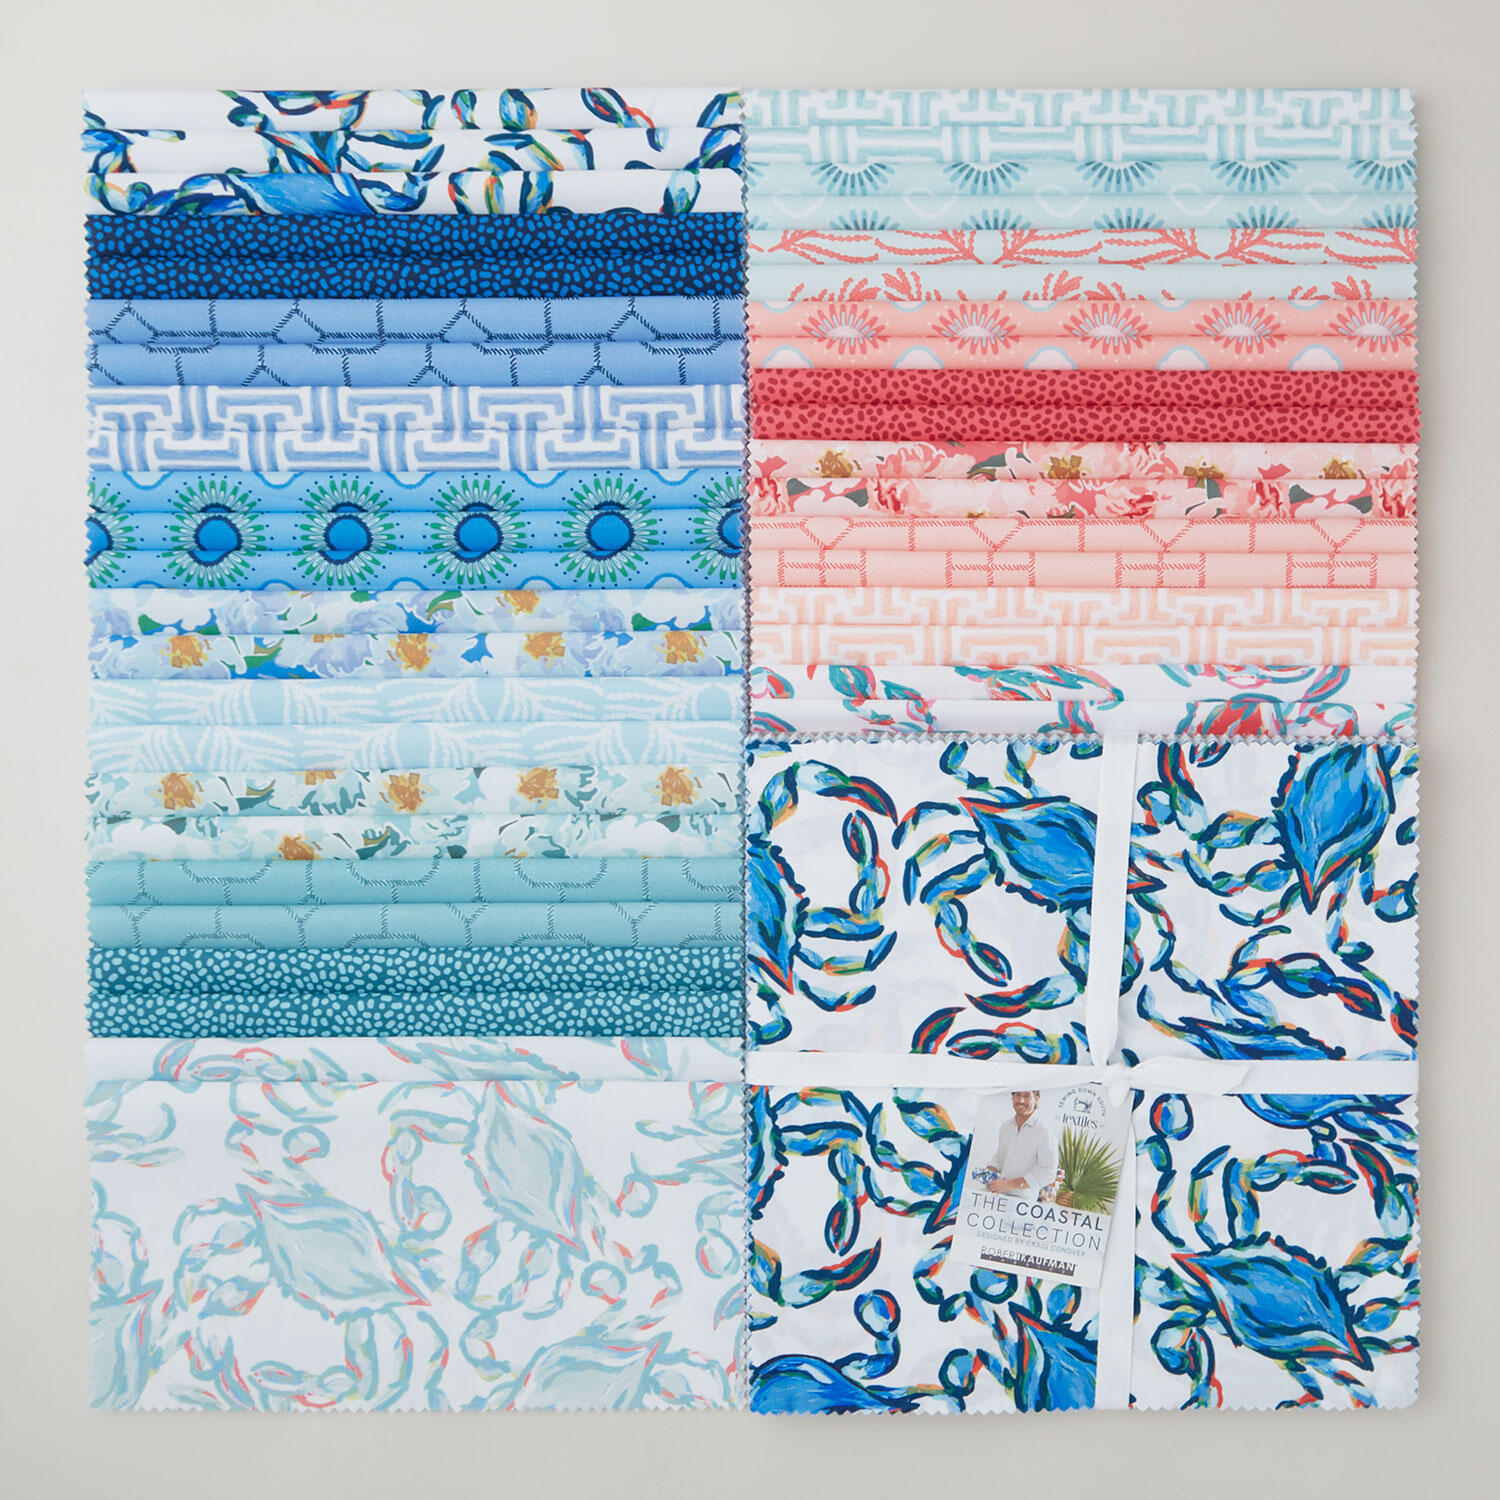 The Coastal Collection Ten Squares$45.75Shop →
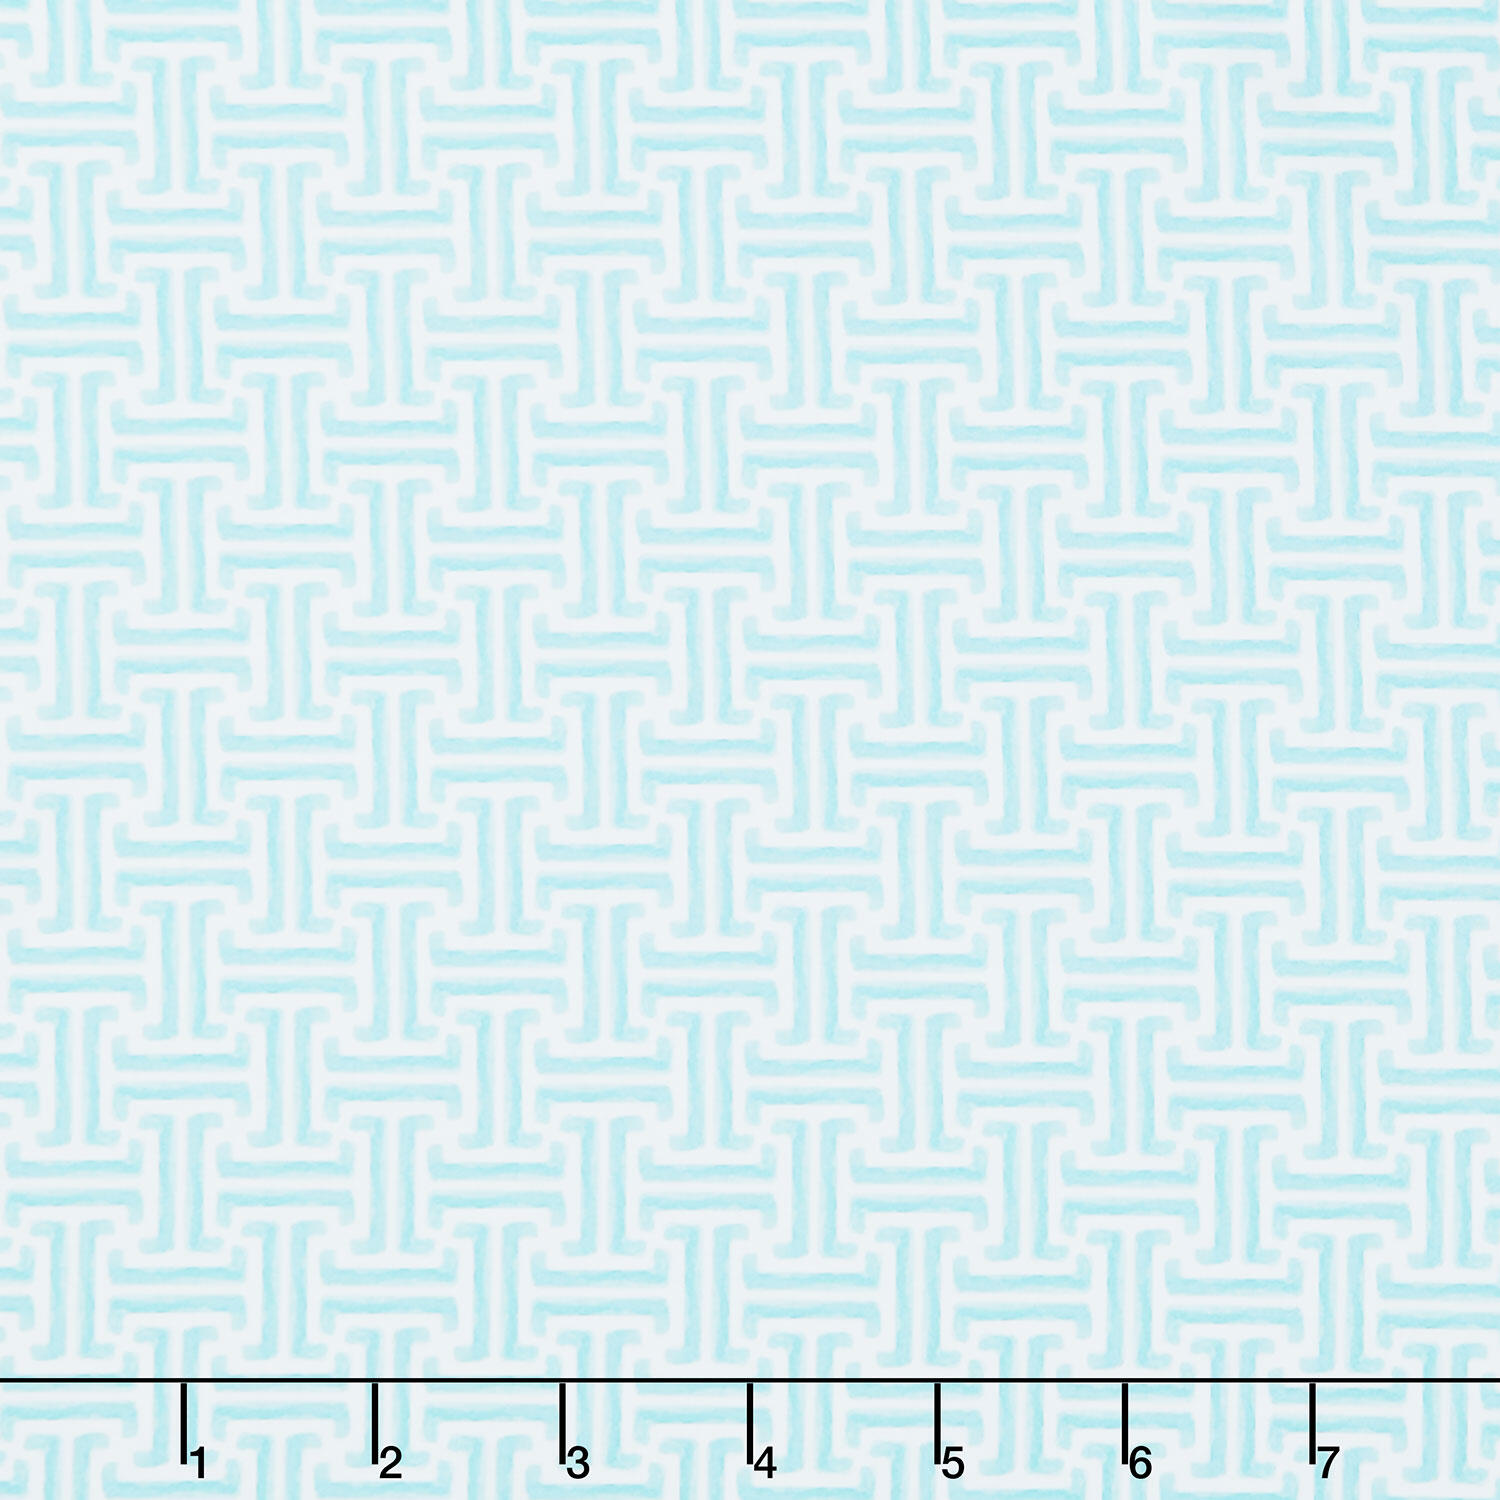 The Coastal Collection - Greek Keys Sea Glass Yardage$12.64Shop →
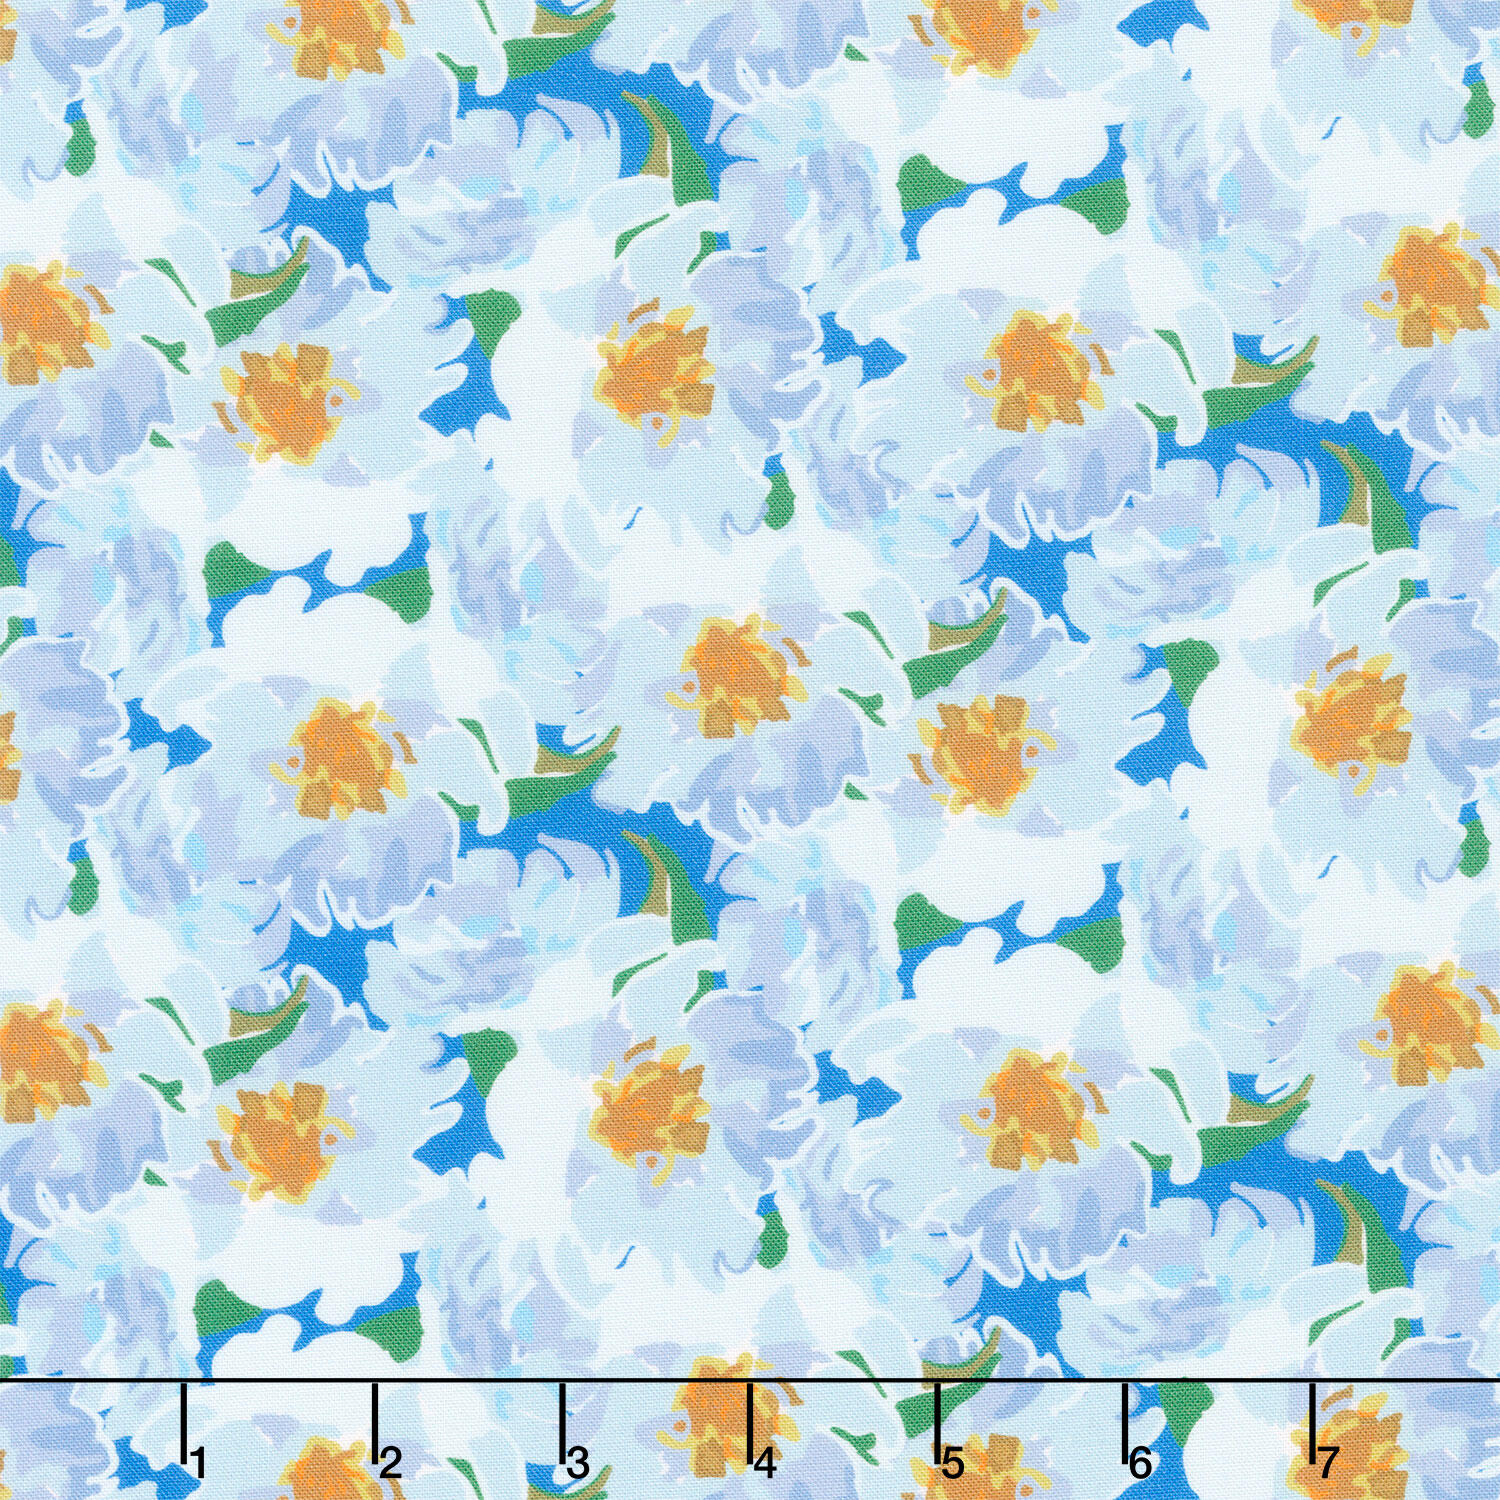 The Coastal Collection - Flowers Cornflower Yardage$12.64Shop →
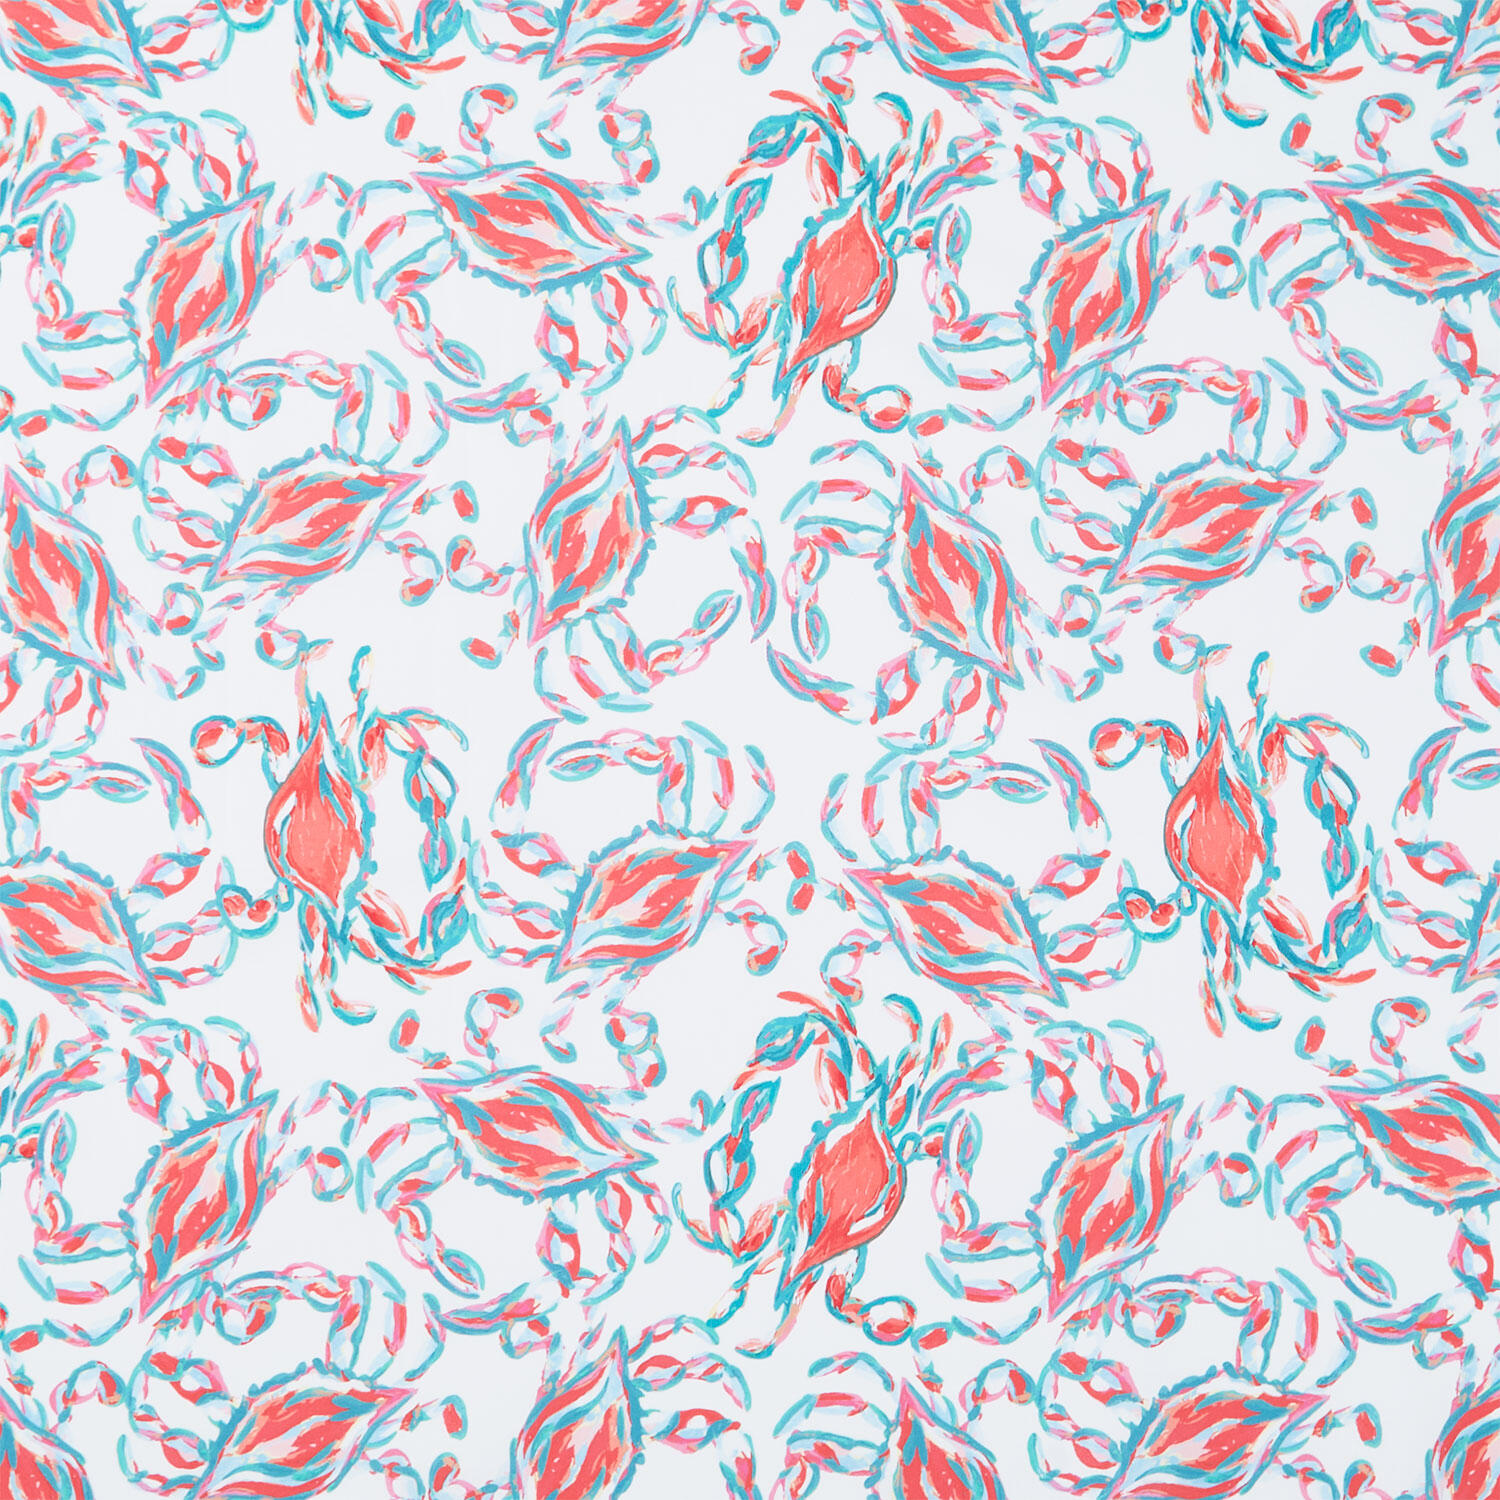 The Coastal Collection - King Crabs Coral Yardage$12.64Shop →
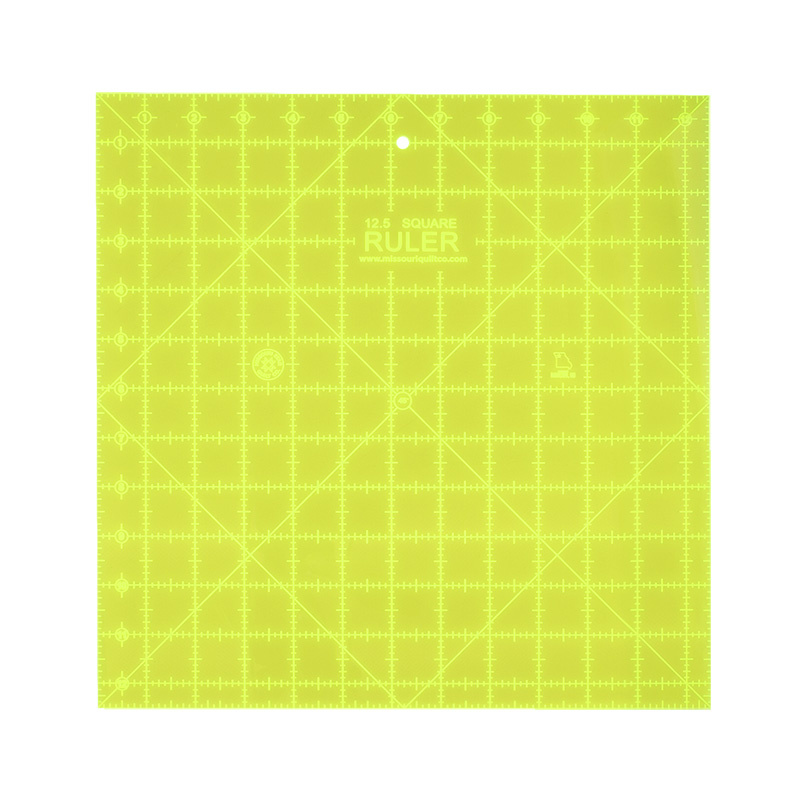 Missouri Star Square Ruler$29.95Shop →
 Missouri Star 5" x 15" Ruler$19.95Shop →
 Missouri Star 2.5" x 8" Ruler$11.95Shop →
 Missouri Star 45mm Rotary Cutter - Olga$19.95Shop →
 Missouri Star 8" Everyday Scissors - Amelia$19.95Shop →
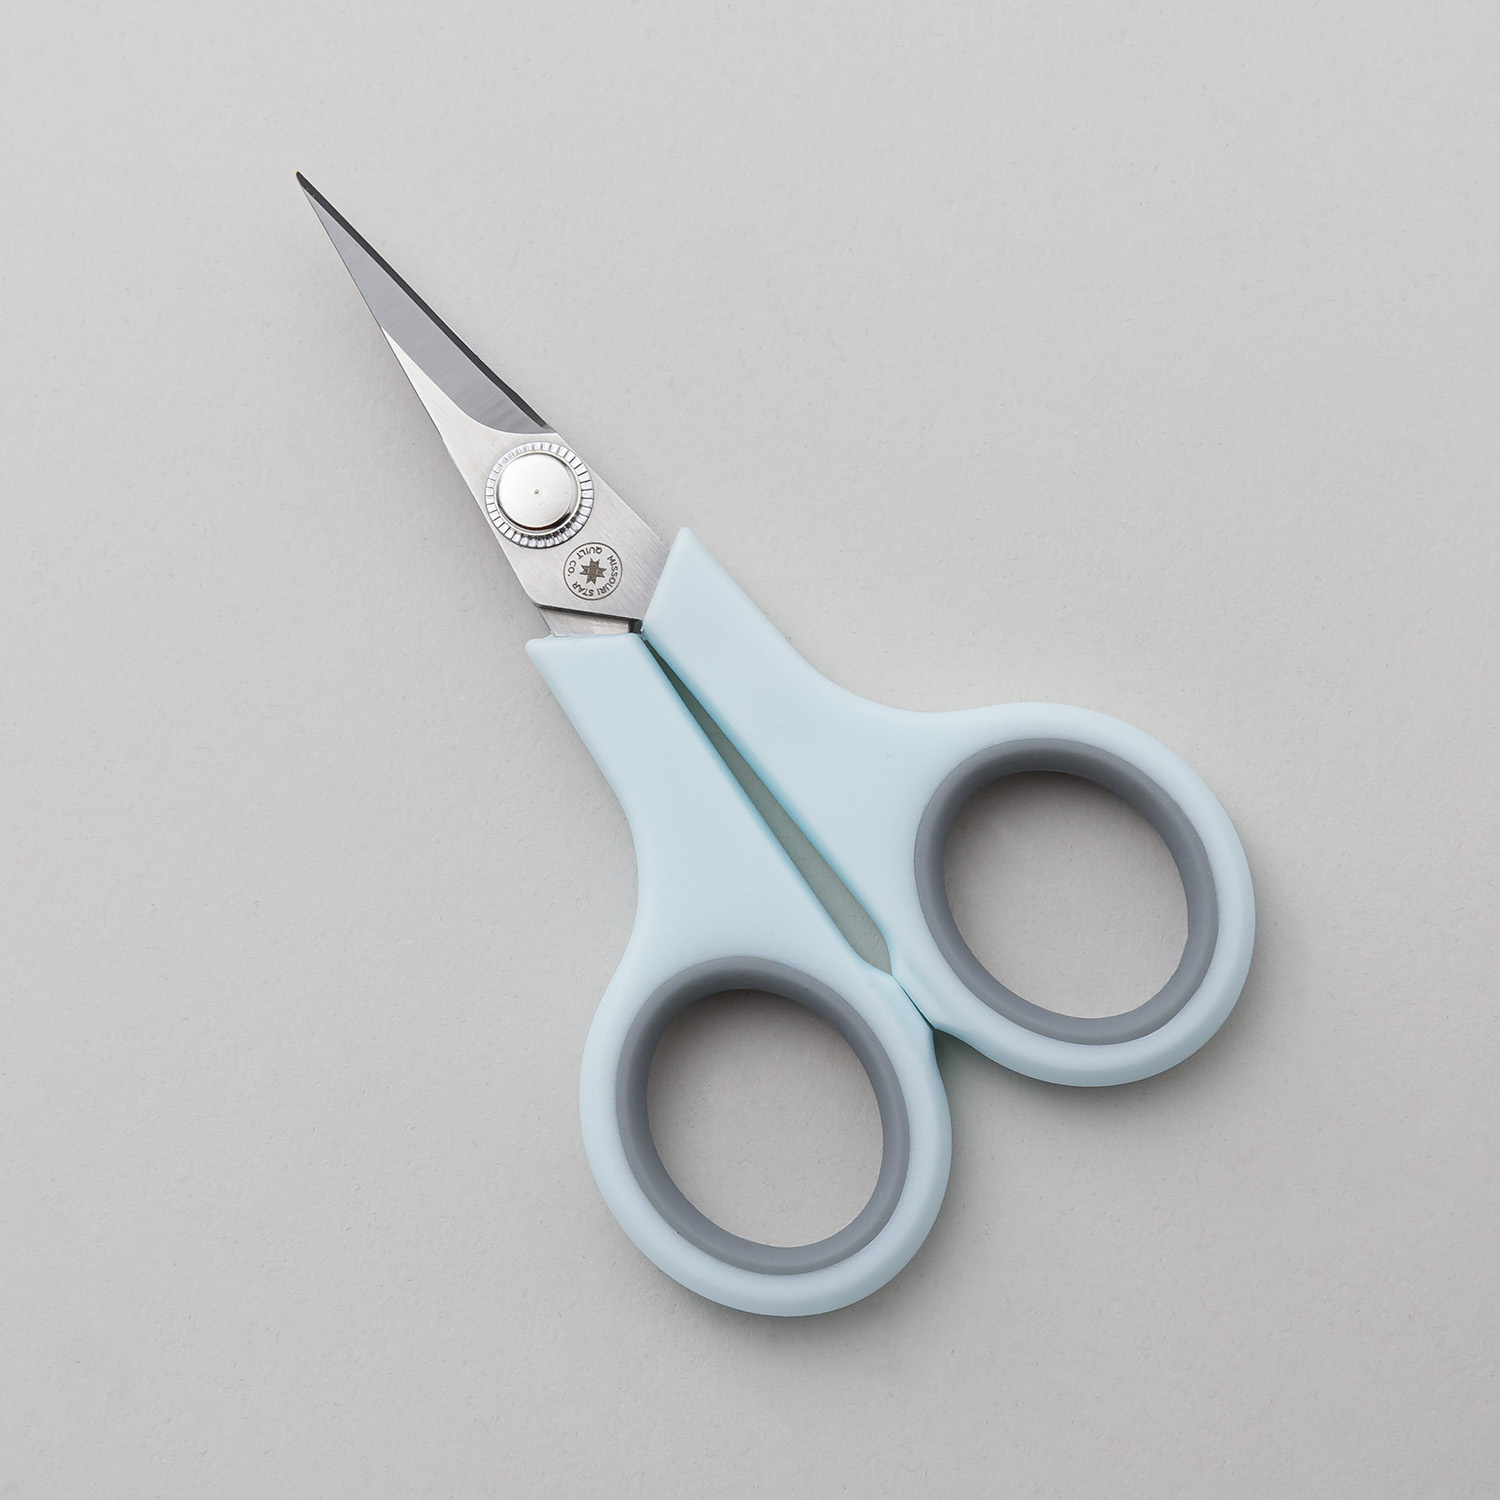 Missouri Star 4.5" Everyday Scissors - Elna$9.95Shop →
 Missouri Star Seam Ripper - Frida$9.95Shop →
 Missouri Star + Oliso TG1600 ProPlus Iron$209.95Shop →
 Missouri Star Wooly Betty Board - 17.25" x 25.5" Orange Border$99.95Shop →
 Bernette 77 Sewing and Quilting Machine$1699.00Shop →



