The Clover Hollow Quilt is bursting with springtime freshness! Blue and green rounded shapes look like clover leaves, and the mauve, pink, and white centers bring to mind clover blossoms. With the Missouri Star Drunkard's Path template, making the shapes is a breeze! Guest HollyAnne Knight of String & Story joins Misty in this fun tutorial.
Misty Doan grew up surrounded by sewing and quilting. She loves spending time sharing tutorials each week each week, and when she’s not stitching up one of her fun sewing projects for home decor, most likely you’ll find her hanging out with her husband and three awesome kids or working on a house project.
The Clover Hollow Quilt is bursting with springtime freshness! Blue and green rounded shapes look like clover leaves, and the mauve, pink, and white centers bring to mind clover blossoms. With the Missouri Star Drunkard's Path template, making the shapes is a breeze! Guest Hol...
How long is the tutorial video?
The tutorial video is 00:17:12.
Are supplies listed for this tutorial?
Yes. The tutorial page includes the supplies and materials connected to this project.
Video Transcript
Hey everyone, it is Misty. Welcome to At Home. I am back with Holly Knight of String and Story and I'm going to teach you how to make this beautiful clover holo quilt. And on Friday, she is going to show you how to quilt it on your domestic machine. Holly, thank you so much for joining me. We had so much fun last time making the runner and so now we get to make this quilt. Remind anyone who maybe missed last time who you are and what you're up to. Yeah. Welcome back y'all. My name is Holly Knight of String and Story and it's my job to guide you to quilt with confidence. And today I'm really excited to show you how easy and achievable it actually is to do this custom quilting right on your home machine. That's right. And so Hollyanne is going to help me tackle some curves today. Never sewn curves. I've never sewn curves. This is exciting. It's going to be super fun. And I think you'll find that it really is easier. You just have to slow down a little bit and enjoy the process. So, let me tell you what you need to make this quilt. It is all based on yardage. And so, up first, you're going to need a half yard of this beautiful light pink as well as the light blue. And then of the dark blue and green, you need a yard each. You'll need 1 and 1/2 yards of this dark pink and 2 and 1 eigh yards of your background. You're also going to need our Missouri Star drunkard's path template, a block lock or clearly perfect slotted trimmer, and a glue stick. So, let's get started. All right, so up first, let's go ahead and take a look at the quilt just so it makes sense as we start teaching these different units. So, the blocks, as you can see here, there are two that are the same and two that are opposites. And so, just keep that in mind. We're going to begin with these corner units here. And when we make these half square triangles, the half square triangles themselves, you actually get enough for both of those blocks. So, I want you to keep that in mind. And then we will tackle our first few curves in the green to finish out these corners. So, let's go ahead and get started. I have a 10-in square of both pink and blue, and I have drawn an X corner to corner in both directions. And so, first thing we're going to do is sew a quarter inch seam on both sides of each of those drawn lines. So, I'll go ahead and do that really quick here. I like to just sew right off the end. Flip this around and go back down the other side. Okay, we've got the first direction done. So, same thing on this other line that we drew. and flip it around. Okay. And so now we call this the easy eight method because it gives you eight half square triangles at a time. And so we are going to lay this ruler 5 in over and we are going to cut this in half. in one direction and then carefully lift. Make sure everything has stayed straight and then cut this in half the other direction. And I like to cut this way first instead of on the lines because now as we pull them apart, we still have the lines and we can just use the small ruler now a little easier to manage and cut these in half. Whoops. There we go. And if you want to press those open. I have a few of these already squared. So, we'll just do a few. But you're going to press and square each of these half square triangles to 4 and 1/2 in. There we go. And so, I'm going to make sure the block lock is on the light fabric. And this is nesting into that seam. And then we will trim this off. There we go. And for each corner, you just need one of these half square triangles. So, we'll just set this aside for now. And now we get to move on to tackling our curves. So, from your white fabric and your green fabric, we have some 4 and 1/2 in squares. And on the green, we are going to use the curve shape from our template set to cut the curve itself. It fits right in the corner so we have very little waste. There we go. And then on this ruler, we're going to line up the 4 and 1/2 inch line right on that square to cut out the opposite curve. Now, you could actually save this piece for another project if you want, but this is just waste. So, we're just going to toss it for now. And then I like to I'm going to walk you through this. You ready? Literally, I'm like glued in. So, we are going to fold this in half and find our center point. So, that's the first little finger press. And then we're going to do the same thing with this piece. And when I sew curves, I like to start by lining up these straight edges. You kind of want this little Mhm. skate ramp. Yeah, I like it. Okay. And then I like to use a little dot of glue. Some people prefer pins. I find the pins. You're allergic to pens. I think I am. Well, first of all, they get in my way and then I stab myself. I was going to say, do you poke yourself? I do. So, I just put a little dot of glue to start. I like it. Right there. Keep it lined up. And then same thing with my middle crease here. Perfect. A little goes a long way. And this will all work itself out. You don't need to stress about it. And then same thing at the end. And especially when I'm working with these little 4 and 1/2 inch blocks, I just find having the glue to keep everything lined up. Of course, now it's going to slide on me. I'm going to have to pin. Got it. Um it just really helps keep everything accurate. I love that. And then I don't have to fight with it. So, let me just pinch that. Give it a second to dry. There we go. Gorgeous. And so now we're gonna take this to the machine. Do you want to sew? Sure. Okay. I'm gonna be brave. You can do this. I can do hard things. And if you feel like pinning would help you, feel free to add pins. You're going to talk me through this because you've made this user friendly. We're going to put that down under the presser foot. Okay. Just as you would. And I do like to use a fairly scant quarter inch seam here. Okay. Give it some wiggle room. Okay. Just because you want to have room to square up if you need. And so just take your time and you're going to gently ease everybody together. Yeah. And they just start to kind of relax and line up. If it stayed If it stayed threaded, we would be in business. That's true. So, let's rethread and we will be ready to go. It's just giving me a second to gather my spirit because this is I we are watching a menace be created in real time. So, I'm about to be hooked on these. I can tell. I think you'll enjoy them. There we go. All right. Scant quarter inch seam. And let's just nice and easy. Just line up a little bit at a time. And these curves I find um are are just gentle enough that it's not too difficult. You just have to slow down, take your time. You're doing great. It looks beautiful. Thank you. And she's made it to the halfway point there. Just readjusting. There we go. Beautiful. Okay. I don't know why everyone's so scared, y'all. That was like actually kind of fun, right? It's not that scary. The first curve I've ever sewn, y'all. Ah, you did so in real time here on camera. Perfect. Look at that. Look at that. It looks amazing. Now, I want you to press it because I do think pressing curves is one of the most satisfying parts. Okay, you're just going to roll it back. Okay. Um because that's typically what it wants to do. Oh my gosh, y'all. Look at that. Look how pretty that is. Three little dots of glue. No excuses about not wanting to sew curves and you can't make this pattern because you don't want to sew curves. Listen, you saw it here, folks. She did perfect. You're a great teacher. Oh, thank you. You nailed it. So, each corner unit needs three of these. I've gone ahead and finished the other ones for you. And so now we get to just assemble that unit. So we're going to put these together. And then the blue from our half square triangle goes up towards our green curves. Perfect. And so we can just sew this together like a four patch if you'd like. There you go. I'm empowered now. Yeah. I'm so glad. I told you you'd be hooked. Yeah. Maybe that's why I've been resisting. I I knew it was coming for me. Yep. That's right. Beautiful. And she can open those up. Threads floating everywhere. Yeah. It's like we sew or something. I know, right? Nest those seams, y'all. That's right. If you love your quilter, which we do. We love our quilters. just makes everyone's life a little easier, even yours. It's true. But don't run over the pen if you love your sewing machine. Beautiful. Voila. So, if you want to give that a press, I've got the other three corners done. And so, we can just set those aside for now. And we're gonna move on to these little center sections here, which are made up of two more curves that we just sewed just in blue. So, you know how to do that. And then we're going to make these little four patch units. So, let's go ahead move these aside. All right. So, to make the four patches, we'll start here. I went ahead and sewed a couple of strip sets for you guys. So, we have this dark pink and light blue. These are just 2 and 1/2 in strip sets or strips, excuse me, by the width of fabric. So, we have the dark pink and light blue and the dark and light pink. And so, now that we have these sewn together, we're just going to cut a bunch of the little 2 and 1/2 in strips off of here. And you'll just cut your whole strip set because you're going to need quite a few of these for your blocks. We'll do the same out of this one. And this just makes these four patches a little bit quicker to do it this way instead of having all of those individual squares. So much less fiddly. Yep. So we can toss that aside. And now we are just going to place these together so that our dark pinks are going in opposite directions. I went ahead and pressed both of those sets towards that pink so that these seams will nest for you. I will let you chain piece two of these cuz we need two for each of our little units. Perfect. There you are. All right. And so I will just trim those apart and press them. And you just stay right where you are. I'll have you sew these together. There we go. Beautiful. All right. So then to assemble these units, we're going to take our two little blue curves made exactly the same way, like I said, as the green ones we did. And then we are going to line up our four patches. And we want the light blue and the dark pink to meet in the middle there. And so we're going to do just like so. And I will let you sew those together. And then we are dangerously close to putting this block together. This is so quick. Like it looks, you know, it looks more complicated than it is by far, which we love. We love a moment like that. Well, I am a lover of big blocks because they come together faster than you expect and you get a really striking quilt. And so, you're really only making four big blocks for this. I like big blocks and I can't I was wondering which of us was going to say it. I'll be the one. I love it. It's a really good opportunity as we, you know, custom quilt this later this week, too, that the custom quilting goes a lot faster that you can really um get into each of those sections of the block, but it's going to come together quickly because they're big. So, that makes it a much more approachable opportunity if you're new to custom quilting. I'm glad to hear that. Beautiful. All right, let's press that. Let me make sure this goes the way I want it to. I've got Misty all worried about getting those seams flat now. I'm trying trying my best. You're doing awesome. All right. So, now that we have this all pressed, we can assemble these big beautiful blocks. And so, the center is just an 8 and 1/2 in light blue square. And then these are going to come in on each of the four sides just like so. Move some of this out of the way. And then here are our corner blocks. I'm kind of obsessed with this. I'm not going to lie. Thank you. I think it's so fun. And so you'll just sew this together like a large nine patch. Here's the opposite block. All done. Darling. So beautiful. And so again, let's look at the quilt behind me. These four large blocks, we cut the sashing strips to the size of our finished block. And then just put a little blue cornerstone in the middle. So we finished this off with a nice 6-in border just to frame it up. It finishes at 65 in square, which is a great throw size. And so Hollyanne, you are going to tell them how to quilt this. And so do you want to talk a little bit about that? What those do on Friday? So, when we did our table runner before, we just did freeotion quilting together. And that's a really good opportunity on a smaller project to practice moving your quilt underneath the machine. We're going to take this up a notch just like I learned how to sew curves today. Y'all are going to learn how to quilt with a ruler in addition to learning how to freeotion quilt. So, we are going to use that same meander that we used before, but we're going to add in some continuous curves with freeotion quilting um or ruler quilting, either way. And then we're going to use a ruler to make all of these lovely larger curves and to add this nice grid in the center. It's going to bring some really nice texture to this quilt and give you an opportunity to take the next logical step in your journey to being a quilting rock star. Oh, thank you, Hollyanne. This has been such a delight. We will see you guys next time. I hope you've enjoyed this. Have a wonderful week. Hey everyone, thank you so much for watching at home. We're so excited to be almost a million quilters strong here at Missouri Star. And so if you haven't already joined our family, be sure to subscribe and hit that notification bell so you can be notified of all of our future tutorials. And we'll see you soon.

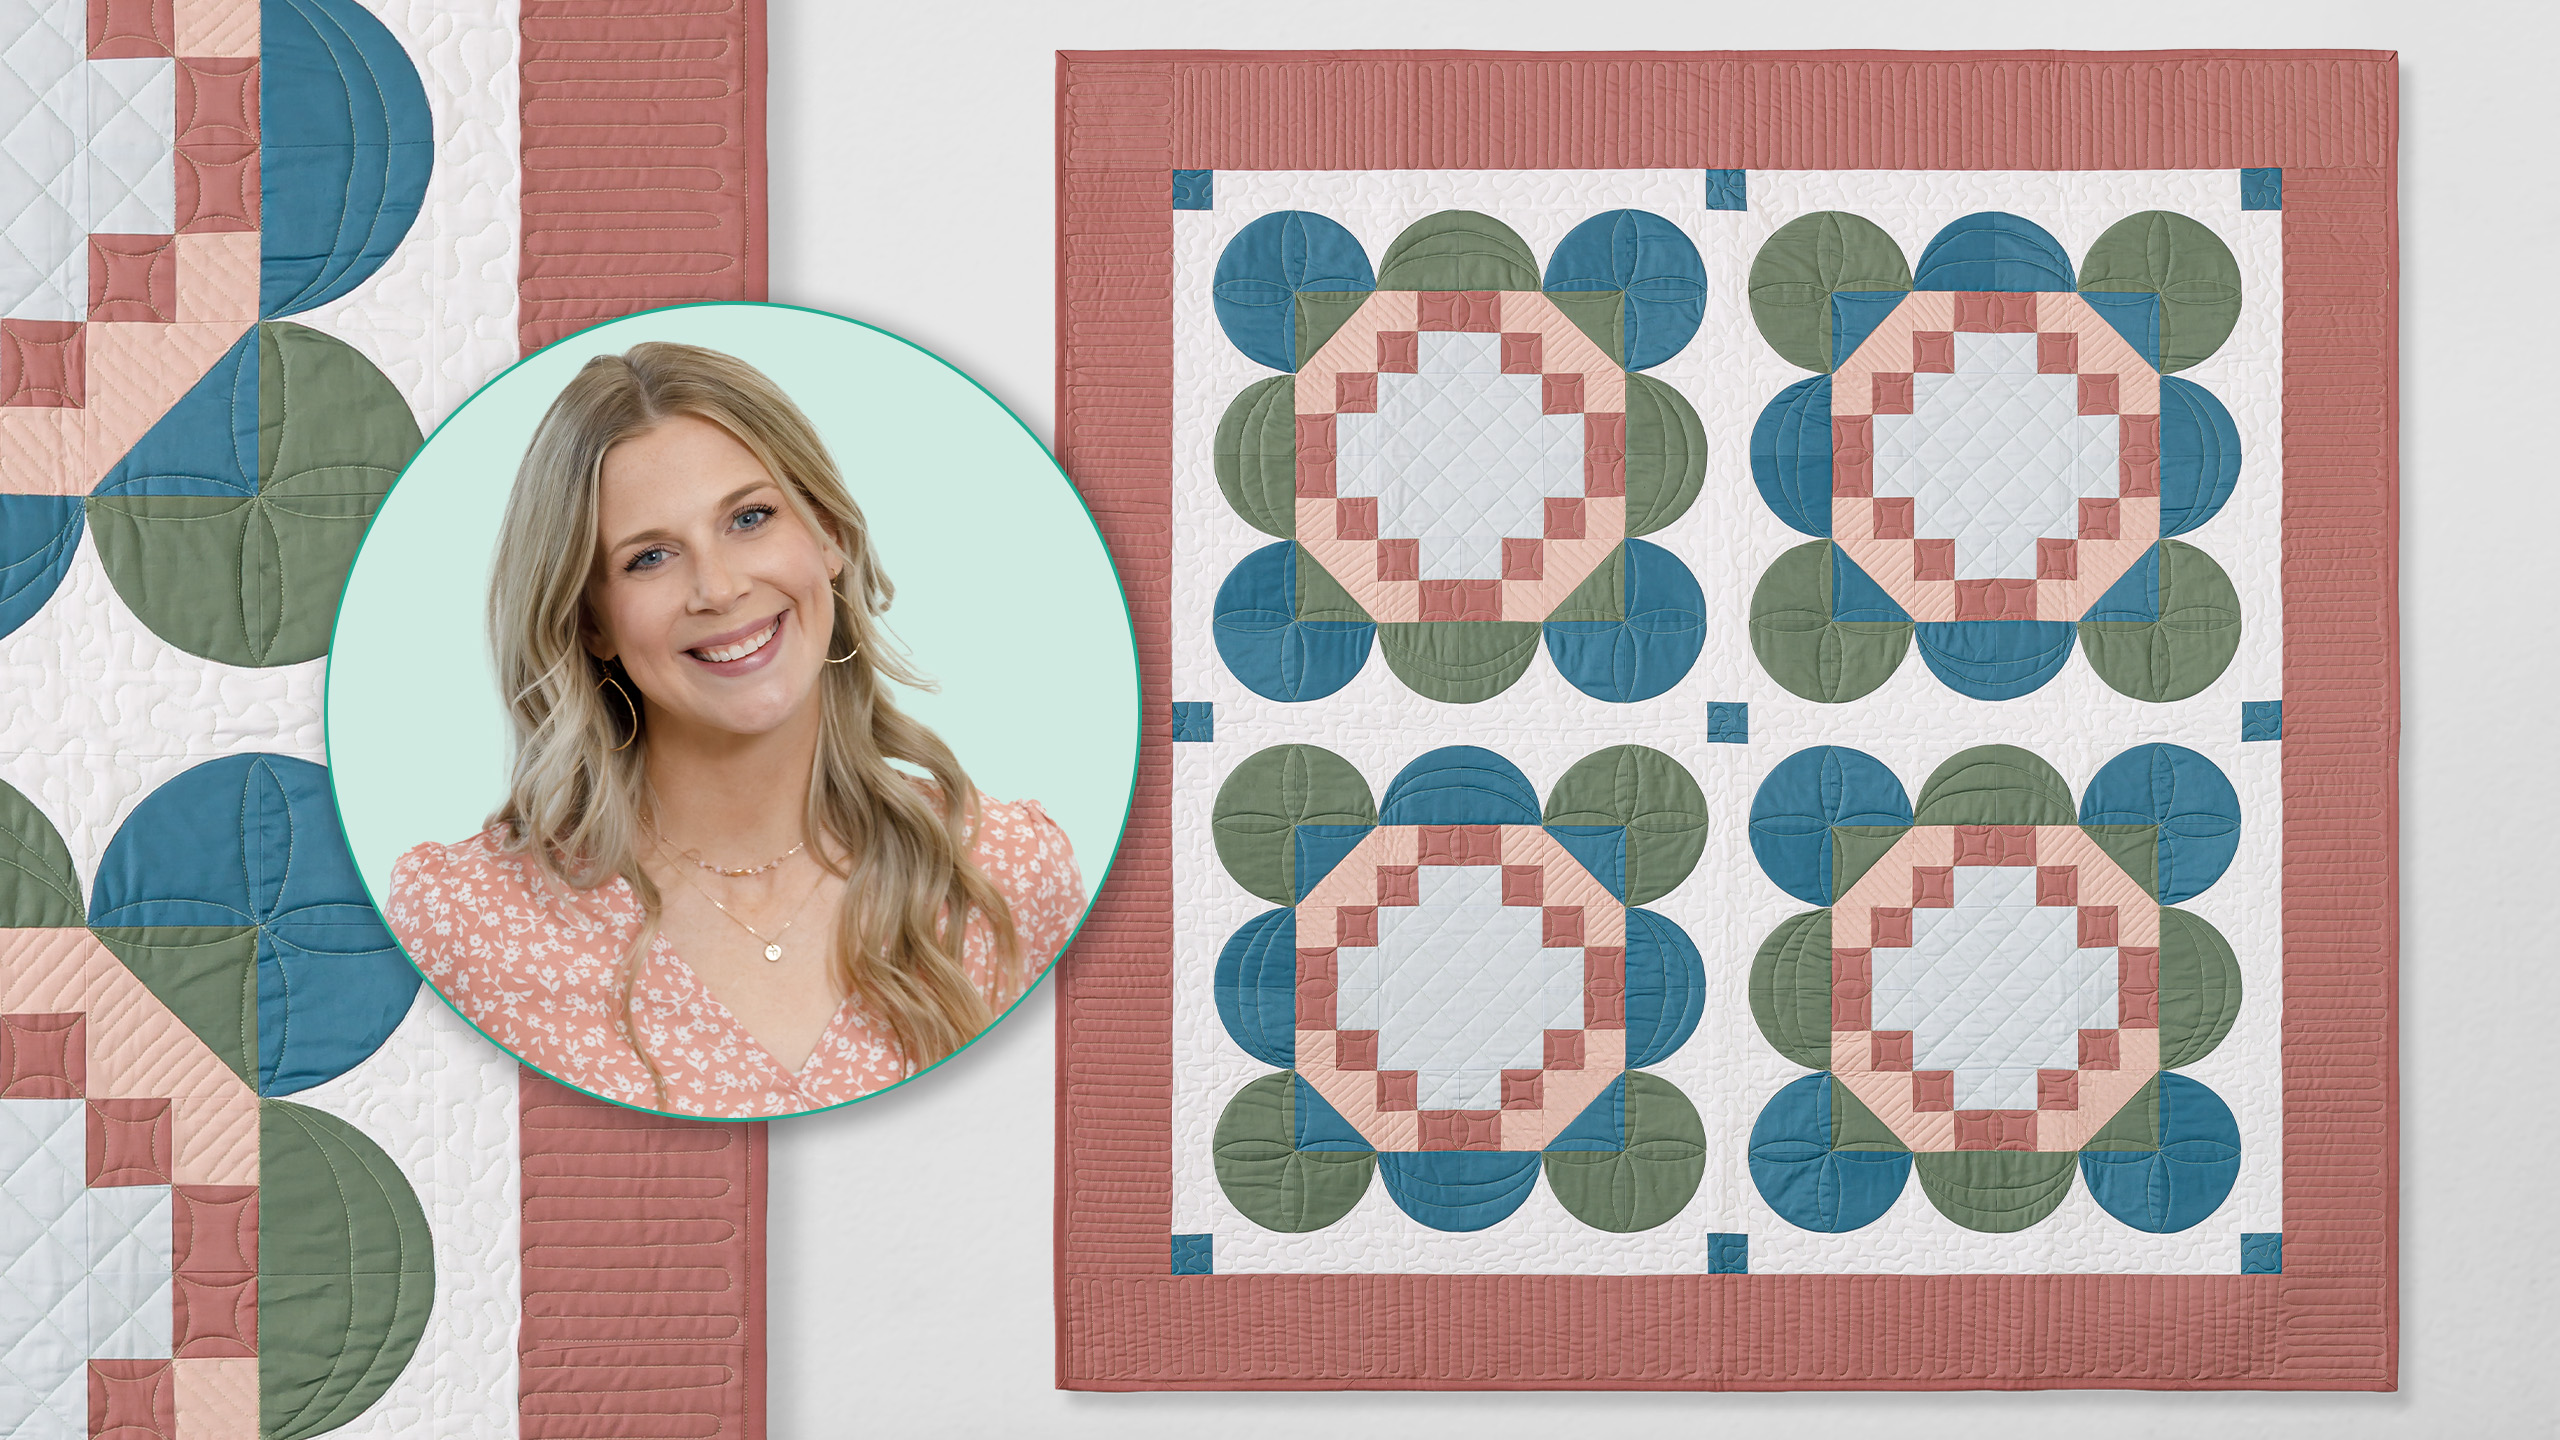
 Misty Doan
 Colorworks Premium Solids - Superwhite Yardage$8.12Shop →
 Colorworks Premium Solids - Romance Yardage$8.12Shop →
 Colorworks Premium Solids - Faded Rose Yardage$8.12Shop →
 Colorworks Premium Solids - Reflection Yardage$8.12Shop →
 Colorworks Premium Solids - Bucket Yardage$8.12Shop →
 Colorworks Premium Solids - Balsam Yardage$8.12Shop →
 Missouri Star Quilter’s Best Blend Twin Batting$26.95Shop →
 Roxanne Glue Stick$8.25Shop →
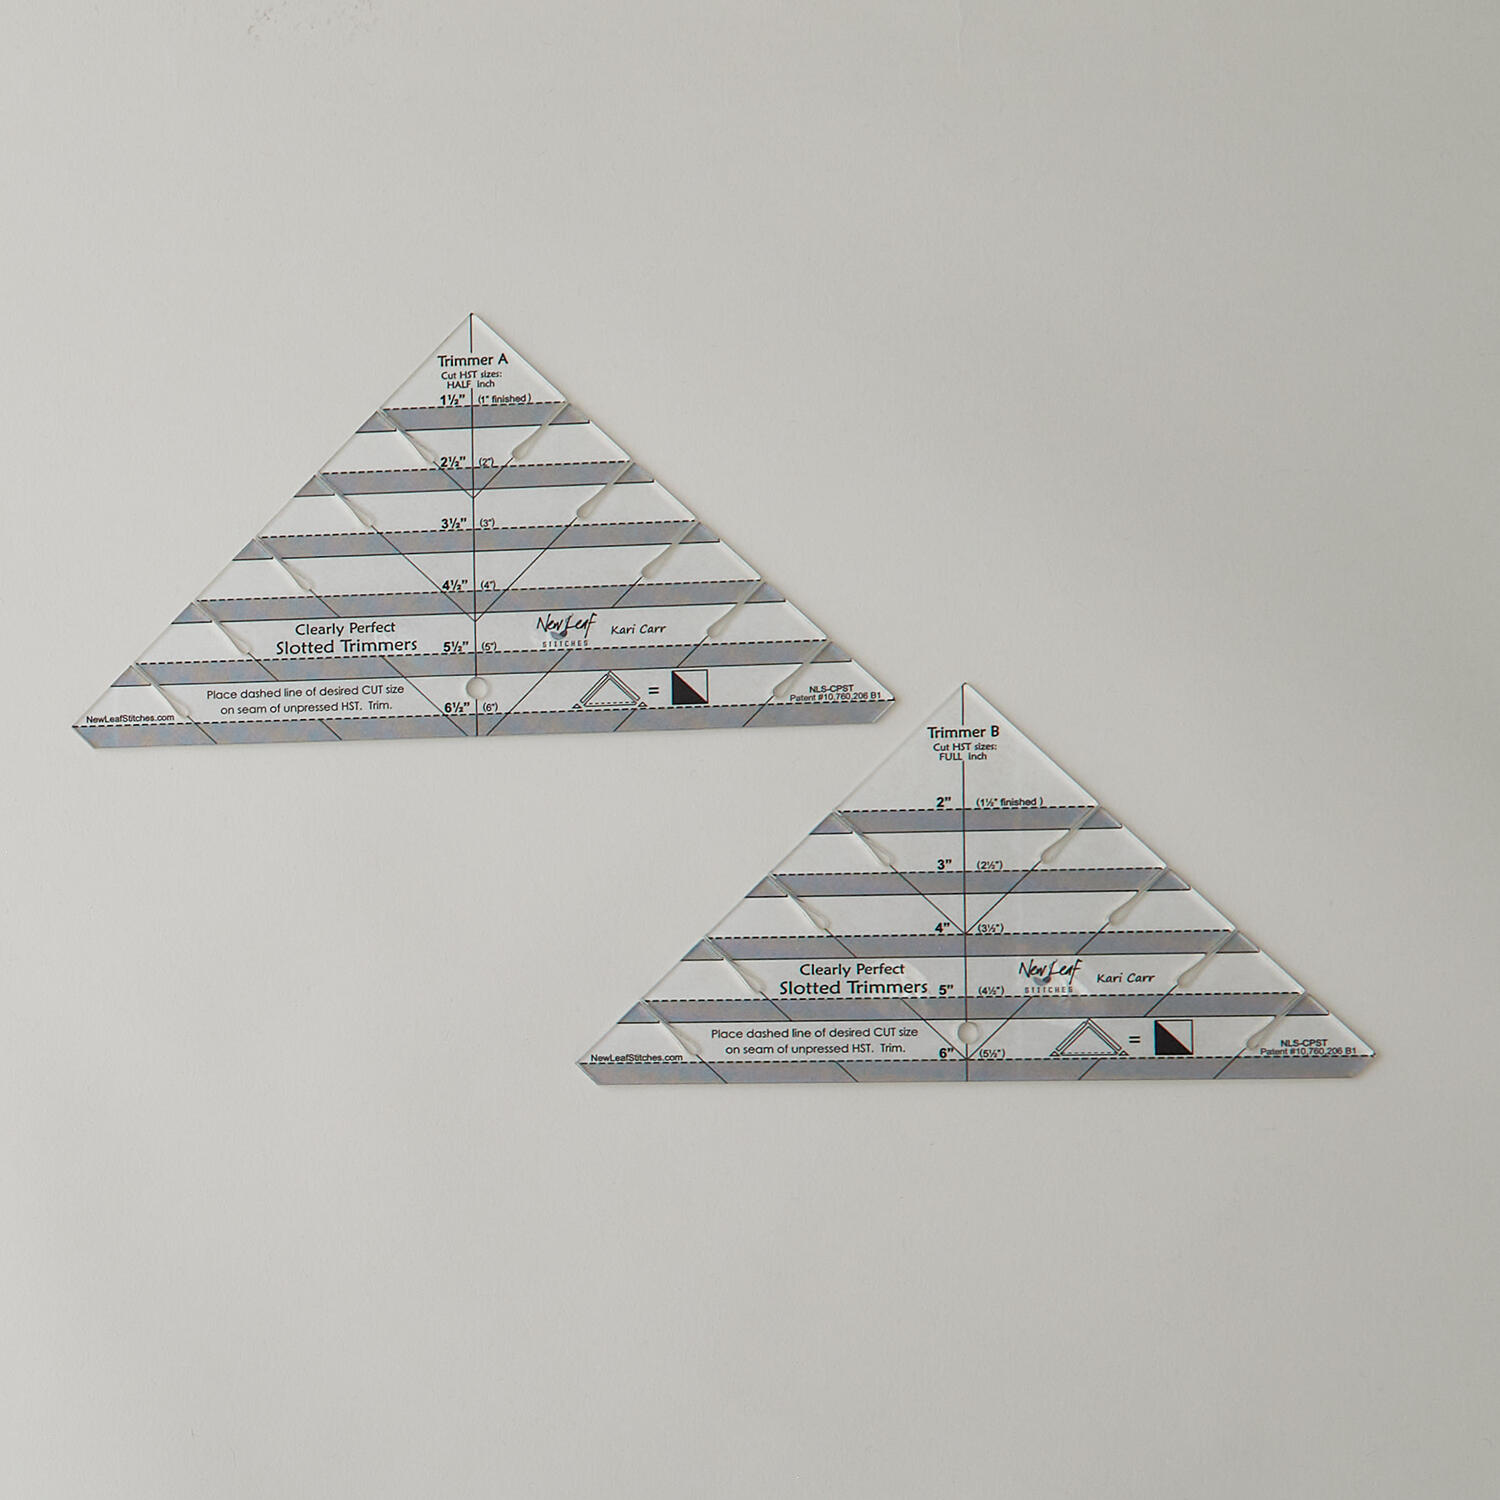 Clearly Perfect Slotted Trimmers$33.95Shop →
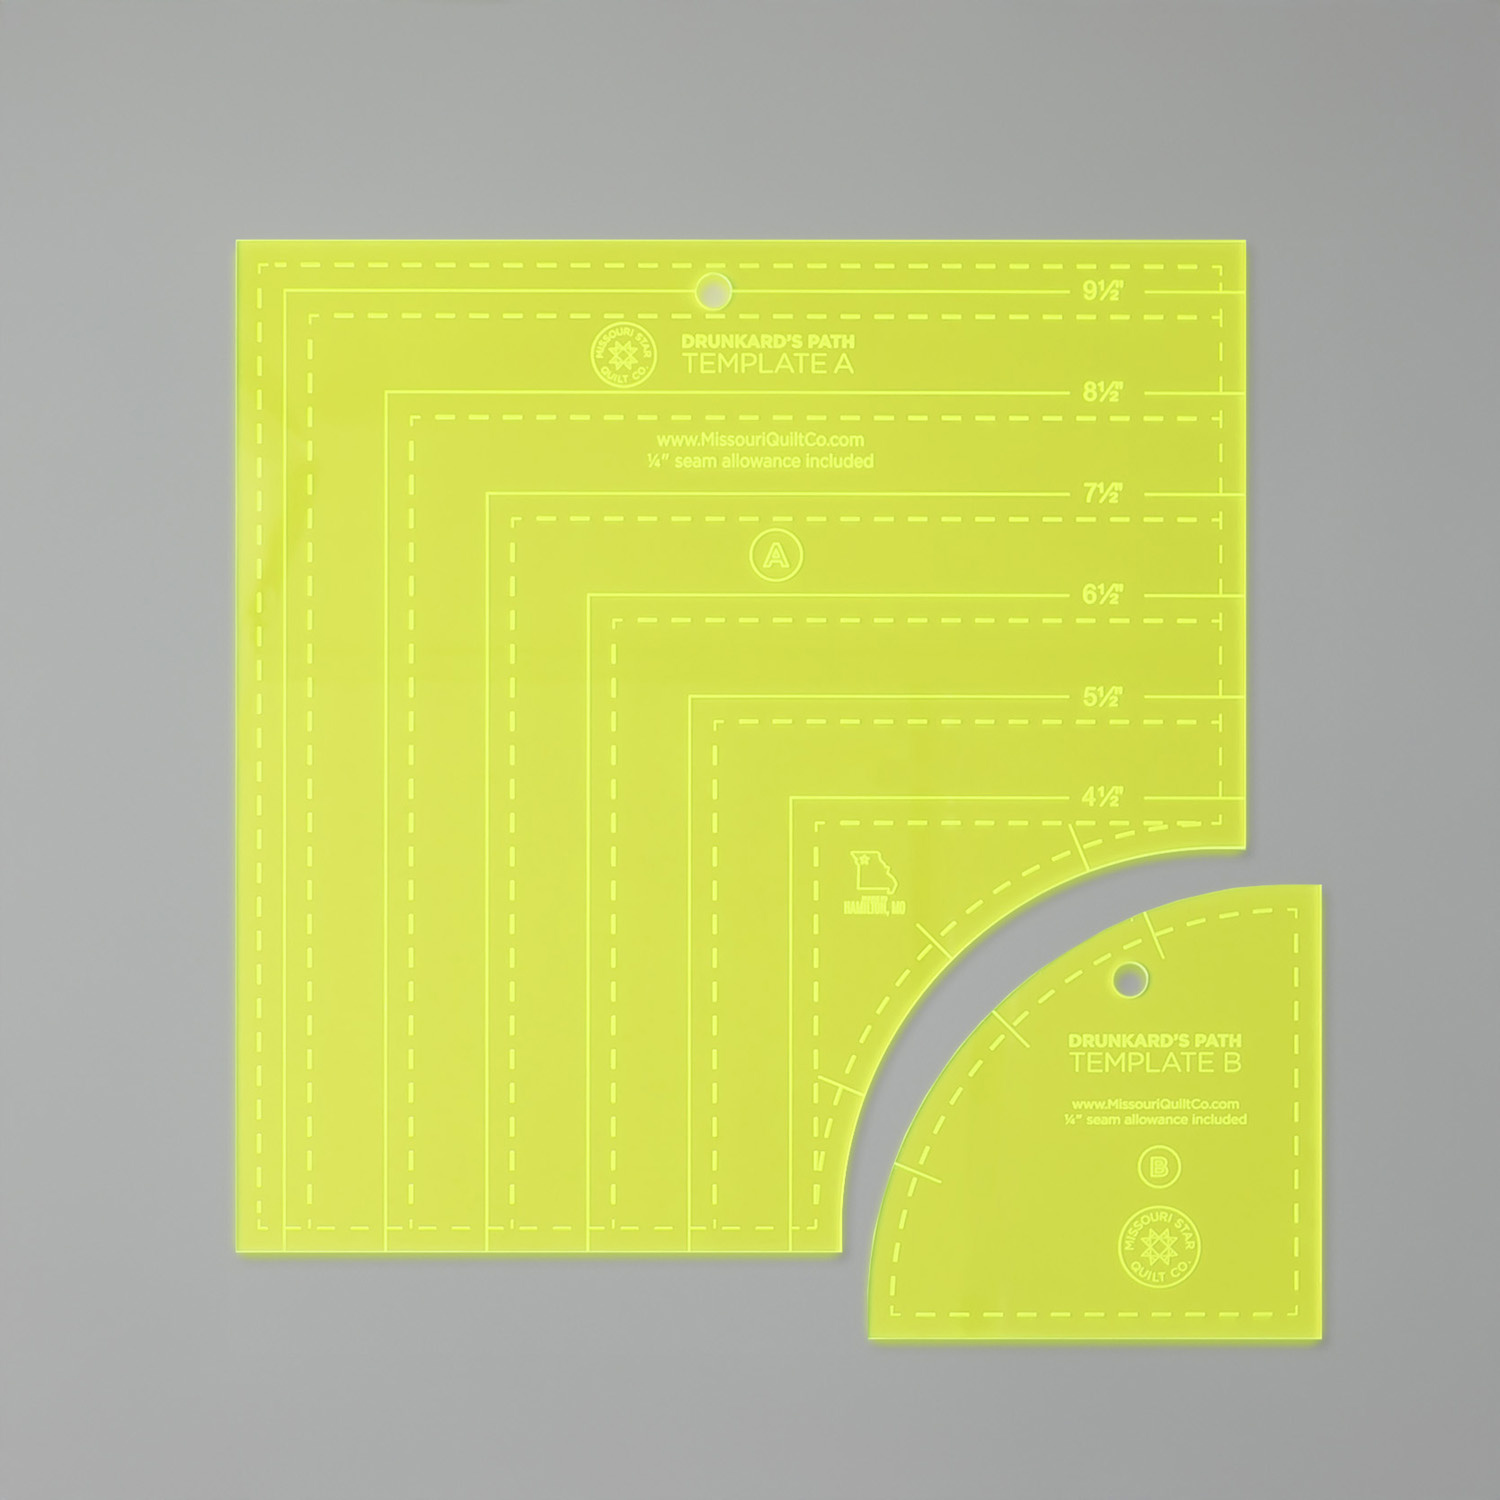 Missouri Star Drunkard's Path Circle Template Set - Small$21.95Shop →
 Missouri Star 45mm Rotary Cutter - Olga$19.95Shop →
 Missouri Star 8" Everyday Scissors - Amelia$19.95Shop →
 Missouri Star 50 WT Cotton Thread White$7.95Shop →
 Missouri Star + Oliso TG1600 ProPlus Iron$209.95Shop →
 Bernette 77 Sewing and Quilting Machine$1699.00Shop →
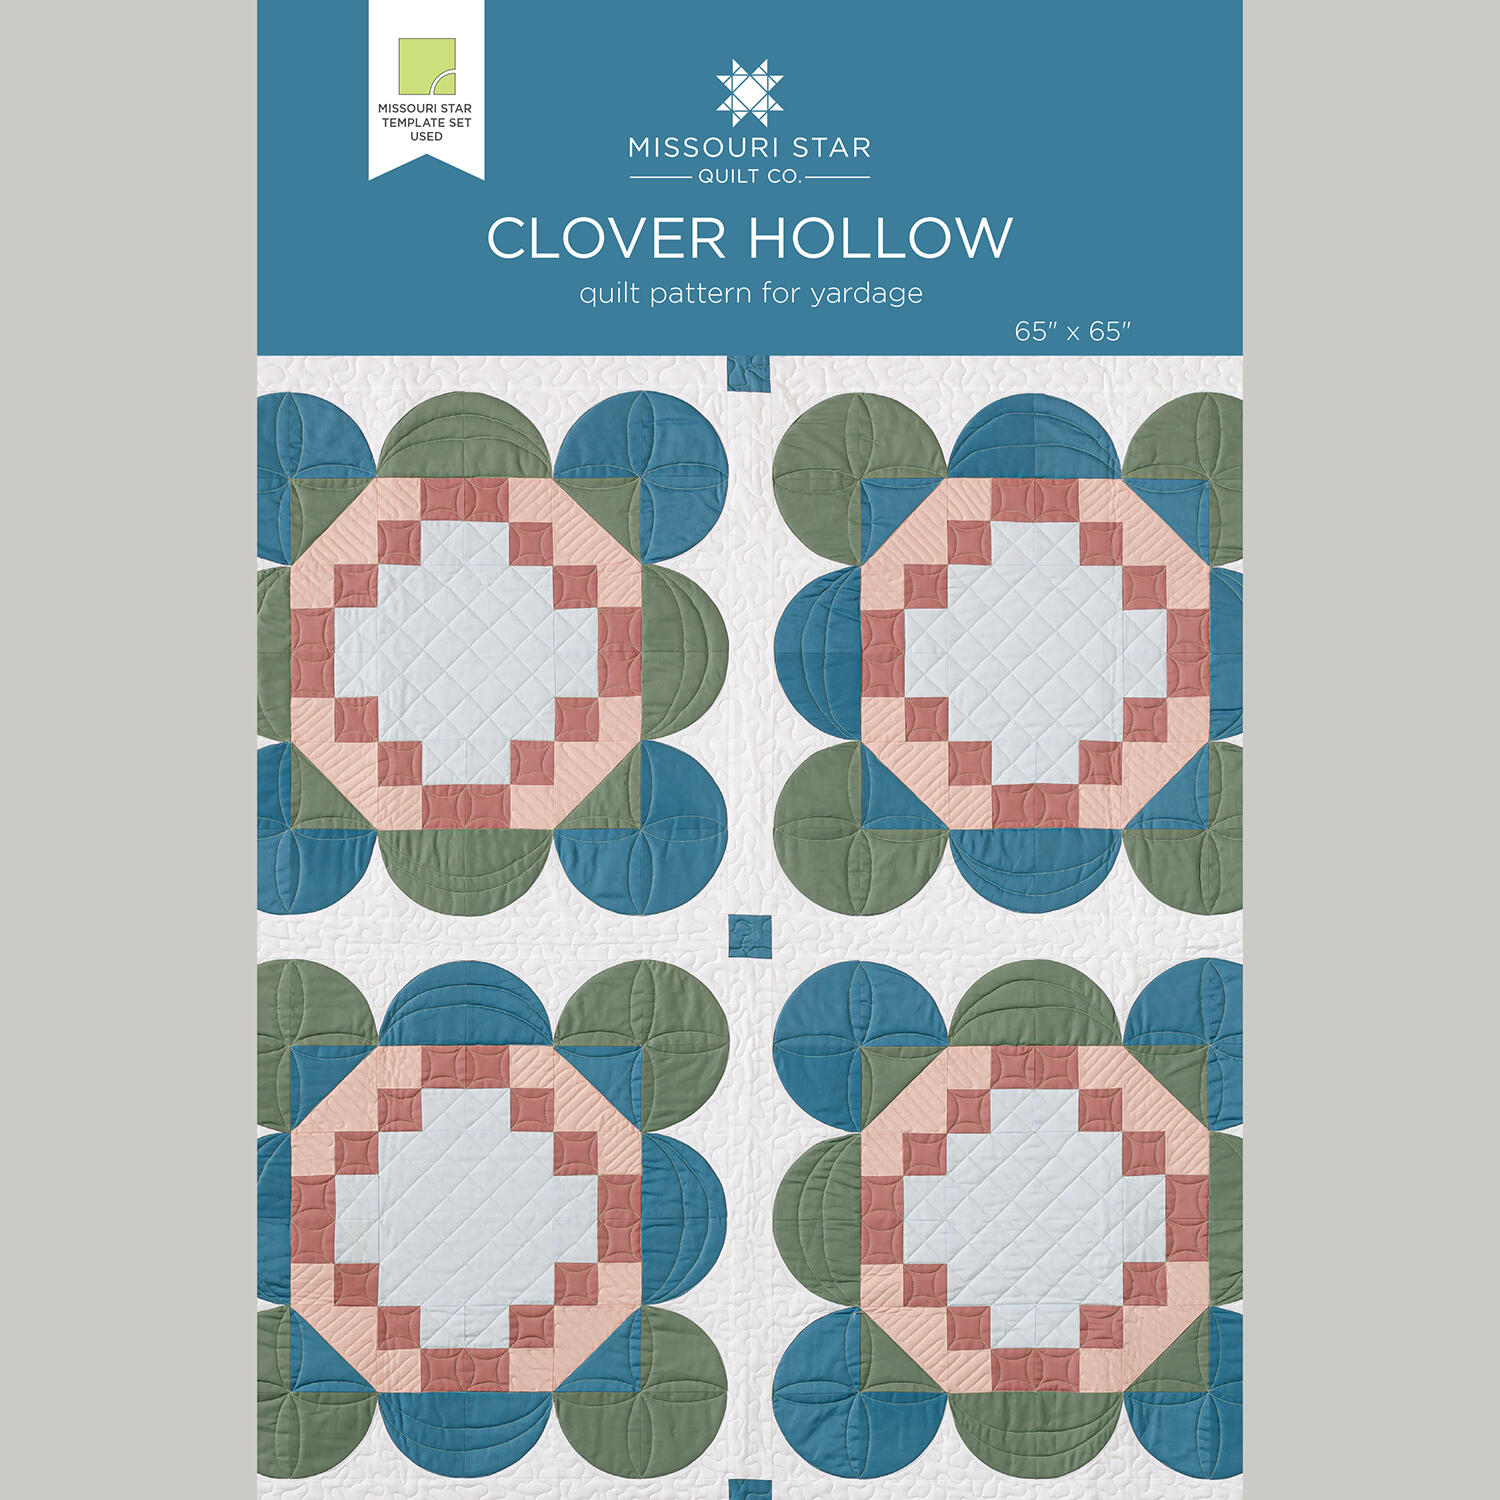 Clover Hollow Quilt Pattern by Missouri Star$8.50Shop →
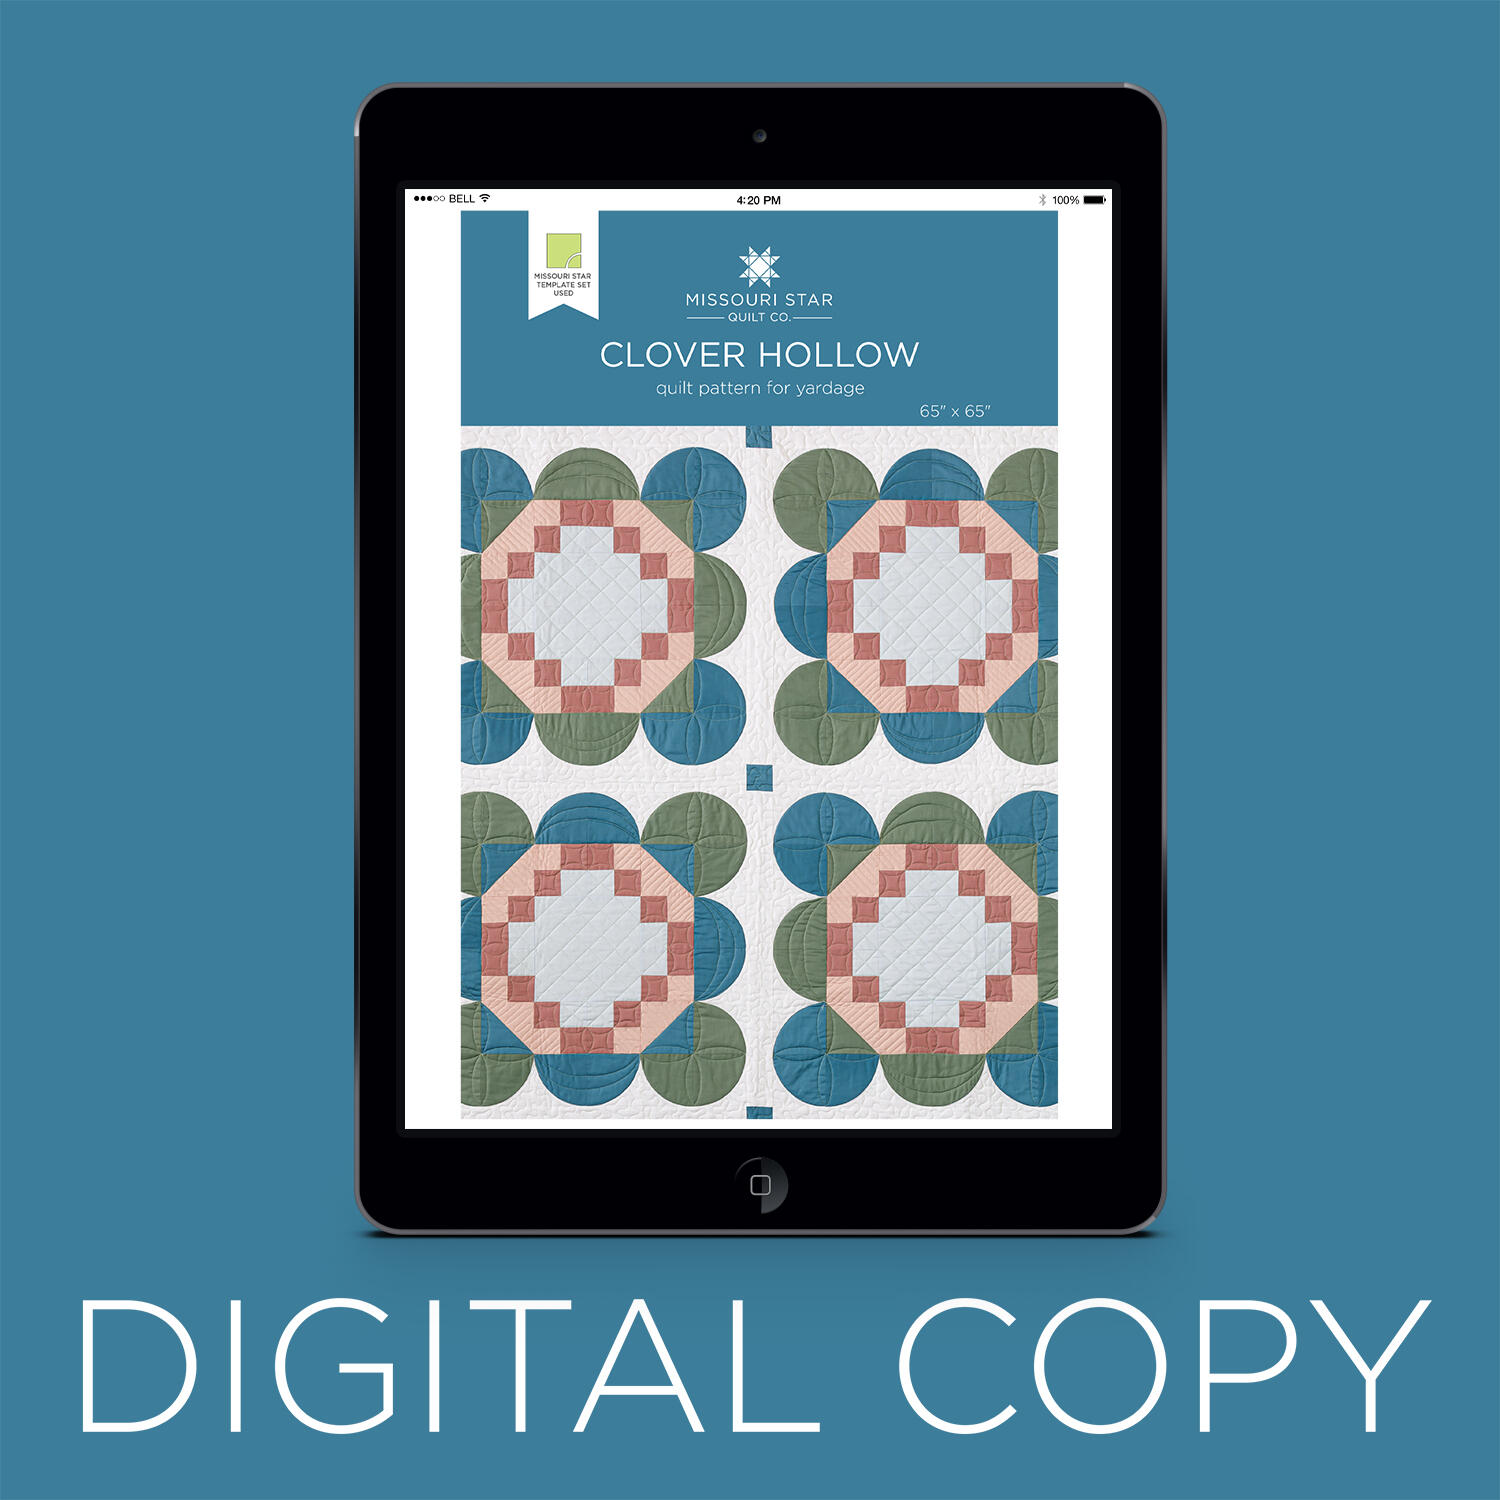 Digital Download - Clover Hollow Quilt Pattern by Missouri Star$6.95Shop →


